

Page 1
Installing TinyUF2 bootloader on RT10xx Microcontrollers
Created by Jeff Epler
Last updated on 2021-04-12 11:50:37 AM EDT
Page 2

2
3
5
5
5
5
7
Guide Contents
Guide Contents
Install the UF2 Bootloader
Enter RT ROM Bootloader
On the MIMXRT1010-EVK board
For Metro M7 RT1011
Find SE Blank RT Family
Run sdphost Loader
© Adafruit Industries
https://learn.adafruit.com/installing-the-uf2-bootloader-on-nxp-imx-rt10xx-
microcontrollers
Page 2 of 9
Page 3
Install the UF2 Bootloader
At Adafruit, we really like the UF2 bootloader for installing software like CircuitPython on microcontrollers.
UF2 allows you to drag-and-drop UF2 files and has a nice LED/NeoPixel indicator. No special
DFU/firmware-updater software is required and you can use any computer to program a UF2-bootloader
device.
But what do you do with a fresh chip, or if the UF2 bootloader on your device has become corrupted?
This guide will walk you through the steps of installing the UF2 bootloader using the ROM bootloader
built into all RT10xx chips using software called sdphost or sdphost.exe on your PC, Mac, or Raspberry Pi.
You only have to perform this step once for fresh-from-the factory chips, or if somehow your
bootloader got corrupted. The 'USB in ROM' bootloader, thankfully, cannot be damaged, so you will
never need a JLink/OpenOCD hardware dongle to perform this task
© Adafruit Industries
https://learn.adafruit.com/installing-the-uf2-bootloader-on-nxp-imx-rt10xx-
microcontrollers
Page 3 of 9
Page 4

Adafruit Metro M7 with AirLift - Featuring NXP iMX RT1011
Coming soon! Sign up to be notified when these are in stock!Get ready for our fastest Metro ever - the
NXP iMX RT1011 microcontroller powers this board with a 500 MHz...
Out of Stock
Out of
Stock
© Adafruit Industries
https://learn.adafruit.com/installing-the-uf2-bootloader-on-nxp-imx-rt10xx-
microcontrollers
Page 4 of 9
Page 5

Enter RT ROM Bootloader
Now it's time to configure your board to enable the ROM bootloader, which is sometimes called the
"serial downloader". The RT series chips will start the USB ROM bootloader when certain 'strapping pins'
are set on hardware boot.
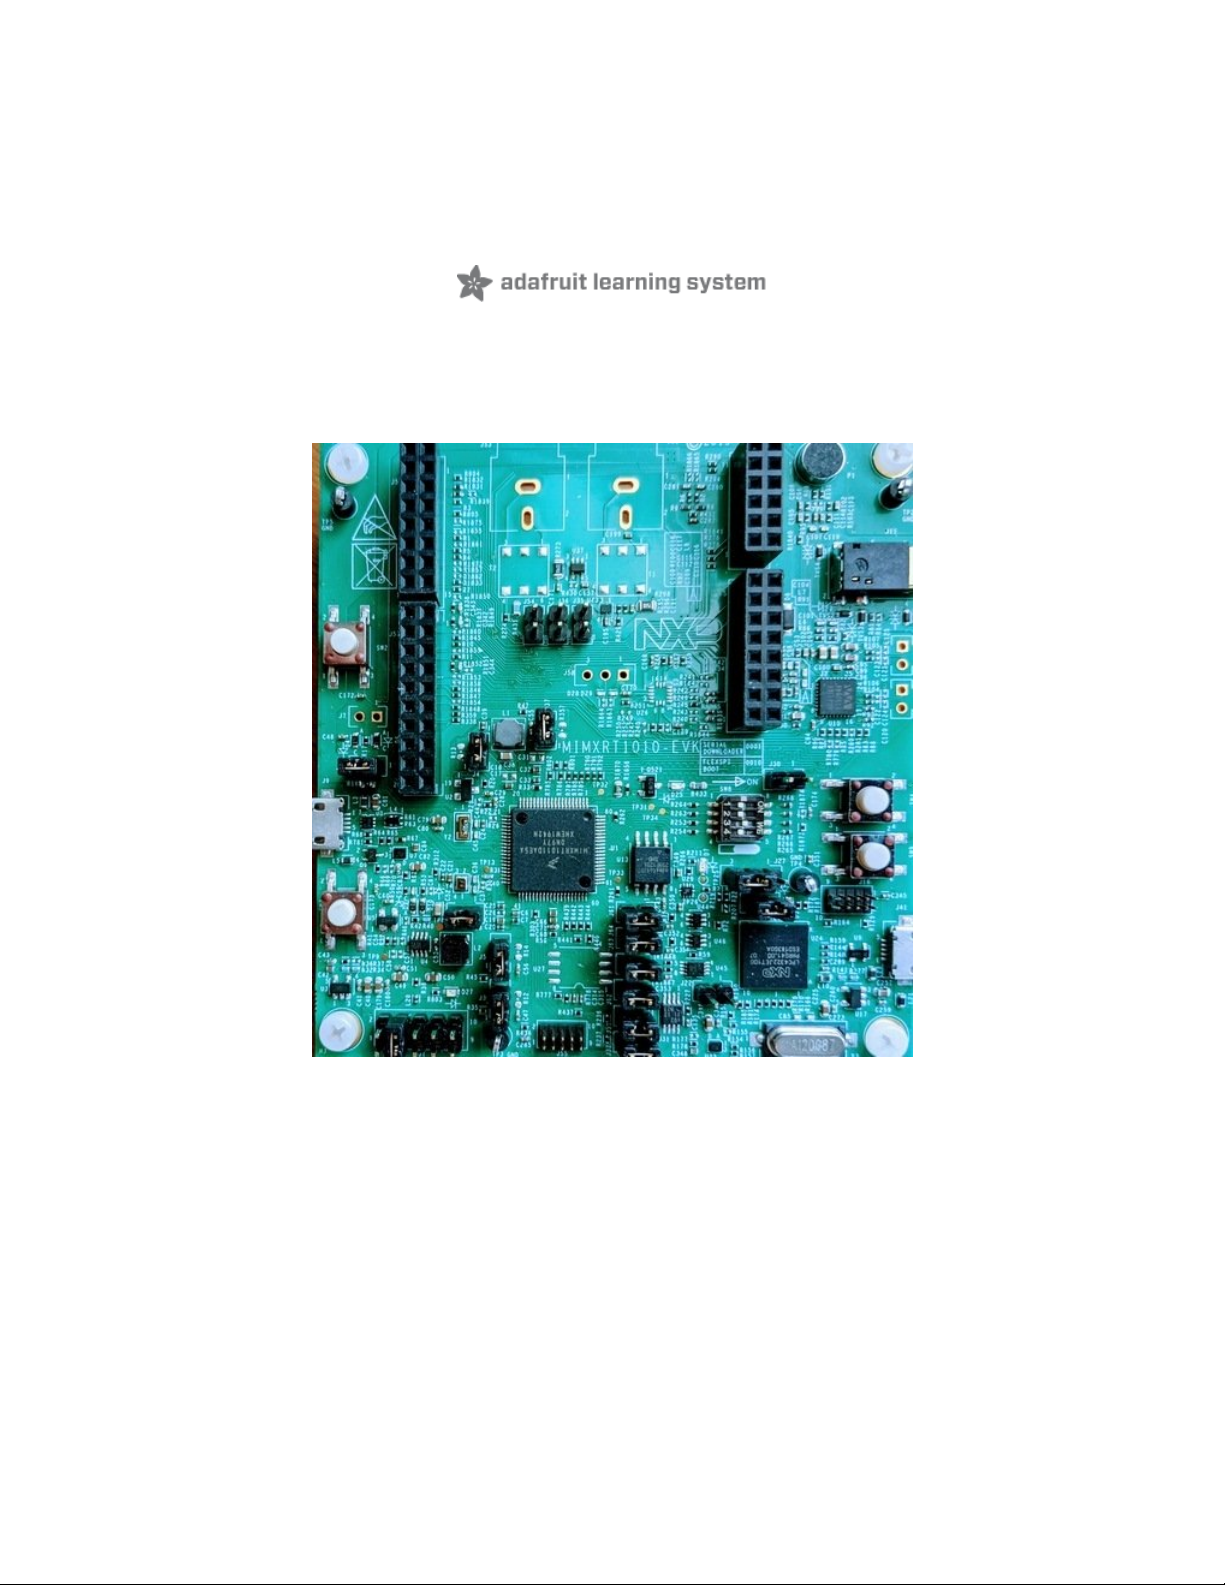
On the MIMXRT1010-EVK board
Move jumper J1 to position 3-4 so that the board can be powered from USB port J9
Ensure jumper J27 is at position 2-3 so that reset switch SW9 resets the microcontroller. Use switch
SW9 when the text below tells you to press reset.
Use connector J9 for your USB connections. Don't use connector J41, it's a debug connector.
For the RT1010-EVK development board, find switches SW8.3
and SW8.4 and switch them to the positions shown here.
For Metro M7 RT1011
There are two jumper switches on the front of the board.
Make sure they look like this, with the B0 switch set to ON
and the B1 switch set to OFF.
Find SE Blank RT Family
Once you've set the jumpers for your board, plug in the board with a USB cable. You cannot just press
reset, do a full hardware reboot
Your computer should see a new USB device called SE Blank RT Family . Note, it is not a mountable USB
device or COM port, and will not appear in the file browser.
In windows, we found it under Control Panel > Hardware and Sound > Devices and Printers
If not, check the switch positions & cables.
© Adafruit Industries
https://learn.adafruit.com/installing-the-uf2-bootloader-on-nxp-imx-rt10xx-
microcontrollers
Page 5 of 9
Page 6

© Adafruit Industries
https://learn.adafruit.com/installing-the-uf2-bootloader-on-nxp-imx-rt10xx-
microcontrollers
Page 6 of 9
Page 7

Run sdphost Loader
First, grab the right version of sdphost for your host
computer. There are versions for Windows, Mac, and Linux
(including for Raspberry Pi).
Head to this downloads page on github (https://adafru.it/Rle)
and grab the version that is right for your Mac, PC or
Raspberry Pi.
Next, download the right tinyuf2 bootloader for your
particular board. Head to the tinyuf2 releases
page (https://adafru.it/Rlf) and download the correct zip file,
such has "tinyuf2-metro_m7_1011" for the Metro M7 RT1011.
From inside the zip file, extract the ".bin" file. Usually, putting
it in the same folder as the sdphost program is easiest.
Open up a terminal window and issue two commands with sdphost, changing the name of the .bin file as
appropriate:
sdphost -u 0x1fc9,0x0145 -- write-file 0x20206400 tinyuf2-imxrt1010_evk.bin
sdphost -u 0x1fc9,0x0145 -- jump-address 0x20207000
The hex numbers above are the same for any RT1010/RT1011 board.
On Linux, it may be necessary to prefix these commands with sudo
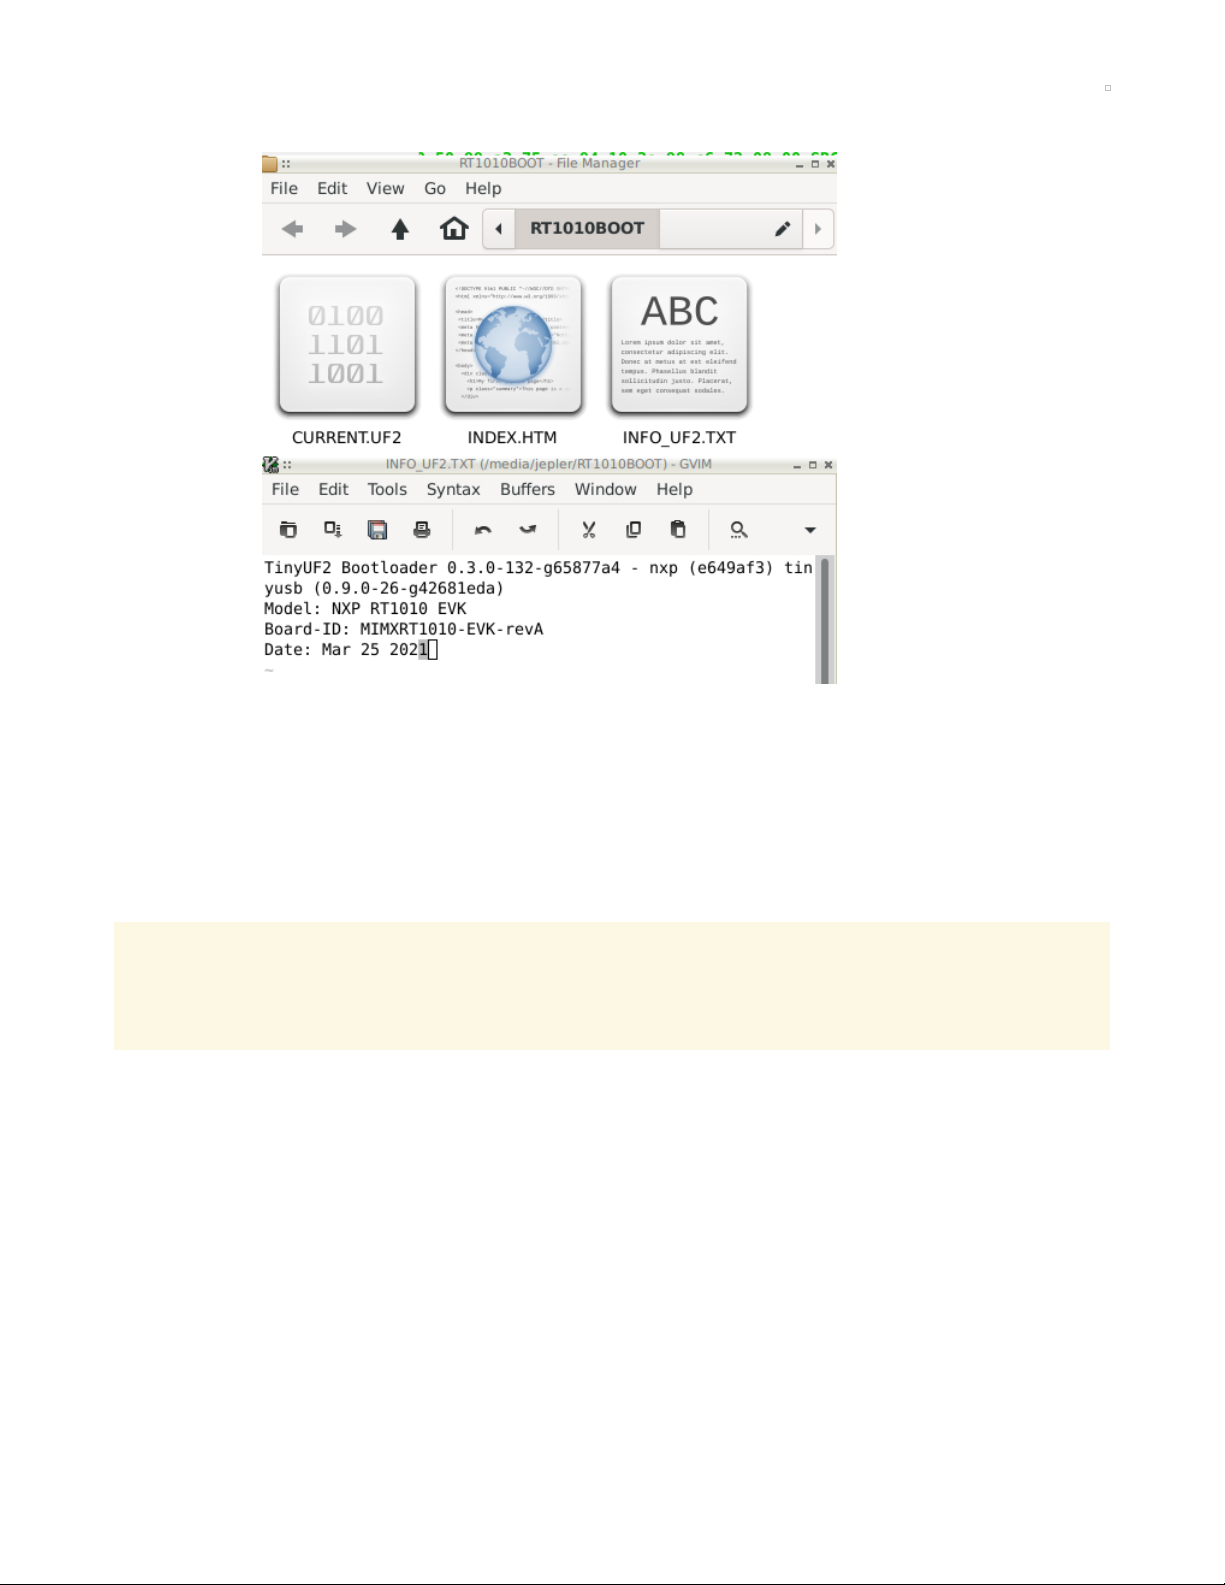
These commands run really quickly, in well under a second. Once the sdphost commands finish, your
board will re-connect via USB, for instance as RT1010BOOT. However, before you do anything else, you
need to return the switches to their usual position.
© Adafruit Industries
https://learn.adafruit.com/installing-the-uf2-bootloader-on-nxp-imx-rt10xx-
microcontrollers
Page 7 of 9
Page 8

On the RT1011 EVK, return switches SW8.3 and SW8.4 to the
positions shown here
On the Metro M7, set B0 to OFF and B1 to ON
Then re-plug your device or use its reset button. This mode is sometimes called "FlexSPI boot".
Once again your device will connect as a BOOT device with a disk drive appearing. If it doesn't, double
check the DIP switch settings and try pressing RESET twice in quick succession to activate the UF2
bootloader. If you've previously loaded software such as CircuitPython via UF2, it was not erased when
you installed TinyUF2 and it will automatically be booted.
You can now drag any compatible UF2 file such as CircuitPython (https://adafru.it/Amd) onto the drive.
To access the UF2 bootloader again at any time, press the reset button twice in quick succession. You
can upgrade CircuitPython or TinyUF2 itself using the UF2 bootloader. Only if TinyUF2 becomes
corrupted will you need to follow the instructions with sdphost again.
Continue installing CircuitPython by following the steps in this guide. (https://adafru.it/Amd)
© Adafruit Industries
https://learn.adafruit.com/installing-the-uf2-bootloader-on-nxp-imx-rt10xx-
microcontrollers
Page 8 of 9
Page 9

© Adafruit Industries Last Updated: 2021-04-12 11:50:37 AM EDT Page 9 of 9
 Loading...