

Page 1
Running PyPortal Code on Blinka with Displayio
Created by Melissa LeBlanc-Williams
Last updated on 2020-10-20 02:25:10 PM EDT
Page 2
Overview
Since the PyPortal came out (https://adafru.it/MbN), there have been many examples written which take advantage of
the CircuitPython displayio graphics system (https://adafru.it/MbO). We have been working on writing a version of
displayio that runs on Blinka, the CircuitPython compatibility layer for Python 3 on single board computers. With Blinka,
you can run your favorite CircuitPython displayio applications and games on boards such as the Raspberry Pi or even
the FT232H (https://adafru.it/xhf).
To make things even easier, we also wrote a version of the PyPortal library that runs on Blinka to make it even easier
to get up and running. The Raspberry Pi is already connected to the internet, so we decided to take advantage of this
and removed much of the code that handled managing the connections and replaced it with the Linux equivalents.
The Blinka PyPortal library is a port of the original PyPortal library that is intended to be run in CPython. It leverages
the Blinka Displayio library, which is a port of the original CircuitPython displayio library and is built on top of Adafruit
Blinka and the Python Imaging Library. The idea behind the PyPortal library is to be able to run many of the examples
that are currently available for the PyPortal with minimal changes.
Parts
To run the examples, you'll need a Raspberry Pi or FT232H. If you are going the Raspberry Pi route, a Raspberry Pi 4 is
preferred due to its processing speed:
© Adafruit Industries https://learn.adafruit.com/running-pyportal-code-on-blinka-with-displayio Page 3 of 19
Page 3
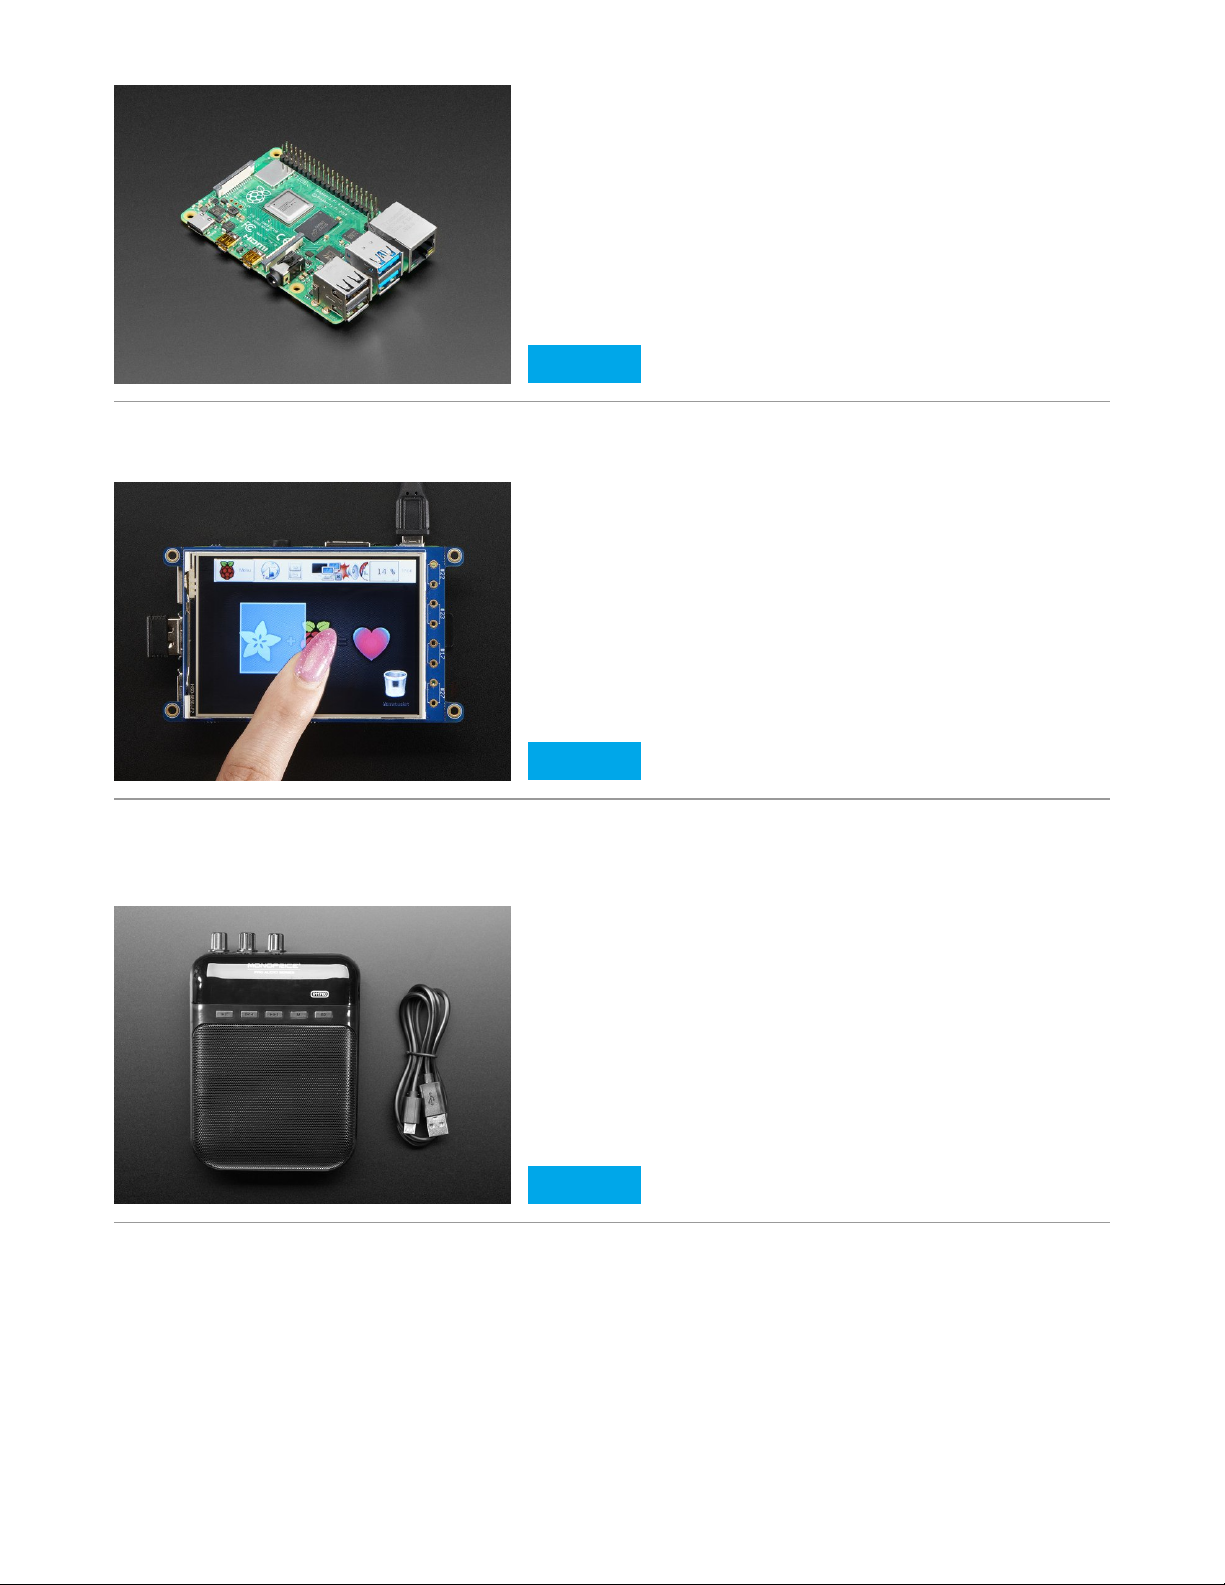
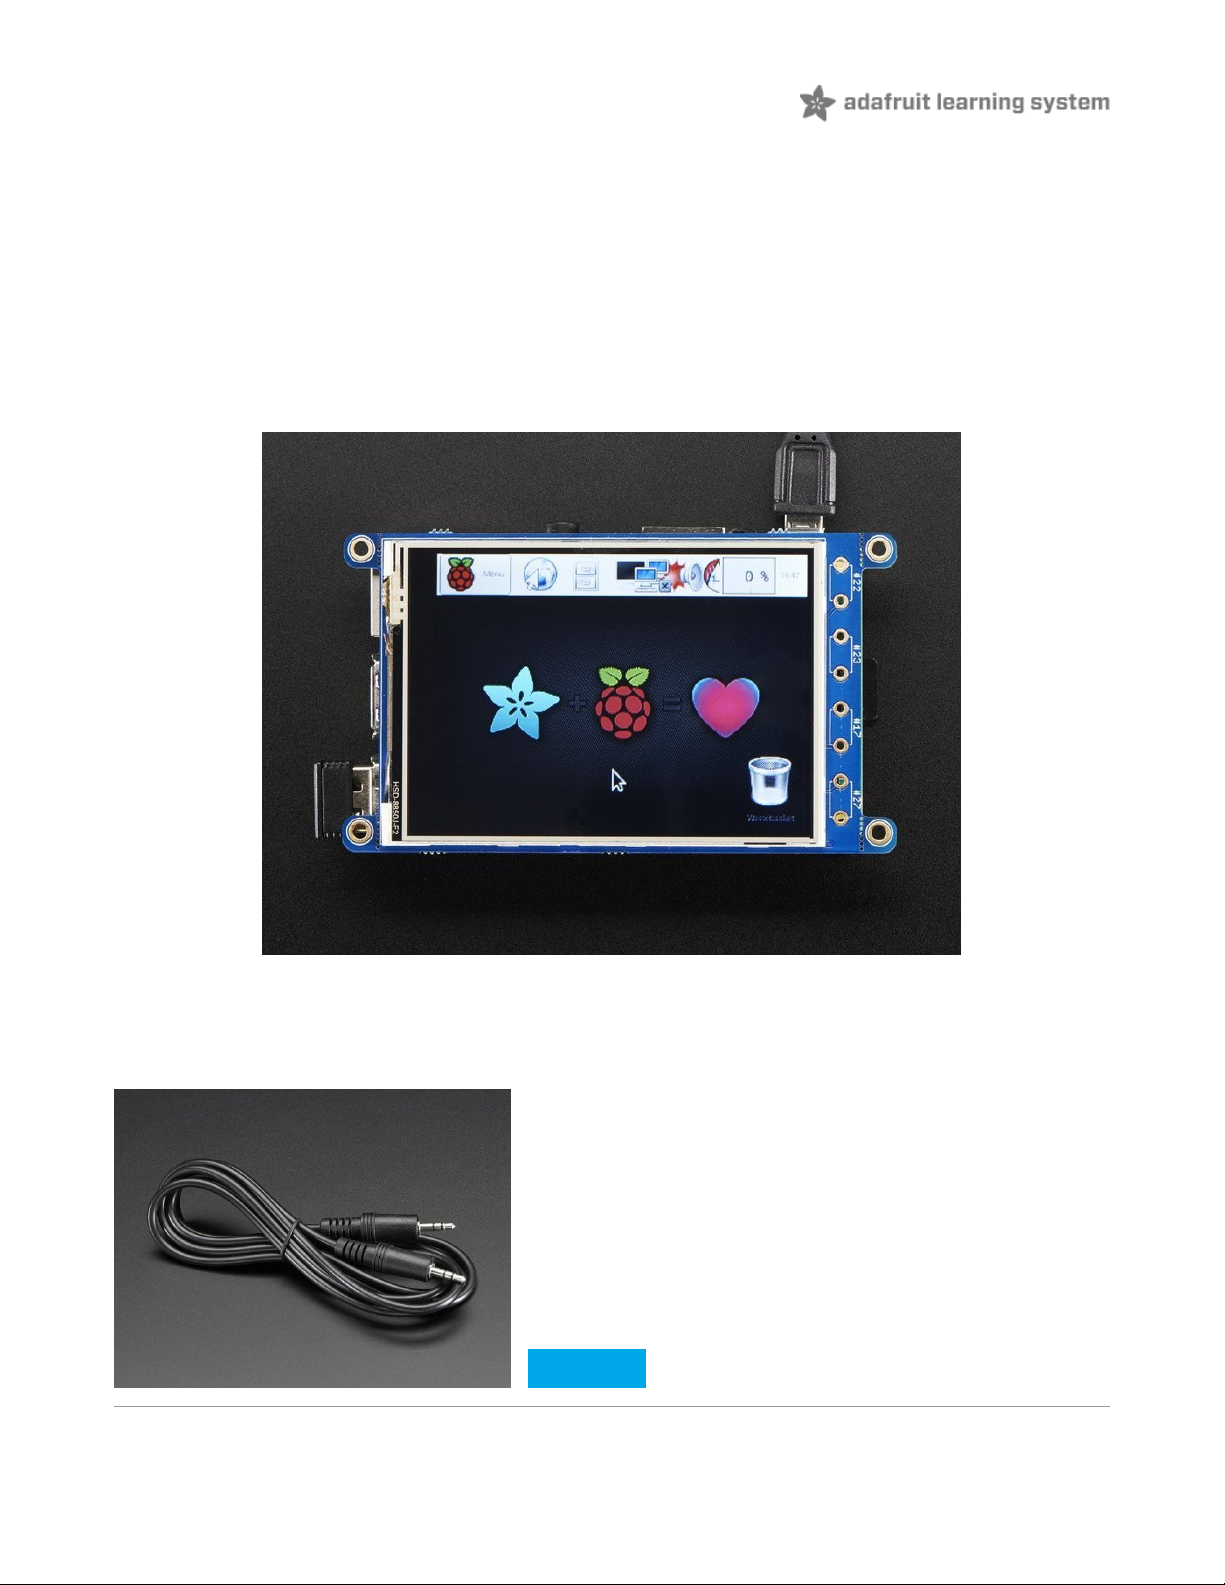
For the Raspberry Pi, you will also need a PiTFT such as the 3.2" TFT:
If you would like to play sound, one of the easiest ways is to connect an amplified speaker to the Raspberry Pi such as
the Monoprice 5-watt amp:
If you would prefer to run it directly from your computer, you could use an FT232H:
Raspberry Pi 4 Model B - 4 GB RAM
$55.00
IN STOCK
Add To Cart
PiTFT Plus 320x240 3.2" TFT + Resistive Touchscreen
$39.95
IN STOCK
Add To Cart
Monoprice 5-Watt Guitar Amplifier, Portable Recorder
$29.95
IN STOCK
Add To Cart
© Adafruit Industries https://learn.adafruit.com/running-pyportal-code-on-blinka-with-displayio Page 4 of 19
Page 4
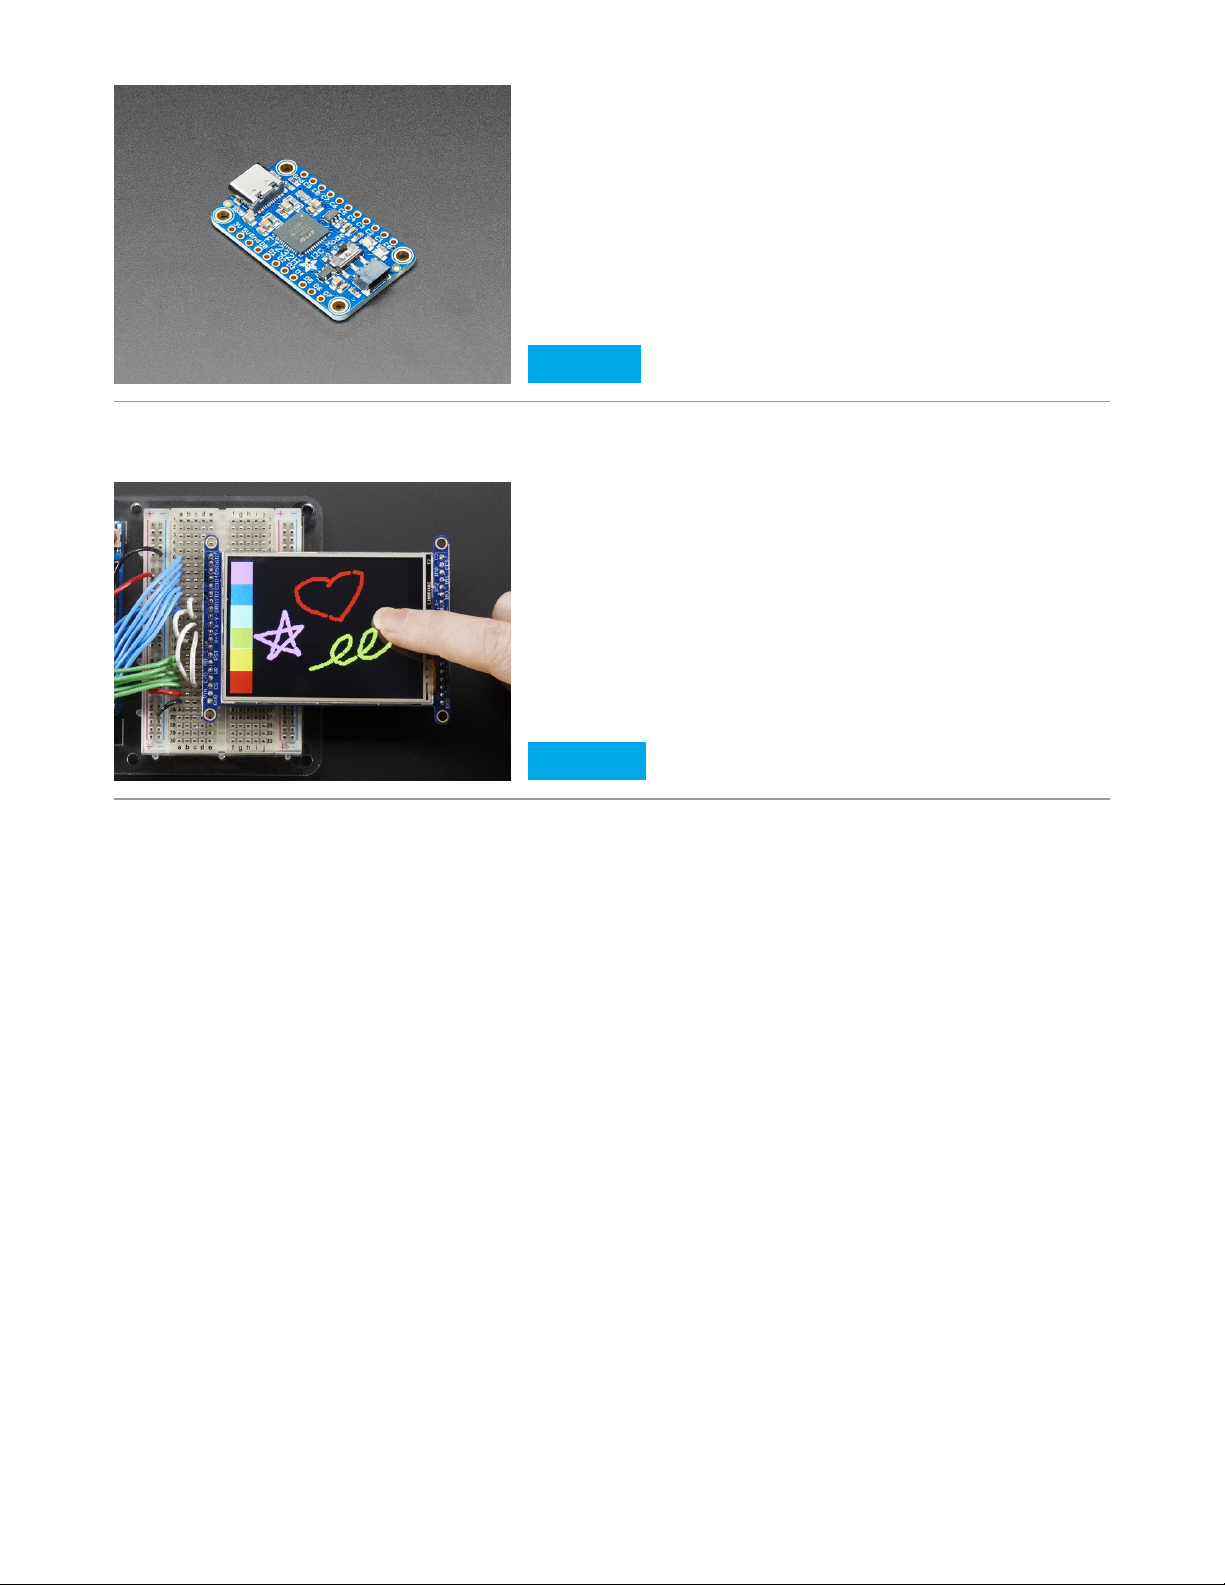
For the FT232H, you will need a Breakout TFT such as the 2.8" TFT Breakout:
Adafruit FT232H Breakout - General Purpose USB to GPIO,
SPI, I2C
$14.95
IN STOCK
Add To Cart
2.8" TFT LCD with Touchscreen Breakout Board w/MicroSD
Socket
OUT OF STOCK
Out Of Stock
© Adafruit Industries https://learn.adafruit.com/running-pyportal-code-on-blinka-with-displayio Page 5 of 19
Page 5
Raspberry Pi
Setup
Setting up the Raspberry Pi is easy. Since the PiTFT comes preassembled, all you need to do is place it onto the GPIO
pins.
Since there are
dozens
of Linux computers/boards you can use we will show wiring for Raspberry Pi. For other
platforms, please visit the guide for CircuitPython on Linux to see whether your platform is
supported (https://adafru.it/BSN).
Connect the display as shown below to your Raspberry Pi.
Additional Parts
If you don't already have a 3.5mm cable, you'll want to grab one of those:
Stereo 3.5mm Plug/Plug Audio Cable - 6 feet
OUT OF STOCK
Out Of Stock
© Adafruit Industries https://learn.adafruit.com/running-pyportal-code-on-blinka-with-displayio Page 6 of 19
Page 6
If you are using a Raspberry Pi 4 and have some active cooling on it such as the Pimoroni Fan Shim or Heatsink Case,
you may want to attach a 40-pin stacking header so that the pins on the PiTFT don't interfere:
Software Setup
You'll need to install the Adafruit_Blinka library that provides the CircuitPython support in Python. This may also
require enabling SPI on your platform and verifying you are running Python 3. Since each platform is a little different,
and Linux changes often, please visit the CircuitPython on Linux guide to get your computer
ready (https://adafru.it/BSN)!
Pillow Library
We also need PIL, the Python Imaging Library, to allow graphics and using text with custom fonts. There are several
system libraries that PIL relies on, so installing via a package manager is the easiest way to bring in everything:
sudo apt-get install python3-pil
NumPy Library
A recent improvement of the RGB_Display library makes use of NumPy for additional speed. This can be installed with
the following command:
sudo apt-get install python3-numpy
Install the PyPortal Library
You'll next want to install the Blinka PyPortal library. Installing this library will also install all of the dependencies, so it's
really easy to setup. Just run the following command:
pip3 install adafruit-blinka-pyportal
Stacking Header for Pi A+/B+/Pi 2/Pi 3 - 2x20 Extra Tall
Header
$2.95
IN STOCK
Add To Cart
Note this is not a kernel driver that will let you have the console appear on the TFT. However, this is handy
when you can't install an fbtft driver, and want to use the TFT purely from 'user Python' code!
If you have already installed the kernel module, you will need to remove it by running the installer and
choosing uninstall.
© Adafruit Industries https://learn.adafruit.com/running-pyportal-code-on-blinka-with-displayio Page 7 of 19
Page 7
Using a 3.5" PiTFT
If you want to use a 3.5" PiTFT, then you will need to do a little extra work. First, you'll need to install the HX8357
library. You can do that by using the following comand:
pip3 install adafruit-circuitpython-hx8357
Next you'll need to initialize the display at the beginning of the example and pass it into the initializer. We'll go over
that on the Running Examples page.
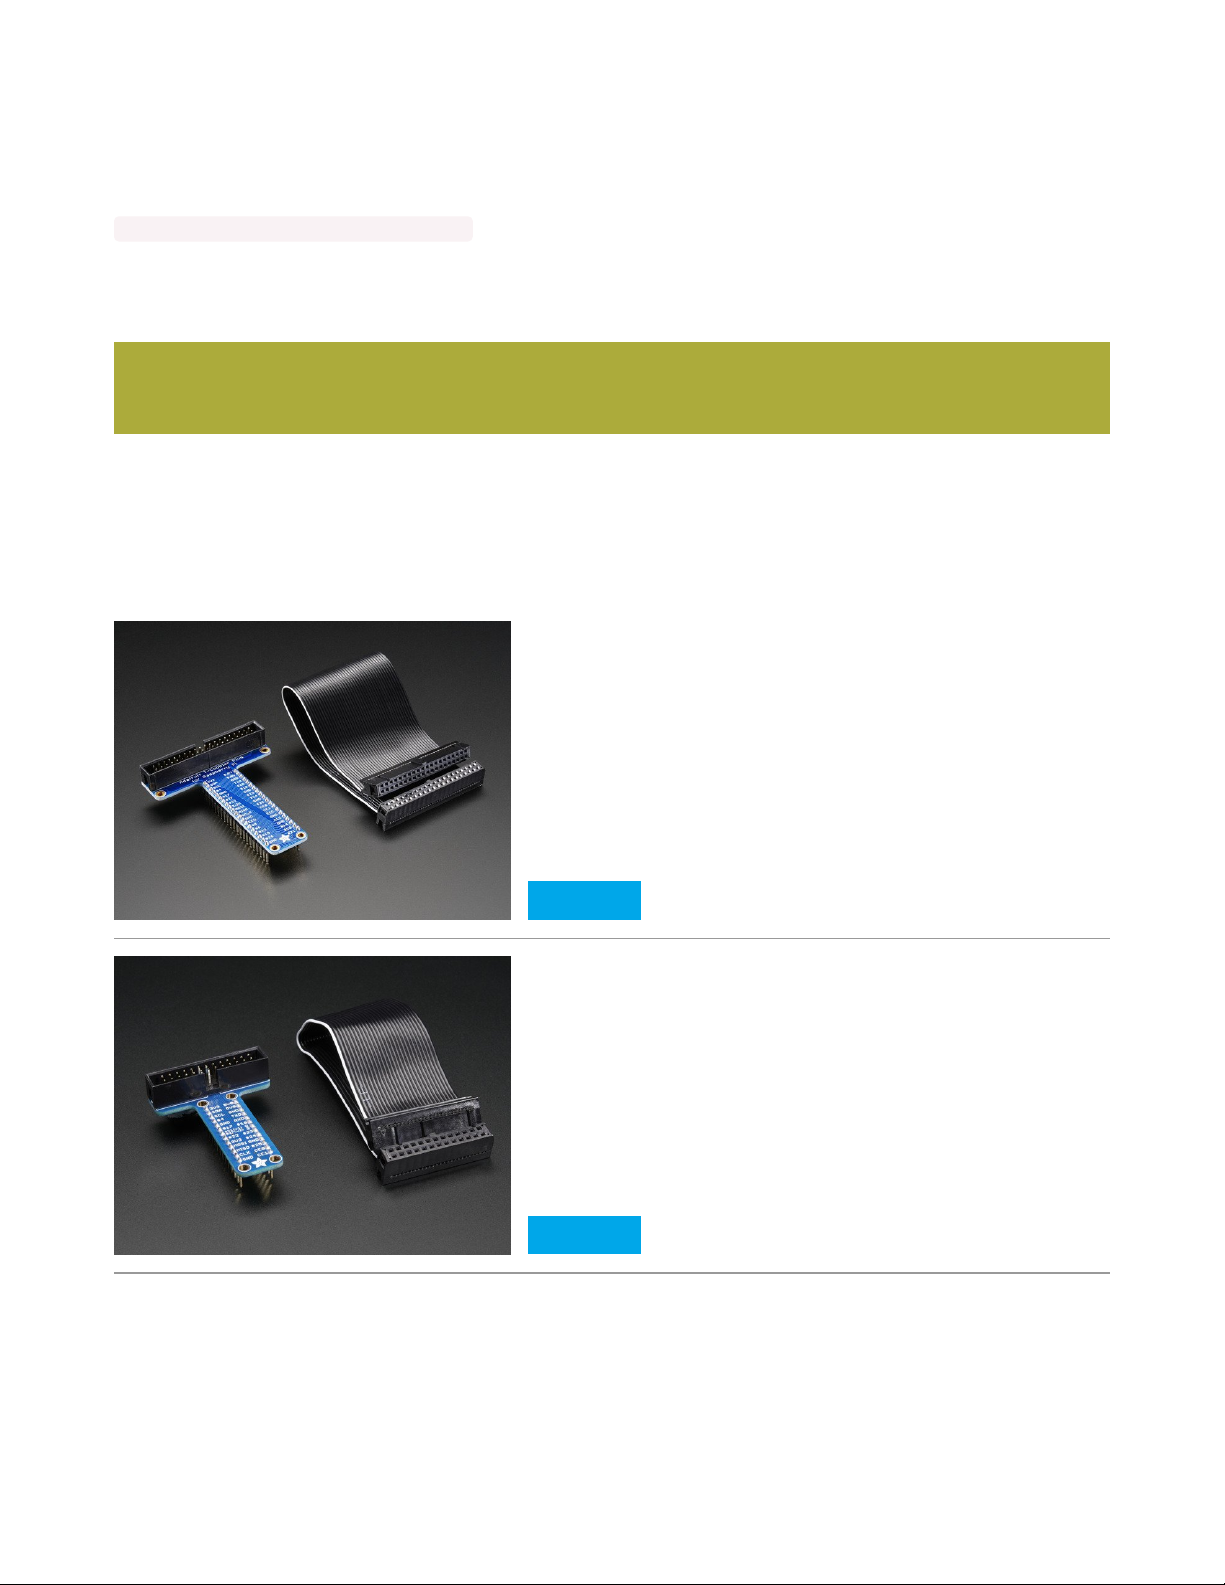
Connecting More Sensors
Most of the PiTFT hats either have a 40-pin or a 26-pin connector on the back that allows you to connect more
sensors. We also conveniently have both 40-pin and 26-pin versions of the Pi cobbler that will connect to the back of
the panel so that you can hook up more sensors.
If you are using the 3.5" PiTFT, keep in mind that the display's resolution is higher than what examples were
written for, so things may appear a little off.
Assembled Pi T-Cobbler Plus - GPIO Breakout
$7.95
IN STOCK
Add To Cart
Adafruit Assembled Pi T-Cobbler Breakout for Raspberry Pi
$6.95
IN STOCK
Add To Cart
© Adafruit Industries https://learn.adafruit.com/running-pyportal-code-on-blinka-with-displayio Page 8 of 19
Page 8

FT232H
Setup
Using the FT232H for running the PyPortal examples will require 3 main components. You will need the FT232H itself
and a TFT display such as the 2.8" ILI9341 touchscreen breakout.
The first thing you will need to do is be sure the solderable jumpers on the back of the TFT breakout is setup to use
SPI. By default, all of these breakouts are configured to use 8-bit data mode and some soldering will be required.
For the 2.4" TFT, you will want to visit the 2.4" TFT SPI Wiring and Test (https://adafru.it/EFP) page.
For the 2.8" and 3.2" TFT, you will want to visit the 2.8" and 3.2" TFT SPI Wiring and Test (https://adafru.it/MbP)
page.
For the 3.5" TFT, you will want to visit the 3.5" TFT SPI Wiring and Test (https://adafru.it/FxS) page.
Wiring
5V on the FT232H connects to Vin on the TFT
GND on the FT232H connects to GND on the TFT
D0 on the FT232H connects to CLK on the TFT
D1 on the FT232H connects to MOSI on the TFT
D4 on the FT232H connects to CS on the TFT
D5 on the FT232H connects to D/C on the TFT
D6 on the FT232H connects to RST on the TFT
Adafruit FT232H Breakout - General Purpose USB to GPIO,
SPI, I2C
$14.95
IN STOCK
Add To Cart
The pinouts for each of the TFT display breakouts is about the same, so you can use this diagram for all of
them.
© Adafruit Industries https://learn.adafruit.com/running-pyportal-code-on-blinka-with-displayio Page 9 of 19
Page 9

https://adafru.it/MbQ
https://adafru.it/MbQ
Software Setup
To run the Examples off your Mac, Windows, or Linux computer, first you'll need to be sure that you have your
computer set up to run Blinka. You can find more information on getting your computer set up in our CircuitPython
Libraries on any Computer with FT232H (https://adafru.it/FWD) guide.
Additionally, you will also need PIL and NumPy. Since the installation procedure can vary from system to system, we
linked to each package's installation instructions.
Pillow/PIL
This is the Python Imaging Library which is used to render the plots onto bitmaps that can be sent to the TFT display.
Install instructions are here:
https://adafru.it/FUT
https://adafru.it/FUT
NumPy
This is the Numerical Python library and is an open source Python library that’s the universal standard for working with
numerical data in Python, and it’s at the core of the scientific Python and PyData ecosystems. This is used to quickly
process graphical data so that it can be sent to the display efficiently.
https://adafru.it/MbR
https://adafru.it/MbR
Install the PyPortal Library
You'll next want to install the Blinka PyPortal library. Installing this library will also install all of the dependencies, so it's
really easy to setup. Just run the following command:
pip3 install adafruit-blinka-pyportal
© Adafruit Industries https://learn.adafruit.com/running-pyportal-code-on-blinka-with-displayio Page 10 of 19
Page 10

Running Examples
The included examples are all ports from previous projects for the PyPortal with associated learn guides. To use each
of the examples, you will want to either go to the original Learn Guide click Download Project Zip or go to the original
Project Files on GitHub.
While there are other examples besides the ones listed on this page, some of them make use of the some of the
onboard sensors such as the light or temperature sensor, which is not present by default on the Pi. However, if you
have a PiTFT with additional pins on the back, you could use a 26-pin or 40-pin Pi-Cobbler and connect additional
sensors too.
If you are using an FT232H, you could may wire up some additional sensors to this board on some unused GPIO pins,
though since the I2C pins are shared with the SPI pins, you won't be able to run and use I2C devices at the same time.
The following examples have been modified to work with the Raspberry Pi, which has a Linux Operating System and
no built-in NeoPixel.
Secrets File
To run the examples, you will need to setup a secrets.py file in your script folder. You can copy it below if you don't
already have one. Note that unlike the original PyPortal secrets file, you don't need to add your WiFi connection
information because your board should already be on the internet.
# This file is where you keep secret settings, passwords, and tokens!
# If you put them in the code you risk committing that info or sharing it
secrets = {
'timezone' : "America/New_York", # http://worldtimeapi.org/timezones
'github_token' : 'fawfj23rakjnfawiefa',
'hackaday_token' : 'h4xx0rs3kret',
'openweather_token' : 'xxxxxxxxxxxxxxxxxxxxxxxx',
}
PyPortal Startup Image and Sound
The PyPortal library looks to see if the PyPortal Startup Image and Wav file are in the folder that you are running the
example from and plays them if they are there. You can download those here if you don't already have a copy. Be sure
they are named pyportal_startup.bmp and pyportal_startup.wav.
Before running these examples, be sure your Single Board Computer is connected to the internet, since a
connection is required.
© Adafruit Industries https://learn.adafruit.com/running-pyportal-code-on-blinka-with-displayio Page 11 of 19
Page 11

https://adafru.it/MbS
https://adafru.it/MbS
When you start up each example, you should see the startup image displayed briefly and a hear sound played:
Script changes for the 3.5" HX8357 TFT Display
To use the HX8357 display, we'll need to declare the display object in the example and pass it in since there's no way
to detect which display is being used. In fact, it's likely that without modifying the code, the example would still run in a
portion of the display with the unused part appearing as random noise.
The first thing you will need to add is some code to setup the display.
If you are using the 3.5" PiTFT, keep in mind that the display's resolution is higher than what examples were
written for, so things may appear a little off.
© Adafruit Industries https://learn.adafruit.com/running-pyportal-code-on-blinka-with-displayio Page 12 of 19
Page 12

# Setup the Display
import board
import displayio
import adafruit_hx8357
displayio.release_displays()
spi = board.SPI()
tft_cs = board.CE0
tft_dc = board.D25
display_bus = displayio.FourWire(spi, command=tft_dc, chip_select=tft_cs)
display = adafruit_hx8357.HX8357(display_bus, width=480, height=320, backlight_pin=board.D18)
The other thing you will need to change is to pass in the already initialized display as an additional parameter to the
PyPortal Initialization Function. So we will change this line:
pyportal = PyPortal(
to this:
pyportal = PyPortal(
display=display,
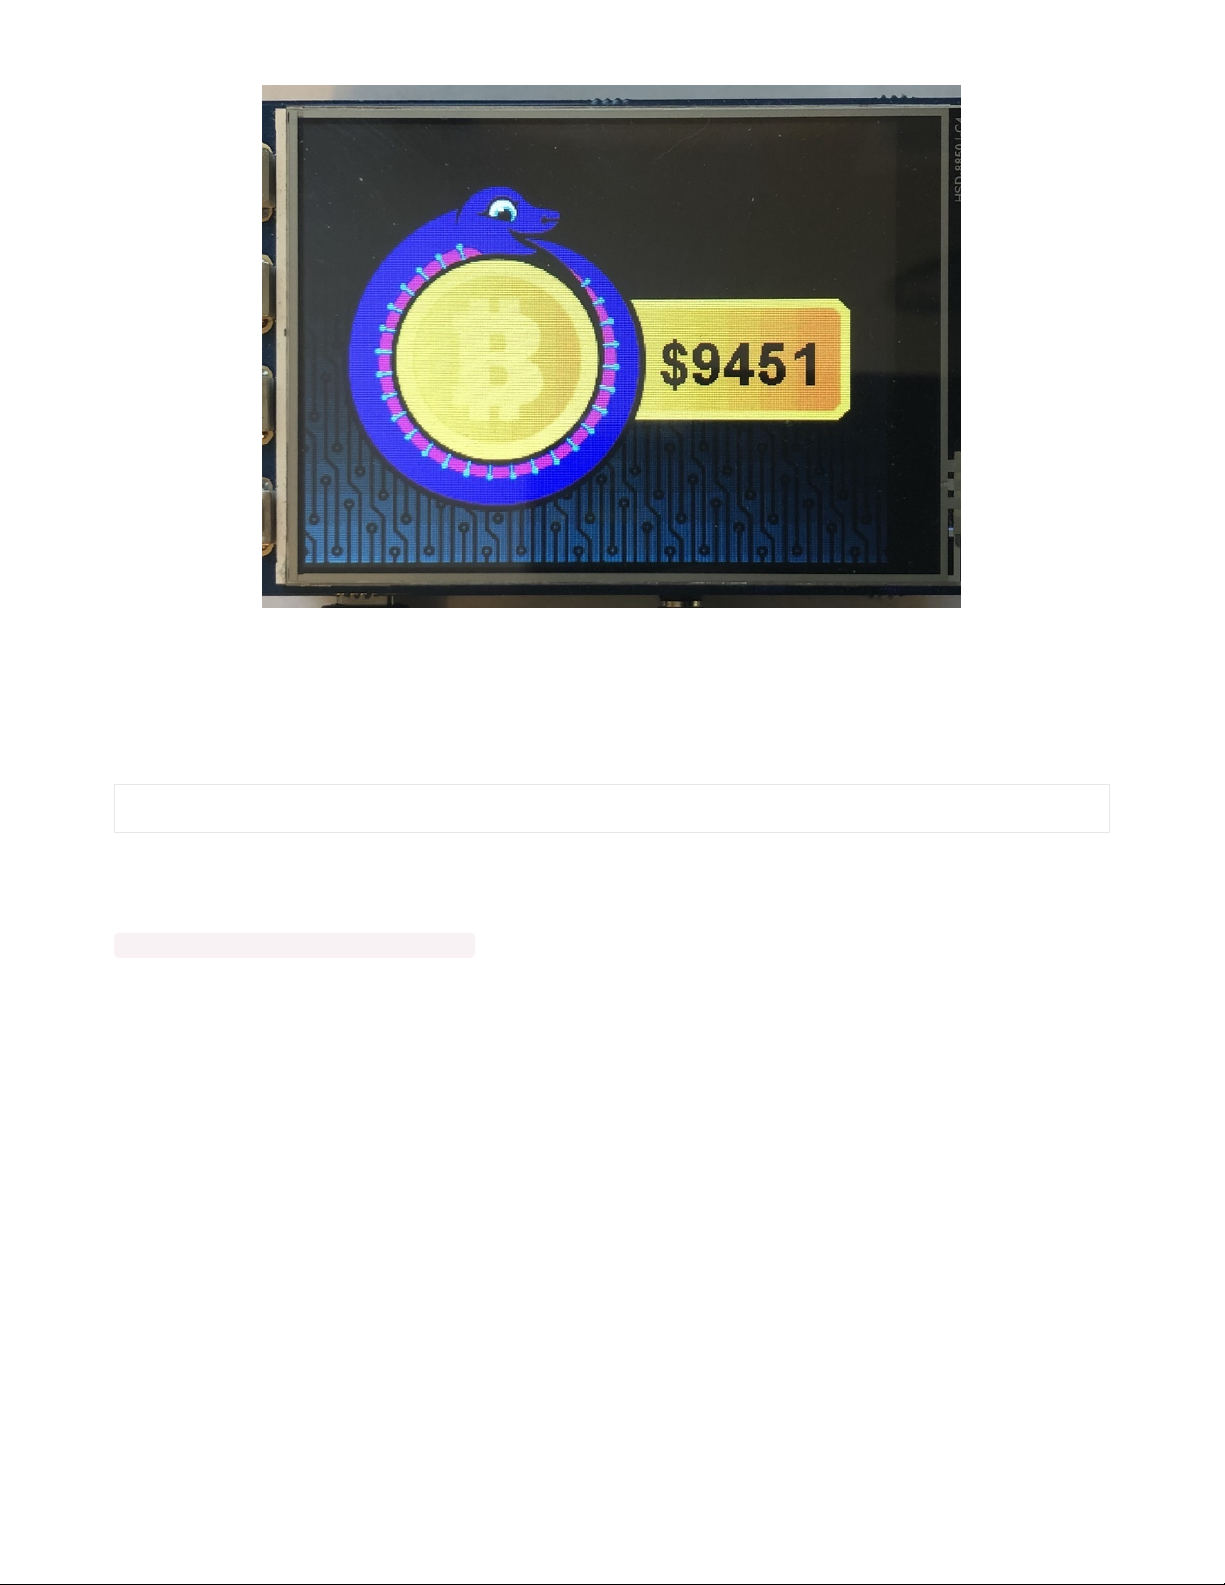
Bitcoin Example
The first example is the Bitcoin Price Display. This gets the current bitcoin value and displays it on the screen. You can
get the resources for this example from the original PyPortal Bitcoin Example (https://adafru.it/MbT) or from the original
Learn Guide (https://adafru.it/Euy).
Temporarily unable to load content:
Upload the secrets file, background image, font folder and the above example code to your Pi. If you are using a 3.5"
display, be sure to make the necessary changes as well. After that, run the code:
python3 adafruit_blinka_pyportal_bitcoin.py
You should see something similar to the following:
If you see "AttributeError: module 'board' has no attribute 'NEOPIXEL'", make sure you are using the
examples below rather than the original examples from the guides.
© Adafruit Industries https://learn.adafruit.com/running-pyportal-code-on-blinka-with-displayio Page 13 of 19
Page 13
NASA Image Example
The next example is the Image of the Day from NASA. This will get the current NASA image URL, download the image,
resize it, and display it on the screen. You can get the resources for this example from the original PyPortal NASA
Example (https://adafru.it/MbU) or from the original Learn Guide (https://adafru.it/Eus).
Temporarily unable to load content:
Upload the secrets file, background image, font folder and the above example code to your Pi. If you are using a 3.5"
display, be sure to make the necessary changes as well. After that, run the code:
python3 adafruit_blinka_pyportal_nasa.py
You should see the following background appear first:
© Adafruit Industries https://learn.adafruit.com/running-pyportal-code-on-blinka-with-displayio Page 14 of 19
Page 14

Following that, it should download and display an image similar to this:
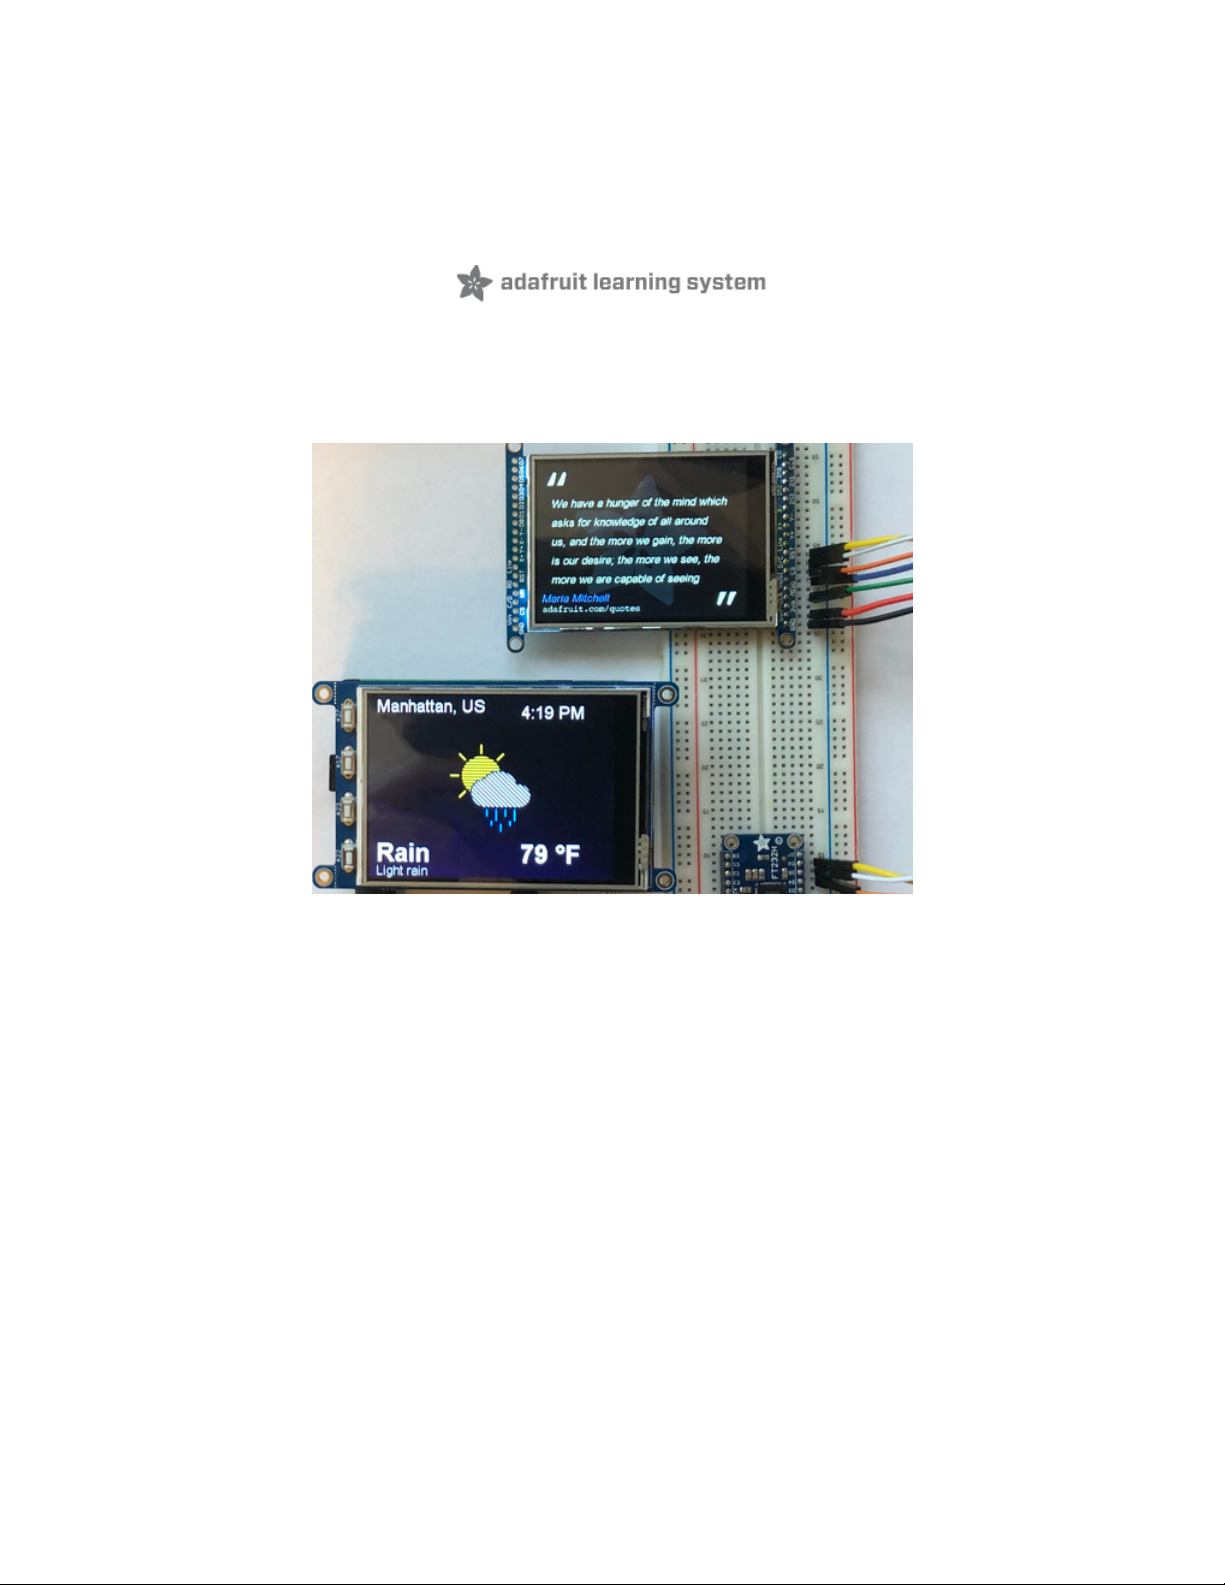
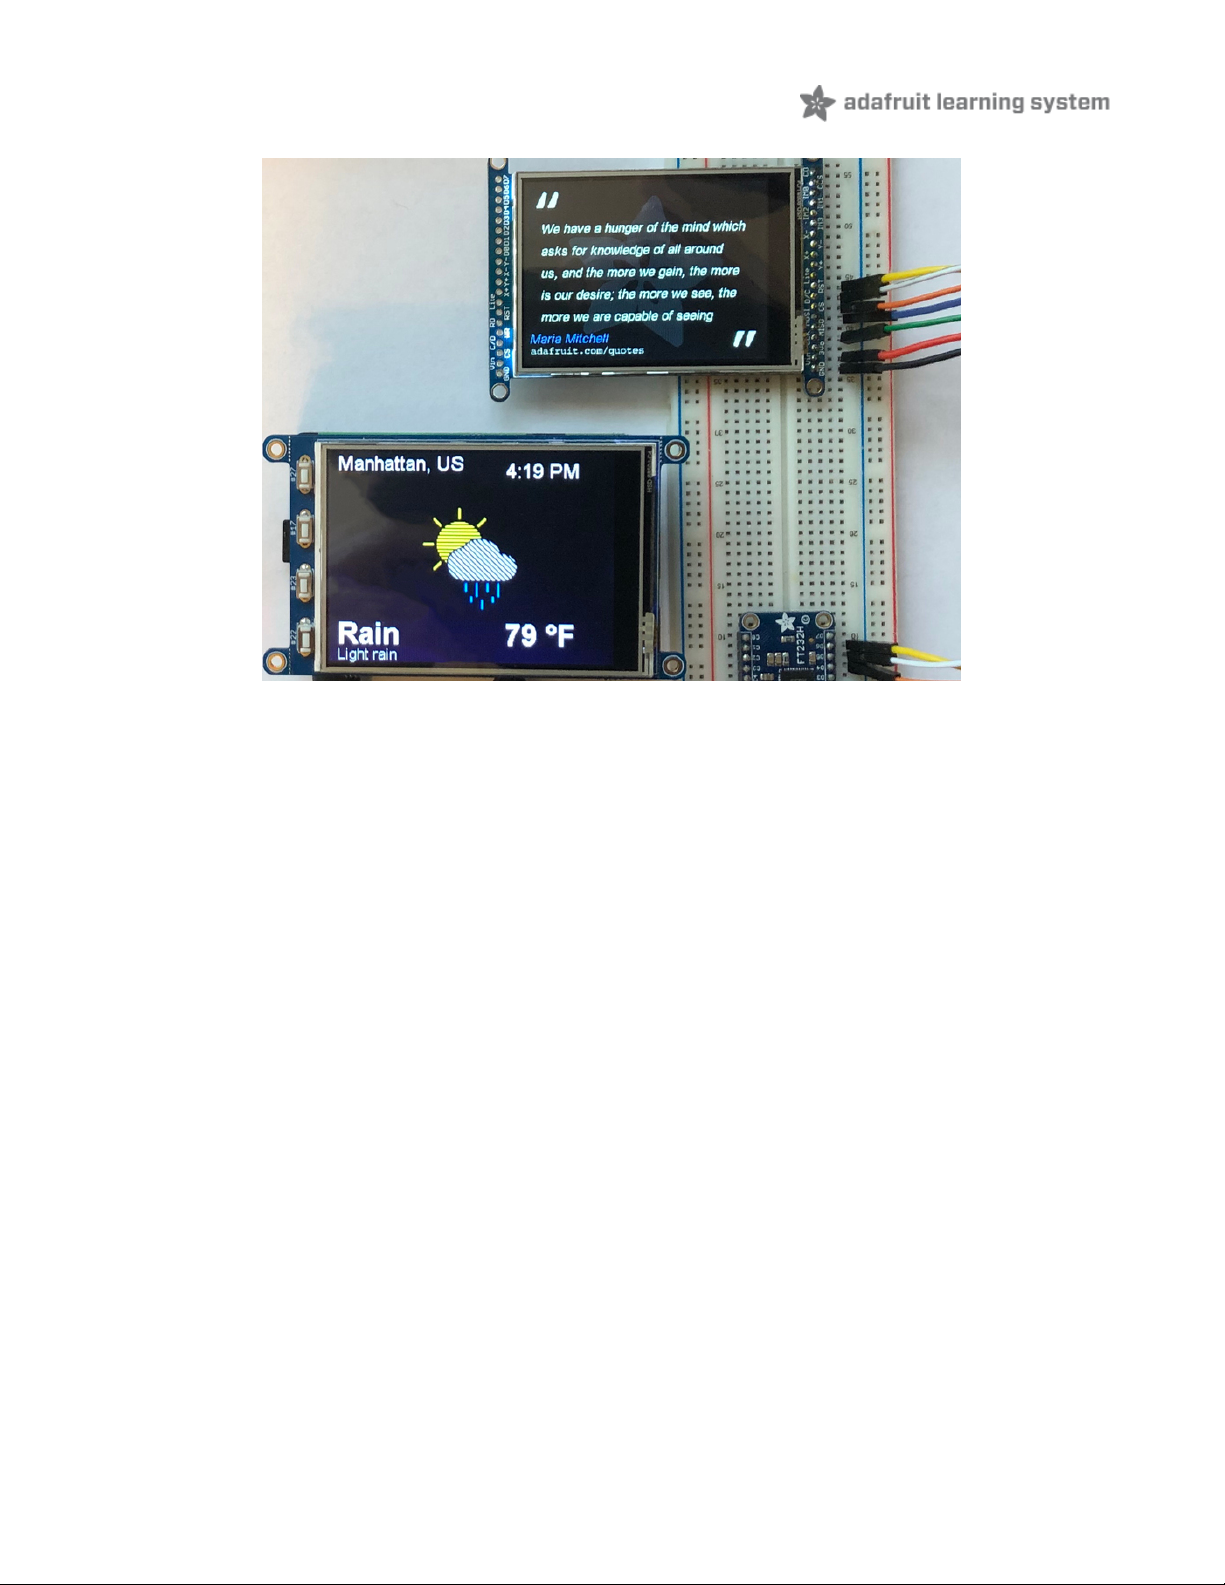
Quote Example
The next example is the Adafruit Quote display. This will go out and fetch a random quote from the Adafruit website
and display it on the screen. You can get the resources for this example from the original PyPortal Quote
Example (https://adafru.it/MbV) or from the original Learn Guide (https://adafru.it/EfD).
Temporarily unable to load content:
© Adafruit Industries https://learn.adafruit.com/running-pyportal-code-on-blinka-with-displayio Page 15 of 19
Page 15
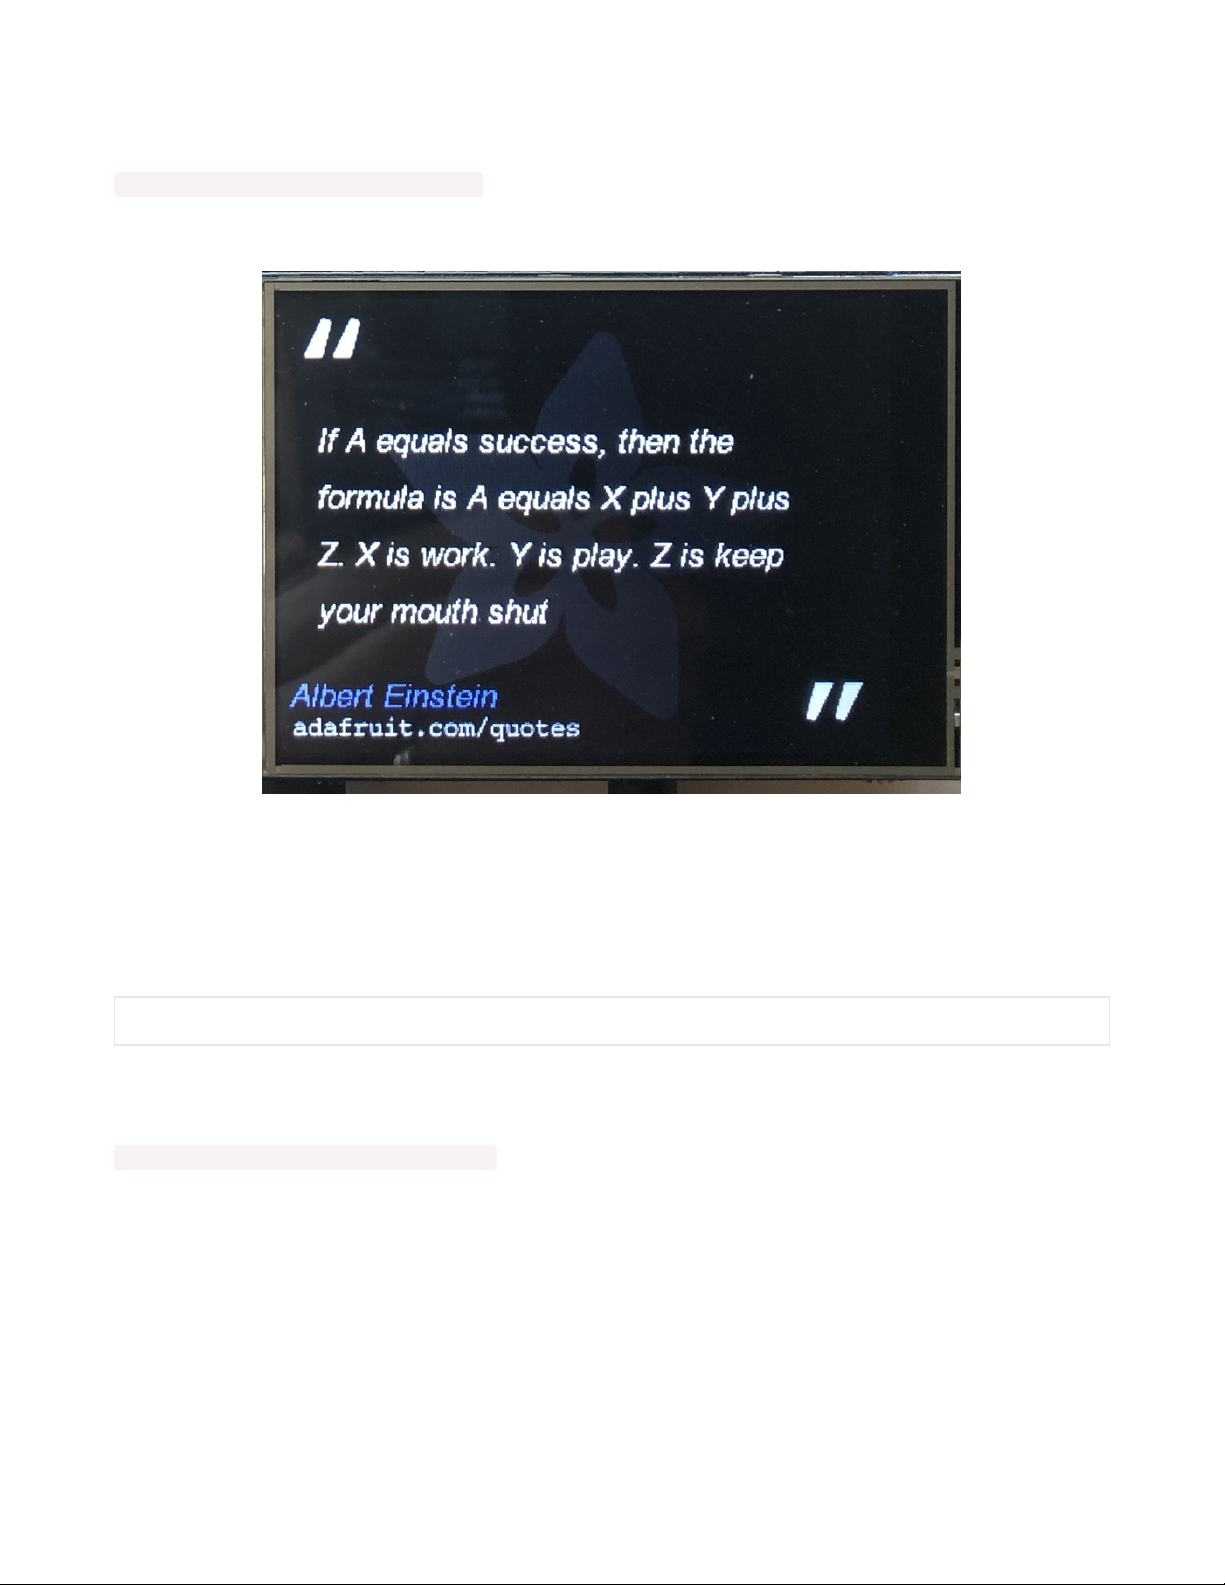
Upload the secrets file, background image, font folder and the above example code to your Pi. If you are using a 3.5"
display, be sure to make the necessary changes as well. After that, run the code:
python3 adafruit_blinka_pyportal_quote.py
You should see something similar to the following:
Discord Counter Example
The next example is the Adafruit Discord Online Counter display. This will go out and find the number of people
currently online using the Adafruit Discord Server and display it on the screen. You can get the resources for this
example from the original PyPortal Discord Example (https://adafru.it/MbW) or from the original Learn
Guide (https://adafru.it/Euv).
Temporarily unable to load content:
Upload the secrets file, background image, font folder and the above example code to your Pi. If you are using a 3.5"
display, be sure to make the necessary changes as well. After that, run the code:
python3 adafruit_blinka_pyportal_discord.py
You should see something similar to the following:
© Adafruit Industries https://learn.adafruit.com/running-pyportal-code-on-blinka-with-displayio Page 16 of 19
Page 16

Open Weather Example
The last example is the Open Weather display. This will go out and find the weather conditions for the location that you
have set and display it on the screen. This example is a little bit more complicated than the other examples. You can
get the resources for this example from the original PyPortal Open Weather Example (https://adafru.it/MbX) or from the
original Learn Guide (https://adafru.it/LRF).
For this example, you will need to go to this link (https://adafru.it/EeH) and register for a free account. Once registered,
you'll get an email containing your API key, also known as the "openweather token". Edit your secrets.py file and add
the token into there.
Look for this line and be sure to change the LOCATION variable to your location:
# Use cityname, country code where countrycode is ISO3166 format.
# E.g. "New York, US" or "London, GB"
LOCATION = "Manhattan, US"
For this example, you will need 2 files. The main file:
Temporarily unable to load content:
And the Graphics handling file:
Temporarily unable to load content:
Upload the updated secrets file, background image, font folder, icons folder and the above example files to your Pi. If
you are using a 3.5" display, be sure to make the necessary changes as well. After that, run the code:
python3 adafruit_blinka_pyportal_openweather.py
© Adafruit Industries https://learn.adafruit.com/running-pyportal-code-on-blinka-with-displayio Page 17 of 19
Page 17

You should see something similar to the following:
© Adafruit Industries https://learn.adafruit.com/running-pyportal-code-on-blinka-with-displayio Page 18 of 19
Page 18

© Adafruit Industries Last Updated: 2020-10-20 02:25:10 PM EDT Page 19 of 19
 Loading...