

Page 1

Make a Pi Trash Classifier with Machine Learning and Lobe
Created by Jen Fox
Last updated on 2020-11-18 06:09:13 PM EST
Page 2

Overview
The Trash Classifier project, affectionately known as "Where does it go?!", is designed to make throwing
things away faster and more reliable.
This project uses a Machine Learning (ML) model trained in Lobe (https://adafru.it/Ocx), a beginner-friendly
(no code!) ML model builder, to identify whether an object goes in the garbage, recycling, compost, or
hazardous waste. The ML model is loaded onto a Raspberry Pi computer to make it usable wherever you
might find rubbish bins!
This tutorial walks you how to create your own Trash Classifier project on a Raspberry Pi from a Lobe
TensorFlow Lite model in Python3.
Difficulty: Beginner++ (some knowledge w/ circuits and coding is helpful)
Read Time: 10 min
Build Time: 60 - 90 min
© Adafruit Industries https://learn.adafruit.com/lobe-trash-classifier-machine-learning Page 3 of 26
Page 3
Tools and Materials
Hardware
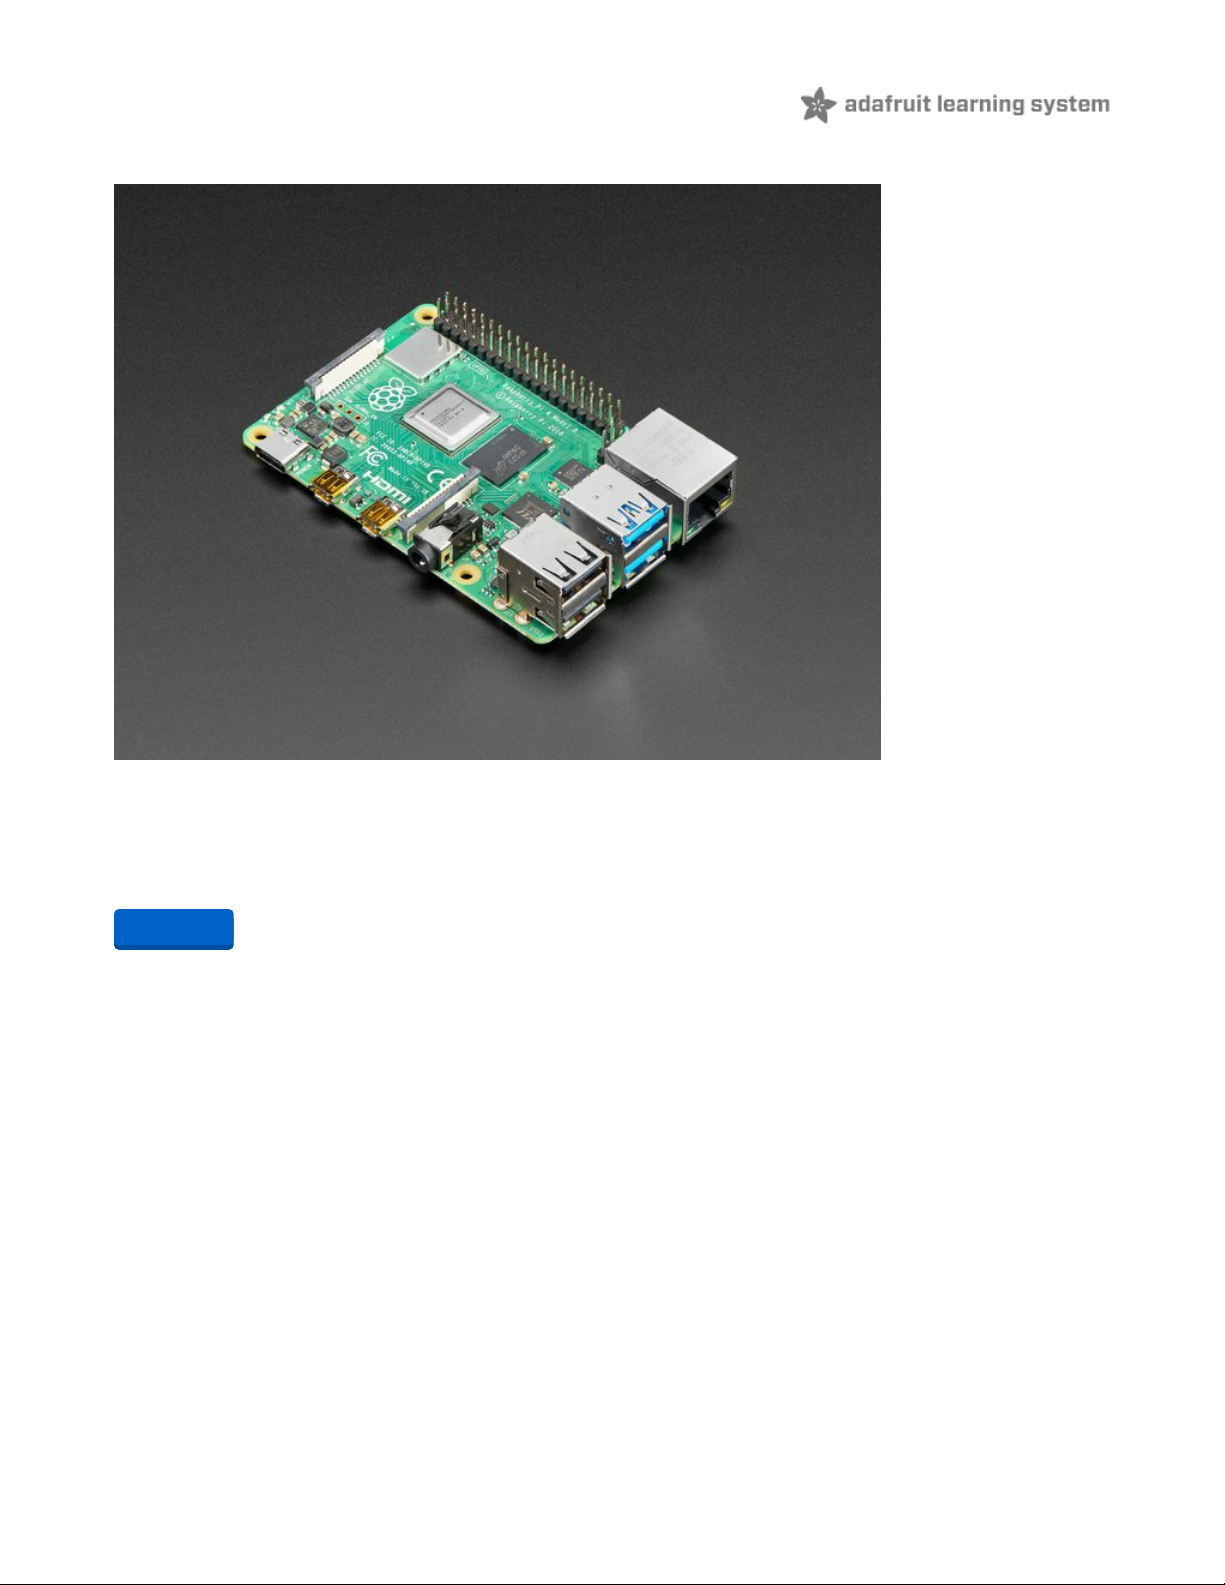
Raspberry Pi 4 Model B - 2 GB RAM
The Raspberry Pi 4 Model B is the newest Raspberry Pi computer made, and the Pi Foundation knows you
can always make a good thing better! And what could make the Pi 4 better...
$35.00
In Stock
Add to Cart
© Adafruit Industries https://learn.adafruit.com/lobe-trash-classifier-machine-learning Page 4 of 26
Page 4
Raspberry Pi Camera Board v2 - 8 Megapixels
Snap, snap! The Camera v2 is the new official camera board released by the Raspberry Pi Foundation!The
Raspberry Pi Camera Board v2 is a high quality 8...
$29.95
In Stock
Add to Cart
© Adafruit Industries https://learn.adafruit.com/lobe-trash-classifier-machine-learning Page 5 of 26
Page 5
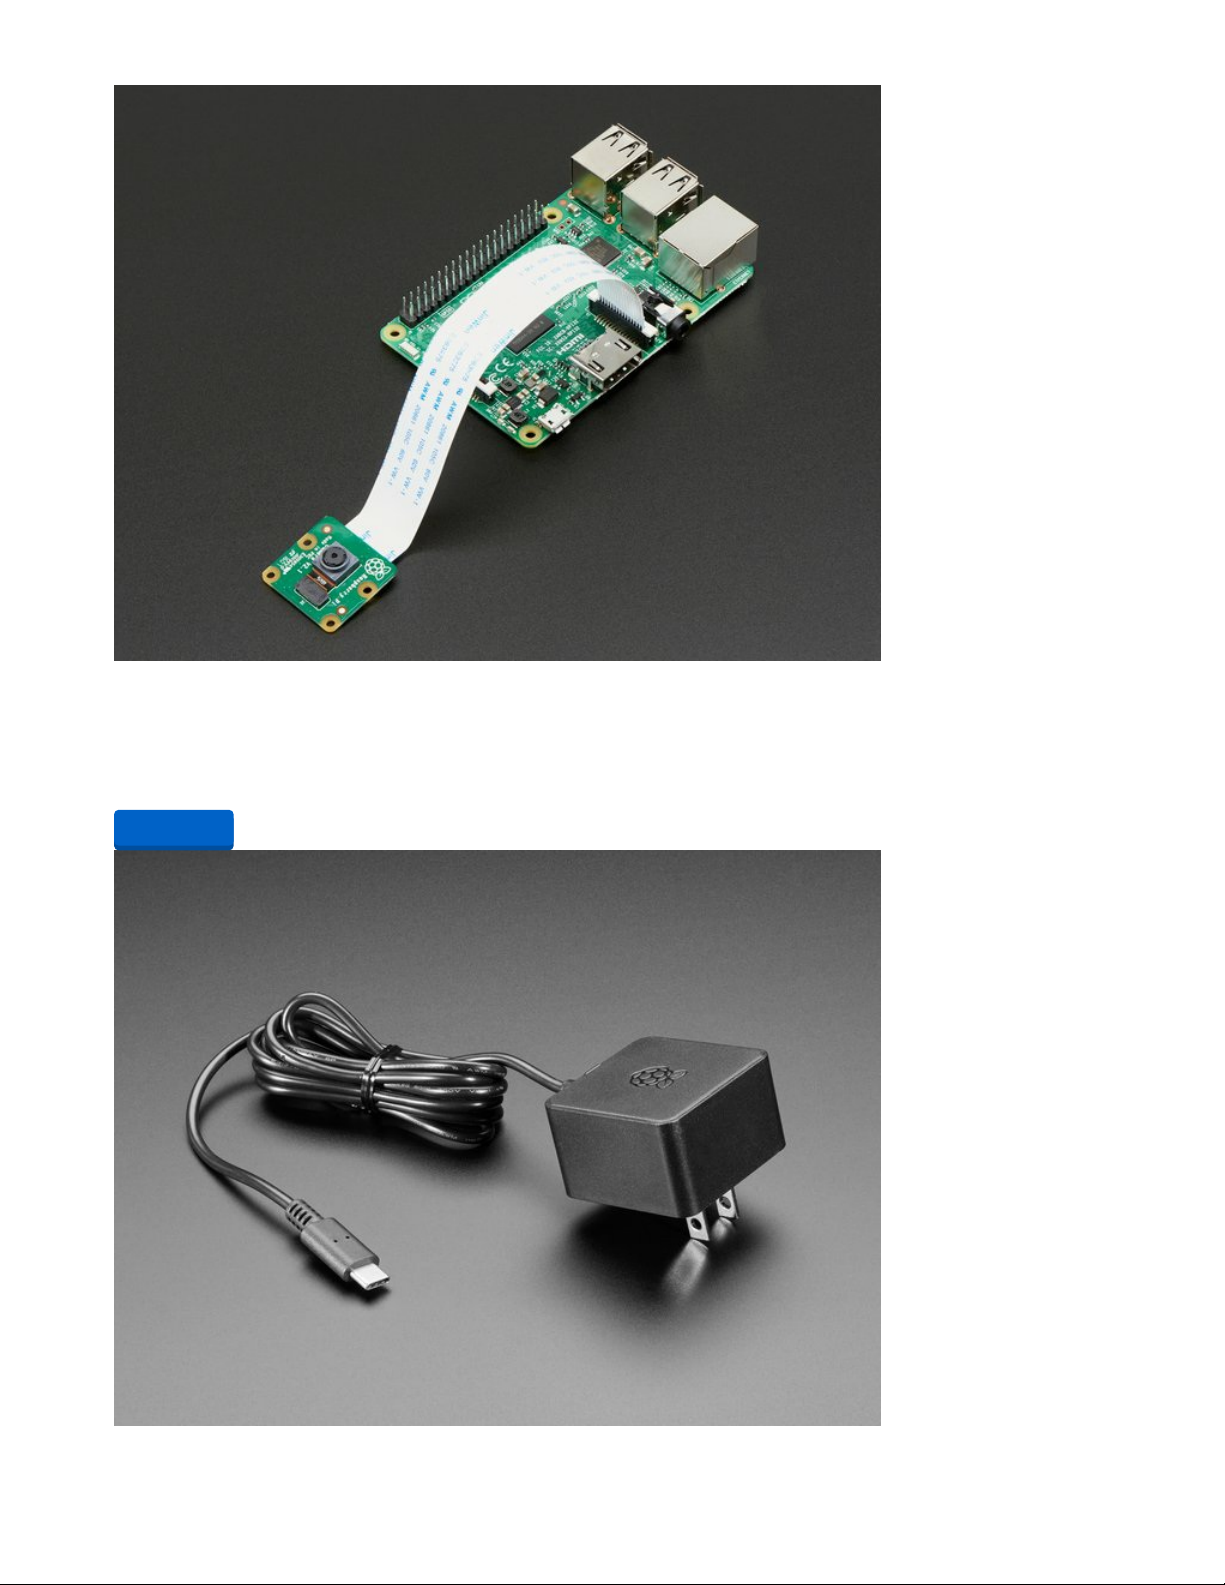
Official Raspberry Pi Power Supply 5.1V 3A with USB C
The official Raspberry Pi USB-C power supply is here! And of course, we have 'em in classic Adafruit
black! Super fast with just the right amount of cable length to get your Pi 4...
$7.95
In Stock
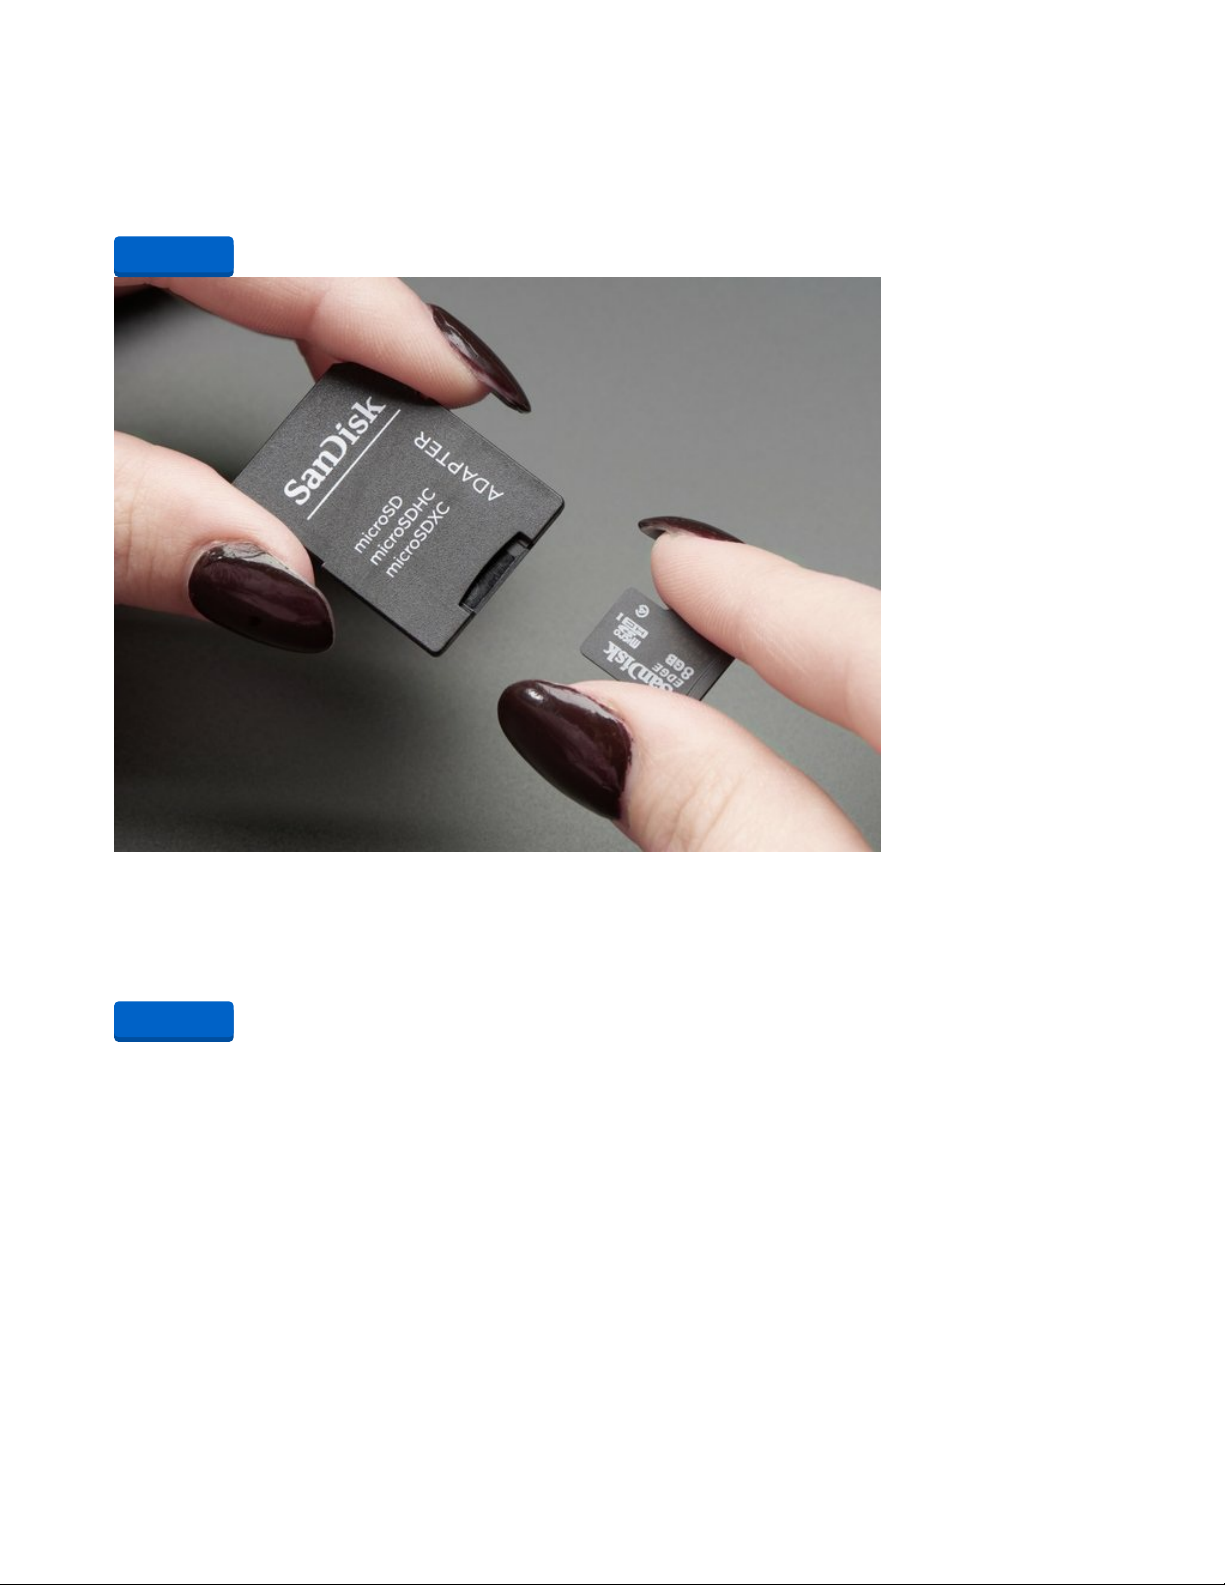
SD/MicroSD Memory Card (8 GB SDHC)
Add mega-storage in a jiffy using this 8 GB class 4 micro-SD card. It comes with a SD adapter so you can
use it with any of our shields or adapters. Preformatted to FAT so it works out...
$9.95
In Stock
Add to Cart
Add to Cart
© Adafruit Industries https://learn.adafruit.com/lobe-trash-classifier-machine-learning Page 6 of 26
Page 6
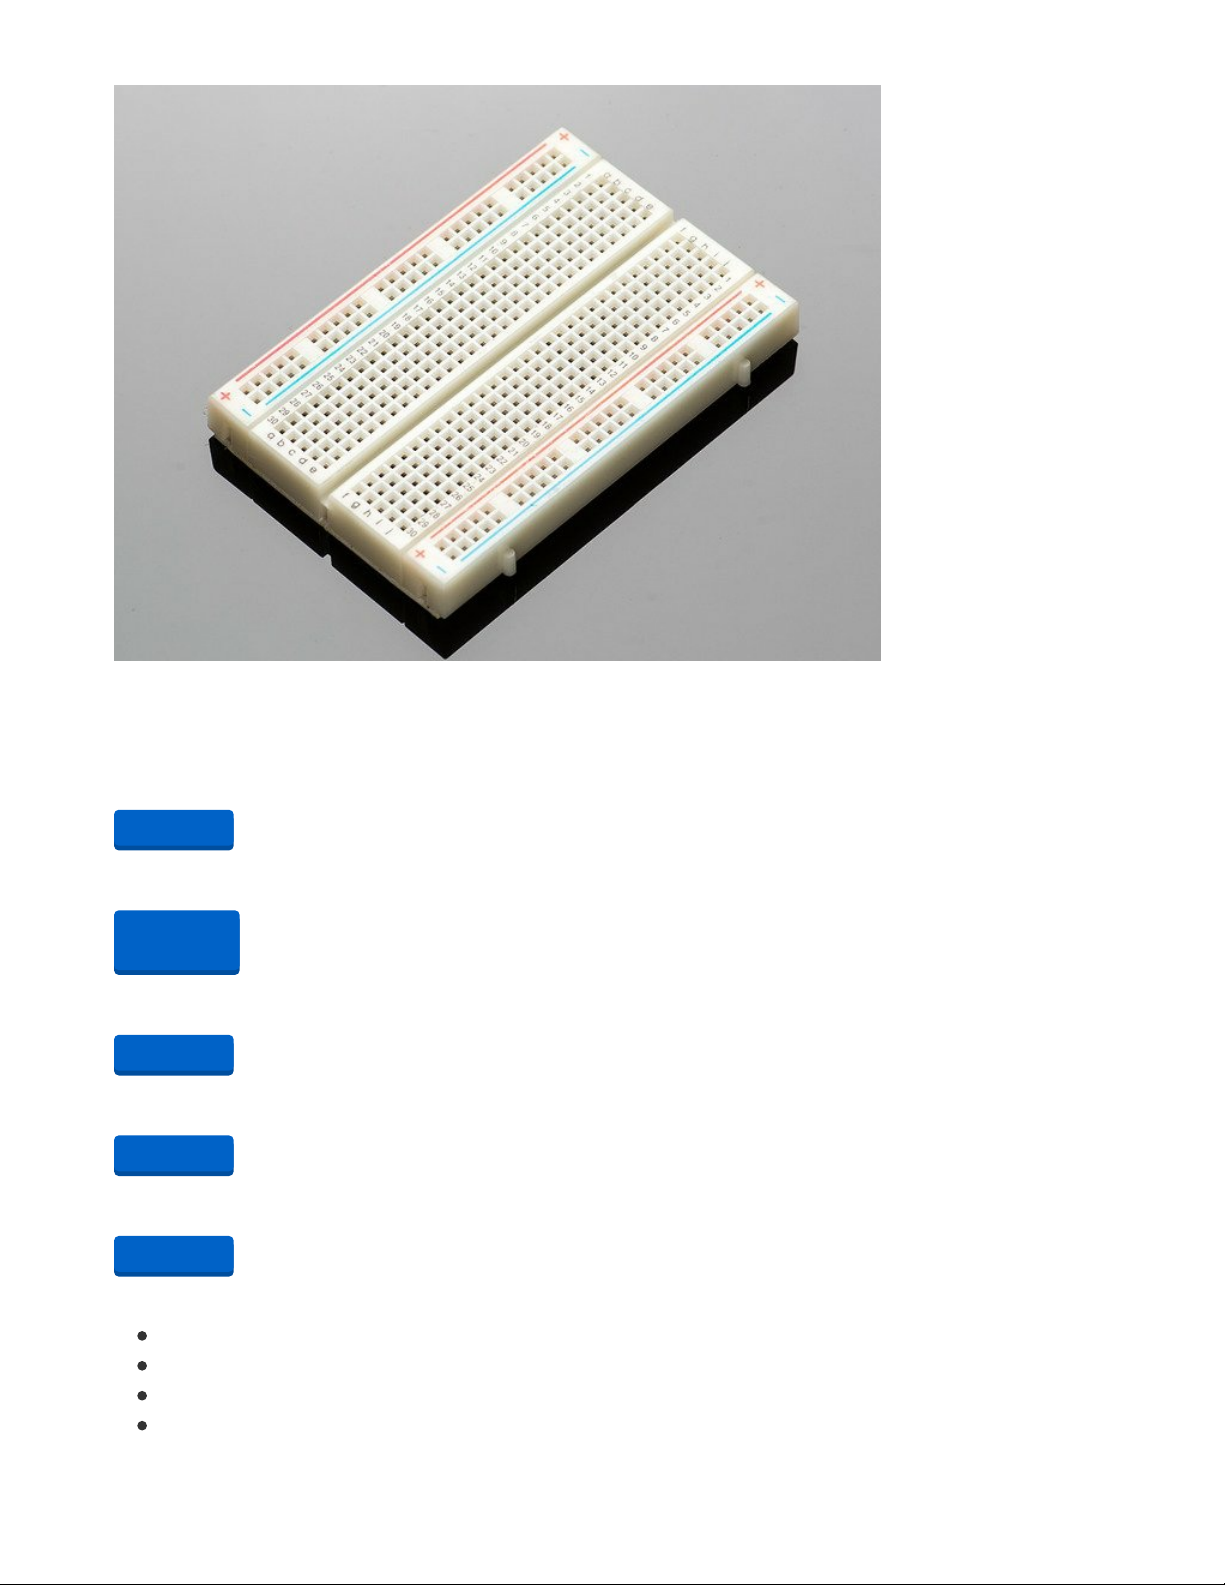
Half-size breadboard
This is a cute half size breadboard, good for small projects. It's 2.2" x 3.4" (5.5 cm x 8.5 cm) with a
standard double-strip in the middle and two power rails on both...
$5.00
In Stock
1 x Pushbutton
On/Off
1 x LEDs
4 indicator LEDs, 1 status LED (5 total)
1 x 220 Ohm Resistors
Need 6 of 25
1 x Jumper wires
Male-Male
If you choose to solder:
1 JST connector (https://adafru.it/drM), female end only
2 M-to-F jumper wires (https://adafru.it/OcC)
10 F-to-F jumper wires (https://adafru.it/OcD)
Heat Shrink Tubing (https://adafru.it/OcE)
Add to Cart
Out of
Stock
Add to Cart
Add to Cart
Add to Cart
© Adafruit Industries https://learn.adafruit.com/lobe-trash-classifier-machine-learning Page 7 of 26
Page 7
PCB - Half Perma Proto Board (https://adafru.it/eni)
Enclosure
Project case (e.g. cardboard, wood, or plastic box, approx. 6" x 5" x 4")
0.5" x 0.5" (2cm x 2cm) clear plastic square
E.g. from a plastic food container lid
Velcro
Tools
Wire cutters (https://adafru.it/dxQ)
Soldering iron (https://adafru.it/Clg)
Helping Hands (https://adafru.it/dxR) (optional)
Precision knife (e.g. exacto knife) and cutting mat
Hot melt tool (or other non-conductive glue -- epoxy works great but is permanent)
Software (PC-side)
Lobe (https://adafru.it/Ocx)
WinSCP (https://adafru.it/OcF) (or other SSH file transfer method, can use
CyberDuck (https://adafru.it/OcG) for Mac)
Terminal
Remote Desktop Connection or RealVNC
© Adafruit Industries https://learn.adafruit.com/lobe-trash-classifier-machine-learning Page 8 of 26
Page 8
Before Starting
This project assumes you're starting with a fully set-up Raspberry Pi in a headless configuration. Here's a
beginner-friendly guide on how to do this. (https://adafru.it/OcH)
It also helps to have some knowledge of the following:
1. Familiarity with the Raspberry Pi
Here's a handy getting started guide! (https://adafru.it/OcI)
Also helpful: Getting started with the Pi camera (https://adafru.it/OcJ)
2. Reading and editing Python code (you won't need to write a program from scratch, just edit)
Introduction to Python with the Raspberry Pi (https://adafru.it/OcK)
3. Reading Fritzing wiring diagrams
4. Using a breadboard
Breadboards for beginners guide (https://adafru.it/OcL)
Find out where your trash goes
Each city across the US (and I would assume the globe) has its own garbage/recycling/compost/etc.
collection system. This means that to make an accurate trash classifier, we'll need to 1) build a custom ML
model (we'll cover this in the next step -- no code!) and 2) know where each piece of trash goes.
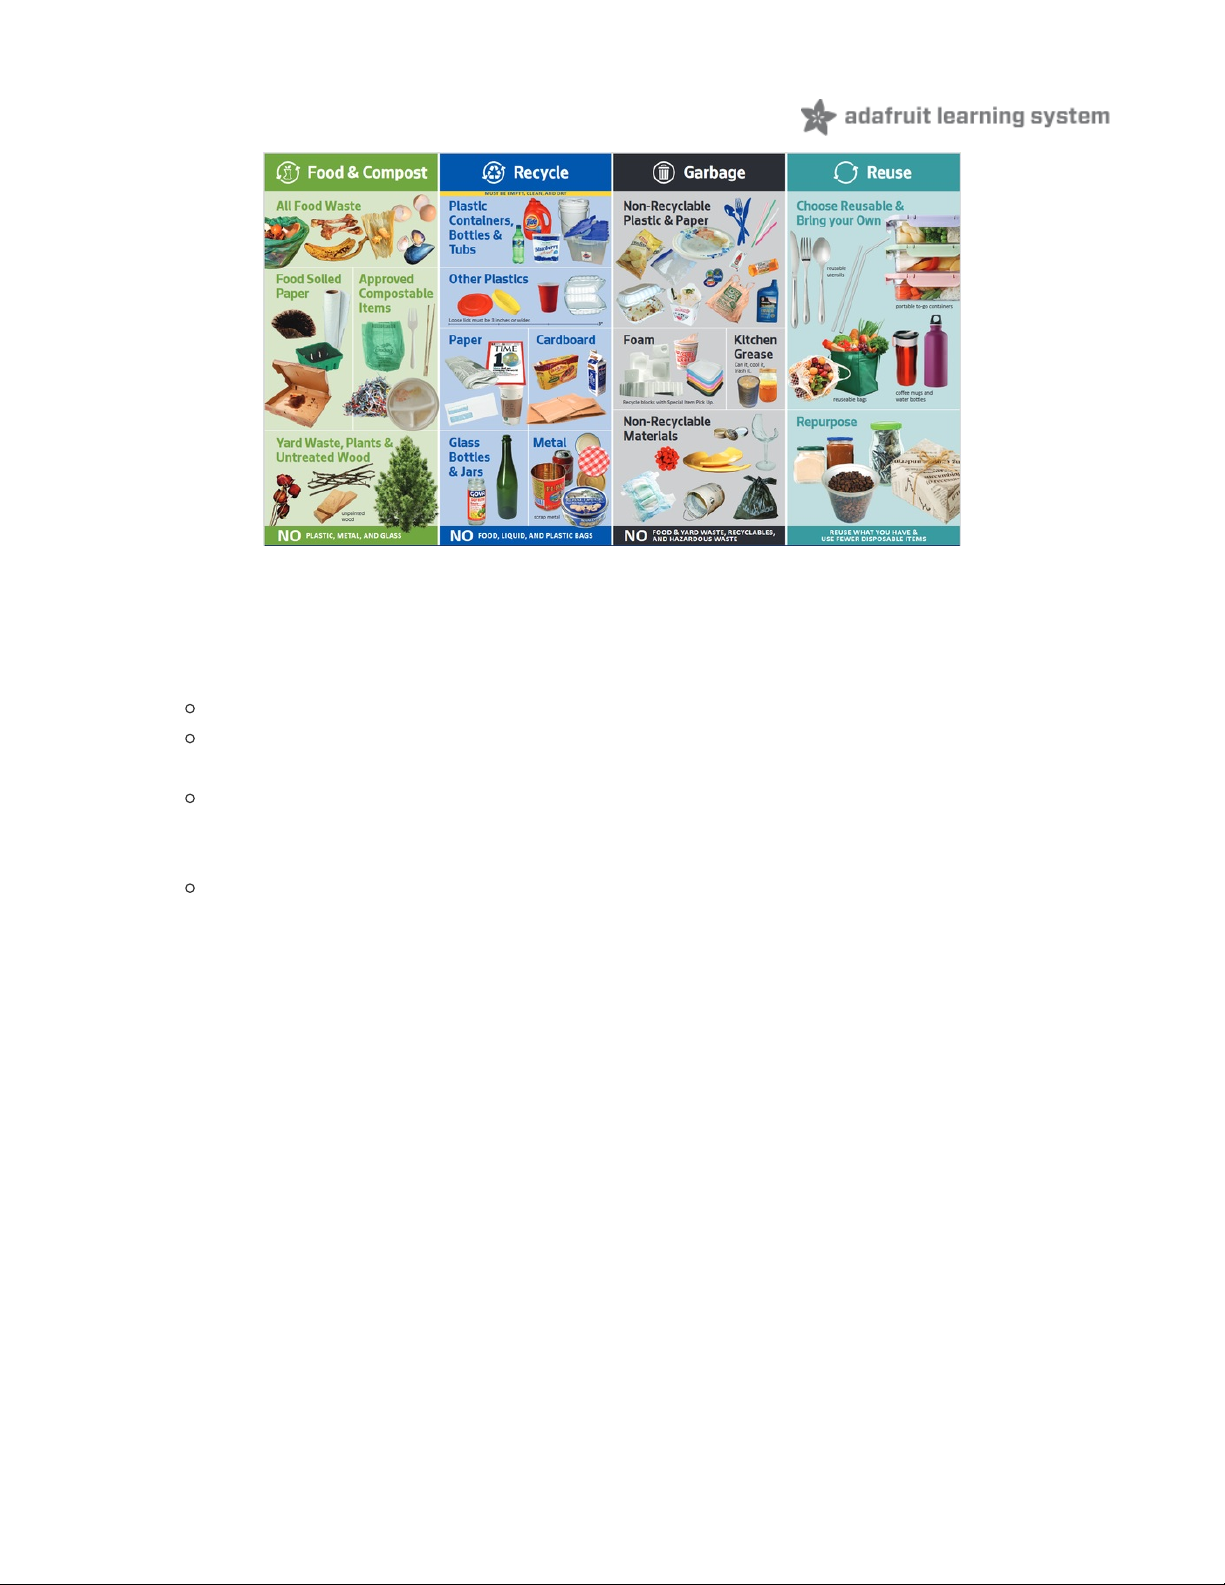
Since I didn't always know the proper bin for each item I used to train my model, I used the Seattle Utilities
flyer shown above, and also this handy "Where does it go?" lookup tool (https://adafru.it/OcM) for the city
of Seattle! Check out what resources are available in your city you by looking up your city's garbage
collection utility and perusing its website.
© Adafruit Industries https://learn.adafruit.com/lobe-trash-classifier-machine-learning Page 9 of 26
Page 9

Create a Custom ML model in Lobe
Lobe (https://adafru.it/Ocx)is an easy-to-use tool that has everything you need to bring your machine
learning ideas to life. Show it examples of what you want it to do, and it automatically trains a custom
machine learning model that can be exported for edge devices and apps. It doesn’t require any
experience to get started. You can train on your own computer for free!
Here's a quick overview on how to use Lobe:
1. Open the Lobe program and create a new project.
© Adafruit Industries https://learn.adafruit.com/lobe-trash-classifier-machine-learning Page 10 of 26
Page 10

2. Take or import photos and label them into appropriate
categories. We'll need these labels later on in the software
part of the project.
There are two ways to import photos:
1. Take photos of items directly from your computer
webcam, or
2. Import existing photos from your computer (via single
photo or folder/dataset upload).
Keep in mind that the photo folder name will be
used as the category label name, so make sure it
matches any existing labels!
Aside: I ended up using both methods, since the more photos
you have, the more accurate your model is.
3. Use the "Play" feature to test the model accuracy. Change
distances, lighting, hand positions, etc. to identify where the
model is and is not accurate. Add more photos as necessary.
© Adafruit Industries https://learn.adafruit.com/lobe-trash-classifier-machine-learning Page 11 of 26
Page 11

4. When you're ready, export your Lobe ML model in a
TensorFlow (TF) Lite format.
Tips:
Before importing photos, make a list of all the categories you'll need and how you want to label them
(e.g. "garbage," "recycle," "compost," etc.)
Note: Use the same labels as shown in "Lobe Model Labels" photo above to reduce the amount
of code you need to change.
Include a category for "not trash" that has photos of whatever else might be in the photo (e.g. your
hands and arms, the background, etc.)
If possible, take photos from the Pi Camera and import into Lobe . This will greatly improve the
accuracy of your model!
Need more photos? Check out open-source datasets on Kaggle (https://adafru.it/OcN), including this
garbage classification image set (https://adafru.it/OcO)!
Need more help? Connect with the Lobe Community on Reddit! (https://adafru.it/OcP)
© Adafruit Industries https://learn.adafruit.com/lobe-trash-classifier-machine-learning Page 12 of 26
Page 12

Build it: Hardware
1. Carefully connect the Pi Camera to Pi (visit the Pi Foundation getting started guide (https://adafru.it/OcQ)
for more information).
© Adafruit Industries https://learn.adafruit.com/lobe-trash-classifier-machine-learning Page 13 of 26
Page 13

2. Follow the wiring diagram to connect the pushbutton and LEDs to the Pi GPIO pins.
Pushbutton: Connect one leg of the pushbutton to GPIO pin 2. Connect the other, via a resistor, to a
GPIO GND pin.
Yellow LED:Connect the positive (longer) leg to GPIO pin 17. Connect the other leg, via a resistor, to a
GPIO GND pin.
Blue LED: Connect the positive leg to GPIO pin 27. Connect the other leg, via a resistor, to a GPIO
GND pin.
Green LED: Connect the positive leg to GPIO pin 22. Connect the other leg, via a resistor, to a GPIO
GND pin.
Red LED: Connect the positive leg to GPIO pin 23. Connect the other leg, via a resistor, to a GPIO
GND pin.
White LED: Connect the positive leg to GPIO pin 24. Connect the other leg, via a resistor, to a GPIO
GND pin.
3. It is recommended to test your circuit on a breadboard and run the program before soldering or
making any of the connections permanent. To do this, we'll need to write and upload our software
program, so let's go to the next step!
© Adafruit Industries https://learn.adafruit.com/lobe-trash-classifier-machine-learning Page 14 of 26
Page 14
Code it: Software
1. On your PC, open WinSCP (https://adafru.it/OcF)and connect to your Pi. Create a Lobe folder in your
Pi's home directory and create a model folder in that directory.
2. Drag the resulting Lobe TF folder contents onto the Pi. Make note of the file path:
/home/pi/Lobe/model
3. On the Pi, open a terminal and first download the TensorFlow Lite runtime library. Then install the lobepython library for Python3 by running the following bash commands:
pip3 install https://dl.google.com/coral/python/tflite_runtime-2.1.0.post1-cp37-cp37m-
linux_armv7l.whl (https://adafru.it/OEK)
pip3 install lobe
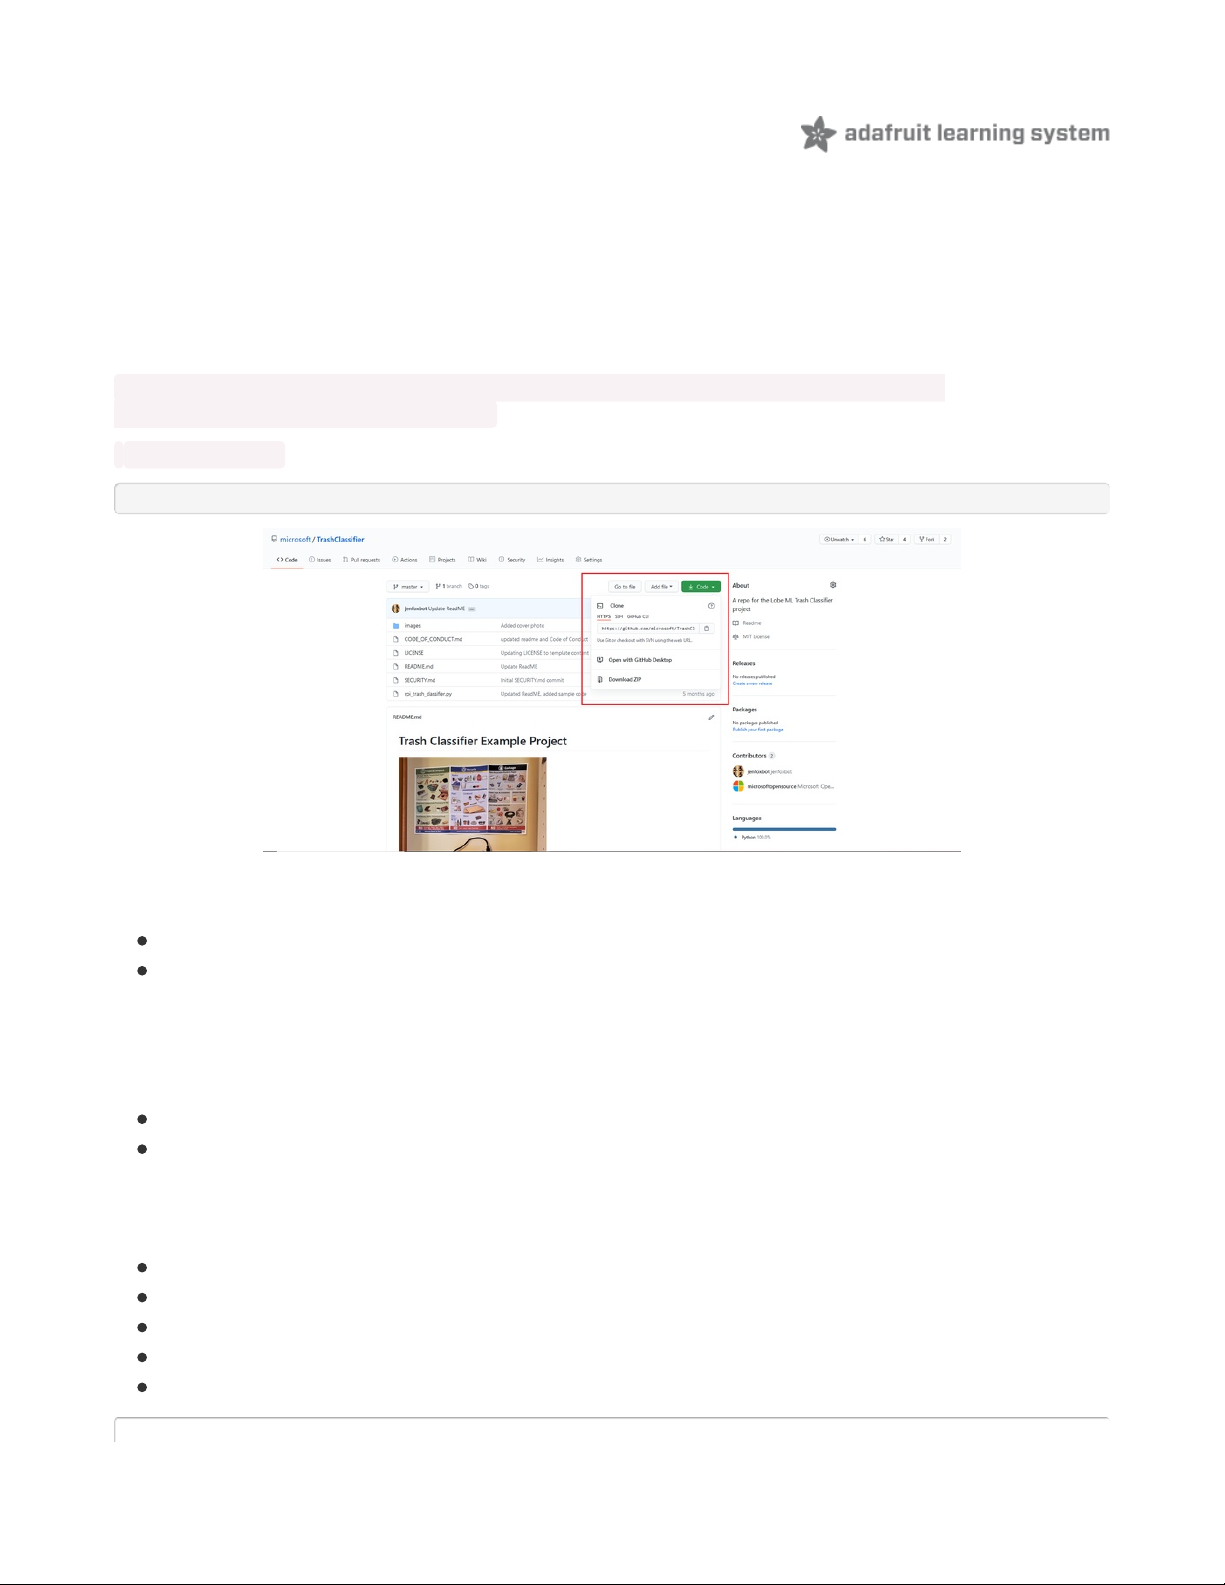
4. Download the Trash Classifier code ( rpi_trash_classifier.py) from this repo (https://adafru.it/OcR) onto
the Pi (click the "Code" button as shown in Photo 1).
Prefer to copy/paste? Snag the code below!
Prefer to download onto your computer? Download the repo/code onto your computer then transfer
the Python code to the Pi via WinSCP (or your preferred remote file transfer program).
5. Once you've connected the hardware to the Pi's GPIO pins, read through the example code and update
any file paths as needed:
Line 29: filepath to the Lobe TF model
Lines 47 and 83: filepath to captured images via Pi Camera
6. If necessary, update the model labels in the code to exactly match the labels in your Lobe model
(including capitalization, punctuation, etc.):
Line 57: "garbage"
Line 60: "recycle"
Line 63: "compost"
Line 66: "hazardous waste facility"
Line 69: "not trash!"
© Adafruit Industries https://learn.adafruit.com/lobe-trash-classifier-machine-learning Page 15 of 26
Page 15

# -----------------------------------------------------------------------# Trash Classifier ML Project
# Please review ReadMe for instructions on how to build and run the program
#
# (c) 2020 by Jen Fox, Microsoft
# MIT License
# --------------------------------------------------------------------------
#import Pi GPIO library button class
from gpiozero import Button, LED, PWMLED
from picamera import PiCamera
from time import sleep
from lobe import ImageModel
#Create input, output, and camera objects
button = Button(2)
yellow_led = LED(17) #garbage
blue_led = LED(27) #recycle
green_led = LED(22) #compost
red_led = LED(23) #hazardous waste facility
white_led = PWMLED(24) #Status light and retake photo
camera = PiCamera()
# Load Lobe TF model
# --> Change model file path as needed
model = ImageModel.load('/home/pi/Lobe/model')
# Take Photo
def take_photo():
# Quickly blink status light
white_led.blink(0.1,0.1)
sleep(2)
print("Pressed")
white_led.on()
# Start the camera preview
camera.start_preview(alpha=200)
# wait 2s or more for light adjustment
sleep(3)
# Optional image rotation for camera
# --> Change or comment out as needed
camera.rotation = 270
#Input image file path here
# --> Change image path as needed
camera.capture('/home/pi/Pictures/image.jpg')
#Stop camera
camera.stop_preview()
white_led.off()
sleep(1)
# Identify prediction and turn on appropriate LED
def led_select(label):
print(label)
if label == "garbage":
yellow_led.on()
sleep(5)
if label == "recycle":
blue_led.on()
sleep(5)
if label == "compost":
© Adafruit Industries https://learn.adafruit.com/lobe-trash-classifier-machine-learning Page 16 of 26
Page 16

green_led.on()
sleep(5)
if label == "hazardous waste facility":
red_led.on()
sleep(5)
if label == "not trash!":
white_led.on()
sleep(5)
else:
yellow_led.off()
blue_led.off()
green_led.off()
red_led.off()
white_led.off()
# Main Function
while True:
if button.is_pressed:
take_photo()
# Run photo through Lobe TF model
result = model.predict_from_file('/home/pi/Pictures/image.jpg')
# --> Change image path
led_select(result.prediction)
else:
# Pulse status light
white_led.pulse(2,1)
sleep(1)
7. Run the program using Python3 in the terminal window:
python3 rpi_trash_classifier.py
© Adafruit Industries https://learn.adafruit.com/lobe-trash-classifier-machine-learning Page 17 of 26
Page 17

Test it: Run the Program
Program Overview
When you first run the program, it will take some time to load the TensorFlow library and the Lobe ML
model. When the program is ready to capture an image, the status light (white LED) will pulse.
Once you've taken an image, the program will compare the image to the Lobe ML model and output the
resulting prediction (line 83). The output determines which light is turned on: yellow (garbage), blue
(recycle), green (compost), or red (hazardous waste).
If none of the indicator LEDs turn on and the status LED returns to pulse mode, it means that the image
captured was "not trash", in other words, retake the photo!
Capturing an Image
Press the pushbutton to capture an image. Note that you may need to hold the pushbutton for at least 1
second for the program to register the press. It is recommended to take some test images, then open
them on the Desktop to better understand the camera view and frame.
To allow the user time to position the object and for camera light levels to adjust, it takes about 5s to fully
capture an image. You may change these settings in the code (lines 35 and 41), but keep in mind the Pi
Foundation recommends a minimum of 2s for light level adjustment.
Troubleshooting
The biggest challenge is ensuring that the captured image is what we expect, so take some time to
review the images and compare expected results with indicator LED output. If necessary, you can pass in
images to the Lobe ML model for direct inferencing and faster comparison.
A few things to note:
The TensorFlow library will likely throw some warning messages -- this is typical for the version
used in this sample code.
The prediction labels must be exactly as written in the led_select() function, including
capitalization, punctuation, and spacing. Be sure to change these if you have a different Lobe model.
The Pi requires a steady power supply. The Pi's power light should be bright, solid red.
If one or more LEDs are not turning on when expected, check by forcing them on with the command:
red_led.on()
© Adafruit Industries https://learn.adafruit.com/lobe-trash-classifier-machine-learning Page 18 of 26
Page 18

(Optional) Build it: Finalize the circuit
Now that we've tested and, if necessary, debugged, our project so that it works as expected, we're ready
to solder our circuit!
Note: If you do not have a soldering iron, you may skip this step. One alternative is to coat the wire
connections in hot glue (this option will allow you to fix/add/use things later, but is more likely to break), or
use epoxy or a similar permanent glue (this option will be much more durable but you will not be able to
use the circuit or potentially the Pi after doing this)
Quick comment about my design choices:
I opted for female jumper wires for the LEDs and Pi GPIO because they allow me to remove LEDs
and swap colors or move them around if needed. You may skip these if you want to make
connections permanent.
Similarly, I chose a JST connector for the pushbutton.
Onward to building!
1. Cut each of the female jumper wires in half (yes, all of them!). Using wire strippers, remove about 1/4"
(1/2cm) of the wire insulation.
© Adafruit Industries https://learn.adafruit.com/lobe-trash-classifier-machine-learning Page 19 of 26
Page 19

2. For each of the LEDs, solder a 220Ω resistor to the negative (shorter) leg. A helping hands
tool (https://adafru.it/dxR) can help in holding things steady.
3. Cut a small piece, about 1" (2cm) of heat shrink tube and push over the LED and resistor junction. Make
sure the other resistor leg is accessible, then heat up the shrink tube until it secures the joint.
© Adafruit Industries https://learn.adafruit.com/lobe-trash-classifier-machine-learning Page 20 of 26
Page 20

4. Insert each LED into a pair of female jumper wires.
5. Label the jumper wires (e.g. with tape), then solder jumper wires onto your printed circuit board (PCB).
WIth the perma Proto board, you can use the same locations you used in the breadboard setup.
6. Next, use a (cut) female jumper wire to connect each LED to its respective Pi GPIO pin. Solder and label
a jumper wire so that the bare metal connects to the positive LED leg via the PCB.
Note: Where you solder this wire will depend on your PCB layout. You can also solder this wire directly to
the positive LED jumper wire.
© Adafruit Industries https://learn.adafruit.com/lobe-trash-classifier-machine-learning Page 21 of 26
Page 21

7. Solder a 220Ω resistor to the negative (black) end of the JST connector.
8. Solder the JST connector and resistor to the pushbutton.
9. Connect the M-to-F jumper wires between the pushbutton connector and the GPIO pins (reminder:
black is GND).
10. Coat connections PCB in hot glue or epoxy for a more secure connection.
Note: if you choose to use epoxy, you may not be able to use the Pi's GPIO pins for other projects in the
future. If you're concerned about this, add in a GPIO ribbon cable and connect the jumper wires to that
instead.
© Adafruit Industries https://learn.adafruit.com/lobe-trash-classifier-machine-learning Page 22 of 26
Page 22

(Optional) Build it: Case
Create an enclosure for your Pi that will hold the camera, pushbutton, and LEDs in place while also
protecting the Pi.
Design your own enclosure or follow our build instructions below for quickly prototyping a cardboard
enclosure!
1. On the top of the small cardboard box, trace the locations
for the pushbutton, status light, identifier lights, and the pi
camera window
Note: Pi camera window should be about 3/4" x 1/2".
2. Using your precision knife, cut out the traces.
Note: you may want to test the sizes as you go
3. You can paint the box if you wish. Mount the pushbutton.
4. Cut out a rectangular "window" cover for the Pi Camera
(Photo 4) and glue on the inside of the box
© Adafruit Industries https://learn.adafruit.com/lobe-trash-classifier-machine-learning Page 23 of 26
Page 23

5. Finally, cut out slot for the Pi power cable.
Recommended to first install all electronics to locate the
best place for the pi power cable slot.
© Adafruit Industries https://learn.adafruit.com/lobe-trash-classifier-machine-learning Page 24 of 26
Page 24

Install and Deploy
That's it! You're ready to install and deploy your project! Place the enclosure above your trash bins, plug
in the Pi, and run the program to get a faster, more reliable way of reducing our waste. Yay!
Going Forward
Share your projects and ideas with other folks via the Lobe Reddit community (https://adafru.it/OcP)!
Check out the Lobe Python GitHub repo (https://adafru.it/OcS) for a general overview on how to use
Python to deploy a wider variety of Lobe projects
Looking for more inspiration with the Pi? Adafruit has tons of projects and
guides (https://adafru.it/dpd)!
Questions or project requests? Leave a comment on this project or reach out to us directly:
AskAMaker@microsoft.com
© Adafruit Industries https://learn.adafruit.com/lobe-trash-classifier-machine-learning Page 25 of 26
Page 25

© Adafruit Industries Last Updated: 2020-11-18 06:09:13 PM EST Page 26 of 26
 Loading...