

Page 1
diy lofi hip hop raspberry pi radio
Created by Jeff Epler
Last updated on 2021-03-24 11:08:47 AM EDT
Page 2

2
3
3
9
9
9
9
9
9
10
11
11
12
13
14
16
19
Guide Contents
Guide Contents
Overview
Parts
Configure your Raspberry Pi
Plug in the BrainCraft HAT
Install Raspberry Pi OS
Set up networking
Update and upgrade
Install additional software
Configure the BrainCraft HAT, part 1
Install the kiosk-mode script
Configure the BrainCraft HAT, part 2
Optional: Configure Overlay (read only) mode
Controlling the Radio
3D Printed Case
Parts required for the 3D printed case
Choosing your own videos
© Adafruit Industries https://learn.adafruit.com/lofi-hip-hop-raspberry-pi-radio-braincraft Page 2 of 21
Page 3

Overview
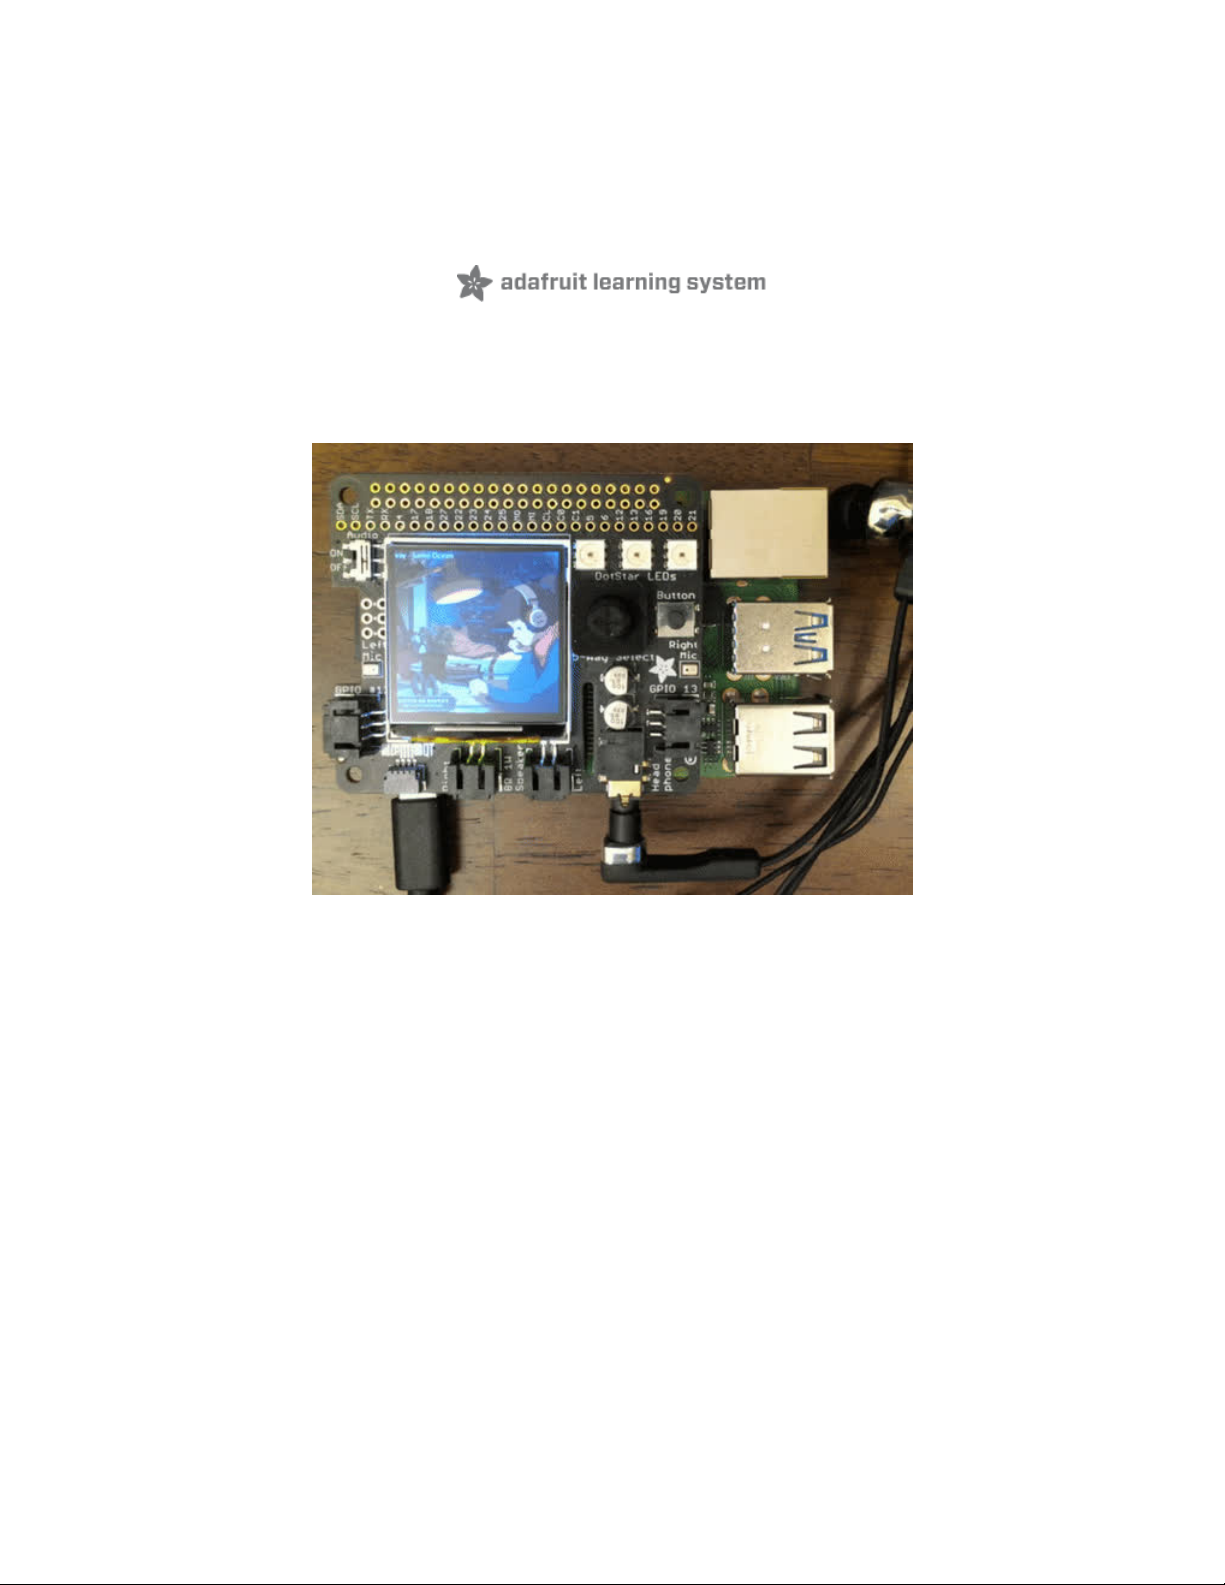
Can't get enough of those sweet lofi hip hop radio beats, but don't want to keep a browser tab open for it?
In this guide, you'll set up a Raspberry Pi 4 in Kiosk mode so that it will automatically play any YouTube
music stream when it starts, using the high quality digital I2S stereo outputs of the BrainCraft HAT, and
showing a suitably low-fi 240x240 version of the video.
We'll use the BrainCraft HAT which has both video display
and
digital stereo speaker + stereo headphone
output for an all-in-one standalone YouTube appliance kit. Plug speakers directly in, or you can use the
line/headphone out to connect to an audio system or headphones
For more information about the BrainCraft HAT, head to its dedicated guide (https://adafru.it/NLE).
However, don't actually do the setup steps until this guide instructs you to do so.
Parts
© Adafruit Industries https://learn.adafruit.com/lofi-hip-hop-raspberry-pi-radio-braincraft Page 3 of 21
Page 4
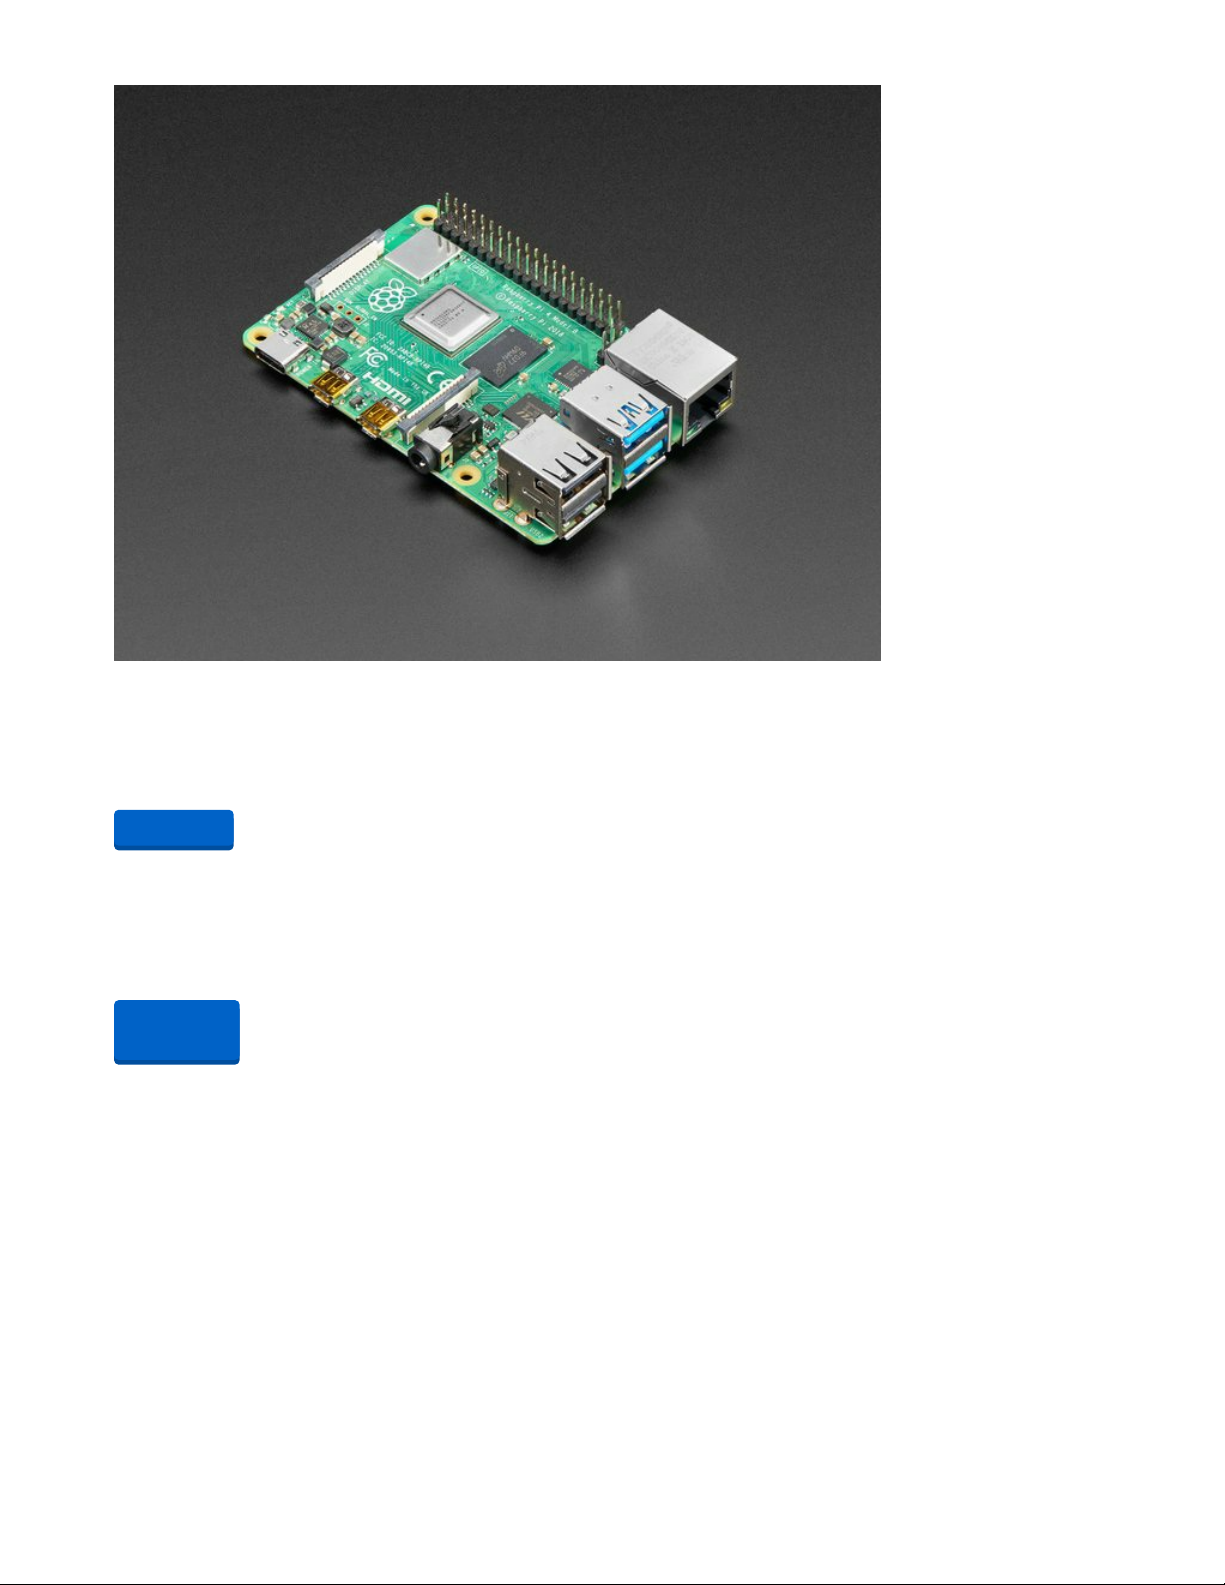
Raspberry Pi 4 Model B - 4 GB RAM
The Raspberry Pi 4 Model B is the newest Raspberry Pi computer made, and the Pi Foundation knows you
can always make a good thing better! And what could make the Pi 4 better...
$55.00
In Stock
Your browser does not support the video tag.
Adafruit BrainCraft HAT - Machine Learning for Raspberry Pi 4
The idea behind the BrainCraft HAT is that you’d be able to “craft brains” for Machine Learning on the
EDGE, with Microcontrollers & Microcomputers. On ASK...
Out of Stock
Add to Cart
Out of
Stock
© Adafruit Industries https://learn.adafruit.com/lofi-hip-hop-raspberry-pi-radio-braincraft Page 4 of 21
Page 5
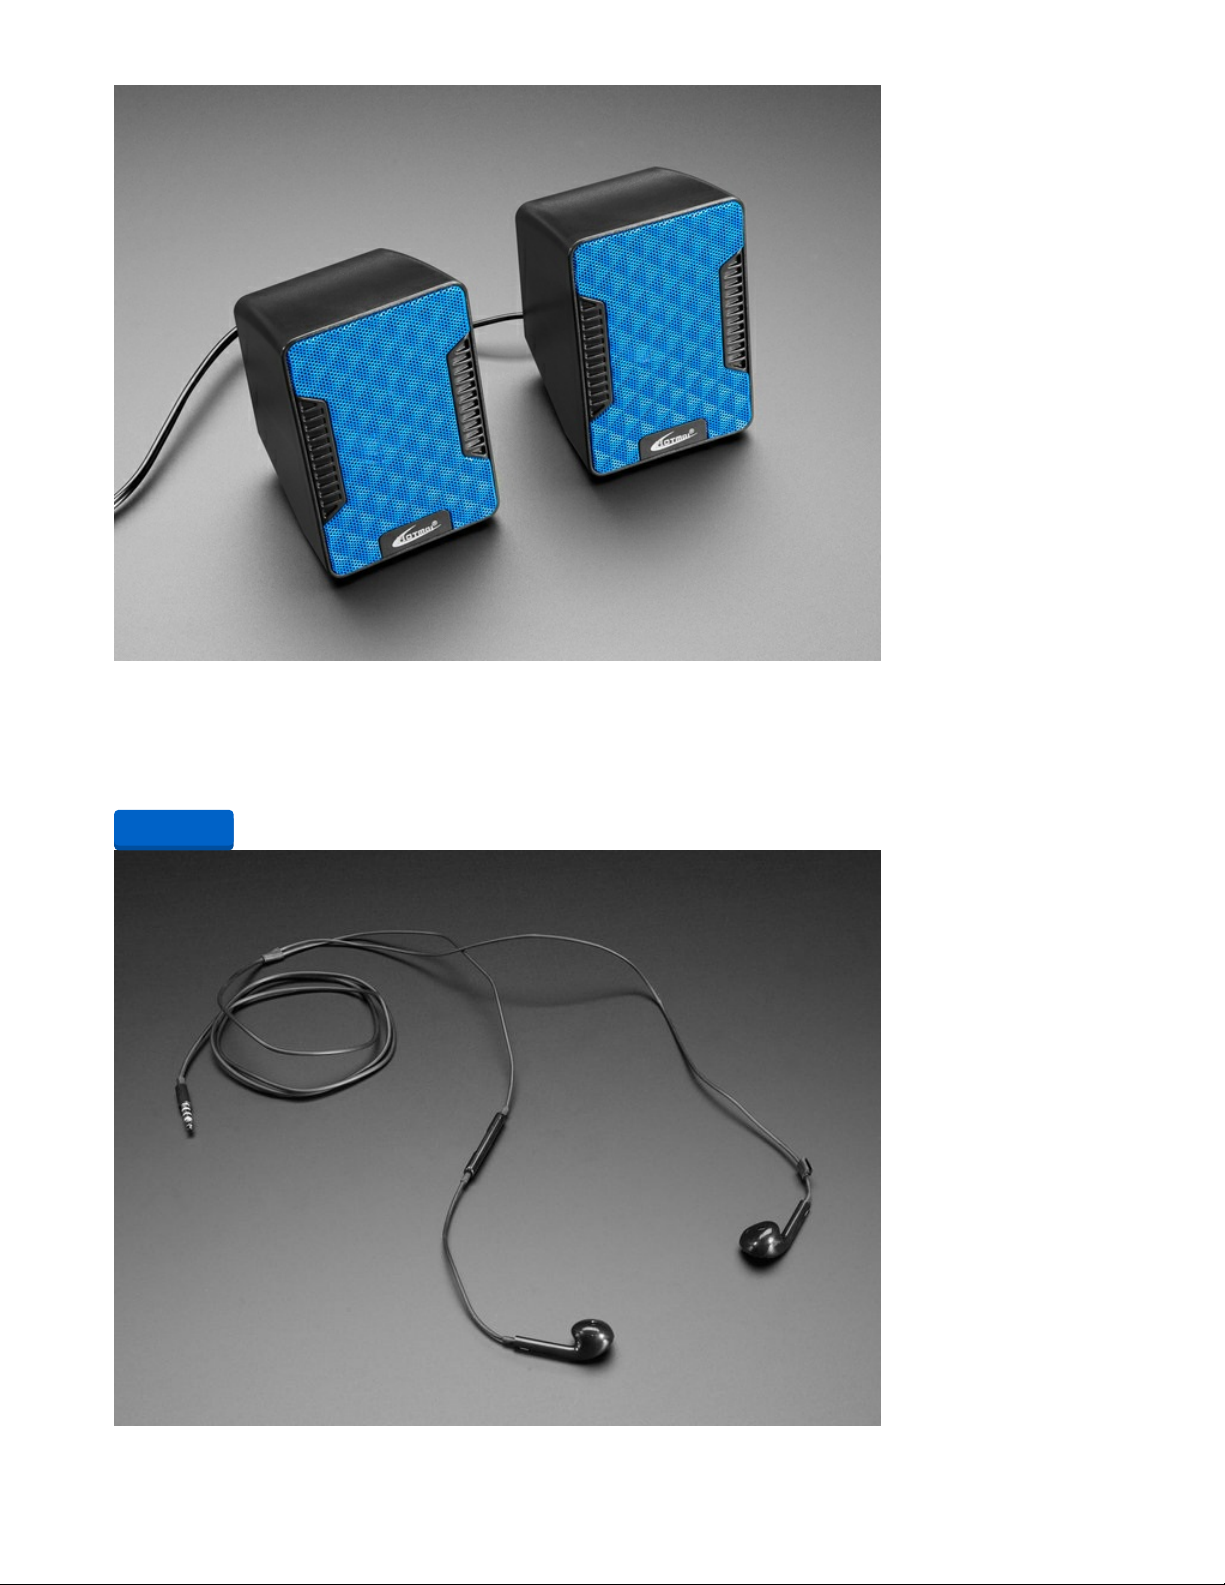
USB Powered Speakers
Add some extra boom to your audio project with these powered loudspeakers. We sampled half a dozen
different models to find ones with a good frequency response, so you'll get...
$9.95
In Stock
Add to Cart
© Adafruit Industries https://learn.adafruit.com/lofi-hip-hop-raspberry-pi-radio-braincraft Page 5 of 21
Page 6
Cell-phone TRRS Headset - Earbud Headphones w/ Microphone
These earbud headphones are the perfect accessory for your FONA - they've been tested to work with
our modules - but can be used with any iOS or Android device that uses a TRRS...
$3.95
In Stock
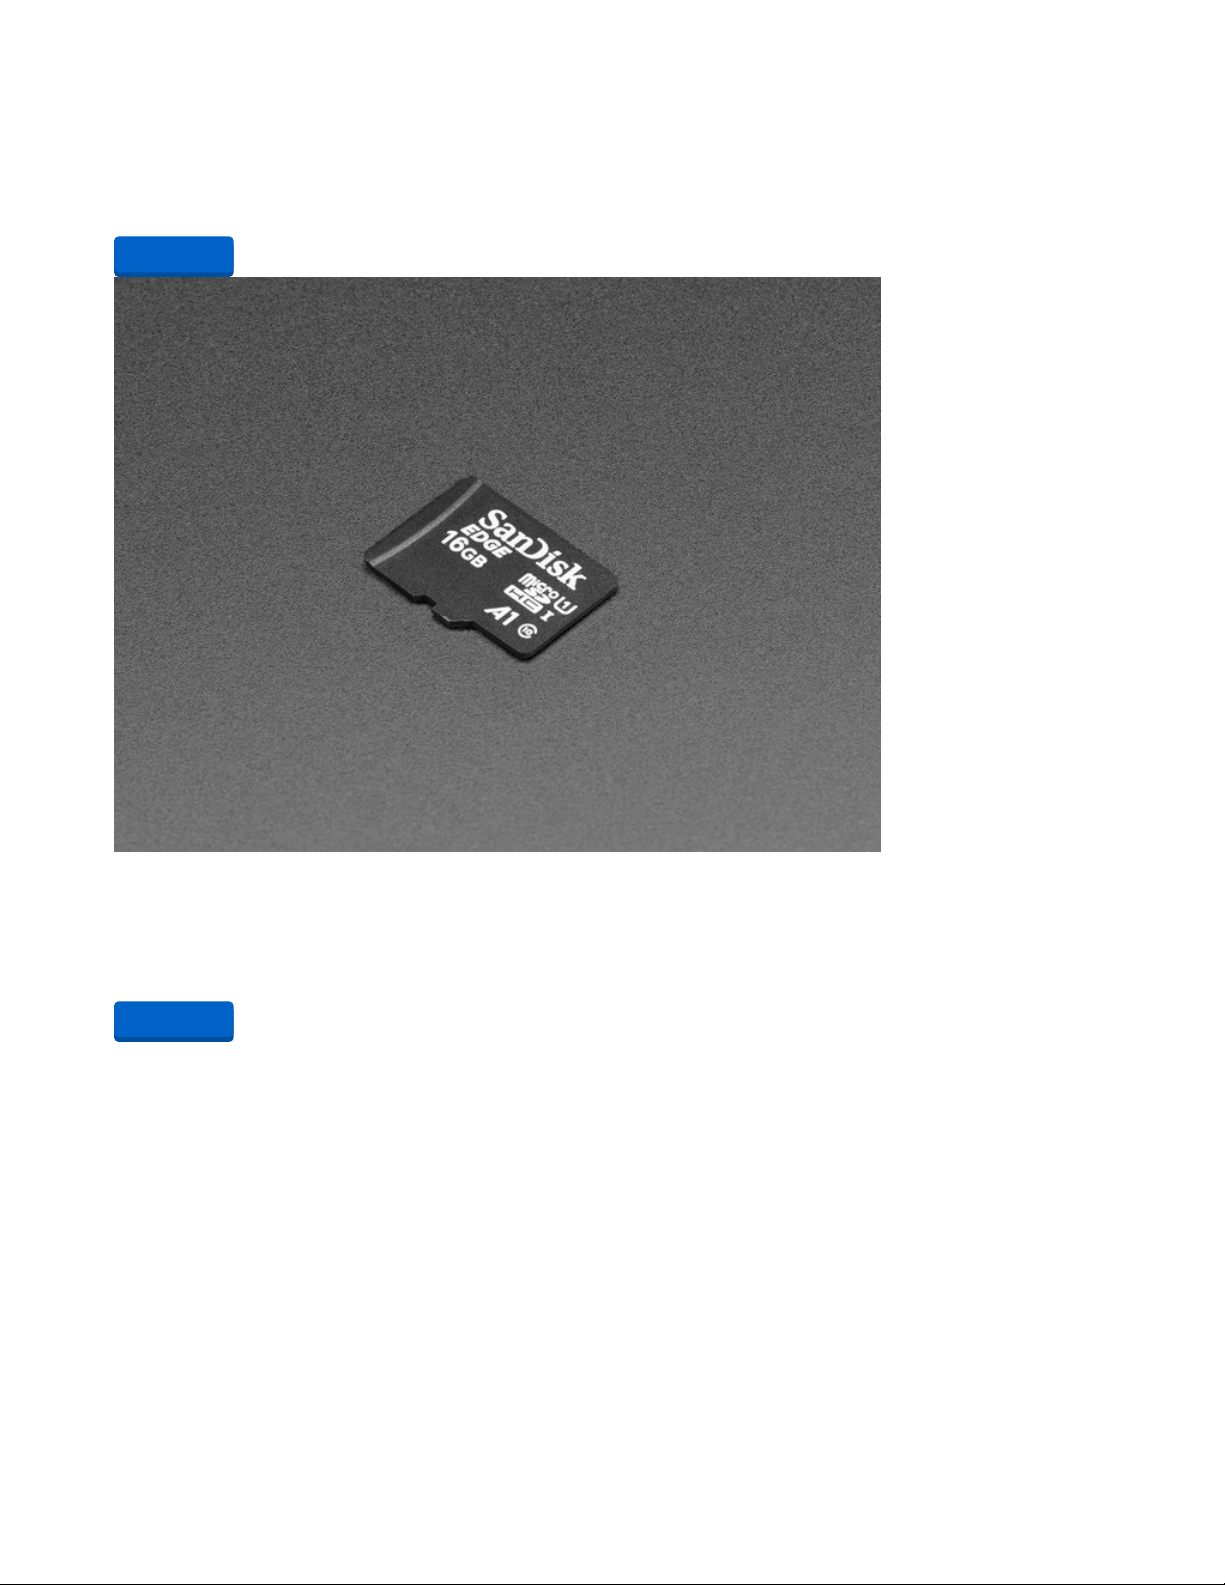
16GB Card with NOOBS 3.1 for Raspberry Pi Computers including 4
NOOBS 3.1 is the fastest way to have a variety of operating systems on your Pi. Available on a 16G card,
you can now boot multiple OS's such as Raspbian, Pidora, RaspBMC,...
$14.95
In Stock
Add to Cart
Add to Cart
© Adafruit Industries https://learn.adafruit.com/lofi-hip-hop-raspberry-pi-radio-braincraft Page 6 of 21
Page 7
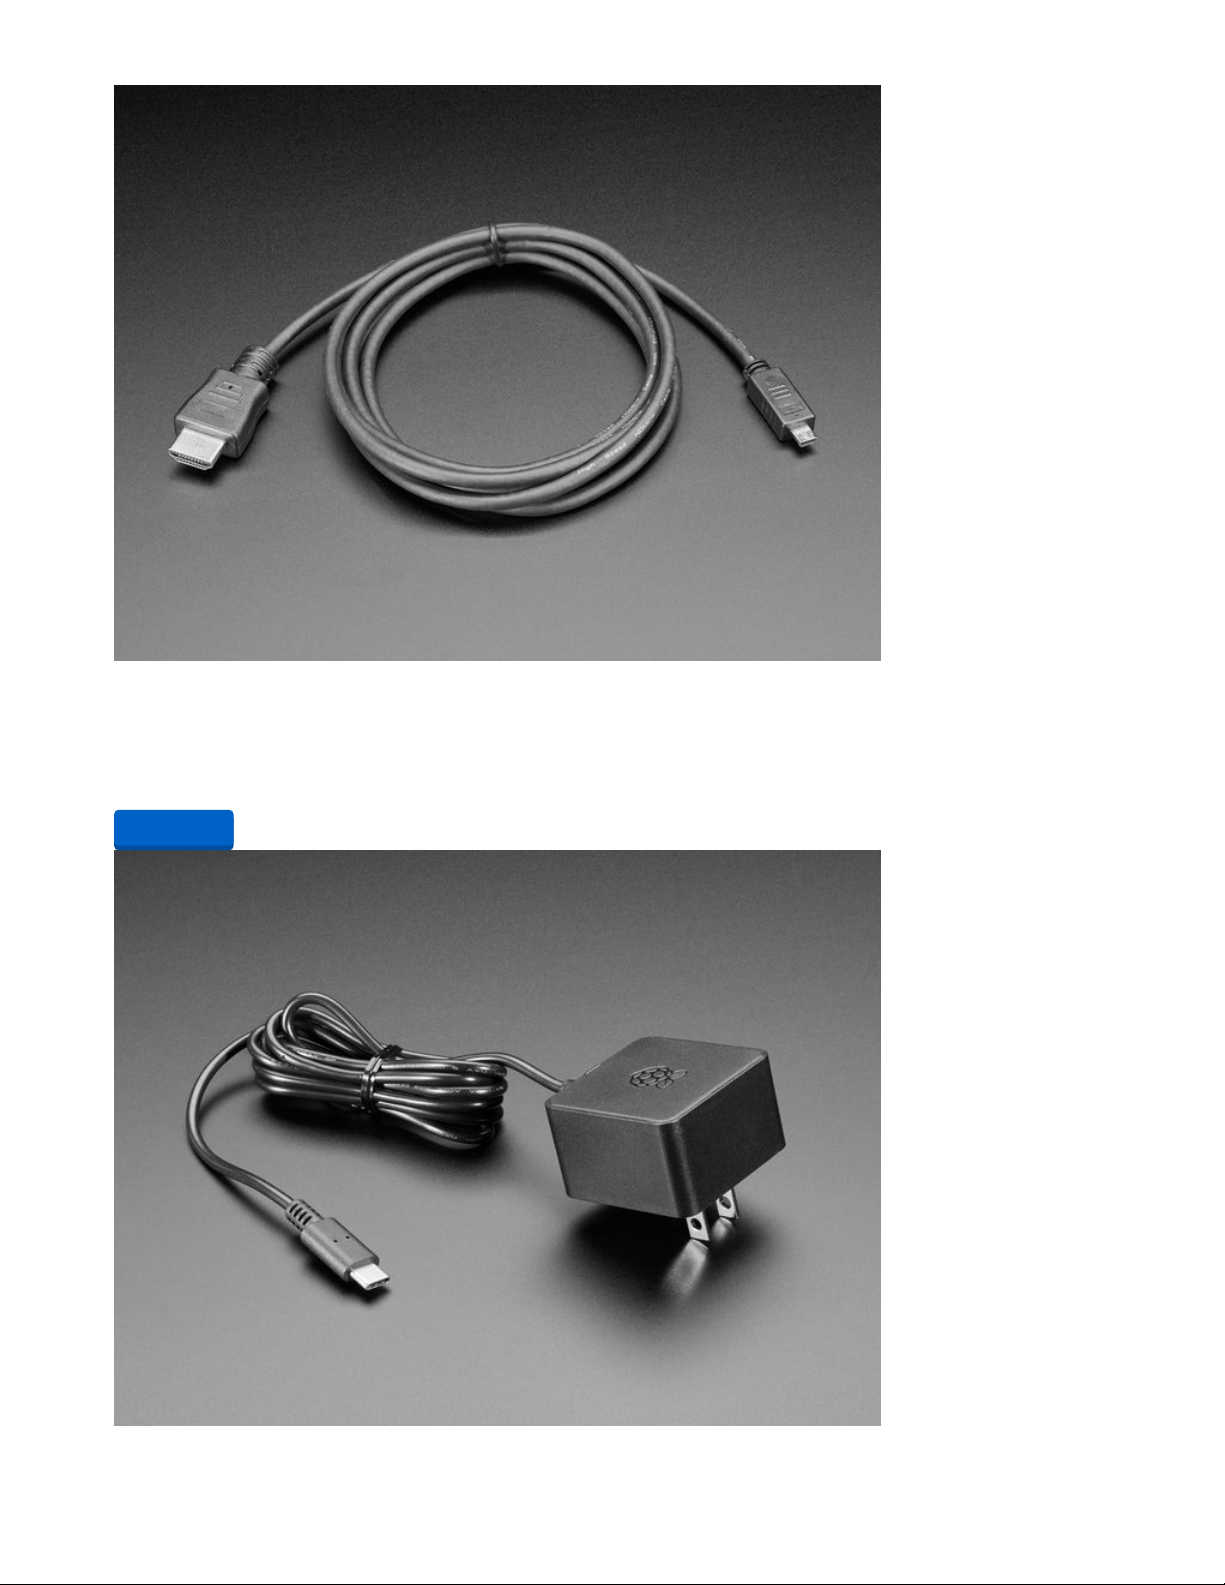
Micro HDMI to HDMI Cable - 2 meter
Connect an HDMI device with a micro HDMI port to one with a regular size HDMI port together with this
basic HDMI cable. It has nice molded grips for easy installation, and is 2 meter...
$8.95
In Stock
Add to Cart
© Adafruit Industries https://learn.adafruit.com/lofi-hip-hop-raspberry-pi-radio-braincraft Page 7 of 21
Page 8

Official Raspberry Pi Power Supply 5.1V 3A with USB C
The official Raspberry Pi USB-C power supply is here! And of course, we have 'em in classic Adafruit
black! Super fast with just the right amount of cable length to get your Pi 4...
$7.95
In Stock
1 x Raspberry Pi Power Switch
Type-C power only with Indicator Light
Add to Cart
Buy Now
© Adafruit Industries https://learn.adafruit.com/lofi-hip-hop-raspberry-pi-radio-braincraft Page 8 of 21
Page 9

Configure your Raspberry Pi
Plug in the BrainCraft HAT
With the power disconnected, simply align the HAT to the pins on the Raspberry Pi 4 and push down
firmly until the connector is fully seated. If you like, use M2.5 screws and stand-offs to secure the HAT.
This project does not require that the fan be installed, but installing it won't hurt anything either. We
skip the step of installing the "fan service", so the fan won't spin even if you plugged it in.
Install Raspberry Pi OS
For this guide, you'll need to download " Raspberry Pi OS with desktop and recommended software ",
which is a full-featured desktop operating system. Follow the official instructions (https://adafru.it/Pf5) to
download the OS and copy it to a Micro SD card. For the next steps, hook your Pi up to a monitor and plug
in a mouse and keyboard!
Make sure you get the version of Raspberry Pi OS with desktop and recommended software. This
guide requires software not in the Lite version!
Set up networking
During the first boot, you will be prompted to set up networking. If you skipped that step, you can
configure your Pi to connect to a wireless network using these instructions (https://adafru.it/Pf6). A wired
network would also work fine, but we know most of you out there prefer the ease of wireless. Next, set
up (https://adafru.it/vbC) ssh access (https://adafru.it/vbC) using the command line or raspi-config; you'll
need it after configuring the display if you want to access the Pi (there's also a way to configure it using a
host computer).
Update and upgrade
During the first boot, you will be prompted to update the software. If you skipped that step, you can do it
from a terminal window with these commands:
sudo apt-get update
sudo apt-get -y upgrade
Install additional software
In a terminal window, use the following commands to add some software that is required for the next
steps:
sudo apt-get install -y python3-pip
sudo pip3 install --upgrade setuptools
Reboot so that all the updates take effect.
© Adafruit Industries https://learn.adafruit.com/lofi-hip-hop-raspberry-pi-radio-braincraft Page 9 of 21
Page 10

Configure the BrainCraft HAT, part 1
Follow these pages of instructions from the BrainCraft HAT guide:
Blinka Setup (https://adafru.it/Pf7)
Audio Setup (https://adafru.it/Pf8)
At this point, you should be able to:
1. Open the Chrome browser
on the Raspberry Pi
, (you'll need to have an HDMI screen + keyboard +
mouse attached to the computer for this step)
2. Visit YouTube in the browser
3. Hear the audio stream on headphones or speakers connected to the BrainCraft HAT's 1/8" jack. If
not, make sure the audio on/off switch is set to ON. (Head to the HAT guide for more
troubleshooting suggestions)
Remember the card number that you found with aplay -l in the Audio Setup steps? You'll need to set it as
your default sound output by running a command in the terminal. Change the "2" in this command to the
number you found:
pacmd set-default-sink 2
© Adafruit Industries https://learn.adafruit.com/lofi-hip-hop-raspberry-pi-radio-braincraft Page 10 of 21
Page 11

You will need to restart the browser or the whole system after changing the "default sink" with pactl.
Remember that later when you unhook the HDMI monitor this number can change, so you may need to
repeat these steps later on.
Install the kiosk-mode script
Using the browser on the Pi , download the kiosk mode script from GitHub (https://adafru.it/PfE). Then,
open up a terminal window and run bash Downloads/kiosk-mode.sh to set up the Chromium browser in
kiosk mode.
(Alternatively, you can run wget
https://github.com/adafruit/Adafruit_Learning_System_Guides/raw/master/Raspberry_Pi_Braincraft_Radio/setupkiosk.sh in a Pi terminal to download the script, then bash setup-kiosk.sh in the same directory)
Restart the Pi, either via the desktop shutdown menu or sudo reboot in a terminal.
When you restart, you should get a full screen YouTube window showing the lofi hip hop radio in the
upper left corner, and hear the music streaming on your speakers. However, the display will still be on
your HDMI monitor. Check that the controls work (left/right to change station, up/down to adjust volume)
before moving on to the next steps.
If you don't hear anything, make sure you have the audio on/off switch set to "on" and double-check
the sound card number for pacmd.
Configure the BrainCraft HAT, part 2
It's time to set up the display. After performing this step, you won't be able to connect your Pi to a HDMI
monitor. Don't worry, you can reverse this step if you need to!
Head back to the main guide's Display Module Install page (https://adafru.it/Pfa) and follow the "1.54 inch
TFT kernel module" steps.
Before restarting, unplug the HDMI monitor cable.
When you restart, the heroine and her cat should appear on the LCD of the HAT. If the sound stops after
this step, use aplay -l to check the sound card index again and pacmd set-default-sink # (where # is the
© Adafruit Industries https://learn.adafruit.com/lofi-hip-hop-raspberry-pi-radio-braincraft Page 11 of 21
Page 12

card number like 1, 2, 3 from the first command) to make the browser use that output. You will need to
restart the browser or the whole system after changing the "default sink" with pactl.
At least with some HDMI monitors, having them plugged in when the Pi starts can interfere with
showing an image on the BrainCraft HAT's LCD. If your HAT's LCD is blank, make sure nothing is
plugged into HDMI and reboot.
To disable the LCD so that you can use a HDMI monitor again, use these commands:
cd ~/Raspberry-Pi-Installer-Scripts
sudo python3 adafruit-pitft.py --install-type uninstall --reboot yes
Optional: Configure Overlay (read only) mode
We want to be able to turn off the Pi at any time without risk of damaging the operating system files. This
read-only mode is called the "overlay". Connect with ssh, run sudo raspi-config , choose "performance
options" and then "Overlay File System". Choose "Yes" to enable it, and then choose "Yes" again to make
the boot filesystem read-only.
If you ever need to make modifications to the Pi, you will need to disable the Overlay File System
using raspi-config, or your changes will be lost when you power off.
© Adafruit Industries https://learn.adafruit.com/lofi-hip-hop-raspberry-pi-radio-braincraft Page 12 of 21
Page 13

Controlling the Radio
For your listening pleasure, you can plug headphones or selfpowered speakers into the headphone jack. To quickly mute
the device, you can move the on/off switch to the off position.
You can use the 5-way control stick to control the radio:
Up/Down: Adjust volume
Left/Right: Switch among available stations
Push stick in: Reload page, if music stops or gets stuck
Button: Play/pause
Slide switch: Mute/unmute audio
Hold button for 5 seconds: shut down
If you customized the rotation of your screen during the
Display Module Install, the 5-way control stick's direction will
match the screen rotation.
Watch kitty swing her tail or get belly-pats on the LCD
screen. The video feed is zoomed to remove black bars from
the top and bottom. (in this photo, the LCD's image is
simulated)
Remember that as long as you enabled Overlay Mode, you can also unplug or turn off the Pi at any time
without damaging it. A USB-C power cable with an inline switch is perfect for this purpose. The
inexpensive ones tend to work with the official Raspberry Pi power supply but not with PD power supplies
or as data cables.
© Adafruit Industries https://learn.adafruit.com/lofi-hip-hop-raspberry-pi-radio-braincraft Page 13 of 21
Page 14

3D Printed Case
If you like lofi radio as much as the author, you'll want to make your project into something more
permanent, and that means 3D printing!
Grab the STL files from prusaprinters.org (https://adafru.it/PiB) to get started. All files should load in your
slicer in the intended orientation for printing. If you want to customize or remove the lettering, you can
use the free software OpenSCAD (https://adafru.it/aVT) to edit the scad source.
Print with 0.2mm layer height. Default top/bottom layers and
infill will work. No supports are required. The author used the
"0.20mm Speed" profile in prusaslicer.
If you want to add some color to the lettering, you can switch
filament at 0.6mm and again at 1.0mm. Here's how that
should look in Layers view when viewed from the Bottom.
© Adafruit Industries https://learn.adafruit.com/lofi-hip-hop-raspberry-pi-radio-braincraft Page 14 of 21
Page 15

Next, it's time to place the heat-set inserts in the raised
portion of the print. Begin by pressing the narrow end of the
insert into the plastic by hand. Once the bottom of the insert
is in place, heat your soldering iron and have a pair of needle
nose pliers handy. Put the soldering iron into the heat-set
insert and push down SLOWLY as the plastic melts. Once the
insert is flush with the plastic surface, place the pliers on top
of the insert to keep it from pulling out and withdraw the iron.
Repeat this process for all 4 inserts.
While there are specialty soldering iron tips designed to work with these threaded inserts, the author
finds that his "normal" conical soldering iron tip can do in a pinch—just make sure it is clean and will
not transfer any solder blobs into the threads!
Next, use M2.5 nylon screws, nuts, and 12mm M-F stand-offs
as shown to secure the Pi 4 in the base. Next to the header,
just use an M2.5×6screw. Opposite the header, use a nut plus
a 12mm M-F stand-off.
On the BrainCraft HAT, opposite the header, lightly begin
screwing a nut onto two more M2.5×6 screws. Don't tighten
them down yet.
© Adafruit Industries https://learn.adafruit.com/lofi-hip-hop-raspberry-pi-radio-braincraft Page 15 of 21
Page 16

Align the headers of the two boards and gently press down.
Then tighten down the screws on the braincraft hat. You may
need to apply a little force to the side of the nuts to stop them
from just spinning. There may still be a slight height difference
across the HAT but it should be minimal.
Finally, fit the top of the case over the hat and carefully slide it
down. Gently bow the plastic on the headphone jack side so
that it can pass over. The case will click shut. In the event that
you need to disassemble it, you will have to bend the plastic
out so that it can pass over the headphone jack the other
direction.
Enjoy your lo-fi radio! This case doesn't protect the Pi or HAT well enough to let you stick it in a bag or
pocket, but it will look stylish on a desk or table for sure!
Parts required for the 3D printed case
© Adafruit Industries https://learn.adafruit.com/lofi-hip-hop-raspberry-pi-radio-braincraft Page 16 of 21
Page 17

Black Nylon Screw and Stand-off Set – M2.5 Thread
Totaling 380 pieces, this M2.5 Screw Set is a must-have for your workstation. You'll have enough screws,
nuts, and hex standoffs to fuel your maker...
$16.95
In Stock
White Nylon Screw and Stand-off Set – M2.5 Thread
Totaling 420 pieces, this White Nylon M2.5 Screw Set is a must-have smörgåsbord for your
workstation. You'll have more than enough...
Out of Stock
1 x Tapered Heat-Set Inserts for Plastic
Brass, M2.5 x 0.45 mm Thread Size, 3.4 mm Installed Length (Pack of 100)
Add to Cart
Out of
Stock
Buy Now
© Adafruit Industries https://learn.adafruit.com/lofi-hip-hop-raspberry-pi-radio-braincraft Page 17 of 21
Page 18

Choosing your own videos
As an example, we'll switch the original videos for two star-wars style lofi streams:
Start by noting the part of the URL that gives the video's ID. You can find this by doing a right-click and
choosing "copy video URL". Paste it into any text editor to see the URL. This will get you a URL like
https://youtu.be/oNfKzRP8-Q0 -- the video's ID is the part after youtu.be/, so the IDs of our two videos
are:
oNfKzRP8-Q0
iBUkwL9PJ9o
On a host computer, use ssh to connect to the Raspberry
Pi (https://adafru.it/vbC), use raspi-config to disable overlay
mode and restart, and use ssh to connect a second time.
Make a backup of the file we're going to edit: cp
kioskvideo.html original-kioskvideo.html
Next, start the nano editor on the file kioskvideo.html in the
home directory: nano kioskvideo.html
© Adafruit Industries https://learn.adafruit.com/lofi-hip-hop-raspberry-pi-radio-braincraft Page 18 of 21
Page 19
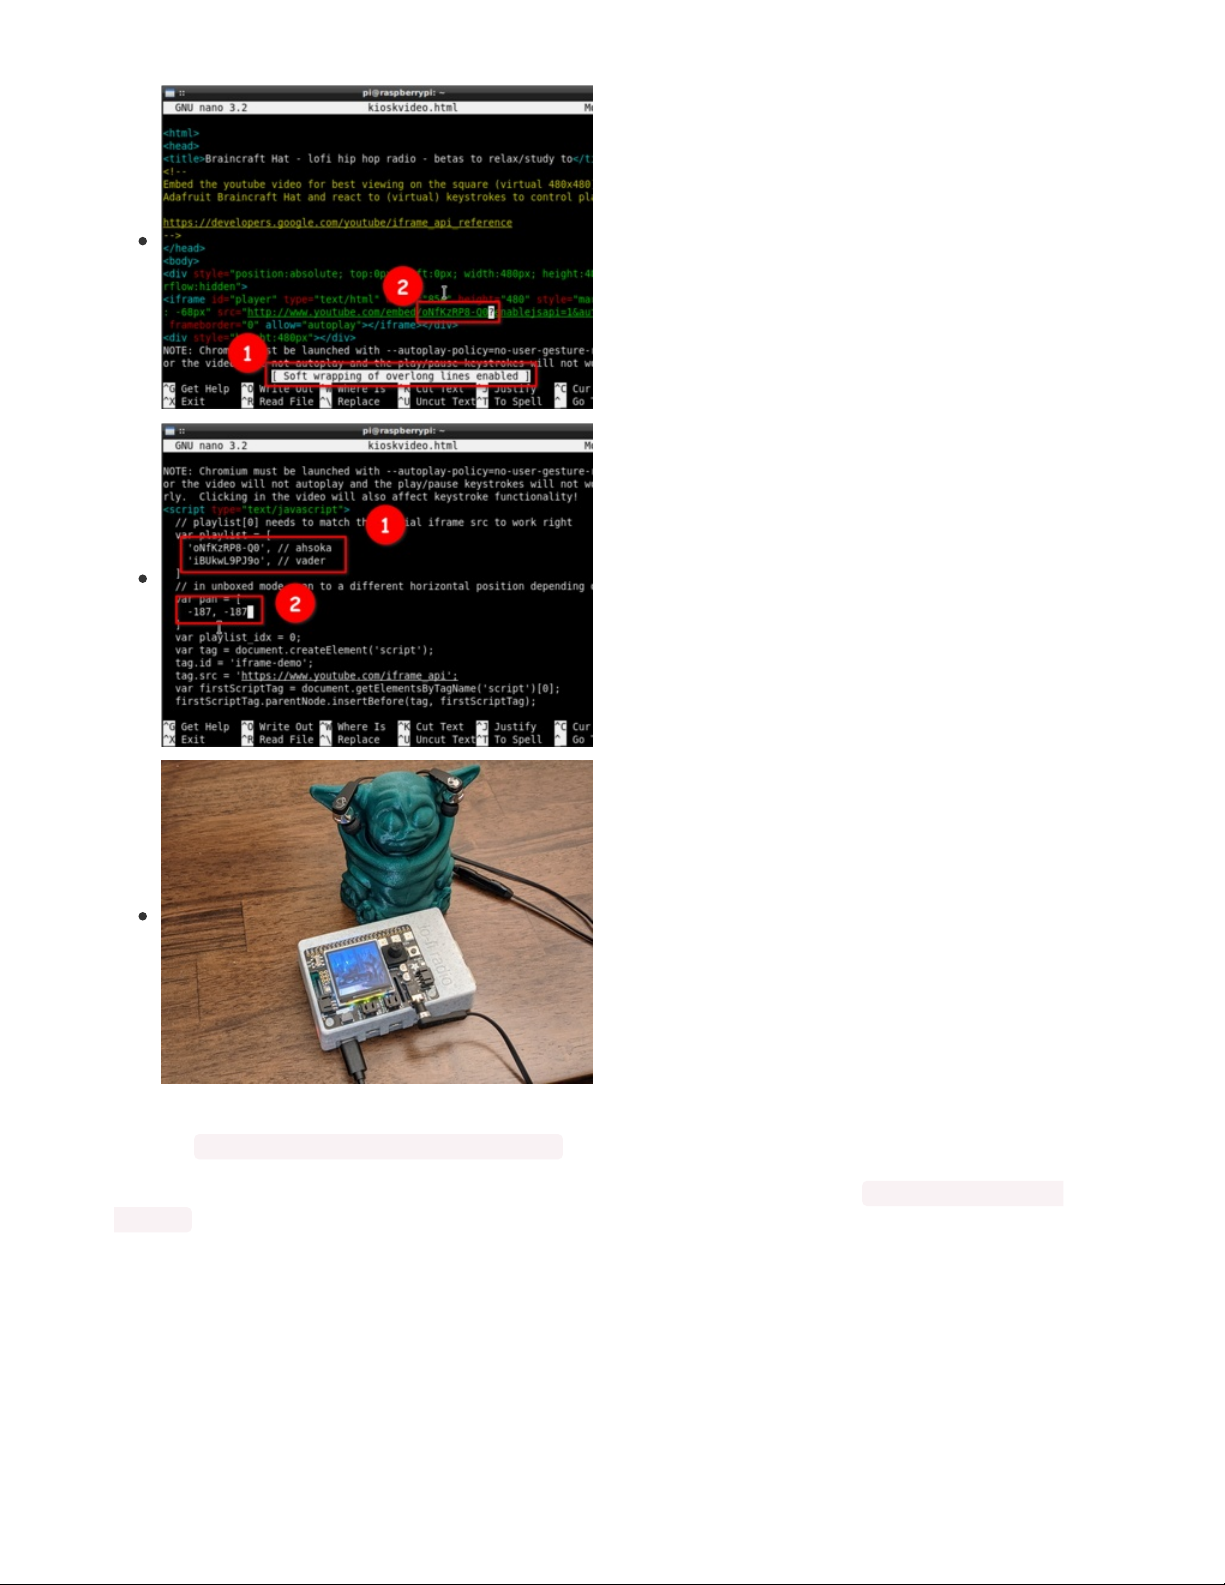
Press the secret key combination Shift+Alt+4 to soft-wrap
long lines and then scroll down until you find the <iframe>
tag. Replace the ID of the video to embed (5qap5aO4i9A)
with the video you want to play first (oNfKzRP8-Q0).
Scroll down a bit further to modify the playlist and the "pan"
values, putting both video IDs in the playlist, and then making
sure there are the same number of values in the "pan" var as
the "playlist" var. Write out the file by pressing Ctrl+O and
confirming the name.
You can change the pan values in the range from 0 to -374.
A value of 0 will show the left of the video, a value of -187 will
show the center, and a value of -374 will show the right.
On the BrainCraft HAT, press in on the joystick to reload the
HTML page. If you did everything right, star wars ~ lofi beats
to relax/study to will start playing. If not, carefully review the
edits you made and correct them. Each time, press Ctrl+O to
save the file and then press in on the joystick to reload in the
browser.
(My 3D printed model of Baby Yoda was by Alsamen, but has
been removed from Thingiverse. There are other 3D
printable Baby Yoda models out there (https://adafru.it/Rid)
though)
If you need to start over, you can return to the terminal and use cp to replace the edited file with the
backup: cp original-kioskvideo.html kioskvideo.html
You can also re-run the original installation script if that doesn't clear things up: bash Downloads/kiosk-
mode.sh
Once you're satisfied with your modification, repeat the raspi-config steps to put the Pi in overlay mode
once again and enjoy your customized lofi playlist!
© Adafruit Industries https://learn.adafruit.com/lofi-hip-hop-raspberry-pi-radio-braincraft Page 19 of 21
Page 20

© Adafruit Industries https://learn.adafruit.com/lofi-hip-hop-raspberry-pi-radio-braincraft Page 20 of 21
Page 21

© Adafruit Industries Last Updated: 2021-03-24 11:08:46 AM EDT Page 21 of 21
 Loading...