

Page 1
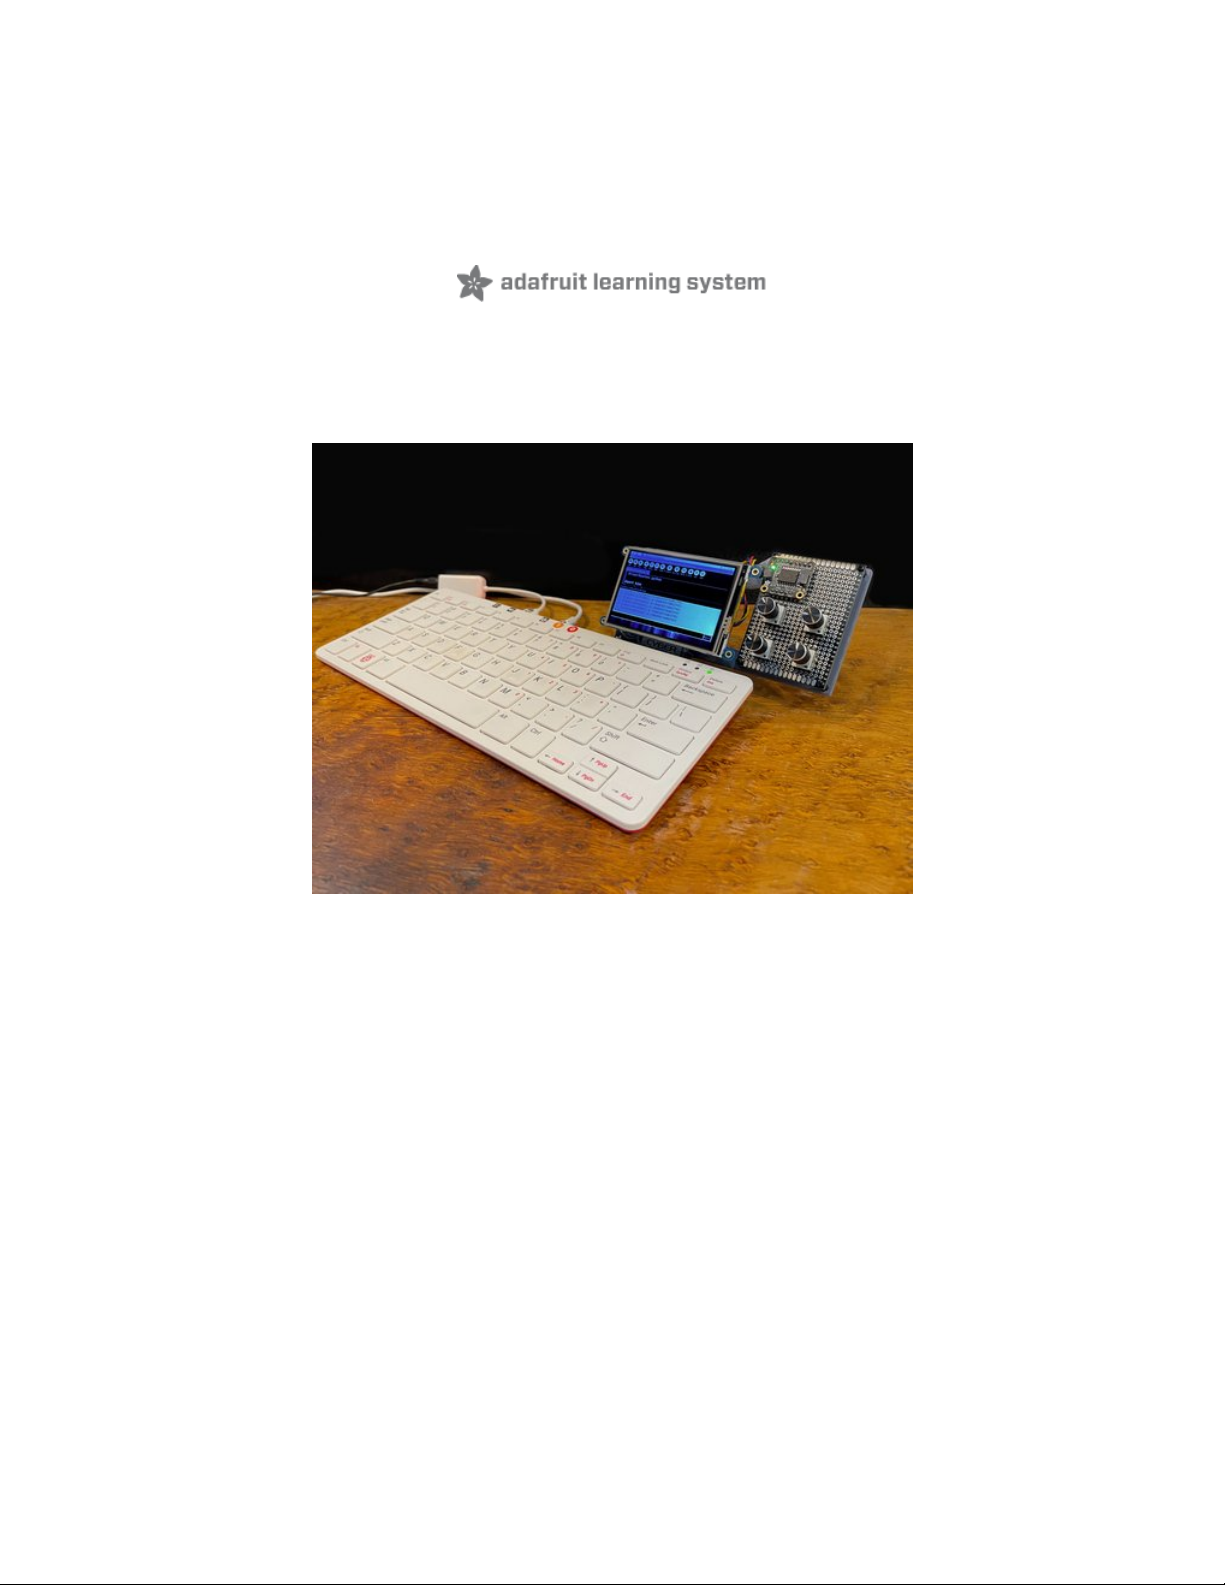
Analog Knobs on Raspberry Pi 400 with CYBERDECK Hat
Created by John Park
Last updated on 2021-04-01 07:36:36 PM EDT
Page 2

2
3
3
7
12
12
12
12
12
13
13
13
13
14
14
15
15
16
16
18
20
21
21
22
23
Guide Contents
Guide Contents
Overview
Parts
Optional
Raspberry Pi 400 Setup
Rapsberry Pi OS
Audio Out
Software Setup
Make sure you're using Python 3!
Python Installation of PCF8591 Library
Sonic-Pi
Python OSC
Sending and Receiving OSC
Sending from Python
PiTFT Install
Build Control Knob Board with ADC
Analog Signals
Wire the Pots
Perf Board
CYBERDECK Hat
PiTFT
Use Knob Controller in Python
Read Knobs in Python
Python Knobs OSC Code
Sonic-Pi Script
© Adafruit Industries https://learn.adafruit.com/analog-knobs-on-raspberrypi-400-with-cyberdeck-hat Page 2 of 25
Page 3
Overview
Raspberry Pi single board computers are wonderful devices. They can do so many things, including
interact with sensors, inputs, and outputs with their GPIO (general purpose Input/Output) pins -- however,
analog input and output are not available on the stock Raspberry Pi.
What happens when you want to turn some knobs or slide some faders? No fear, it's simple to add an
Analog-to-Digital Converter (ADC) and this guide is going to show you how!
You'll use the retro-tastic CYBERDECK Hat to add some STEMMA QT / Qwiic compatible I2C connectors
to the Raspberry Pi 400, and then plug in the PCF8591 Quad 8-Bit ADC + DAC breakout board. The
PCF8591 makes it simple to add four potentiometers to your Pi project.
Add a PiTFT to the mix and you'll have a compact and stylish computing setup that you can use for live
music coding jams including four knobs to twiddle!
Parts
© Adafruit Industries https://learn.adafruit.com/analog-knobs-on-raspberrypi-400-with-cyberdeck-hat Page 3 of 25
Page 4
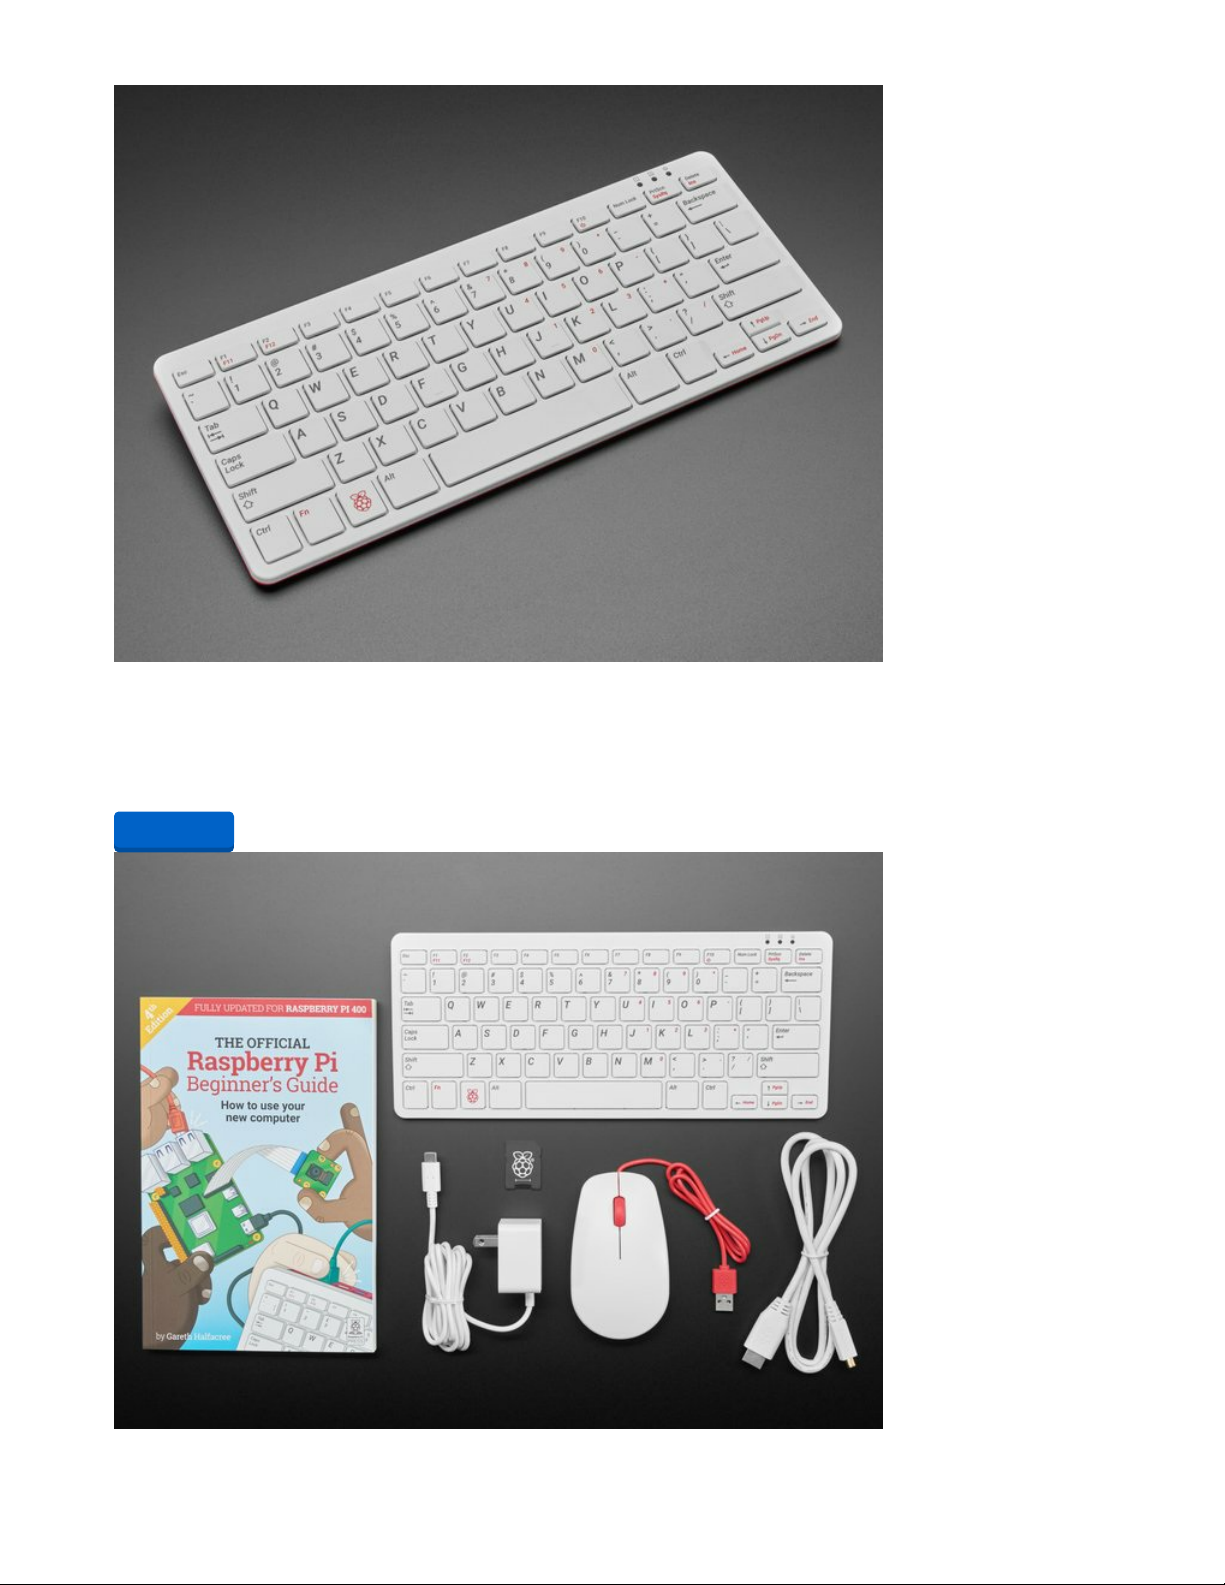
Raspberry Pi 400 Desktop - Computer Only
Raspberry Pi 400 is a complete Raspberry Pi 4-based personal computer, integrated into a keyboard. The
Pi 4 is the first computer from the Pi Foundation that really feels 'desktop...
$70.00
In Stock
Add to Cart
© Adafruit Industries https://learn.adafruit.com/analog-knobs-on-raspberrypi-400-with-cyberdeck-hat Page 4 of 25
Page 5
Raspberry Pi 400 Desktop - Full Computer Kit
Raspberry Pi 400 is a complete Raspberry Pi 4-based personal computer, integrated into a keyboard. The
Pi 4 is the first computer from the Pi Foundation that really feels 'desktop...
$100.00
In Stock
Your browser does not support the video tag.
Adafruit CYBERDECK HAT for Raspberry Pi 400
Cyber-warriors, listen up here! We’ve got with some zero-day unreleased hardware we just dumpsterdived. Now you can crack kodes, and write skripts with style, thanks to the...
Out of Stock
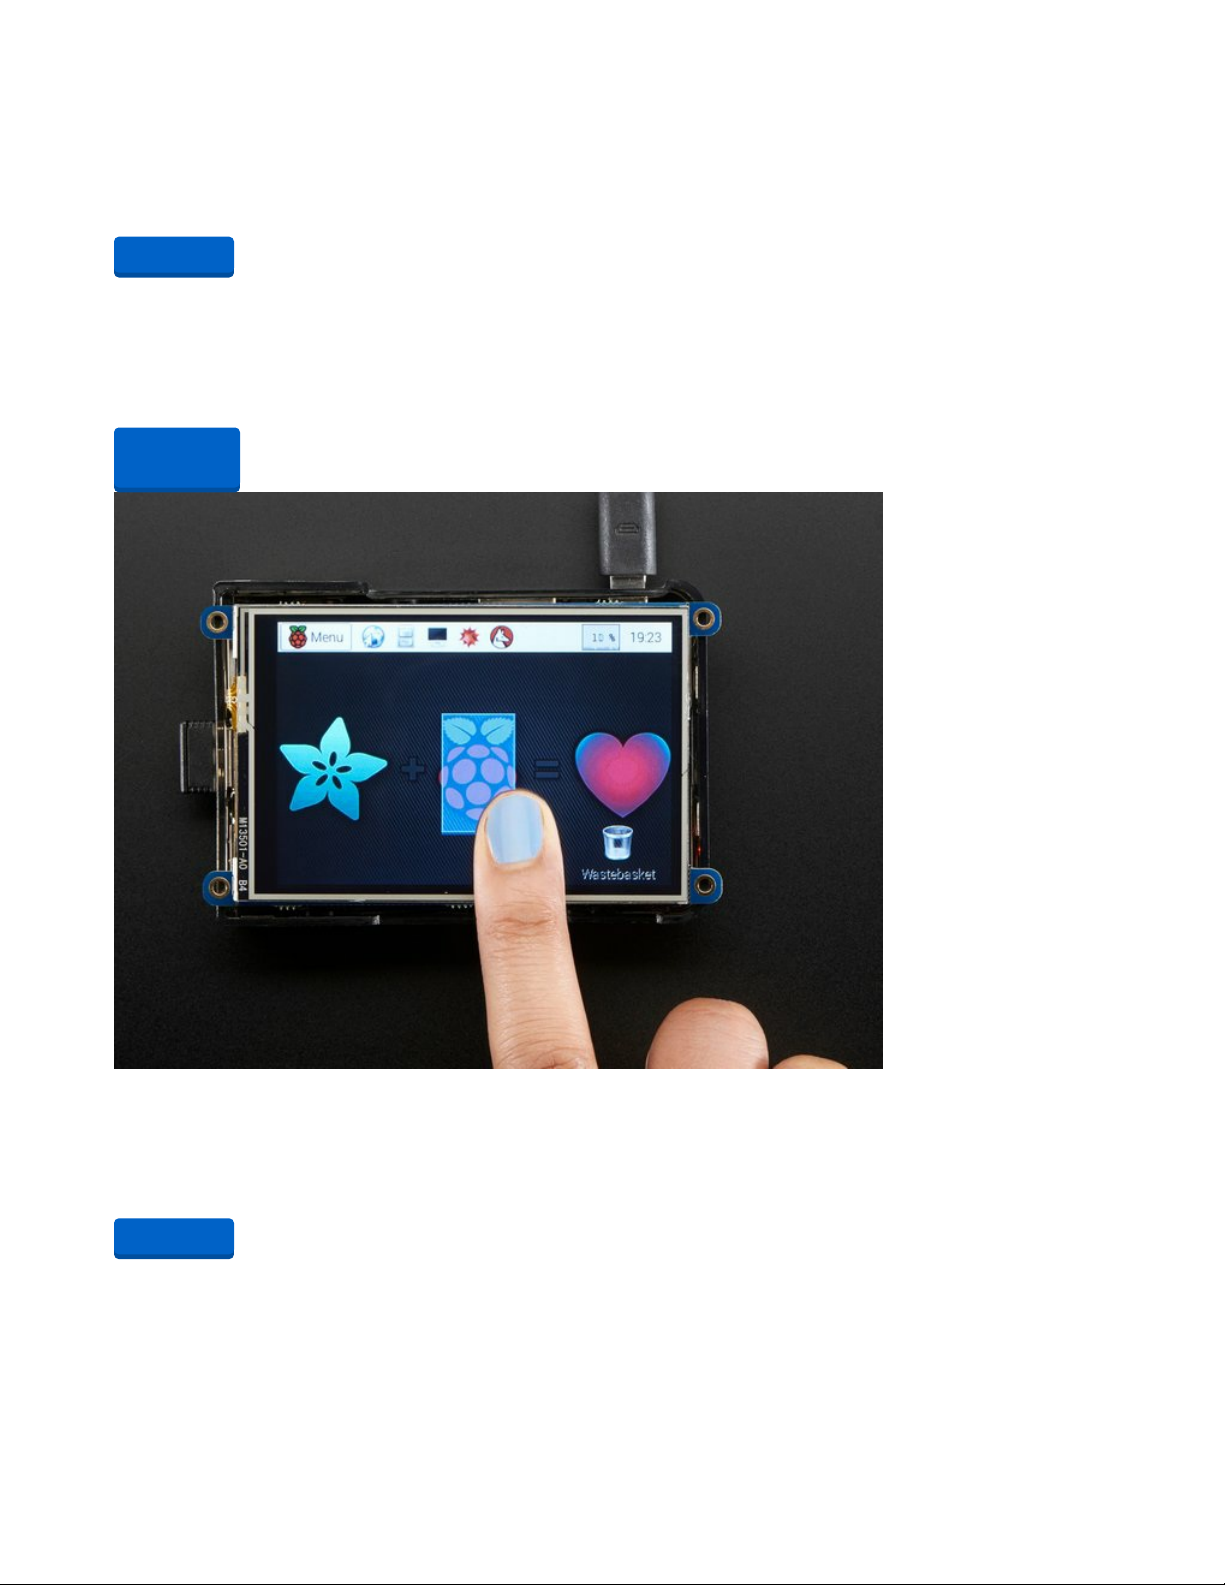
PiTFT Plus 480x320 3.5" TFT+Touchscreen for Raspberry Pi
Is this not the cutest, little display for the Raspberry Pi? It features a 3.5" display with 480x320 16-bit color
pixels and a resistive touch overlay
$44.95
In Stock
Add to Cart
Out of
Stock
Add to Cart
© Adafruit Industries https://learn.adafruit.com/analog-knobs-on-raspberrypi-400-with-cyberdeck-hat Page 5 of 25
Page 6
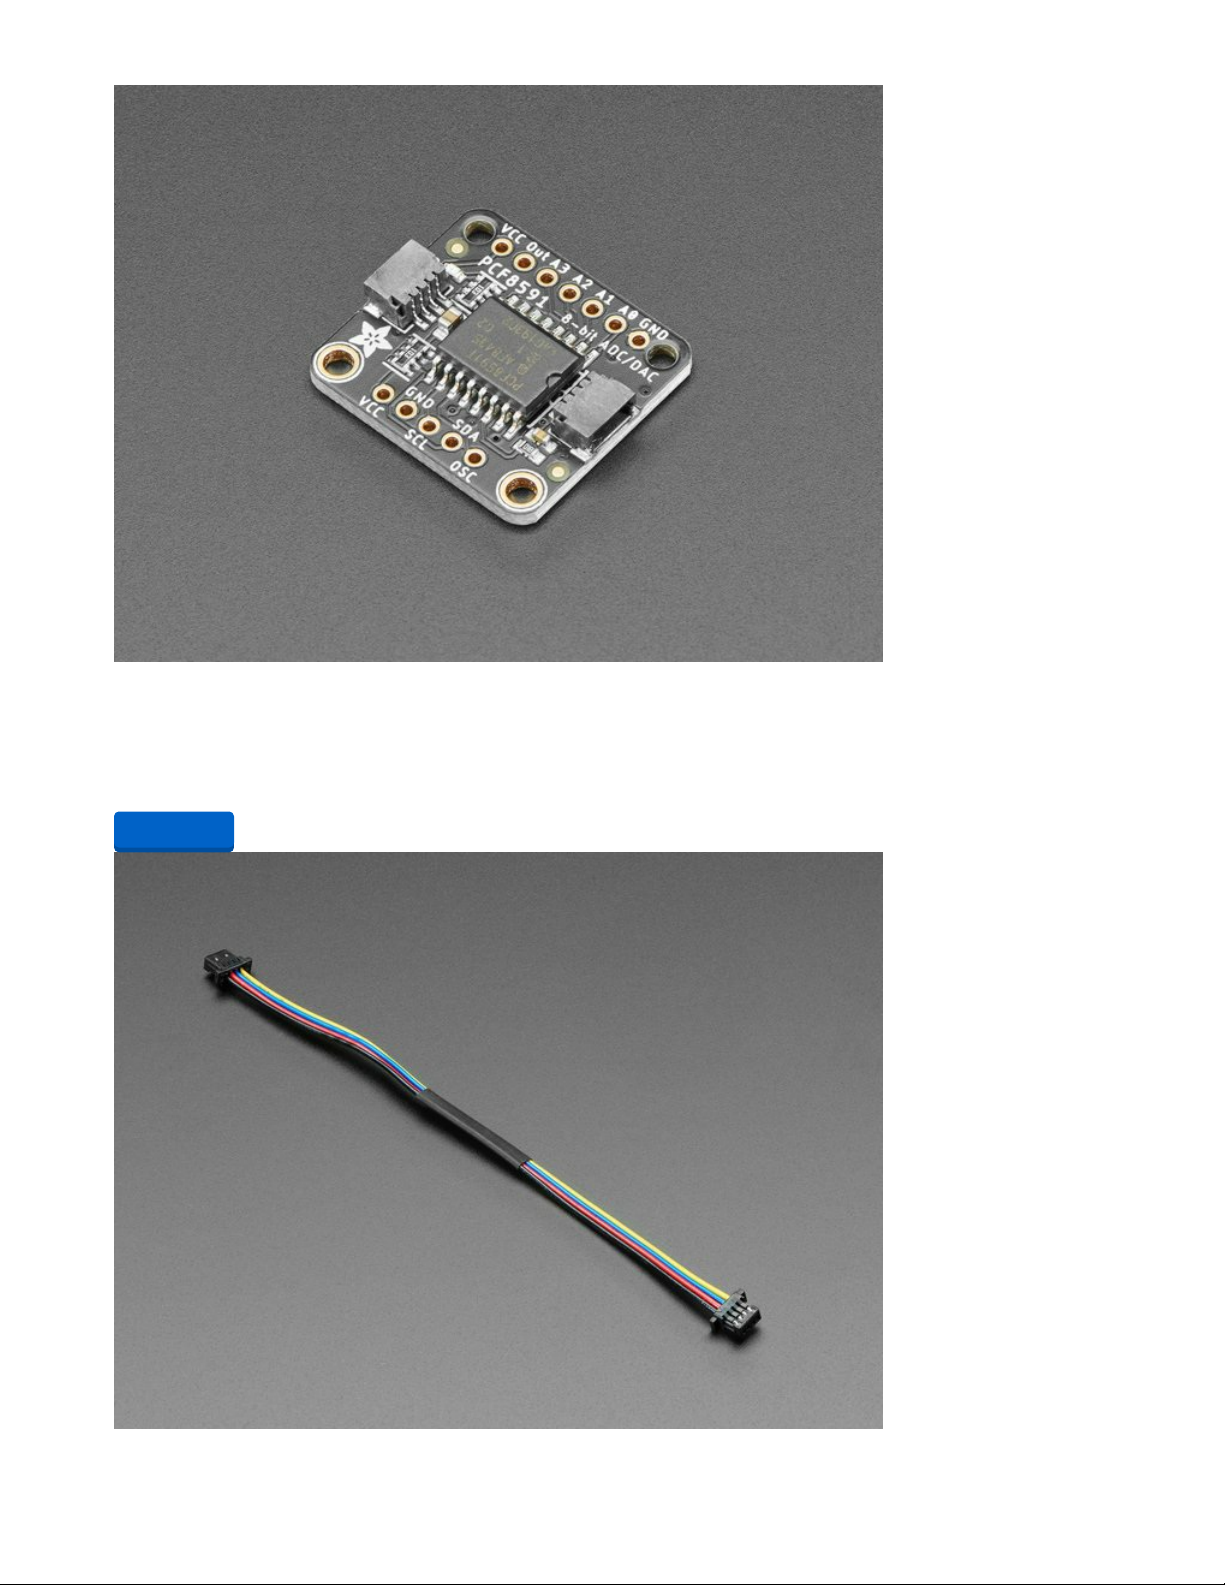
Adafruit PCF8591 Quad 8-bit ADC + 8-bit DAC - STEMMA QT / Qwiic
Measuring voltage and adjusting it is what electronics is all about so you won’t get far without friends like
the Adafruit PCF8591 Quad 8-bit ADC + 8-bit DAC...
$6.50
In Stock
Add to Cart
© Adafruit Industries https://learn.adafruit.com/analog-knobs-on-raspberrypi-400-with-cyberdeck-hat Page 6 of 25
Page 7
STEMMA QT / Qwiic JST SH 4-pin Cable - 100mm Long
This 4-wire cable is a little over 100mm / 4" long and fitted with JST-SH female 4-pin connectors on both
ends. Compared with the chunkier JST-PH these are 1mm pitch instead of...
$0.95
In Stock
4 x Potentiometer with Built In Knob
10K ohm
1 x Universal Proto-Board PCB
5cm x 7cm
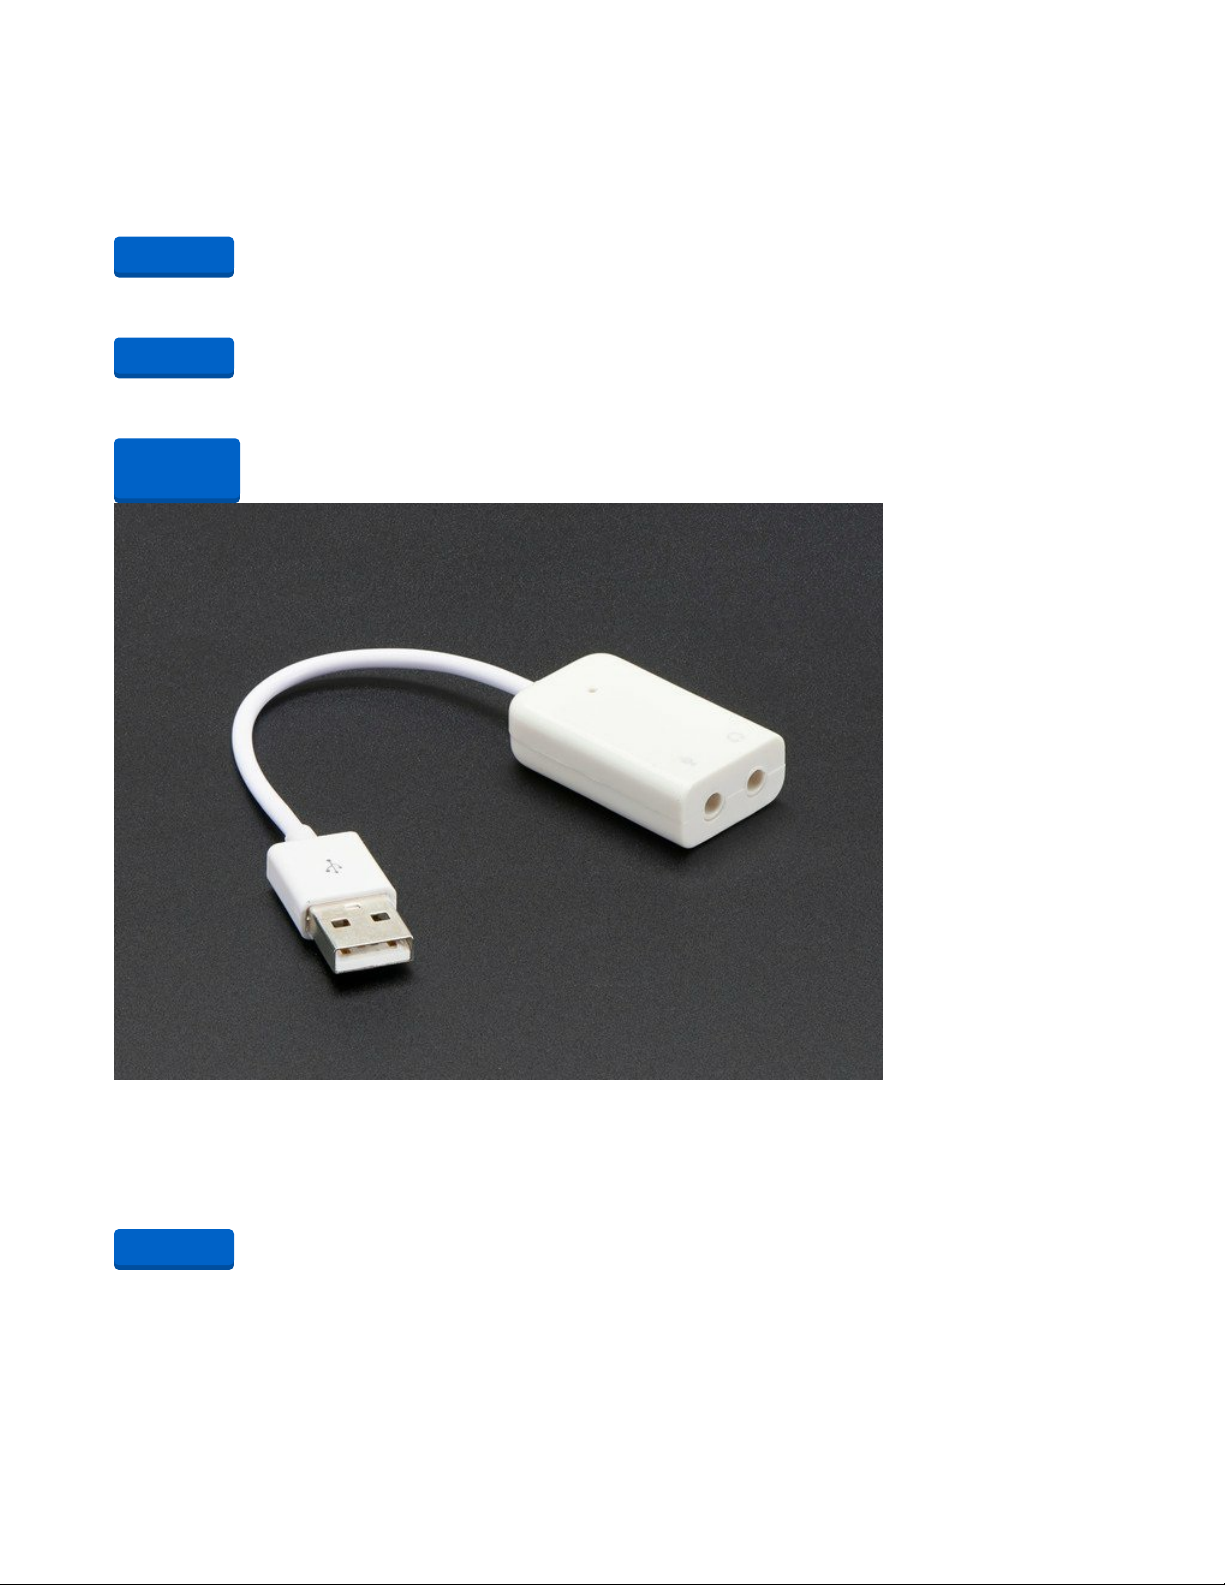
USB Audio Adapter - Works with Raspberry Pi
The Raspberry Pi has an on-board audio jack, which is super handy for all kinds of sound effects and
speech, just plug and go! However, for when you want better audio for music...
$4.95
In Stock
Optional
Add to Cart
Add to Cart
Out of
Stock
Add to Cart
© Adafruit Industries https://learn.adafruit.com/analog-knobs-on-raspberrypi-400-with-cyberdeck-hat Page 7 of 25
Page 8
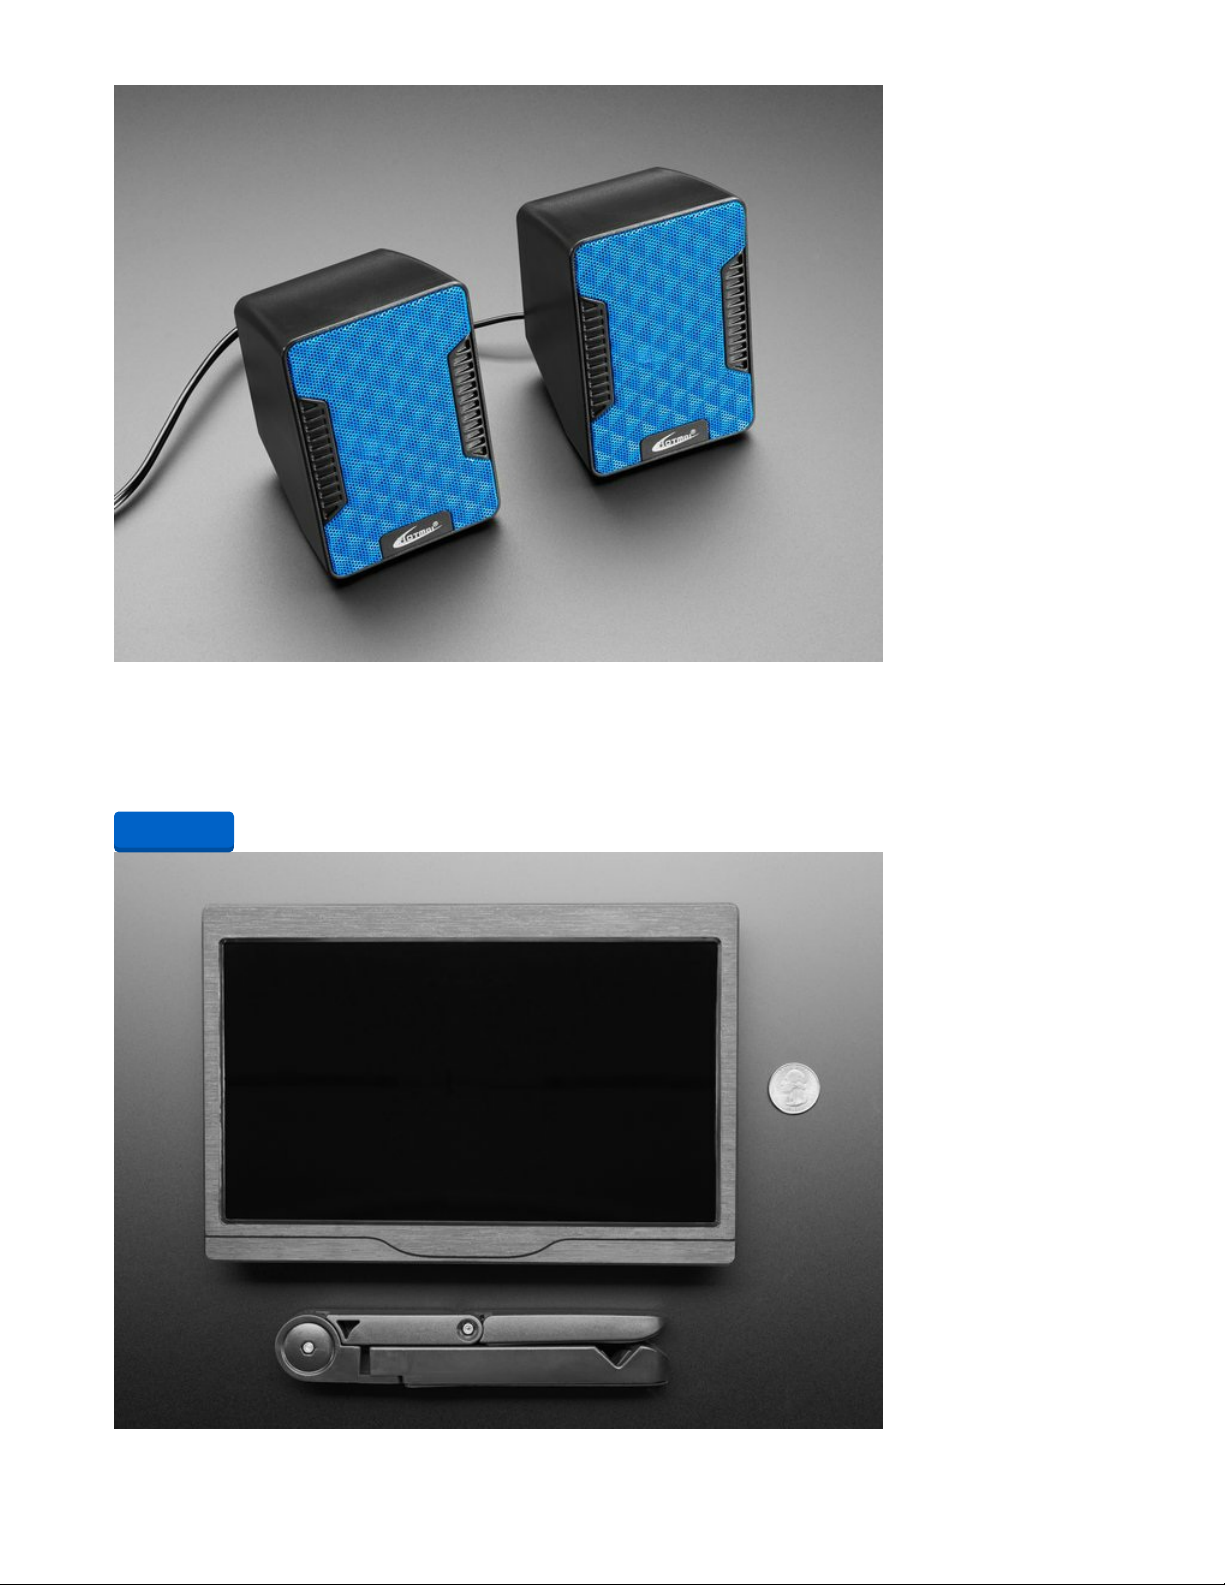
USB Powered Speakers
Add some extra boom to your audio project with these powered loudspeakers. We sampled half a dozen
different models to find ones with a good frequency response, so you'll get...
$9.95
In Stock
Add to Cart
© Adafruit Industries https://learn.adafruit.com/analog-knobs-on-raspberrypi-400-with-cyberdeck-hat Page 8 of 25
Page 9

10.1" 1366x768 Display IPS + Speakers - HDMI/VGA/NTSC/PAL
Yes, this is an adorable HDMI television with incredibly high resolution and built in 3.5W stereo speakers!
We tried to get the best possible HDMI/VGA display with...
$189.95
In Stock
Hook-up Wire Spool Set - 22AWG Solid Core - 6 x 25 ft
Perfect for bread-boarding, free wiring, etc. This box contains 6 spools of solid-core wire. The wire is easy
to solder to and when bent it keeps its shape pretty well. We like to have...
$15.95
In Stock
Add to Cart
Add to Cart
© Adafruit Industries https://learn.adafruit.com/analog-knobs-on-raspberrypi-400-with-cyberdeck-hat Page 9 of 25
Page 10

Hakko Professional Quality 20-30 AWG Wire Strippers
These are the finest wire strippers we have used, and if you have to do a lot of wiring, you will agree!
They have soft rounded grips - very comfortable to use, and precision ground...
$14.95
In Stock
Add to Cart
© Adafruit Industries https://learn.adafruit.com/analog-knobs-on-raspberrypi-400-with-cyberdeck-hat Page 10 of 25
Page 11

Flush diagonal cutters
These are the best diagonal cutters, large super-comfortable grip to use and have strong nippers for
perfect trimming of wires and leads. I've used my pair every day for years.
$7.25
In Stock
Add to Cart
© Adafruit Industries https://learn.adafruit.com/analog-knobs-on-raspberrypi-400-with-cyberdeck-hat Page 11 of 25
Page 12

Raspberry Pi 400 Setup
Rapsberry Pi OS
If you're using the Raspberry Pi 400 Desktop - Full Computer Kit you'll already have an SD card with
Rapsberry Pi OS on it. If you are using the Pi 400 Computer Only, you'll need to get an SD
card (https://adafru.it/RxC) and install Rapsberry Pi OS on it (https://adafru.it/Pf5).
With the SD card inserted, plug an HDMI monitor into your Pi
400 using HDMI port 0, plug in a mouse, and then power it
up.
I've labeled the HDMI ports in this photo -- sometimes there
are issues with playing audio over HDMI when adjusting to
certain resolutions and it can be helpful to start off using
HDMI port 0.
If this is your first time using the Pi, get started with this
excellent book, The Official Raspberry Pi Beginner's Guide,
which is available as a free .pdf (https://adafru.it/RxD).
Once your Pi is set up and running proceed with the directions below.
Audio Out
Since the Pi 400 lacks an audio output jack (all audio must be
sent over HDMI), we'll plug in a USB sound "card" in order to
get audio out to powered speakers, a mixer, or other gear.
Plug this into any USB port on the Pi, then run a 3.5mm TRS
cable to the output jack.
Software Setup
Now, make sure you have Python 3 setup, as Python 2 is no longer used or supported.
pip3, is the software package installer you'll use. Upgrade it to the latest version with this command from
a terminal:
sudo pip3 install --upgrade setuptools
If above doesn't work try
sudo apt-get install python3-pip
Once that has finished you'll be returned to the prompt.
Make sure you're using Python 3!
The default Python on your computer may not be Python 3. Python 2 is officially discontinued and all our
libraries are Python 3 only.
© Adafruit Industries https://learn.adafruit.com/analog-knobs-on-raspberrypi-400-with-cyberdeck-hat Page 12 of 25
Page 13

We'll be using python3 and pip3 in our commands, use those versions of Python and pip to make sure
you're using 3 and not 2.
Python Installation of PCF8591 Library
Since each platform is a little different, and Linux changes often, please visit the CircuitPython on Linux
guide to get your computer ready (https://adafru.it/BSN)!
Once that's done, from your command line run the following command:
sudo pip3 install adafruit-circuitpython-pcf8591
If your default Python is version 3 you may need to run 'pip' instead. Just make sure you aren't trying to
use CircuitPython on Python 2.x, it isn't supported!
Sonic-Pi
You can use the knobs and ADC on your Pi any way you like, but for the purposes of this guide, you
should try it out with Sonic-Pi, the live coding music software.
Head to this link (https://adafru.it/RxE) and then follow the terminal installation instructions. They look
something like this (the version may update after this guide was written, so follow the instructions on that
linked page):
sudo apt update
sudo apt install ./sonic-pi_3.3.1_1_armhf.deb
Python OSC
In order for the knobs to send messages to Sonic-Pi (or other synth software) you'll use OSC (Open Sound
Control) which is a modern alternative to MIDI for inter-instrument communications.
One great feature of OSC is its ability to send and receive messages among different programs on the
same computer via UDP.
Install the python-osc library (https://adafru.it/RxF) by running the following commands from the terminal:
pip3 install python-osc
Sending and Receiving OSC
Here's a terrific example (https://adafru.it/Rya) of sending OSC messages from a Python script and
listening/receiving those messages in Sonic-Pi. I've excerpted sections of it here:
live_loop :foo do
use_real_time
a, b, c = sync "/osc*/trigger/prophet"
synth :prophet, note: a, cutoff: b, sustain: c
end
In this example we described an OSC path "/osc*/trigger/prophet" which we're
syncing on. This can be any valid OSC path (all letters and numbers are
supported and the / is used like in a URL to break up the path to multiple
words). The /osc prefix is added by Sonic Pi to all incoming OSC messages,
© Adafruit Industries https://learn.adafruit.com/analog-knobs-on-raspberrypi-400-with-cyberdeck-hat Page 13 of 25
Page 14

so we need to send an OSC message with the path /trigger/prophet for our
sync to stop blocking and the prophet synth to be triggered.
Sending from Python
We can send OSC to Sonic Pi from any programming language that has an
OSC library. For example, if we're sending OSC from Python we might do
something like this:
from pythonosc import osc_message_builder
from pythonosc import udp_client
sender = udp_client.SimpleUDPClient('127.0.0.1', 4560)
sender.send_message('/trigger/prophet', [70, 100, 8])
Later you'll create a Python script that reads the knob inputs, and then converts the values and sends
OSC messages to be read by Sonic-Pi.
PiTFT Install
Follow these steps (https://adafru.it/FJ9) to install the PiTFT in FBCP mode. This mode mirrors the HDMI
output onto the PiTFT, and can be used stand-alone, no HDMI monitor required!
© Adafruit Industries https://learn.adafruit.com/analog-knobs-on-raspberrypi-400-with-cyberdeck-hat Page 14 of 25
Page 15

Build Control Knob Board with ADC
Analog Signals
Analog signals are different from digital signals in that they can be
any
voltage and can vary continuously
and smoothly between voltages. An analog signal is like a dimmer switch on a light, whereas a digital
signal is like a simple on/off switch.
Digital signals only can ever have two states, they are either are on (high logic level voltage like 3.3V)
or off (low logic level voltage like 0V / ground).
By contrast, analog signals can be any voltage in-between on and off, such as 1.8V or 0.001V or 2.98V
and so on.
Analog signals are continuous values which means they can be an
infinite
number of different voltages.
Think of analog signals like a floating point or fractional number, they can smoothly transiting to
any
in-
between value like 1.8V, 1.81V, 1.801V, 1.8001V, 1.80001V and so forth to infinity.
Many devices use analog signals, in particular sensors typically output an analog signal or voltage that
varies based on something being sensed like light, heat, humidity, etc. Some examples of sensors with
analog outputs:
Microphones (https://adafru.it/eQw)
Photocells (light sensitive resistors) (https://adafru.it/xfn)
Temperature sensors (https://adafru.it/xfq)
Force-sensitive resistors (https://adafru.it/xfR)
Flex sensors (https://adafru.it/yF7)
Thermistor (temperature sensitive resistor) (https://adafru.it/yF8)
Ultraviolet light sensor (https://adafru.it/yF9)
Light sensors (https://adafru.it/yFa)
© Adafruit Industries https://learn.adafruit.com/analog-knobs-on-raspberrypi-400-with-cyberdeck-hat Page 15 of 25
Page 16

Distance sensor (https://adafru.it/yFb)
Anemometer (wind speed sensor) (https://adafru.it/yFc)
Resistive touch screen (https://adafru.it/yFd)
Ultrasonic distance sensor (https://adafru.it/yFe)
Liquid level sensor (https://adafru.it/yFf)
Potentiometer (variable resistor) (https://adafru.it/tba)
Wire the Pots
The four potentiometers will act as voltage dividers, sending anywhere from 0V to 3.3V to their respective
ADC pins on the PCF8591.
Voltage dividers work by connecting one of the outer pot legs to ground, the other outer leg to positive
voltage (in this case 3.3V), and then the center (wiper) leg to an analog input pin on the ADC.
On a breadboard, you can connect your pots as shown here.
Perf Board
For this finished project, you'll connect your ADC board and pots on a perf board. The perf board has lots
of solder points, but none of them are connected by default as is the case with a breadboard. So, you'll
wire everything directly.
This diagram shows the connections necessary, however you'll do the wiring underneath the board, so
this image is a bit like an x-ray view.
© Adafruit Industries https://learn.adafruit.com/analog-knobs-on-raspberrypi-400-with-cyberdeck-hat Page 16 of 25
Page 17

Solid core hook-up wire works well for this type of hand-wired trace circuit.
© Adafruit Industries https://learn.adafruit.com/analog-knobs-on-raspberrypi-400-with-cyberdeck-hat Page 17 of 25
Page 18

Once you've built the circuit, you should use a multimeter in continuity mode to test that you don't have
any shorts.
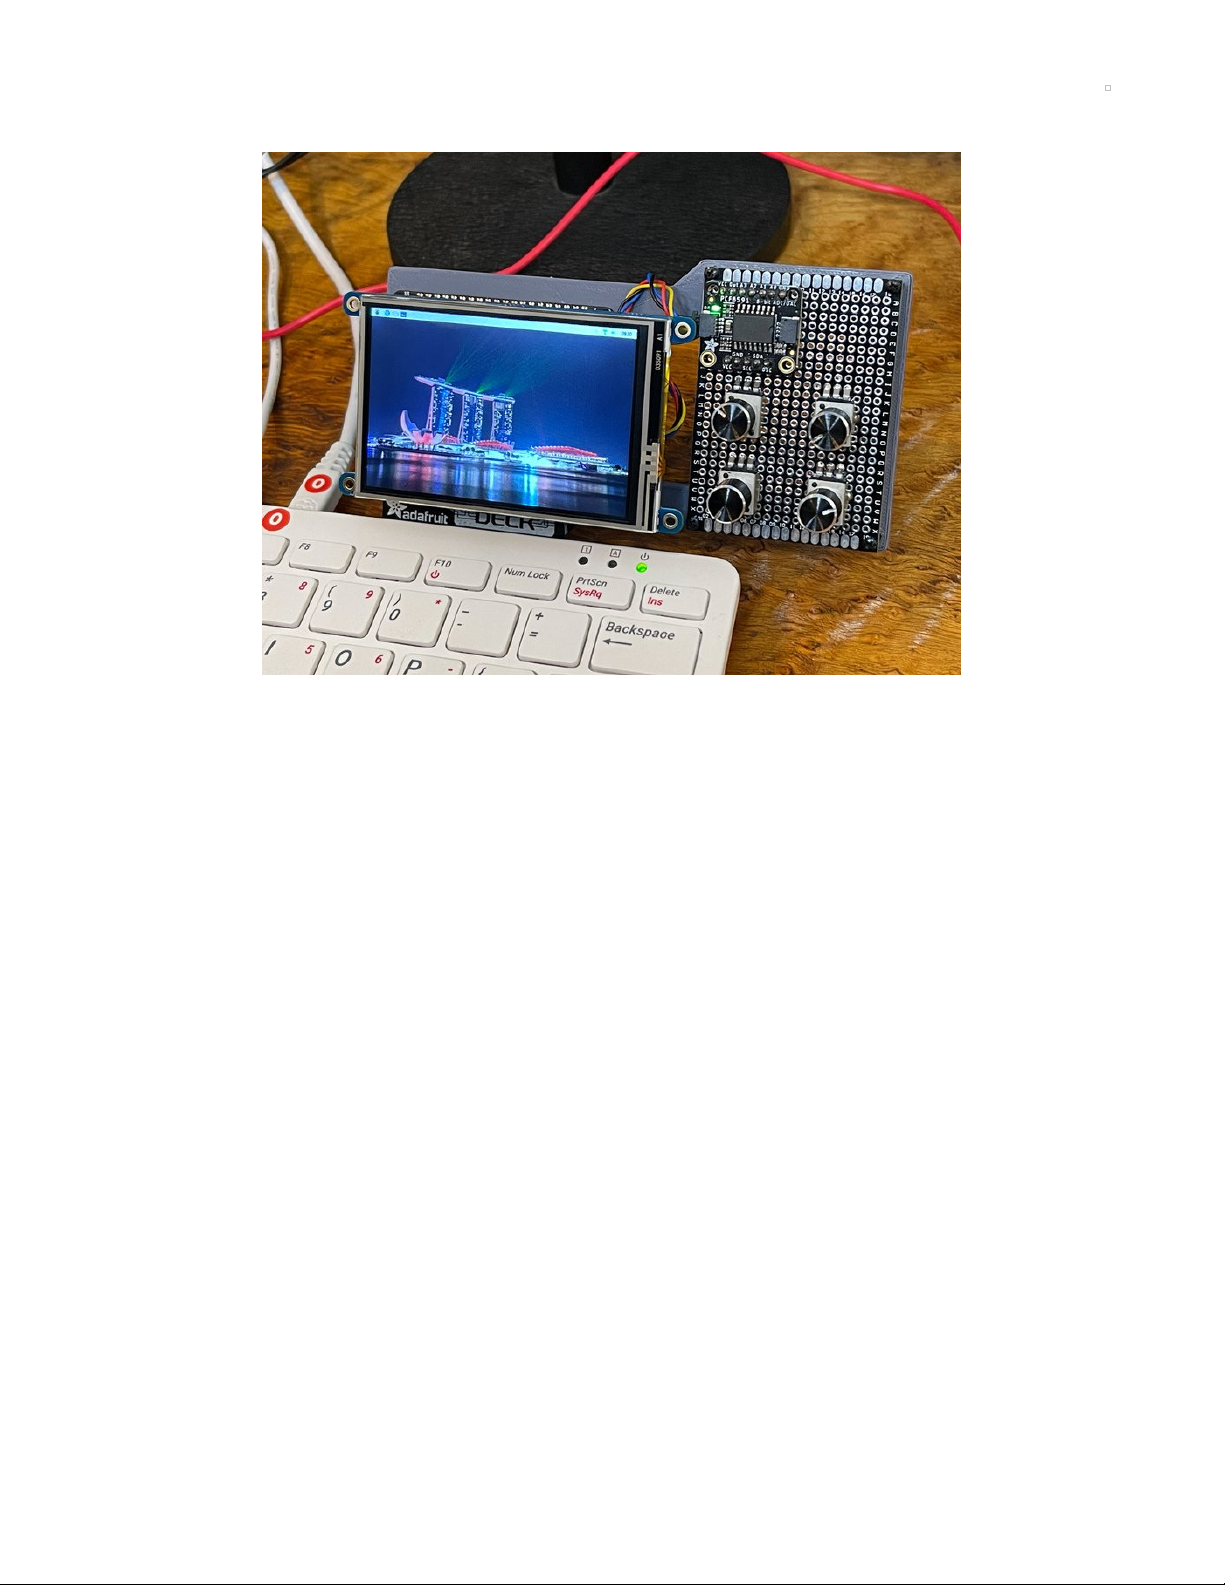
CYBERDECK Hat
The CYBERDECK Hat is perfect for adding accessories to the RPi 400. It breaks out all of the GPIO pins at
a useful angle, plus it adds convenient STEMMA QT/Qwiic plugs for easy I2C use.
The CYBERDECK also gives us a great place to mount additional boards. This mounting plate allows us to
add the knob board to the CYBERDECK.
Download the model from the link below and print it in PLA at 0.2mm layer height, 60% infill.
© Adafruit Industries https://learn.adafruit.com/analog-knobs-on-raspberrypi-400-with-cyberdeck-hat Page 18 of 25
Page 19

https://adafru.it/Ryb
Use M2.5 screws and nuts to fasten the mounting plate to
the CYBERDECK Hat.
Use M2 standoffs, nuts, and screws to fasten the knob board
to the mounting plate.
With the Pi powered off, insert the CYBERDECK Hat into the GPIO pin slot, being careful to align the pins
properly.
https://adafru.it/Ryb
© Adafruit Industries https://learn.adafruit.com/analog-knobs-on-raspberrypi-400-with-cyberdeck-hat Page 19 of 25
Page 20

PiTFT
You can now add the PiTFT to the CYBERDECK Hat and
power up the Pi.
© Adafruit Industries https://learn.adafruit.com/analog-knobs-on-raspberrypi-400-with-cyberdeck-hat Page 20 of 25
Page 21

Use Knob Controller in Python
Read Knobs in Python
Time to try things out! Fire up your Pi 400 and then launch a Python editor such as Thonny or Mu.
Copy the code below, paste it into your Python editor, and then run the code by pressing the "play"
button.
© Adafruit Industries https://learn.adafruit.com/analog-knobs-on-raspberrypi-400-with-cyberdeck-hat Page 21 of 25
Page 22

#!/usr/bin/env python
import time
import board
import adafruit_pcf8591.pcf8591 as PCF
from adafruit_pcf8591.analog_in import AnalogIn
i2c = board.I2C()
pcf = PCF.PCF8591(i2c)
pcf_in_0 = AnalogIn(pcf, PCF.A0)
pcf_in_1 = AnalogIn(pcf, PCF.A1)
pcf_in_2 = AnalogIn(pcf, PCF.A2)
pcf_in_3 = AnalogIn(pcf, PCF.A3)
while True:
a_val = pcf_in_0.value
print((a_val))
b_val = pcf_in_1.value
print(b_val)
c_val = pcf_in_2.value
print((c_val))
d_val = pcf_in_3.value
print(d_val)
time.sleep(0.1)
Turn the knobs and you'll see the four values changing, from 0 to 65,535.
Python Knobs OSC Code
Copy the code shown below and paste it into a new empty document in Thonny or Mu. You can save it as
pi400_knobs_osc.py and then run it.
This will cause the knob readings to send out OSC messages. Next, we'll create Sonic-Pi code to read the
messages and play music!
© Adafruit Industries https://learn.adafruit.com/analog-knobs-on-raspberrypi-400-with-cyberdeck-hat Page 22 of 25
Page 23

# SPDX-FileCopyrightText: 2021 John Park for Adafruit Industries
# SPDX-License-Identifier: MIT
#!/usr/bin/env python
import time
import board
from adafruit_simplemath import map_range
import adafruit_pcf8591.pcf8591 as PCF
from adafruit_pcf8591.analog_in import AnalogIn
from pythonosc import udp_client
sender = udp_client.SimpleUDPClient("127.0.0.1", 4560)
sender.send_message("/trigger/prophet", [43, 110, 1, 0.7])
i2c = board.I2C()
pcf = PCF.PCF8591(i2c)
pcf_in_0 = AnalogIn(pcf, PCF.A0)
pcf_in_1 = AnalogIn(pcf, PCF.A1)
pcf_in_2 = AnalogIn(pcf, PCF.A2)
pcf_in_3 = AnalogIn(pcf, PCF.A3)
try:
while True:
osc_0_val = int(255 - (pcf_in_0.value / 256)) # convert values to useful ranges
osc_1_val = int(255 - (pcf_in_1.value / 256))
osc_2_val = int(255 - (pcf_in_2.value / 256))
osc_3_val = int(255 - (pcf_in_3.value / 256))
osc_note_val = int(
map_range(osc_0_val, 0, 255, 43, 58)
) # map values to relevant ranges
osc_cutoff_val = int(map_range(osc_1_val, 0, 255, 30, 110))
osc_sustain_val = map_range(osc_2_val, 0, 255, 0.2, 2)
osc_gain_val = map_range(osc_3_val, 0, 255, 0, 1.0)
# print((osc_note_val, osc_cutoff_val, osc_sustain_val, osc_gain_val)) # for plotter
sender.send_message(
"/trigger/prophet",
[osc_note_val, osc_cutoff_val, osc_sustain_val, osc_gain_val],
)
time.sleep(0.001)
except KeyboardInterrupt:
print("done")
Sonic-Pi Script
Here's a Sonic-Pi script that will listen for the OSC values sent from the knob readings, and use those
values to adjust the notes, filter cutoff, sustain, and gain.
Copy this and then paste it into a new buffer in Sonic-Pi.
© Adafruit Industries https://learn.adafruit.com/analog-knobs-on-raspberrypi-400-with-cyberdeck-hat Page 23 of 25
Page 24

live_loop :knob_patch do
use_real_time
a, b, c, d = sync "/osc*/trigger/prophet"
synth :prophet, note: a, cutoff: b, sustain: c, amp: d
sleep 0.25
4.times do # loop a short arpeggio
a=a+2
synth :prophet, note: a, cutoff: b, amp: d
sleep 0.25
end
end
© Adafruit Industries https://learn.adafruit.com/analog-knobs-on-raspberrypi-400-with-cyberdeck-hat Page 24 of 25
Page 25

© Adafruit Industries Last Updated: 2021-04-01 07:36:36 PM EDT Page 25 of 25
 Loading...