

Page 1

Adafruit IO Basics: AirLift
Created by Brent Rubell
Last updated on 2021-03-03 05:48:44 PM EST
Page 2

2
3
3
3
4
7
8
8
8
8
9
9
11
11
12
12
15
16
17
18
19
19
19
19
19
19
19
Guide Contents
Guide Contents
Overview
Why use AirLift?
External AirLift
AirLift all-in-One Boards
Adafruit IO Setup
CircuitPython
Install CircuitPython
Internet Connect!
Secrets File Setup for Adafruit IO
CircuitPython Library Installation
CircuitPython Usage
Adafruit IO Usage
Next Steps
Arduino IO Library
Installation
Usage
Usage
Adafruit IO Usage
Next Steps
IO FAQ
Can I build my own Client Library for Adafruit IO?
My data isn't displaying, is Adafruit IO's {service/MQTT/API} down?
Is my data being sent properly? Am I sending too much data?
What about the data that my project generates? Where does it go? What happens to it? Are you going to sell it?
I have an Alexa/Echo Dot/AI Voice Assistant. How do I interface it with Adafruit IO?
I don't see my question listed.
© Adafruit Industries https://learn.adafruit.com/adafruit-io-basics-airlift Page 2 of 20
Page 3

Overview
Adafruit IO is the easiest way to stream, log, and interact with your data (https://adafru.it/eIC). It's built from
the ground up to be easy to use - we do the hard stuff so you can focus on the fun stuff.
If you want to the best way of bringing your project online - combine Adafruit IO and AirLift! Our ESP32based AirLift boards and breakouts are the newest way to connect your project to Adafruit IO, our
internet-of-things service for everyone (https://adafru.it/eIC)!
Before you continue with this guide, you should run through the guide for your connecting specific board
or breakout to the Internet. This guide assumes your AirLift hardware is set up, connected to the Internet,
and ready to connect to Adafruit IO.
Why use AirLift?
Having WiFi managed by a separate chip means your code is simpler, you don't have to cache socket
data, or compile in & debug an SSL library. With AirLift, you can send basic but powerful socket-based
commands over 8MHz SPI for high speed data transfer. The ESP32 can handle all the heavy lifting of
connecting to a WiFi network and transferring data from a site, even if its using the latest TLS/SSL
encryption (it has root certificates pre-burned in).
The firmware on board is a slight variant of the Arduino WiFiNINA core, which works
great, (https://adafru.it/E7O) and our Adafruit IO Libraries for CircuitPython (https://adafru.it/Ean) and
Arduino (https://adafru.it/fpd) support AirLift!
External AirLift
If you already have a project which uses a popular microcontroller (like the ATMega328 or ATSAMD51),
you can easily add WiFi by using an externally connected AirLift module.
© Adafruit Industries https://learn.adafruit.com/adafruit-io-basics-airlift Page 3 of 20
Page 4
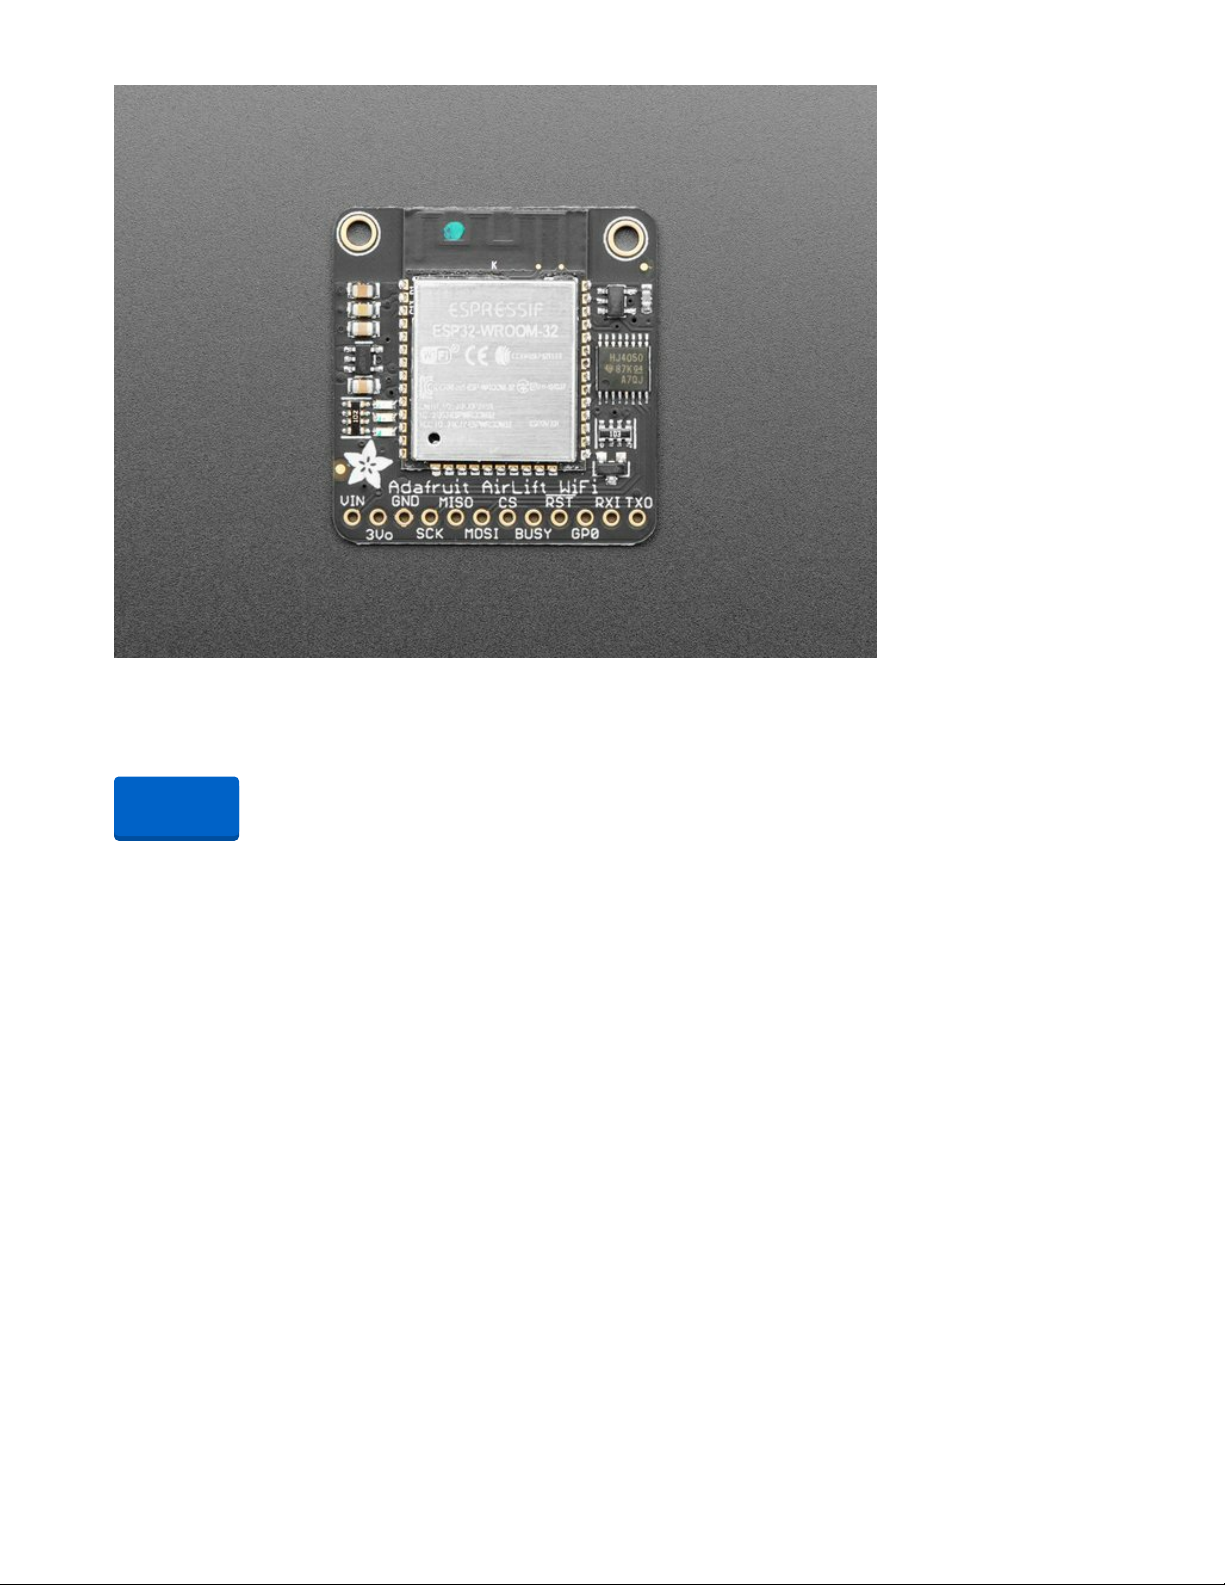
Adafruit AirLift – ESP32 WiFi Co-Processor Breakout Board
Give your plain ol' microcontroller project a lift with the Adafruit AirLift - a breakout board that lets you use
the powerful ESP32 as a WiFi co-processor. You probably...
Out of Stock
AirLift all-in-One Boards
Don't want to add extra hardware to your project?
Consider grabbing a board which has an ESP32 WiFi
co-processor built-in!
Out of
Stock
© Adafruit Industries https://learn.adafruit.com/adafruit-io-basics-airlift Page 4 of 20
Page 5
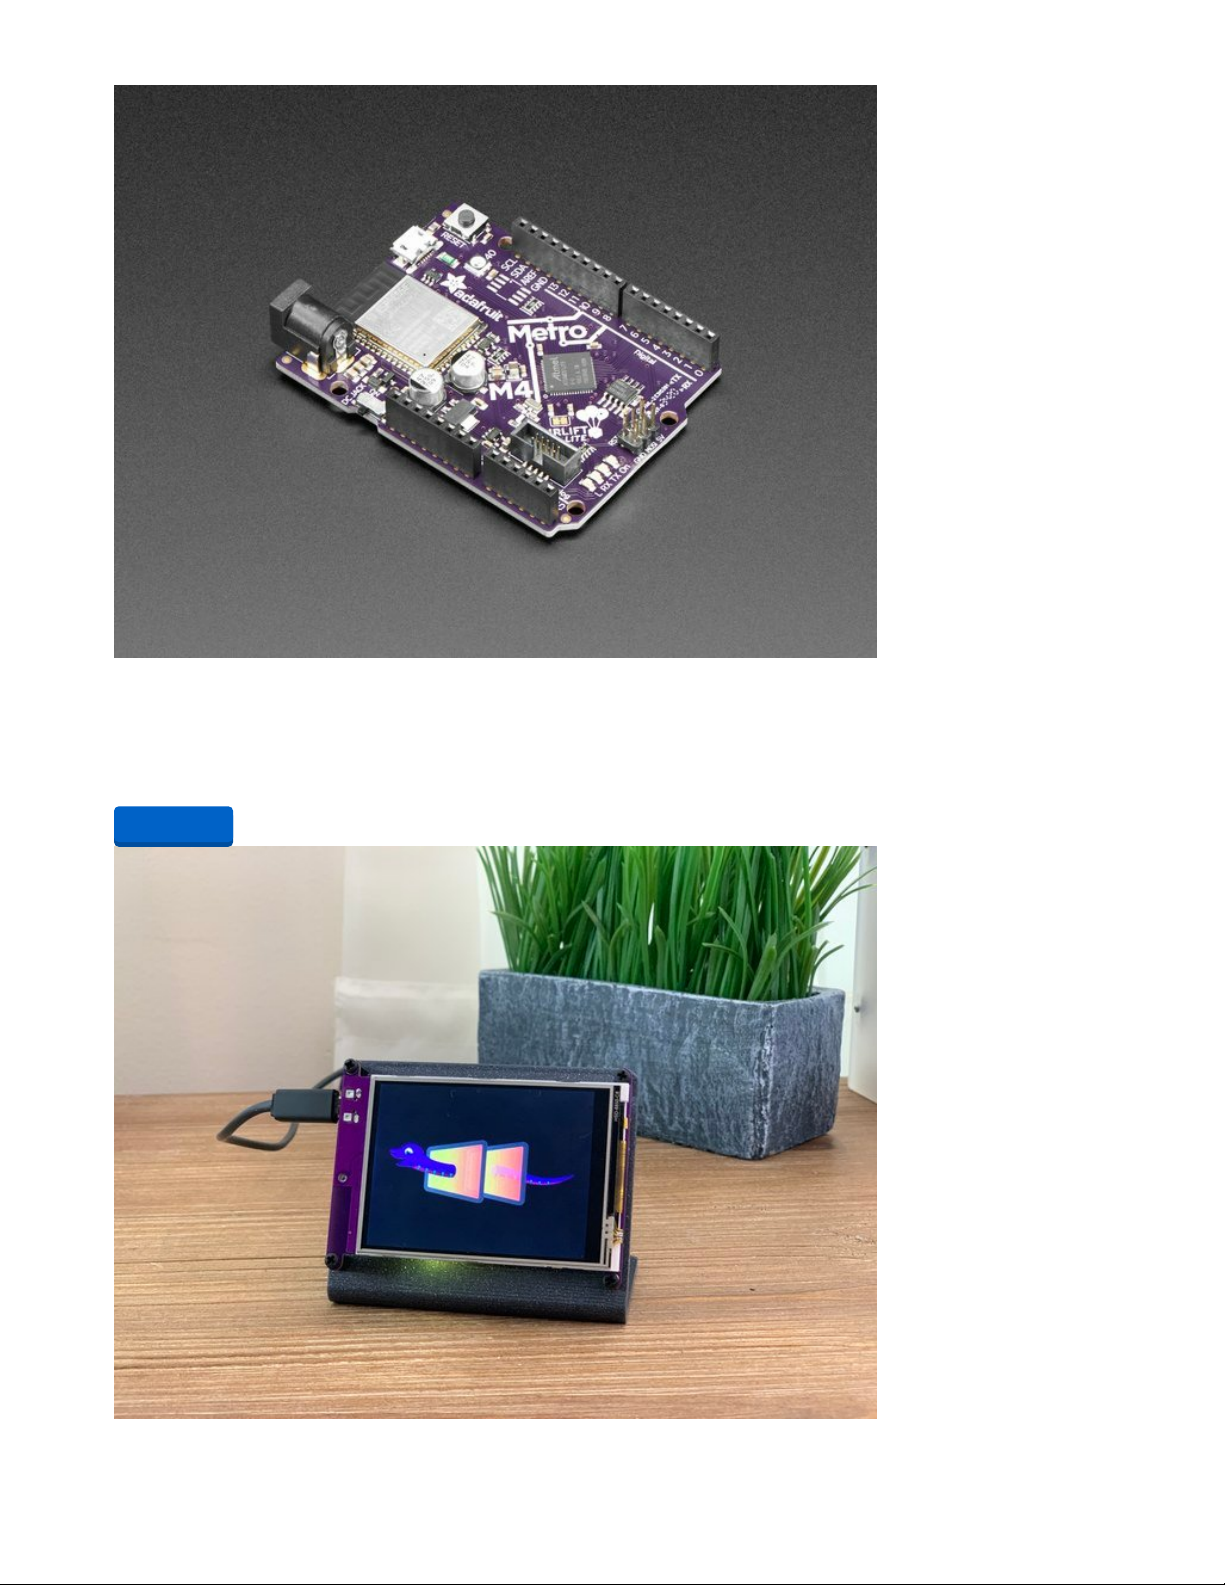
Adafruit Metro M4 Express AirLift (WiFi) - Lite
Give your next project a lift with AirLift - our witty name for the ESP32 co-processor that graces this Metro
M4. You already know about the Adafruit Metro...
$34.95
In Stock
Add to Cart
© Adafruit Industries https://learn.adafruit.com/adafruit-io-basics-airlift Page 5 of 20
Page 6

Adafruit PyPortal - CircuitPython Powered Internet Display
PyPortal, our easy-to-use IoT device that allows you to create all the things for the “Internet of Things” in
minutes. Make custom touch screen interface...
Out of Stock
Out of
Stock
© Adafruit Industries https://learn.adafruit.com/adafruit-io-basics-airlift Page 6 of 20
Page 7

Adafruit IO Setup
If you have not already registered an Adafruit IO account, visit the registration page and sign
up (https://adafru.it/dAQ).
Once you have registered an account, navigate to Adafruit IO and log into your
account (https://adafru.it/eIC). You'll be directed to the Home page.
Click View AIO Key on the right-hand sidebar to r etrieve your Adafruit IO Username and Active Key.
Write these down somewhere safe - you'll need them later!
© Adafruit Industries https://learn.adafruit.com/adafruit-io-basics-airlift Page 7 of 20
Page 8

CircuitPython
To easily connect AirLift hardware to Adafruit IO using CircuitPython, we've written an Adafruit IO
CircuitPython module (https://adafru.it/EFZ) to provide simple interaction with the Adafruit IO HTTP and
MQTT APIs.
Install CircuitPython
Some of the CircuitPython compatible boards come with CircuitPython installed. Others are
CircuitPython-
ready
, but need to have it installed. As well, you may want to update the version of CircuitPython already
installed on your board. The steps are the same for installing and updating.
To install (or update) your CircuitPython board, follow this page and come back here when you've
successfully installed (or updated) CircuitPython. (https://adafru.it/Amd)
Internet Connect!
Once you have CircuitPython setup and libraries installed, you can get your project connected to the
Internet.
To do this, you'll be editing CircuitPython code and will need an editor. We suggest using Mu, a
lightweight text editor with support for CircuitPython built-in.
Click the button below to get instructions on how to install the Mu Editor.
https://adafru.it/ANO
If you have not yet connected your board to the Internet, follow one of the guides below and come back
when you've successfully connected to the internet:
If you have an AirLift All-in-One board (like the Metro M4 WiFi or PyPortal), follow this page to
connect to the internet (https://adafru.it/Eao).
If you have an externally connected AirLift , follow this page to connect to the
internet (https://adafru.it/EF-).
Secrets File Setup for Adafruit IO
While you created a secrets file and connected to the Internet in the previous step, you'll need to edit the
secrets file to include your Adafruit IO Username and Secret Key.
Add the following code to your secrets.py file, replacing _your_adafruit_io_username with your Adafruit IO
username.
Then, replace _your_big_huge_super_long_aio_key_ with your Adafruit IO Active Key.
secrets = {
'ssid' : '_your_wifi_ssid',
'password' : '_your_wifi_password',
'aio_username' : '_your_adafruit_io_username',
'aio_key' : '_your_big_huge_super_long_aio_key_'
}
Make sure you save this file before proceeding as secrets.py in the root directory of your board
CIRCUITPY drive.
https://adafru.it/ANO
© Adafruit Industries https://learn.adafruit.com/adafruit-io-basics-airlift Page 8 of 20
Page 9

CircuitPython Library Installation
To interface your AirLift breakout/board with and the Internet - you'll need to install a few CircuitPython
libraries on your board.
First make sure you are running the latest version of Adafruit CircuitPython (https://adafru.it/tBa) for your
board.
Next you'll need to install the necessary libraries to use the hardware--carefully follow the steps to find and
install these libraries from Adafruit's CircuitPython library bundle (https://adafru.it/zdx) matching your
version of CircuitPython.
Before continuing - make sure your board's lib folder has the following files and folders copied over.
adafruit_io
adafruit_esp32spi
adafruit_bus_device
adafruit_requests.mpy
neopixel.mpy
CircuitPython Usage
Copy the following code to your code.py file on your microcontroller:
# SPDX-FileCopyrightText: 2021 ladyada for Adafruit Industries
# SPDX-License-Identifier: MIT
# adafruit_circuitpython_adafruitio usage with an esp32spi_socket
from random import randint
import board
import busio
from digitalio import DigitalInOut
import adafruit_esp32spi.adafruit_esp32spi_socket as socket
from adafruit_esp32spi import adafruit_esp32spi
import adafruit_requests as requests
from adafruit_io.adafruit_io import IO_HTTP, AdafruitIO_RequestError
# Add a secrets.py to your filesystem that has a dictionary called secrets with "ssid" and
# "password" keys with your WiFi credentials. DO NOT share that file or commit it into Git or other
# source control.
# pylint: disable=no-name-in-module,wrong-import-order
try:
from secrets import secrets
except ImportError:
print("WiFi secrets are kept in secrets.py, please add them there!")
raise
# If you are using a board with pre-defined ESP32 Pins:
esp32_cs = DigitalInOut(board.ESP_CS)
esp32_ready = DigitalInOut(board.ESP_BUSY)
esp32_reset = DigitalInOut(board.ESP_RESET)
# If you have an externally connected ESP32:
# esp32_cs = DigitalInOut(board.D9)
# esp32_ready = DigitalInOut(board.D10)
# esp32_reset = DigitalInOut(board.D5)
spi = busio.SPI(board.SCK, board.MOSI, board.MISO)
esp = adafruit_esp32spi.ESP_SPIcontrol(spi, esp32_cs, esp32_ready, esp32_reset)
© Adafruit Industries https://learn.adafruit.com/adafruit-io-basics-airlift Page 9 of 20
Page 10

print("Connecting to AP...")
while not esp.is_connected:
try:
esp.connect_AP(secrets["ssid"], secrets["password"])
except RuntimeError as e:
print("could not connect to AP, retrying: ", e)
continue
print("Connected to", str(esp.ssid, "utf-8"), "\tRSSI:", esp.rssi)
socket.set_interface(esp)
requests.set_socket(socket, esp)
# Set your Adafruit IO Username and Key in secrets.py
# (visit io.adafruit.com if you need to create an account,
# or if you need your Adafruit IO key.)
aio_username = secrets["aio_username"]
aio_key = secrets["aio_key"]
# Initialize an Adafruit IO HTTP API object
io = IO_HTTP(aio_username, aio_key, requests)
try:
# Get the 'temperature' feed from Adafruit IO
temperature_feed = io.get_feed("temperature")
except AdafruitIO_RequestError:
# If no 'temperature' feed exists, create one
temperature_feed = io.create_new_feed("temperature")
# Send random integer values to the feed
random_value = randint(0, 50)
print("Sending {0} to temperature feed...".format(random_value))
io.send_data(temperature_feed["key"], random_value)
print("Data sent!")
# Retrieve data value from the feed
print("Retrieving data from temperature feed...")
received_data = io.receive_data(temperature_feed["key"])
print("Data from temperature feed: ", received_data["value"])
Connect to the serial monitor to see the output. It should look something like the following:
code.py output:
Sending 13 to temperature feed...
Data sent!
Retrieving data from temperature feed...
Data from temperature feed: 13
If the REPL outputs an AttributeError instead of running the code - you'll need to manually configure the
AirLift module pin connections.
To do this, edit the following lines of code by replacing the pin values of esp32_cs , esp32_ready , and
esp32_reset with the pinout from your AirLift module:
except AttributeError:
esp32_cs = DigitalInOut(board.D9)
esp32_ready = DigitalInOut(board.D10)
esp32_reset = DigitalInOut(board.D5)
Congrats - you've sent a value to an Adafruit IO Feed, and retrieved it back!
© Adafruit Industries https://learn.adafruit.com/adafruit-io-basics-airlift Page 10 of 20
Page 11

Adafruit IO Usage
While you sent data to Adafruit IO, how do you know that Adafruit IO is receiving this data?
One of the most important places to check is the Adafruit IO Monitor Page. This page displays incoming
data from your active feeds and any errors which might've occurred.
To do this, log into Adafruit IO and click here to navigate to the
monitor page (https://adafru.it/DOK).
If everything worked correctly, you should see a random
value sent to the temperature feed when the code is run.
Next Steps
You've successfully connected your CircuitPython board to Adafruit IO,
now what?
Would you like to add a sensor to your project? What about displaying your data on a graph? Control a
motor from the Internet? Set the colors of a RGB LED from the Internet? Monitor the temperature and
humidity of a room from across the world?
To continue your educational journey with Adafruit IO , click here to visit the Adafruit IO Basics series for
guides about the topics listed and more! (https://adafru.it/iDX)
Need some inspiration for your next project? We have
lots
of Adafruit IO-specific guides on the Adafruit
Learning System. Click here to view more projects and guides for Adafruit IO (https://adafru.it/iRB).
© Adafruit Industries https://learn.adafruit.com/adafruit-io-basics-airlift Page 11 of 20
Page 12

Arduino IO Library
Adafruit IO Arduino is NOT compatible with AVR boards like the Metro 328p
If you're using a non-SAMD board (such as an Adafruit Metro or Arduino Uno) with an AirLift Co-Processor,
you will not be able to use Adafruit IO Arduino with an AirLift Breakout/Shield/FeatherWing (it's a large
library and will not fit on these boards).
For using these boards securely with Adafruit IO, we suggest the Adafruit MQTT
Library (https://adafru.it/fp6) instead of Adafruit IO Arduino. We've added a usage example for AirLift CoProcessors here (https://adafru.it/ENc).
Installation
Installing Adafruit IO on Arduino requires four libraries: Adafruit's WiFiNINA , Adafruit IO, Adafruit MQTT,
and ArduinoHttpClient.
If you have these libraries already installed - you will need to update them to the versions listed on this
page for use with AirLift.
To install the Adafruit WiFiNINA library, click the link below to download the library as a zip file:
https://adafru.it/Evm
To install this library, navigate to the Add .ZIP Library option in the Sketch -> Include Library menu and
select the zip file from the file browser.
Enter Arduino HTTP into the search box, and click Install on the ArduinoHttpClient library option to install
version 0.4.0 or higher.
You are going to install the next few libraries using the Arduino Library Manager. Navigate to the Manage
Libraries... option in the Sketch -> Include Library menu.
https://adafru.it/Evm
© Adafruit Industries https://learn.adafruit.com/adafruit-io-basics-airlift Page 12 of 20
Page 13

(https://adafru.it/EG1)
Enter Arduino HTTP into the search box, and click Install on the ArduinoHttpClient library option to install
version 0.4.0 or higher.
(https://adafru.it/EG2)
Enter Adafruit MQTT into the search box, and click Install on the Adafruit MQTT library option to install
version 1.0.0 or higher.
(https://adafru.it/EG3)
© Adafruit Industries https://learn.adafruit.com/adafruit-io-basics-airlift Page 13 of 20
Page 14

Enter Adafruit IO Arduino into the search box, and click Install on the Adafruit IO Arduino library option
to install version 3.1.0 or higher .
© Adafruit Industries https://learn.adafruit.com/adafruit-io-basics-airlift Page 14 of 20
Page 15

Usage
Now that we have installed all of the dependencies, we can try to run one of the Adafruit IO example
sketches.
Navigate to the adafruitio_00_publish sketch by opening the File -> Examples -> Adafruit IO Arduino menu.
(https://adafru.it/EG0)
Click on the config.h tab, and replace the placeholders with your Adafruit IO info and WiFi connection
credentials.
© Adafruit Industries https://learn.adafruit.com/adafruit-io-basics-airlift Page 15 of 20
Page 16

Since we are using AirLift with Adafruit IO Arduino, make sure to
uncomment
the line #define
USE_AIRLIFT line in the sketch so it looks like the following:
// uncomment the following line if you are using airlift
#define USE_AIRLIFT
If you do not see this line,
upgrade the Adafruit IO Arduino Library to the latest version.
If you're using an externally connected AirLift module (such as a breakout) , you'll need to configure your
ESP32's pins in the section of config.h where the ESP32 pins are defined:
If you're using an AirLift All-in-One board, you don't need to perform pin configuration - Adafruit IO does
this for you automatically based on the board's ESP pin definitions.
Then, compile and upload the sketch to your board.
Usage
© Adafruit Industries https://learn.adafruit.com/adafruit-io-basics-airlift Page 16 of 20
Page 17

Once the sketch is uploaded, you can now click the serial
monitor icon to view the output of the sketch.
If everything goes as expected, you should see counter
values being sent to Adafruit IO.
If you are not connecting to Adafruit IO
, check your WiFi
and Adafruit IO credentials in config.h and try uploading
your sketch again using the process above.
Congrats - you've sent a value to an Adafruit IO Feed!
Adafruit IO Usage
While you sent data to Adafruit IO, how do you know that Adafruit IO is receiving this data?
One of the most important places to check is the Adafruit IO Monitor Page. This page displays incoming
data from your active feeds and any errors which might've occurred.
© Adafruit Industries https://learn.adafruit.com/adafruit-io-basics-airlift Page 17 of 20
Page 18

To do this, log into Adafruit IO and navigate to the monitor
page. (https://adafru.it/DOK)
If everything worked correctly, you should see an
incrementing
value sent to the
counter
feed while the code is
running.
Next Steps
You've successfully connected your Arduino board to Adafruit IO - so,
now what?
Would you like to add a sensor to your project? What about displaying your data on a graph? Control a
motor from the internet? Set the colors of a RGB LED from the internet? Monitor the temperature and
humidity of a room from across the world?
To continue your educational journey with Adafruit IO , click here to visit the Adafruit IO Basics series for
guides about the topics listed and more! (https://adafru.it/iDX)
Need some inspiration for your next project? We have
lots
of Adafruit IO-specific guides on the Adafruit
Learning System. Click here to view more projects and guides for Adafruit IO (https://adafru.it/iRB).
© Adafruit Industries https://learn.adafruit.com/adafruit-io-basics-airlift Page 18 of 20
Page 19

IO FAQ
Can I build my own Client Library for Adafruit IO?
Absolutely - the same API that drives our user interface is available to you. We provide documentation so
you can build a library in your favorite language to talk to IO (https://adafru.it/uff)
My data isn't displaying, is Adafruit IO's {service/MQTT/API} down?
Possibly - you can check IO status on the Adafruit Status page (https://adafru.it/Oc0).
Is my data being sent properly? Am I sending too much data?
There's a monitor page built-into Adafruit IO (https://adafru.it/DOK) which provides a live view of incoming
data and error messages. Keep this page open while you send data to your Adafruit IO devices to monitor
data and errors.
What about the data that my project generates? Where does it go?
What happens to it? Are you going to sell it?
The data your store with IO is yours to manage and control. You can download it all anytime and we will
never sell or give it away to another company. We feel strongly enough about this that we put it in our IoT
Bill of Rights (https://adafru.it/BlI).
I have an Alexa/Echo Dot/AI Voice Assistant. How do I interface it with
Adafruit IO?
Currently, the easiest way of doing this is by chaining events through a web-service such as
IFTTT (https://adafru.it/iOe) which has integrated Alexa Skills (https://adafru.it/OCa) and Google Assistant
Skills. (https://adafru.it/OCb)
I don't see my question listed.
If you have any questions or issues with Adafruit IO, post up in the Adafruit IO
Forums (https://adafru.it/plC) or chat with Adafruit staff and community members in real-time on
the adafruit-io channel on the Adafruit Discord server (https://adafru.it/BmL).
© Adafruit Industries https://learn.adafruit.com/adafruit-io-basics-airlift Page 19 of 20
Page 20

© Adafruit Industries Last Updated: 2021-03-03 05:48:44 PM EST Page 20 of 20
 Loading...