

Page 1
Page 2
Table Of Contents
Warnings
1 Year Limited Warranty
Before You Begin
Features
Computer Interface
Wha is Included in Your Package
Exercise with Your Heart Rate Monitor
Attaching Your Heart Rate Monitor
Sequence of Display & Setting Modes
Modes and Functions
User Profile Mode
Time Mode
Pace Mode
Chrono Mode
HR Data Mode
Recovery Mode
Interval Mode
Alarm Mode
EL Function
Global Reset
Sleep Mode
Technical Specifications
Technical Display Guide
1
1
1
2
2
3
3
3
4
5
5
5
6
6
8
9
9
10
11
11
11
11
12
Page 3
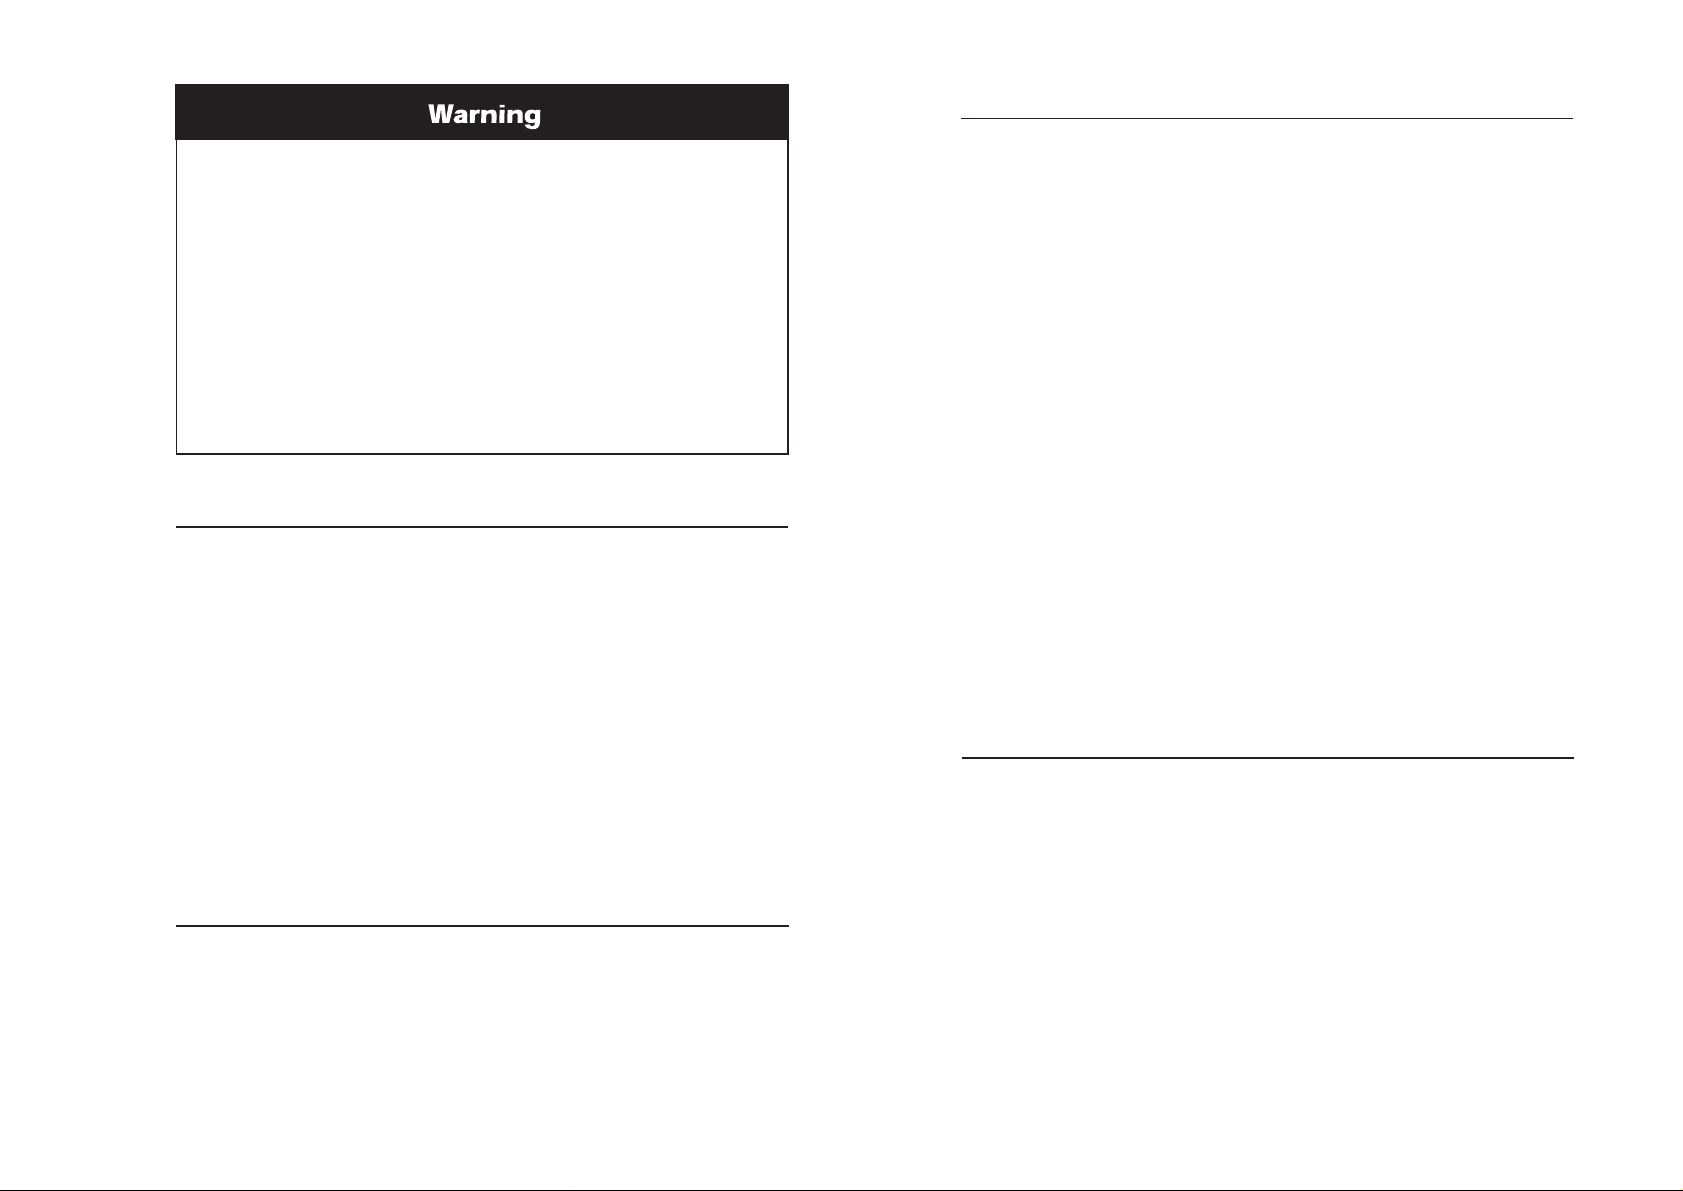
Over exertion can cause serious injury, including heart attacks.
Some individuals cannot safely elevate their heart rate to the levels
of typically used heart rate training zones. No one should begin
an exercise program without first obtaining medical clearance,
especially if there is a personal or family history of heart disease,
high blood pressure, or if you are over age 40, have diabetes, high
cholesterol, smoke cigarettes, are overweight or are taking certain
medications. Stop exercising and seek medical attention if you
notice signs of overexertion or heart problems, such as pain or
pressure in the left or mid-chest area or left neck, shoulder or arm,
high-headedness, cold sweat, unusual paleness or fainting. Also
note that the signals used by this monitor may interfere with a
pacemaker or other implanted devices, consult the manufacturer
of the implant device and/or your physician prior to using this monitor.
1 Year Limited Warranty
This product is warranted by Acumen, Inc. for a period of 1 year from
date of original purchase (with the exception of batteries and elastic
chest strap) under normal use, to be free from defects in material and
work- manship. This warranty does not cover damage caused by
accidents, misuse, abuse, tampering or disassembling of the product.
Acumen, Inc. reserves the right to determine the cause of malfunction
and will repair or replace your Acumen HRM at no charge except for
shipping and handling. For warranty service, you must provide
proof of purchase & date of purchase, along with a check or
money to cover the costs of shipping and handling.
No responsibility is assumed for any incidental or consequential
damages, including but without limitation damages or injuries resulting
from possible measurement inaccuracies or malfunctions.
Before You Begin
This booklet will provide you with most of the instructions needed to program and use your new monitor, please visit our website (http://www.
acumeninc.com) for complete information of the Instruction Manual. This
model is normally sold with a computer interface system. If you have
access to a computer and your purchase included the interface module,
you will find it much easier to understand and program this watch from
your computer versus doing it manually on the watch.
Features
1 Year Warranty
Rugged Shock Resistant Design
Fully Water Resistant to 30 Meters
User Replaceable Batteries
Smart Lite EL night light with auto activation
Up to 10 programmable User IDs
Time & Calendar Display 12/24hr. with Hourly Chime
5 Daily Alarms Independently programmable
Ultra-Slim Heart Rate Chest Belt Wireless ECG-Accurate
Interference Filtering Circuitry
TriZone: 3 EZ-Set Target Zones
Target Zone Alarms With Audible & Visual Indicators
Recovery Heart Rate Timer
Pacer Digitally Controlled Cadence
Smart View: Change displays & view memory with stopwatch and
timers running
Countdown Start 0-59 seconds and Random
9 Interval Timers with 9 Cycles (& continuous)
Multiple Memory Files Independently retainable, up to 60 files
Time & Date Stamp for Memory Files
100 Laps Memory with 8 seconds freeze display
Heart Rate Sampling Stores 12000 HR samples into memory
Memory Recall: Time in TZ, Max. & Avg. HR for each & best laps,
Calories, 100 Laps w/Lap Split
Sleep Mode
Pat Pend
Which automatically sets by age
Computer Interface
System Requirements:
Microsoft Windows 95™ or above.
Acumen 2-Way PC Communication Interface Module.
Functions:
• Analyze Workouts and Track Progress
• Print out Files
• Program Watch Setting
• Download and Save Data for Long Term Memory
Refer to the instructions on Acumen CD ROM on how to install the
software.
1
2
Page 4

What is Included in Your Package
Your package includes:
A. Watch/Receiver (Heart Rate Monitor)
B. Chest Transmitter
C. Adjustable Elastic Strap with EZ-Fit Belt Clip
D. Acumen Software CD ROM
E. Interface Module
F. Communication Cable with 25-Pins converter
C
Elastic Strap
A
Adjust the tension of the strap: to fit snugly but comfortably around
your chest.(Fig.2)
Fig.2
Moisten the transmitter electrodes: apply a small drop of water on
each of the two contact area.(fig 3.)
CD ROM
D
Interface Module
E
B
Chest Transmitter
“Angle-Fit” Belt Clip
Communication Cable with 25-Pins Converter
F
User replaceable batteries are included in both the watch & transmitter.
Exercise with Your Heart Rate Monitor
( I ) Attaching Your Heart Rate Monitor
1. Attach the transmitter belt to your chest.
Attach the adjustable strap: insert round end of clip through the
hole and twist. (Fig 1.)
Fig.1
Belt Clip
Transmitter
Elastic
Strap
Transmitter
Fig.3
Electrode
2. Attach your wrist monitor. The watch doesn't have to be attached
to your wrist to register your heart rate, but it must be within 3 feet
of your chest.
3. Press any key to start the Heart Rate reading.
(II) Sequence of Display & Setting Modes
User Profile Mode
Time Mode
Pace Mode
Chrono Mode
HR Data Mode
Recovery Mode
Setting the Time
Setting the Pacer
Setting the Chrono Timer
Setting Your Personal Data
Setting the Recovery HR Limits
Belt Clip
Elastic
Strap
Interval Mode
Alarm Mode
3
Setting the Interval Timers
Setting the Alarm Clock
4
Page 5

• Press Mode/Nxt button to toggle
EL
Set
Mode/Nxt
Stp/Sto/Clr
Rcl/View
Str/Lap/TZ
between modes.
• Press Set button to enter or exit
Setting Modes.
• Press Str/Lap/TZ button to select
User Profiles while in the Time
Mode.
Note: If no button is pressed for 60
sec, the watch will automatically
exit the setting mode.
(III) Modes and Functions
User Profile Mode
The unit allows you to set a maximum of 10 user profiles and share
the sample memory. Each user has their own settings without af fecting
the others.You can select user profile from the watch or by using the
Acumen software.
If you have selected another user profile,
you need to set Age, Weight and Target Zone
again.
- Press Str/Lap/TZ button to view in Time
select others by pressing Stp/Sto/Clr or Rcl/
View button.
- Press Set button to enter or exit the Time Setting.
- Press Mode/Nxt button to toggle between parameters.
- Press Stp/Sto/Clr or Rcl/View button to increase/decrease
parameters. (the Second will be reset to zero)
Note: weekday is auto-set based on the date and month entries.
Pace Mode
The Pace feature is a programmable beeping sound which allows
you to set beeping rhythm for use as guidance to regulate your
exercise, keep your exercise pace in sync with that rhythm.
You can get the following information in this mode:
•Pace speed in BPM (beats per minute).
• Pacer status: ON, OFF, AUTO.
"ON" is displayed when you want to
turn the Pacer on continuously and you
will need to manually turn “OFF”, or switch
to "AUTO” when you want to control it
by the stopwatch.
• Turn the "HRC ON" allows you to control the pacer by your heart
rate and the pace speed will slow down or speed up automatically
when your heart rate is above or below the Target Zone.
• Heart Rate with audible and visual Target Zone Alarm if the Target
Zone Alarm is on.
Operation in this mode:
- Press Stp/Sto/Clr or Rcl/View button to change the Pacer status.
Pace Speed
Pacer Status
Time Mode
You can get the following information in this mode:
• Time, Date, Month and Weekday.
• Heart Rate with audible and visual Target
Zone Alarm if the Target Zone Alarm is on.
• " " icon indicates Time Alarm status.
• " " icon indicates Hourly Chime status
• View the watch ID.
Operation in this mode:
- Press and hold Rcl/View button to view the current exercise session.
- Press and hold Str/Lap/TZ button to view the Watch ID.
Note: You may change your W atch ID by using the Acuman Software.
Setting the Time
You can set 12/24 Hour Mode, Hour, Minute, Second, Year, Month
and Date.
5
Setting the Pacer
You can set Pace Speed and turn HRC ON/OFF.
- Press Set button to enter or exit the Pacer Setting.
- Press Mode/Nxt button to toggle between parameters.
- Press Stp/Sto/Clr or Rcl/View button to adjust parameters.
Chrono Mode
The unit records your exercise data by running the stopwatch. The
delay feature allows you to delay the stopwatch each time when you
press the start button. It's helpful in trying to synchronize with a
separate countdown timer or for practicing starting on cue.
Display valid record capacity
6
Page 6

• Display the valid record capacity (Lap and Sampling numbers) and
freeze for 2 seconds.
• Change the display to the latest exercise session: Session number,
Lap number, the Stopwatch, Delay Time (or total Exercise Time when
starting the session), Heart Rate with audible and visual Target Zone
Alarm if the Target Zone Alarm is on.
Operation in this mode:
Record Lap Markers:
- Press Str/Lap/TZ button to start the stopwatch. When the stopwatch
is running, press the button again to record a lap marker, the screen
will then freeze for 8 seconds whilst the stopwatch is still running.
.
- Press Stp/Sto/Clr button to pause/stop the stopwatch.
Choose the Sessions: Press Mode/Nxt button to toggle between
sessions.
Note: The unit will automatically exit the recall mode if no button is
pressed for 60 seconds.
Setting the Chrono Timer
You can set Delay time and Sampling time. The Delay time can be
set between 0~59 seconds or random(6~10 seconds). Sampling time
is the period for the watch to take a heart rate sample, which is
important & required when you want to analyze your workout
with the PC software.
- Press Set button to enter or exit the Chrono Timer Setting.
- Press Str/Lap/TZ button to toggle between parameters.
- Press Stp/Sto/Clr or Rcl/View button to increase/decrease parameters.
Record a Session:
- Press & hold Stp/Sto/Clr button to store the lap markers and change
to a new session when the stopwatch is stopped.
Clear the Data:
When all the data is stored, press & hold Stp/Sto/Clr button to clear
the last session, hold the button continuously to clear all data.
Memory Data Recall:
- Press Rcl/View button to enter recall memory data.
- Press Str/Lap/TZ button to exit .
Review Data in Each Session: The unit will toggle the displays of
lap data in each session by pressing Rcl/View button in the following
sequence:
Press
Rcl/View
Button
General information Time in TZ
Press
Rcl/View
Button
The Last Lap & HR
(Time above TZ & Time below TZ display is an optional feature)
Best Lap & HR
Press
Rcl/View
Button
Press
Rcl/View
Button
Time above TZ
Rcl/View
Button
Average Lap & HR
Press
Press
Rcl/View
Button
Time below TZ
Each subsequent pressing of Rcl/View button will proceed to the
remaining laps until reaching the last lap, and the unit starts over
again at step1.
7
Note: If you have not stored the last exercise session currently displayed
on your stopwatch, you will need to do so before being able to get into
the Chrono Timer Setting.
HR Data Mode
You can get the following information in this mode:
• Heart Rate with audible and visual Target Zone
Alarm when the Target Zone Alarm is on.
• The current Target Zone.
• Amount of time spent in your selected Target Zone.
• Total calories consumed during the exercise session.
• ”
“ icon indicates audible Target Zone Alarm status.
Operation in this mode:
- Press Str/Lap/TZ button to toggle between three Target Zones.
- Press Stp/Sto/Clr button to turn on or off audible Target Zone
Alarm.
- Press Rcl/View button to view the current Target Zone limit.
Setting Your Personal Data
You can set: Age, Weight, Low, Medium, High Target Zone Limits,
Exercise Type and Exercise Intensity. The unit will calculate the Target
Zone Limits when you input your age, you may also set each parameter
manually or separately.
- Press Set button to enter or exit the Personal Data Setting.
- Press Str/Lap/TZ button to toggle between parameters.
- Press Mode/Nxt button to change the parameter in each screen.
- Press Stp/Sto/Clr or Rcl/View button to increase/decrease
parameters.
Note: Refer to the "Basic Exercise Guide" on how to determine your
TZ & Recovery Zone. If you can not find it in your package, you may
visit our Website for more information.
8
Page 7

Recovery Mode
The Recovery is a count-up timer. It times how quickly your heart
rate drops down to normal after you have finished exercising. Recovery
Rate is used to monitor your fitness level and gauge progress. The
more fit your cardiovascular system is (or becomes), the faster your
heart rate will return to normal after exercise.
The Recovery Timer is an automatic function. It starts when you stop
the stopwatch and your heart rate has dropped to the level of the
programmed Upper Recovery Setting. It then counts up it's timer until
your heart rate has dropped to the Lower Recovery Setting.
You can get the following information in this mode:
• The Recovery Timer.
• Heart Rate with audible and visual Target Zone
Alarm if the Target Zone Alarm is on.
Operation in this mode:
- Press & hold Rcl/View button to view the recovery settings.
Setting Recovery HR Limit
You can set Recovery Heart Rate Limit.
- Press Set button to enter or exit the Recovery Setting.
- Press Mode/Nxt button to toggle between the parameters.
- Press Stp/Sto/Clr or Rcl/View button to increase/decrease
parameters.
• Total timers in a cycle, the current timer number, total cycle, current
on-going countdown timer.
• Each timer, every cycle and the final timer are respectively signaled
by a short beep, a short double beep, one long beep, and display
"OVERTIME"when finished.
• "Auto" icon indicates the interval timer status. If it is “ON”, the
interval timers will be controlled by the stopwatch, or “OFF”when
you want to control it manually.
• Heart Rate with audible and visual Target Zone Alarm if the Target
Zone Alarm is on.
Operation in this mode:
- Press Str/Lap/TZ button to start the interval timer.
- Press Stp/Sto/Clr button to pause/stop the interval timer.
- Press & hold Stp/Sto/Clr button to clear timer when it is stopped.
Setting Interval Timers
You can set each interval timer, it's sequence in a cycle and total
cycle number.
- Press Set button to enter or exit the Interval Timer Setting.
- Press Mode/Nxt button to toggle between parameters.
- Press Stp/Sto/Clr or Rcl/View button to adjust parameters.
Note: The total timer in a cycle is according to the number of timers
you have set. You can activate/set whichever timer you wish (i.e. 1, 5,
6) while the timers will be counted in accending order.
Interval Mode
This mode includes 9 interval or countdown timers. These timers can
be programmed to operate in sequence or independently. They are
basically 9 separate programmable timers used to signal time elapsed
during exercise.Interval timers are commonly used to time individual
segments during interval or sprint training, or, for timing a pacing goal
for segments, etc. (For example, if you want to exercise for one hour
with 2 minute breaks of every 10 minutes. You would set Timer1 to 10
minutes, Timer2 to 2 minutes and the number of cycle to 6.)
You can get the following information in this mode:
Total cycles
Countdown display
9
Current timer number
Total timer in a cycle
Alarm Mode
The unit includes 5 Alarms. These alarms can be programmed to
operate independently of each other, on specific days or every day.
You can get the following information in this mode:
• Alarm number (1~5)
• Alarm Time, Date or Weekday
• “ “ icon indicates Alarm status(ON or OFF)
• “ “ icon indicates Hourly Chime status(ON or OFF)
10
Page 8

Operation in this mode:
- Press Str/Lap/TZ button to choose Alarms (1~5).
- Press Stp/Sto/Clr button to turn alarm clock on or off.
- Press Rcl/View button to turn hourly chime on or off.
Setting the Alarm Clock
You can set the alarm on specific time, date or every day.
- Press Set button to enter or exit the Alarm Clock Setting.
- Press Mode/Nxt button to toggle between parameters.
- Press Stp/Sto/Clr or Rcl/View button to increase/decrease
parameters.
EL Function
Simply press EL button once in any mode to light the LCD for 3
seconds. If Smart Lite is turned on, it will light when any button is
pressed from 6pm to 6am.
- Press Str/Lap/TZ button in Time Setting Mode to enter the Smart
Lite Setting.
- Press Stp/Sto/Clr or Rcl/View button to turn Smart Lite ON or OFF.
Global Reset
This feature clears all Memory data, user settings returns all settings
to the initial values listed at Technical Display Guide.
- Press & hold Stp/Sto/Clr, Rcl/View, Mode/Nxt and EL buttons for
3 seconds to reset the Heart Rate Monitor. (Also happens at battery
replacement.)
Sleep Mode
If no button is press for 256 hours (~10.5 days), the watch will enter
Sleep Mode (Blank Screen).
- Press Str/Lap/TZ button to exit Sleep Mode and back to original
Mode.
Technical Display Guide
Display Items Initial Setting Range
Time/Alarm/Date
Pacer
Chrono
Memory
Lap
Heart Rate Sample
Personal Data
Recovery
Interval Timer
Calorie
Time Alarm
Hourly Chime
TZ Alarm
Smart lite
User ID
Fri, Jan.1, 1999, 8:00 AM, 12Hr
30 bpm, OFF, HRC: OFF
00:00.0
Delay: 0 sec
Smp Rate: 10 sec
Age: 30
Weigh: 150 lbs
Current TZ: M
TZ Low: 105~124
TZ Med: 124~162
TZ High: 162~181
Exercise Type: Aerobics
Exercise Intensity: M
U: 101
L: 83
CY: 1, 0/0, 00:00:00
Auto start: OFF
0
OFF
#1, 12:00 AM
OFF
OFF
OFF
User 0
1999~2098, 12/24Hr
20~200 bpm, OFF/ON/AUTO
HRC: ON/OFF
99:99:99 (rolls over at 100 hrs)
Delay: 0~59, Rnd (6~10)
Smp Rate: 5, 10, 30, 60sec, 5Min, OFF
100 laps
12000 Samples
20~250 bpm
Age: 7~99
Weigh: 50~300 lbs (30~150 Kg)
Current TZ: L/M/H
TZ Low: 20~250, OFF
TZ Med: 20~250, OFF
TZ High: 20~250, OFF
Exercise Type: 20 categories
Exercise Intensity: L/M/H
U: 21~250
L: 20~249
CY: 1~9, 0~9/9, 0~99:59:59
Auto start: ON/OFF
0~999 kcal (rolls over at 1,000)
ON/OFF
#1~5, Weekday: MO~SU
/Date: 1.01~12,31
ON/OFF
ON/OFF
ON/OFF
User 0~9
Technical Specifications
(Common for Transmitter and Watch)
Standard Shock Resistance
Water Resistance 30 Meters
Operating Temperature 0 C to 50 C (32F to 122F)
Watch/Receiver Battery Type Lithium CR 2032
Chest Transmitter Battery Type Lithium CR 2032
Average Battery Life Approx. 1.5 Years
(1hr/day, 7days week, avg. HR155,
night light use twice a day.)
11
Please visit our website at http://www.acumeninc.com for complete
information of the Instruction Manual.
12
Page 9

Warranty and Non-Warranty Service
For warranty service, you must provide proof of purchase & date of
purchase, along with a check or money order for $7.50 to cover the
costs of shipping and handling. The registration card is not considered
proof of purchase, so please send a copy of your original receipt.
Warranty is voided if repairs have been made by individuals not
authorized by Acumen, Inc.. If you are returning your Acumen product
for service, please return it with the card below and a check or money
order for $7.50 for return shipping and handling. Package your unit
securely in it’s original box and inside a sturdy shipping carton.
Send it to: Acumen, Inc.
101 A Executive Drive Suite 200
Sterling, VA 20166.
USA
Please visit our website at http://www.acumeninc.com to obtain a
Return Authorization Number.
Acumen Repair
Card
For fast service be sure to fill this card out completely, print clearly and
include it with the product for repair.
Name: Return Authorization #
Adress: Date of Return
Model Name
Phone (Day): ( ) - (Evening): ( ) Items Enclosed: Watch Transmitter
Chest Strap Check or Money Order
We recommend that you include your complete unit when sending in a repair.
Fold
Please provide a complete description of the problem experienced.
Reason for Return:
©Copyright 2004 ACUMEN, INC., 101A
Executive Drive Suite 200 Sterling, VA
All rights reserved. No part of this manual
may be used or reproduced in any form
or by any means without prior written
permission of ACUMEN, INC.
Acumen™ & EZ-Set Target Zone™ are
trademarks of Acumen, Inc.
EZ-Set TargetZone
20166 USA
Angled Belt Clip
Pat.NO.US6345197B1
patented
Payment Authorization:
My unit is not under warranty. Please contact me with the cost of
repair.
My unit is under warranty and I have enclosed the required check
(or money order) for $7.50 and a copy of my proof of purchase.
I wish to pre-authorize my non-warranty repair to be charged to my
credit card for up-to but not exceeding the amount of $ .
Detach and mail for repair. Save this portion with your records.
VISA MC Account #: - - -
Expiration Date: / / Signature:
 Loading...