

Page 1
Step 8
for
©2008-2009 FwdMobility All Rights Reserved
www.ActiveForever.com
Final Check before every use:
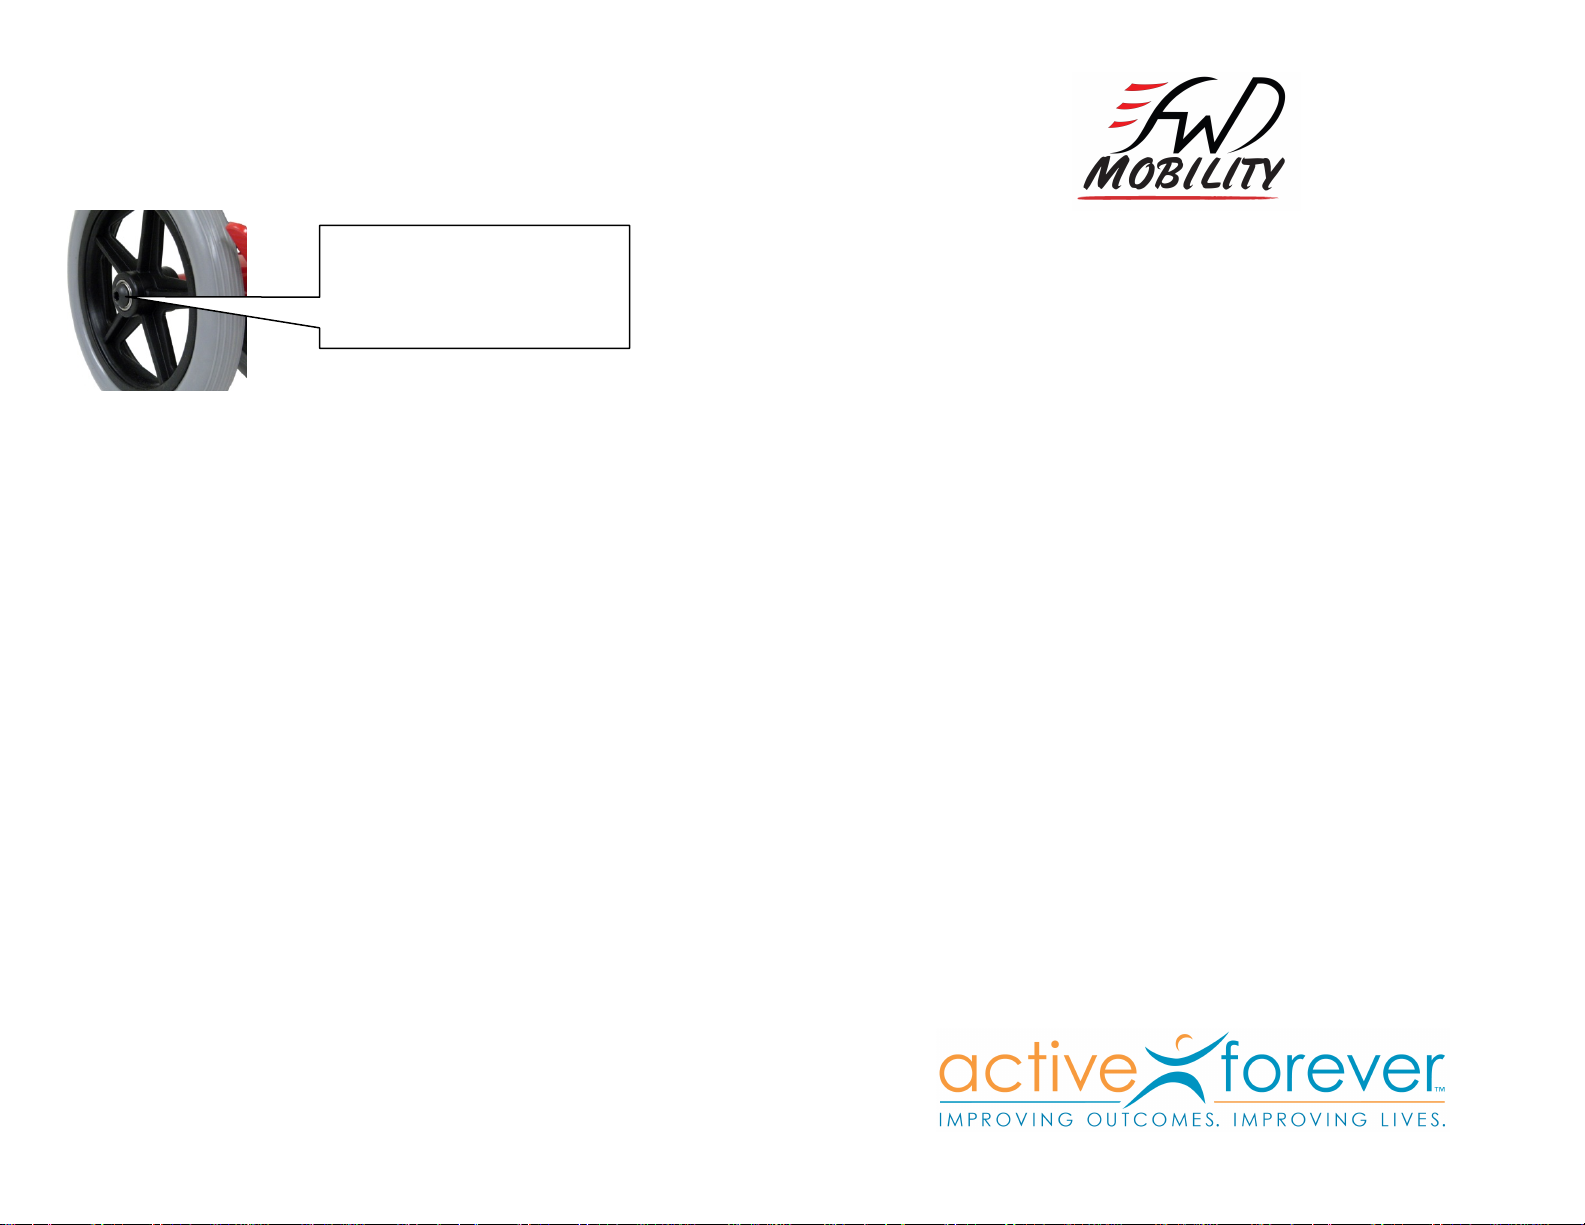
1. Check all Wheel Axle Bolts for proper tightness.
Make sure all four Wheel Axle
Bolts are tight. Use the
included 6MM Hex Tool to
check tightness.
2. Check Handlebar Mast Locking Clamp and Seat Height Locking
Clamps are securely in the locked position. Please review Step 4
and Step 6.
3. Check Handlebar Post Hinge and Seat Post Hinge to make sure
! they are securely locked. Please review Step 3 and Step 5.
4. Check for damage to any of the Voyager Seated Scooter®
! components before every use.
5. You may regularly clean the Voyager Seated Scooter® with mild
! soap, warm water and a non-abrasive sponge. Please make sure all
! four rubber grips are free from any substances that may cause your
! hand or foot to slip.
6. Inspect the Brake Lever and Brake Pad to make sure they
function properly. Please review Step 7.
Voyager Seated
Scooter®
Quick Start User Guide
Thank you for ordering the Voyager Seated Scooter®. When
properly used, the Voyager Seated Scooter® will provide an
innovative way to meet your o"-loading needs indicated by your
physician or health care professional. We recommend informing
your health care provider you are using this medical device.
Please be advised this device is not recommended for anyone
under 18 years of age and not intended for any use as a toy or
recreational device.
For Your Safety
Please read this Quick Start User Guide before using the
Voyager Seated Scooter®. It contains important safety and
operating instructions. We strongly recommend viewing the
Detailed User Guide on our website
full maintenance and warranty information. Please be advised
failure to read this guide may result in user injury, damage to
the device and loss of warranty protection.
Page 2
Step 1
Please remove all packaging from the Voyager Seated Scooter®
carefully! Look for the Zip Lock Bag for 6MM Hex Tool.
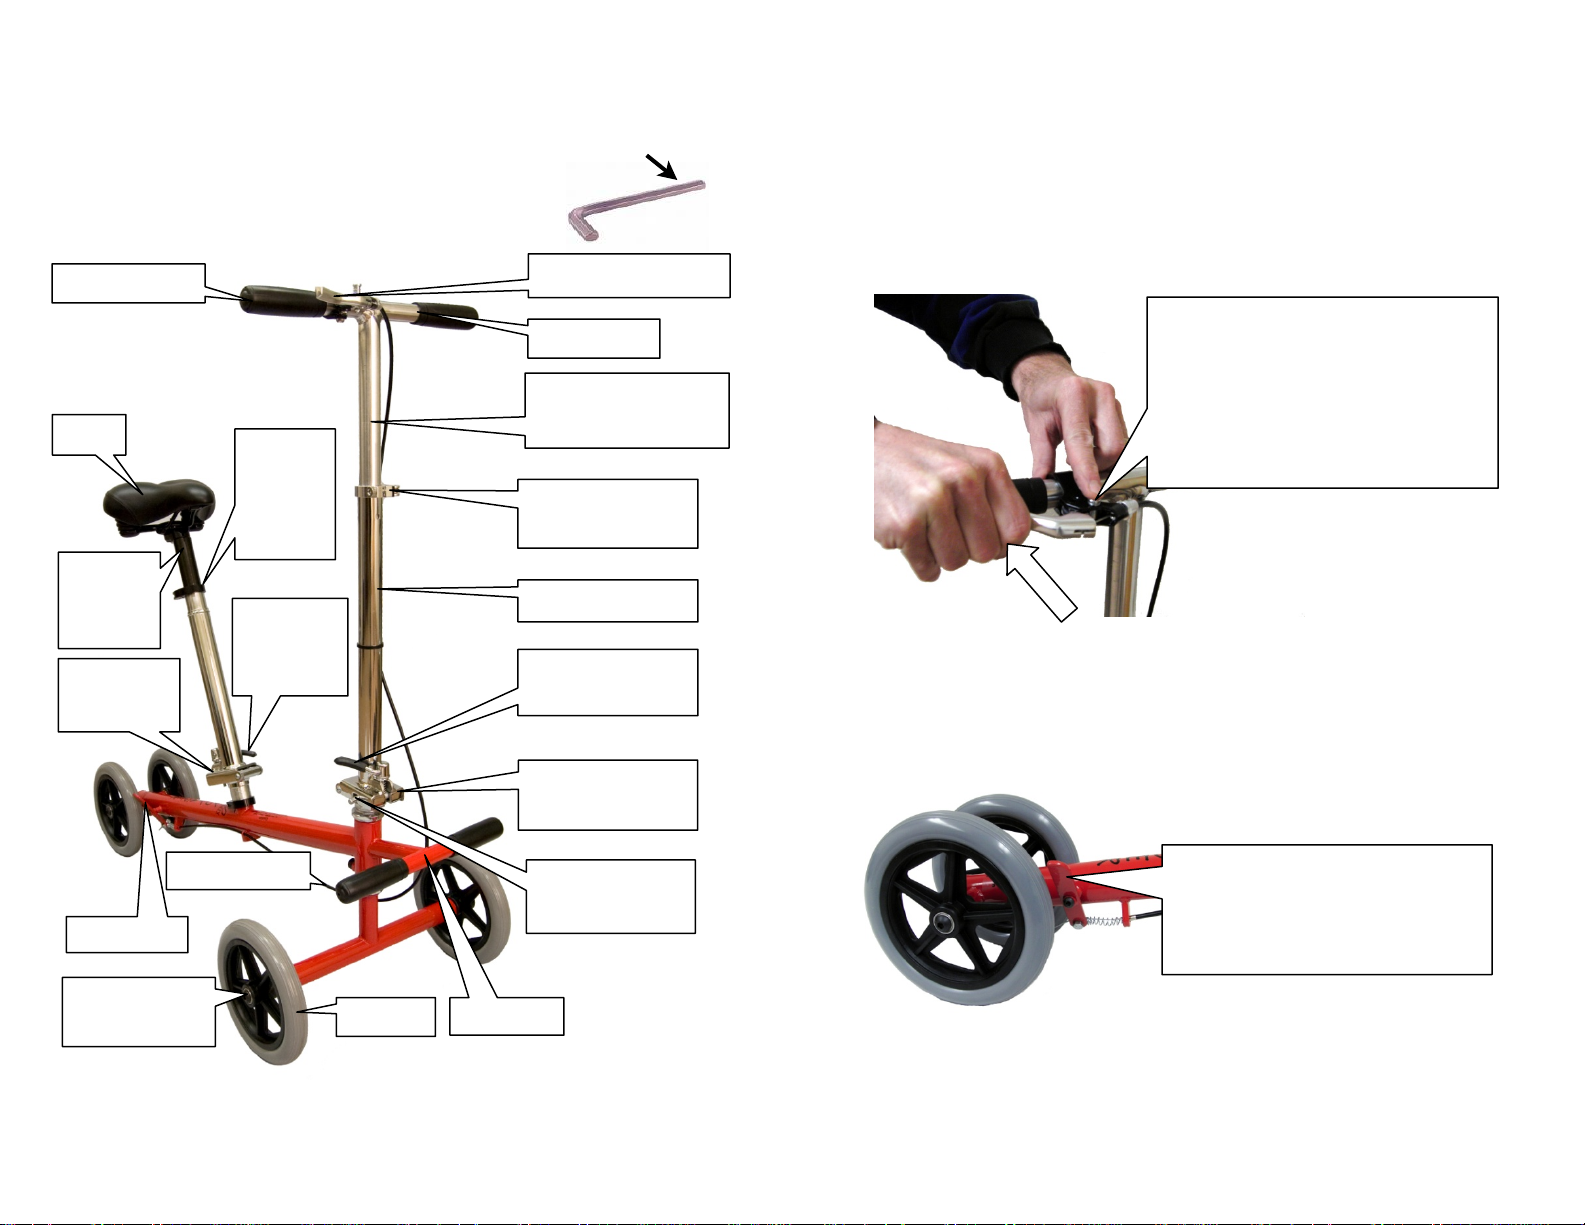
Voyager Seated Scooter® Components:
Rubber Grips
Seat
Seat
Height
Mast
Seat Post
Hinge
Seat
Height
Locking
Clamp
Seat Post
Locking
Clamp
Hand Brake Lever
Handlebar
Handlebar Height
Adjustable Mast
Handlebar Mast
Locking Clamp
Handlebar Post
Handlebar Post
Locking Clamp
3. To use the Voyager Seated Scooter® Parking Brake Locking Pin,
! squeeze the Brake Lever with one hand while pushing down the
! Parking Brake Locking Pin until it locks in place. Note the Brake
! Pad will remain against the right rear Wheel while Parking Brake
! Locking Pin is in the locked down position.
While squeezing the Brake Lever
(see arrow) press down on the
Parking Brake Locking Pin until it
locks in the down position. Do not
release Brake Lever until Locking
Pin is in the locked down position.
4. To release the Parking Brake Locking Pin, squeeze the Brake
! Lever until the Parking Brake Locking Pin releases and pops up to
! the normal position. Note the Brake Pad is now unlocked and not
! pressing against the rear right Wheel.
Brake Cable
Brake Pad
Axle Wheel
Bolts
©2008-2009 FwdMobility All Rights Reserved
Wheel
Handlebar Post
Hinge
Footrest
Spring-loaded
Safety Latch
The Brake Pad is now unlocked
and away from the Wheel. The
Voyager Seated Scooter® is
now ready for active use.
Page 3

Step 7
Step 2
Using the Voyager Seated Scooter® Brake and Brake Locking Pin:
Please note: the Voyager Seated Scooter® Brake is not intended for
use as the primary method to slow or stop the scooter, always use
your active foot to be the primary way to slow and stop the Voyager
Seated Scooter®. Grasp the Brake Lever and squeeze to pull the
Brake Pad against the right rear Wheel to slow or stop the Voyager
Seated Scooter® (see arrow). Avoid excessive speed for your safety.
Always keep both hands on the Handlebar when the scooter is in use.
1. Note how the Brake Pad presses against the rear Wheel while
the Brake Lever is squeezed.
The Voyager Seated Scooter® has two locking hinge posts; the
Seat Post and the Handlebar Post. Each hinge has two locking
components; the Locking Clamp and the spring-loaded Safety
Latch.
1. To lock the Handlebar Post in the upright position
Handlebar Post Locking
Clamp is pulled out and
down to allow hinge to
completely close as the
spring-loaded Safety
Latch is pulled toward the
rear and then clicks into
locking position.
Pull spring-loaded Safety
Latch head towards the
rear to allow hinge to
completely close. Notice
Safety Latch will move
into the locked position.
©2008-2009 FwdMobility All Rights Reserved
The Brake Pad pushes against
the rear right Wheel when the
Brake Lever is squeezed.
Step 3
Make sure Handlebar Post is completely in the Lock Position:
Clamp Lever is tightened down
all the way. Check for looseness.
Locking Clamp head is completely
in the Hinge Slot.
Spring-loaded Safety Latch is in
the locked position.
Page 4

Step Four
Step Six
To adjust the height of the Handlebar Height Adjustment
Mast:
Handlebar Mast Locking
Clamp Lever is completely
open to slide Handlebar
Mast up or down. While
clamp is open, adjust the
height of the Handlebar
Mast to your comfort
Handlebar Post Locking
Clamp in the locked position.
level. Use the Clamp
Adjustment Knob (see
arrow) to tighten or loosen
tension on Locking Clamp
Lever. Test to make sure
Handlebar Mast is
tightened securely and
doesn’t slide down before
use.
Step Five
To adjust the height of the Seat:
1. ! ! ! 2.
Open the Seat Height Locking
Clamp by pulling the Clamp
Lever completely open.
!! 3.
Seat Height Clamp Lever
completely open. Slide
Seat Height Mast up or
down to your comfort level.
To lock the Seat Post in the Upright Position:
Safety Latch is held
open to allow Seat Post
Hinge to lock in place.
Seat Post Clamp Lever
is unlocked and pulled
away from hinge slot.
Seat Post Clamp Lever is
©2008-2009 FwdMobility All Rights Reserved
completely in the down
locked position (see
arrow). Safety Latch is
in the locked position.
Use the Clamp Adjustment
Knob to provide enough
tension when closing the
Seat Height Clamp Lever
to prevent the Seat Height
Mast from sliding down.
Test before use.
Seat Height Locking
Clamp closed in the
locking position.
 Loading...