

Page 1
Information and Instructions for the
ActiveForever.com
MEDICAL EQUIPMENT, SUPPLIES & HEALTHCARE INNOVATIONS
®
LATEX FREE
Page 2

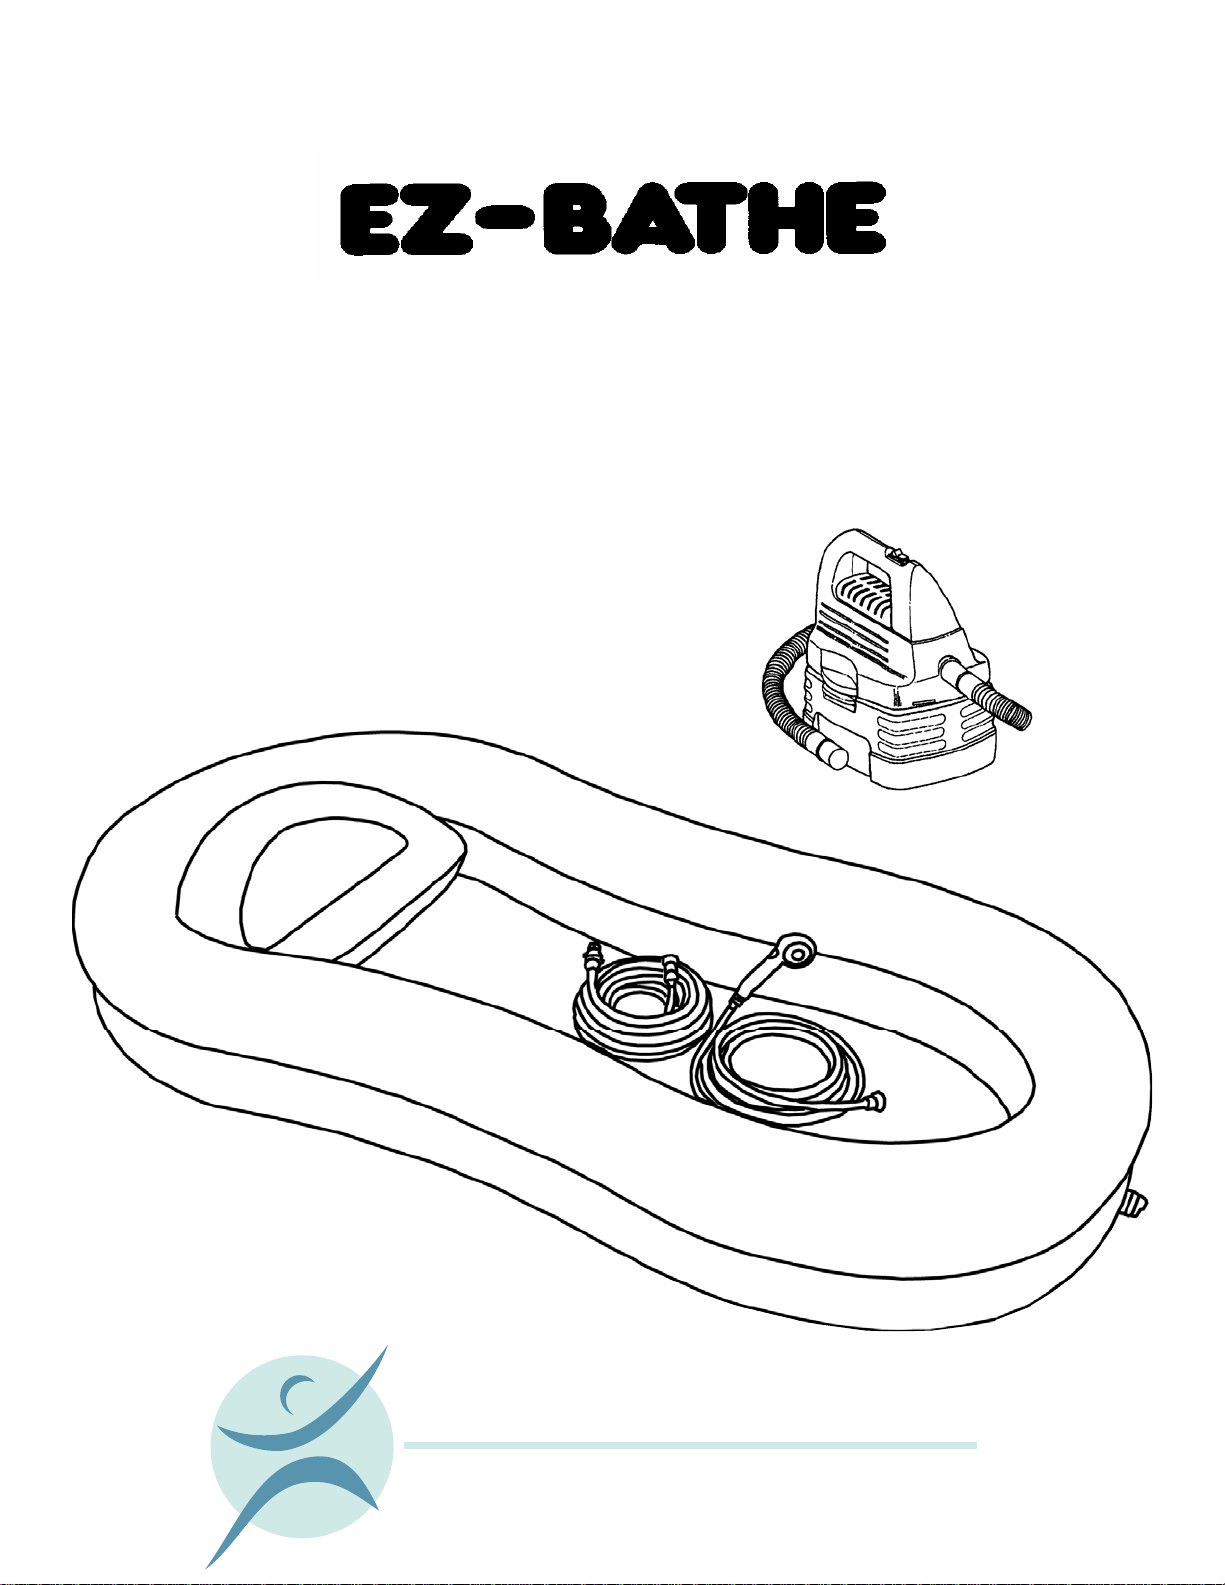
INFLATED PILLOW
(B) EXHAUST PORT
(C) SUCTION PORT
(A) WET & DRY VACUUM
(D) GULPER ATTACHMENT
(25-FT DRAIN HOSE WITH BLUE PERFECT UNION &
YELLOW ON/OFF VALVE
25-FT SHOWER HOSE , HAND-HELD SHOWER, & FAUCET
ADAPTER
WATER DRAIN
INFLATED TUB
INTRODUCTION
The EZ-BATHE® inflatable tub is easy to use. Like
any new purchase, “practice makes perfect” so it is
suggested that you familiarize yourself with all of
the components and read this instruction sheet
in its entirety before use.
Although designed to fit hospital beds, the
EZ-BATHE inflatable tub can be used on any bed.
BEFORE YOU BEGIN
The illustration above is your guide. Please refer to
it and familiarize yourself with the various parts. We
suggest that you practice inflating/deflating the
tub & pillow and setting up the attachments
before attempting the actual bathing of your
patient.
CAUTION: Be sure that drain hose is connected
before
attempting to fill EZ-BATHE with water.
INFLATING/DEFLATING VALVE
NFLATING/DEFLATING VALVE
HOW TO INFLATE & DEFLATE
The wet/dry vacuum has a
threefold purpose:
1. Inflates the tub & pillow
using the
with the end of the hose.
The end of the hose is
slightly larger to assist in
avoiding over-inflation of
the tub (which may cause
seams to split, making
the EZ-BATHE
unusable). NOTE: The
vacuum hose does not
go inside the
DEFLATING VALVE.
Simply hold the end of the hose over valve while inflating/deflating
your EZ-BATHE (see illustration). Hose should be held snug against
tub while squeezing the valve to allow airflow. Fill with air until tub is
firm but do not over-inflate.
2. Deflates the tub & pillow in the same manner as inflating, using the
opposite
3. Vacuums up surplus water and debris using the
GULPER ATTACHMENT.
EXHAUST PORT
INFLATING/
SUCTION PORT.
NOTE: Vacuum style and brand may vary.
SUCTION PORT and
Page 3

FAUCET ADAPTER: The FAUCET ADAPTER allows you to attach
HAND-HELD SHOWER to most faucets. Once the adapter is secured to
the
the faucet, it is a simple procedure to connect or disconnect the shower
hose.
DIAGRAM 1
DIAGRAM 2
OPENING THE TUB DRAIN: The TUB DRAIN has two
closures and both need to be removed in order to install the drain hose.
The large outer closure simply unscrews. Gently pry out the smaller,
inside closure. Once both closures are removed, insert your index finger
inside the
shaped drain valve. NOTE: This step prepares the drain for the
siphoning effect needed for efficient draining. If not completed, poor
draining will occur.
IMPORTANT: The
filling the tub with water.
TUB DRAIN and extend drain opening out, creating a cone
DRAIN HOSE must be attached to the TUB DRAIN before
INSTALLING THE FAUCET ADAPTER Remove the
existing aerator from your faucet
male or female.
1. If your aerator has threads on the outside you will need to use one of
the male thread adapters (found in enclosed hardware bag).
a. Match the thread diameter of your aerator to one of the male
thread adapters. (The thread size on the
15/16-27 female and the enclosed male thread adapters are
sizes 55/64-27 and 13/16–27. If neither male adapter fits your
faucet, check your local hardware store for additional sizes.)
b. Screw the correct size male adapter into the top of the
ADAPTER. Place the correct size black washer (located in
hardware bag) on the male adapter before screwing onto
faucet. Hand tight is usually sufficient but pliers are sometimes
needed.
c. If your aerator has female (inside) threads, screw the faucet
adapter onto your faucet just as you received it.
2. After attaching
leaks. NOTE: The
that, even in the “
FAUCET ADAPTER, turn the water on and check for
HAND-HELD SHOWER HEAD contains a safety feature
OFF” position, may enable it to dribble a small
amount of water.
a. IMPORTANT: Make sure the
(“
OFF”) position before turning on the water. If water leaks from
the top of the faucet adapter you will need to add an additional
washer (located in enclosed hardware bag).
and determine whether the threads are
FAUCET ADAPTER is
FAUCET
ON/OFF LEVER is in the down
ATTACHING HOSE TO QUICK CONNECT: To make
installation quick and easy (and to eliminate the use of tools),
HOSE FITTINGS are located on the HAND-HELD SHOWER and on the FAUCET
ADAPTER.
1. Determine correct hose length needed.
a. The hose can be cut to any length that is most convenient for
your use. IMPORTANT: Cut hose as squarely as possible.
2. Insert one end of
the
FAUCET ADAPTER by simply pushing the end of the hose past the
HOSE RELEASE RING and into the QUICK CONNECT HOSE FITTING (see
diagram above). Push and hold the
SHOWER HOSE into PUSH-IN HOSE FITTING located on
HOSE RELEASE RING until friction is
felt as the tube slides past the o-ring. NOTE: Using a slight twisting
motion while inserting the tube is often helpful.
3. Insert remaining end of
located on the
HAND-HELD SHOWER.
SHOWER HOSE into HOSE QUICK CONNECT
PUSH-IN
REMOVING HOSE FROM PUSH-IN FITTING:
1. Before removing hose, depressurize the unit by turning off water
(either at faucet or using
depress
FLOW TRIGGER on HAND-HELD SHOWER.
2. To remove the hose, push and hold the
the face of the
QUICK CONNECT HOSE FITTING (or HAND-HELD SHOWER)
while pulling the
ON/OFF LEVER on FAUCET ADAPTER), then
HOSE RELEASE RING against
HOSE out.
DRAIN HOSE ATTACHMENT: The DRAIN HOSE is
connected to the
BLUE PERFECT UNION to the TUB DRAIN. (This can be done by simultane-
ously pushing up and slightly twisting the male (non-threaded) end before attaching connector ring). NOTE: The
for water control. Turn valve to “ON” for consistent draining or to “OFF”
to stop drain flow. If a longer drain hose is needed, a standard garden
hose may be attached for additional length.
TUB DRAIN on the outside of the tub by attaching the
YELLOW ON/OFF VALVE is used
DIAGRAM 3
DIAGRAM 3
DIAGRAM 3
DIAGRAM 3
YELLOW ON/OFF VALVE
YELLOW ON/OFF VALVE
YELLOW ON/OFF VALVE
YELLOW ON/OFF VALVE
BLUE PERFECT UNION
BLUE PERFECT UNION
BLUE PERFECT UNION
BLUE PERFECT UNION
25-FT DRAIN HOSE
25-FT DRAIN HOSE
25-FT DRAIN HOSE
25-FT DRAIN HOSE
DRAIN FUNCTION: The EZ-BATHE draining system uses a
gravity fed method. In order to achieve the most efficient draining, the
tub must be higher than the object you are draining into. Otherwise,
improper drainage may occur.
DRAINING THE EZ-BATHE: With the DRAIN HOSE attached to
the
TUB DRAIN on the inflated tub, run the end of DRAIN HOSE to bathtub,
shower, or toilet and turn
YELLOW ON/OFF VALVE to ON position for
draining (refer to section on “DRAIN FUNCTION” for additional
information in this area). If tub is not draining fast enough, check to be
sure that the
works best if the
DRAIN HOSE has no kinks or large drooping curves. Draining
DRAIN HOSE slopes at a consistent level to the draining
area. Raising the head of the bed a few inches may also improve drainage. Once tub is completely drained, the
ATTACHMENT can be used to vacuum any soapy water that may remain.
Rinse, drain, and towel dry the EZ-BATHE before storing.
SUCTION PORT and GULPER
OPTIONAL PUMP USAGE: If required, a water pump may be
used to increase the flow of water through the drain hose. Connect the
pump to the
standard garden hose connection may be used. NOTE: This item is not
available through Homecare Products, Inc., however, most home &
garden stores carry suitable pumps.
YELLOW ON/OFF VALVE. Any type of water pump having a
Page 4

IMPORTANT BATHING HINTS
•
CAUTION: EZ-BATHE is best used as a lay-down shower. If you
choose to use the product as a soaking tub, please be aware of the
inherent risks. Like any inflatable product, there is risk of
unexpected deflation and water spillage may occur. Homecare
Products, Inc. cannot be responsible for any property damage as a
result.
• Do not leave patient unattended while using the EZ-BATHE.
• For the benefit of the patient’s comfort, it is helpful to have a clean
linen or large towel available to place on him/her to keep warm
while the unit drains excess water.
• The (F) INFLATABLE PILLOW, when inflated to its maximum capacity,
may be too high to support the patients head and shoulders
comfortably. Deflate as needed using the valve on pillow.
• As the patient will be thoroughly cleansed and dried after using the
EZ-BATHE, it is suggested that fresh linen be placed on the bed
before the bath is started.
• The inflatable tub should be at room temperature before placing it
under the patient.
• CAUTION: Do NOT use electrical appliances in or around the
• EZ-BATHE while patient is in tub and wet.
STORAGE AND CLEANING
The EZ-BATHE inflatable tub and pillow are easily cleansed
•
and stored. Before removing patient from the tub, quickly
wipe-up any surplus dampness with a towel. When the tub is
removed from the bed, it is recommended that it be allowed to
air dry and be cleansed further if necessary.
• Any good household cleaner/disinfectant can be used to
cleanse the inflatable tub and pillow. Although the vinyl
material contains an antimicrobial agent to help prevent the
growth of bacteria and mildew, you can further sanitize your
tub and pillow with a disinfectant spray such as Lysol®.
•
Please contact your dealer if you have any questions
regarding the use of your EZ-BATHE. NOTE: A patch kit has
been included in case of accidental puncture of the tub or
pillow.
 Loading...