

Page 1
2.4GHz Wireless BlueTrace Mouse w/Nano Receiver
USER'S GUIDE
Ver.:1.00
Model CCS51301
CAUTION: To use this product properly, please read the user's guide before installing.
Page 2

Federal Communication Commission Interference Statement
This equipment has been tested and found to comply with the limits for a Class
B digital device, pursuant to Part 15 of the FCC Rules. These limits are designed to provide
reasonable protection against harmful interference in a residential installation. This equipment
generates, uses and can radiate radio frequency energy and, if not installed and used in
accordance with the instructions, may cause harmful interference to radio communications.
However, there is no guarantee that interference will not occur in a particular installation. If
this equipment does cause harmful interference to radio or television reception, which can be
determined by turning the equipment off and on, the user is encouraged to try to correct the
interference by one of the following measures:
- Reorient or relocate the receiving antenna.
- Increase the separation between the equipment and receiver.
- Connect the equipment into an outlet on a circuit different from
that
to which the receiver is connected.
- Consult the dealer or an experienced radio/TV technician for help.
FCC Caution: Any changes or modifications not expressly approved by the
party responsible for compliance could void the user's authority to operate this equipment.
This device complies with Part 15 of the FCC Rules. Operation is subject to the
following two conditions: (1) This device may not cause harmful interference, and (2) this
device must accept any interference received, including interference that may cause
undesired operation.
Industry Canada statement:
This device complies with Industry Canada’s licence-exempt RSSs. Operation is subject to
the following two conditions:
(1) This device may not cause interference; and
(2) This device must accept any interference, including interference that may cause undesired
operation of the device.
Le présent appareil est conforme aux CNR d’Industrie Canada applicables aux appareils
radio exempts de licence. L’exploitation est autorisée aux deux conditions suivantes:
1) l’appareil ne doit pas produire de brouillage;
2) l’utilisateur de l’appareil doit accepter tout brouillage radioélectrique subi, même si le
brouillage est susceptible d’en compromettre le fonctionnement.
Page 3

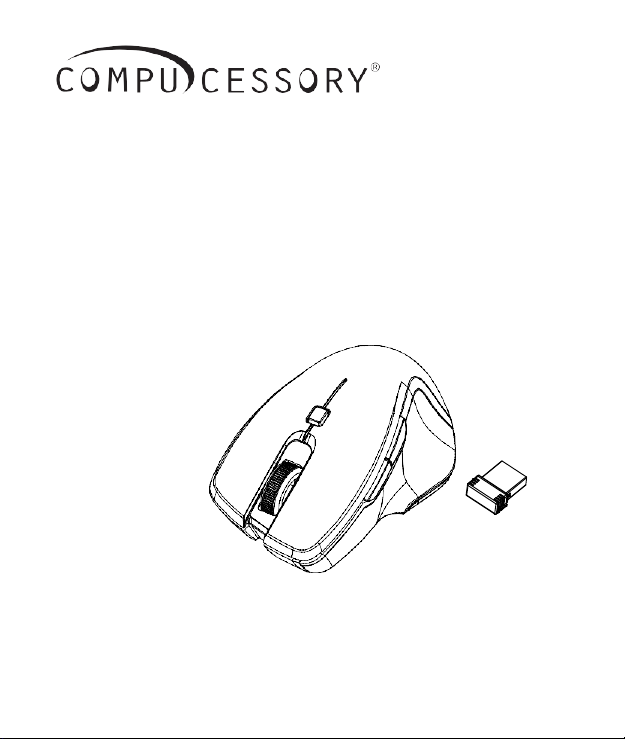
Functional Introduction
1.
Left button
2.
Right button 7. Nano Receiver
3.
Scrolling Wheel 8. Battery Cover
4.
Forward 9. Connect Button
5.
Backward 10. ON/OFF Switch
6. DPI Switch Key (LED Indicator)
DPI Switch
The LED indicator under tilt wheel will light up when you plug the mouse
into the USB port. The brightness of the indicator indicates the DPI
setting in use. There are three different settings:
Bright: 1600 DPI
Dim: 1200 DPI
No light: 800 DPI
1
Page 4

Setup the Connection between the Receiver and the Mouse
1.
Insert the battery into the mouse, then follow the steps below.
2.
In the meantime, to open the mouse under the cover, take the nano
receiver out.
3.
Plug the Nano receiver into the USB port on your computer.
4.
If the mouse does not work, please put it into pairing mode.
5.
Pairing: Re--plug the receiver into the USB port on your computer, then
press the connect button on the mouse. If the mouse does not work
after 10 seconds, pair them again. (The receiver has auto pairing
function).
6.
The LED indicator on mouse flashes steadily when it is in pairing
mode and stops blinking when it is successfully paired with the
receiver.
7.
When low battery, the battery indicator on the mouse will start to blink.
2
Page 5

Souris BlueTrace sans fil 2,4 Ghz avec nano récepteur
GUIDE DE L'UTILISATEUR
Ver. : 1.00
Modéle CCS51301
ATTENTION : Pour utiliser ce produit correctement, veuillez lire le guide de l'utilisateur avant
l'installation.
Page 6

Introduction à l'utilisation
1.
Bouton gauche
2.
Bouton droit 7. Nano récepteur
3.
Roulette de
défilement
4.
Avant 9. Bouton de connexion
5.
Arrière 10. Interrupteur marche/arrêt
6. Touche de commutation PPP (voyant
DEL)
8. Couvercle de la pile
Commutateur PPP
Le voyant DEL sous la roulette multidirectionnelle s'éclaire quand vous
branchez la souris dans le port USB. La luminosité du voyant indique le
réglage PPP utilisé. Trois réglages différents sont disponibles :
Lumineux : 1600 PPP
Estompé : 1200 PPP
Éteint : 800 PPP
1
Page 7

Configurez la connexion entre le récepteur et la souris
1.
Introduisez la pile dans la souris, puis suivez les étapes ci--dessous.
2.
Entre--temps, ouvrez le couvercle sous la souris et sortez--en le
nano récepteur.
3.
Branchez le nano récepteur dans le port USB de votre ordinateur
4.
Si la souris ne fonctionne pas, veuillez la mettre en mode jumelage.
5.
Jumelage : Rebranchez le récepteur dans le port USB de votre
ordinateur, puis appuyez sur le bouton de connexion de la souris. Si la
souris ne fonctionne pas au bout de 10 secondes, réalisez le
jumelage à nouveau. (Le récepteur est doté d'une fonction de
jumelage automatique).
6.
Le voyant DEL sur la souris clignote de manière régulière en mode
jumelage et arrête de clignoter quand le jumelage avec le récepteur
est accompli.
7.
Quand le niveau de la pile est faible, le voyant de la pile sur la souris
commence à clignoter.
2
Page 8

Mouse Inalámbrico BlueTrace de
2.4 GHz con Nano--Receptor
GUÍA DEL USUARIO
Ver.: 1.00
Modelo CCS51301
PRECAUCIÓN: Para usar este producto adecuadamente, lea la guía del usuario antes de la
instalación.
Page 9

Introducción a las funciones
1.
Botón izquierdo
2.
Botón derecho 7. Nano--receptor
3.
Rueda de
desplazamiento
4.
Avanzar 9. Botón “Conectar”
5.
Retroceder 10. Interruptor de encendido/apagado
6. Llave del interruptor de ppp (indicador
LED)
8. Cubierta de la batería
Interruptor de ppp
El indicador LED debajo de la rueda inclinada se encenderá al conectar
el mouse al puerto USB. El brillo del indicador señala el ajuste de
puntos por pulgada (ppp) que se está usando. Hay tres ajustes
diferentes:
Brillante: 1600 ppp
Tenue: 1200 ppp
Sin luz: 800 ppp
1
Page 10

Configuración de la conexión entre el receptor y el mouse
1.
Inserte la batería en el mouse y siga los pasos indicados a
continuación.
2.
Mientras tanto, para abrir el mouse debajo de la cubierta, retire el
nano--receptor.
3.
Conecte el nano--receptor al puerto USB de su computadora.
4.
Si el mouse no funciona, póngalo en modo de sincronización.
5.
Sincronización: Vuelva a conectar el receptor al puerto USB de su
computadora y luego presione el botón “Conectar” en el mouse. Si el
mouse no funciona después de 10 segundos, sincronícelos
nuevamente. (El receptor tiene una función de sincronización
automática).
6.
El indicador LED del mouse parpadea continuamente cuando está en
modo de sincronización y deja de hacerlo cuando ya se sincronizó
con el receptor.
7.
Cuando la batería esté baja, el indicador de batería del mouse
comenzará a parpadear.
2
 Loading...