

Page 1
2.4G Wireless Mouse
GAR
USER'S GUIDE
Ver.:1.00
Safety Notice
1 This product complies with IEC 60825-1,
class 1 laser product.
2 Your product complies with FCC and CE rules.
3 This product has no serviceable parts. Use of
controls or adjustments of procedures other than
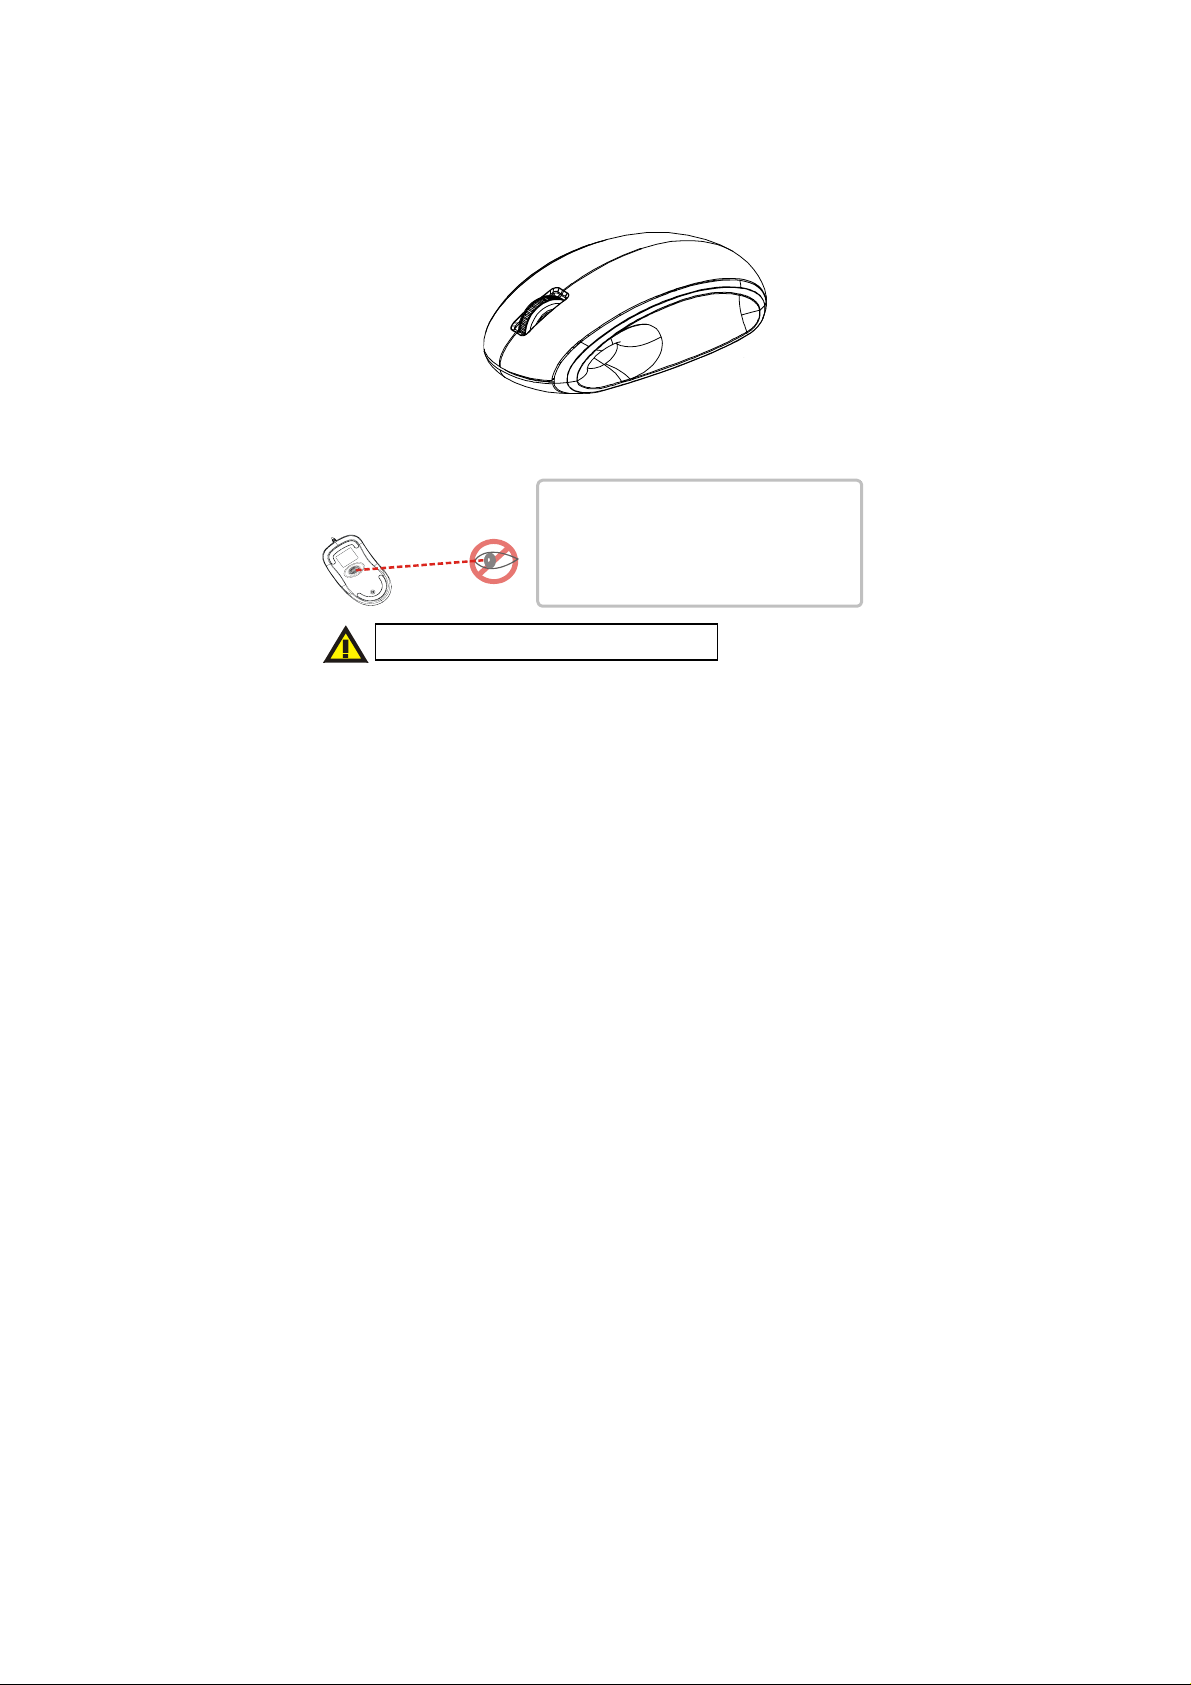
Please DO NOT direct the laser beam at anyone’s eye.
CAUTION: To use this product properly, please read the user's guide before installing.
the user guide may result in danger.
Page 2

Federal Communication Commission Interference Statement
This equipment has been tested and found to comply with the limits for a
Class B digital device, pursuant to part 15 of the FCC rules. These limits
are designed to provide reasonable protection against harmful
interference in a residential installation. This equipment generates, uses
and can radiate radio frequency energy and, if not installed and used in
accordance with the instructions, may cause harmful interference to
radio communications. However, there is no guarantee that interference
will not occur in a particular installation. If this equipment does cause
harmful interference to radio or television reception, which can be
determined by turning the equipment off and on, the user is encouraged
to try to correct the interference by one or more of the following
measures:
-Reorient or relocate the receiving antenna.
-Increase the separation between the equipment and receiver.
-Connect the equipment into an outlet on a circuit different from that to
which the receiver is connected.
-Consult the dealer or an experienced radio/TV technician for help.
You are cautioned that changes or modifications not expressly approved
by the party responsible for compliance could void your authority to
operate the equipment.
You are cautioned that changes or modifications not expressly approved
by the party responsible for compliance could void your
authority to operate the equipment.
This device complies with Part 15 of the FCC Rules. Operation is subject
to the following two conditions: (1) this device may not cause harmful
interference and (2) this device must accept any interference received,
including interference that may cause undesired operation
1
Page 3

Functional Introduction
Metallic Wheel
Right button
LED Indicator
Nano Receiver
ON/OFF Switch
Connect
Button
Left button
Battery Cover
Installing the batteries
Step 1: Take the battery cover off.
Step 2: Insert the batteries as shown inside the battery compartment.
Step 3: Replace the cover.
Step 4: Turn on power switch
1’st 2’nd
AAA Battery
2
Page 4

**Warning:
*Please insert the batteries with the correct position according to the instruction
labeled in the mouse.
Setup the Connection between the Receiver and the Mouse
1. Plug the Nano receiver into the USB port of your computer.
2. Insert the batteries into the mouse, then follow the steps below.
3. If the mouse is not working, please put it into pairing mode.
4. Pairing: Re-plug the receiver into the USB port of your computer, then
press the connect button on the mouse. If the mouse does not work
after 10 seconds, pair them again. (The receiver has auto pairing
function).
5. The LED indicator on mouse flashes steadily when it is in pairing
mode and stops blinking when it is successfully paired with the
receiver. The mouse’s LED indicator remains off afterwards.
6. When the batteries of the mouse is low, the Low Power indicator
will start to blink.
LED Indicator
*Mouse Indicator
Red LED is on for 10 sec.
Power ON
Red LED Blinks for 10 sec.
Low Battery Warning
Red LED Blinking
Pairing (LED OFF when paired or
3
failed after 10 sec.)
 Loading...