

Page 1

Options
Your computer offers excellent expansion
capabilities with its built-in ports and connectors.
This chapter describes how to connect peripherals
and hardware options that help you use your
computer with ease. When connecting
peripherals, read the manual included with the
peripheral for operating instructions.
This chapter also includes sections on how to
upgrade key components. Key component
upgradeability helps keep your computer in step
with the latest technology.
3
3-1
Page 2
Options
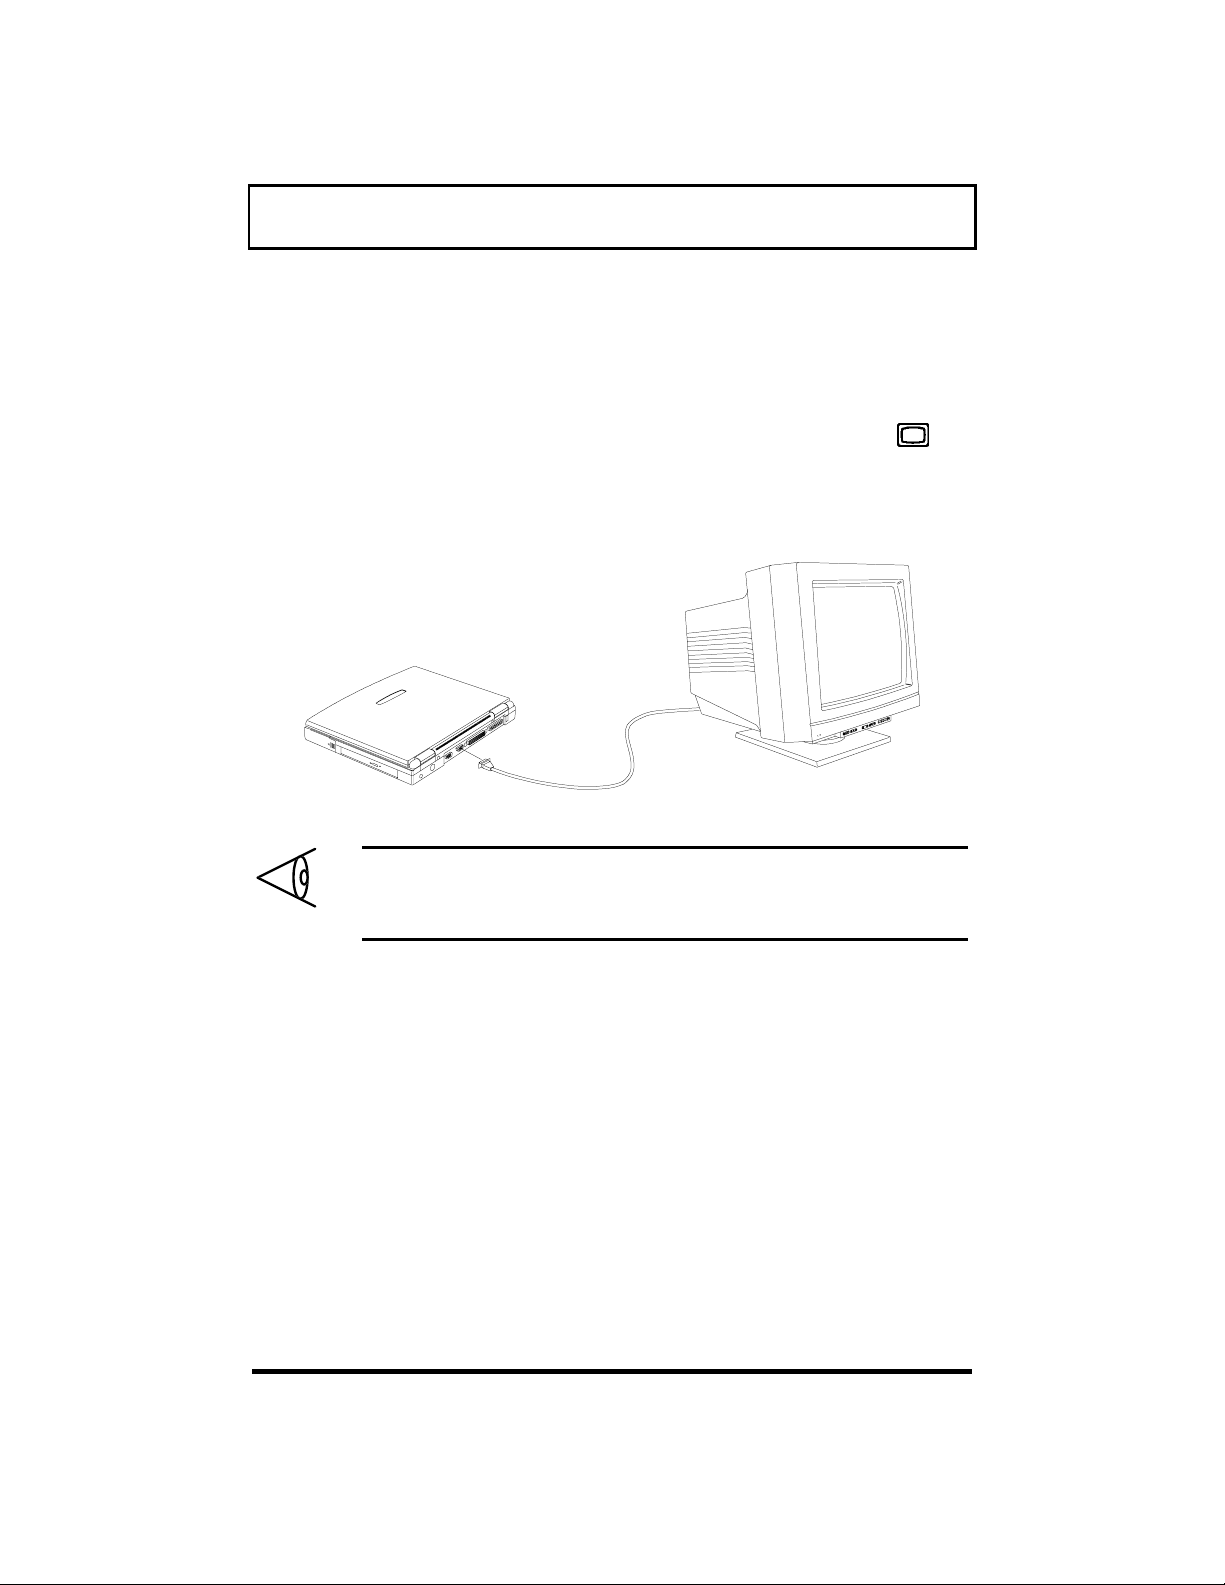
3.1 External Monitor
To show graphical effects on a larger display,
connect an external monitor to the CRT port .
Read the monitor manual for additional
instructions.
3-2
Note: If an external monitor is not connected,
closing the display cover puts the computer into
standby mode.
Page 3

3.2 External Keyboard
This computer has a keyboard with full-sized keys
and an embedded keypad. If you feel more
comfortable using a desktop keyboard, you can
install a PS/2-compatible external keyboard.
To connect an external keyboard, plug the external
Options
keyboard into the PS/2 connector
.
3-3
Page 4

Options
3.3 External Keypad
You can also use a 17-key numeric keypad for
number-sensitive data entry applications. To
connect the keypad, plug in the keypad connector
to the PS/2 port
.
3-4
Page 5
Options
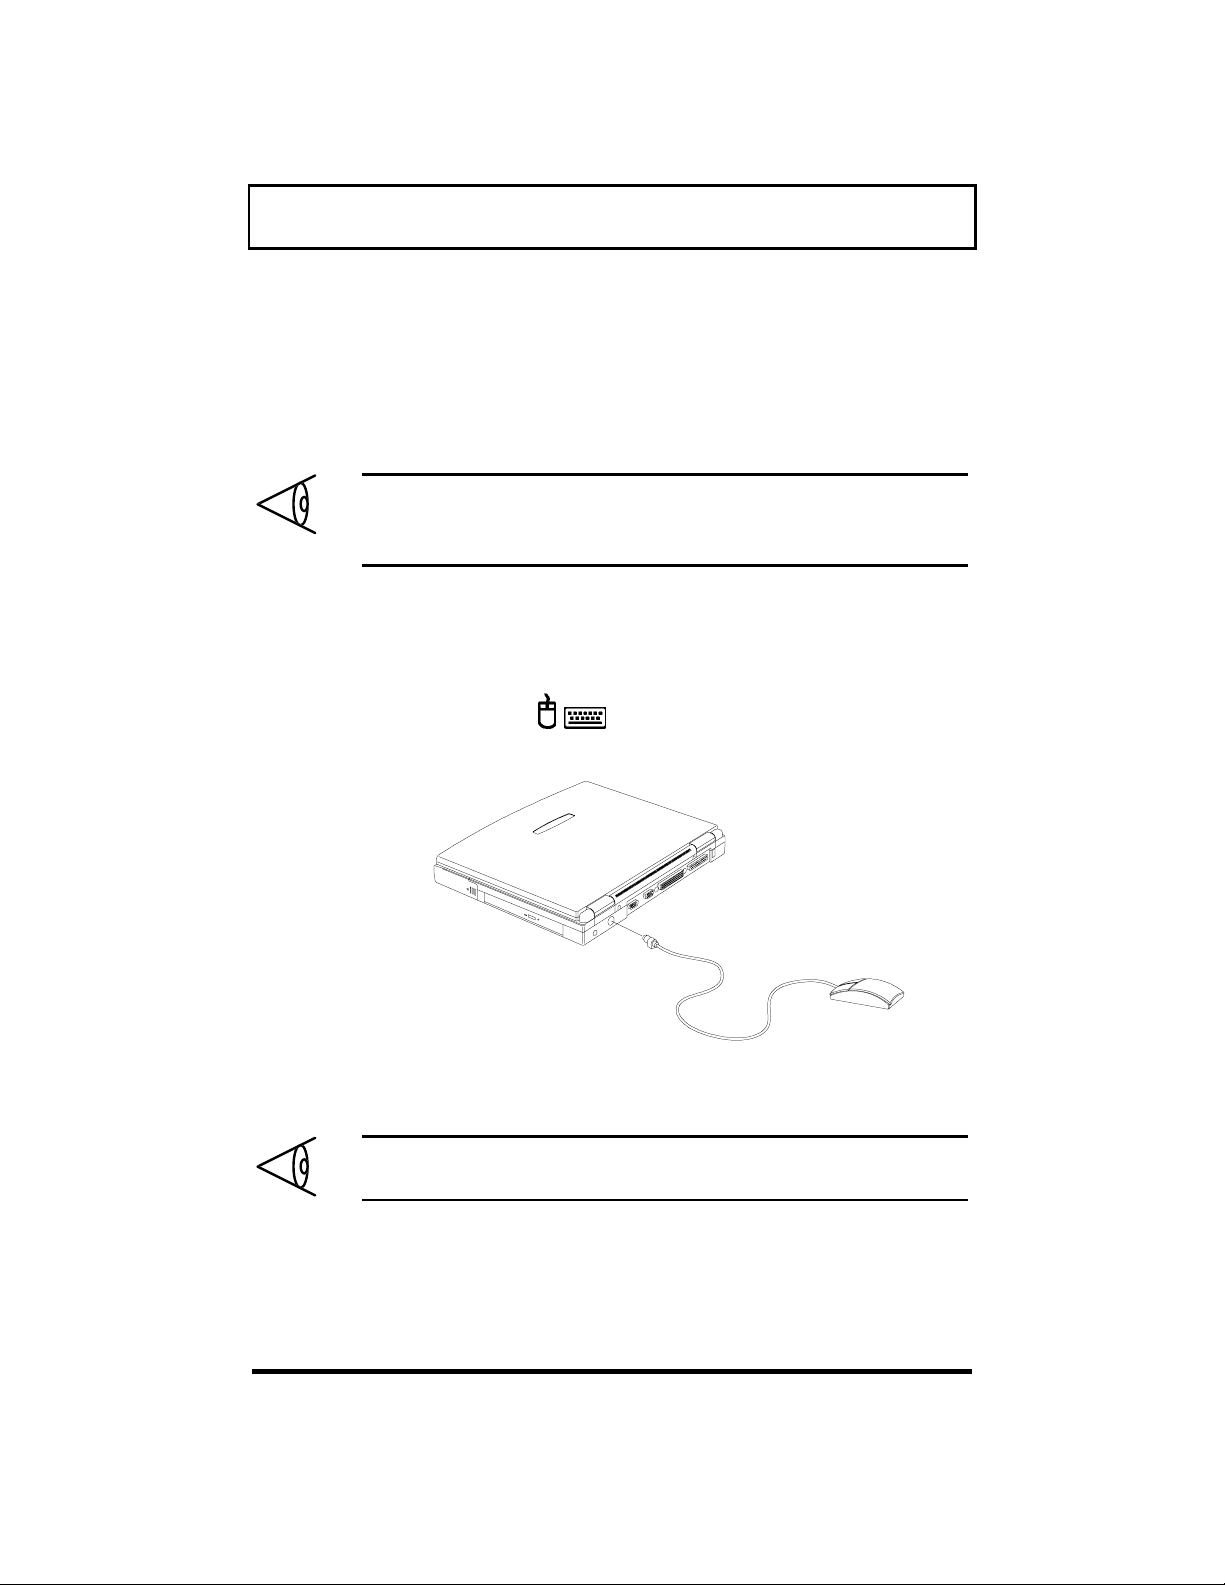
3.4 External Pointing Device
This computer accepts either a PS/2-compatible or
serial mouse or similar pointing device.
Note: When using an external mouse, you may
choose to disable the internal touchpad by
pressing Fn-T.
The built-in touchpad works alternately with an
external PS/2 mouse which is hot-pluggable. To
use a PS/2-compatible mouse, simply plug it into
the PS/2 port
Note: Enable the touchpad before connecting the
PS/2 mouse.
.
External PS/2 Mouse
3-5
Page 6

Options
If you use a serial mouse, plug it into the serial
port . To enable the serial mouse, use the Add
New Hardware tool in the Windows 95 Control
Panel.
External Serial Mouse
3-6
Page 7

3.5 Printer
This computer supports both serial and parallel
printers. For a serial printer, plug the printer
cable into a serial port . For a parallel printer,
plug the printer cable into the parallel port .
See your printer manual for operating
instructions.
Note: If the printer does not function, enter Setup
and verify that the parallel port is enabled. Refer
to section 5.3.3 for assistance.
Options
3-7
Page 8

Options
3.6 Audio Devices
Audio devices are easy to connect with the audio
ports accessible from the left side of the computer.
You can plug in amplified speakers or
headphones, a line-in device and external
microphone to the line-out , line-in and
microphone-in ports respectively.
3-8
Page 9

3.7 Smart Dock
For one-step connection and disconnection from
your peripherals, use the optional full-featured
Smart Dock. The Smart Dock includes all the
ports on your computer and adds a few more,
including two additional CardBus slots.
Options
3.8 PC Cards
The computer has two CardBus PC card slots that
accommodate two type I/II or one type III PC
card(s). Please consult your dealer for PC card
options available that you can purchase for your
computer.
3-9
Page 10

Options
3.9 USB Devices
The computer has a USB (Universal Serial Bus)
port that allows you to connect peripherals
without occupying too many resources. Common
USB devices include the mouse and keyboard.
Most USB devices also include a built-in USB port
connector which allows you to daisy-chain other
USB devices.
3-10
Page 11

3.10 Miscellaneous Options
3.10.1 Additional Power Packs
You can order spare batteries and AC adapter.
Battery Pack
It is good practice to have a spare battery around,
especially when you travel. The NiMH and Li-Ion
batteries, coupled with power management
features, supply you with more power on-the-go.
AC Adapter
The compact AC adapter charges your battery
pack and supplies power to your computer. You
can order a spare AC adapter so you do not need
to carry it from the office to your home or
destination.
Options
3.10.2 Cables
External Floppy Drive Cable
The external floppy drive cable allows you to use
your floppy drive module externally. This cable is
supplied along with the floppy drive. Simply plug
in the 25-pin (larger end) of the floppy drive cable
to the parallel port on the rear of the computer,
and the other end to the external floppy drive.
3-11
Page 12

Options
PS/2 Y-Bridge Cable
The PS/2 Y-bridge cable allows you to connect two
PS/2 devices, mouse and keyboard, to your
computer simultaneously.
Note: The keyboard must be connected to the
connector marked keyboard and the mouse must
be connected to the connector marked mouse.
Connect the single
connector end of the Ybridge cable to the
computer’s PS/2 port
and the double
connector ends to the
two PS/2 devices.
3-12
File Transfer Cable
Besides using the infrared port, you can also
transfer files between computers using a file
transfer cable. Connect the file transfer cable
between the parallel ports of the two computers
and use your file transfer utility to perform the
transfer.
Page 13

Options
3.11 Key Component Upgrades
The computer delivers superior power and
performance. However, some users and the
applications they use may demand more. This
computer allows you to upgrade key components
when you need increased performance.
Note: Contact your authorized dealer if you decide
to perform a key component upgrade.
3.11.1 Memory Upgrade
Memory is upgradeable from 16 to 128 MB,
employing 8-/16-/32-/64-MB 64-bit soDIMMs
(Small Outline Dual Inline Memory Modules).
Memory Configurations
The following table lists the possible memory
configurations:
Slot 1 Slot 2 Total Memory
8 MB 8 MB 16 MB
0 MB 16 MB 16 MB
16 MB 0 MB 16 MB
8 MB 16 MB 24 MB
16 MB 8 MB 24 MB
16 MB 16 MB 32 MB
0 MB 32 MB 32 MB
32 MB 0 MB 32 MB
3-13
Page 14

Options
Slot 1 Slot 2 Total Memory
8 MB 32 MB 40 MB
32 MB 8 MB 40 MB
16 MB 32 MB 48 MB
32 MB 16 MB 48 MB
32 MB 32 MB 64 MB
0 MB 64 MB 64 MB
64 MB 0 MB 64 MB
8 MB 64 MB 72 MB
64 MB 8 MB 72 MB
16 MB 64 MB 80 MB
64 MB 16 MB 80 MB
32 MB 64 MB 96 MB
64 MB 32 MB 96 MB
64 MB 64 MB 128 MB
3-14
Installing Memory
Follow these steps to install memory:
1. Turn off the computer and remove the
battery pack.
access its base.
Remove three screws from the memory door;
2.
then lift up and remove the memory door.
Insert the memory module diagonally into the
3.
slot, then gently press down until it clicks into
place.
Then turn the computer over to
Page 15

Options
4. Replace the memory door and secure it with the
screws.
Ð
Ð
The computer automatically detects and
reconfigures the total memory size.
3-15
Page 16

Options
3.11.2 Hard Disk Upgrade
You can upgrade your hard disk with a higher
capacity drive when you need more storage space.
The computer uses a 12.5mm, 2.5-inch
Enhanced-IDE hard disk.
Installing a Replacement Hard Disk
Follow these steps to install a hard disk:
1. Turn off the computer and remove the
battery pack. Then turn the computer over to
access its base.
2. Slide out the hard disk bay cover .
3. Pull out the hard disk using the pull loop
attached to the end of the hard disk.
4. Insert a new hard disk into the hard disk bay
and replace the cover.
3-16
Page 17

3.11.3 LS-120 Drive Module
You can get more removable media space with an
LS-120 drive module. This emerging standard
gives you flexibility by offering seventy times the
capacity of the current 3.5-inch, 1.44 MB diskette,
plus the ability to read and write on 3.5-inch, 1.44
MB diskettes.
This drive module easily swaps with your CD-ROM
drive module or floppy disk drive module into the
module bay.
Options
3-17
 Loading...