

Accutone A10 User Manual
www.accutone.com
Printed in Hong Kong
AASA10 AlphaR2007JUN
Accutone and the logo device are registered trademarks of Accutone Technologies Limited.
© Copyright 2007 Accutone Technologies Limited, All rights reserved, Do not copy or re-distribute any contents.
Amplifier
A10 ALPHA telephone & multimedia amplifier
user manual & installation guide
Introduction.
table of content.
This installation guide and user manual contains the following contents:
telephone & multimedia amplifier for headset.
Thank you for purchasing the Accutone A10 Alpha multi-functional
amplifier for telephone headset. This unit is designed to be paired with an
Accutone telephone headset, which you can find more information from
your distribution agent, or from our website. The A10 Alpha telephone is
designed and developed with the aim to provide busy users, whether at
home or in the office, with the comfort and convenience of using
telephone and computer with a single unit, freeing their hands for more
important tasks. The A10 Alpha works with most retail and system
telephones in the market, with the exception of telephones with the dialpad inside its handset.
Other highlight features of the A10 Alpha include: battery or poweradaptor capability, microphone mute, headset or handset selection
switch, and 3.5mm input for your existing multimedia headset...etc.
Now please spend a few moments to read through this user manual
before connecting the A10 Alpha unit to your telephone. After
familiarizing with the features and functions, you will surely enjoy the
freedom and convenience this unique device offers you.
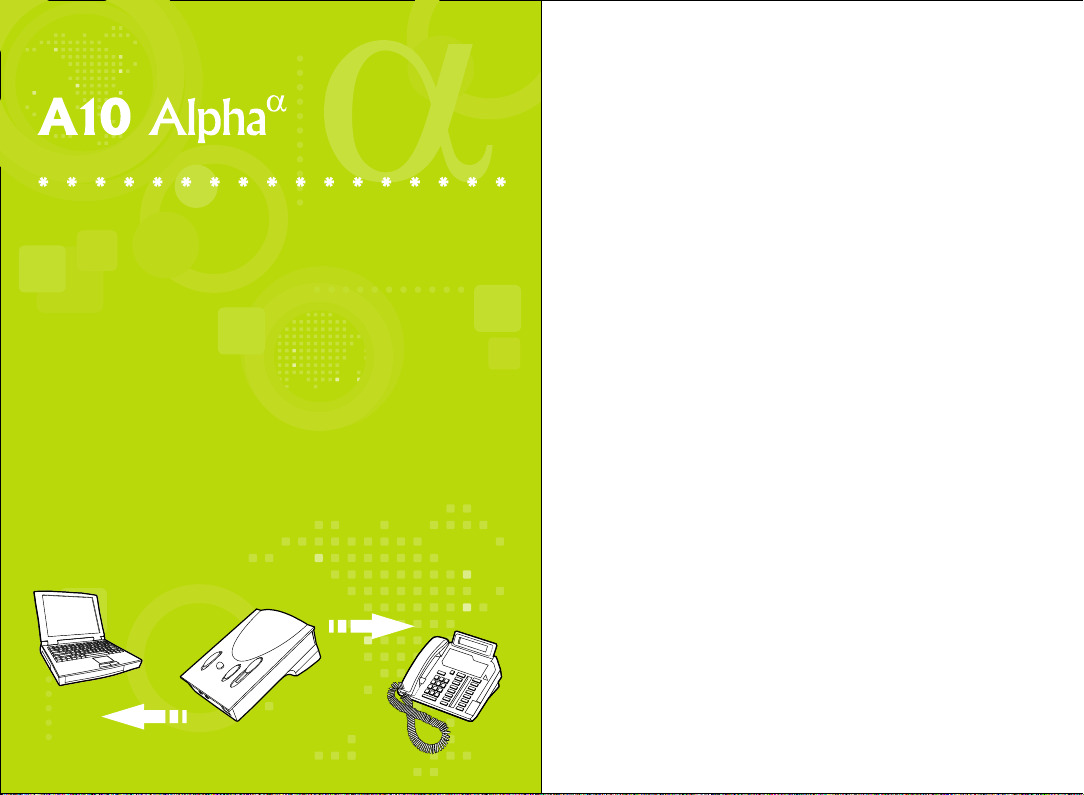
Connect to PC or
other devices
A10 Alpha
Connect to fixed
line telephone
PART A
PART B
PART C
Getting Comfortable.
A.1 Understanding the Controls.
A.2 Connection and Preparations.
A.2.1 connect to telephone
A.2.2 connect to computer
A.2.3 connect to headset
A.2.4 inserting batteries
A.2.5 configure the control unit
A.3 Features and Functions
A.3.1 external DC supply jack
A.3.2 power on/off switch
A.3.3 rotary transmit volume control
A.3.4 telephone/computer application switch
A.3.5 headset/handset application switch
A.3.6 mute switch
A.3.7 slide reception volume control
Begin to Operate.
B.1 Telephone Communication
B.1.1 receiving calls/making calls using headset
B.1.2 using headset with computer
B.2 Troubleshooting
Accessories & Specifications.
C.1 Accessories
C.2 Specifications
1
getting comfortable.
understanding the controls.
Part A. Getting Comfortable
A.1 Understanding the Controls.
A.2 Connection and Preparations.
A.1
1
2
3
4
5
6
. . . .
.
.
L
I
N
E
I
N
L
I
N
E
O
U
T
M
O
I
N
C
V
O
L
O
F
F
1514
1 2
3 4 5 6 8 7 9
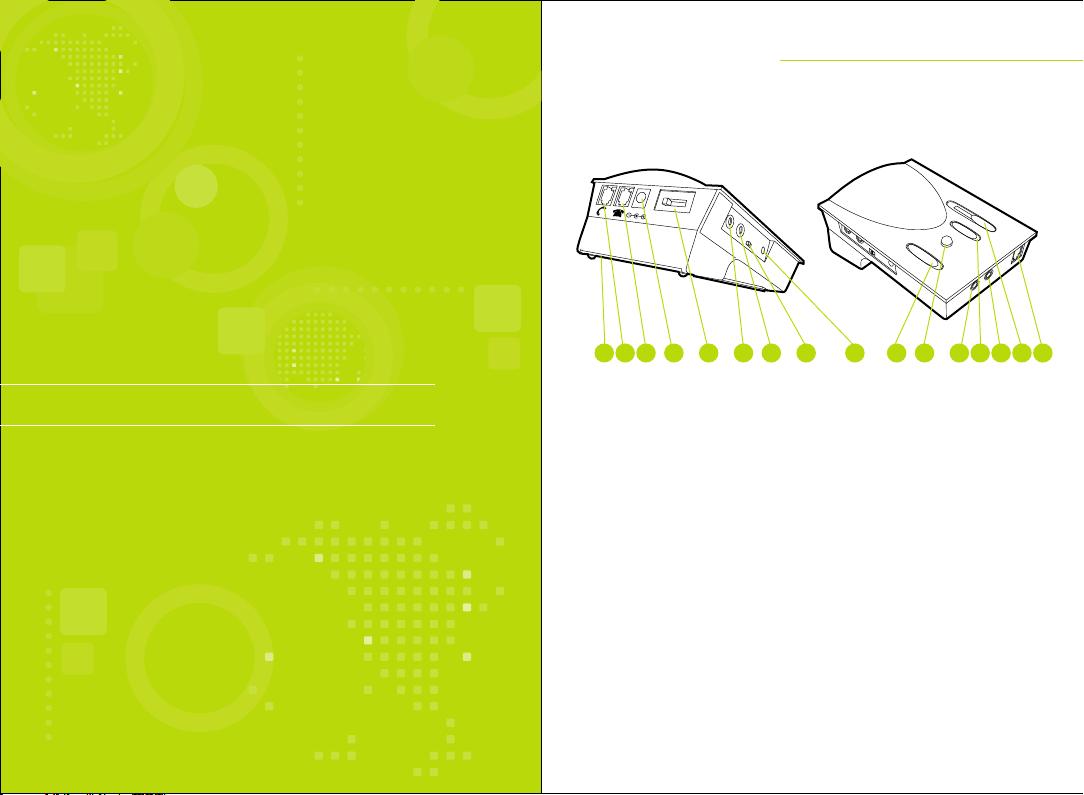
Learning about the interface & controls.
MAIN SWITCHES AND INTERFACE
External DC Supply Jack (6V DC to 9V DC)
1.
Telephone Configuration Switch
2.
Line-In Jack (ø3.5mm stereo) from Computer Line Out
3.
Line-Out Jack (ø3.5mm stereo) from Computer Line In
4.
Power On/Off Switch
5.
Rotary Mic Volume Control
6.
Mute Switch
7.
Telephone/Computer Application Switch
8.
Computer Headset Jack (ø3.5mm stereo) from Speaker Plug
9.
Computer Headset Jack (ø3.5mm stereo) from Microphone Plug
10.
Headset/Handset Application Switch
11.
Modular Jack for Telephone Headset
12.
Slide Reception Volume Control
13.
Modular Jack for Telephone Handset
14.
Modular Jack for Input from Telephone Unit
15.
Battery Compartment Door
16.
1011 13 1216
2
part a. getting comfortable.
3
 Loading...