

Page 1
3-5 PROTOCOL INSTALLATION – WINDOWS® 98
Before continuing with the Protocol installation consult your System Administrator for details about
your specific network. To install network protocols complete the following steps.
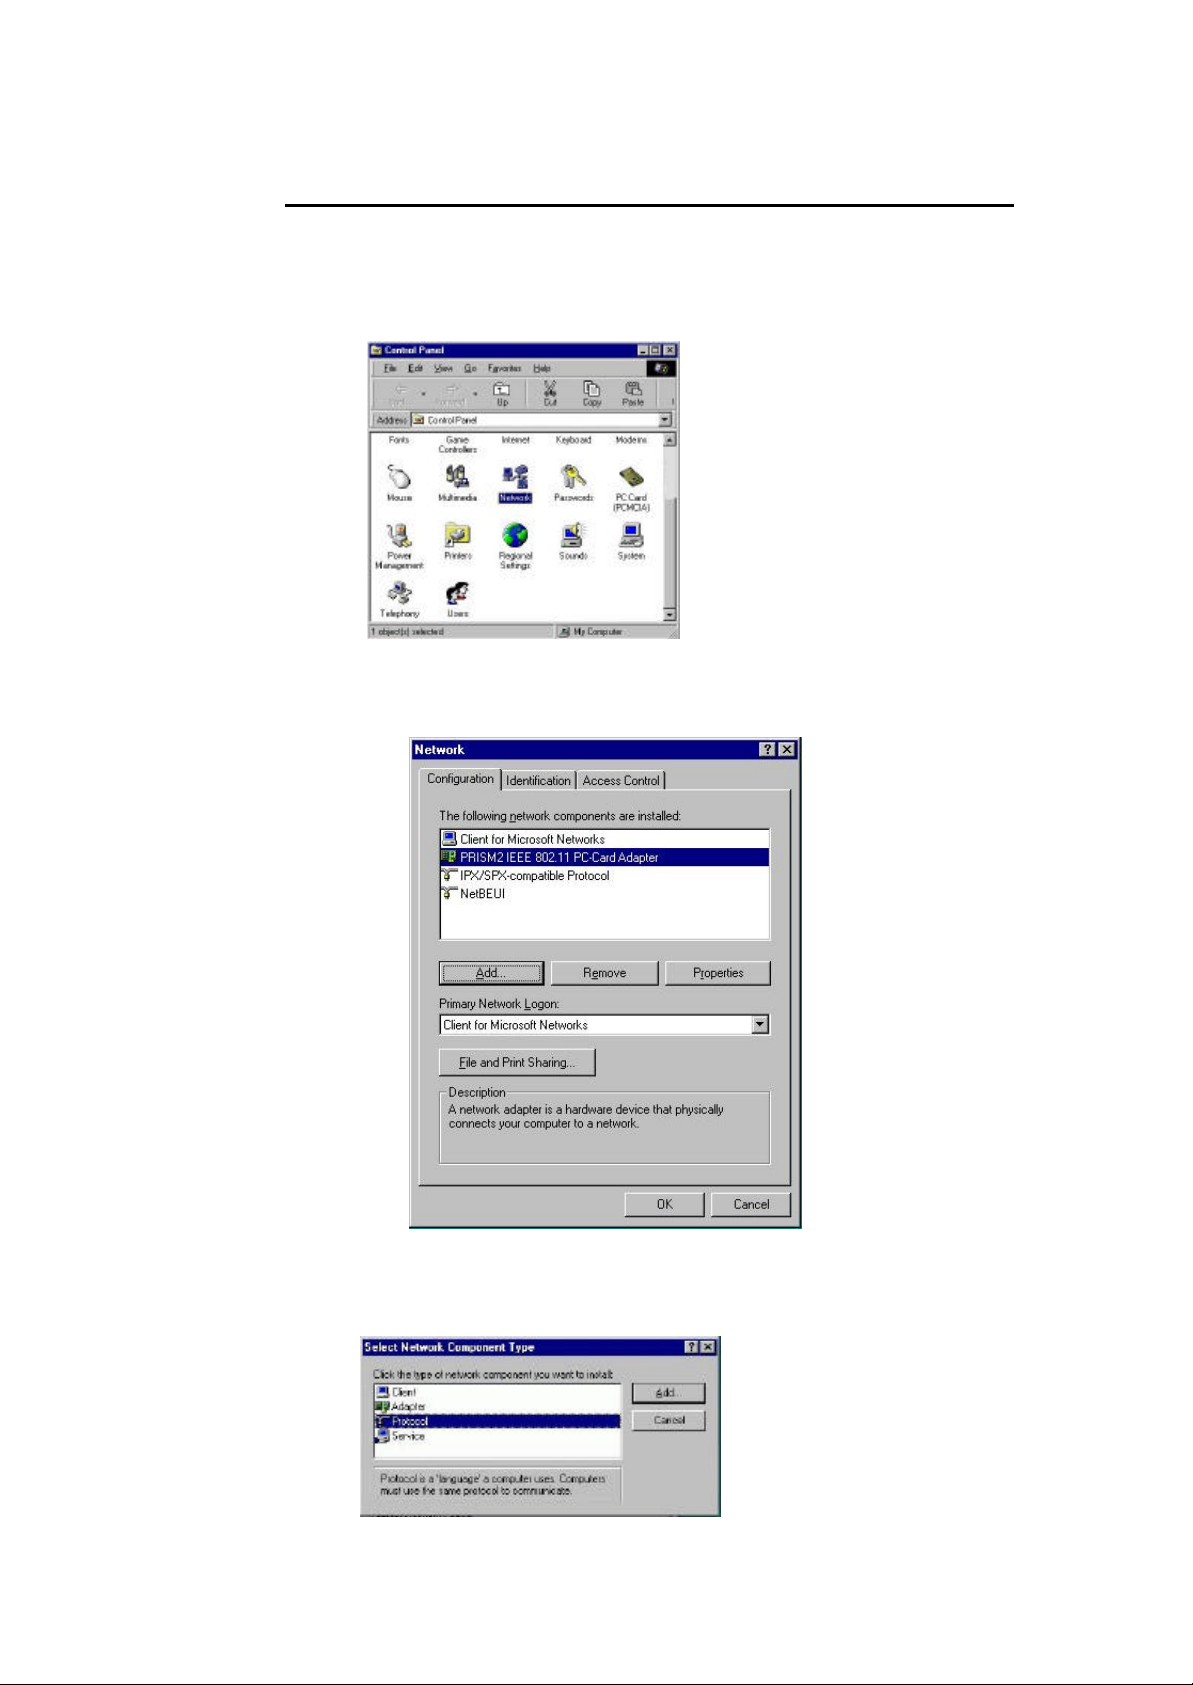
1. From the “Control Panel” double-click the “Network” icon.
2. Select “PRISM2 IEEE 902.11 PC Card Adapter” and click “Add”.
3. Highlight “Protocol ” and click “Add”
19
Page 2
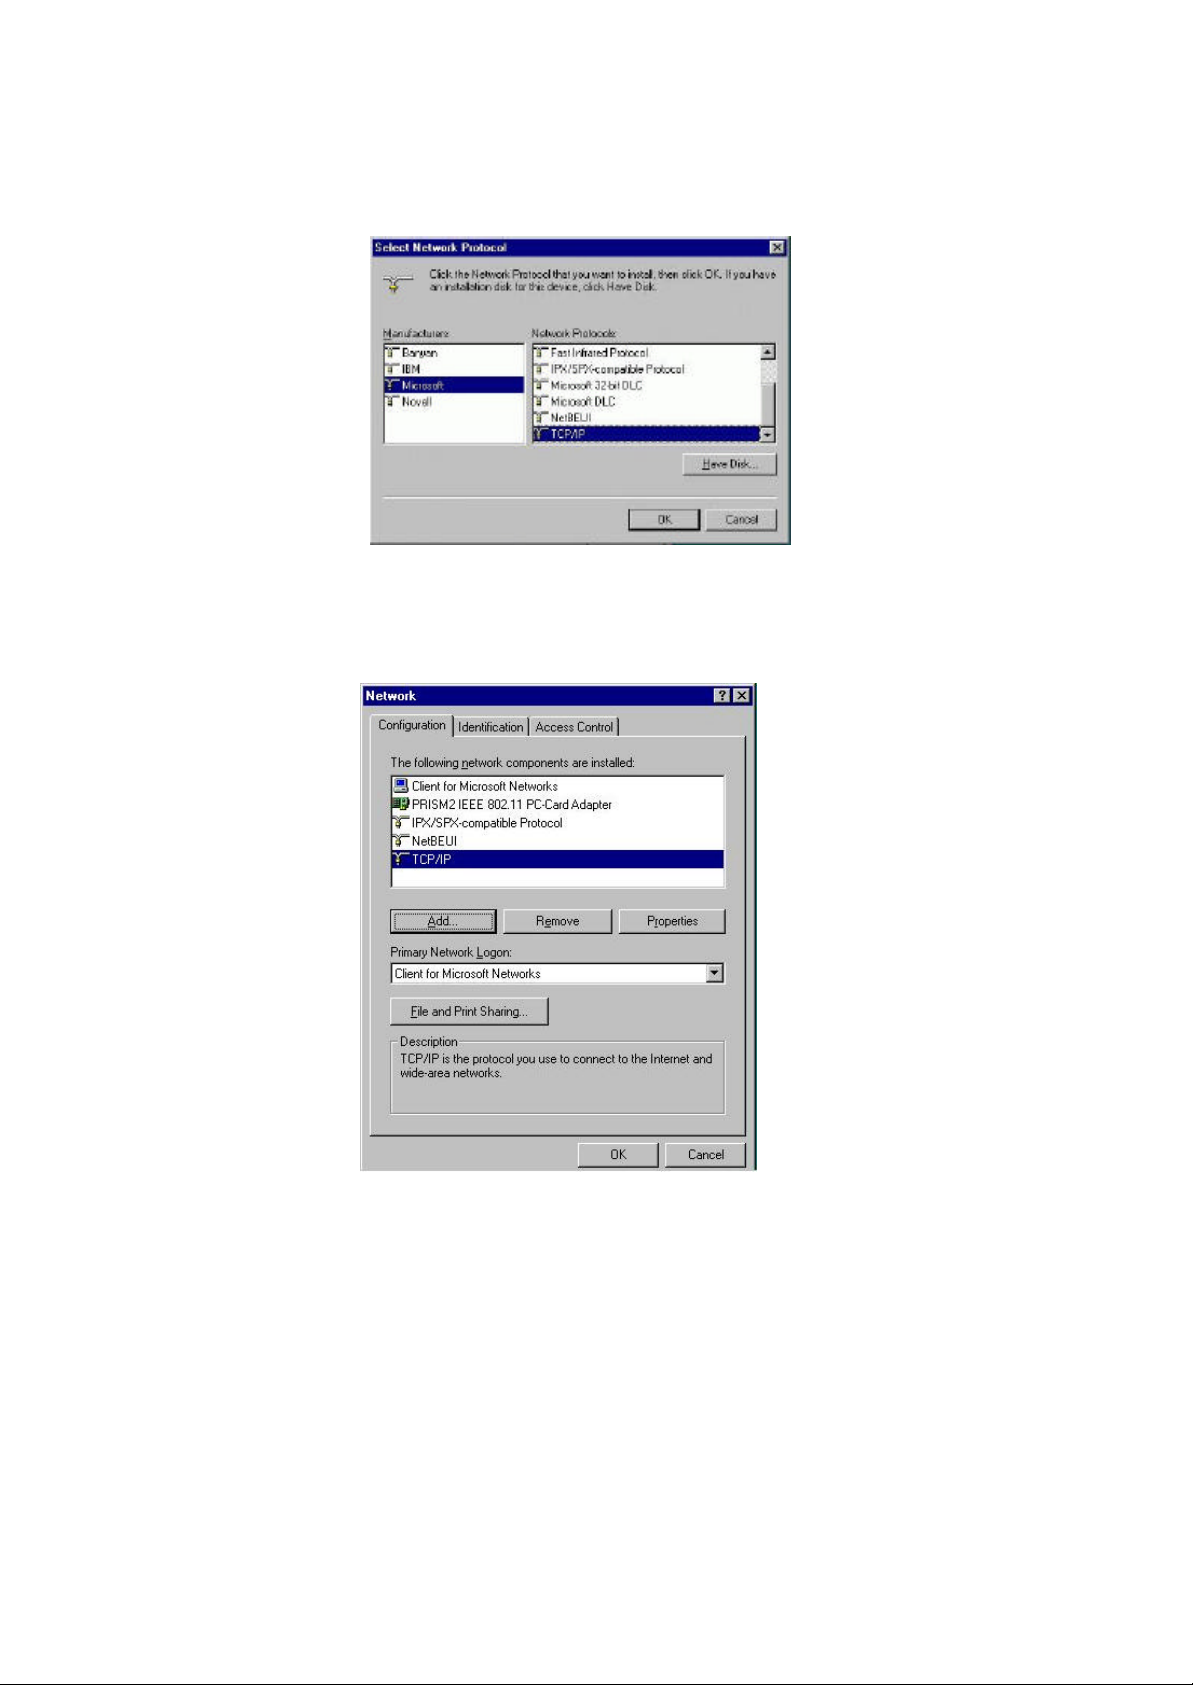
4. Select “Microsoft” from the list of “Manufacturers” and “TCP-IP” from the list of “Network
Protocols”, click “OK”
5. Select “TCP/IP “ and click “Properties ”.
Repeat step 2 – 5 to install other protocols such as Notebook or IPX/SPX.
NOTE: The following steps apply to DHCP servers. Consult your system administrator for
specific information regarding your server type, and for help in specifying an IP address if you do
not use a DHCP server and must manually enter the IP address and DNS number.
20
Page 3
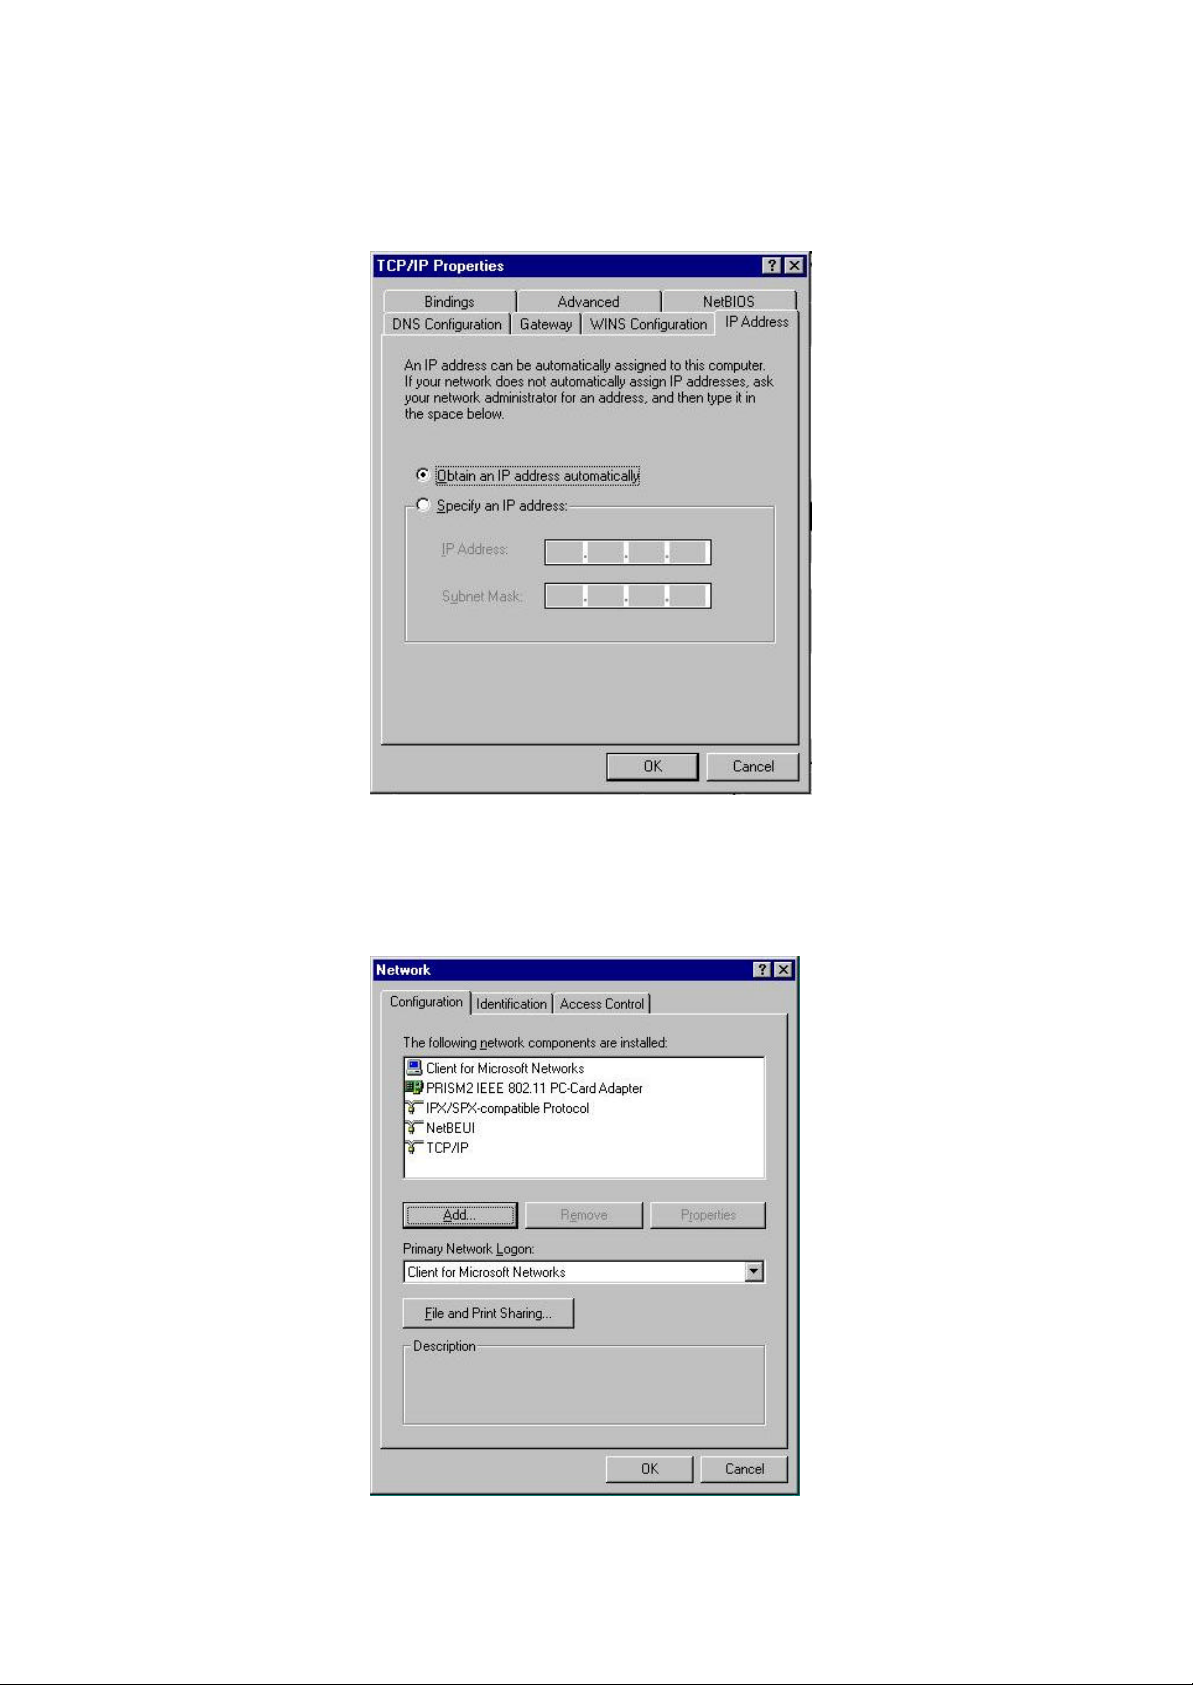
6. Check “Obtain an IP address…” and click “OK”. If you are using a DHCP server the IP
address will be entered automatically.
7. From the Network menu highlight “Client from Microsoft Networks”, and click" File and
Print Sharing”.
21
Page 4

8. Check both boxes and click “OK”.
9. Enter a “Computer name”, “Workgroup” and “Computer Description”, click “OK”
22
Page 5

10. Enter a “Computer name”, “Workgroup” and “Computer Description”, click “OK”
11. You will be prompted to restart your computer, click “Yes” to complete the installation.
Note: Please see the trouble shooting if you encounter some problem while installing the PCCard card or your PC-Card is non-functional.
23
Page 6

3-6 WN3301F SET UP FOR WINDOWS NT 4.0
Login as Administrator
1. From the desktop, select “Control Panel”, double-click “Network”, click “Adapters”, click
“Add”
2. Click “Have Disk”
3. Insert the WN3301F disk; Windows NT will manually enter the path to the driver click
“OK ”.
24
Page 7

4. Select your adapter from the list click “OK”.
5. Click “Close” from the “Network” dialog, Windows NT will auto-bind the new adapter with
any network protocols already installed on the system.
25
Page 8

6. After the auto-binding procedure is complete, select “Properties ” from the “Network”
dialog. At this point you may choose to manually specify an IP address, or automatically
obtain an IP address if you are using a DHCP server. Consult your Systems Administrator
for information about your server type, IP address settings and DNS number.
7. After the settings configuration is complete, confirm that the “Computer Name” and
“Workgroup” designations are correct, and click “OK”.
26
 Loading...