

Page 1
contribution to reduce your energy footprint
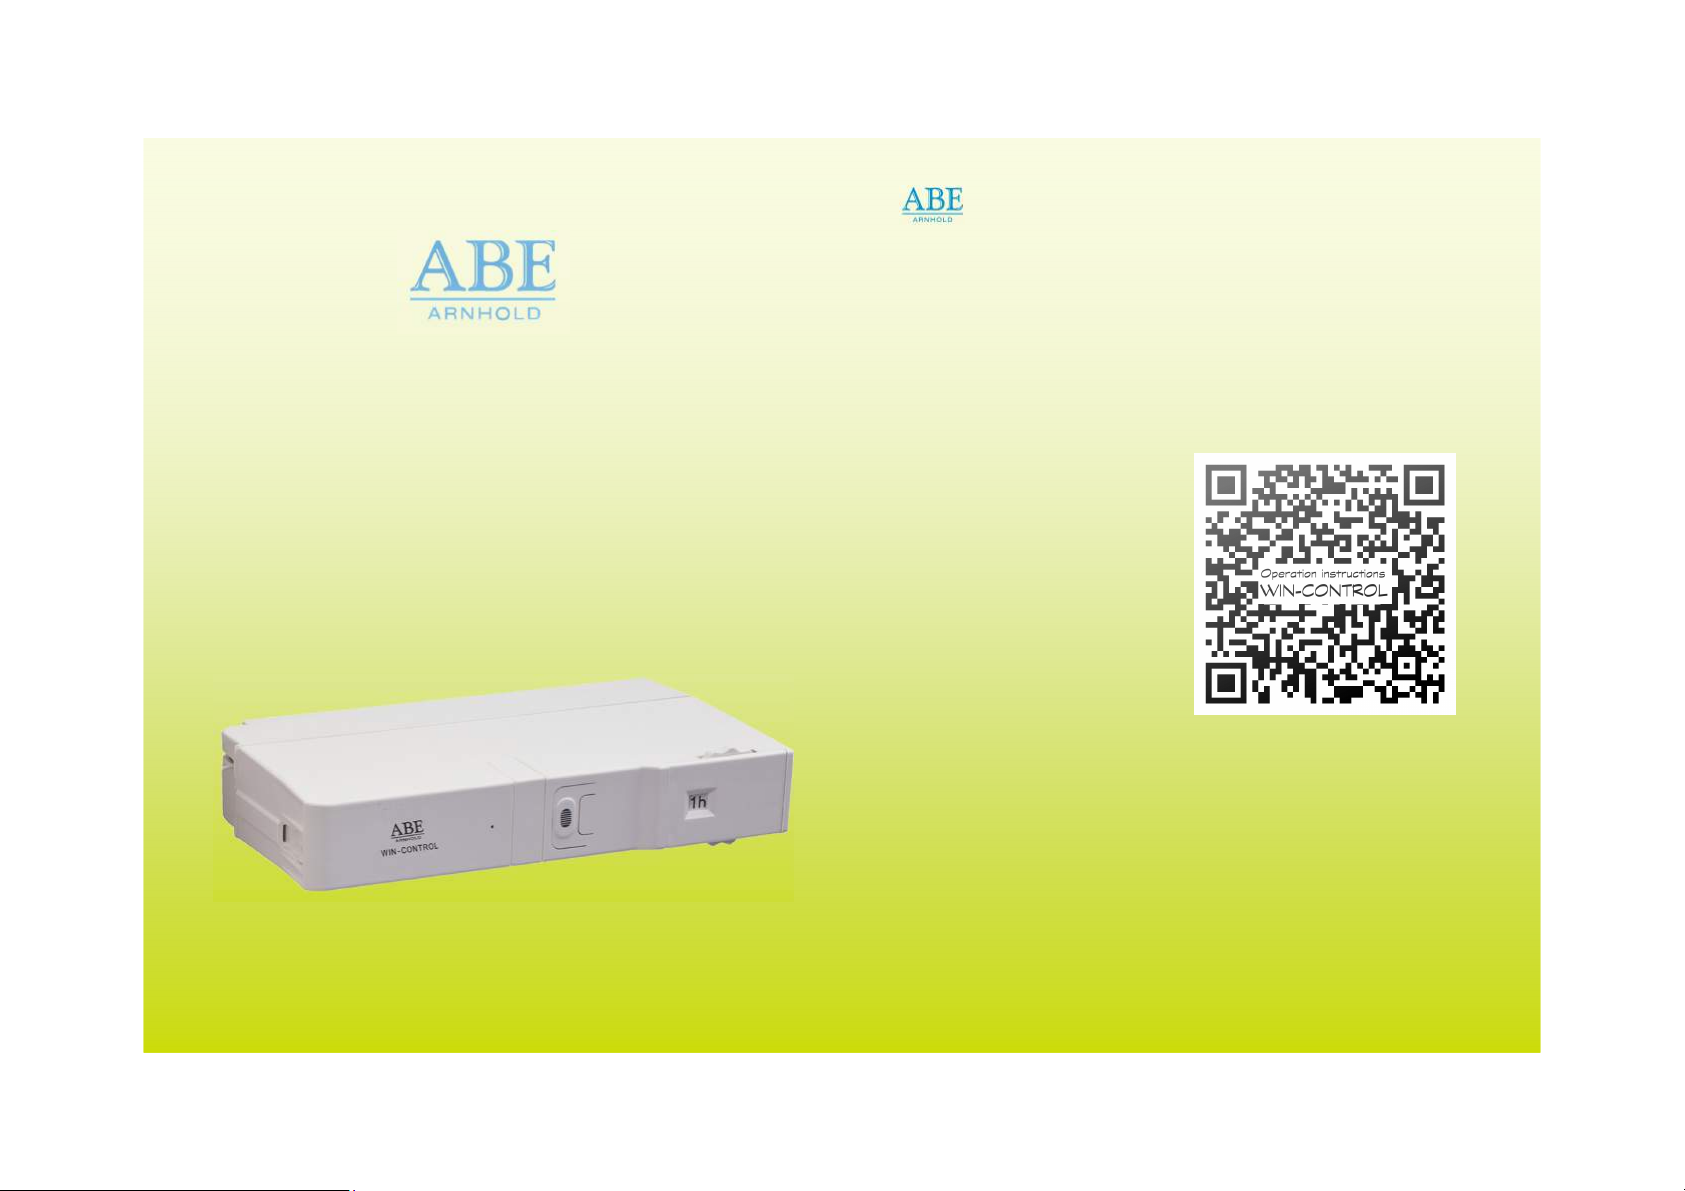
WIN-CONTROL WS 20.1
Hybrid - window closer
Ventilating rooms - sure, dry and comfortable
A
WIN-CONTROL WS 20.1
Dear customer,
thank you very much for choosing a high quality product by
ABE Arnhold and placing your trust in us. On the following
you will get important information permitting you an optimal
and safe use of your window closer. Please read these instructions carefully and completely before the device is used for the
first time.
Keep these instructions ready to
hand for future reference when
required. If you pass the device
to another user, be sure to pass
these instructions, too. They are
also available for download as
pdf file from our homepage
http://www.abe-arnhold.de.
Enjoy your new
HYBRID - Window closer!
Sincerely Yours,
ABE Arnhold Technische Erzeugnisse GmbH & Co. KG
Translation of the original instructions
Copyright © ABE Arnhold Technische Erzeugnisse GmbH & Co. KG
These instructions have been compiled with the greatest possible care.
Nevertheless we reserve the right to optimize and to adapt technically these instructions at any time.
2
Page 2
WIN-CONTROL WS 20.1
TABLE OF CONTENTS
1. Intended use and safety instructions p. 5
2. The HYBRID - Window closer p. 12
Utility and functioning
3. Installation of the window closer p. 15
3.1. Images of components p. 15
3.2. Scope of delivery p. 16
3.3. Necessary tools p. 17
3.4 Installation instructions p. 18
3.5 Accessory: rain sensor p. 24
4. Operation of the window closer p. 28
4.1 Time set p. 28
4.2 Activation of the window closer p. 29
4.3 Closing the window by using the closing button p. 29
4.4 Opening the window completely p. 30
4.5 Warning by a close signal p. 31
4.6 Interruption of the closing action p. 31
4.7 Change of batteries p. 31
4.8 Dismounting the device p. 33
5. Product properties p. 35
5.1 CE mark, declaration of conformity and certification p. 35
5.2 Guarantee p. 35
5.3 Technical data p. 37
WIN-CONTROL WS 20.1
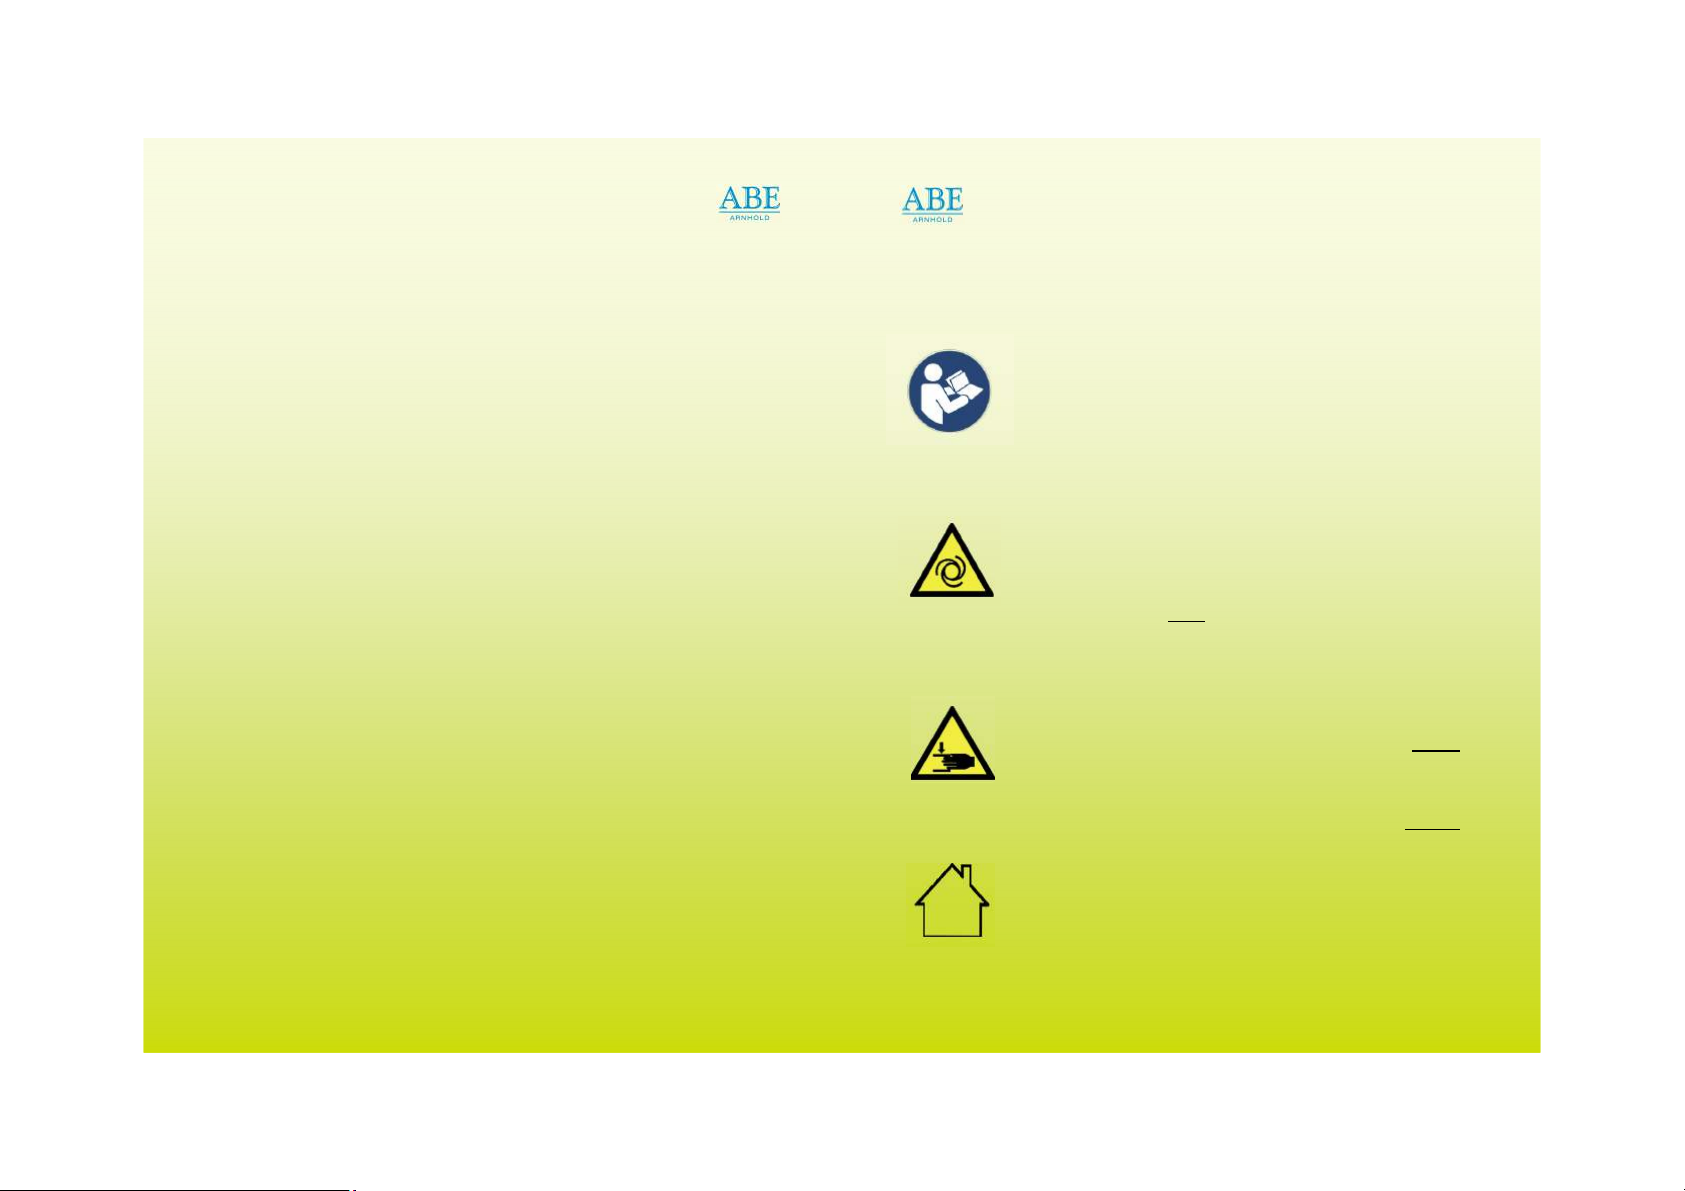
Explanation of symbols
F o l l o w t h e i n s t r u c t i o n s !
This symbol is located on the device. For a
safe and correct operation of the device it is
absolutely necessary to follow the instructions
in this manual!
A t t e n t i o n ! Automatic start of the device! The device starts automatically after a
pre-set closing time, after activating the
closing button and - if a rain sensor is installed - , if it starts to rain!
Wa r ni n g a g ai nst h an d in jur ies !
When the closing signal is sounded do n o t
touch between the window casement and the
window frame! While dismounting the device
and while extending the spring do n o t
touch between the device and the clip!
A t t e n t i o n ! The device is intended for
indoor use only.
3
4
Page 3

WIN-CONTROL WS 20.1
WIN-CONTROL WS 20.1
1. Intended use and safety instructions
1.1. Intended use
The window closer is constructed according to the state of
the art and the recognised safety regulations. Nevertheless, improper or not intended use can cause serious danger for the user or others as well as material damage of
the device and/or other equipment.
The window closer is a tool for closing window casements
made of plastic, wood or aluminium, which are in a tilt
position. The window lower edge must not be lower than
85 cm.
A different application or use extending beyond this purpose is not a considered use for the intended purpose.
The use of the device is entirely at the user‘s own risk.
Acknowledgement of the contents of these operating instructions forms part of the intended use.
1.2. Safety instructions
W a r n i n g: Important safety instructions!
For safety of persons it is important to follow these instructions. These instructions are to be stored.
1.2.1. General safety information
Always comply the general safety- and accident prevention
advice! In addition to the information in these instructions
the general safety and accident prevention advices of the
legislator must be kept in mind.
Pass these operating instructions on to third parties! Take
care that third parties only use this device after receipt of
the operating instructions!
Always pay attention and note what you do! Do not work
with this device under the influence of drugs, alcohol or
medication!
Note who may use the device! The device may be used by
children aged 8 and above as well as persons with limited
physical, sensory or mental aptitudes or lack of experience
and/or knowledge if they are supervised or they are instructed in the safe use of the device by responsible persons and if they understand the resulting risk to human
health. Children under 8 years have to be kept away from
the device.
Children may not play with the device. Cleaning and
maintenance are not allowed to be made by children
without supervision!
5
6
Page 4

WIN-CONTROL WS 20.1
WIN-CONTROL WS 20.1
Do not dismantle the window closer into its component
parts! Do not insert spiky objects into the inside of the
device!
Do not touch the electronic! Electrostatic discharges may
result in damage of the device.
The use of the device in potentially explosive atmospheres
with substances as for instance flammable liquids, gases,
vapours or mist is not allowed.
Use only original equipment as shown or recommended in
these instructions.
1.2.2. Specific safety information
Closing signal: To keep away children, persons with limited
physical, sensory or mental aptitudes or pets from the
device and to prevent possibly injuries through caught
fingers and more, about three seconds before the window closes automatically, a close signal sounds (see p.
31/4.5).
Make sure that they are no children, persons with limited
physical, sensory, mental aptitudes or pets in the near of
the closing window when the close signal sounds.
If it is not possible to keep away children and persons
with limited physical, sensory, mental aptitudes or lack of
experience and/or knowledge or pets from the device,
you have to take further measures (see operation of the
window closer / p. 31/4.5 / protective equipment for the
tilt window).
A t t e n t i o n ! The guard function of the close signal
will not exist in case of hearing loss!
Interruption of the close signal: The closing operation
will be interrupted by pulling and holding the release
cord (A2) during the closing operation (see p. 31/4.6). If
you will release it the closing operation will continue.
Complete closing of the window: The window is only
completely closed by automatic closing after preset time
or by use of the „closing button“ (p. 29/4.3). By pulling
on the release cord (A2) the window is closed but not
completely. A t t e n t i o n ! There is no automatic locking by window handle!
Testing of the device: Check after any change in device
status (e.g. use of new batteries, installation of the rain
sensor, mounting and dismounting of the device, opening
of the device etc.) their functionality, especially of the
acoustic close signal!
7
8
Page 5

WIN-CONTROL WS 20.1
WIN-CONTROL WS 20.1
To protect small children the window closer may not be
installed on windows and doors with a lower edge less
than 85 cm.
Residual risk: Despite safety measures a residual risk for
injuries remains while operating the window closer
through touching between window sash und window
frame during the closing operation or by disregarding
of the close signal as well as if the spring is tensioned.
Injuries can not be completely eliminated by the safety
measures. All persons who operate the window closer
have to know this residual risk.
For longer stays out-of-home: Closed windows are better protected against burglary as uncontrolled open windows. Insofar the window closer WIN-CONTROL ensures
better security.
For longer stays out-of-home we recommend for insurance
reasons to close the window by the window handle. Your
insurance might consider the respective window in case of
burglary as not closed.
Information on batteries
• Never recharge non-rechargeable batteries! Dan-
ger of explosion!
• Keep batteries away from children! Do not throw
them into fire! Do not disassemble or short circuit
them!
• Observe correct polarity when inserting the batter-
ies!
• If needed, clean the battery and the contacts be-
fore using them!
• Remove exhausted batteries immediately out of the
device! Danger of leakage!
• Do not expose batteries to extreme conditions such
as on top of radiators, under direct sunlight! Danger
of leakage!
• Avoid contact of battery leakage with skin, eyes
and mucous membranes! When getting in touch with
battery acid instantly irrigate the affected parts
with clear water and call a doctor!
• Replace always all two batteries at the same time!
• Use only the same kind of batteries! Don‘t mix dif-
ferent types or used and new batteries!
9
10
Page 6

WIN-CONTROL WS 20.1
WIN-CONTROL WS 20.1
Disposal
I. Packaging
The product packaging has been made from materials
which can be recycled. Dispose of them in an environmentally sound and unmixed manner in the provided containers.
II. Device and batteries
Do not throw used devices and batteries with normal
household waste. According to the European directives
2012/19/EU at the end of its service the device has to
be disposed of according to the current disposal regulations. Materials included in the device have to be provided for recycling to avoid environmental impact of waste.
Please find out about collection points for
recycling electrical and electronic devices
provided by your local authority.
Before disposal remove the batteries from
the device and dispose them separately. Every consumer is committed by law to bring
back used batteries to distributors and other
collections points.
11
2. The HYBRID-Window Closer - Utility and functioning
The window closer is a device for automatic closing of window
sashes of tilt & turn windows made from plastic, wood or aluminium. For safety reasons the window closer may not be installed on windows or doors with a lower edge less than 85
cm.
Room ventilating ensures not only fresh air, but also the removal of carbon dioxide, of various smells or excess humidity and
avoids the formation of mould. In this respect it is necessary
and extremely useful.
Tilted windows are often forgotten to be closed after ventilation. Especially in toilets, bathrooms or bedrooms it is a problem. So in the cold season valuable heating is lost. On hot days
the heat comes into the room.
Room ventilation is only energy efficient in case it is time controlled. This applies for ventilation by opening the
window entirely and by opening the tilted window. The often
recommended ventilation by opening the window entirely -
because it is faster - should not exceed 4-7 min in the cold
season!
Daily room ventilation by opening the window
entirely is only possible to a limited extent. The hustle and bustle of the day, often gives you too little time or the effort involved is too high because the window sill is full of utilities. So
the window is brought to a tilt position and in most cases un-
checked.
12
Page 7

WIN-CONTROL WS 20.1
WIN-CONTROL WS 20.1
The safety aspect should not be underestimated, too. Tilted
windows are almost an invitation for burglaries.
The new window closer WIN-CONTROL takes care of these
problems and closes the tilted window after your time setting
von 5 minutes to 6 hours.
The possibility to add a rain sensor prevents rain entering in
the room and your carpets and wooden floors stay dry.
The Hybrid Window Closer - a combination of
pen and electrical drive
The new closing system combines a pen drive with an electrical
drive.
When opening the window a spring mechanism is tensioned.
This spring mechanism is connected via a gear box to a small
electric motor powered by two LR6 (AA) - batteries. An intelligent very little power using electronic part now issues the command to initiate the closing operation after a specified time.
The motor releases the gear box and the spring mechanism
closes the window. As the performance of the spring mechanism during the closing operation looses force, the motor takes
over the pressing force at the end of the closing operation.
Simple and wireless installation
Long battery power
Hybrid drive technology
The automatic window closer WIN-CONTROL...
• will be mounted within 30 minutes.
• operates wireless and needs only two LR6 (AA) - batter-
ies to close at least 1500 times an average sized window.
• let you leave your bathroom after a shower comfortably
and closes your window automatically after the time you
specify from 5 minutes to 6 hours.
• closes in case of rain your window automatically. A
rain sensor (accessory) sends the command to close the
window ensuring to keep dry your carpet, laminate or
parquet floor.
• contributes to retain your building structure, to reduce
your energy balance and your costs.
. To save energy and costs . To retain building structure .
. To prevent mould . To increase safety .
13
14
Page 8

WIN-CONTROL WS 20.1
WIN-CONTROL WS 20.1
3. Installation of the window closer
3.1. Figures of the components
3.2. Scope of delivery
A - a window closer two with already contained inside the
device LR6 (AA) batteries / 1,5 V as well as
A1 - clip with pull cord
A2 - approx. 1,50 m release cord
A3 - control LED
A4 - bracket
A5 - closing button
A6 - time slice
B - a cord end
C - a window casement bracket incl. 2 screws (PH1) with
C1 - four noses
D - a window frame bracket incl. 2 screws (PH1) with
D1 - fit-up aid a sail like
E - a guide roller including a screw (PH1)
F - a guide roller cover
Optional accessory:
G - rain sensor inclusive
G1 - male connector with cable
15
16
Page 9

WIN-CONTROL WS 20.1
WIN-CONTROL WS 20.1
3.3. Tools
Warning: Important instruction on safe installation!
Follow all instructions! Incorrect installation may cause
serious injury!
Check after completing the installation the proper
functioning of the device, the control-LED, the acoustic close signal and the release cord!
Having the following components ready:
• Drill or rechargeable driller 2,5 mm
(for aluminium windows 3 mm)
• Phillips screwdriver (model PH1)
• Scissors or card board cutter
• pencil
• ladder according the height of the window
3.4. Mounting instructions
3.4.1. Screw the brackets on window casement and
window frame
Close the window. First, put the window casement-bracket (C)
preferably in the middle at the window casement in such a way
that the noses (C1) rest on the frame. Mark the position of the
holes for the screws (fig. 1).
Pre-drill both holes and tighten the bracket (fig. 2, 3). After
take the window frame bracket (D) and put the sail (D1) at
the window casement bracket as in fig. 4. Mark with a
pencil both holes for the screws on the window frame (fig. 5).
Open the window and pre-drill the holes (fig. 6).
Now cut the fit-up-aid „sail“ (D1) carefully with scissors or a
knife (fig. 7). Afterwards screw the window frame bracket (D)
at the window frame.
Fig. 1: Putting the window casement
bracket (C) and marking the holes
Fig. 2: Pre-drilling the holes at
the window casement bracket (C)
17
18
Page 10

Fig. 3: Screwing on window casement
Fig. 5: Marking the position of screws
for the window frame bracket
WIN-CONTROL WS 20.1
Fig. 4: Putting the window casementbracket using the fit-up-aid (sail)
Fig. 6: Pre-drilling the holes at the
window frame
WIN-CONTROL WS 20.1
If you have bought the rain sensor (G) as an accessory, you
may fasten it now. Just follow the procedure as described in
3.5.
3.4.2. Fasten the window closer on the brackets
To connect the window closer including the clip (A, A1)
with the window frame bracket (D) you have to stretch
the spring mechanism at first. On doing so drag
a t t h e s a m e t i m e at clip inclusive pull cord (A1)
and release cord (A2) as shown in fig. 9. On doing so you
have to pull out the pull cord about 10 cm.
It is i m p o r t a n t to release the release cord (A2) at first
and after that the clip inclusive pull cord (A1).
A t t e n t i o n! Important point! Watch your fingers!
Close the window! Are both brackets screwed as seen in fig. 8
you have now to connect the window closer (A) with the window
casement bracket (C). To do so slide the window closer from
left to right across the window casement bracket until it clicks
into place (fig. 10/11).
Fig. 7: Cutting the fit-up-aid „sail“ (D1)
of the window frame bracket (D)
19
Fig. 8:
Ready screwed
brackets
20
Page 11

WIN-CONTROL WS 20.1
Fig. 9: Pulling the clip inclusive pull cord (A1) and release cord
(A2) simultaneously
Fig. 10/11:
Connecting the window
closers with the window
casement bracket
WIN-CONTROL WS 20.1
The clip at the end of the pull cord (A1) is pushed now from
left to right on the window frame bracket until it clicks into
place (fig. 12/13).
Fig. 12/13: Pushing the clip (A1) on the window frame bracket
3.4.3. Mounting the guide roller
The guide roller is mounted at the right side of the window. On
doing so, mark the position of holes again (fig. 14). Pre-drill an
hole (fig. 15) and screw the guide roller (E) on the right hand
side of the window closer on the window frame (fig. 16).
Pass the release cord (A2) around the guide roller and fit its
cover (F) (fig. 17/18). Cut it into the desired length (fig. 19),
connecting it with the cord end (B) doing a double knot (fig. 20).
21
22
Page 12

Fig. 14: Marking the
position of holes for the
guide roller
Fig. 17/18: Passing the release cord around the
guide roller
WIN-CONTROL WS 20.1
Fig. 15: Pre-drilling
for mounting the
guide roller
Fig. 19: Cutting
the release cord
into the desired
length
Fig. 20: Connecting
the cord end doing a
double knot
Fig. 16: Screwing the
guide roller
WIN-CONTROL WS 20.1
The window closer is now mounted and can be put into operation.
Please check after mounting the proper function of the device,
the control LED, the acoustic indicator and the release cord (see
operation of the window closer / p. 28).
3.5. Optional accessory: rain sensor (G)
The rain sensor reacts to water drops hitting the sensor and pass
this information on the window closer. It consists of a connector
with a cable (G1) and the sensor itself (G). The window is closed
immediately in the case of rain no matter whether which time is
set on.
Mounting the rain sensor
On the left side of the window closer there is a protective cover
‘RS‘ which requires to be broken out. If you have bought the rain
sensor later, you first have to remove the window closer from the
window. Proceed as described in 4.8 (p. 33).
After you take the window closer into your hands breaking out
the protective cover ‘RS‘ using a screw driver (fig. 21/22). Put
the male connector of the rain sensor in the now free female connector. For fastening the rain sensor there are two possibilities.
23
24
Page 13

WIN-CONTROL WS 20.1
Fig. 21/22:
Broking out the
protective cover
‘RS‘
Fig. 23: Passing the cable outward
Using the simple version pass the rain
sensor cable outward (fig. 23). To do so
Fig. 24: Removing the foil
open the window as a whole as described in 4.4 (p. 30).
Remove now the protective foil of the rain
sensor (fig. 24) and stick the sensor in such
a way that at the outer window frame that
rain drops can be reached (fig. 25).
Fig. 25: Fastening the rain sensor
25
WIN-CONTROL WS 20.1
Fig. 26/27: Passing the
male connector through the
opening
Fig. 28: Pushing the
male in the female connector
Using the more elegant version the window closer has to be
opened. Proceed as described in section battery change
(4.7 / p. 31).
Take the upper housing of the window closer, pass the male
connector of the rain sensor inclusive cable through the opening (fig. 26/27) and push it in the female connector (fig. 28).
Reconnect the upper housing of the window closer with the lower housing (fig. 29). Reinsert the bracket (fig. 30). Reconnect
the window closer with the window casement bracket (p.
20/21 / fig. 10/11).
Before sliding the clip on the window frame bracket again
fasten the cable with the rain sensor outside the window.
26
Page 14

WIN-CONTROL WS 20.1
WIN-CONTROL WS 20.1
Fig. 29: Connecting the upper
housing with the lower
Fig. 30: Reinserting the bracket
To do that guide the rain sensor cable
straight on (p. 25 /fig. 23) or sideways
(fig. 31) over the window, remove the
protective foil on the sensor (fig. 24) and
stick the rain sensor on the outer window
frame in a way that rain drops can reach
it (fig. 32).
Fig. 32:
Rain sensor
completely
fixed
Fig. 31: Placing the cable
sideways and fixing it
with adhesive tape
4. Operation of the window closer
4.1. Time set
Enter at the window closer by turning the time slice (A6) clockwise to the desired closing time (5 min until 6 h). Activate the
window closer as described in 4.2. ! Flashing control-LED (A3)
indicates that the window closer is in operation and will close
the window after the time set has passed.
If the time slice is on ‘0‘, the control-LED does not flash and this
means there is no time set. The time set can be changed any
time. The last time set is always valid for the closing operation.
Fig. 33:
Setting the
time slice clockwise
A t t e n t i o n !
The window will only
completely be closed by
automatic closing after
the time set or by the „closing button“ (4.3). There is no automatic locking by the window handle!
27
28
Page 15

WIN-CONTROL WS 20.1
WIN-CONTROL WS 20.1
4.2. Activating window closer
To activate the window closer you move the window into tilt
position. This happens by simultaneously pulling on the window
handle and the release cord (A3) in direction of your body (fig.
34).
Fig. 34: Activating the
window closer / Moving
the window into tilt position
4.3. Closing the window by the closing button
By operating the „closing button“ (A5) at the window closer
the window is immediately automatically closed.
Fig. 35: Operating
the closing button (A5)
4.4. Opening the window completely
To open the window completely, for example to clean it or to
ventilate extensively, close the window, pull the clip (A1) from
right to left from the window frame bracket (fig. 36) and after
open the window completely (fig. 37).
To reactivate the window closer, push the clip, when the window is closed, onto the window frame bracket.
Fig. 36: Removing the clip (A1)
Fig. 37: Opening the window
completely
29
30
Page 16

WIN-CONTROL WS 20.1
WIN-CONTROL WS 20.1
4.5. Warning by a closing signal
Approx. three seconds before the window closer closes after
your time set, a signal sounds.
If in your household children and persons with limited physical, sensory, mental aptitudes or lack of experience and/or knowledge or pets
are present, the lower area of the window has to be equipped with
a sideward pinch protection (such as suitable profiles from the D-I-Y
store, accessory trade etc.). In this case please consult a specialist in
order to avoid possible dangers. Normally it is sufficient to protect
the lower third of the window. Has the window e.g. a height of 1 m,
the tilt window protection has to be approx. 30 cm.
4.6. Interruption of the closing operation
When you pull the release cord (A2) during the closing operation and hold it, the closing operation is interrupted. If you
release it, the closing operation will continue.
4.7. Battery change
Power supply of the window closers takes place via two LR6
(AA) - batteries. Rechargeable batteries must not be used.
We recommend the use of brand name alkaline batteries. Assuming that a medium sized window two times a day
is closed, the batteries are to be changed after approx. two
years, that means after approx. 1500 closing operations.
31
The battery change takes place with window closed. When the
accessory rain sensor is installed, pull out first the male connector (G1) of the rain sensor.
Fig. 38 / 39: Removing the
bracket
Remove now the bracket (A4). Hold the window closer with
one hand while removing the upper part of the housing of the
window closer in which are located the batteries by using the
other hand (fig. 38 / 39). Change the batteries as in fig. 40,
41, 42 shown.
Fig. 40: Removing the
batteries
32
Page 17

WIN-CONTROL WS 20.1
WIN-CONTROL WS 20.1
A t t e n t i o n !
During the battery change
never touch the electronic
components!
Fig. 41: Positive and negative
polarity of the batteries
Fig. 42: Inserted batteries
Do not reverse positive and negative polarity (+/-) of the batteries (fig. 41).! When the batteries are inserted, fit the two
housing parts together until they click into place.
Check after every opening of the housing the correct function
of the device especially the closing signal!
4.8. Dismounting the window closers
First you have to close the window. Remove the clip with pull
cord (A1) (see 4.4, p. 28) and if available the male connector
(G1) of the rain sensor (G). Set the time slice to „0“. Before
the window closer is released from its bracket, the tension
spring has to be removed in order to avoid injuries.
Attention! Do not place your fingers between device
and clip!
Pull the release cord (A2)! On doing so the clip with pull cord
(A1) is pulled out and releases the tension. Now remove the
window closer from the window casement bracket. The parts
can be separated by pressing in the recess with a screwdriver
or a similar pointed object (see fig. 43) and simultaneous removing the window closer from right to left (fig. 44).
Fig. 43: Separating the parts
Fig. 44: Removing the window closer
On the window frame and the window casement are small
holes (diameter about 2 mm) originating from drilling and
screws, which are less visible. We recommend the use of coloured coordinated and for windows suitable hard wax,
hard dough or putty.
We wish you always fresh air and a good energy balance
using our hybrid-window closer
WIN-CONTROL WS 20.1 !
33
34
Page 18

WIN-CONTROL WS 20.1
Tested is better and safer!
5. Product information
5.1. CE-mark, declaration of conformity and certifications
The window closer WIN-CONTROL WS 20.1 fulfils the requirements of the valid harmonist European directives. The conformity was proven (see p. 36).
Certifications „LGA-tested Quality“
and „TÜV-building class test mark“
WIN-CONTROL WS 20.1 were awarded by TÜV-Rheinland
the certifications „TÜV-building class test mark“ (safety inspection, regular monitoring of the production by a neutral testing
organisation) and "LGA-tested Quality“. Awarded are these
certifications to first class products, products, which truly correspond to their purpose.
Tested are operating instructions, performance characteristics and safety (see
www.tuv.com/de/deutschland/gk/produktpruefung/produktpruefung.html)
5.2. Guarantee
The guarantee is two years and begins on the day of purchase. Prerequisite for granting the performance of the guarantee is a valid original invoice or sales receipt indicating the
date of purchase and the product name.
Damage caused by improper handling, operation, storage,
faulty mounting as well as force majeure or other external influences are not covered by the guarantee. Batteries are excluded from the guarantee.
WIN-CONTROL WS 20.1
35
36
Page 19

WIN-CONTROL WS 20.1
5.3. Window closer WS 20.1 — Technical Data
U= 3V DC P= max. 4W
Traction: 40N Max. operating time: 3 min
Material: plastic (short-time duty)
Weight: 380 g Colour: white
Dimensions: 147x85x30 mm Batteries: 2 LR6 (AA)
Operation mode: pull cord No use of rechargeable batteries!
ABE Arnhold
Technische Erzeugnisse
GmbH & Co. KG
Bahnhofstr. 55
63755 Alzenau
Tel.: +49 (0) 6023 - 1759
Fax: +49 (0) 6023 - 970 490
info@abe-arnhold.de
www.abe-arnhold.de
WIN-CONTROL WS 20.1
37
38
 Loading...