

Page 1

Page 2
Table of Contents
Table of Contents......................................................................................................1
Warnings ......................................................................................................................2
Accessories ..................................................................................................................3
General Operation
Turning the Projector On/O ..........................................................4
Projector Description .........................................................................5
Focus Adjustment / Throw Distance ............................................6
Tripod Adapter .......................................................................................6
Input / Output ............................................................................................................7
Menu System
AV Input .....................................................................................................8
SD Card .......................................................................................................9-14
USB Data ...................................................................................................15
Settings ......................................................................................................16-17
Troubleshooting .......................................................................................................18
Specications .............................................................................................................19
1
Page 3
P1 Jr. Pico Projector
Congratulations on purchasing the world’s smallest LCOS pico projector with media player!
The P1 Jr. pico projector features a bright 11 lumen projector with built-in media player capable of
projecting videos, pictures, and media of up to 50”*. Combined with its 1 hour internal battery the P1 Jr.
pico projector is the ultimate portable entertainment device! In this manual you will nd instructions on
how to use your P1 Jr. pico projector.
* Notice: The P1 Jr is designed to be used in dark areas only – use in lit areas is not recommended.
Warning: Please use this product as instructed to prevent any injuries.
Do not operate the projector in moist or wet Avoid extreme temperatures as this
environments. Exposure to water may may damage the projector.
cause electrical shock.
Caution Lithium Ion Battery onboard. Avoid using the projector if damaged.
Do not dispose of improperly or expose Taking apart the projector is not
to extreme heat. recommended and will void the
warranty.
2
Page 4
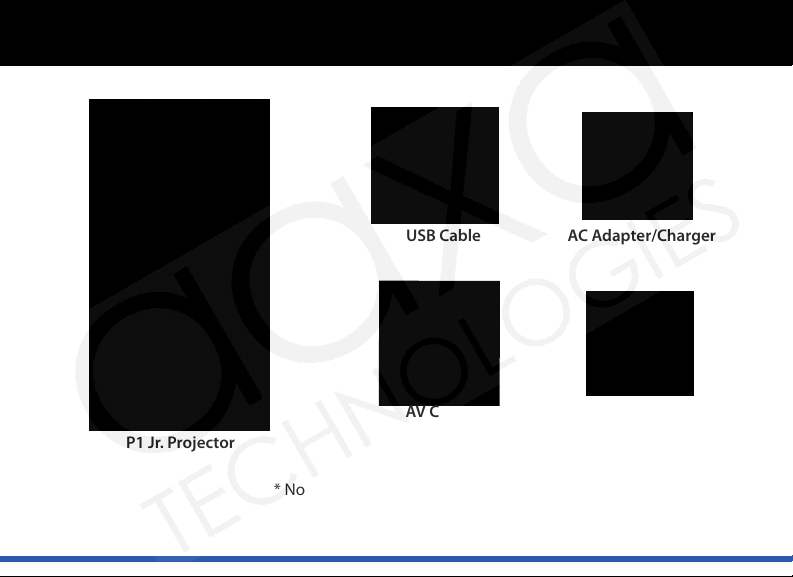
Package Contents
P1 Jr. Projector
USB Cable AC Adapter/Charger
AV Cable Adjustable Tripod
* Note: Actual accessories may appear dierent from those
shown above.
3
Page 5
General Operation
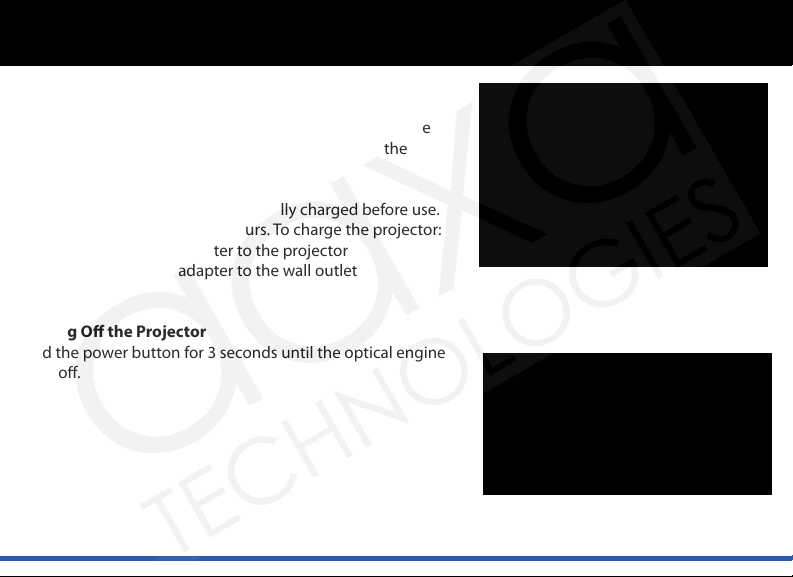
Turning On the Projector
Press and hold the power button for 3 seconds to turn the
projector on. The welcome screen should appear while the
projector is loading and will automatically load into the
onboard media player.
Note: Please make sure the P1 Jr is fully charged before use.
Charge time can be up to 3-4 hours. To charge the projector:
1. Attach the power adapter to the projector
2. Attach the power adapter to the wall outlet
Turning O the Projector
Hold the power button for 3 seconds until the optical engine
turns o.
4
Page 6
General Operation
1. Projection lens
The projection lens emits the image from the
projector. Make sure there is nothing obstructing the
lens to obtain a clear image.
2. Focus adjustment
If the projected image is not in focus, move the ring
to the left or right to bring the image into focus. A
clear picture can be acheived at a distance of 10” - 90“.
Please see page 6 for focus and throw distances.
3. Joystick
Use the joystick to navigate through each menu. The joystick behaves
dierently in each submenu. The diagram below depicts the language
used in the rest of the manual to describe the functionality of the joystick.
4. Escape (ESC)
In most scenarios, the escape button exits from the current menu to
the top level menu. Please see each menu section to learn more about
this button.
5
Page 7

General Operation
Focus Adjustment / Throw Distance
The focus can be adjusted by turning the wheel located at
the front of the projector. The projector is capable of the
distances specied on the right.
Tripod Adapter
Insert the tripod to the bottom of
the projector as shown to the left.
Conrm that the tripod is securely
fastened before turning on the
projector.
6
Page 8

Inputs / Outputs
1. A/V Port – The P1 Jr. can project
video from standard composite
video sources. A resolution of
720x480 can be supported. Please
see page (8) for more information
about AV Input Devices.
2. Power Button - To turn on/o the projector,
press this button for 3 seconds.
3. Mini USB Port – The Mini USB port is designed for data input from USB OTG devices. Please see the USB
Data description on page 14 to learn more.
4. Projector Power – The P1 Jr. accepts 100-240V 50-60hz power at 2000ma. The charge receptacle is
found on the back of the projector. The P1 Jr. can be operated during charging.
5. SD Card – The P1 Jr. can accept up to
8GB SD Cards. For accepted le formats
please see the specications page (19) for
additional information.
7
Page 9

Menu System
The AAXA P1 Jr. pico projector features an onboard
media player complete with onboard menu system.
The onboard menu system allows the user to select
from dierent video inputs as well as video and
picture playback.
AV (Audio / Video) Input
Selecting the AV input will enable the P1 Jr. to display
video from a device connected to the AV port. Input
resolution can be either NTSC or PAL of up to
720x480 video resolution.
a. To connect an A/V cable, insert the 3.5mm portion
into 3.5-2.5mm adapter. Place that in to the A/V
port of the projector and the other end to
external device.
8
Page 10

Menu System
Menu System
AV (Audio / Video) Input (cont’d)
b. Click on the “AV input” icon in the main menu. A blue screen will appear and the projector will be ready
to accept an A/V signal.
c. Turn on the external device and make sure it is properly set up to output video.
d. Possible A/V sources: Standard Composite (included), iPod/iPhone, HTC Series, Nokia Series, DVD Player
(non Bluray / HD), Cable Box (non HD), Nintendo Wii (composite only), Microsoft Xbox (composite only),
Sony Playstation (composite only). You may purchase the cable necessary to connect your external
device from AAXA or your AAXA dealer. Please see your device’s instruction manual for more
information. Please ensure your device has video output capabilities. For example some cell phones
have the video output feature blocked.
SD Card
Selecting the SD Card input opens a submenu to allow you to select the type of data you would like to
access. The submenu includes access to: Videos, Photos, Music and Files. Please see the SD Card Memory
section on page 10 to see the menu items.
USB Data
Selecting the USB Data input will allow the user to access data on their USB OTG (On-The-Go) device. Please
see the USB Data section on page 15 for additional information.
Setup
Selecting the Setup option allows the user to change various settings on the P1 Jr. Please see the Settings
9
Page 11

SD Card Memory
To access data from the SD Card slot:
a. Insert the SD Card as shown. The gold connectors on the
card should face down. Maximum of 8GB SDHC cards
are supported.
b. Access the SD Card Memory menu from the main menu.
c. Select one of the icons to access related data on the SD card.
10
Page 12

SD Card Memory
Videos
Selecting the video menu brings up the video
selection submenu seen on the right. To
navigate to a video, press the joystick up and
down. To select and play a video, click the
joystick. For compatible video formats, please
see the specications page.
During playback, the joystick controls are:
Volume Control: Right/Left
Fast-Foward/Rewind: Up/Down
Speeds of 2x, 4x, 8x, 16x, 32x; to play at
normal speed, cycle through all speeds
Open Video Playback Menu: Enter
Stop: Escape
After the menu is opened, use the joystick
to operate the following controls:
1. Previous 5. Next
2. Rewind 6. Stop
3. Play / Pause 7. Repeat / Shue / Cycle
4. Fast-Forward 8. Brightness / Contrast
11
Page 13

SD Card Memory
Photos
Photos will initially be seen in thumbnail mode.
Selecting a photo will begin displaying the
pictures in slideshow mode (bottom right).
The slideshow can be customized in the
Settings Menu. Please see the Slideshow page
to see what settings can be customized.
During the slideshow, joystick controls are:
Previous/Next: Left/Right
Pause: Enter the slideshow submenu by clicking
on the joystick to bring up the submenu. Select
play / pause by clicking on the joystick.
Open Slideshow Controls: Enter (below)
Exit: Escape
Use the joystick to operate the controls once
the menu has been opened.
1. Previous 5. Zoom
2. Play / Pause 6. Repeat / Shue / Cycle
3. Next 7. Brightness / Contrast
4. Stop
12
Page 14

SD Card Memory
Music
To listen to music on the P1 Jr., select the Music
icon. A list of available music les will appear.
Click on the desired song to begin playing.
Move the joystick up and down to navigate
between songs. To select a song, press enter
(click on the joystick).
During playback, joystick controls are:
Volume Control: Left/Right
Previous/Next Song: Up/Down
Opens Control Menu: Enter
Stop/Exit: Escape
*Note: The above controls only apply when the control menu is not open.
Use the joystick to operate the controls once the menu has been opened.
1. Previous 4. Stop
2. Next 5. Repeat 1 / Repeat All / Shue
3. Play / Pause
13
Page 15

SD Card MemorySD Card Memory
SD Card Memory
Files
The le menu allows for browsing and deletion
of the les currently on the SD card. Click on
the Files icon from the main menu to enter
the submenu. To navigate through the list,
press up and down on the joystick. To delete
a le, select it from the list by clicking on the
joystick. This will give you the option to delete.
To view the le properties, select the le and
it will appear on the right.
14
Page 16

USB Data Display
The P1 Jr has the ability to read data from a USB OTG (On-The-Go) enabled device (such devices include cell
phones, ash drives, etc). This allows the user to view the data stored on the USB OTG enabled device from
the P1 Jr.
To access the data on your USB OTG device, plug your USB device to the back of the P1 Jr (shown below).
Once the connection is made, select USB Data from the main menu and the data will appear. You should
now be able to access the data on your device.
If the data does not appear, try reconnecting the device. If that does not resolve the issue, check with your
device manufacturer to conrm that the device is a USB OTG device.
15
Page 17

Settings Menu
The Settings menu can be accessed through the main
menu by selecting the Setup icon. This submenu allows
the user to customize the P1 Jr.
Slideshow – The slideshow setting allows the user to
change the speed, transition style, and display mode of
the slideshow. Please see the slideshow section to see
more details about changing the settings.
Language – Supported languages include: English,
French, German, Italian, Spanish
Keystone – The P1 Jr.’s keystone settings can be changed here.
Please see the Keystone section on the following page to see how this aects the image.
About - Selecting this will display general information about the projector.
Reset - Selecting this will restore the projector to the factory defaults.
16
Page 18

Settings Menu
Slideshow
Slide show speed – Controls how long each picture is viewed.
Intervals range from 3 seconds - 5 minutes.
Transition - Controls the transition between each picture.
Display mode - “Fit to screen” will compres or enlarge the
picture to the native resolution of the projector. Pictures
may become distorted when compressed or enlarged.
“Normal” will display pictures in their actual resolution.
Keystone
The P1 Jr.’s keystone settings will only aect vertical keystone. This means only the top and bottom of the
image may be adjusted. Press the joystick left or right to change the keystone.
17
Page 19

Troubleshooting
Troubleshooting
THE PROJECTOR DOES NOT TURN ON
Possible Causes
There is no power
The power button was not held long enough
NO PICTURE / FILE NOT SUPPORTED
Possible Causes
The video source is not properly connected or selected
Incorrect le extension / Video is ecoded with incorrect codec
IMAGE IS BLURRED
Possible Causes
The projector is not in focus
Image appears stretched when connected to an external device.
Solution
Check to ensure the power outlet or battery source is good. Check the power
adapter to ensure a proper connection with the wall outlet as well as the Projector.
Conrm that the unit is fully charged and has enough power.
To power on the projector, the power button needs to be depressed for a full 3
seconds. Try holding the power button until the optical engine turns on.
Solution
Check the video source signal to ensure that it is properly connected.
Select the correct input source by choosing the input desired from the main menu.
Please refer to “Specications” page to see which le types and codecs are
supported. Verify that the le was encoded properly.
Solution
Adjust the focus with the focus adjustment dial until the image comes into focus.
Verify the output setting on the device is congured to 4:3 aspect ratio.
18
Page 20

Specications
PROJECTION SYSTEM
Projection Lens: Manual Focus
Projection Image: 10 ~ 50 inches
Lamp: Single Chip White LED
15,000 Hours
GENERAL SPECIFICATIONS
Audio Output: Onboard 1w Mono speaker
Supported Languages: English, French, German,
Italian, Spanish
Aspect Ratio Control: 4:3
Dimensions: 105*56*20mm
Weight: 126g
Power Consumption: 5V, 2000mA, 6 Watts
Power Supply: AC100~240V(Free Voltage)
50Hz/60Hz
Conformances: CE, UL
INPUTS / OUTPUTS
Video In: Composite A/V (2.5mm Jack)
USB: Mini USB Port
SD Card: SDHC (8GB maximum)
SUPPORTED FORMATS
Video: AVI; MP4; MPG; 3GP; RMVB; RM;
VOB; DAT
Video Codecs: DivX; XViD; MPEG-2; MPEG-4;
RV (8/9/10)
Audio Files: MP3
Audio Codecs: AAC; MPEG2; MPEG4;
Images: JPG
19
 Loading...