

Page 1
... print your plane | www.3DLabPrint.com
User Guide
rev. 2017/06
Fully 3d printable
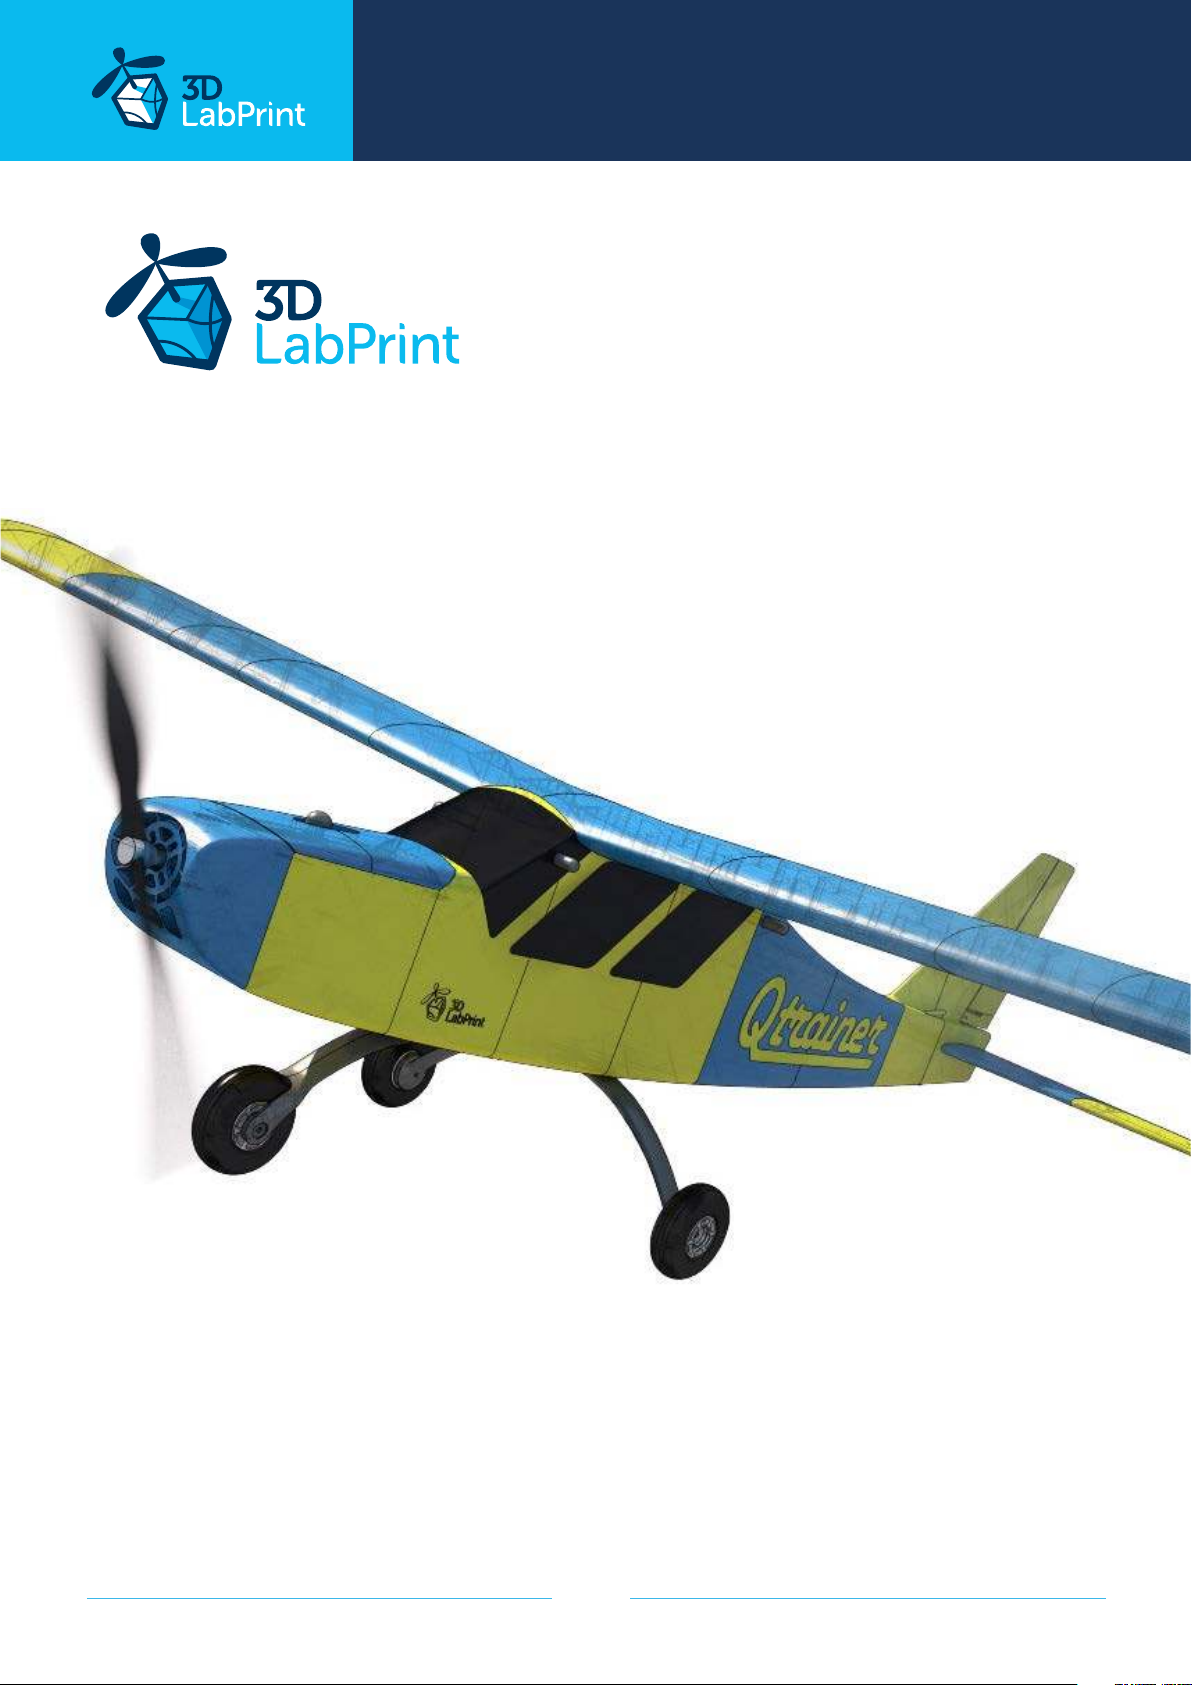
Qtrainer - electro airplane
scale ~ 1:1, wingspan 1320mm (52in)
page 1
Page 2
... print your plane | www.3DLabPrint.com
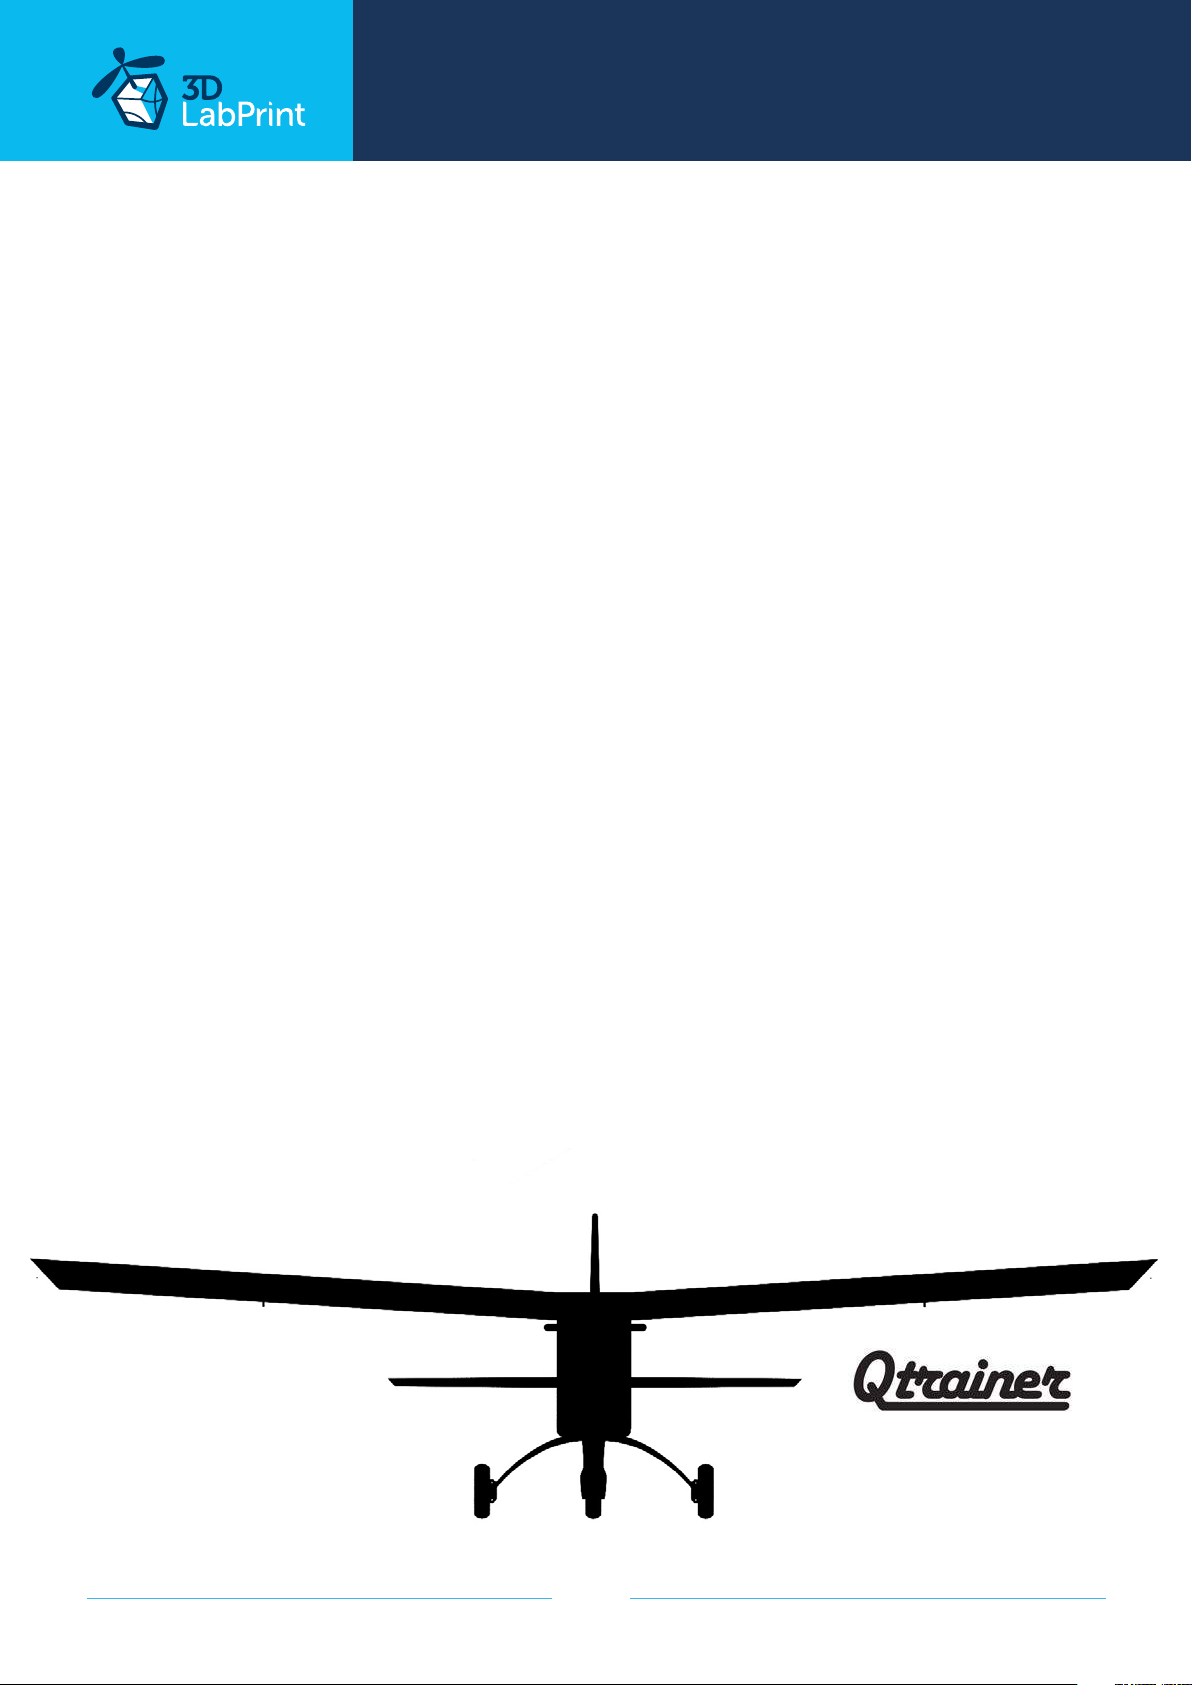
Qtrainer
– fully printable R/C plane for your desktop 3Dprinter
Future of flying - Print your own plane.
We still trying move things further, so this project is again full of other improvements
for better durability , easier assembly , better geometry solution and so on..., we hope you
enjoy it, although this print may test your competencies to and quality of your printer
(welcome to the thin wall printing)
The first fully printable airplanes with suitable files prepared for your 3Dprinter.
Flight characteristics are comparable or even better than classic build model airplane.
Simply download and then print it anytime you need only for $18 (filament cost).
This is not a dream. Now you can print this HI-TECH …. at home, print spar parts,
and so on...
Extensive hi-tech 3d structural reinforcement which makes
the model very rigid while still maintaining a lightweight airframe and exact airfoil even
when it is made only from plastic. This perfect and exact 3d structure is possible only due
to additive 3dprinting technology. So welcome to the 21th century of model flying. Be the
first at your airfield.
Easy to assemble, you do not need any extra tool or hardware, you only need
to glue printed parts together and make pushrods for control. The rest of the assembly is
very easy.Simply add brushless motor, ESC, servos and radio system. Don´t worry, detailed
step by step PDF/VIDEO is included.
You will get a superbly performing training and durable airplane suitable even for hard
landings (with easy to change landing gear). Our Qtrainer is a spin-stall proof plane even
in low speed tight turn.
page 2
Page 3
... print your plane | www.3DLabPrint.com
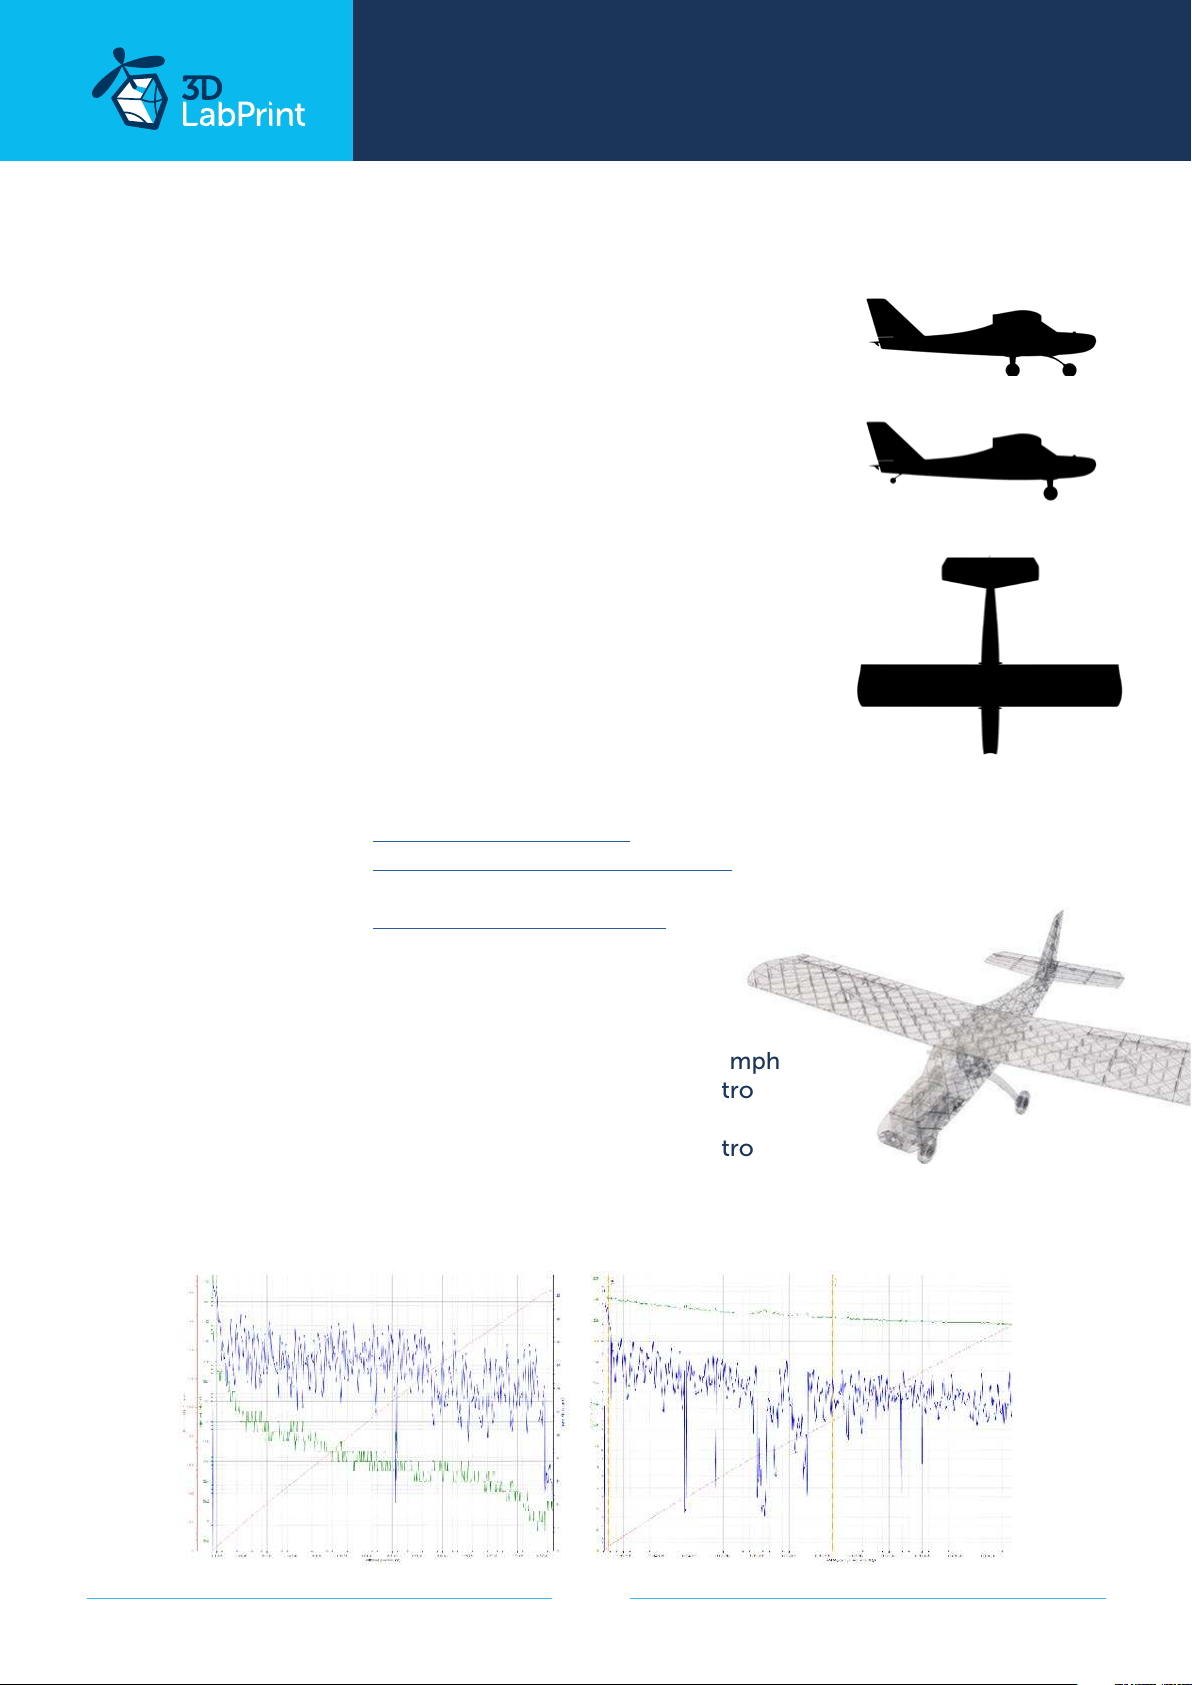
General specifications:
Length: 987 mm / 38,8 inch
Wingspan: 1320mm / 52,0 inch
Height: 330 mm / 13 inch
Wing area: 27,7 dm2 / 2,98 sq foot
Wing loading: 56,6 g/dm2 / 18,6 oz at sq foot
Center of gravity: 78mm (3,07 in) from LE
See CG tags on wings...
Airfoil: 3DLabPrint modified
Print weight: 970 g / 48.5 oz
Empty weight (w/o battery): 1300 g / 45.8 oz
Takeo weight (3s 3300mAh Li-Pol): 1570 g / 55.4 oz
Max takeo weight: 1650 g / 58.2 oz
Never exceed speed, VNE: 100 km/h / 62.14 mph
Design maneuvering speed, VA: 70 km/h / 43.49 mph
Stall speed, VS(full flaps): 24 km/h / 14.9 mph
Powerplant
Propeller: electro 9x6
Motor: Turnigy 3542/5 1250KV or similar
ESC: 40A Electronic Speed Controller
or similar 40Amps
Battery: Li-Pol 3000mAh/3s (11.1V),
at least 250g / 7.6oz, 25C
Performance measurement
Max speed VH (level flight): 105 km/h – 56.7kn – 65.2mph
with APC 9x6 E Thin electro
Rate of climb: 23 m/s (5 373 ft/min)
with APC 9x6 E Thin electro
Flight time (3s 3000mAh): 10:00 min
page 3
Page 4
Qtrainer, History
... print your plane | www.3DLabPrint.com
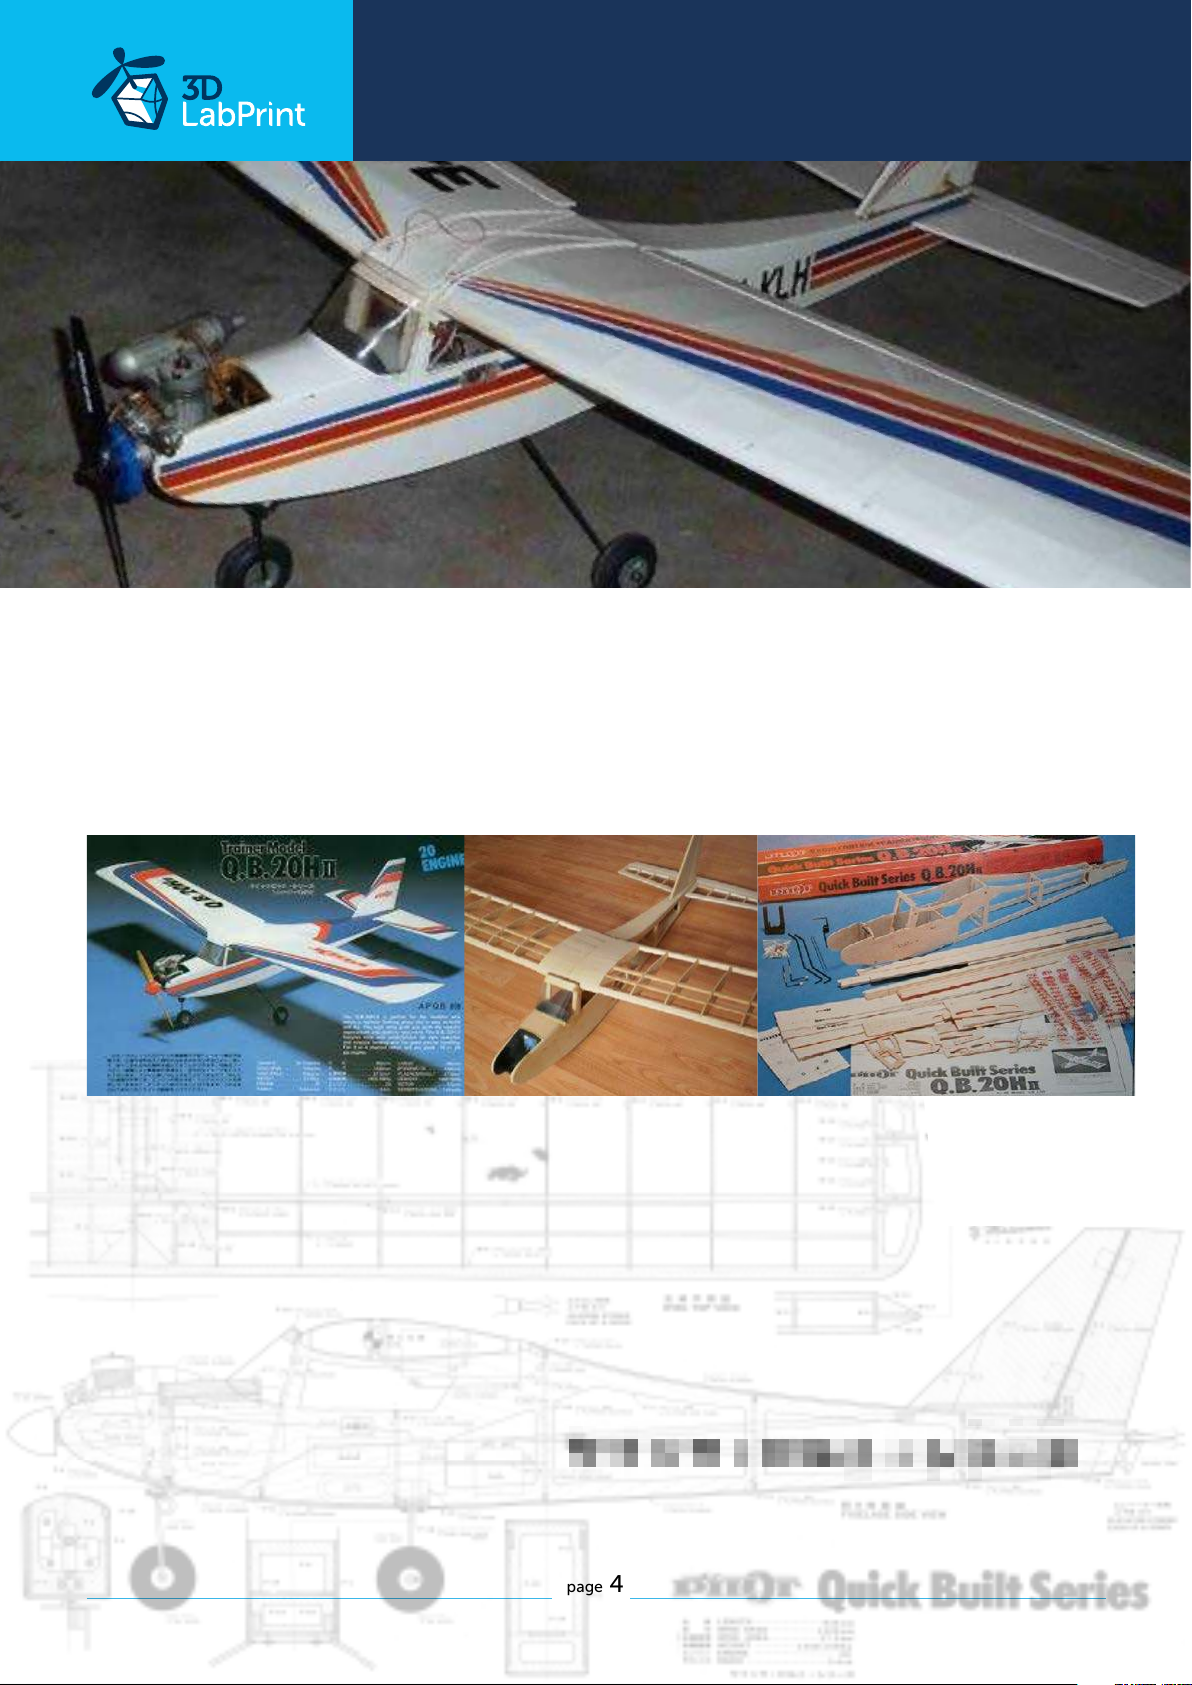
The design of our Qtrainer is an iconic design by Y. Matsumoto of the 1979 QB20H from the
famous Quick Build series. In the history of modeling, these classical shapes and excellent
flight characteristics have been indelibly embedded in the memory of the entire generation
of modelers.
Take this model as a treat for these beautiful machines of a thoughtful design made of
plywood and balsa. The original concept and proportions of the model are reminiscent of the
older generation of modellers of their youth and the beginnings of RC models. Undoubtedly,
outstanding flight characteristics have been further shifted by today‘s modeling, wing profile
and electric drive capabilities. The creative idea of the whole series of Quick Build models
continues in the new era of 3D printed aircraft.
page 4
Page 5
... print your plane | www.3DLabPrint.com
Included:
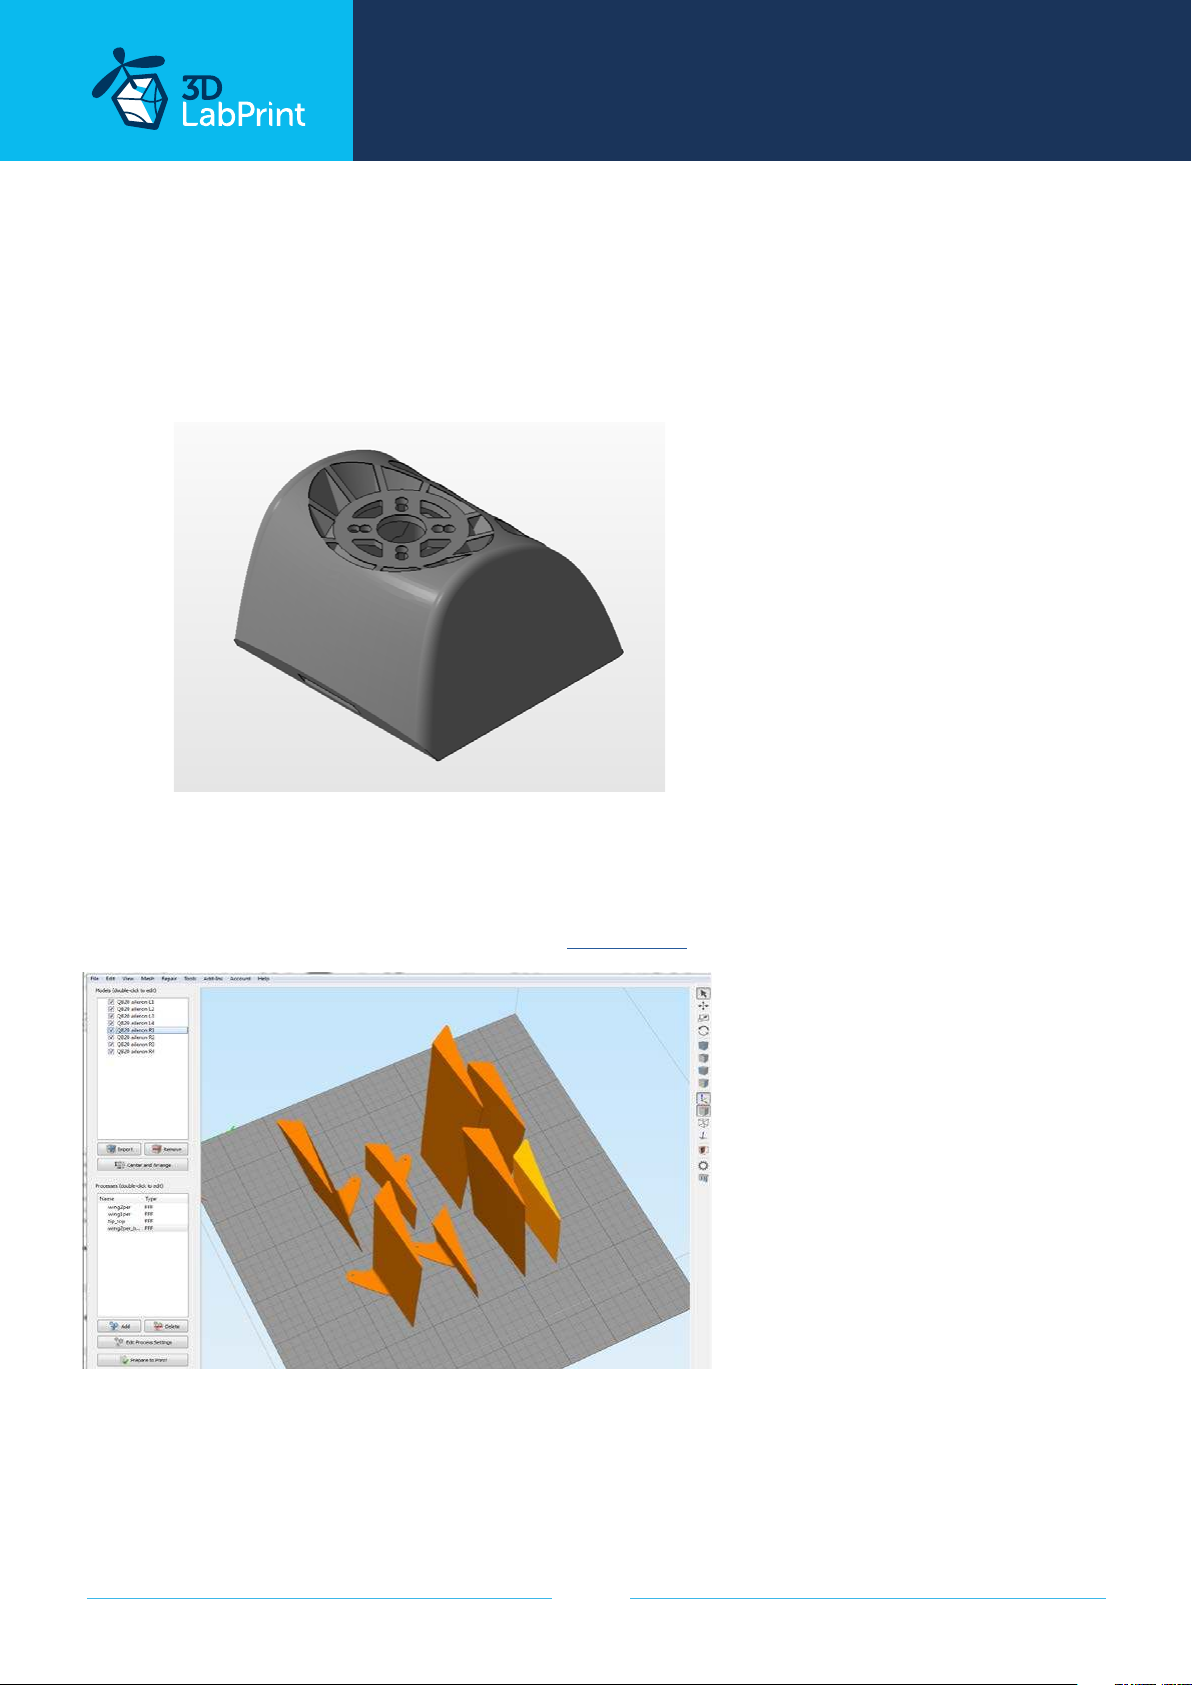
1. STL 3d files
Universal STL files designed for use with desktop FMD 3d printers and slicer software such
as Simplify3D (recommended) CURA or MatterControl (these STLs are not compatible with
Slic3r or Makerware slicers).
2. Factory files for Simplify3D slicer
with all our settings, these Factory files include all you need. Note: we use PRUSA i3 ORIGINAL
printers so you may need to adjust the basic printing parameters to match your printer or use
it as a starting point for you. Please look at
Simplify3D
3. Step By Step PDF/VIDEO userguides
Apart from this userguide, please look at the Printing Guide with some Tips and Advices for
airplane printing (Thin Wall Printing).
page 5
Page 6
... print your plane | www.3DLabPrint.com
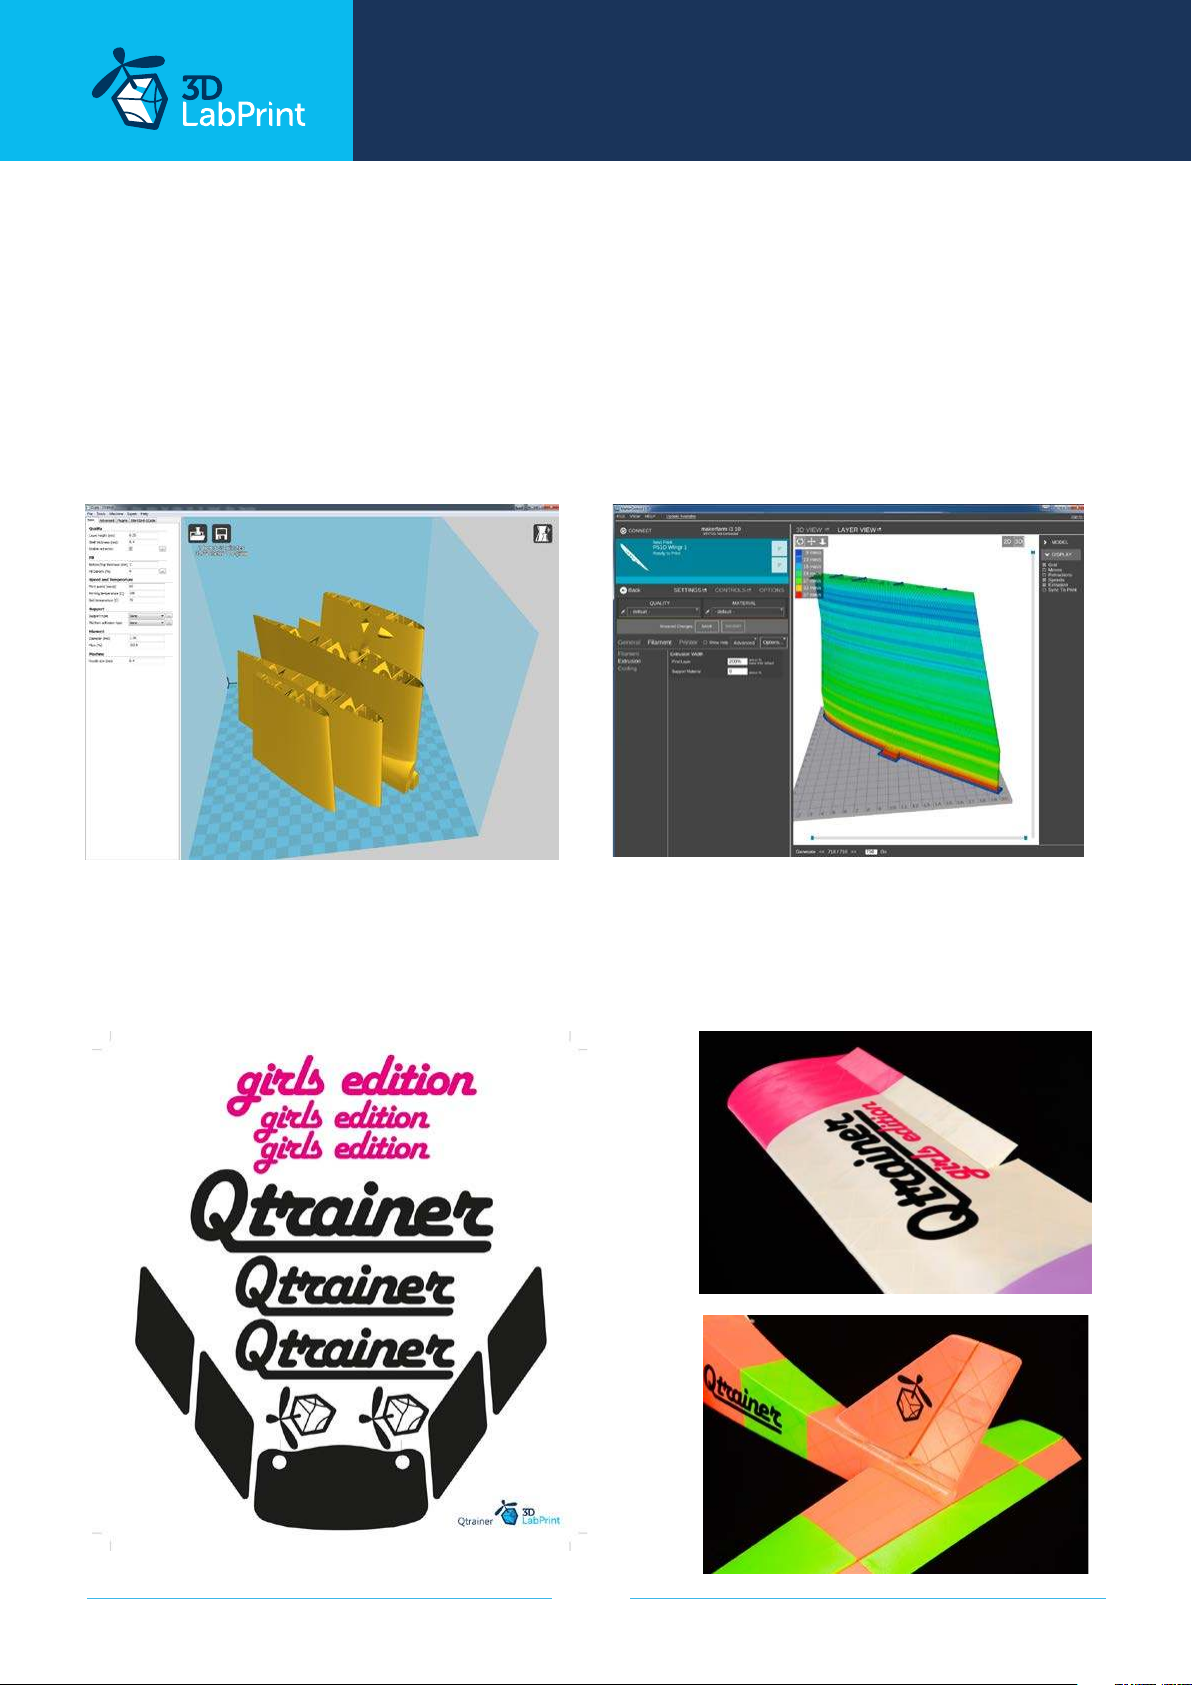
4. Gcodes
Basic Gcodes prepared for direct use, as universal as is possible. Should work with i3 style
printers, you can try it out, but We cannot guarantee that it will work with your printer.
100% works with PRUSA i3 ORIGINAL 3d printers.
5. Prepared settings for CURA and MatterControl slicers
If you don‘t like Simplify3D for any reason, there is always the possibility to use another free
slicer. You can use our basic setting (setting files) as a start point and edit it as you need.
6. Scale markings PDF
Cut this PDF from thin self tape advertisement foil and place it on the model as needed.
page 6
Page 7
... print your plane | www.3DLabPrint.com
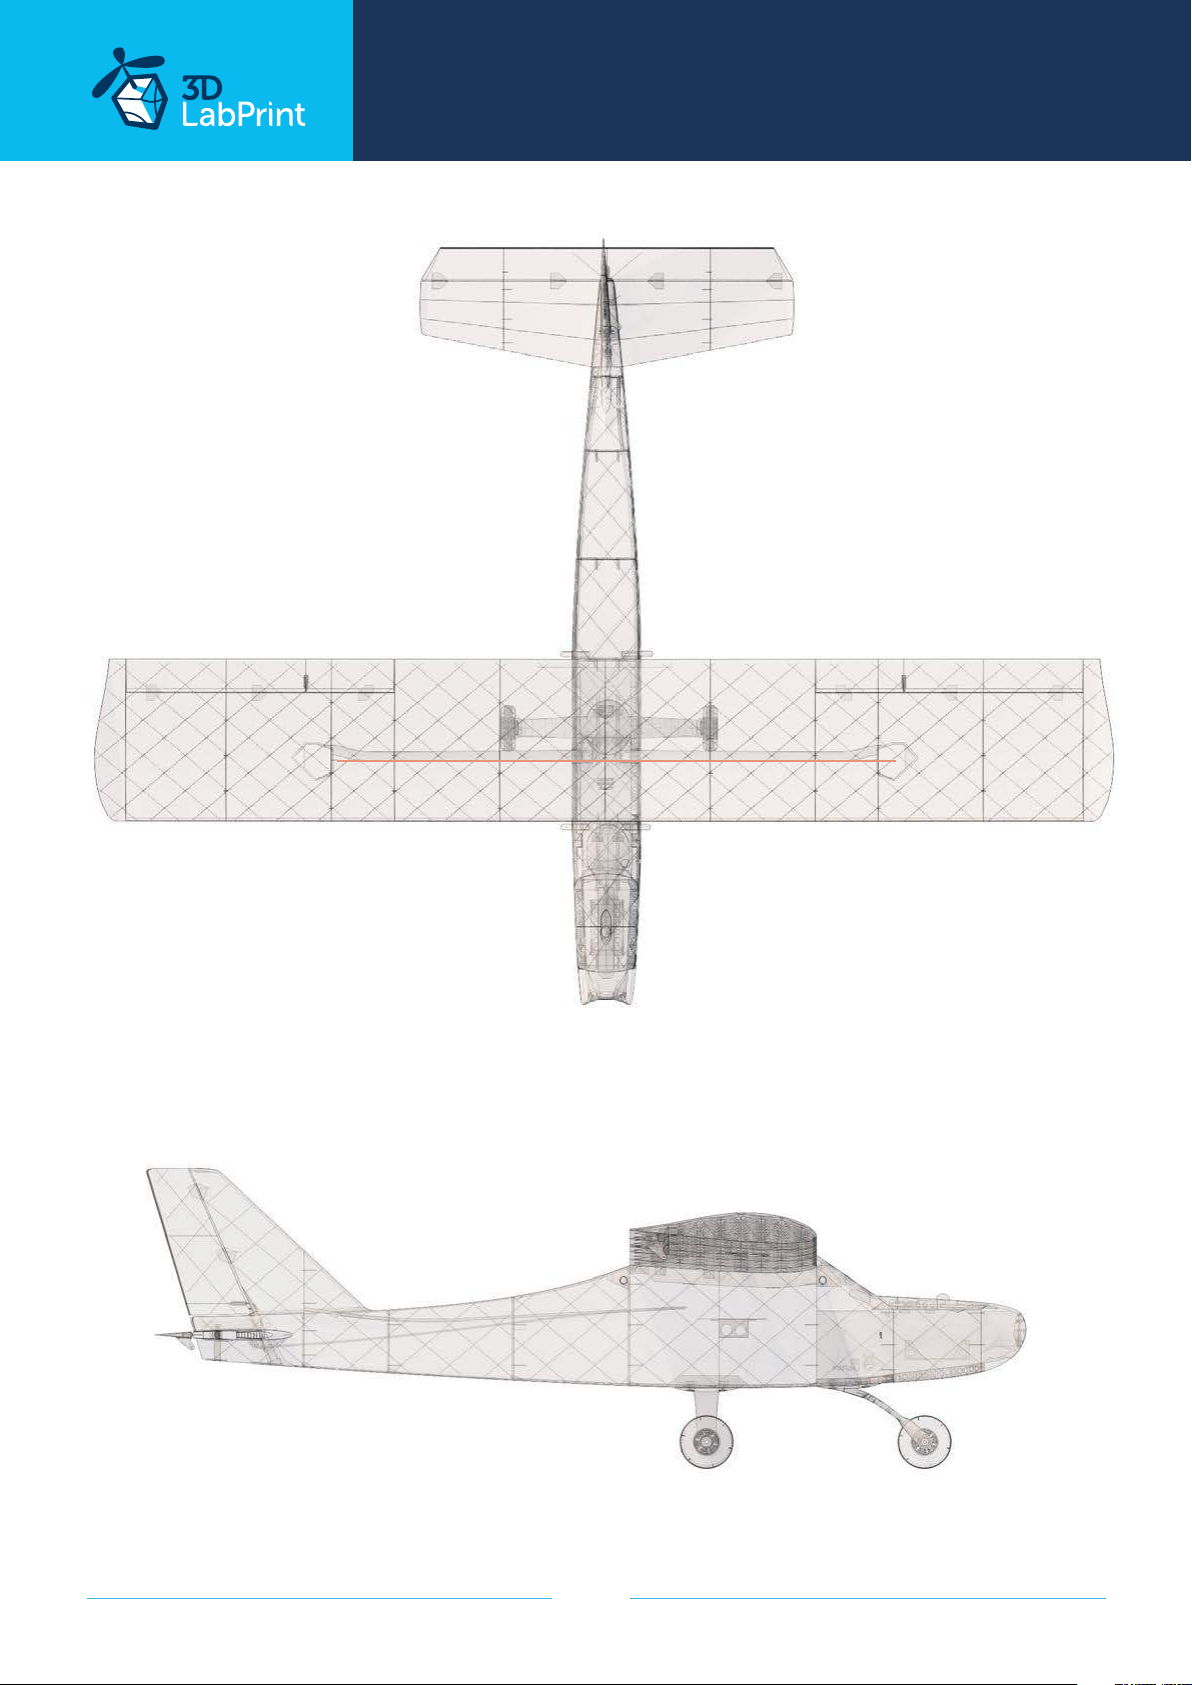
Wing area: 27,7 dm2 / 2,98 sq foot
Centre of Gravity
Lenght: 987 mm / 38,8 inch
page 7
Page 8
... print your plane | www.3DLabPrint.com
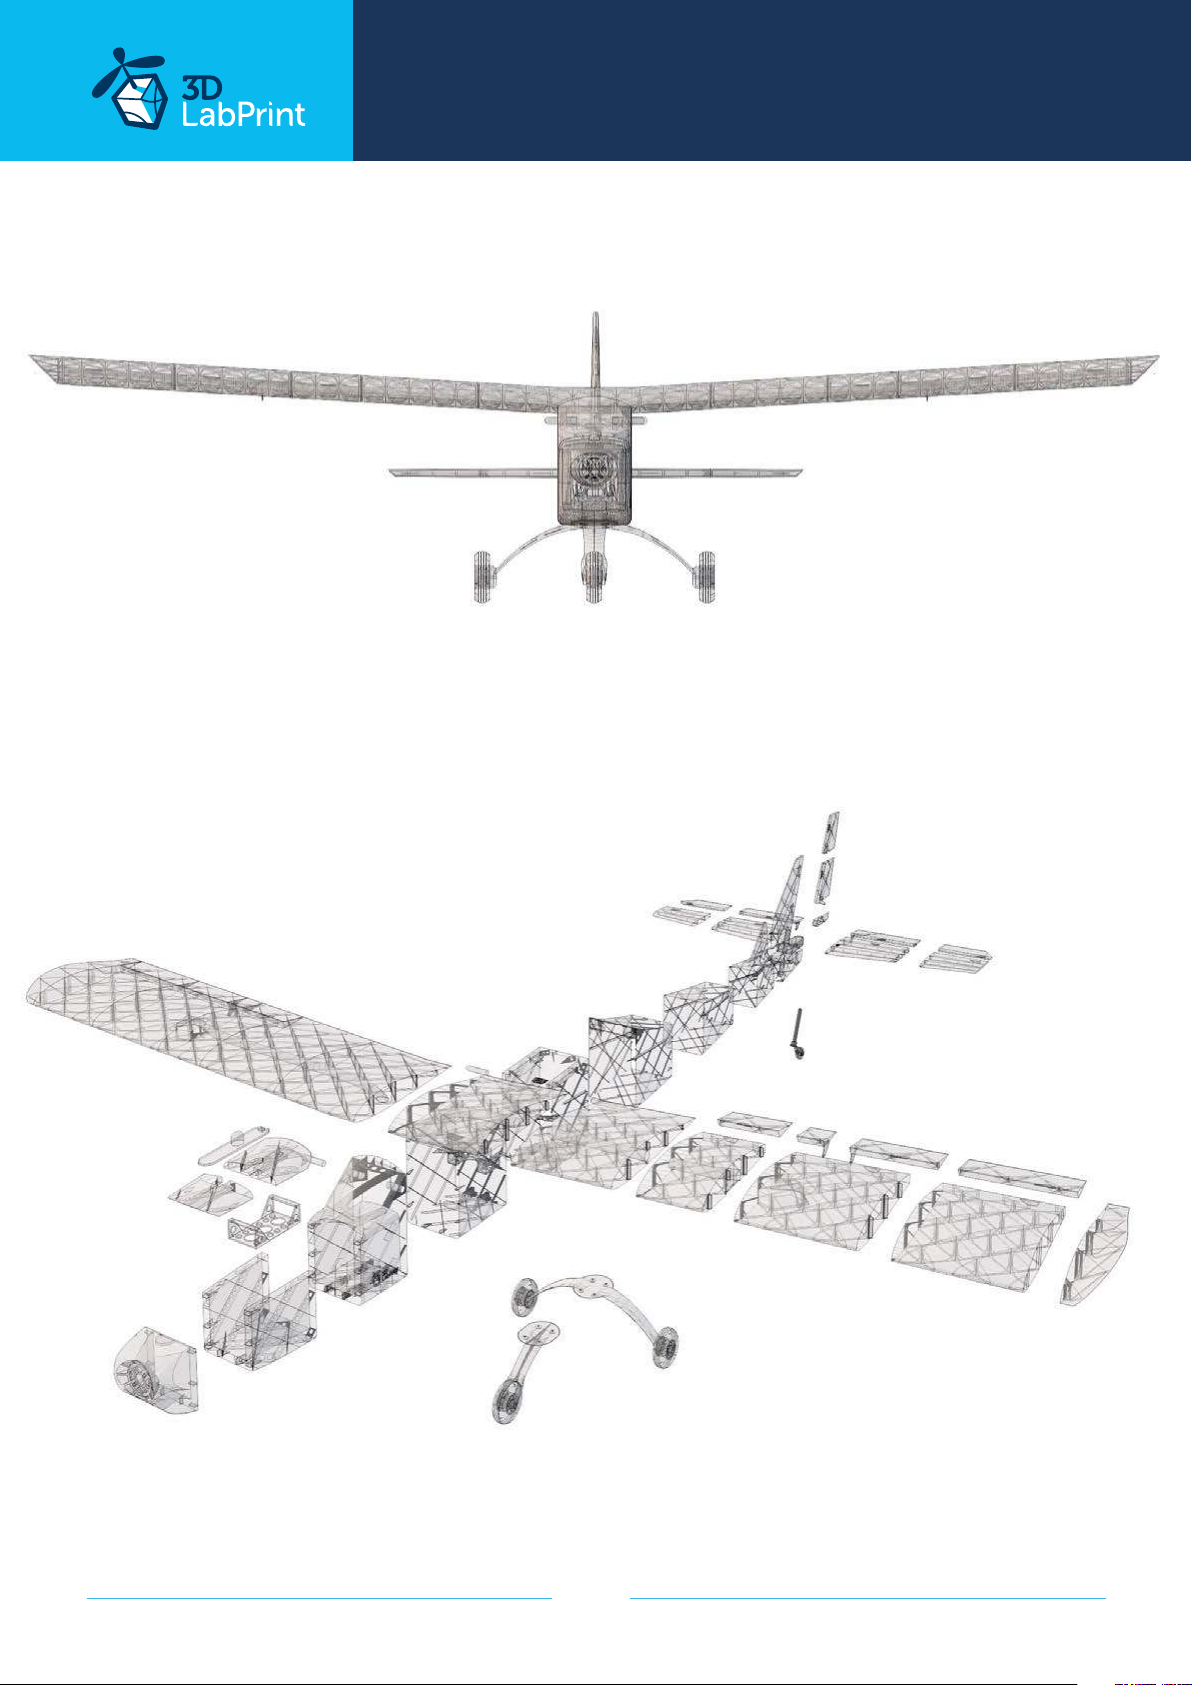
Wing span: 1320mm / 52,0 inch
page 8
Page 9
... print your plane | www.3DLabPrint.com
Step By Step PDF/VIDEO userguide
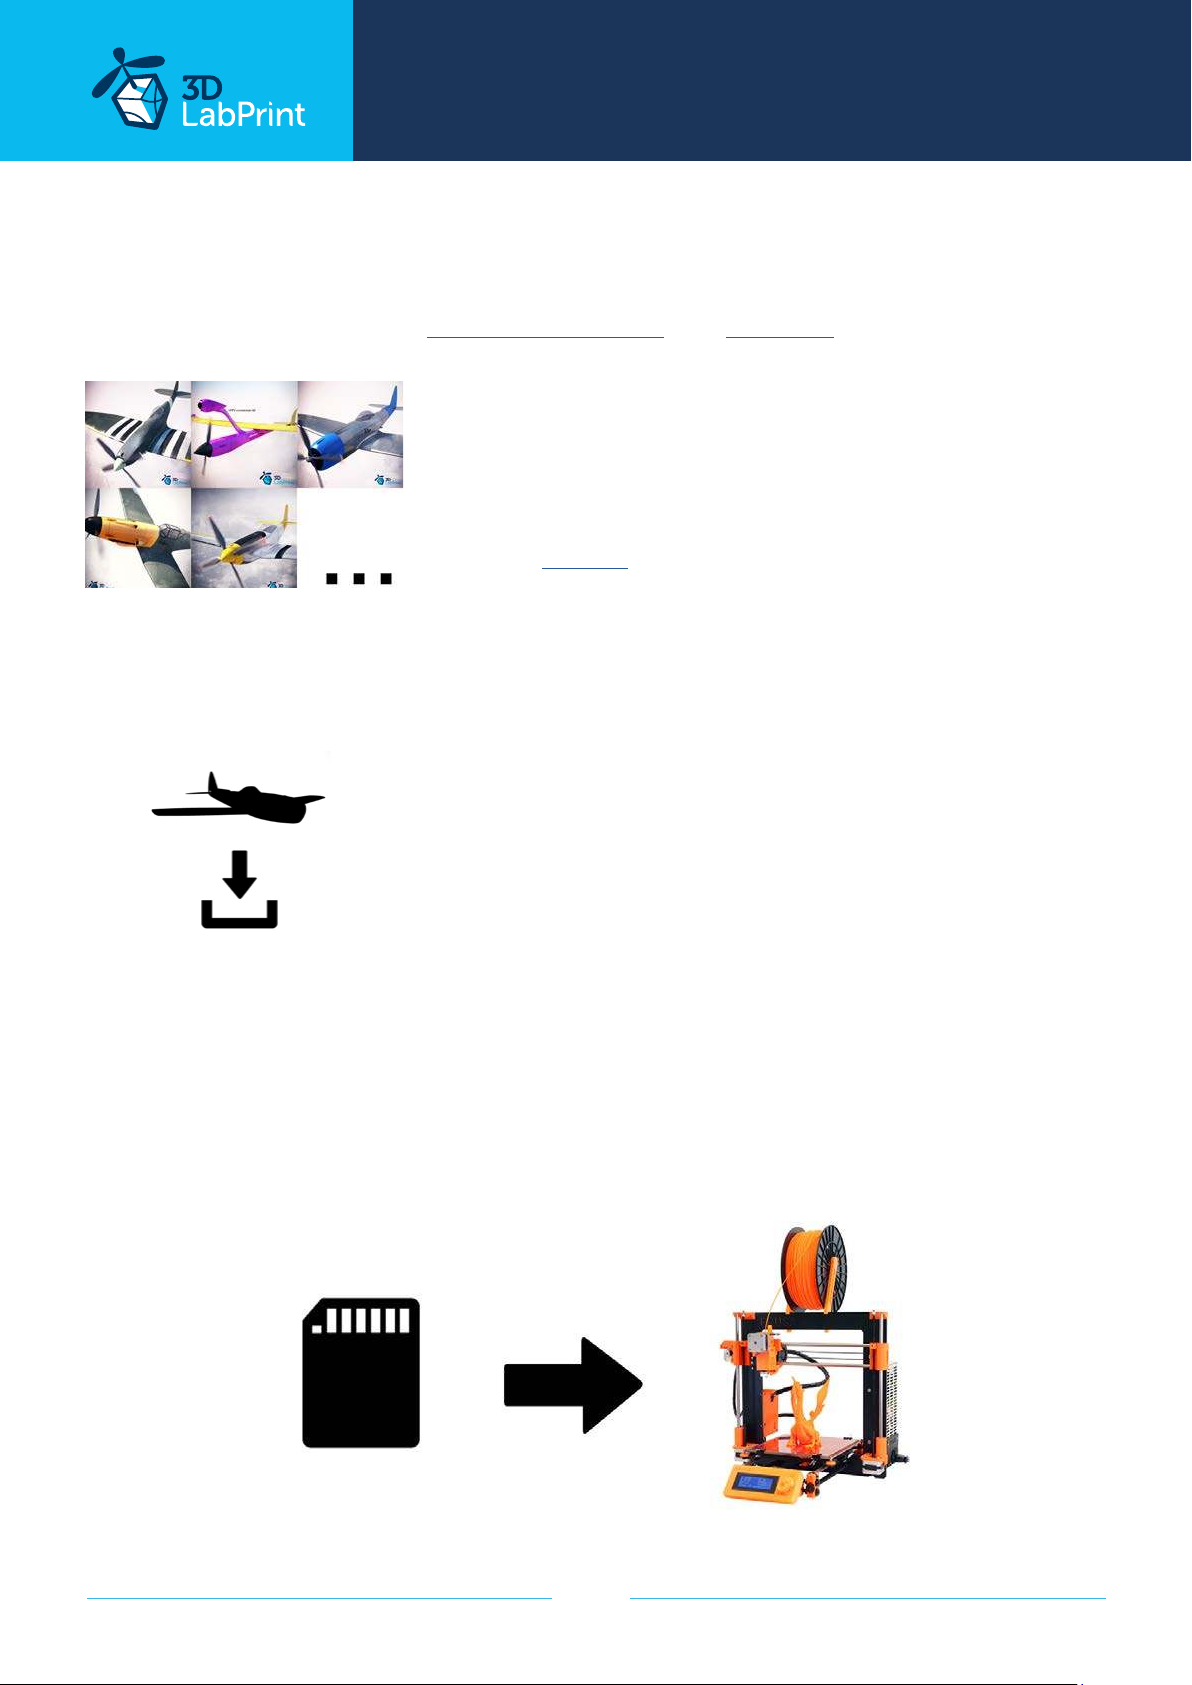
1. Choose airplane at www.3Dlabprint.com. Our Facebook for live information.
Basic requirements for Qtrainer is 195/195/150mm build
volume. Nozzle 0.4mm recommended (0.35 or 0.5mm
alternativelly). Heated bed recommended.
PLA filament (or PETG, APLA, htPLA, PC-max.... not ABS) and
some flex for tires...
If you feel a little bit confused you can download test part
from our FORUM (usualy the biggest part)
2. Create account, download
You will get the download link for all files sent to your email (zipped) or you can log in to your
account and download directly from our websites.
3. Gcodes preparing
option A Gcodes:
If your printer is i3 compattible you can directly use the prepared gcodes. Simply save each to
an SD card and let 3d printer do his job. The HE temperature is set to 230°C for best layer
bonding. You can edit speed and temperature on your printer LCD only. If Gcodes does not
work please proceed to the next options.
page 9
Page 10
... print your plane | www.3DLabPrint.com
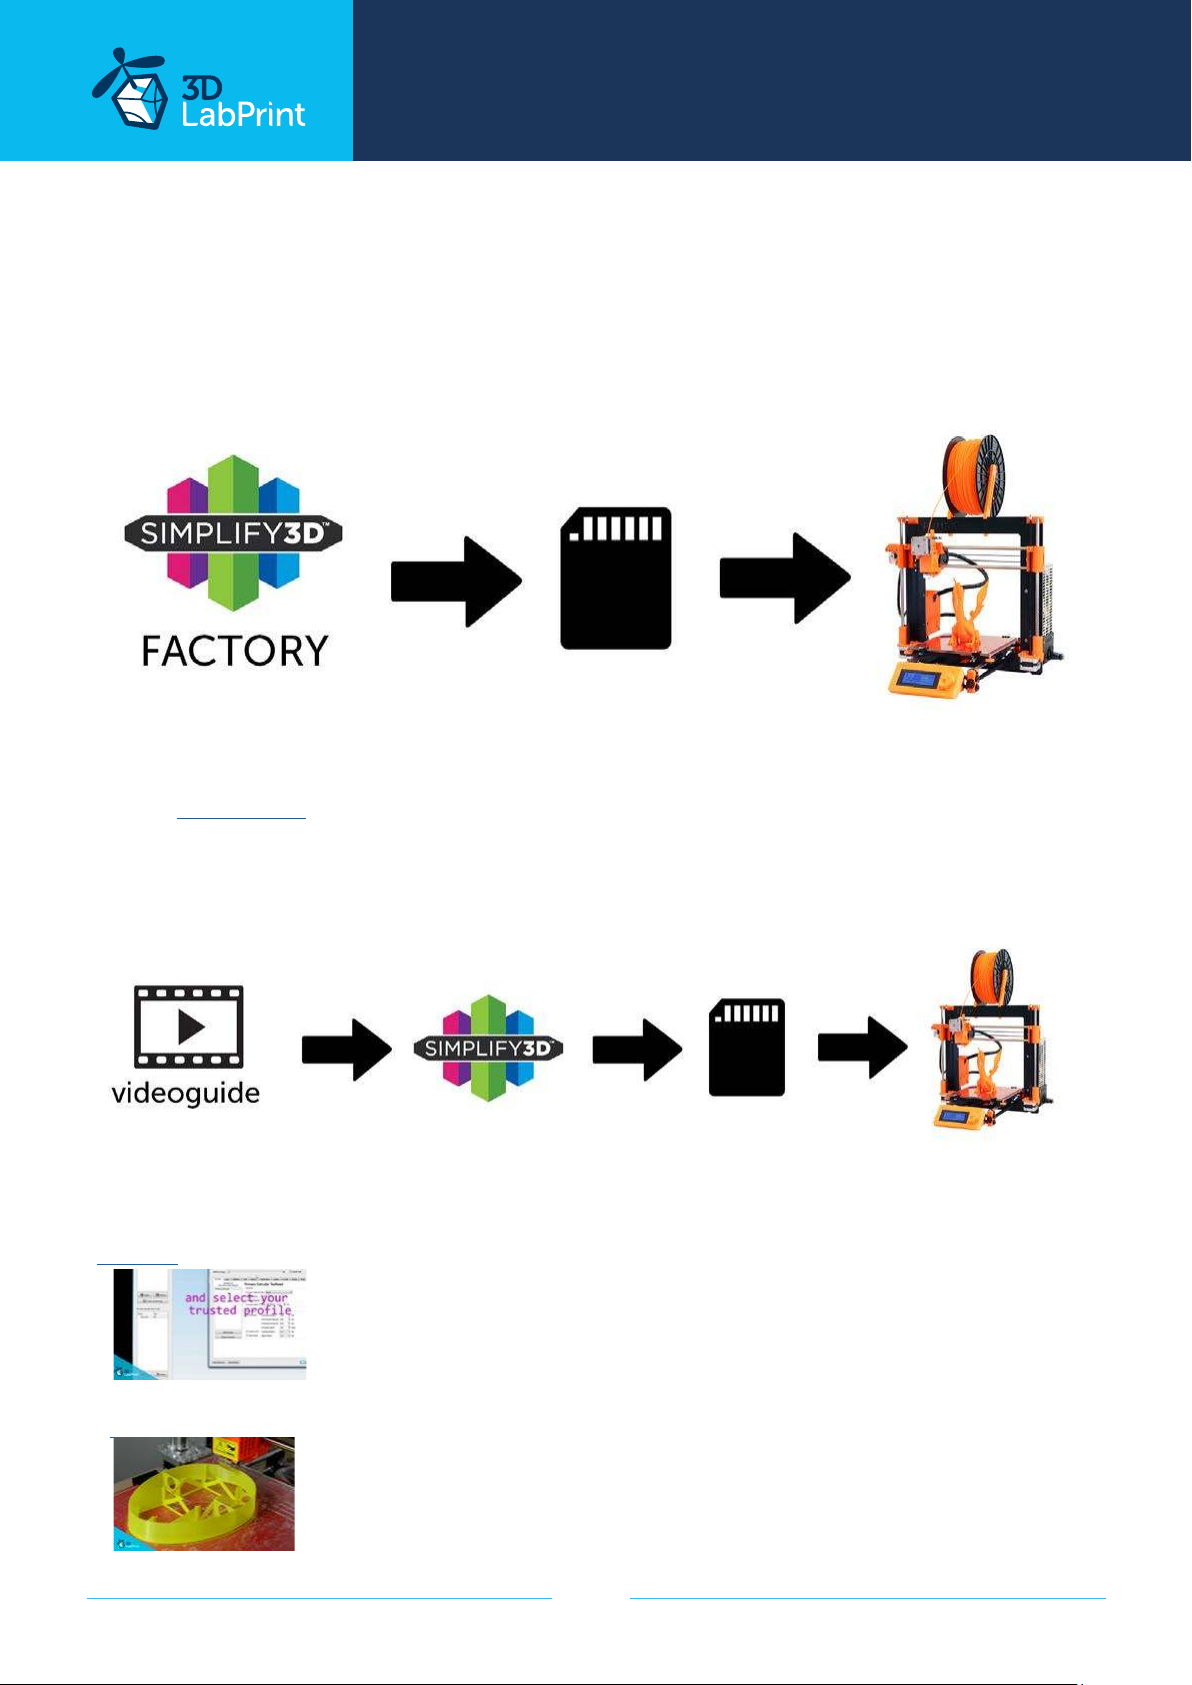
option B Factory files Simplify3D (recommended)
We prepare all you need in thess files (basic FFF, parts arranged and so on...)
You can use our setting as a starting point and edit it as you need (adapt it for your printer),
print only parts you need and so on... On most 3d printers it should work as it is, but please
look at the settings and edit it if it is dierent for your printer. We are not liable for damages
resulting from the use of our settings. If this does not work please proceed to the next option.
option C Simplify3D manual setting (watch and learn)
Use our video guide for proper setting. This is a very good option and you will learn a lot
about Simplify3D and become a 3d expert. Of course you spend a lot of time and the youtube pause button will become your friend. Then please look to prepared Factory files with
setting for rest of parts.
AND... please look at VideoGuides:
video 2 Simplify3D setting
video about Thin Wall Printing
page 10
Page 11
... print your plane | www.3DLabPrint.com
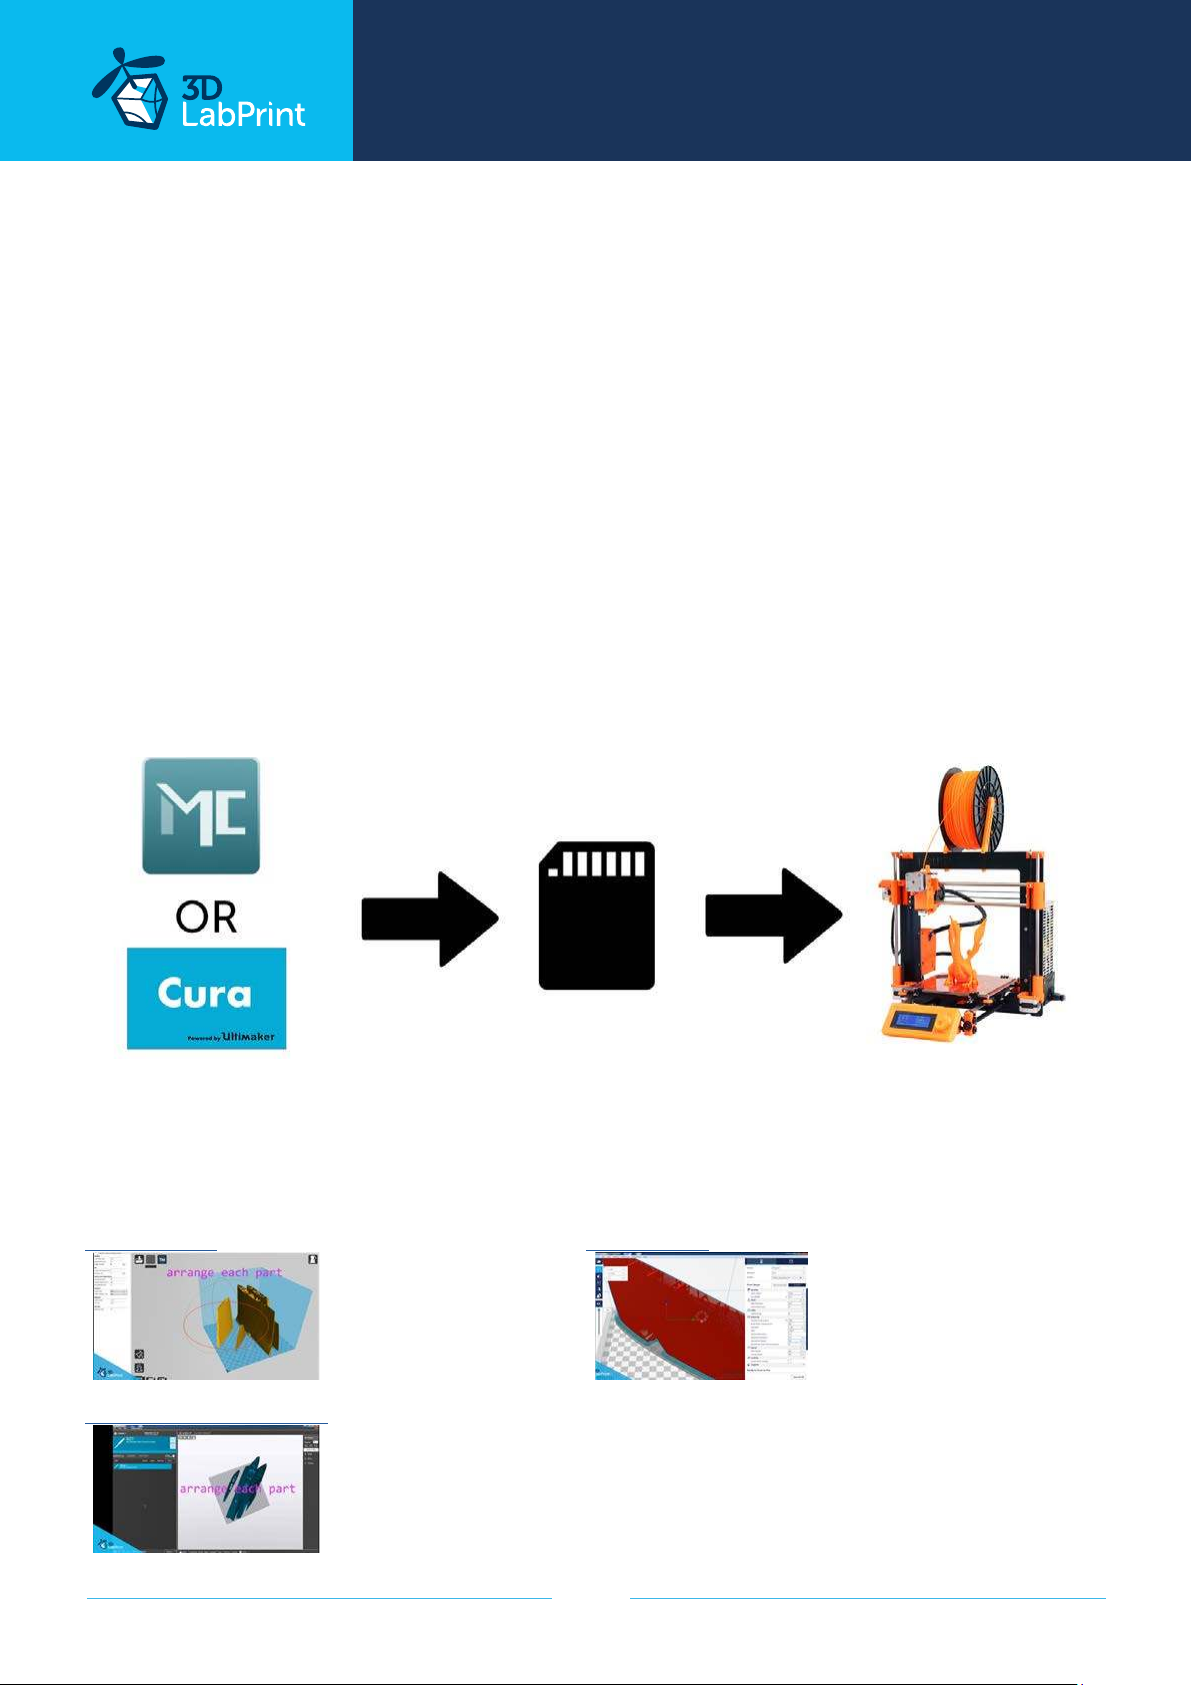
option D CURA or MatterControl (but note: we recommend Simplify3D)
MatterControl and CURA are free :-) and also give very good results and the airframe is still
strong enough. The slicer setting is very easy.
Please try to find the right extrusion multiplier and temperature for good weight and best
layer bonding. Look at parts weight list for proper multiplier settings.
You can also use our predefined CURA or MC slicer setting file included in the package (always
adapt it for your printer, change build volume, filament diameter and so on... depends on
your printer!!!):
CURA_wing_fuse.ini (wing and fuselage parts) for part9 add botom and top + infil
CURA_ailer_elev.ini (only ailerons, elevator and rudder parts)
CURA_thick.ini (cannopy lock, landing gear... )
OR
MC_wing_fuse.slice (wing and fuselage parts) for part9 add botom and top + infil
MC_ailer_elev.slice (only ailerons, elevator and rudder parts)
MC_thick.slice (cannopy lock, landing gear... )
AND... please look at VideoGuides:
video CURA slicer setting CURA 2.3.1 import setting
video CMatterControl slicer setting
page 11
Page 12
... print your plane | www.3DLabPrint.com
4. Print it
Save generated Gcodes and insert SD card to your printer, prepare your printer and start
printing. We prefer to use SD rather than a direct connection via USB Note: ABS filament is
not suitable for this. Scaling the model will lead to unusable result!
Note: ninja flex or simmilar fillaments can glue very hard to PEI based surfaces be careful...
you can add some thin adhesive tape (plastic) to your bed, then remove...
You will need: PLA filament - good quality and strong PLA (we need good layer bonding)
Strong hair spray (or your favorite adhesive bed surface)
Razor blade
(disregard with PEI or simmilar bed surface, Mk2...)
AND... please look at VideoGuides:
video printing guide #2
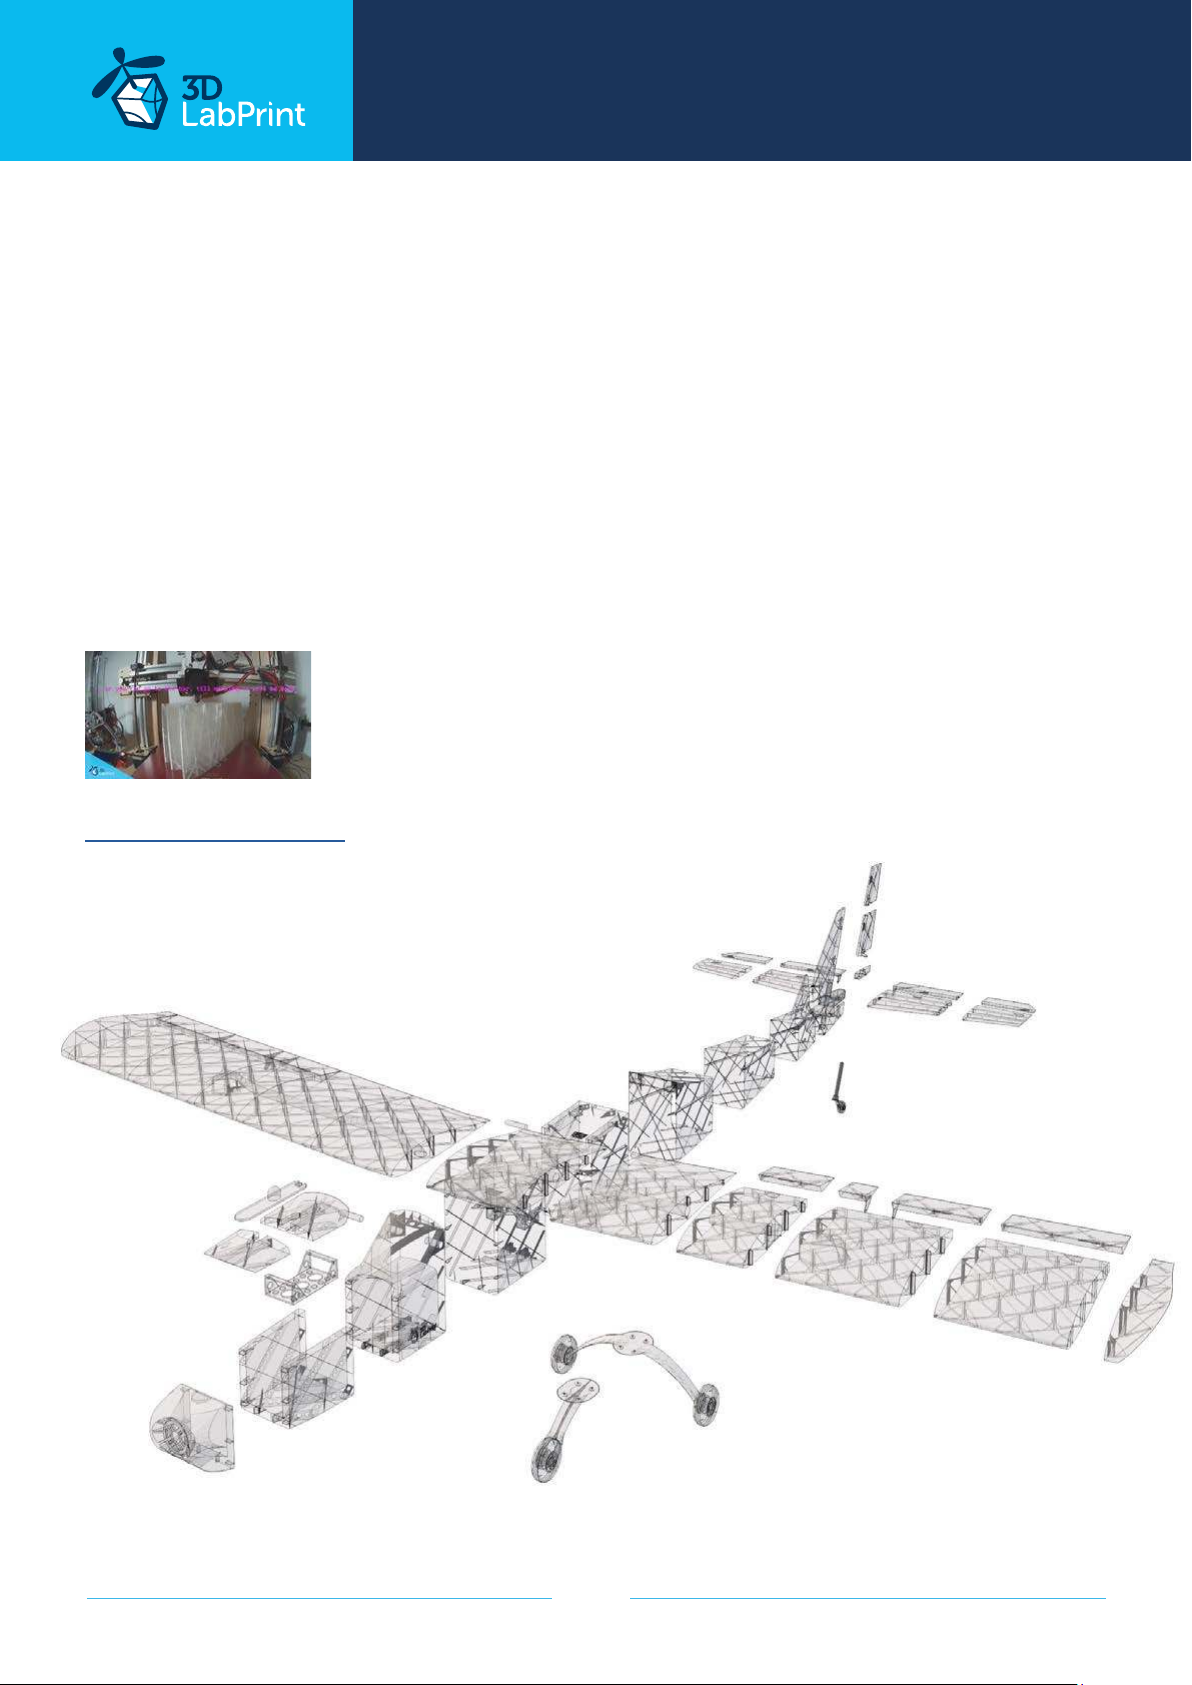
Qtrainer - parts diagram:
page 12
Page 13
... print your plane | www.3DLabPrint.com
Basic Tips and Advice
Please experiment with your extrusion multiplier.
Also HotEnd temperature is very important for a strong result. Please try increasing the
temperature to find the best value (215° up to 260° Celsius).
Turn OFF cooling fan for better layer adhesion (HE fan of course ON). We don‘t need it for our
thin wall printing. You can use cooling fan for thick parts...
We try lot of filaments and so far PLA is still the best for our models (2017).
Heated bed is very recommended, 50-60° Celsius (print without warping ends).
Looks like any standard quality PLA is perfect for our planes, but it always depends on
combination PLA vs. Extruder vs. HotEnd.
We find that some color of filament has lower layer adhesion also.
Nowadays there are a lot of 3dprinters on the market, most of them are OK for printing our
aircraft (specific thin wall printing...) sucient volume, heated bed, 0.4 mm nozzle.
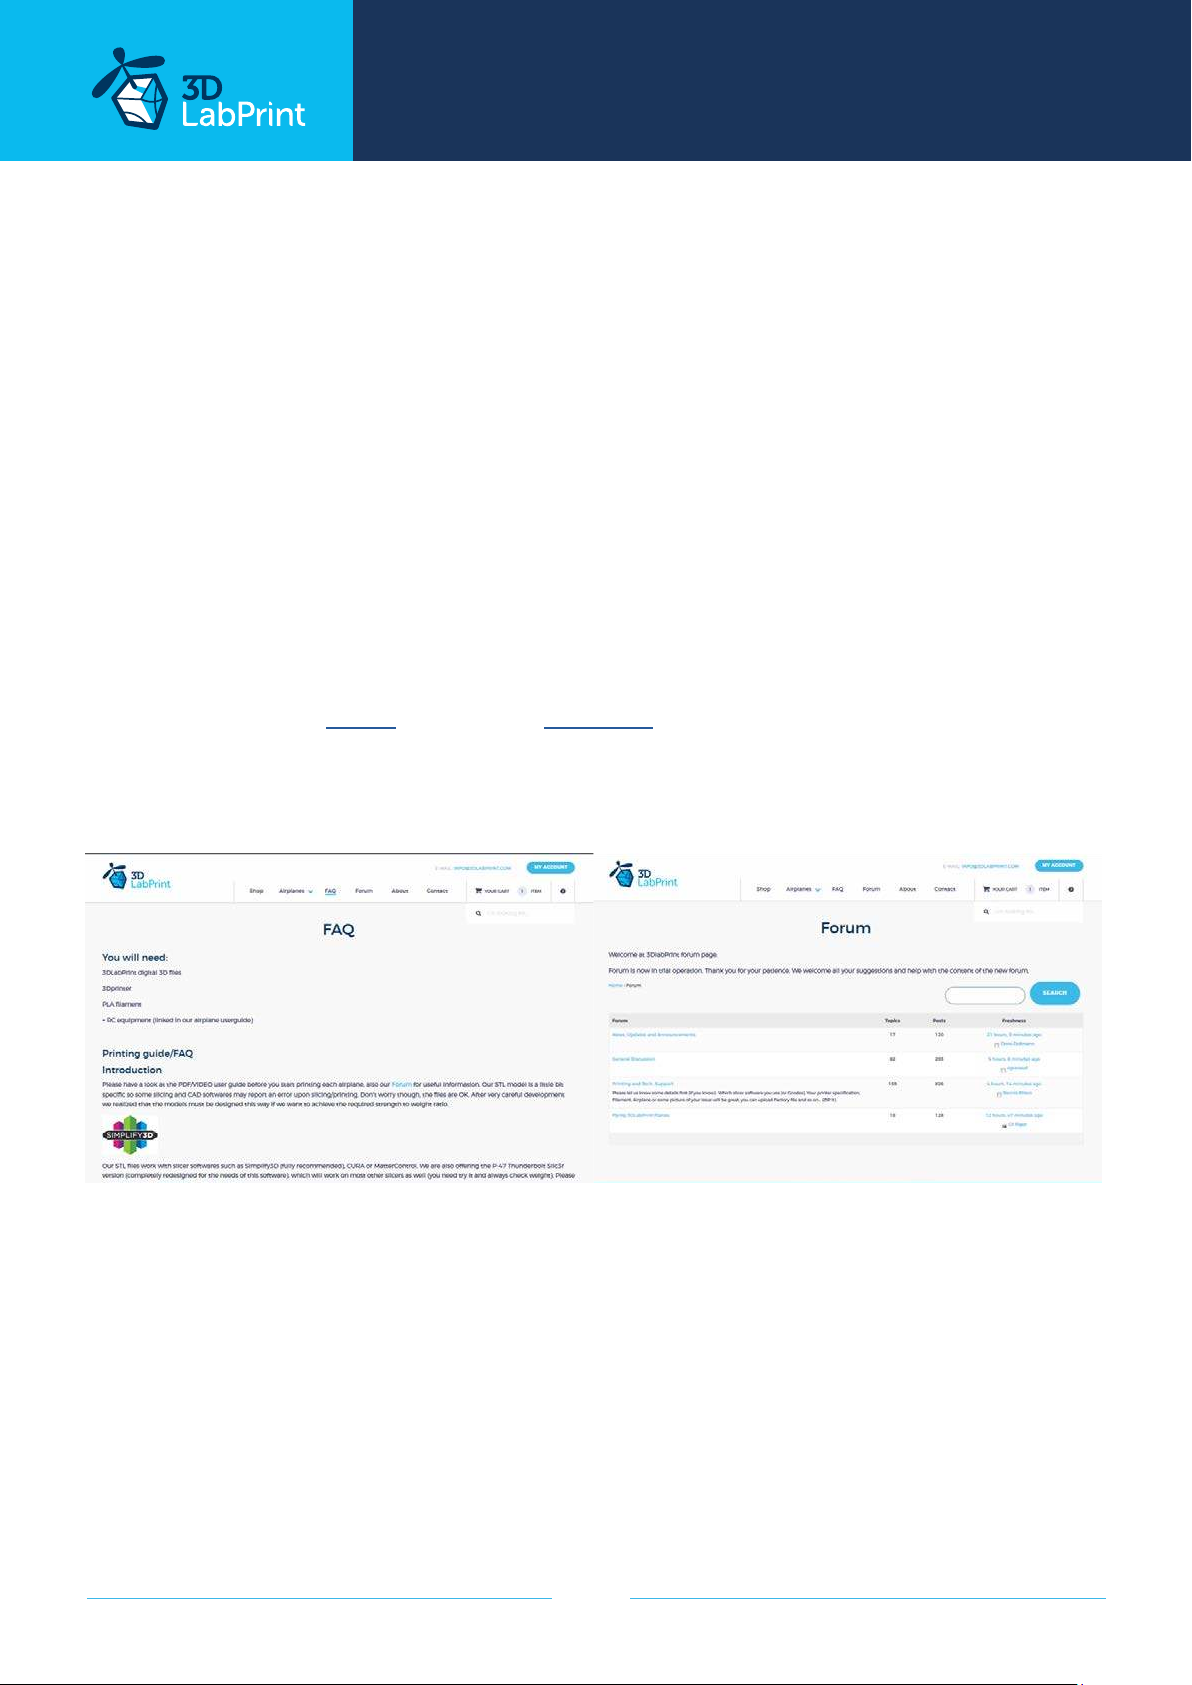
Please look at FAQ and our Forum for next information:
Need a help? our Forum is the best place... where we can help you
page 13
Page 14
... print your plane | www.3DLabPrint.com
5. Assembling printed parts
5.1 Wing assembly
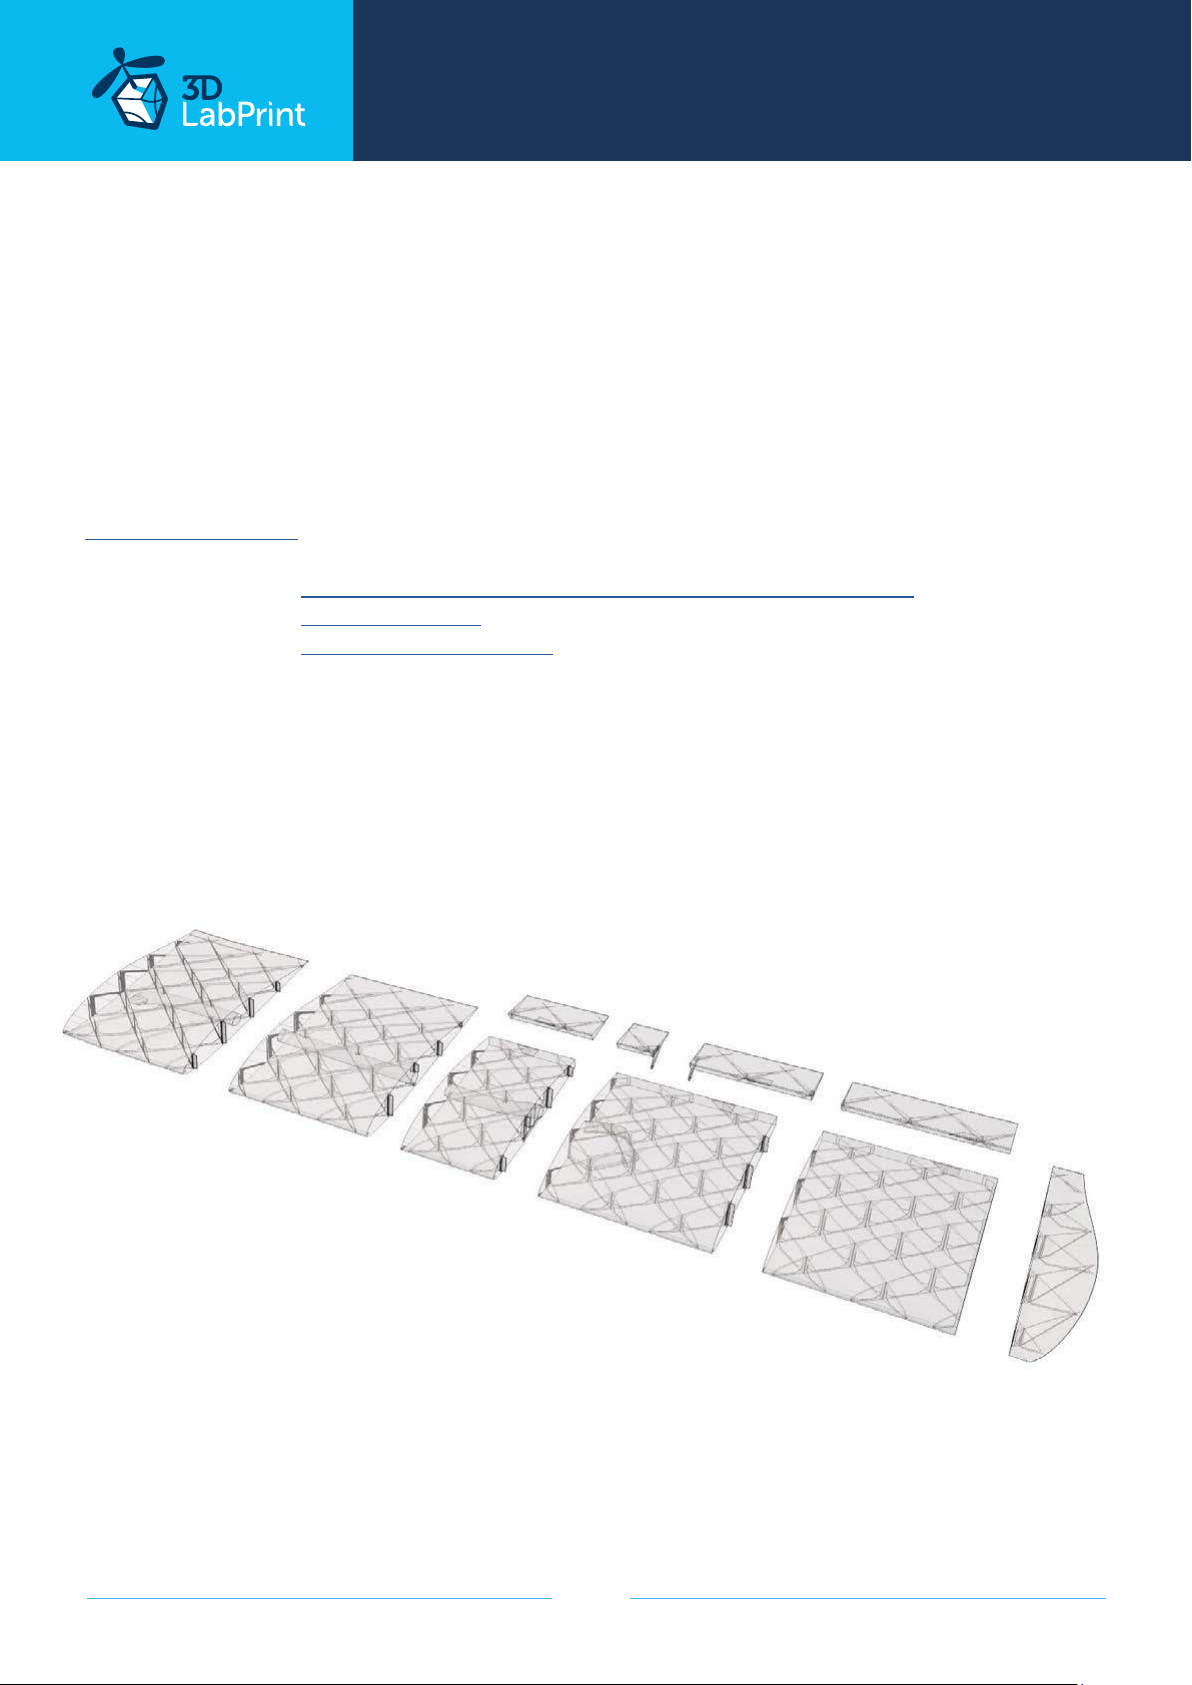
Glue all wing parts L1-L6 and R1-R6 with CA glue together (position locks will help you),
use activator. Glue ailerons parts together and install it by hinges. We recommend CA Hinge
sheet and thin CA glue. You can use snap knife to clearing shape of some printed parts, but
mostly it is not necessary.
See video guide #4
you will need: CA Glue - medium or similar medium viscosity CA glue
CA Hinge Sheet or similar
Activator for CA Glue or similar, but gas presurized aerosol is better
Snap knife
wing L 1
49g/1.72oz
wing L 2
49g/1.72oz
wing L 3
25g/0.88oz
servo wing cover
aileron L 1
6g/0.21oz
wing L 4
39g/1.37oz
2g/0.07oz
aileron L 2
4g/0.14oz
aileron L 3
6g/0.21oz
aileron L 4
6g/0.21oz
wing L 5
35g/1.23oz
wing L 6
10g/0.35oz
page 14
Page 15
... print your plane | www.3DLabPrint.com
5.2 Fuselage assembly
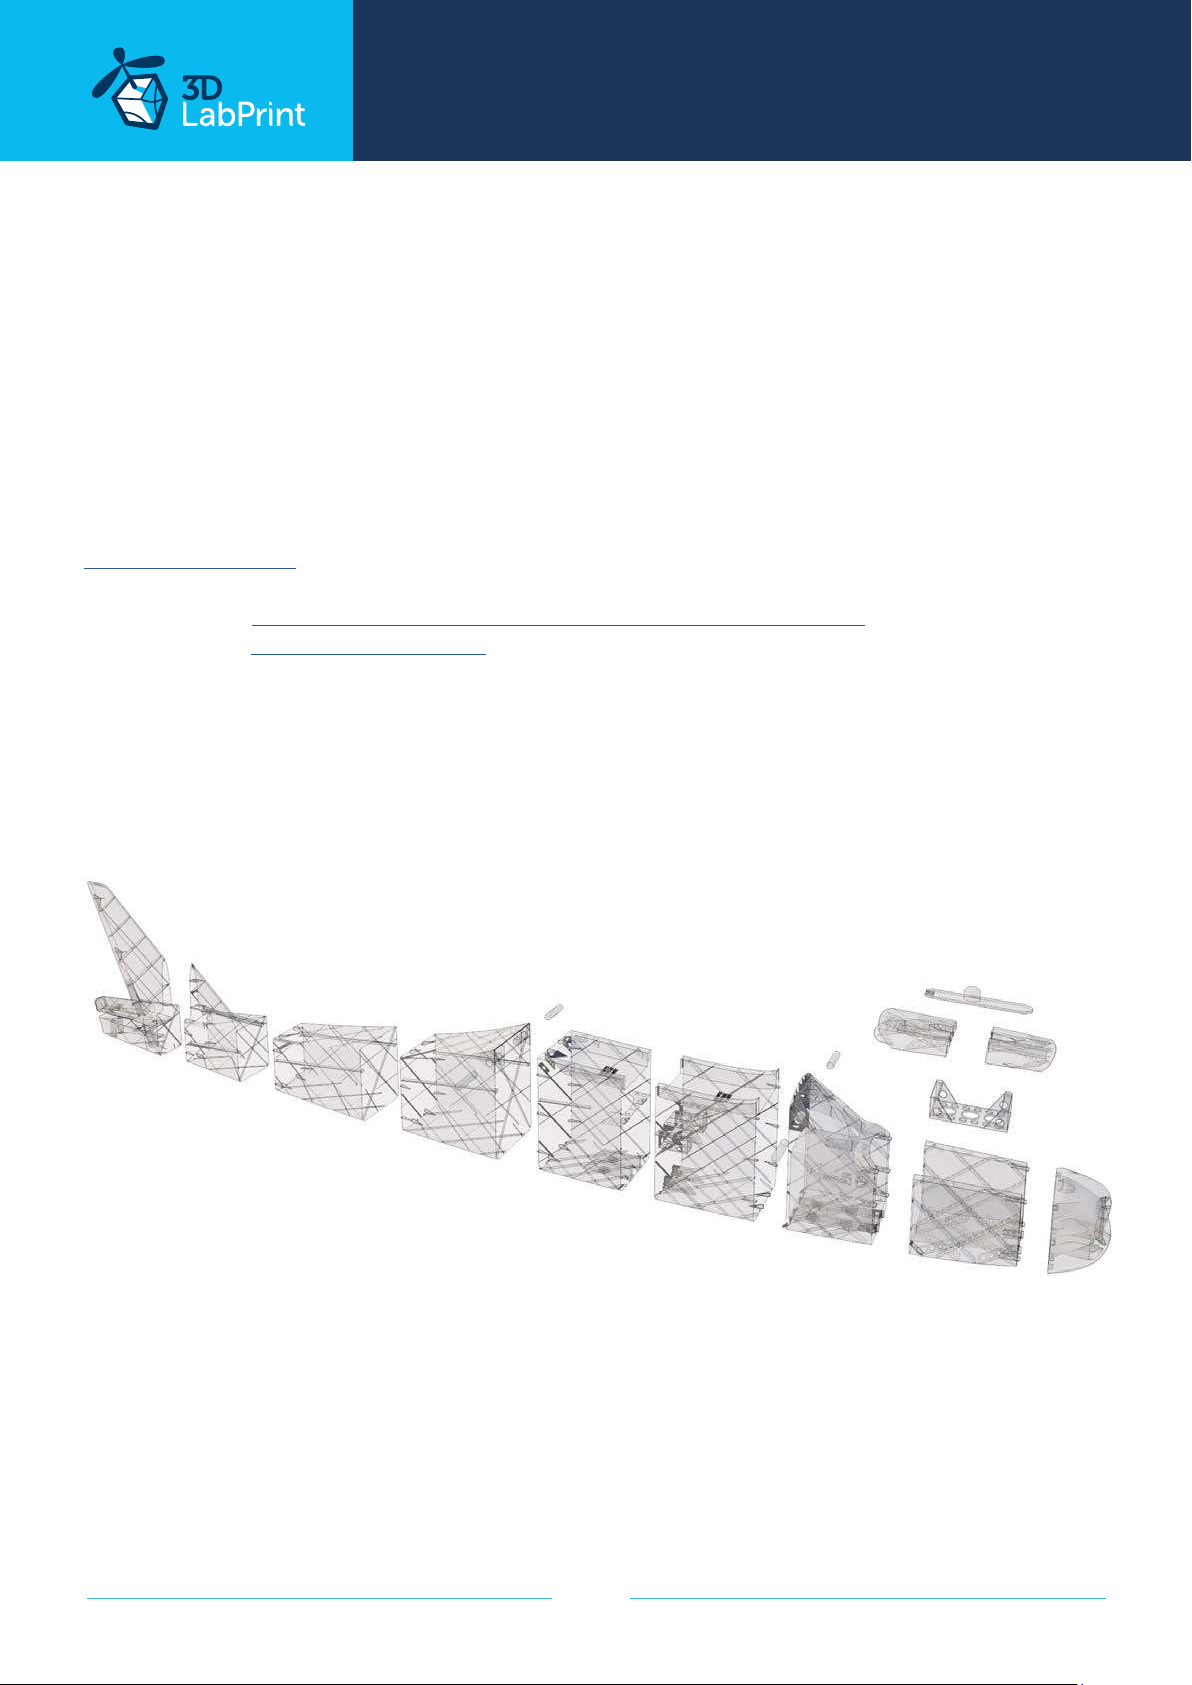
Glue fuselage parts F1-F9 with CA glue together (position locks will help you) use activator.
You can use snap knife to clearing shape of printed parts, but mostly it is not necessary.
Cut and remove plastic from upper side of fuselage. Glue 4x strong PIN for wing rubbers.
Insert pen spring to canopy part, insert canopy lock, glue both canopy parts together and test
a canopy lock functionality. Test perfect fit canopy with fuselage and canopy lock functionality.
NOTE: Don‘t glue the tailparts yet !!! (for rudder, elevator and horizontal stabilizer proceed
to next step)
See video guide #5
You will need: CA Glue - medium or similar medium viscosity CA glue
Activator for CA Glue or similar, but gas presurized aerosol is better
1x ballpoint pen spring (a spring from old ballpoint pen will work fine)
Snap knife
optional: Soldering Iron or any hot tool
F1
35g/1.23oz
F2
22g/0.77oz
F3
32g/1.12oz
F4
41g/1.44oz
4x pin
6g/0.21oz
F5
44g/1.55oz
F6
48g/1.69oz
canopy
2x 9g/ 2x 0.31oz
F7
54g/1.90oz
F8
36g/1.26oz
canopy lock
2g/0.07oz
battery holder
9g/0.31oz
F9
44g/1.55oz
page 15
Page 16
... print your plane | www.3DLabPrint.com
5.3. Fuselage tail - rudder, elevator pushrods and servos
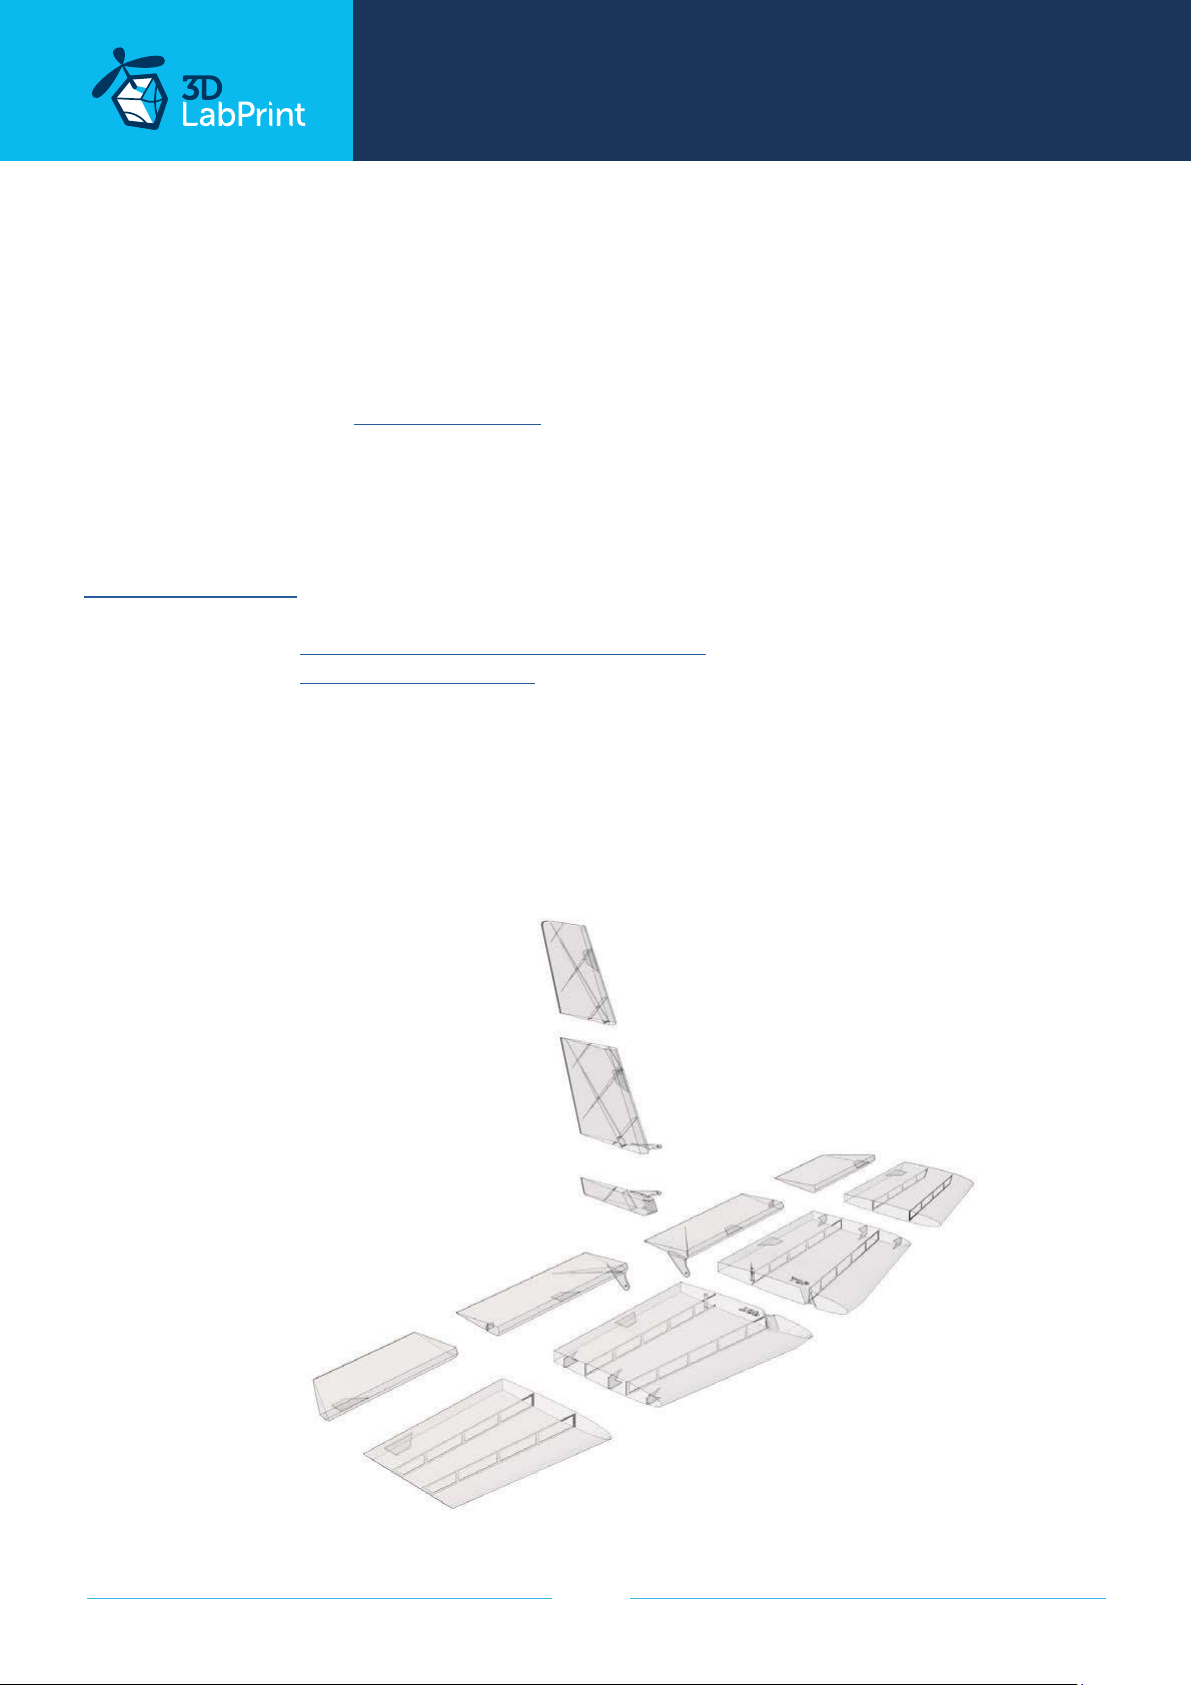
Now is good time for install tail stabilizers, elevator, rudder and pushrods. You can use snap
knife to clearing shape of printed parts. Glue rudder parts, horizontal stabiliser and elevator.
Insert complete horisontal stabilizer to fuselage a lock it by two small screws. Use 1 mm
/ 14AWG pushrod wire for elevator pushrod. Make Z bend or use your liked pushrods
attachment. We like this
in correct position with CAglue and hinges.
NOTE: Complete horizontal stabiliser without elevator on the desk. Elevator install separately
as last step to tail for easy pushrod mounting.
See video guide #6
You will need: CA Glue - medium viscosity CA glue
Activator for CA Glue or similar, but gas presurized aerosol is better
1 mm /14AWG pushrod wires
Wire cutter, Z bend pliers or pliers.
Snap knife
2x small screws
Pushrod Keepers. Thread pushrods and glue the elevator and rudder
elevator R 4
9g/0.31oz
rudder 3
6g/0.21oz
rudder 2
7g/0.24oz
elevator R 3
12g/0.42oz
rudder 1
3g/0.10oz
elevator L 4
9g/0.31oz
elevator L 4
12g/0.42oz
elevator L 1
12g/0.42oz
elevator L 1
14g/0.49oz
elevator R 1
14g/0.49oz
elevator R 2
12g/0.42oz
page 16
Page 17
... print your plane | www.3DLabPrint.com
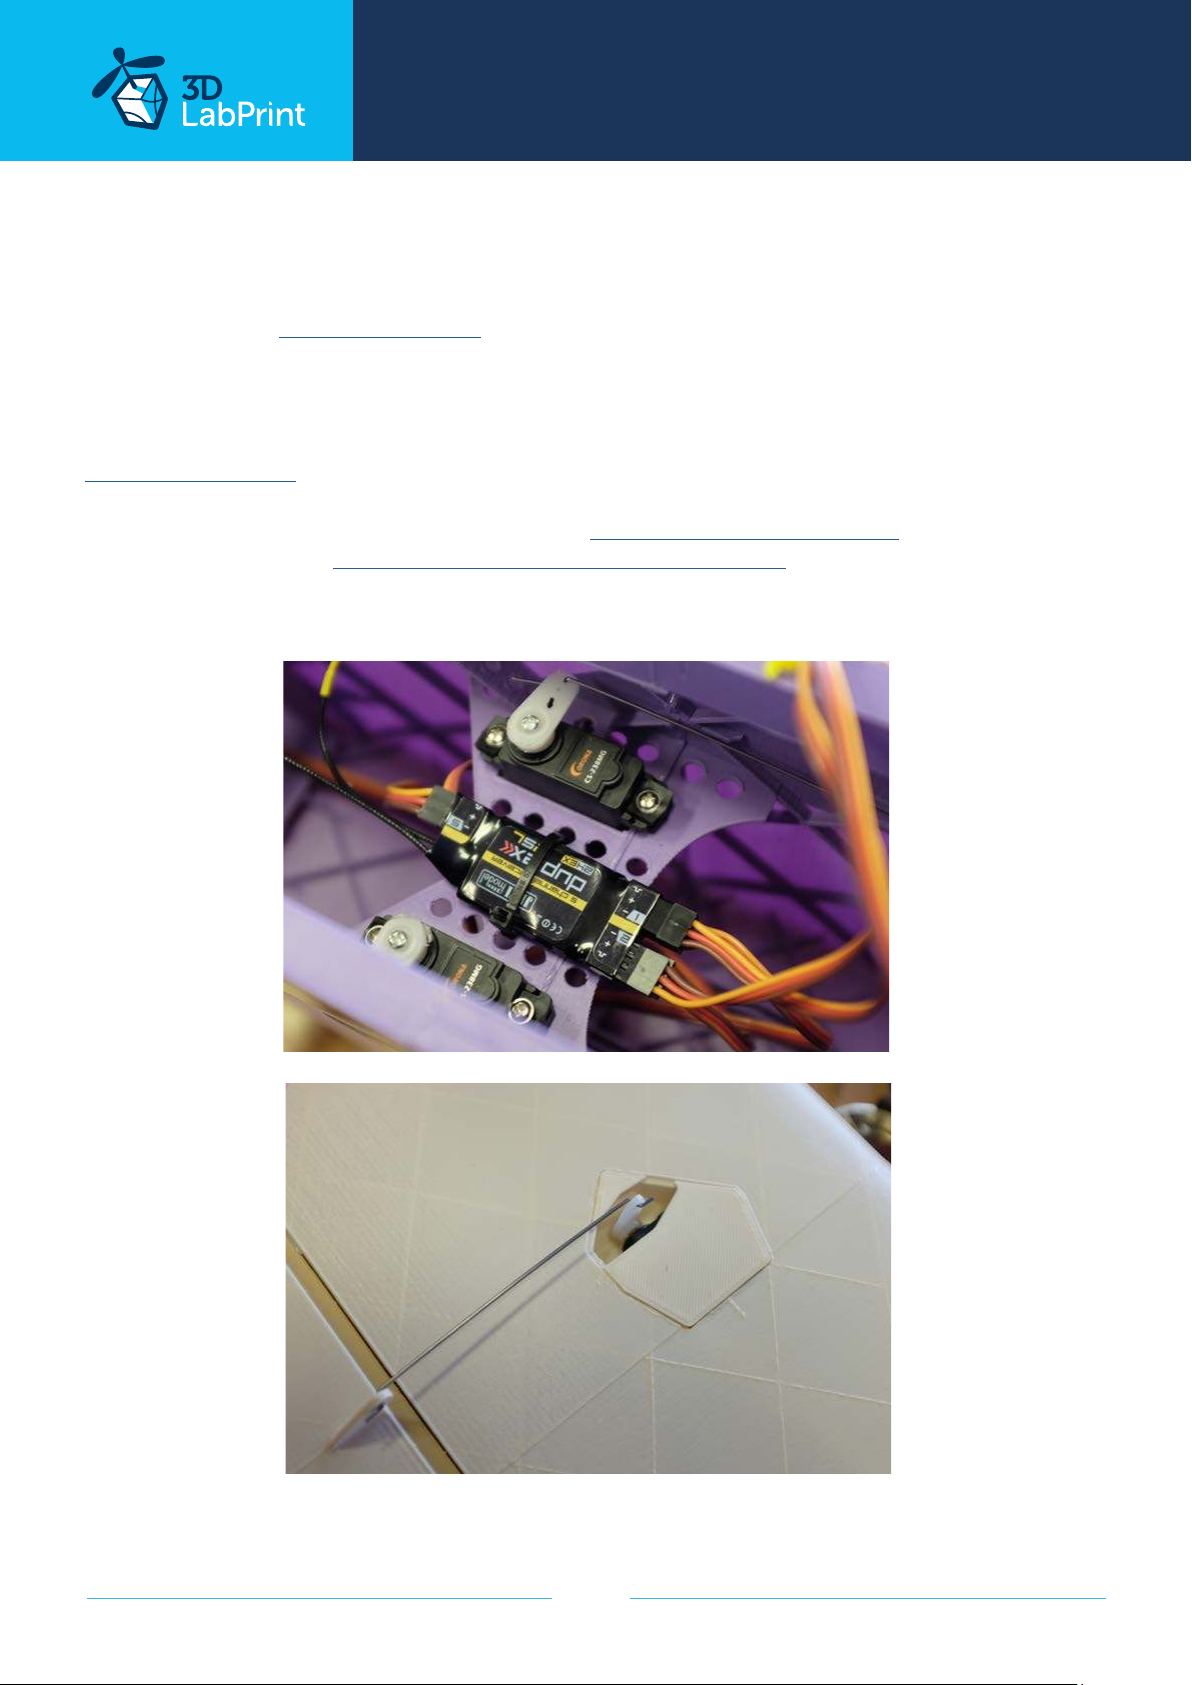
6.1 Servo installation
Our Qtrainer was designed for 4pcs of standard mini servos 30x30x12mm. We tested it with
Hitec HS-82 and Corona CS238MG. Mount two servos to fuselage. Make Z bend at correct
legth of pushrods. For wings use servos with extension cables and glue it to servo bays. You
can cover holes by printed servo covers.
See video guide #7
You will need: 4x Hitec HS-82 or similar, size: 30 x 30 x 12mm servos
2x servo extension cables 300mm / 12 inch
1 mm /14AWG pushrod wires
Wire cutter, Z bend pliers or pliers.
page 17
Page 18
... print your plane | www.3DLabPrint.com
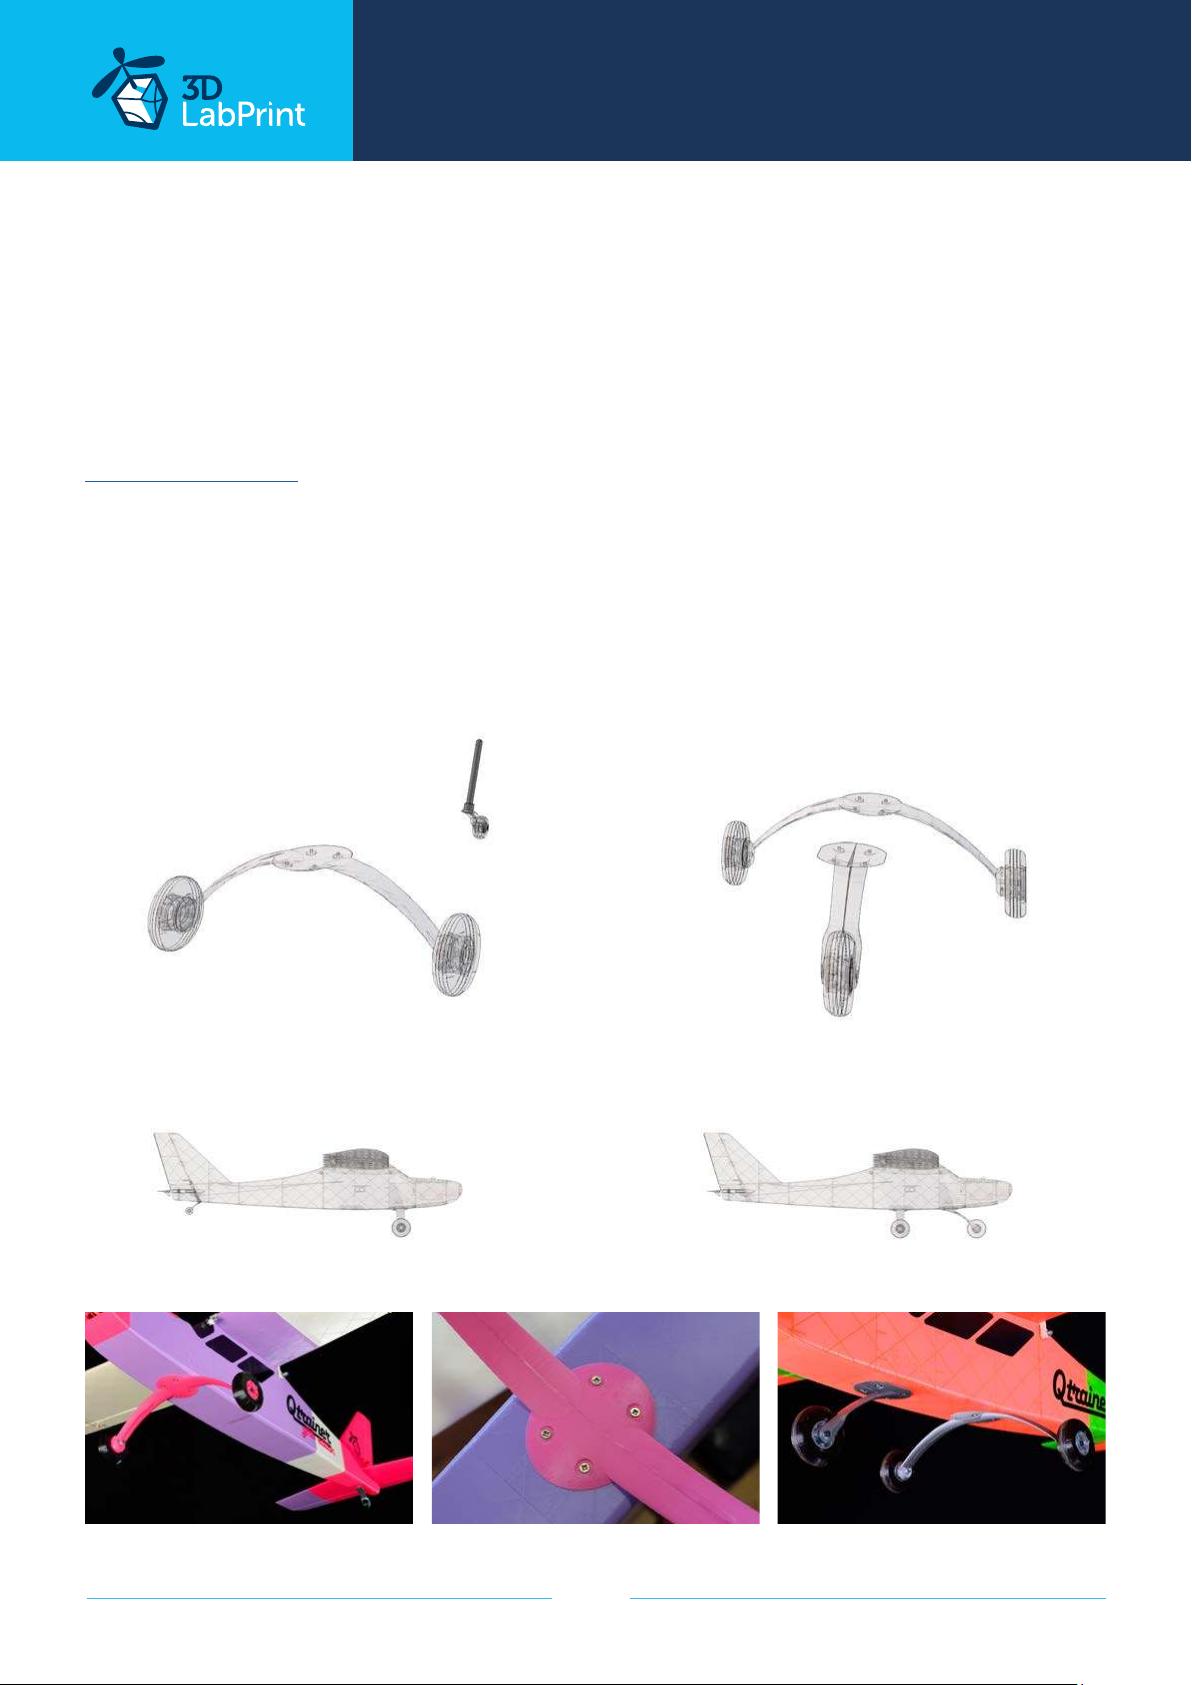
7.1 Landing gear - nose, main
Chose your way, tricycle with fixed gear or taildragger configuration. Ofcourse you can use
tail wheel at trycicle for easy change configuration. Glue landing legs together, use small
piece of 2mm carbon rod or toothpicks for precise position. Mount wheels by M3x40mm
screw to gear. For tail wheel axis use 2mm carbon rod or simillar. You can use OIL for better
suspension friction. For fuselage mount use some small screws.
See video guide #8
You will need: 3x M4x40 screw with nuts
small piece of 2mm carbon rod or simillar (or wooden)
fitting screws
tail landing gear leg
tail wheel disc
tail wheel tyre
main landing gear leg
main landing gear leg
main wheel disc
main wheel tyre
main wheel disc
main wheel tyre
front landing gear leg
taildragger tricycle
main wheel disc
main wheel tyre
page 18
Page 19
... print your plane | www.3DLabPrint.com
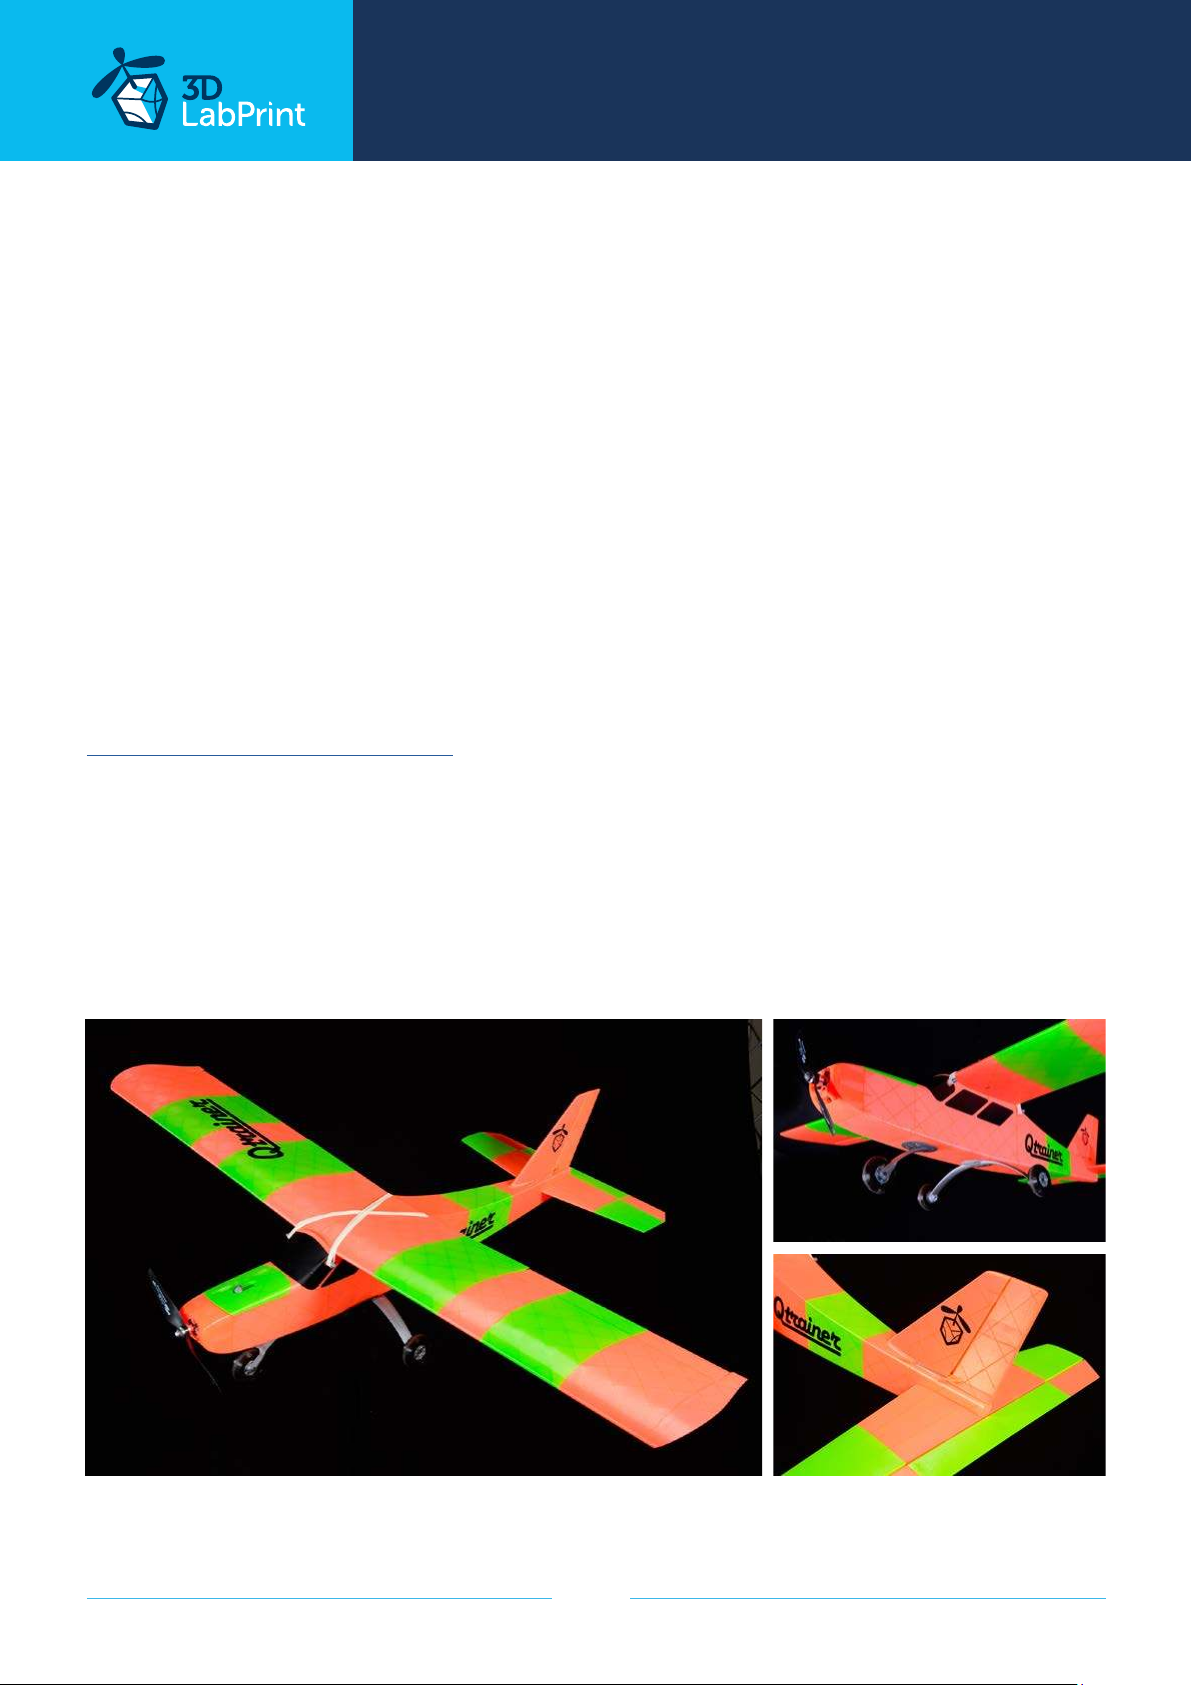
8.1 Decals
Cut decals from thin advertisement foil or use any advertisement company around you for
make it. Glue it at your model by your choice.
See video guide #9
You will need: Decals from advertisement foil.
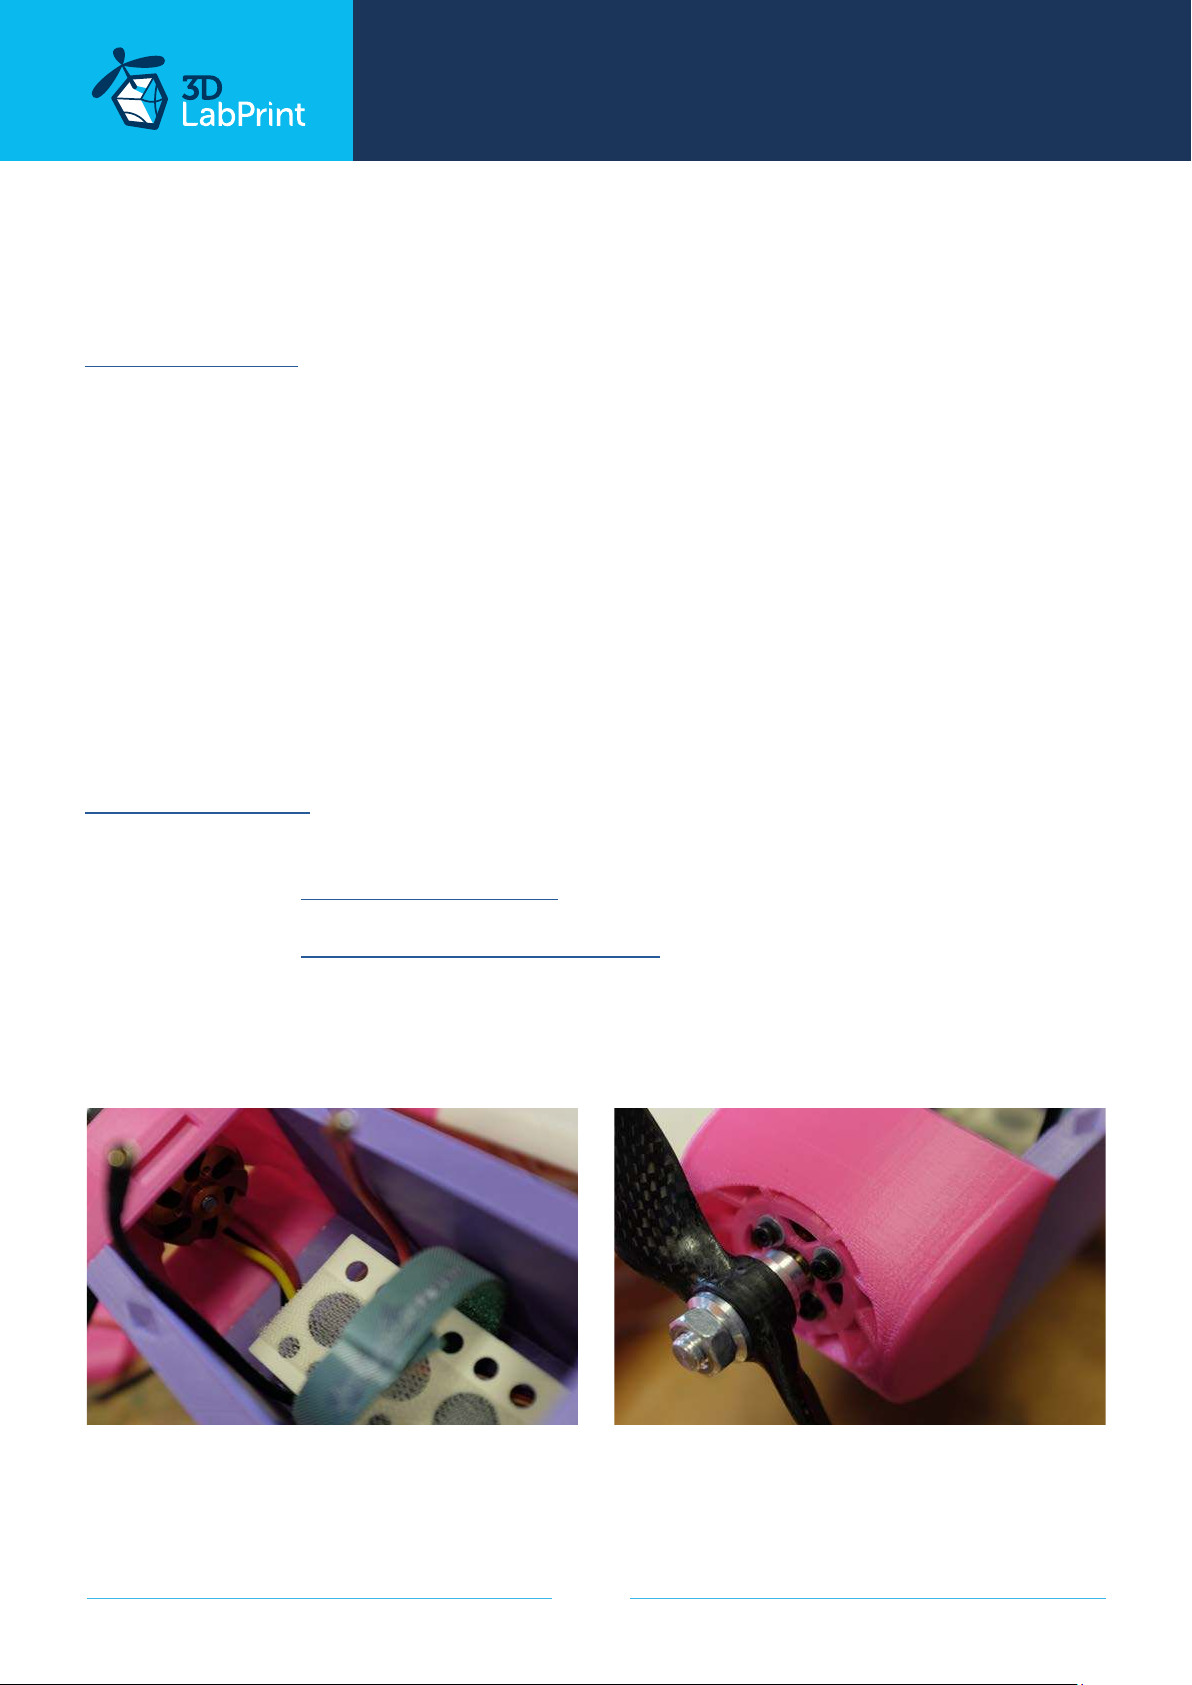
9.1 Motor, battery, RC equipment and final assembly
Glue battery holder to fuselage. Mount motor by 4x M3 screws (move shaft to front). Push
controller at bottom of battery holder. Install your receiver, connect battery, setup servos and
etc. with your trasmitter, check servo position. Set recommended deflection from videoguide.
Check CoG point (see CG- marks on wings). As the last step mount propeller at motor shaft.
Note: maybe you will need solder 3.5mm conectors for your motor and ESC setup...
Make sure that the battery is placed properly and secured. If battery moves during flight it can
shift the center of gravity backwards and aircraft will be uncontrollable!
See video guide #10
You will need: Your own Rx/Tx system
Turnigy 3542/5 1250KV or similar
3S Li-Pol 2700-3300mAh
40A Electronic Speed Controller
9x6 propeller
Adhesive velcro strip for Li-Pol battery and ESC
page 19
Page 20
... print your plane | www.3DLabPrint.com
10. Pilots Please Attention!
For the first flights we recommend to set the center of gravity of the airplane by about 5 mm
forward of the CG tag - nose heavy, this increases the stability (you can use heavier battery).
Also is good to increase expo settings on your transmitter for elevator and aileron to 60 %
(this calms response from your stick inputs). Also you can decrease elevator and ailerons
deflection.
Make sure the battery is well fixed in proper position. If it moves during flight it will cause the
CoG move aft and can lead to uncontrollable flight behavior.
You can then return to the proper center of gravity (balance aircraft). Set expo to
30-50 % ... this will gain back extra maneuverability when you are confident with flying your
airplane.
Spent at leats 10 hours with RC flight simulator before you go out for the first time.
Flite test: RC Planes for beginners (but note: we use primary ailerons for turn, not only rudder)
Never fly aft positioned Center of gravity.
Please, use these files only for your own purpose, do not
send it further. Thank you very much. Enjoy your flight.
page 20
Page 21

... print your plane | www.3DLabPrint.com
Shopping list
Printing material: 1kg of PLA
RC: 5 chanell receiver by your RC system
Motor: Turnigy 3542/5 1250KV or similar
Controller: 40A Electronic Speed Controller
Battery: 3S Li-Pol 2700 - 3300mAh
Servos: 4x Hitec HS-82 or similar, size: 30 x 30 x 12mm servos
2x servo extension cables 300mm / 12 inch
Glue: CA Glue - medium or similar medium viscosity CA glue
Activator for CA Glue or similar,
Other: 1 mm / 14 AWG pushrod wire or carbon rod
2 mm carbon rod (small piece for tail wheel axis)
fitting screws
page 21
 Loading...