

Page 1
... print your plane | www.3DLabPrint.com
User Guide
rev. 2020/02
Fully 3d printable
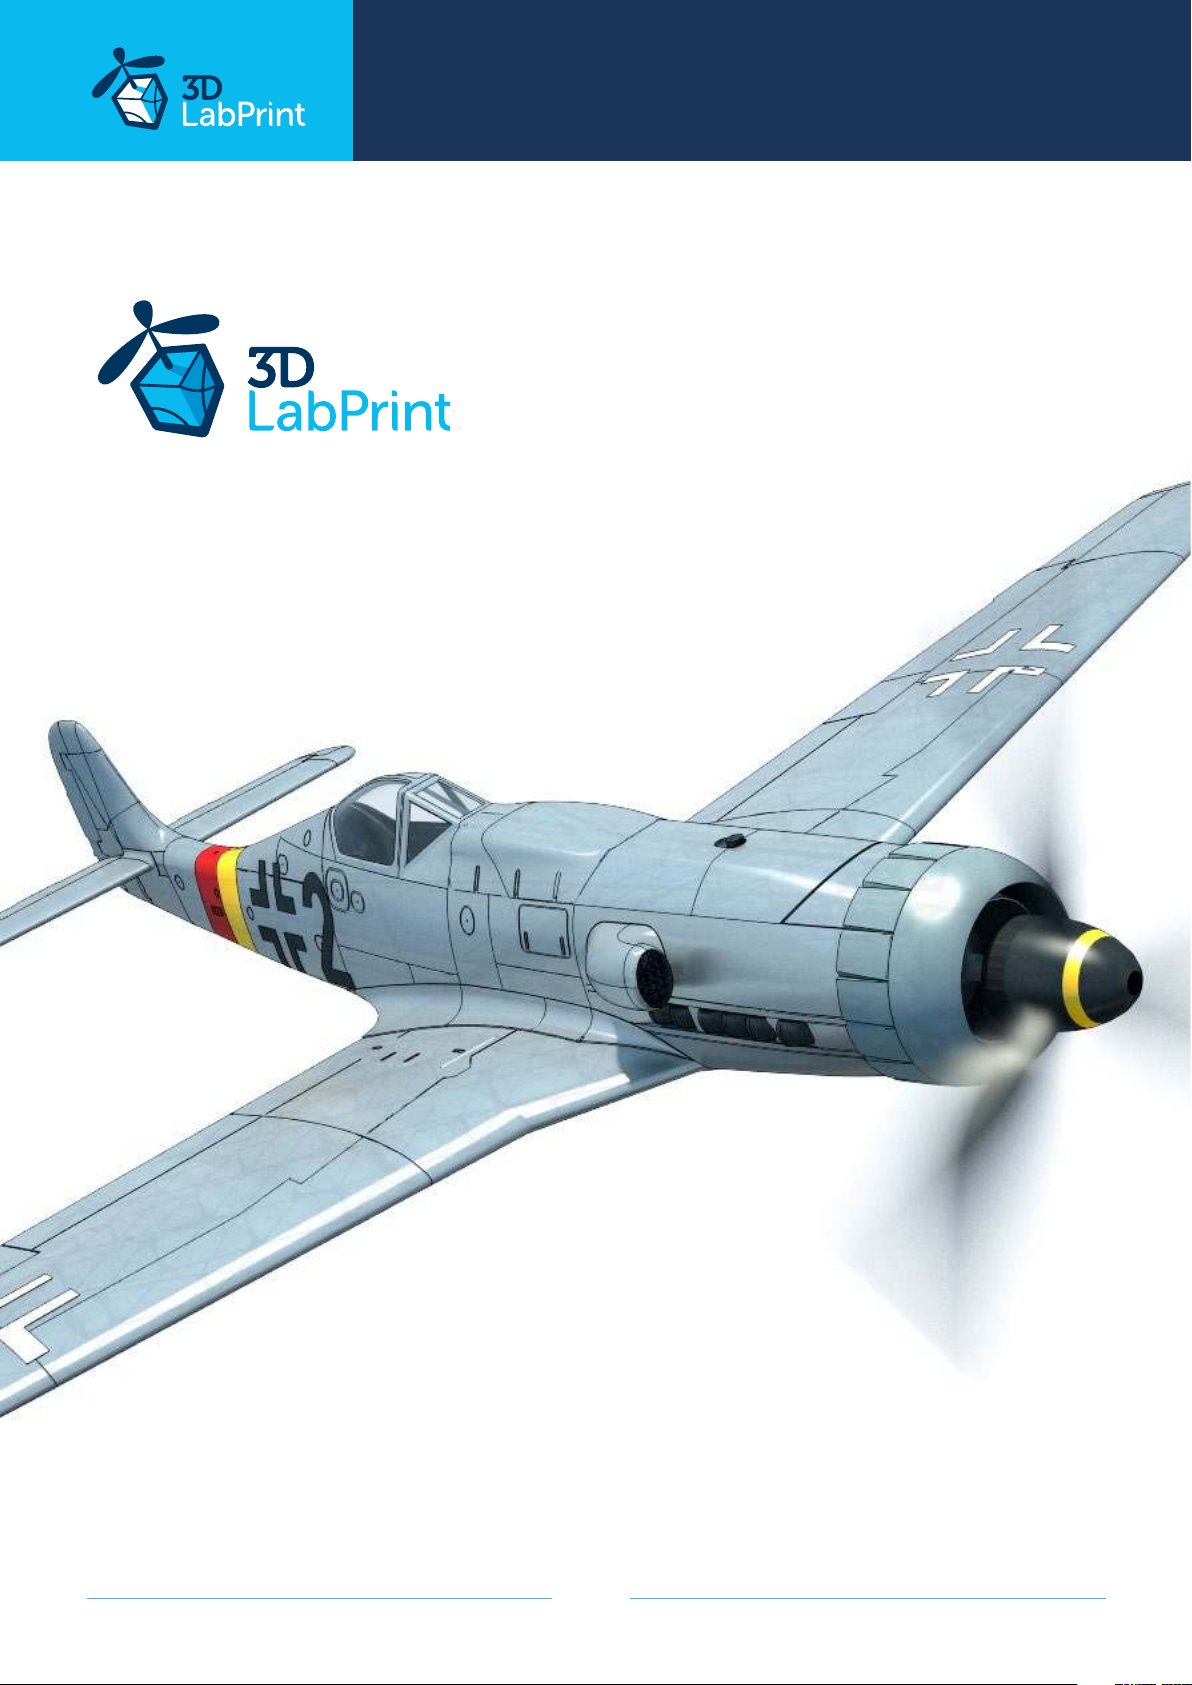
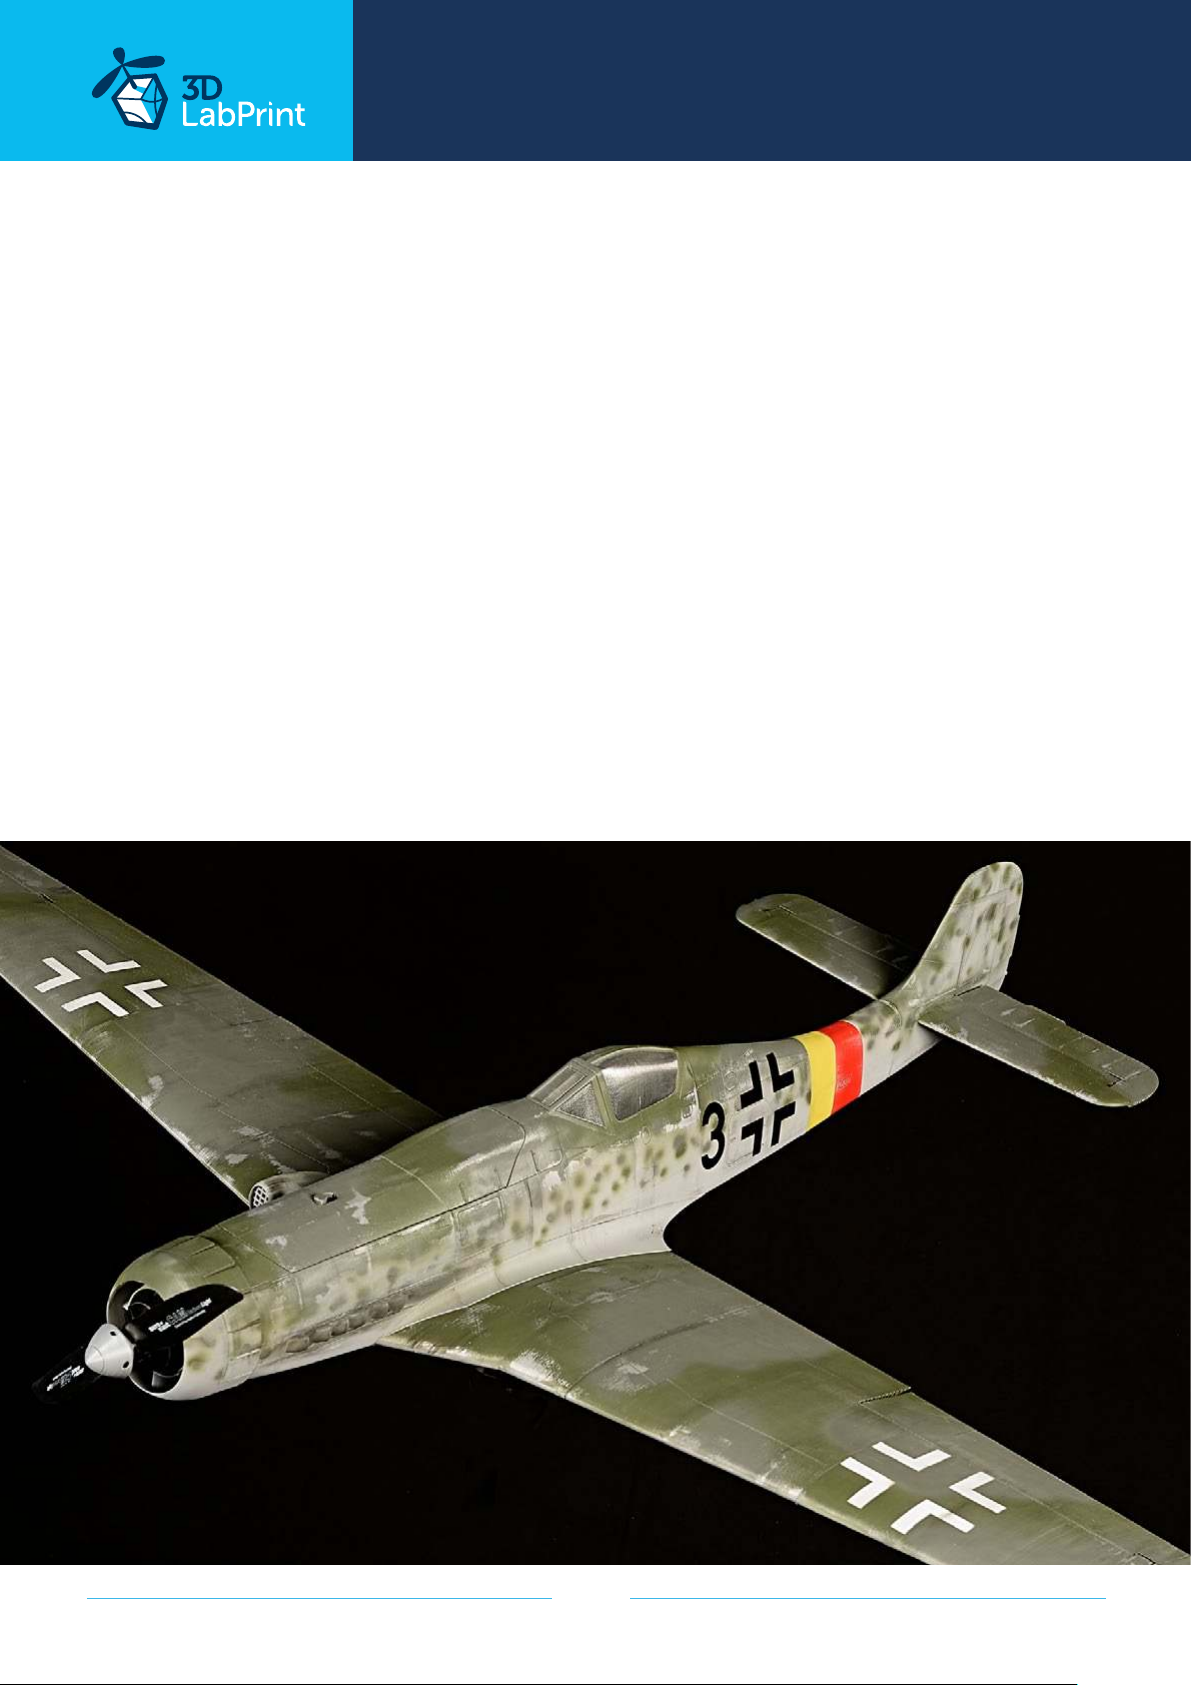
Focke-Wulf Ta 152 H
scale 1:12, wingspan 1236 mm / 48.2 inch
page 1
Page 2
... print your plane | www.3DLabPrint.com
Focke-Wulf Ta 152 H
– fully printable R/C plane for your desktop 3Dprinter
Future of flying - Print your own plane.
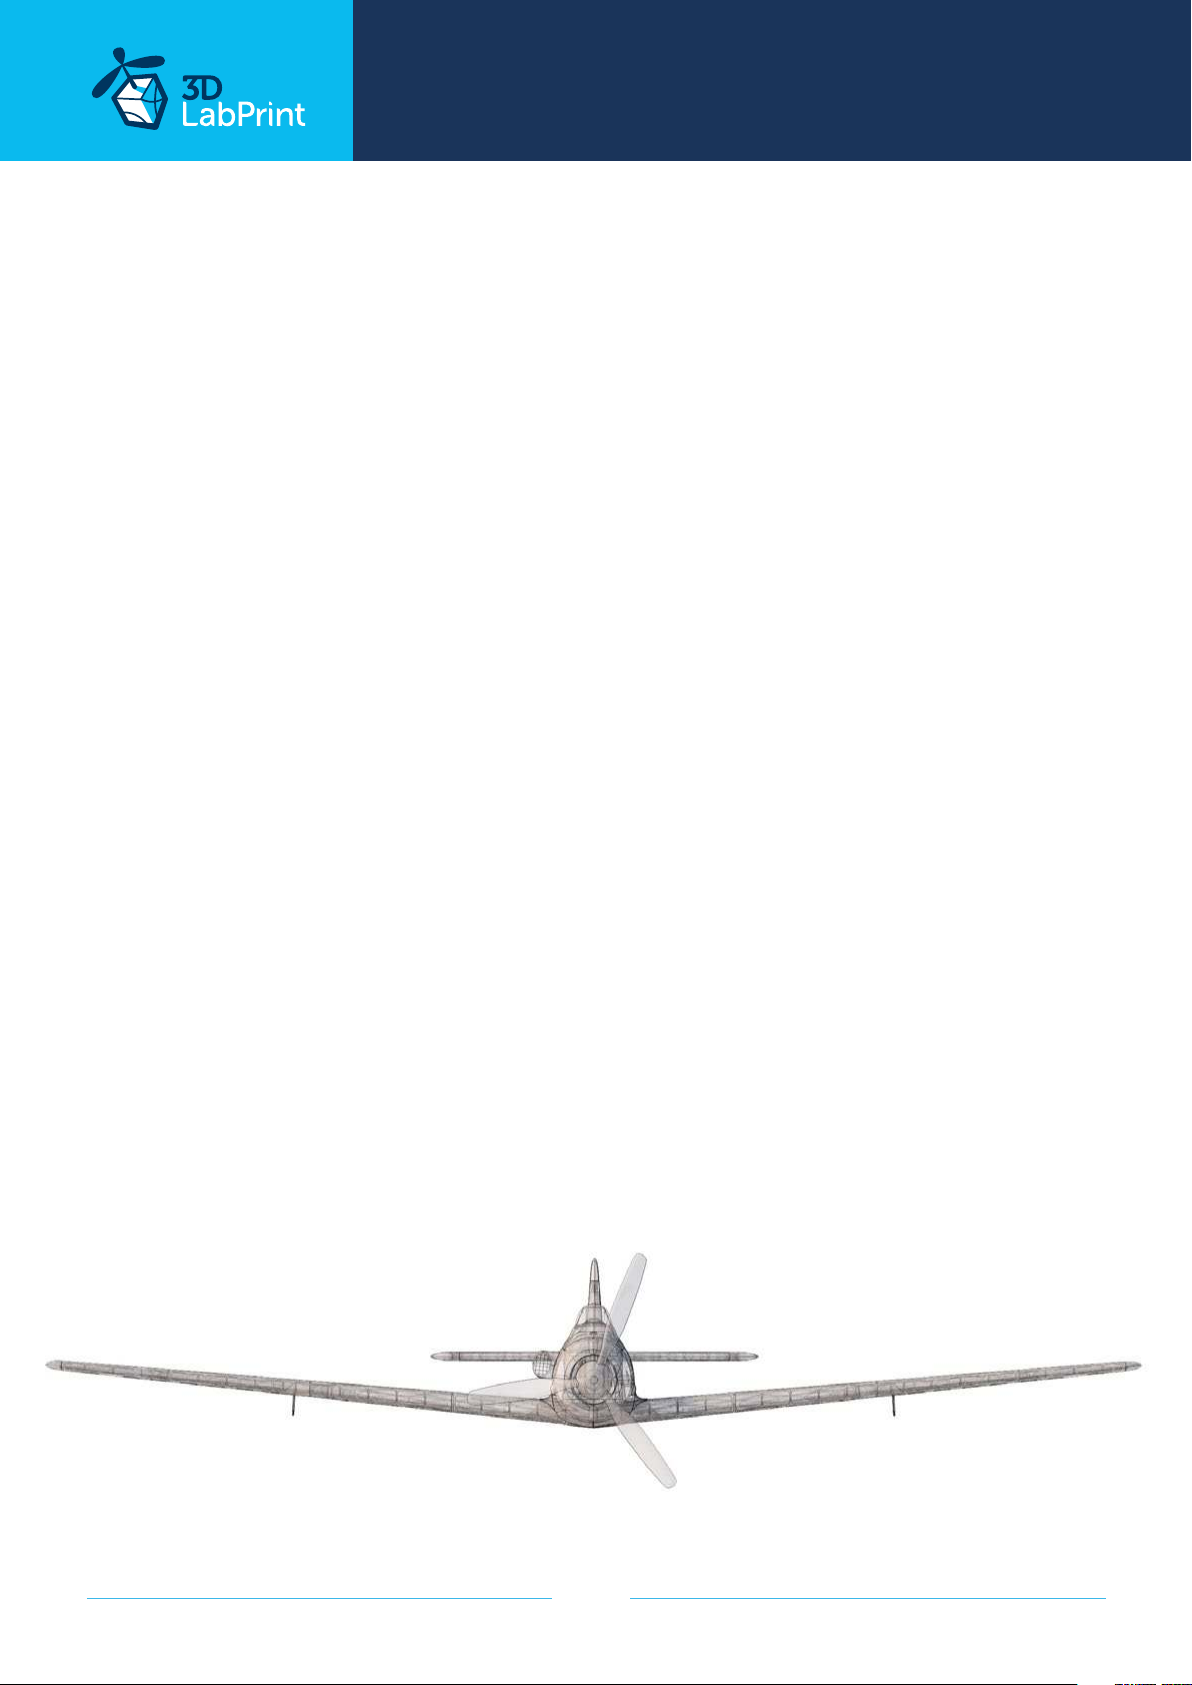
Fully 3D printable RC model of the “Höhenjäger” german attack plane, specially designed to
meet ACES aircombat requirements, but also as a cheap and easy to build RC model for everyday flying. Many scale details such as armament, airframe plating or exhausts encourages to create realistic paint jobs. Huge wing area results in nice stall characteristics and easy
landings. Get ready for battle with this great performing flying legend!
The first fully printable airplanes with files prepared for your 3Dprinter, with
flight characteristics, comparable or even supperior to classic build model airplane.
This is not a dream, now you can print this HI-TECH at home. Simply download and print
the whole plane or spare parts anytime you need just for a cost of filament only about $18
Extensive hi-tech 3d structural reinforcement making the model very
rigid while maintaining a lightweight airframe and exact airfoil even it’s just a plastic. This
perfect and exact 3d structure is possible only thanks to additive 3dprinting technology. So
welcome to the 21st century of model flying and be the first at your airfield.
Easy to assembly, you don’t need any extra tools or hardware, just glue printed
parts together and make pushrods for control surfaces. The rest of the assembly is very
easy. Simply add brushless motor, ESC, servos and radio system. Don’t worry, detailed step
by step PDF/VIDEO is included.
You’ll get a superb performing airplane with highly ecient powerplant capable of flying 7+
minutes at full throtle and speeds exceeding 110 kph (HP setup). Low stall speed is achieved
for easy landing on the other hand.
page 2
Page 3
... print your plane | www.3DLabPrint.com
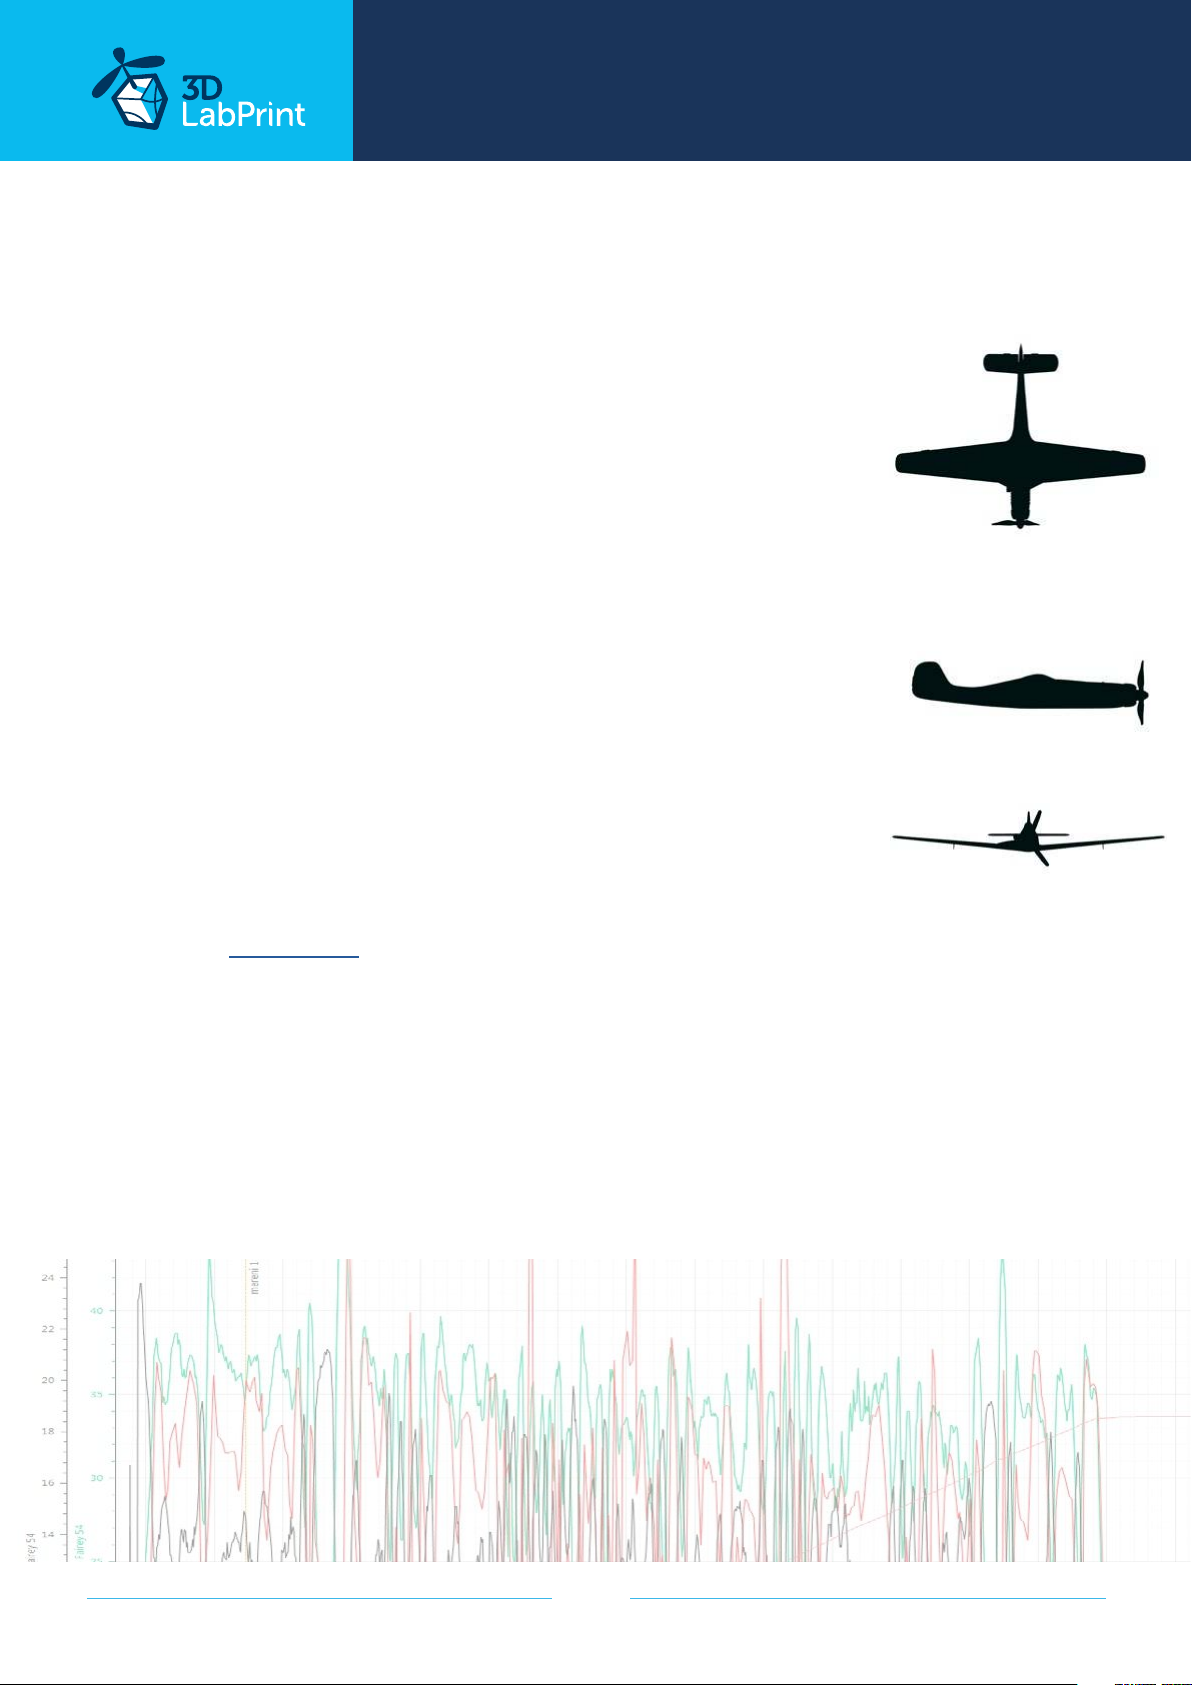
General specifications (HP setup):
Wingspan: 1236 mm / 48.2 inch
Lenght: 870 mm / 33.9 inch
Height: 178 mm / 6.95 inch
Wing area: 21,4 dm2 / 2.28 square foot
Wing loading: 46 g/dm2 / 15.3 oz/square foot
Center of gravity: 60 mm / 2.34 inch
from leading edge
Airfoil: LHK508 modified by 3DLabPrint
Print weight: 624 g / 22.01 oz
Print weight of hybrid version: 490 g / 17.31 oz
Empty weight (w/o battery): 680-890 g / 24-31 oz
Takeo weight (6s 1500 lipo): 810-1190 g / 28-42 oz
Max takeo weight: 1300 g / 46 oz
Never exceed speed, VNE: 150 km/h / 93 mph
Design maneuvering speed, VA: 100 km/h / 62 mph
Stall speed, VS: 30 km/h / 18.6 mph
Recommended setups
Motor: EMAX MT 3510 600KV (for 6S setup)
DYS D4215 650KV (for 6S setup)
AX-4008Q 620KV (for 6S setup, motor is discontinued
- use it from your old planes)
ESC: YEP 40A/6S or similar
Propeller: two blade APC electro 10 x 5,5 or Aeronaut CAM Carbon Light 10 x 6
Battery: Li-Pol 1500-1800mAh 6S1P Battery Pack
printed PET motor mount with alluminium cross mount
More tested setups you can find at page 19.
Performance measurement
Max speed VH (level flight): 105 km/h – 56.7kn – 65.2mph with APC 11x5,5
Rate of climb: 20 m/s (5 373 ft/min) with APC 11x5,5
Flight time (6s 1700mAh/full): 7:30 with APC 10x5,5
page 3
Page 4
... print your plane | www.3DLabPrint.com
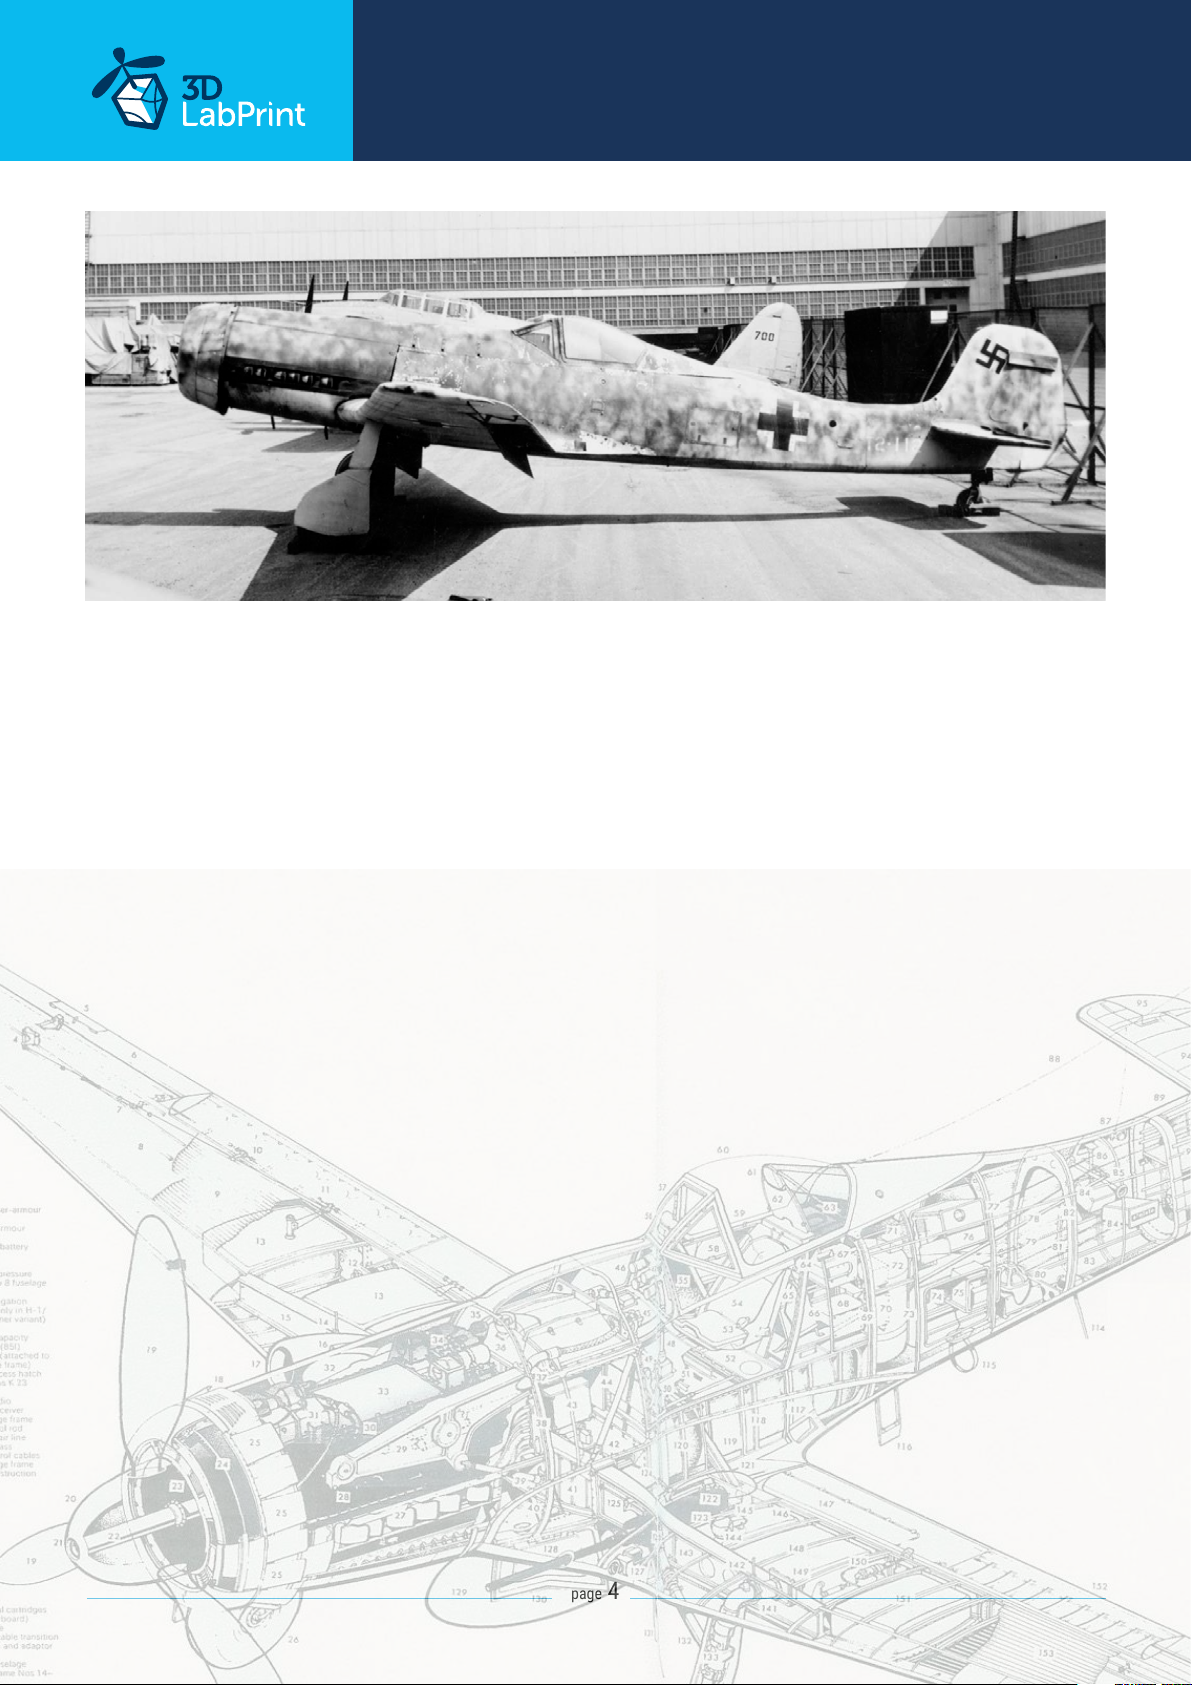
Focke-Wulf Ta 152 H (Höhenjäger), History
The Focke-Wulf Ta 152 was a World War II German high-altitude fighter-interceptor designed
by Kurt Tank and produced by Focke-Wulf.
The Ta 152 was a development of the Focke-Wulf Fw 190 aircraft. It was intended to be
made in at least three versions the Ta 152H Höhenjäger („high-altitude fighter“), the Ta 152C
designed for medium-altitude operations and ground-attack using a Daimler-Benz DB 603
and smaller wings, and the Ta 152E fighter-reconnaissance aircraft with the engine of the H
model and the wing of the C model.
The first Ta 152H entered service with the Luftwae in January 1945. The Ta 152 was produced
too late and in insucient numbers to aect the outcome of the war. Kurt Tank originally
designed the Ta 152 using the Daimler-Benz DB 603 engine as it oered better high-altitude
performance and also a greater developmental potential.
The Ta 152‘s fuselage was an extended version of the Fw 190D-9 fuselage with wider-chord
fixed vertical tail surfaces. Due to the changes in the center of gravity and overall balance, the
nose was also lengthened.
To reach higher altitudes, a pressurized cockpit was added to the H models. The H model had
heavy armament to allow it to deal quickly with enemy aircraft. It had three weapons: one
30 mm (1.18 in) MK 108 Motorkanone cannon centered within the propeller hub and two
20 mm MG 151/20 cannons, synchronized to fire through the propeller, located in the wing
roots.
The Ta 152H-1 was among the fastest piston-engined fighters of the war, with a top speed
comparable to the twin-engined Dornier Do 335. It was capable of 755 kilometres per hour
(469 mph) at 13,500 metres (44,300 ft) using the GM-1 nitrous oxide boost.
Kurt Tank was flying an unarmed Ta 152H in late 1944 to a meeting at the Focke-Wulf plant
in Cottbus when ground controllers warned him of two P-51 Mustangs. The enemy aircraft
appeared behind Tank, but he escaped by applying full power and engaging the MW 50 boost
„until they were no more than two dots on the horizont“
page 4
Page 5
... print your plane | www.3DLabPrint.com
Included:
1. STL 3d files
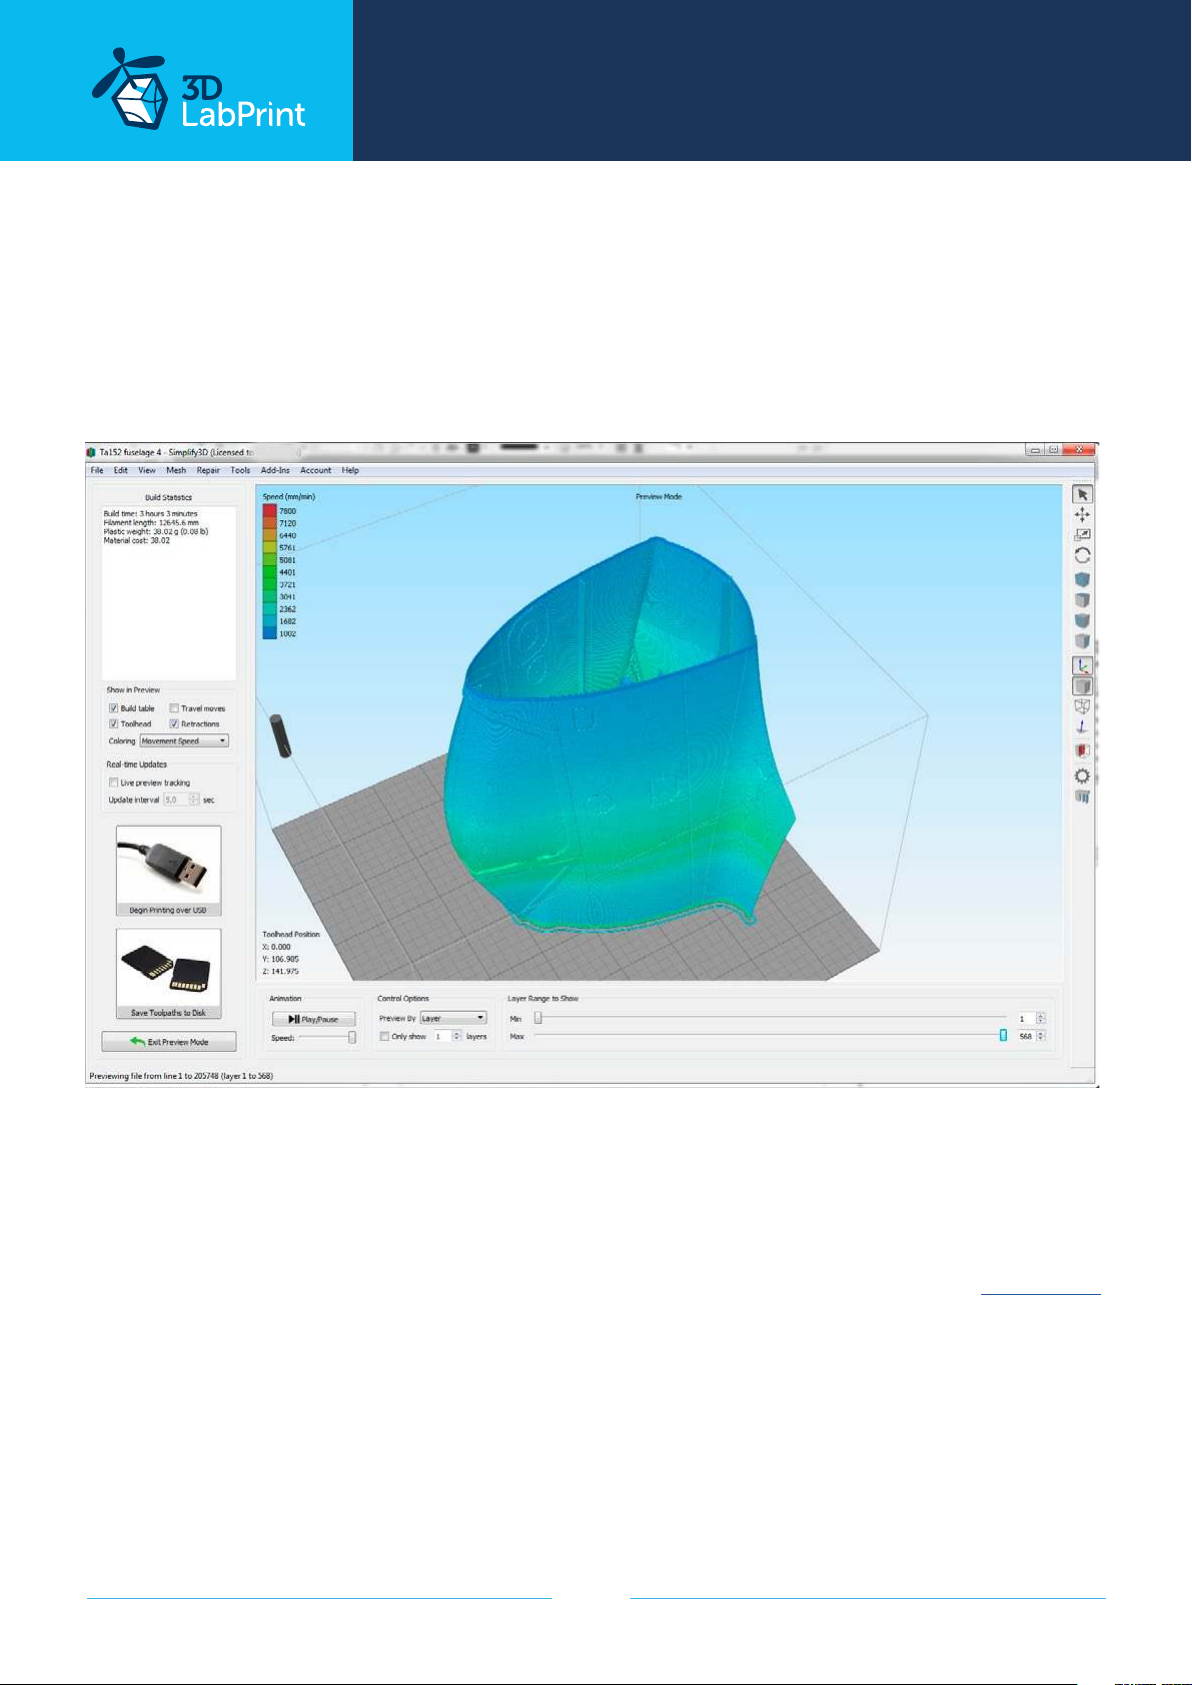
Universal STL files designed to be used with desktop FMD 3d printers and slicer software
as Simplify3D (recommended), CURA or MatterControl (these STLs are not compatible with
Slic3r).
2. Factory files for Simplify3D slicer - preered
contains all the necessary settings to slice the models along with suggested bed layout. We‘re
using PRUSA i3 ORIGINAL printers so you may need to adjust the basic printing parameters
to match your printer or use these files as a start point for you. Please check the Simplify3D
3. Step By Step PDF/VIDEO userguides
Apart from this userguide, please see the Printing Guide to find some Tips and Advice for
airplane printing (Thin Wall Printing).
page 5
Page 6
... print your plane | www.3DLabPrint.com
4. Gcodes
Basic Gcodes prepared for direct use, as universal as possible. Should work on i3 style printers,
Give it a try, but we can‘t guarantee it will work on your printer. You can also easily adjust
the retractions if necessary using our guide. 100% compatible with PRUSA i3 ORIGINAL 3d
printers.
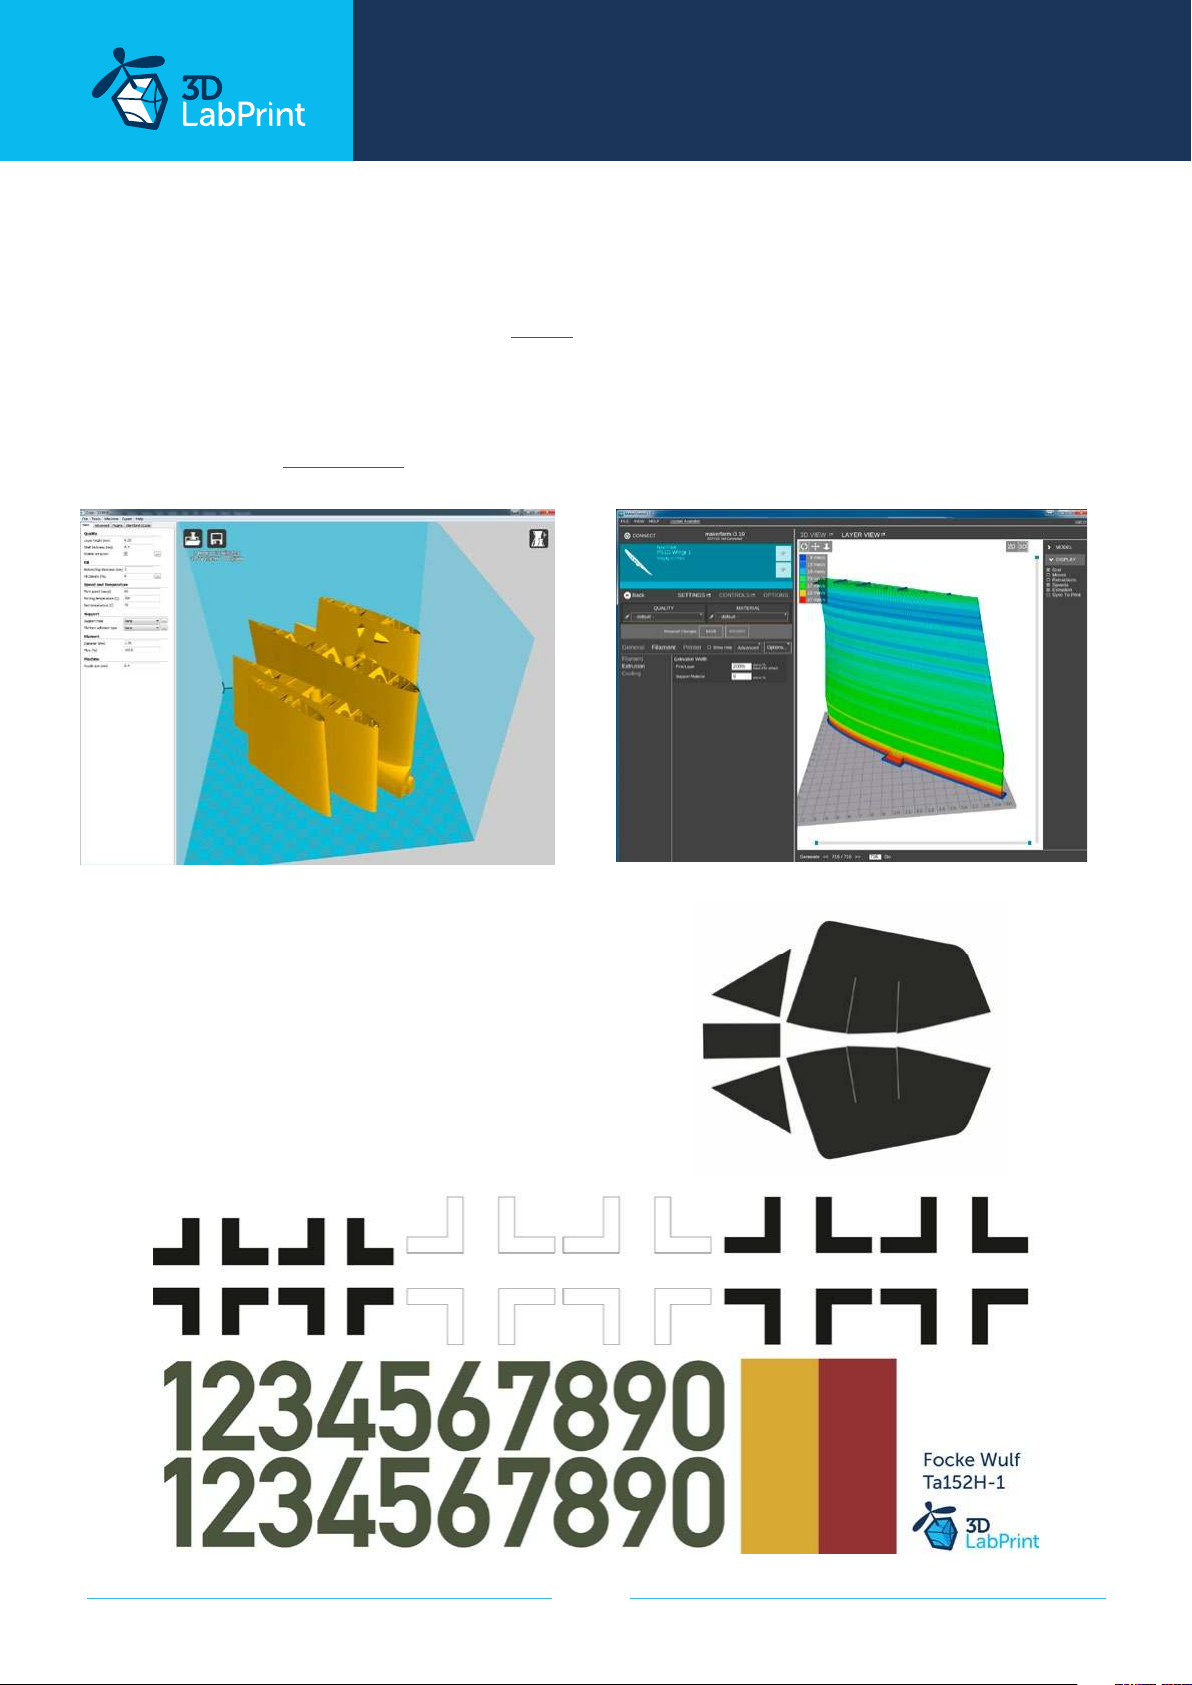
5. Slice on your own with CURA or MatterControl slicers
If you for any reason don‘t like Simplify3D, there is always option to use another free slicer
Please follow our Cura guide in the Help section of the website where you can find the basic
single-wall profile.
6. Scale markings PDF
You could cut this PDF in scale from thin self
adhesive advertisement foil and place it on the
model as needed. You can use cabin pattern
for masking the canopy before painting.
page 6
Page 7
Ta 152 H
... print your plane | www.3DLabPrint.com
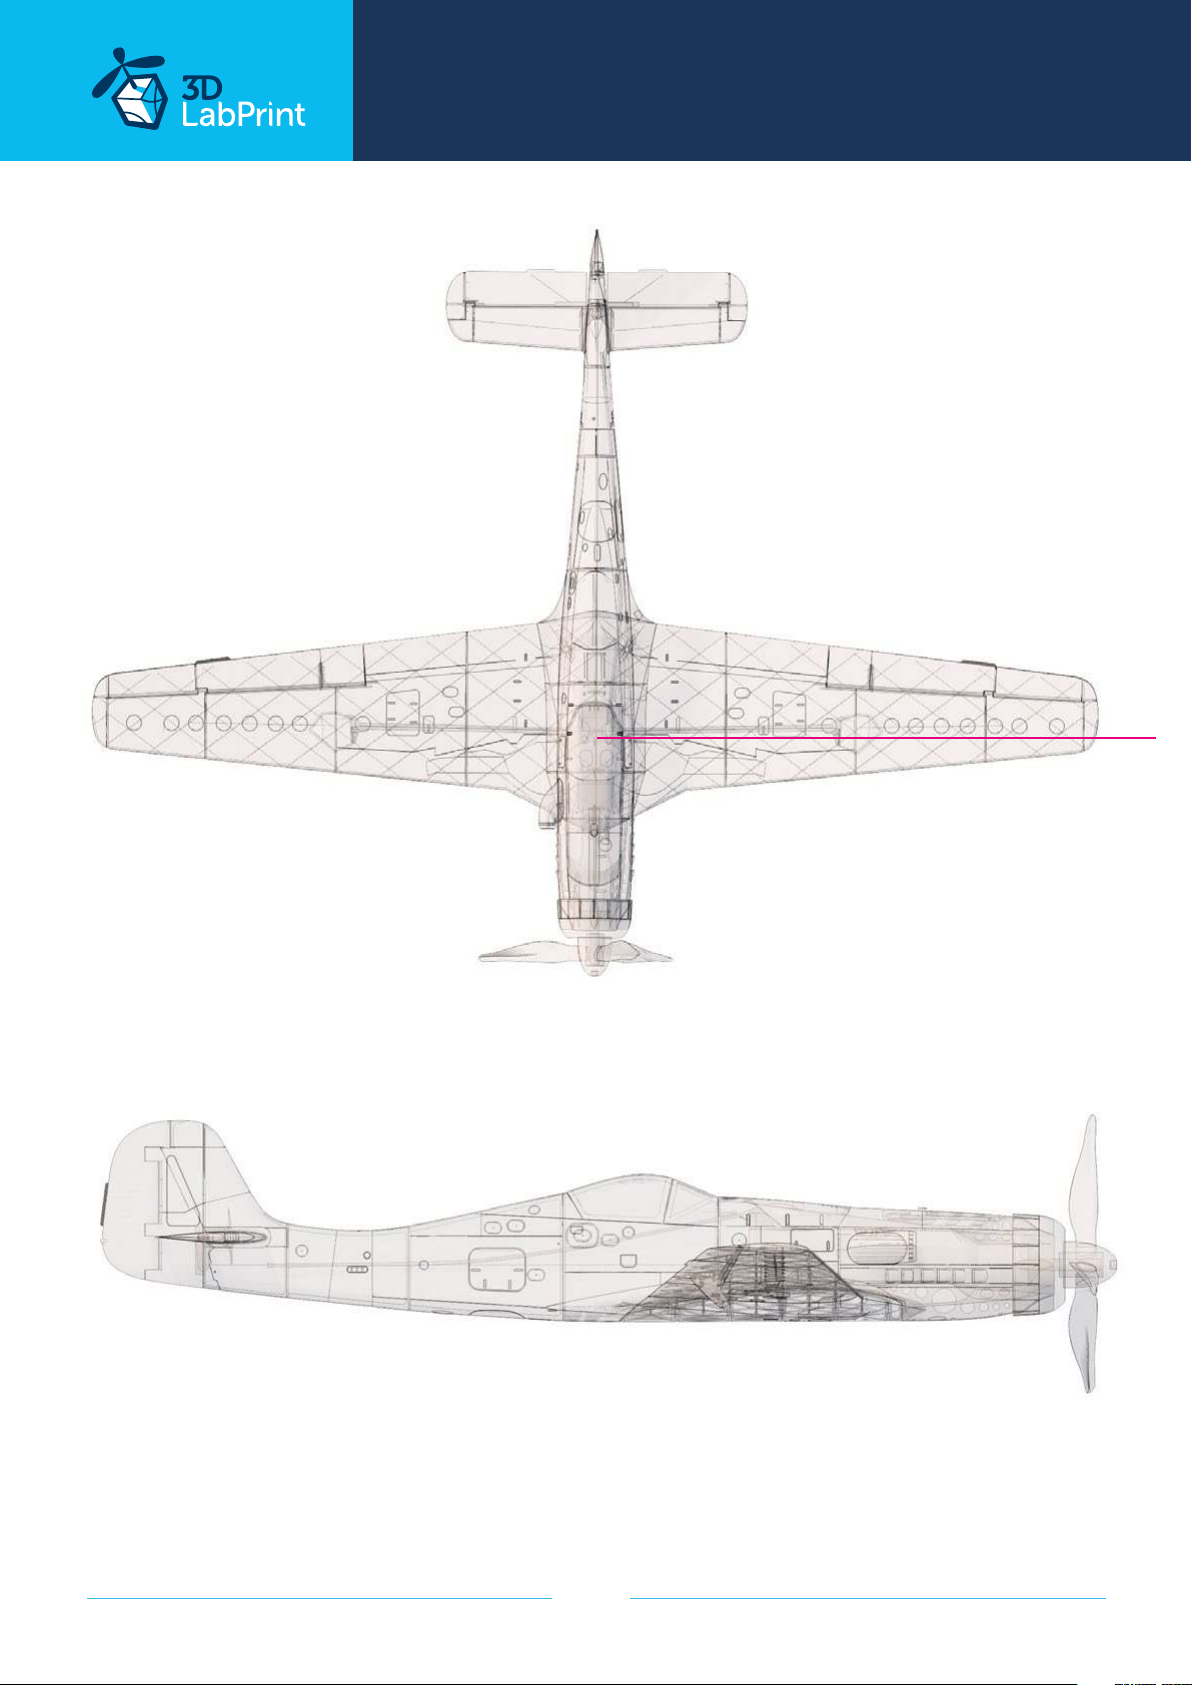
Wing area: 21,4 dm2 / 2.28 square foot
Centre of Gravity
Lenght: 870 mm / 33.9 inch
page 7
Page 8
... print your plane | www.3DLabPrint.com
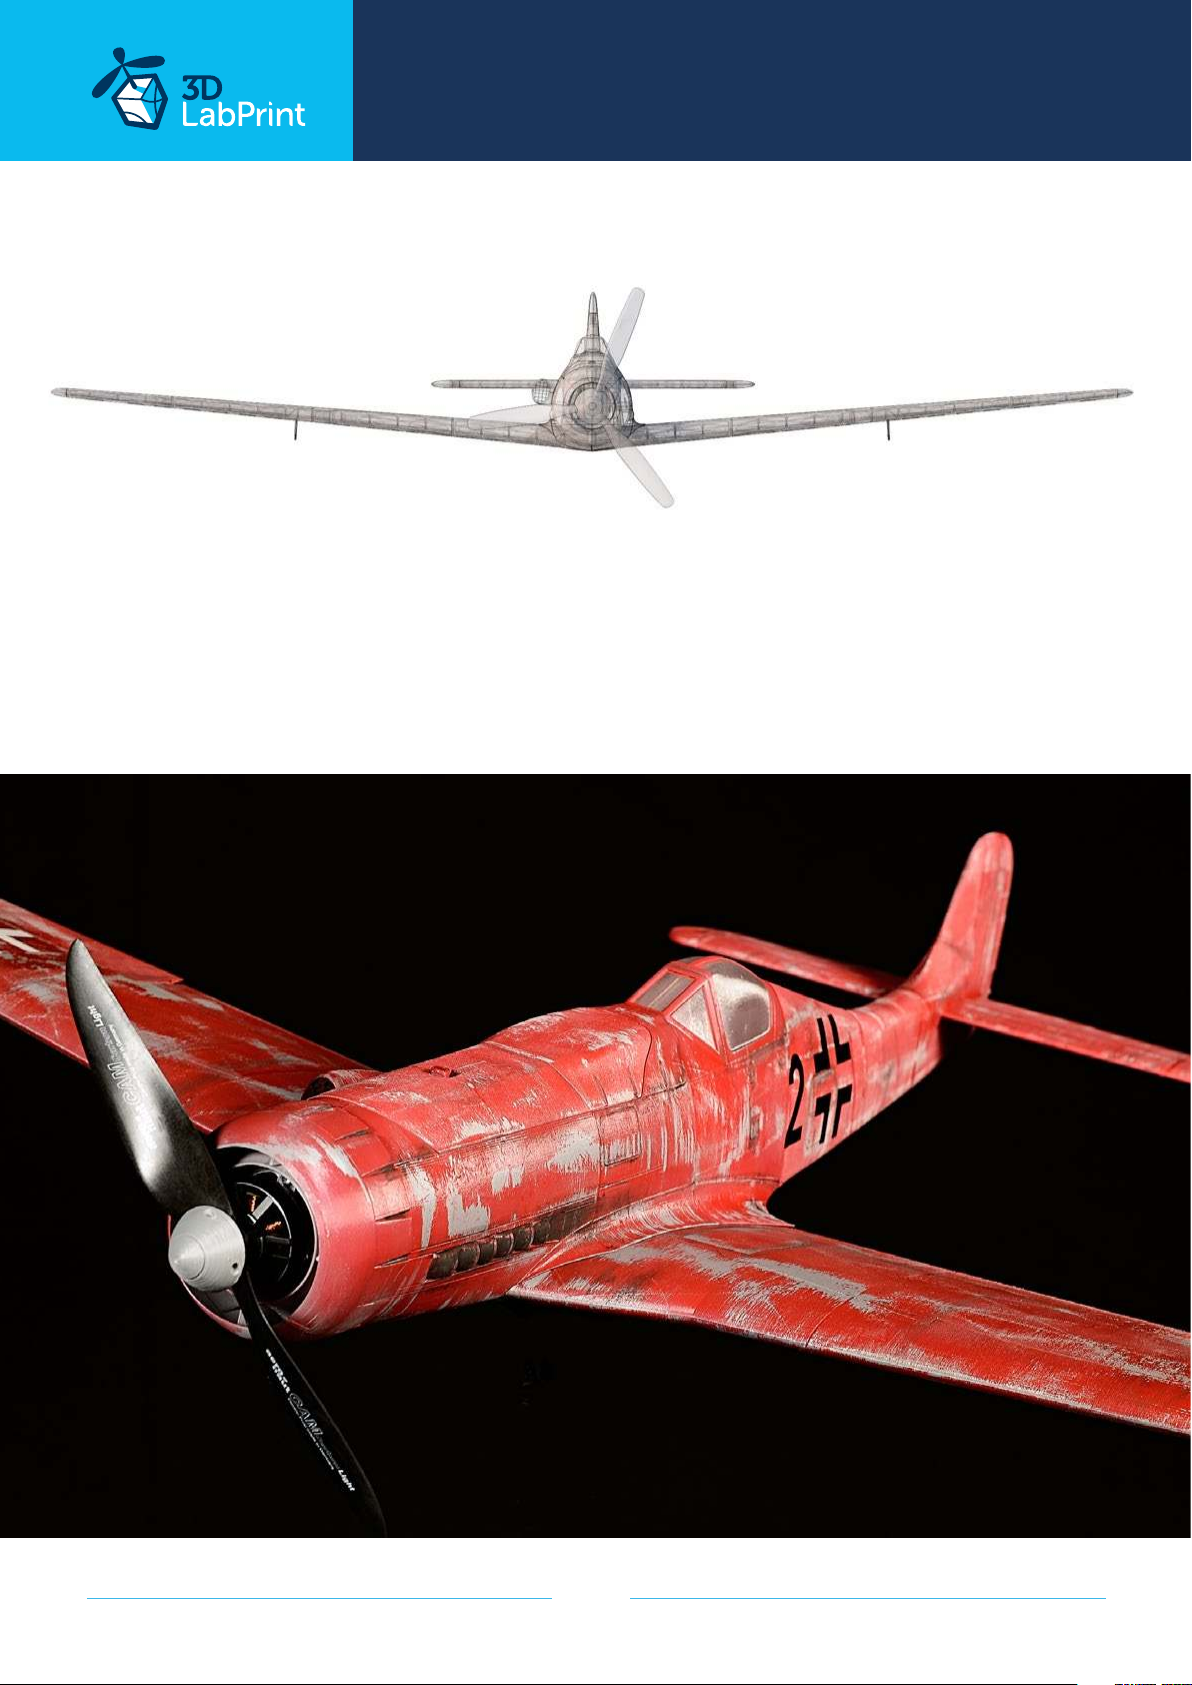
Wing span: 1236 mm / 48.2 inch
page 8
Page 9
... print your plane | www.3DLabPrint.com
Step By Step PDF/VIDEO userguide
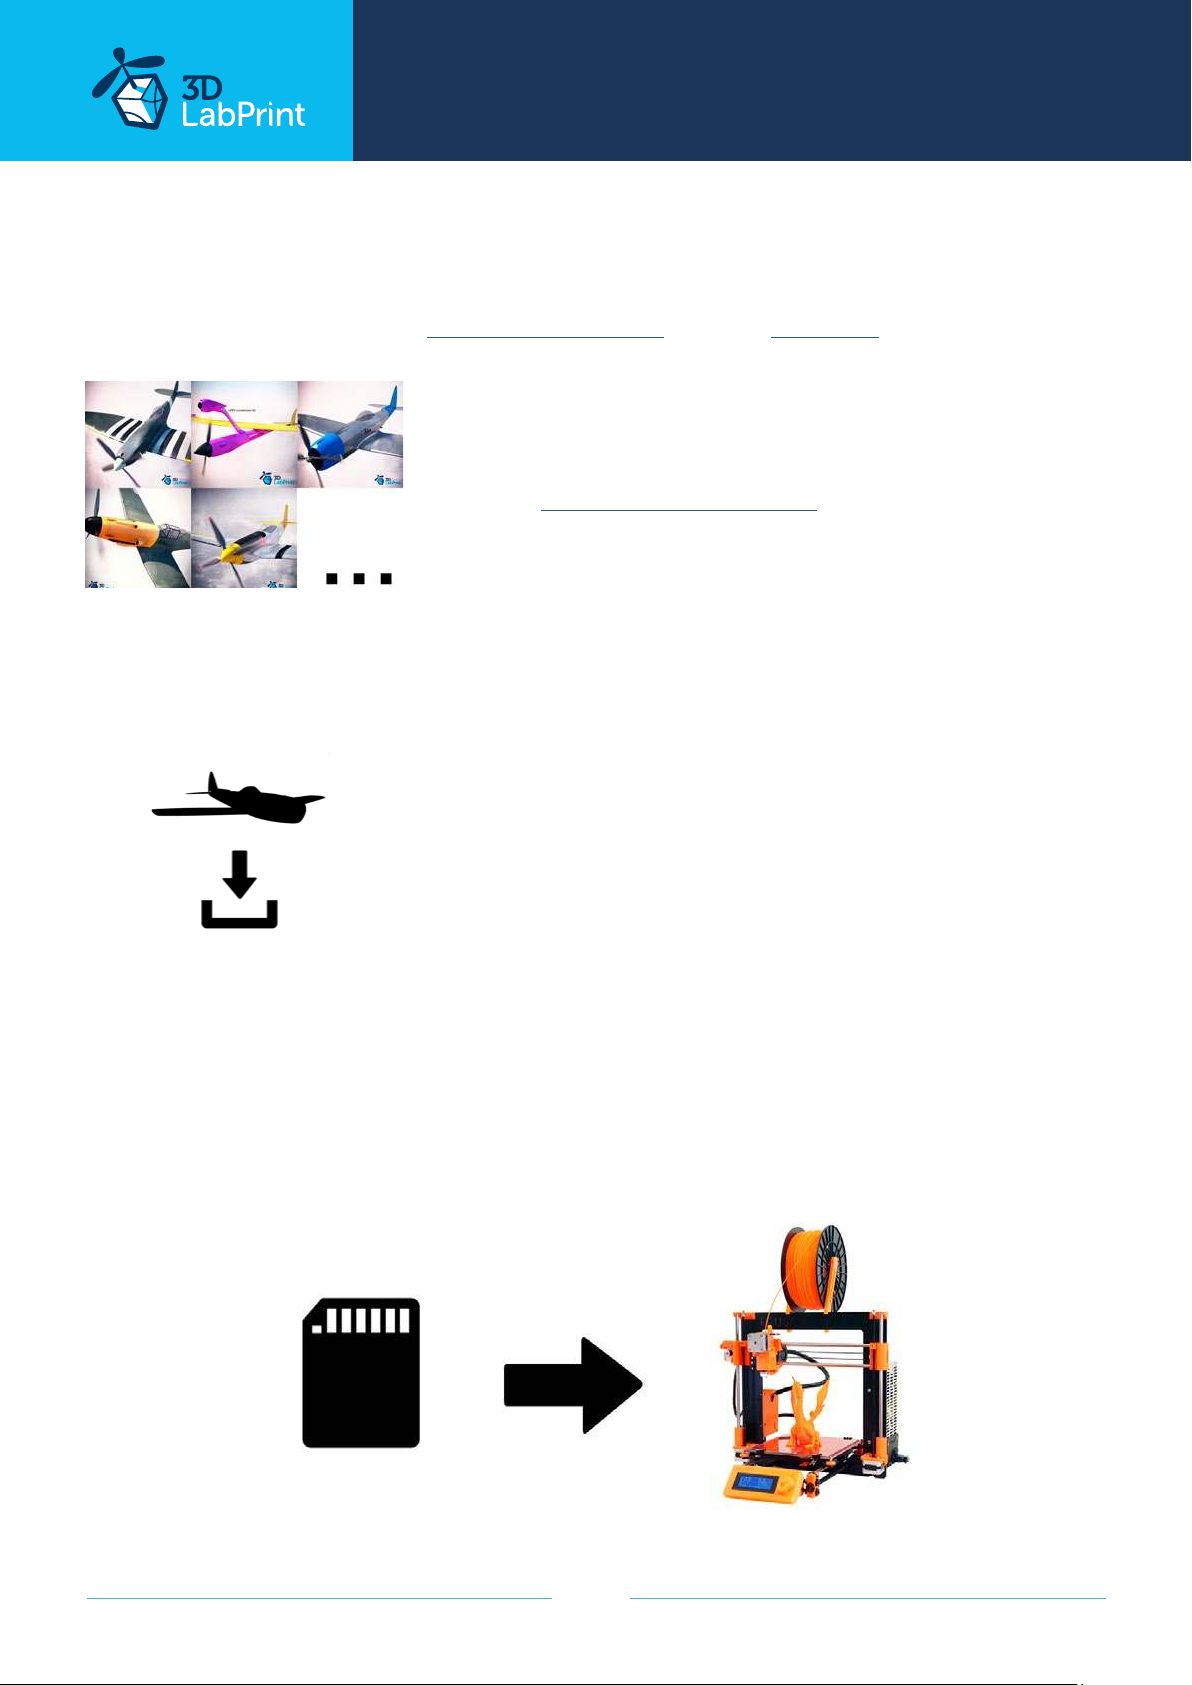
1. Choose airplane at www.3Dlabprint.com, visit our Facebook for latest info.
Basic requirments for Ta 152 H are 195/195/175mm volume,
nozzle 0.4mm recommended (0.35 or 0.5mm alternativelly).
Heated bed recommended.
PLA filament (or PETG, APLA, htPLA, PC-max....) not ABS.
Contact: [email protected]
2. Create account, download
You will receive download link to all the zipped files to your email (please check your spam
folder if not) or you can log in to your account and download directly from our websites.
3. Gcodes preparing
option A Gcodes:
if your printer is i3 comptatible you can use prepared gcodes directly. Just save them to the
SD card and let the 3d printer do it‘s job. HE temperature is set to 230°C so the layers fuse
together well, you can adjust speed and temperature only through your printer‘s LCD. If these
Gcodes does not work for you, please proceed to the next options.
page 9
Page 10
... print your plane | www.3DLabPrint.com
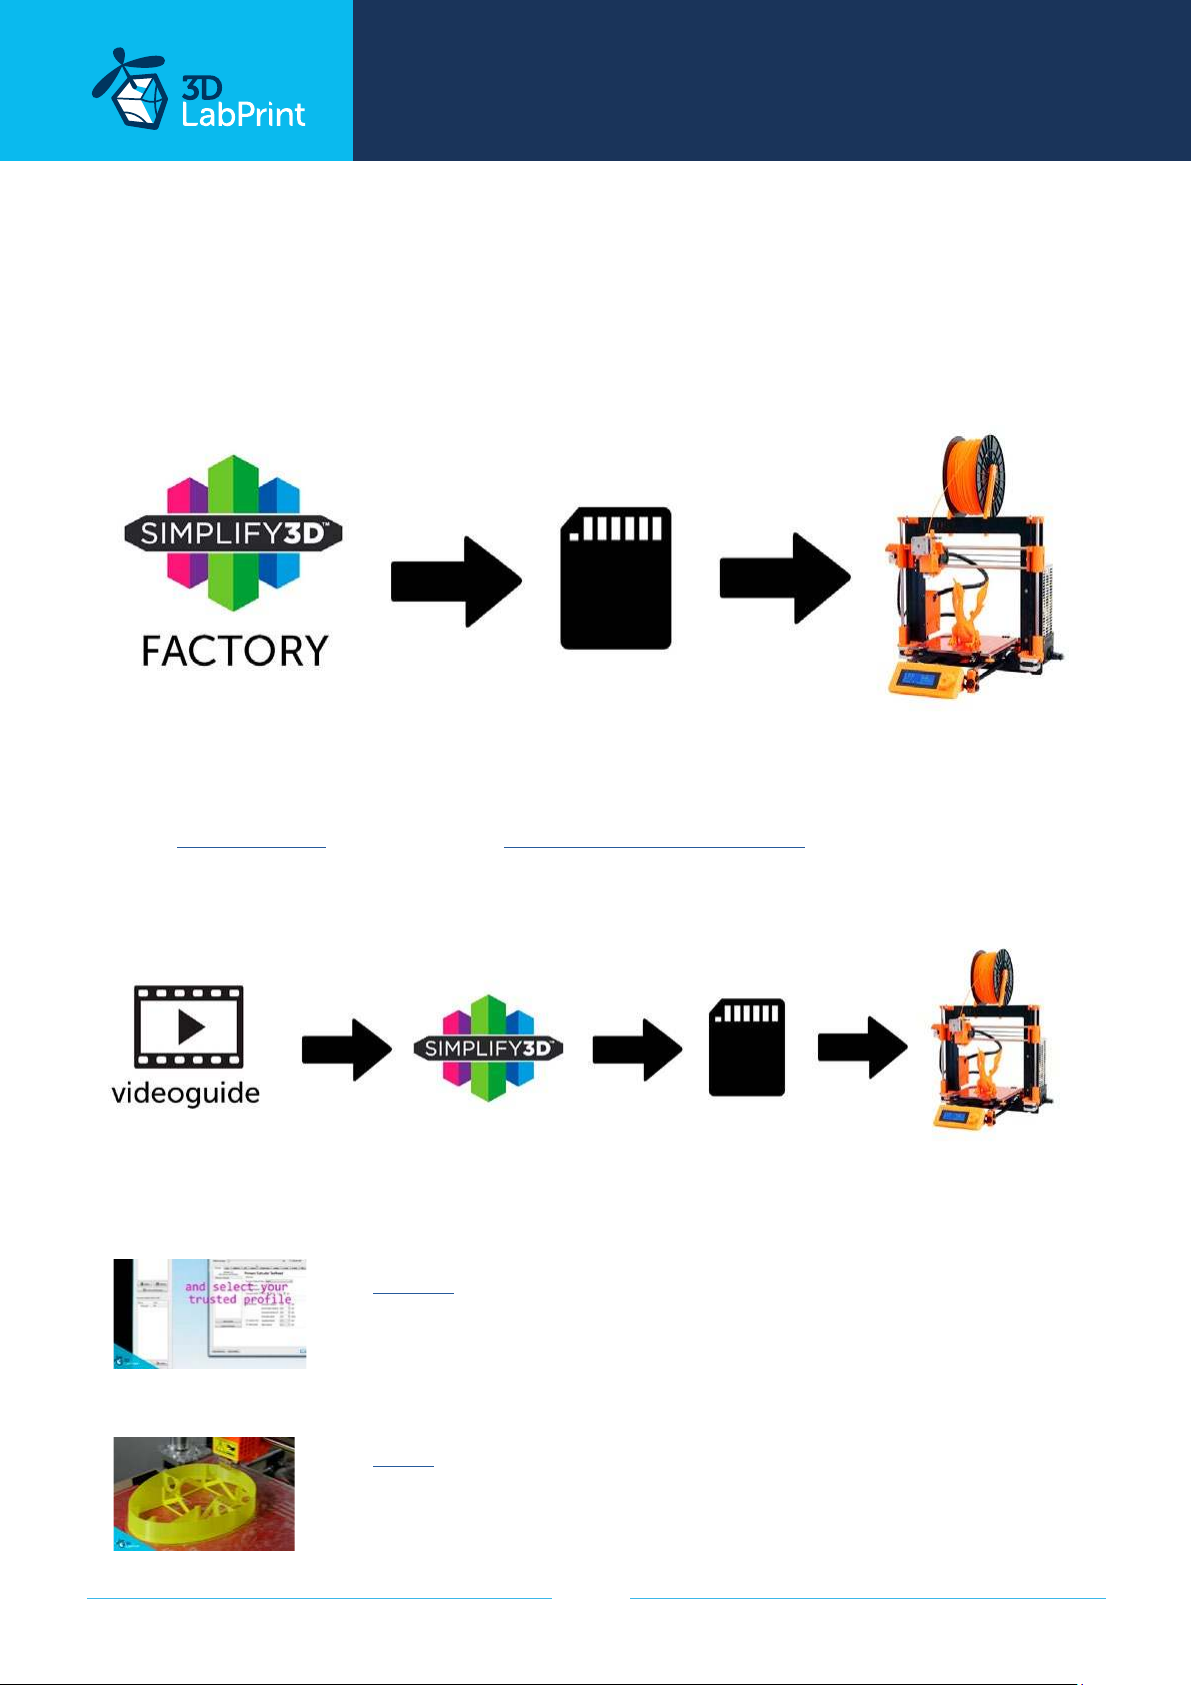
option B Factory files Simplify3D (recommended):
We prepared all you need in these files (FFF process settings, parts layout on bed, etc...)
You can use these settings as a start point. Adjust according to your need (adapt for your
printer), print single parts and so on... Most 3d printers should work just with these settings,
but please go through the settings and amend if necessary, we are not liable for any damage
resulting from using our settings. If this still does not work for you, please proceed to the
next option.
option C Simplify3D manual setting (watch and learn):
Use our video guide 2 and check our Simplify3D reference guide for proper setting... this is
very good option and you will learn a lot about Simplify3D and become an 3d printing expert. Of course you spend a lot of time and youtube pause button will become your friend.
AND... please watch our VideoGuides:
video 2 Simplify3D setting
video about Thin Wall Printing
page 10
Page 11
... print your plane | www.3DLabPrint.com
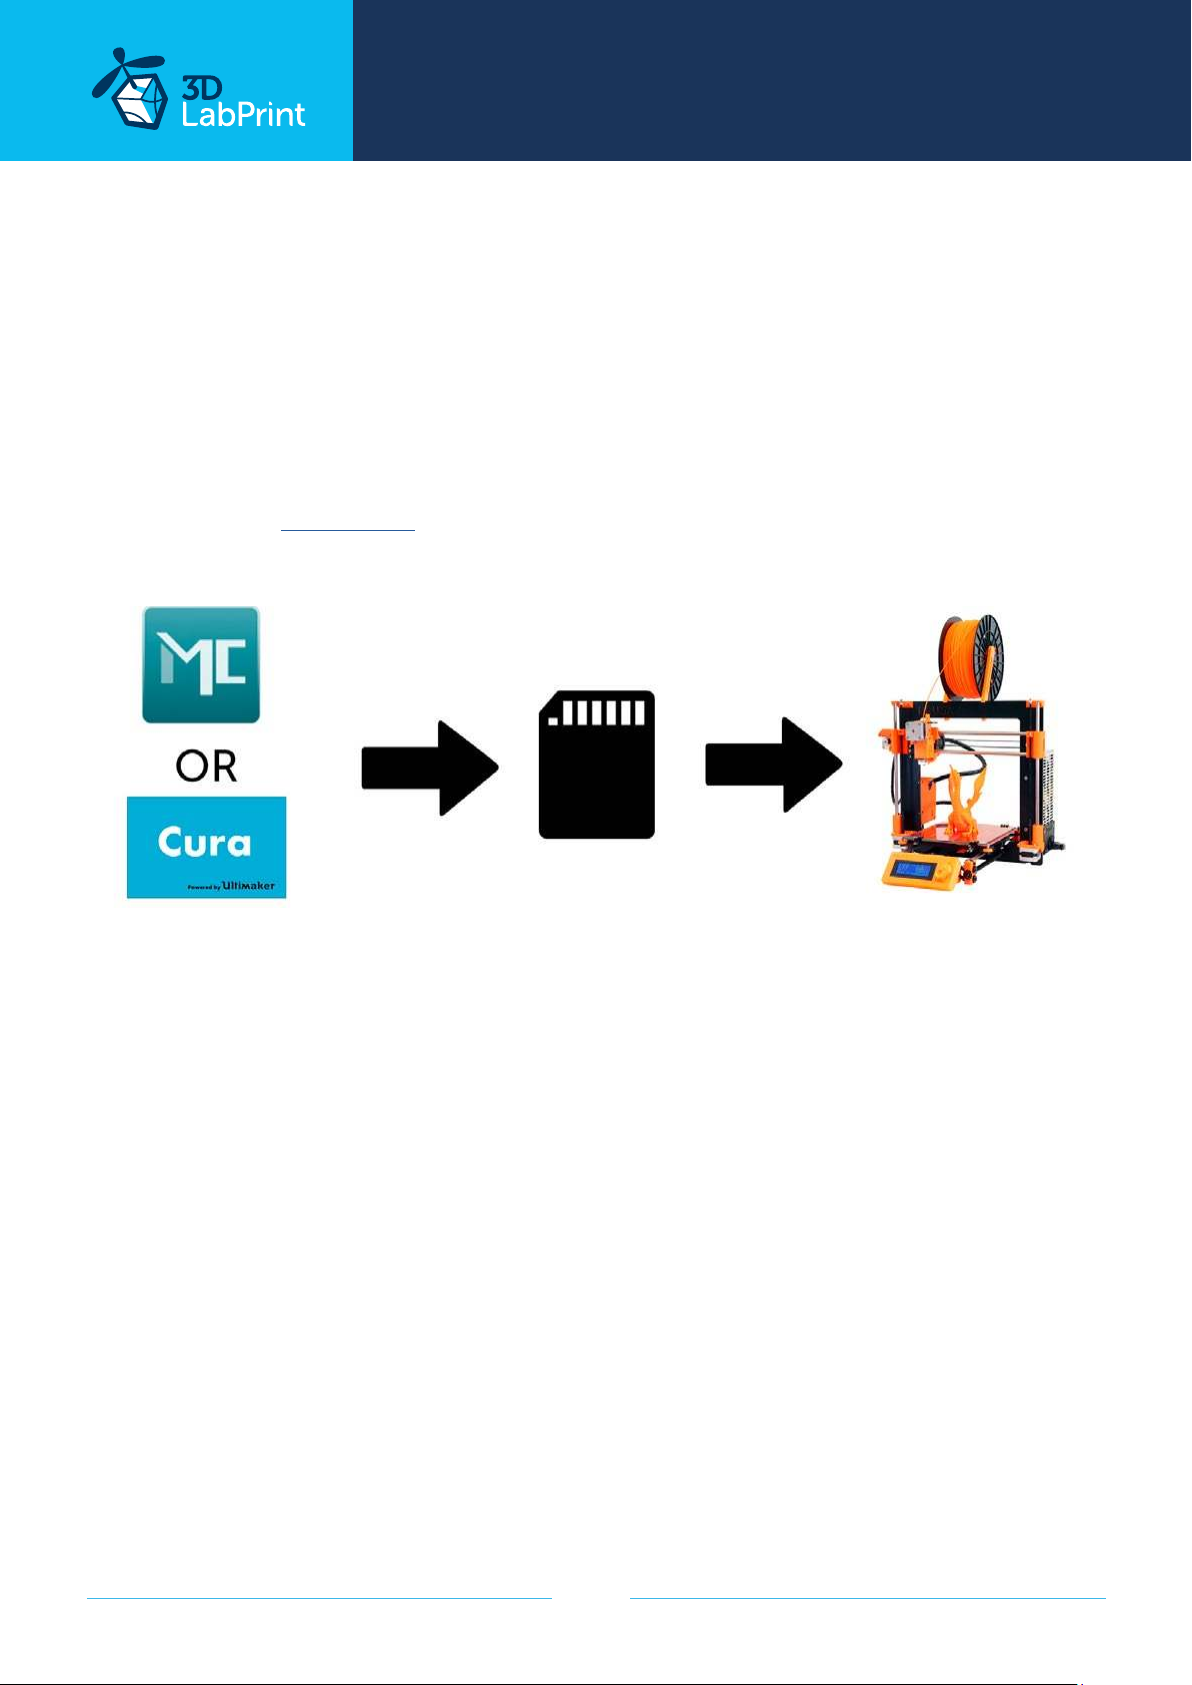
option D CURA or MatterControl
MatterControl and CURA are free and provide satisfactory results. The airframe is still strong
enough, but don‘t expect the best quality. Both slicers lacks some very useful features, and
finer settings, like multiple processes according to Z height, retraction options, layer start,
etc.
Please try to find the best extrusion multiplier and temperature for good weight and best
possible layer bonding. Look at parts weight list for proper multiplier settings.
As a starting point you can use our predefined CURA or MC slicer setting file - see below
(always adapt it for your printer, change build volume, filament diameter, etc...
according to your printer!!!)
Please check our CURA guide on the website for the latest basic profile. Please visualise our
presliced gcodes to see how the result should look like and try to achieve the same in your
slicer.
Please watch our VideoGuides...
page 11
Page 12
... print your plane | www.3DLabPrint.com
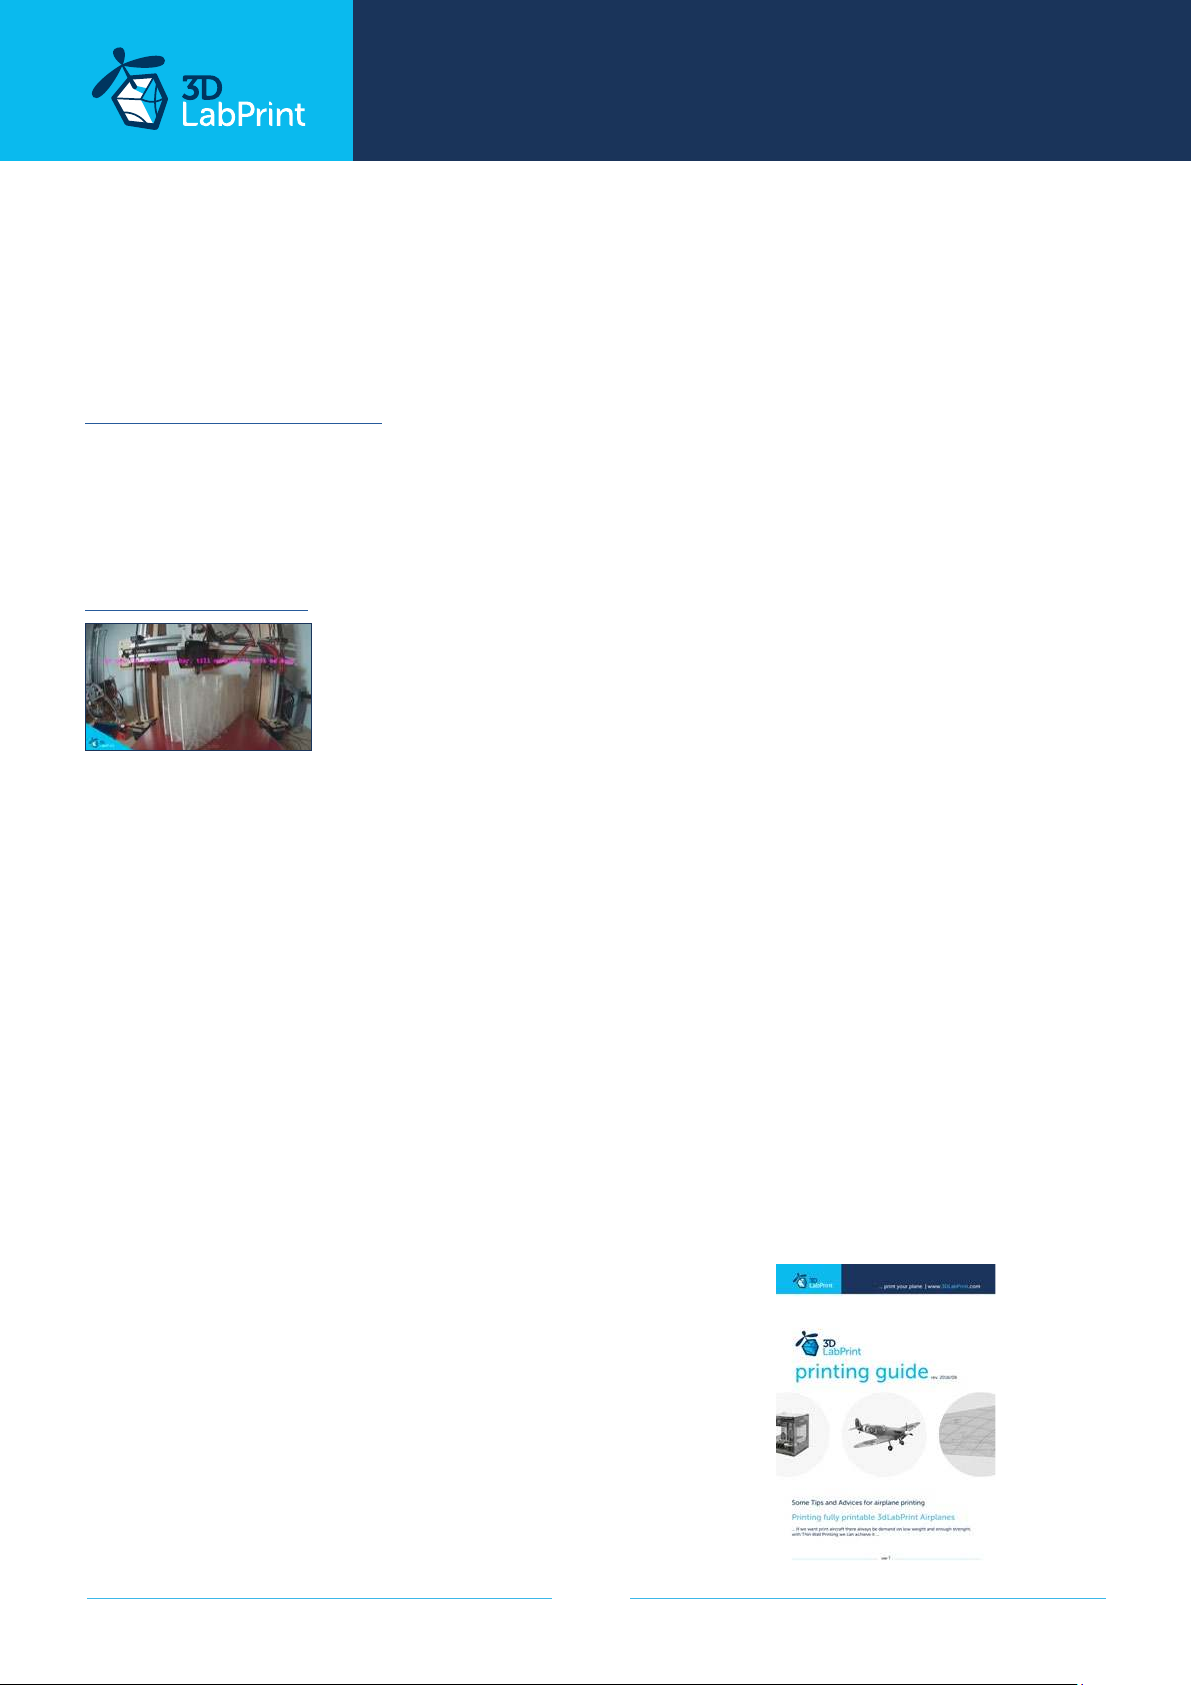
4. Print it
Save the Gcodes to the SD card and insert into your printer. Prepare your printer and start
printing, we prefer to use SD card rather than direct USB connection. Note: ABS filament is
not suitable for thin wall printing. Scaling the model will lead to unusable result!
Video guide about printing
you will need: PLA filament - good quality and strong PLA (we need strong layer bonding)
3DLac, Strong hair spray, or your favorite adhesive bed surface
Razor blade
AND... please watch our VideoGuides:
video printing guide
Basic Tips and Advice
Please Experiment with your extrusion multiplier.
Also HotEnd temperature is very important for strong result, please try increasing the
temperature to find the best value (200° up to 260° celsius).
Turn OFF cooling fan for better layer adhesion (HE fan should be ON). We dont need it for thin
wall printing. We tried many dierent materials and despite it‘s lower thermal resistance the
PLA is still our best choice.
Feel free to experiment with PETG, PC-max by Polymaker looks promissing.
Heated bed is very recommended, 60-70° Celsius (to prevent warping ends).
Looks like any standard quality PLA is good for our planes, but the combination of PLA vs.
Extruder vs. HotEnd is what matters the most.
We find some filament colors could have lower layer adhesion and lighter colors doesn‘t heat
so much on the direct sunlight.
Many 3dprinters are on todays market, most of them are capable of printing our airplanes
(specific thin wall printing...) suficient volume, heated bed, 0.4mm nozzle.
Please see the Printing Guide (FAQ):
page 12
Page 13
... print your plane | www.3DLabPrint.com
Print it lighter!
You could make your plane lighter than usuall.
There is a new foaming filament LW-PLA by
ColorFabb. We were testing it a half year
and We can recommend it for all nonstress
parts. The LW-PLA filament using an active
foaming technology to achieve lightweight,
low density PLA parts. At around 230°C this
material will start foaming, increasing its
volume by nearly 3 times.
We can recommend you our hybrid version
with some parts from LW-PLA. Ofcourse
Ta 152 H can be printed whole from normal
PLA but you can improve your skill and plane
by new material.
3DLabPrint Ta 152 H
weights of printed parts
fuselage PLA LW-PLA
F1 11 g 5,5 g
F2 49,6 g 25 g
F3 32 g 16 g
F4 39 g 20 g
F5 25 g 12,4 g
F6 14,6 g 7,3 g
F7 13,5 g 6,8 g
fuselage cover 21 g 10,4 g
fuselage cover
arm
fuselage cowl 10 g 5 g
wing
W1 (pair) 114 g 57 g
2,8 g 1,4 g
W2 (pair) 84 g 42 g
W3 (pair) 49 g 24,5 g
W4 (pair) 28 g 14 g
W5 (pair) 4 g 2 g
aileron (pair) 46 g 23 g
servo cover 2x 3 g 1,7 g
tail
stabiliser (pair) 22 g 11 g
elevator (pair) 22,8 g 11,4 g
elevator arm 2,7 g
rudder 14,6 g 7,3 g
accessories
engine
compressor inlet
motor mount 12,4 g --- g
standard version 624,2 g
hybrid version 490,9 g
super light version (theoretical) 320,4 g
3,2 g 1,6 g
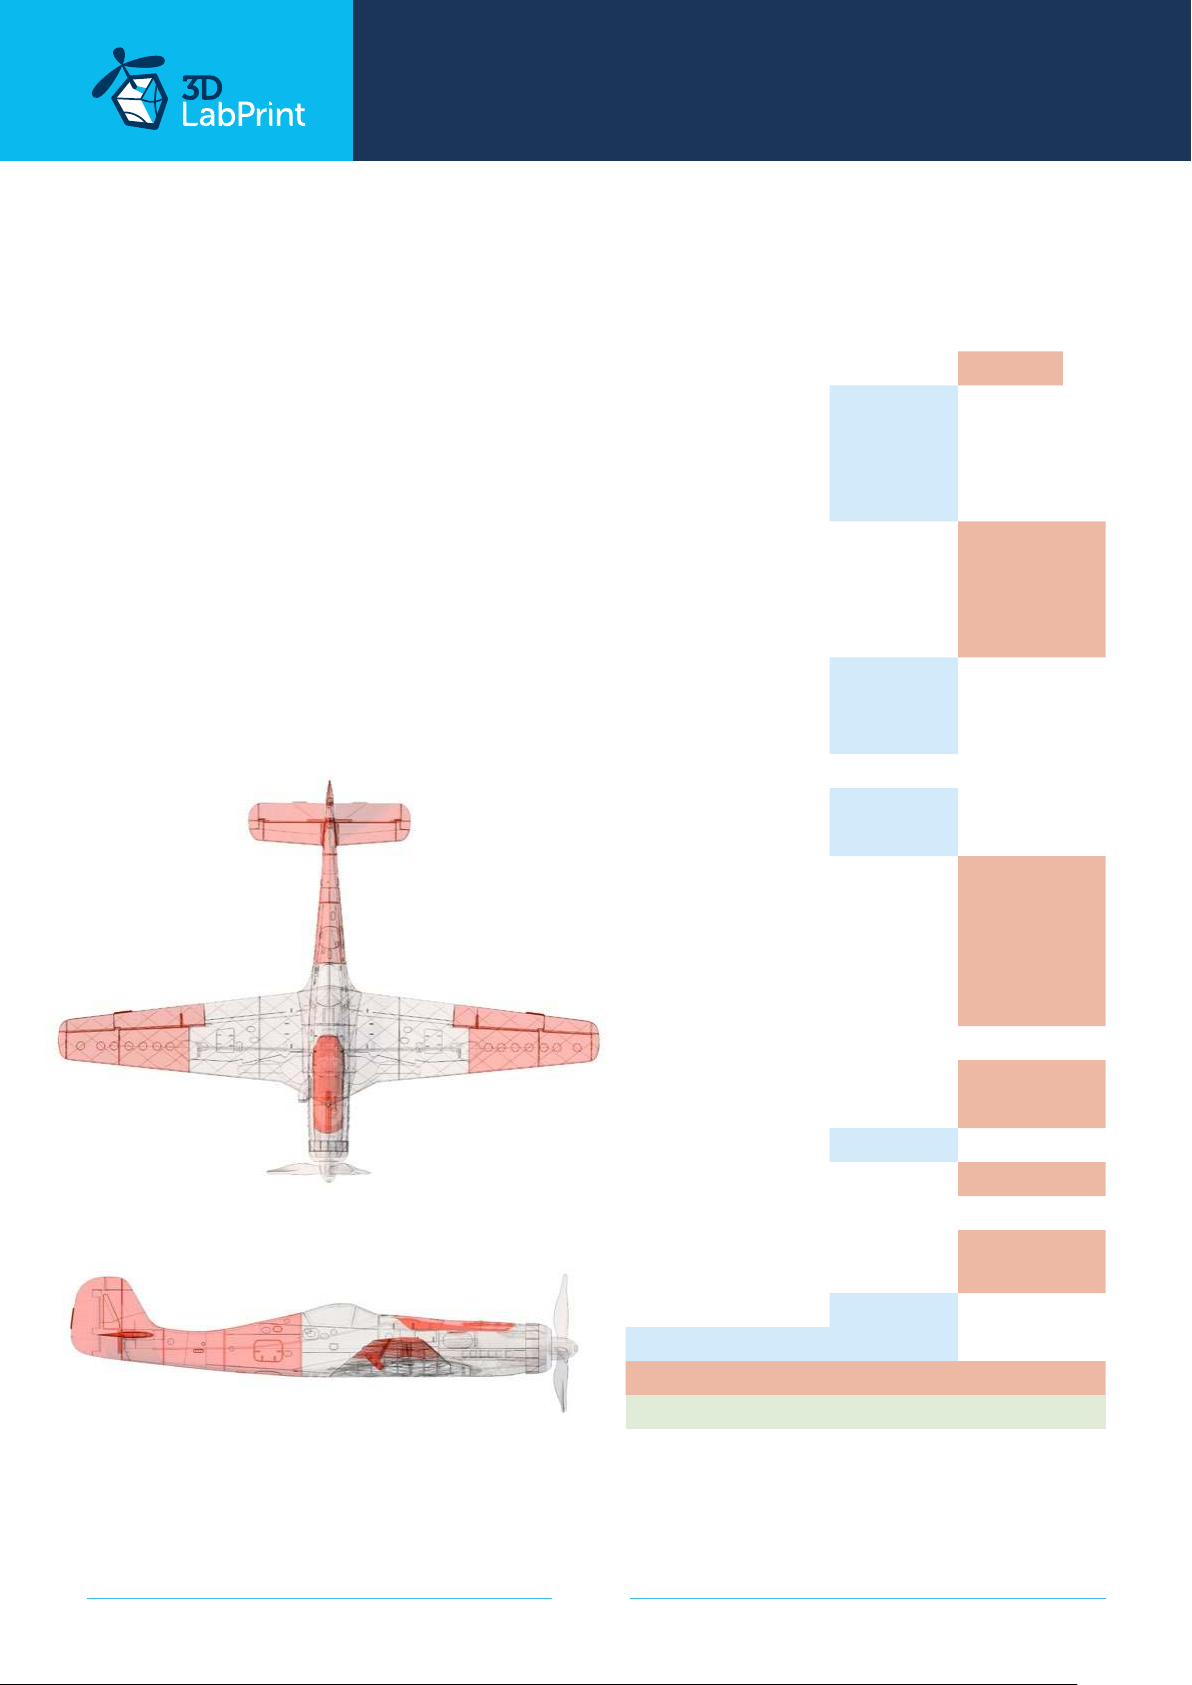
Red colored parts can be
printed from LW-PLA
for maximum flying
performance.
page 13
Page 14
... print your plane | www.3DLabPrint.com
How to print LW-PLA?
The basic print setup is almost the same as we use for standard
PLA. The only dierence is in extrusion multiplier set to 0.5 and
turning o the retractions completely.
This results in parts with half the weight and still suitable
mechanical properties, but expect some heavy stringing inside
and outside. Of course you can try to tweak the retractions for
less stringing inside the parts, but there‘s a high risk of clogging
the nozzle or throat. Increasing the retraction distance above
1 mm is not recommended at all and leads to nozzle clogs
caused by foaming. Cleaning the hairy, but functional parts
after printing with retractions completely disabled seems to be
more ecient method. The nozzle is permanently pressurized
and you don‘t need to worry about print failures. This method
works fine even for bowden printers.
Extrusion multiplier 0,5 has been tested for easy print with
massive weight saving around 50%. Feel free to experiment
with extrusion multiplier and temperatures at will for the best
results on your printer.
Cosmetic issues of the prints are easily fixed with snap knife or
sand paper, as the LW is easily sanded and cut.
Ocial guide by ColorFab - How to print LW-PLA
Video of print LW-PLA
colorFabb B.V.
The Netherlands
LW-PLA
shop:
https://colorfabb.com/
lw-pla-natural
email sales:
email support:
page 14
Page 15
... print your plane | www.3DLabPrint.com
5. Assembly of printed parts
5.1 Wing assembly Ta 152 H
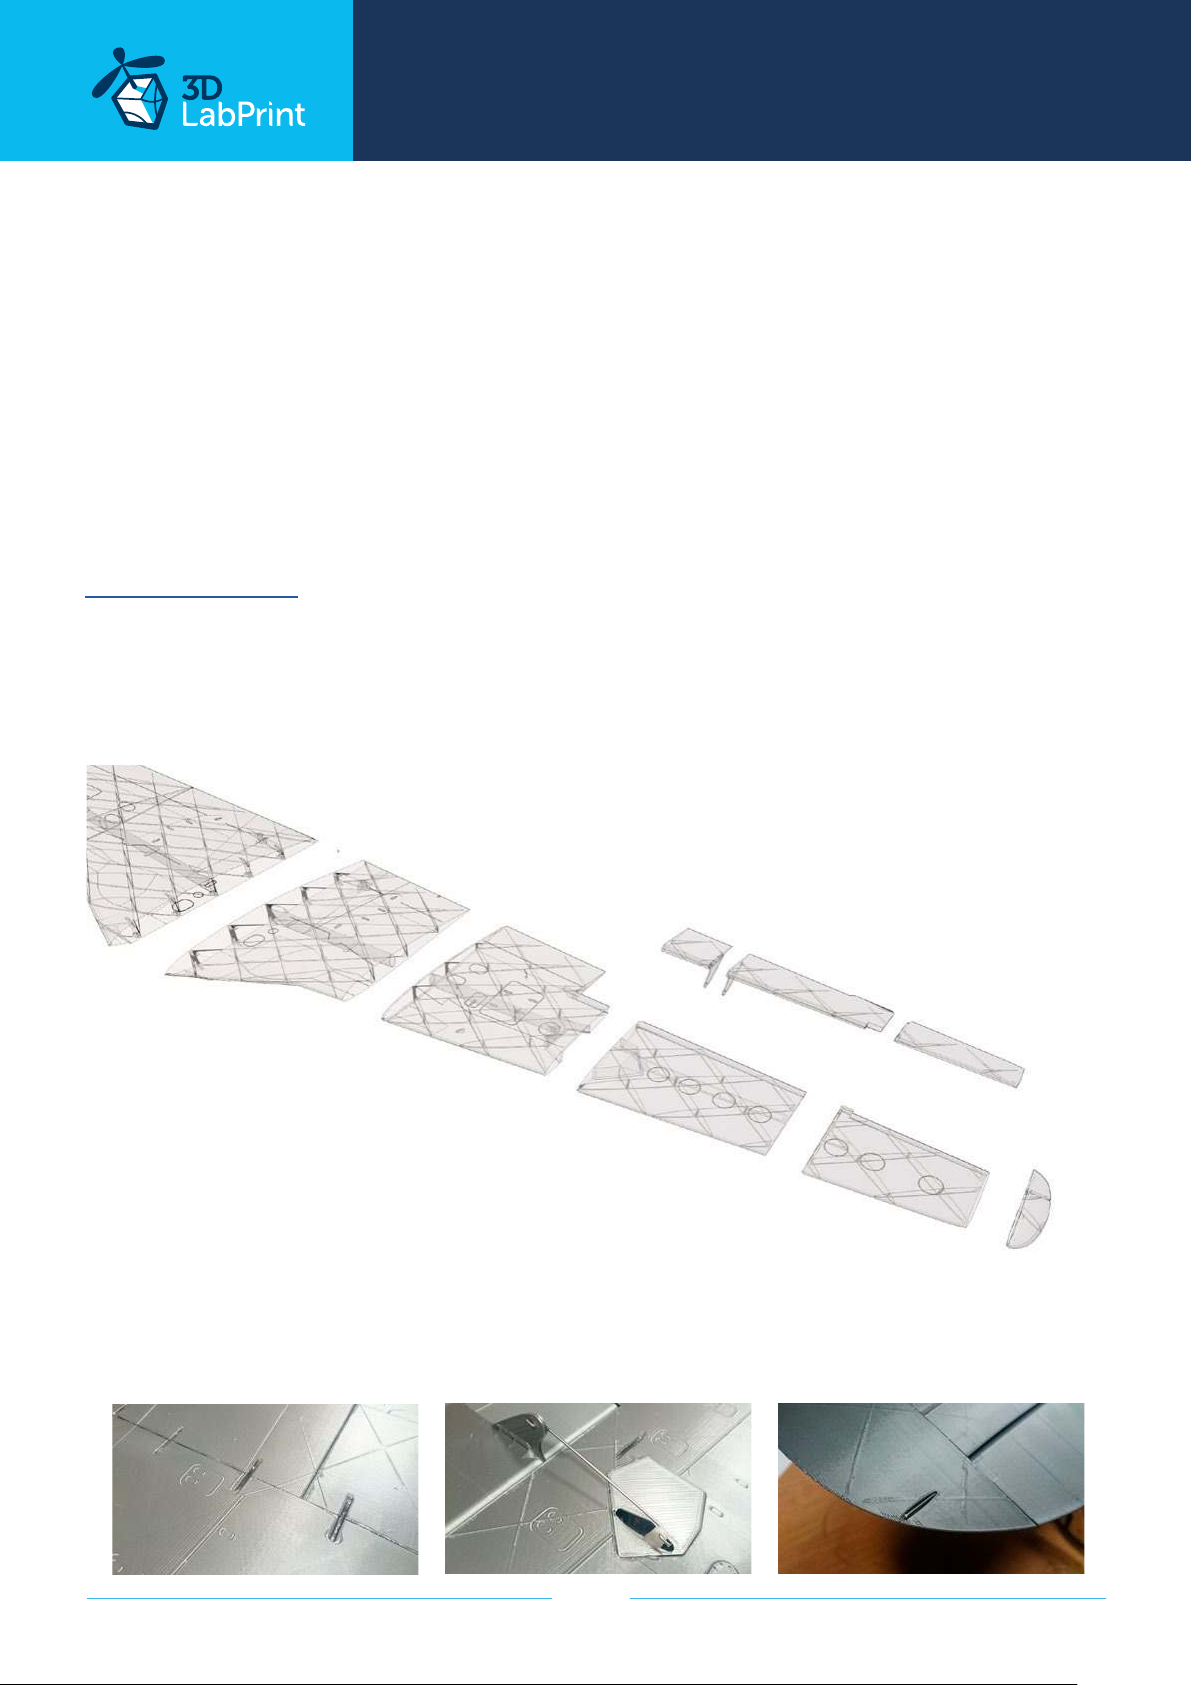
Glue wing parts L1-L6 perfectly together. The new 3DLabPrint lock system will help you.
Repeat for the right side. Glue both halves of the wing together. Use the CA glue, (position
locks and pins will help you to align the parts), and use activator to speed up the glue curing.
On a flat surface glue the ailerons L1-L3 and repeat for the right side. Use a suitable 0,8mm 1,2mm carbon rod or wire as a hinge for the ailerons. Just slide it in, there‘s no need to glue
the hinge for easy aileron or servo replacement.
See video guide #4
you will need: CA Glue medium viscosity+ activator
0,8 - 1,2 mm carbon or steel wire for aileron hinge
Snap knife, Some cloth for wiping CA glue...
R wing completed
wing L1
57g/2.01oz
wing L2
42g/1.48oz
aileron L1
5,4g/0.19oz
(2,7g/0.09oz) LW
wing L3
24,5g/0.86oz
(12,3g/0.43oz) LW
aileron L2
12,3g/0.43oz
(6,15g/0.21oz) LW
wing L4
14g/0.49oz
(7g/0.24oz) LW
aileron L3
5,9g/0.20oz
(2,9g/0.10oz) LW
wing L5
2g/0.07oz
(1g/0.04oz) LW
page 15
Page 16
... print your plane | www.3DLabPrint.com
5.2.1 Fuselage assembly Ta 152 H
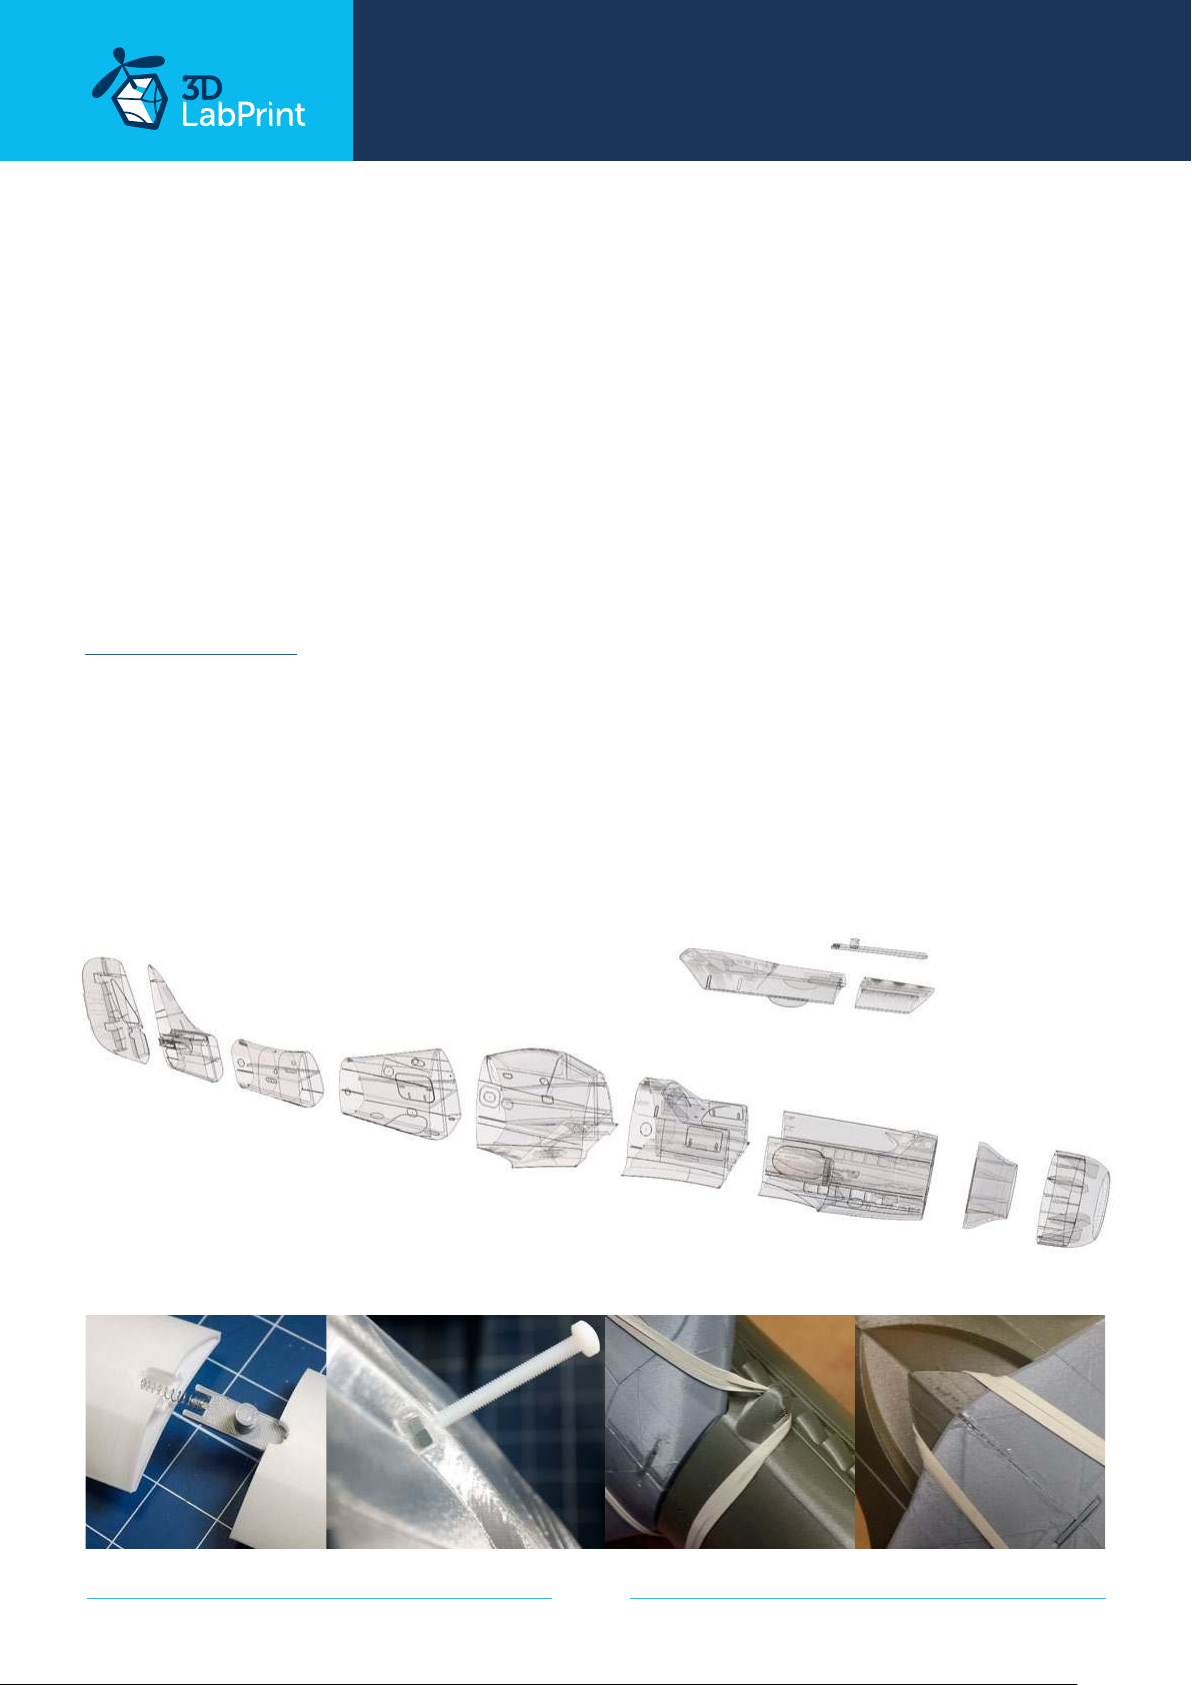
Glue fuselage parts with CA glue together (position locks and pins will help you) use activator.
You can use snap knife for clearing the shape of printed parts, but mostly it is not necessary.
Glue F1-F7 fuselage parts. Do not glue rudder part before tail and elevator assembly.
Use any hot tool to remove the unnecessary material from F7 tail part.
Parts F4 and F2 can be printed in ACES version for fixing the wing assembly with rubber
bands. If you preer to use rigid mounting for wing, use two M5 nuts in prepared slots in F4
part and use bolts to fix the wing to the fuselage. Use hot glue for fixing the nuts in the slots.
For fuselage cover arm use a ball pen spring. Put it to the part 2 and glue with part 1 together.
You can glue engine compressor inlet as optional part too.
NOTE: Don‘t glue the rudder tailpart yet !!! (proceed to the next step for elevator and stabilizer
assembly)
See video guide #5
you will need: CA Glue medium viscosity+ activator
Snap knife or Sandpaper, Soldering Iron or any hot tool + hot glue
2x M5 nuts
2x M5 Nylon Screws (you don‘t need it if you‘ll use a rubbers for the wing)
rudder
14,6g/0.51oz
(7,3g/0.25oz) LW
13,5g/0.47oz
(6,8g/0.23oz) LW
(7,3g/0.25oz) LW
F7
F6
14,6g/0.51oz
F5
25g/.88oz
(12,4g/0.43oz) LW
F4
39g/1.37oz
cover 2
14,9g/0.52oz
(7,45g/0.26oz) LW
F3
32g/1.12oz
F2
50g/1.74oz
cover arm
2,8g/0.10oz
cover 1
6,4g/0.22oz
(3,2g/0.11oz) LW
F1
11g/0.38oz
cowl
10g/0.35oz
page 16
F2 & F4 for rubber banded wingsM5 screw and nut for wingball pen spring
Page 17
... print your plane | www.3DLabPrint.com
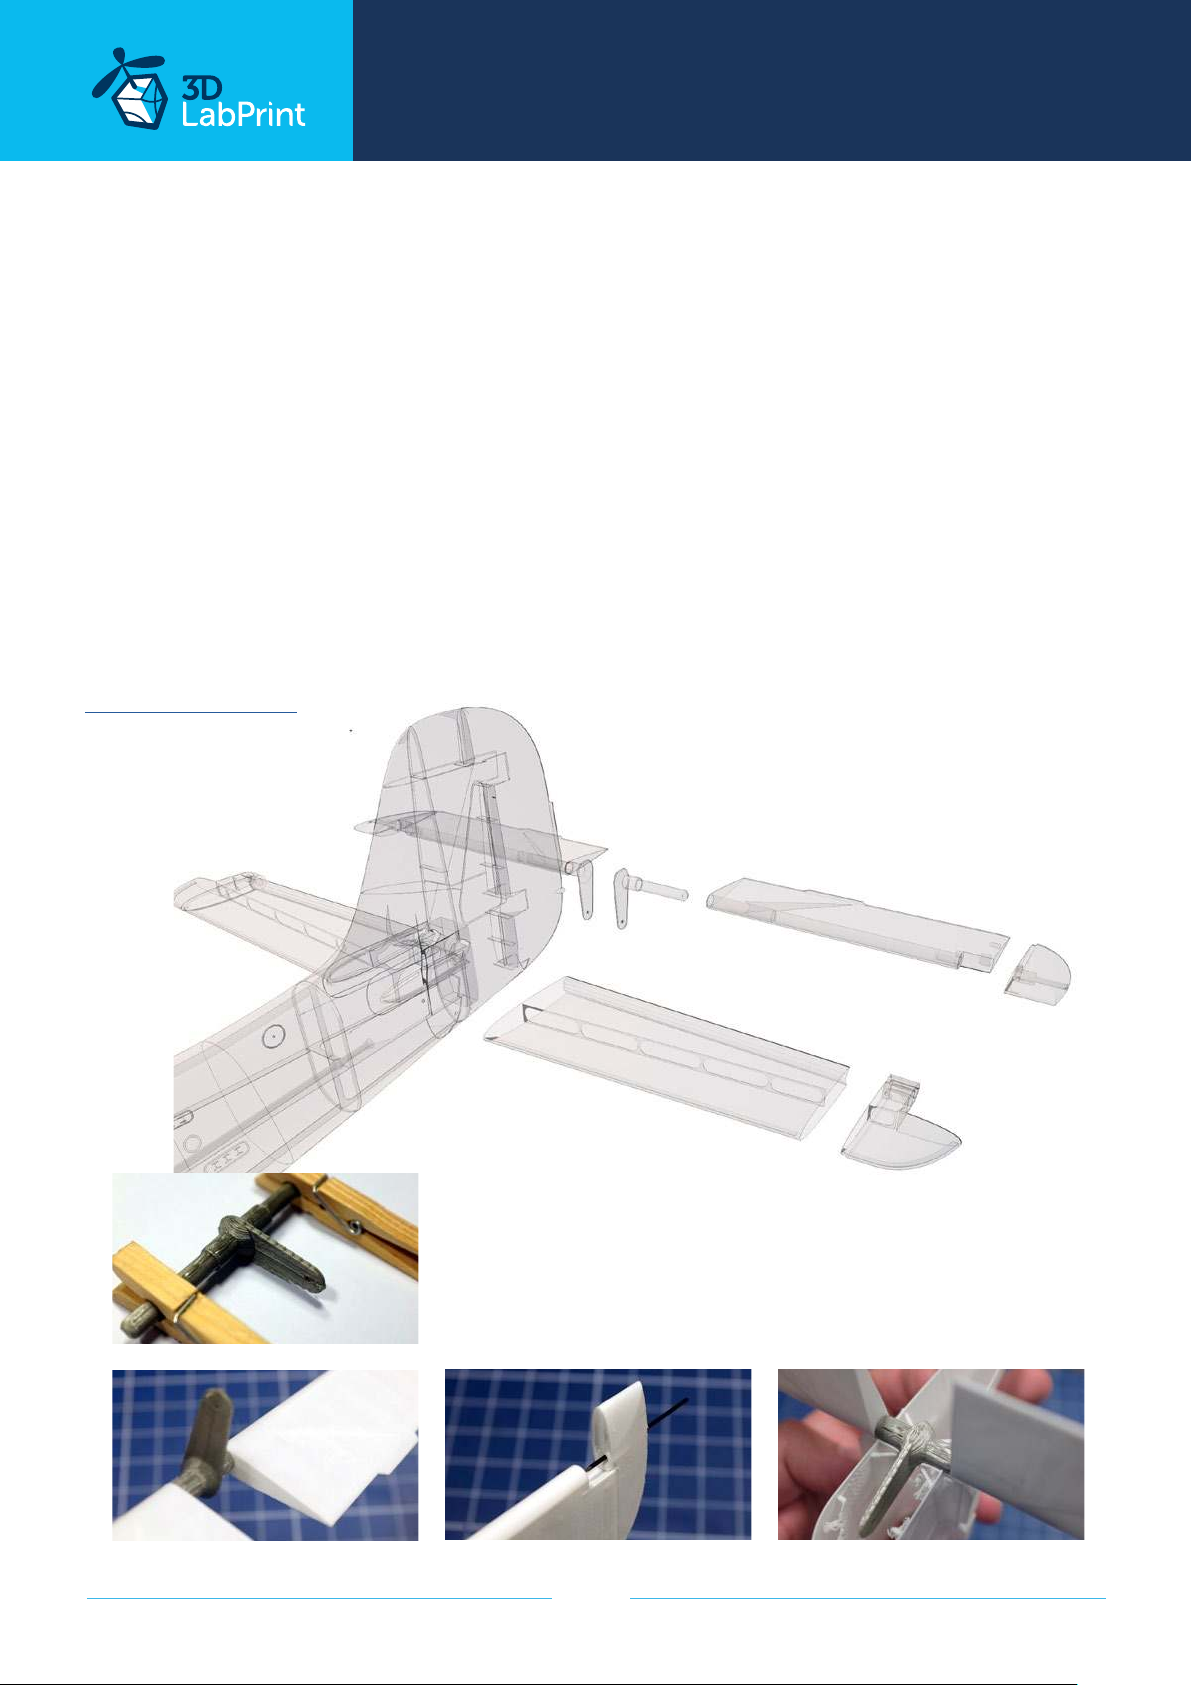
5.2.2 Fuselage tail - elevator pushrods and servos
Glue L1 and L2 parts of the stabilizer and elevator. The profile is symmetric, so the left and
right sides are identical. Glue the stabilizers perfectly perpendicular to the fuselage. Assemble
both sides of the elevator with the control lever on a flat surface. Make a Z bend on the
elevator 0,8mm pushrod wire. Using hot tool cut loose the hinge of the elevator on the F7
part of the fuselage and mount the elevator assembly to the stabilizer using the 0,8 - 1,2 mm
carbon rod or steel wire. Elevator should move freely controlled by the pushrod and servo.
Check the functionality of the elevator assembly carefully and finally glue in the rear rudder
part.
you will need: CA Glue medium viscosity+ activator
0,8 - 1 mm steel wire for elevator pushrod
0,8 - 1 mm carbon or steel wire for aileron hinge
Snap knife, Soldering Iron or any hot tool
See video guide #5
elevator arm
2,7g/0.09oz
stabiliser L1
9,4g/0.33oz
(4,7g/0.17oz) LW
elevator L1
9,6g/0.33oz
(4,8g/0.17oz) LW
stabiliser L2
1,8g/0.06oz
(0,9g/0.03oz) LW
elevator L2
1,6g/0,06oz
(0,9g/0.03oz) LW
page 17
Page 18
... print your plane | www.3DLabPrint.com
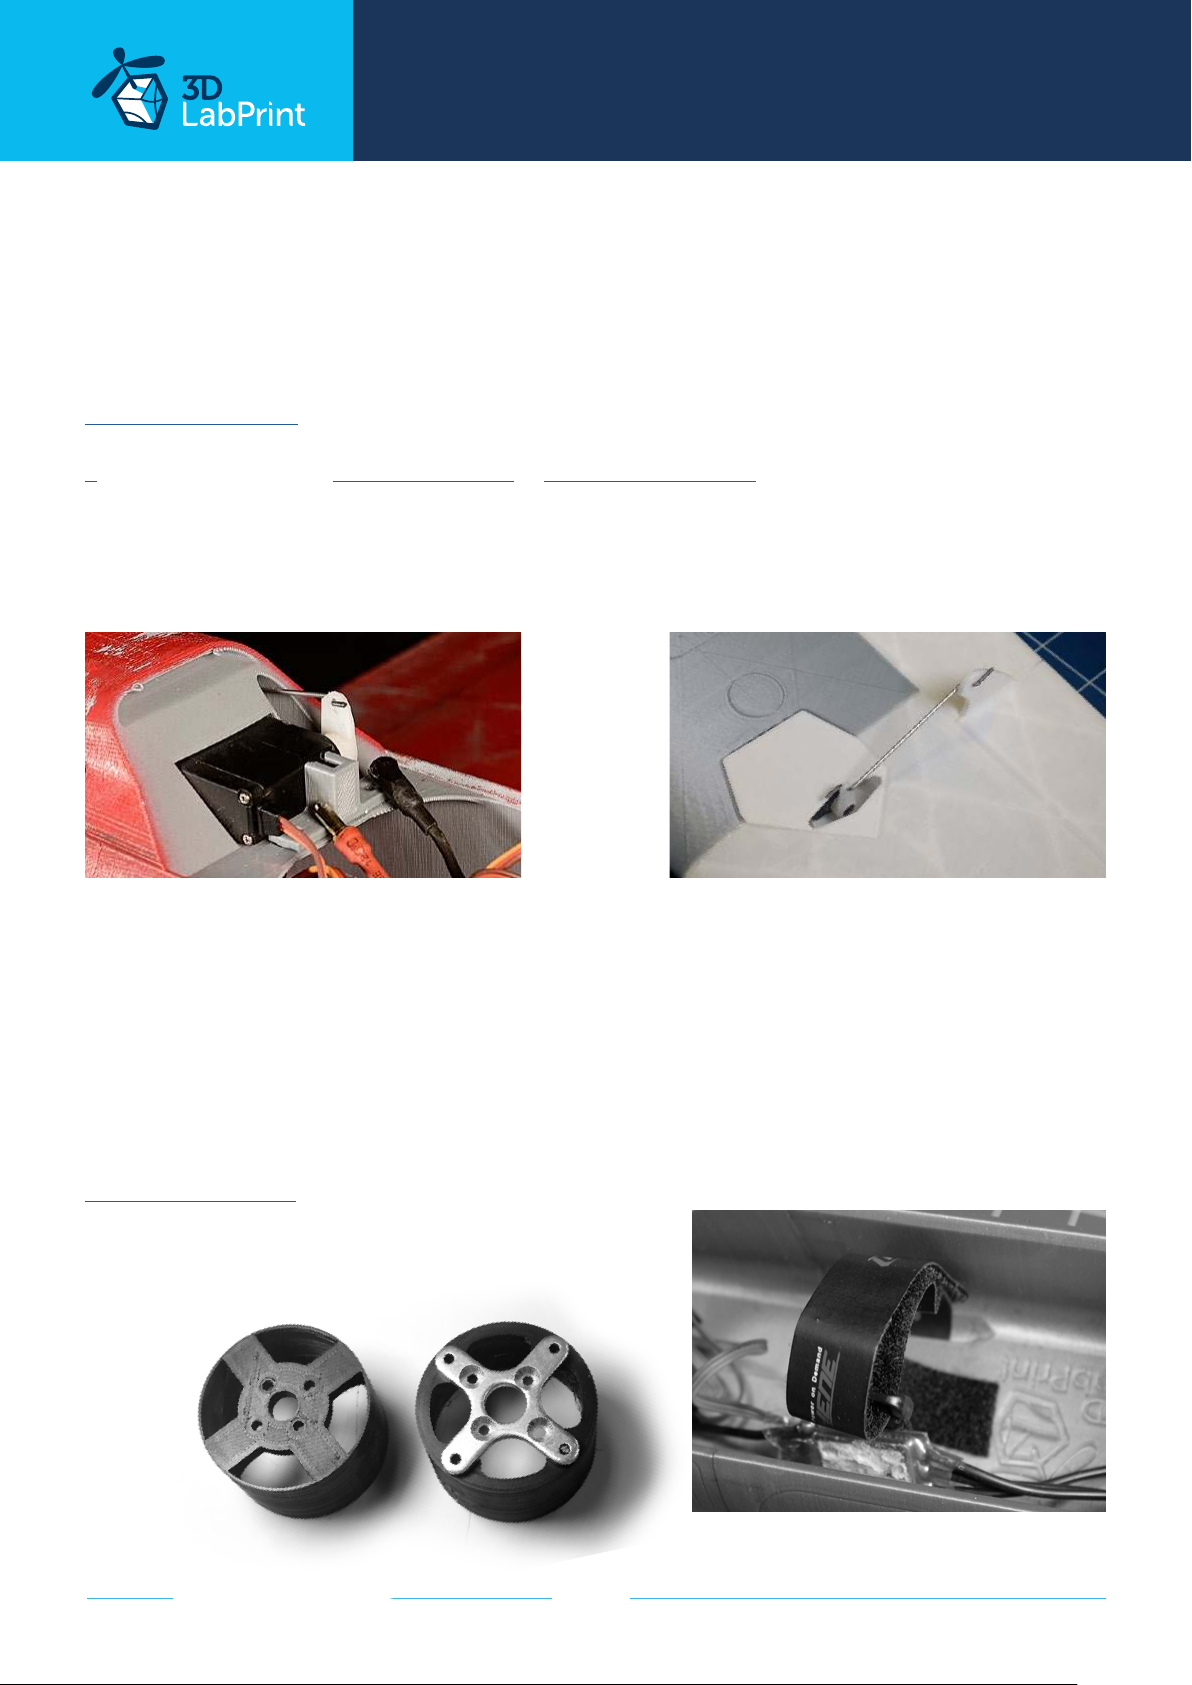
6. Servo installation
Extend the servo leads and install the prepared servos to wing servo bays. Use a 1mm steel
wire with Z bends as a linkage between the servos and aileron control horns. Glue servo covers to the wing. Elevator servo will be fixed by servo holder in the fuselage.
See video guide #6
you will need: 3x Hitec HS-82MG or Corona CS-238MG
or any similar sized servos
30x12x30mm (1.17 x 0.47 x 1.16 inches)
2x 300mm servo extension
Snap knife, Z pliers
7. Motor & ESC & battery holder
Fix the battery using zipper ties to the battery holder and mount it in the front of the fuselage,
find the perfect balance and CG position by moving it. Mount the motor on an alluminium
cross using 4x M3 screws and nuts to the printed universal holder. You can also use the
printed holder 16 x 19 mm from PET or anealed PLA. Glue universal motor mount with motor
into the fuselage in right position.
See video guide #7
you will need:
4x M3 screws and nuts
page 18
Page 19
... print your plane | www.3DLabPrint.com
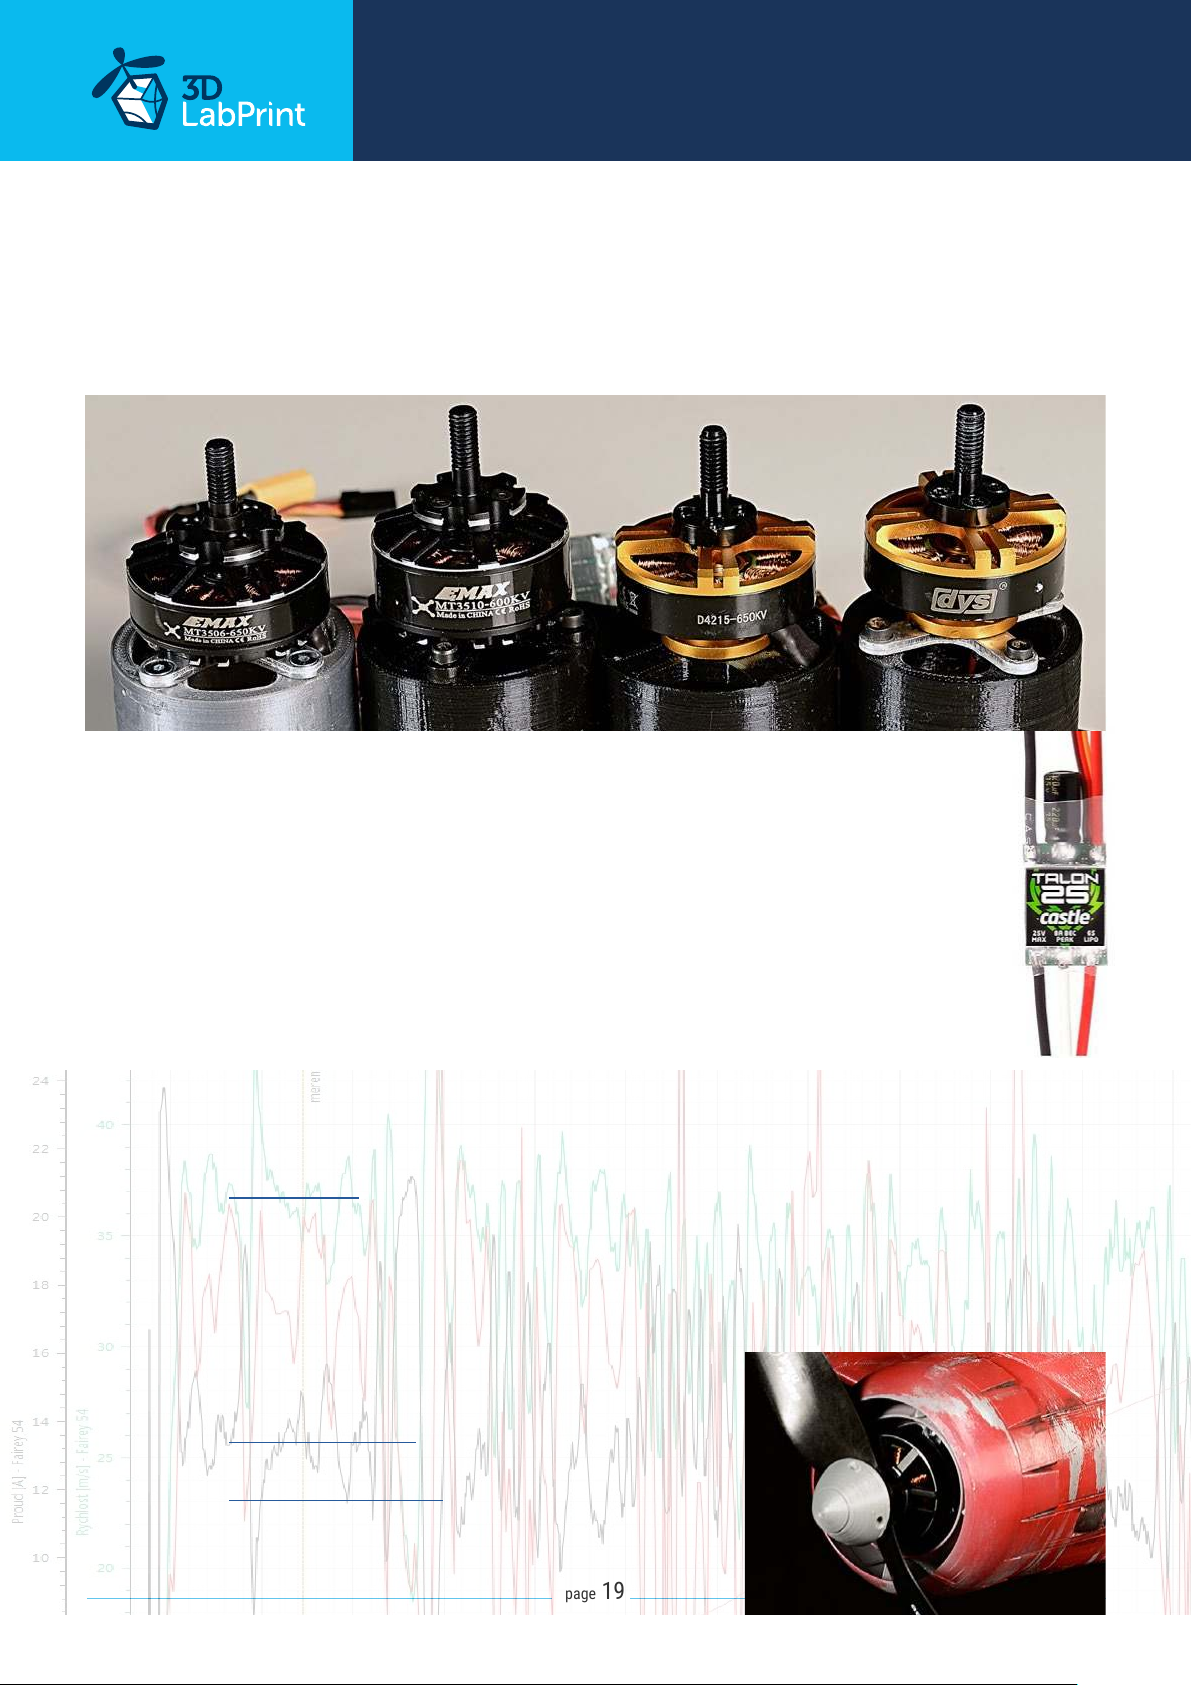
Use power by your skill !
Our inovative motor holder can be used with various motors. Every motor should fit
at universal printed holder with alluminium cross or 16 x 19 printed holder. Insert the
complete assembly inside the slot in position you need and glue it .
ACES performance setup - (530W)
Motor: DYS D4215 650KV (for 6S setup)
ESC: CastleCreation Talon 25A / 6S or similar
Propeller: two blade Aeronaut CAM Carbon Light 10 x 6 or APC Electro 10 x 5,5
Battery: Li-Pol TATTU GensAce 1800mAh 75C 6S1P Battery Pack
printed PET motor mount with alluminium cross mount
OFFICER normal setup - (440W)
Motor: EMAX MT 3510 600KV (for 6S setup)
AX-4008Q 620KV (for 6S setup, motor is discontinued
- use it from your old planes)
ESC: YEP 40A/6S or CastleCreation Talon 25A / 6S or similar
Propeller: two blade APC electro 10 x 5,5 or Aeronaut CAM Carbon Light 10 x 6
Battery: Li-Pol 1500mAh 6S1P Battery Pack
printed PET motor mount with alluminium cross mount
ROOKIE setup - (240W)
Motor: Leopard LC2830 980KV (for 3S setup)
ESC: Turnigy 20A / 3S or similar
Propeller: two blade GWS 9 x 7,5 (ugly orange)
Battery:
printed PLA mount 16 x 19 mm
(budget setup for LW hybrid version only)
LiPol 1300mAh / 3s
page 19
Page 20
... print your plane | www.3DLabPrint.com
8. Final assembly and setting
Refer to your R/C system userguide for setup information.
See video guide #8
you will need: Your own Rx/Tx system
Install your reciever, connect battery, setup servos and etc. with your trasmitter, check servo
position, then install propeller.
Make sure the battery is positioned properly and secured with wing battery holder, if battery
moves during flight it can shift the center of gravity backwards and aircraft will become
uncontrollable! Never set ESC with propeller installed, this could be very dangerous!
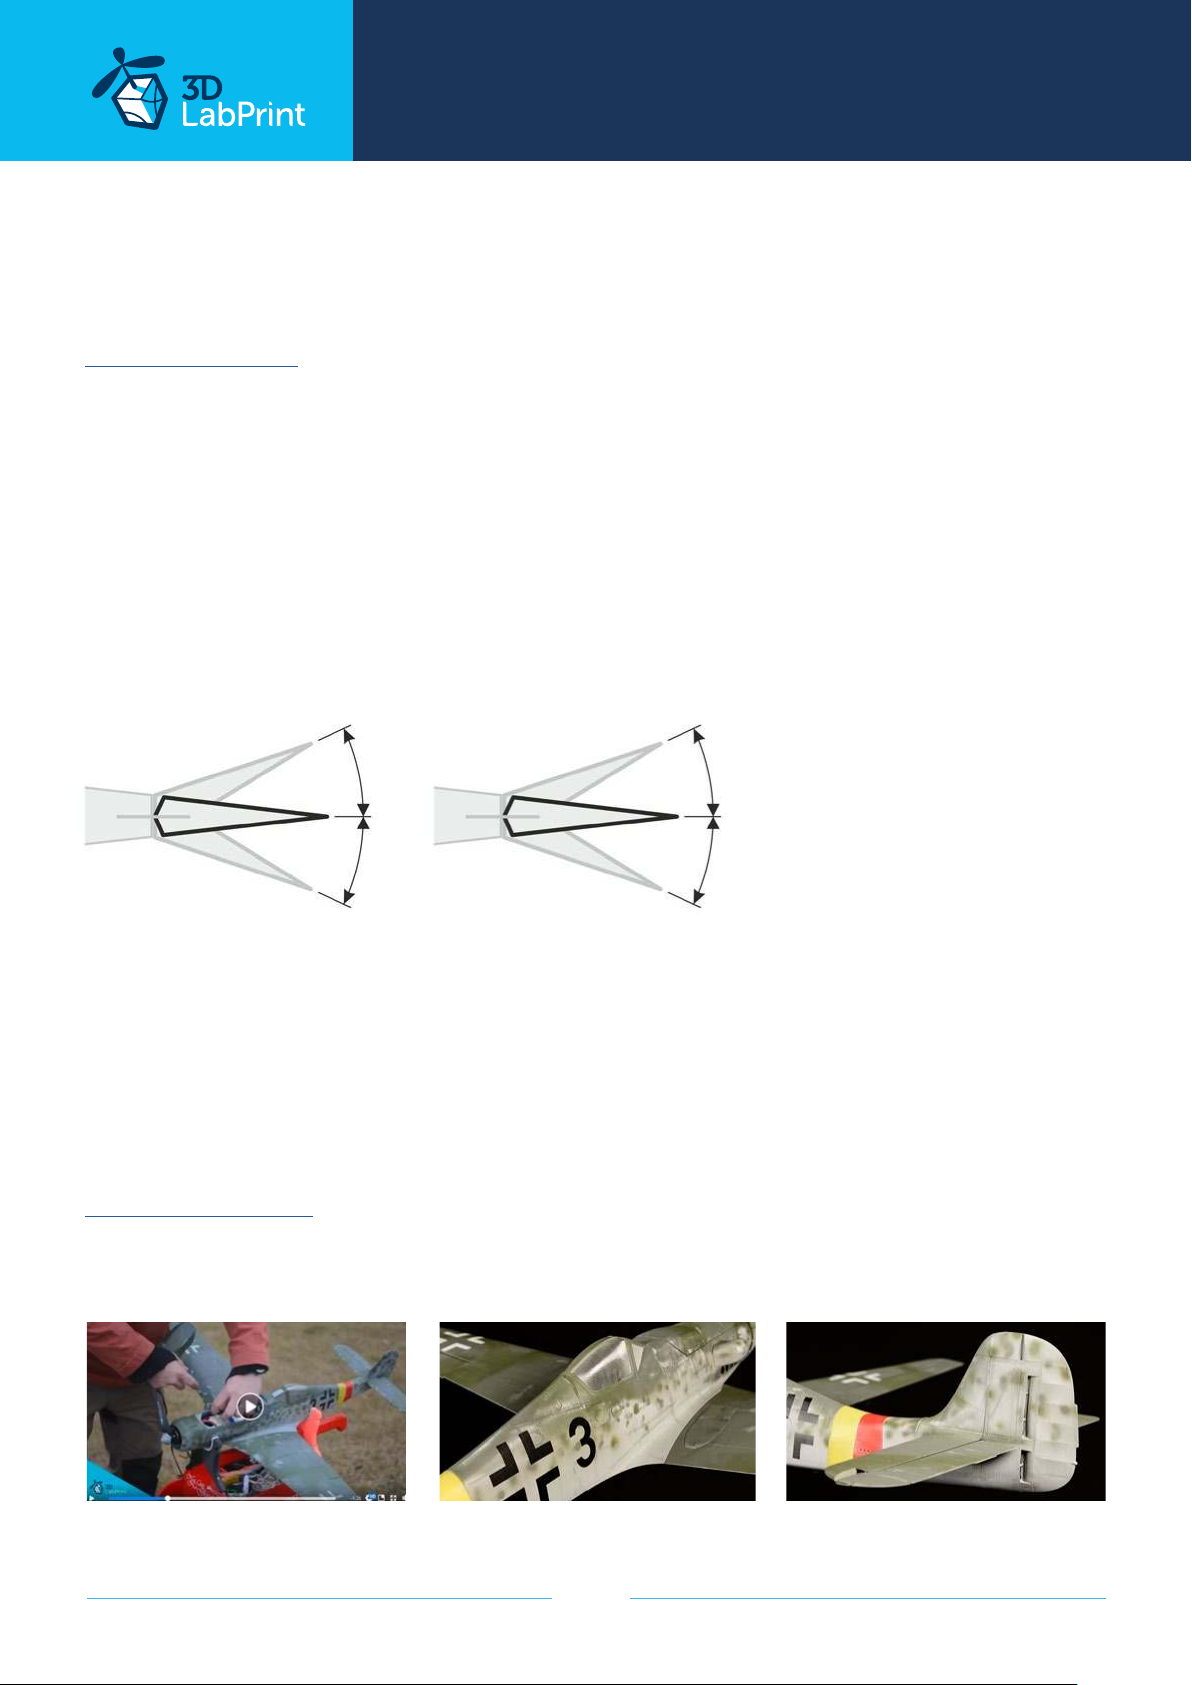
aileron elevator
+15mm
-12mm -15mm
+15mm
9. Go flying
Pre-flight check center of gravity is very important (move it 5-10mm forward for the first
flights), battery properly charged, ailerons and elevator deflection check, your own flying
skills or RC simulator training ...
Fly video of Ta 152 H
page 20
Page 21
... print your plane | www.3DLabPrint.com
10. Pilots Please Attention!
For the first flights we recommend setting the center of gravity to around 5 mm forward of
the CG tag - nose heavy, this increases the stability (you can use heavier battery). Increasing
expo settings on your transmitter for elevator and ailerons to 80 % calms response from your
stick inputs. Also you can decrease elevator and ailerons deflection to calm down the plane.
Make sure the battery is well fixed in proper possition. If it moves during flight it will cause
shifting of CoG aft and will result in uncontrolable flight behavior.
After gaining some confidence you can balance the plane to the Center of Gravity marks and
set Expos to 60 % as shown in the video/instructions... this gains back extra maneuverability.
Never fly aft positioned Center of gravity.
Please, use these files only for your own purpose, do not
redistribute or publish. Thank you very much.
Enjoy your flight.
page 21
Page 22

... print your plane | www.3DLabPrint.com
Shopping list
Printing material: 0,65kg of PLA (150g of LW-PLA)
RC: 4 channel receiver for your RC system
Motor: any motor for 3S - 6S Li-Pol with weight up to 100g
EMAX MT 3510 600KV (for 6S setup)
DYS D4215 650KV (for 6S setup)
AX-4008Q 620KV (for 6S setup, motor is discontinued
- use it from your old planes)
Leopard LC2830 980KV (for 3S setup)
Controller: Speed controller (ESC) YEP 40A/6S
CastleCreation Talon 25A / 6S
or similar
Battery: 6S Battery LiPol 1300-1800mAh/6s
Servos: 3x Hitec HS-82MG or Corona CS-238MG
or any medium sized servos
30x12x30mm (1.17 x 0.47 x 1.16 inches)
2x servo extension cables 300mm / 12 inch
Glue: CA Glue - medium viscosity
Activator for CA Glue
Other: 1x 1 - 1,2 mm / 14 AWG pushrod wire or carbon rod
1x 0,8 mm pushrod wire
2x M5 fitting screws and nuts or rubber bands for wings
4x M3 screws and nuts
page 22
 Loading...