

Page 1
... print your plane | www.3DLabPrint.com
User Guide
rev. 2020/06
Fully 3d printable
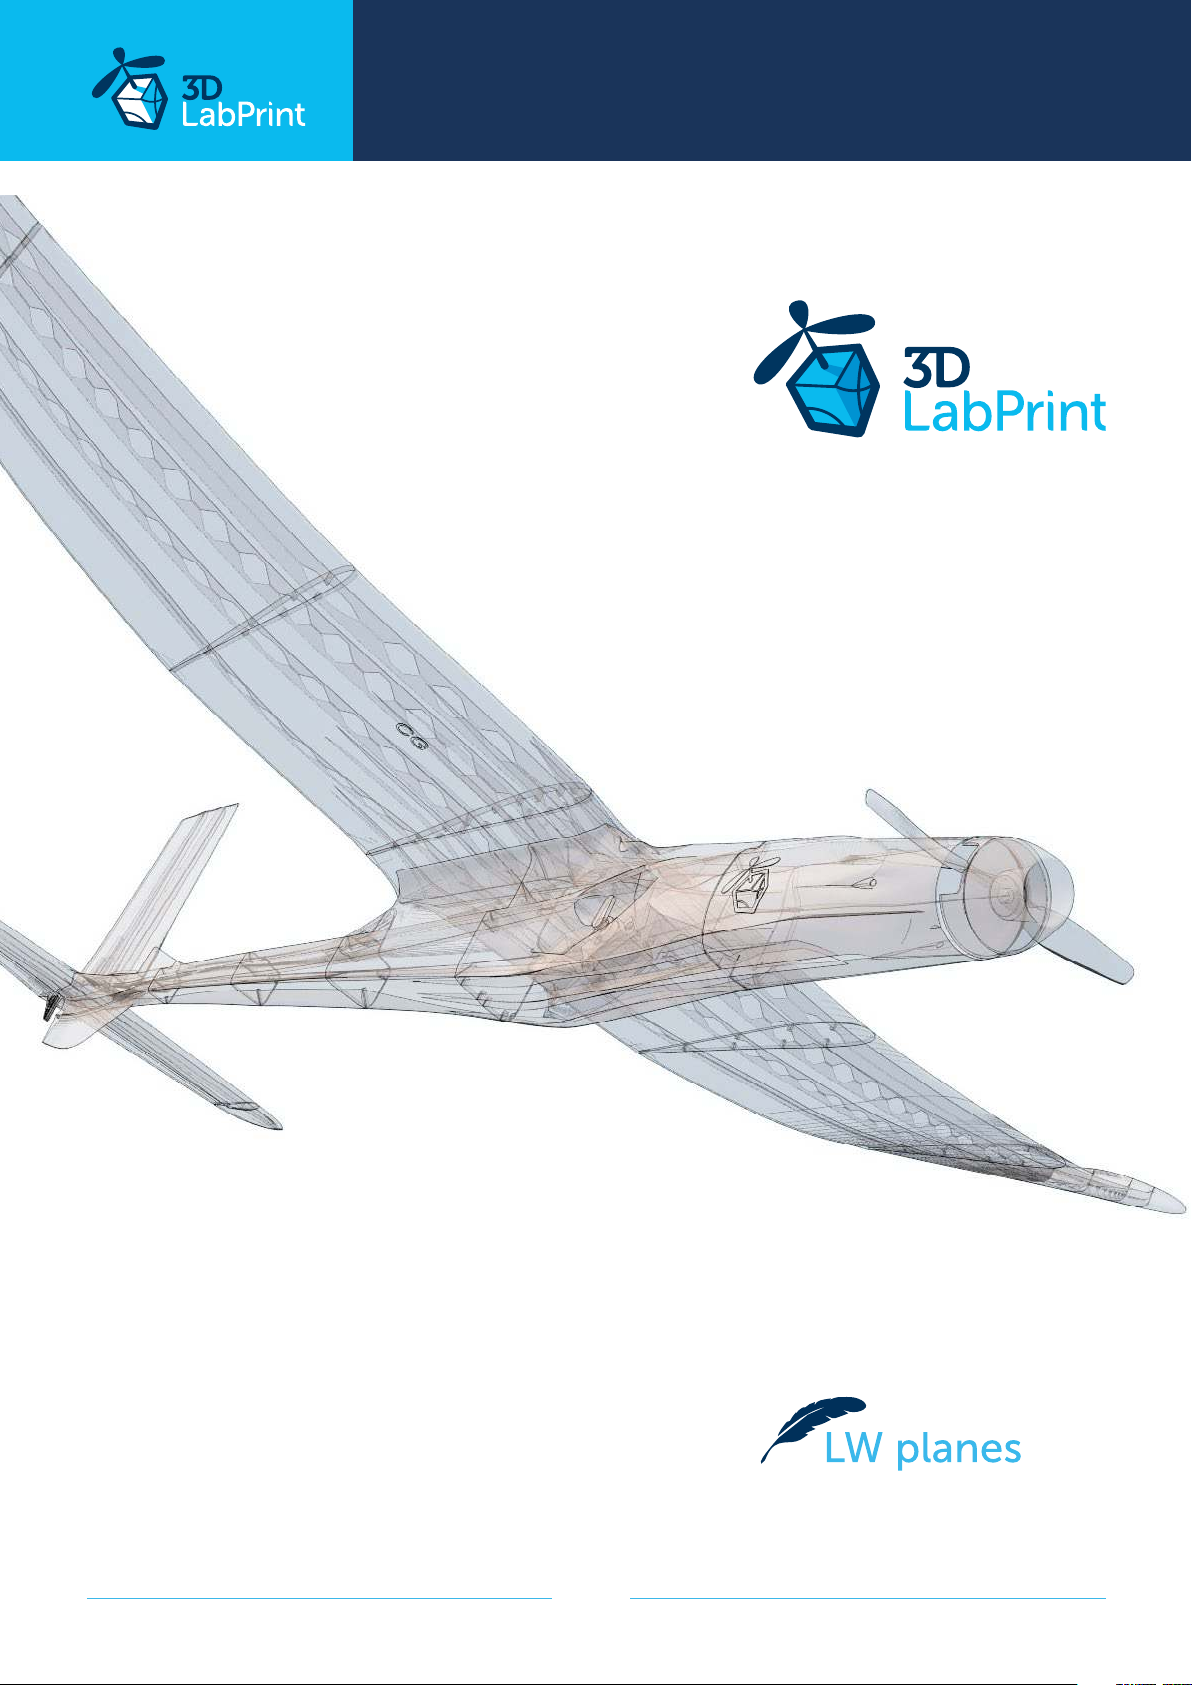
Bungee Prop
wingspan 1180 mm / 46.5 inch - 320g / 11.3oz
page 1
Page 2
... print your plane | www.3DLabPrint.com
Bungee Prop
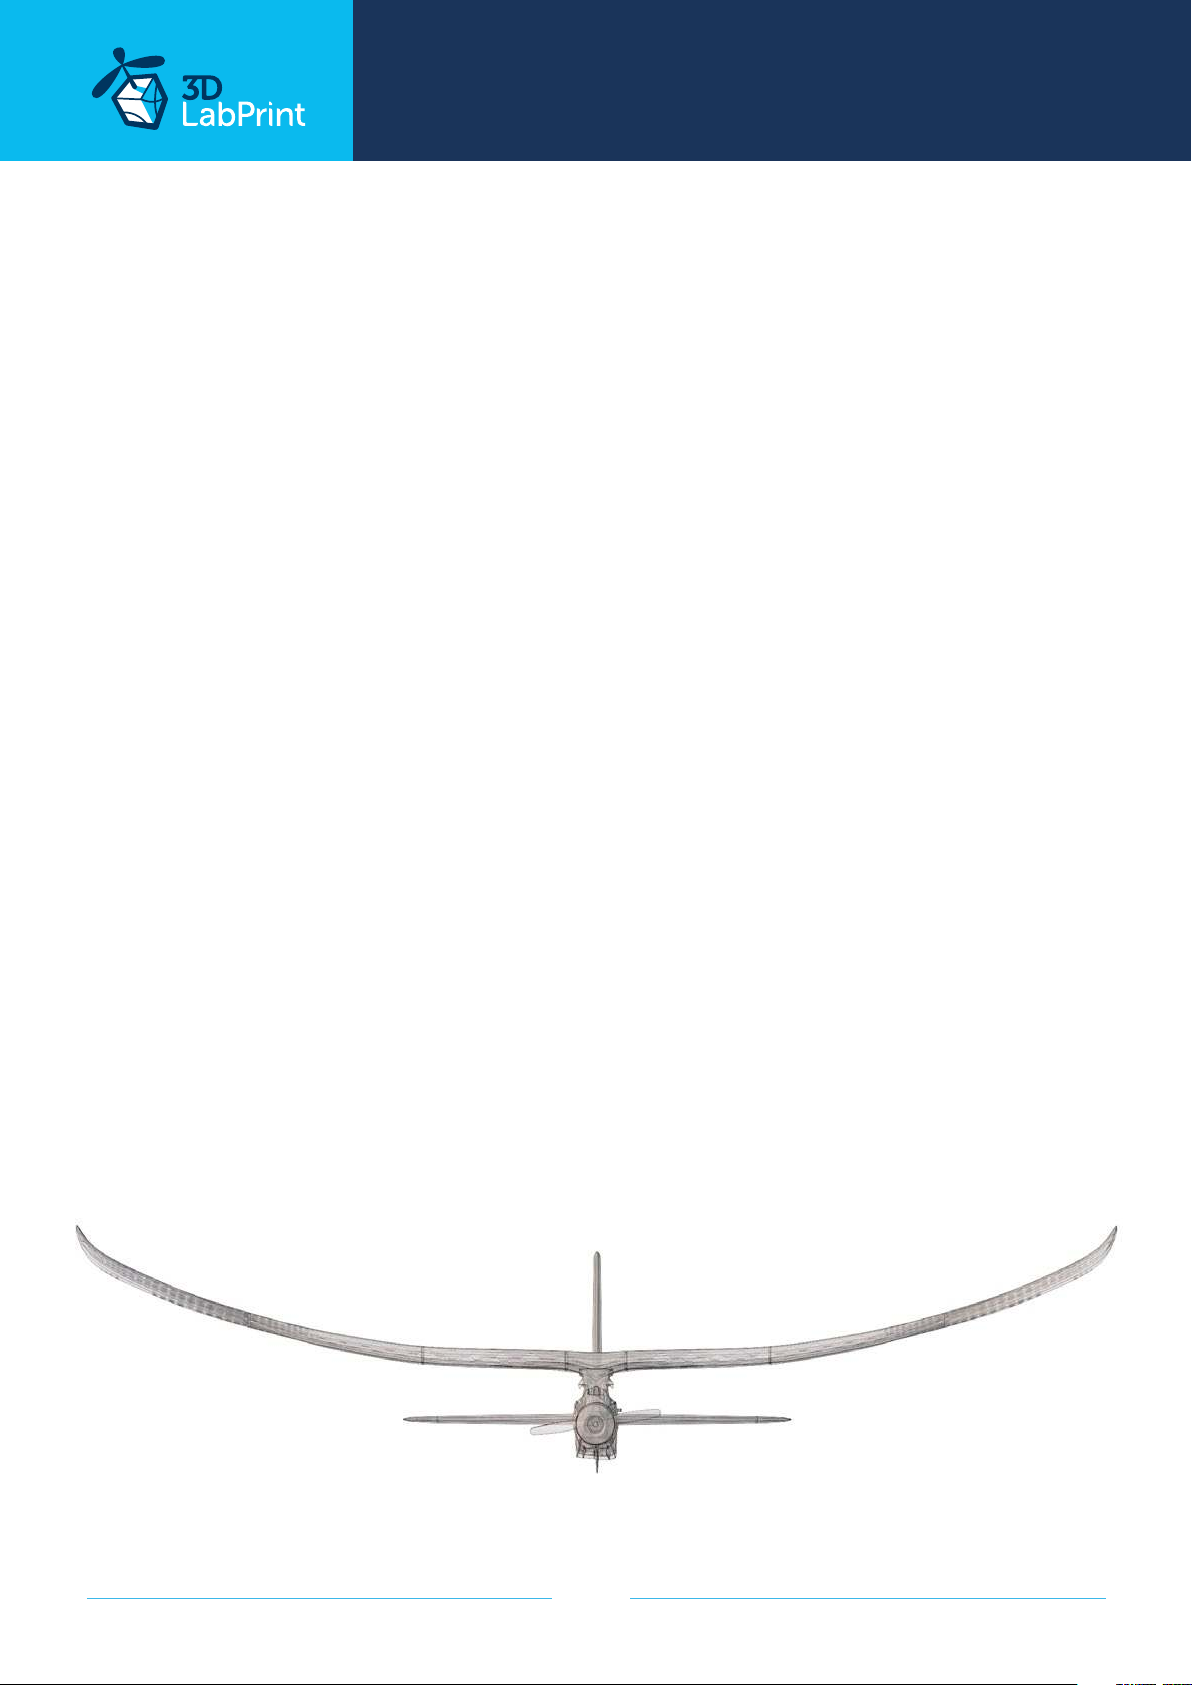
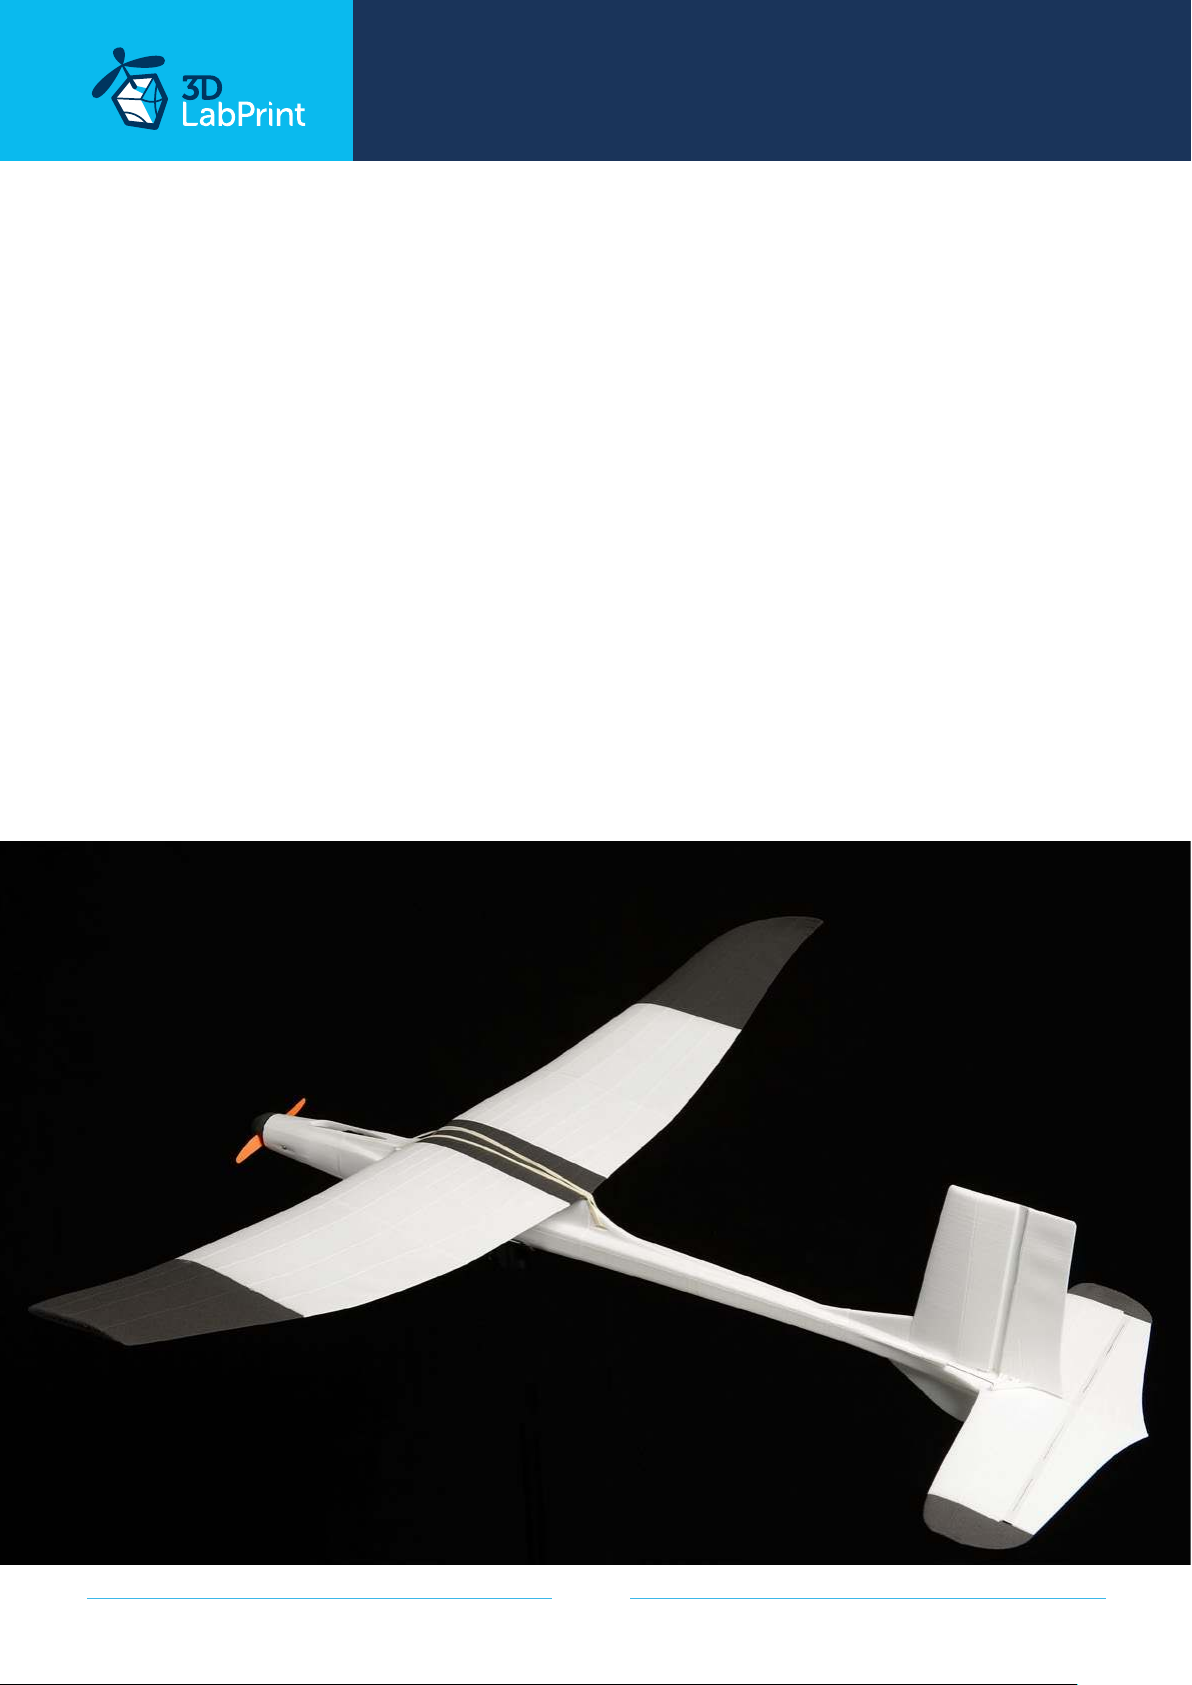
fully printable extra stable R/C glider.
With its flight weight of 320g, this is a very capable glider. This plane has been
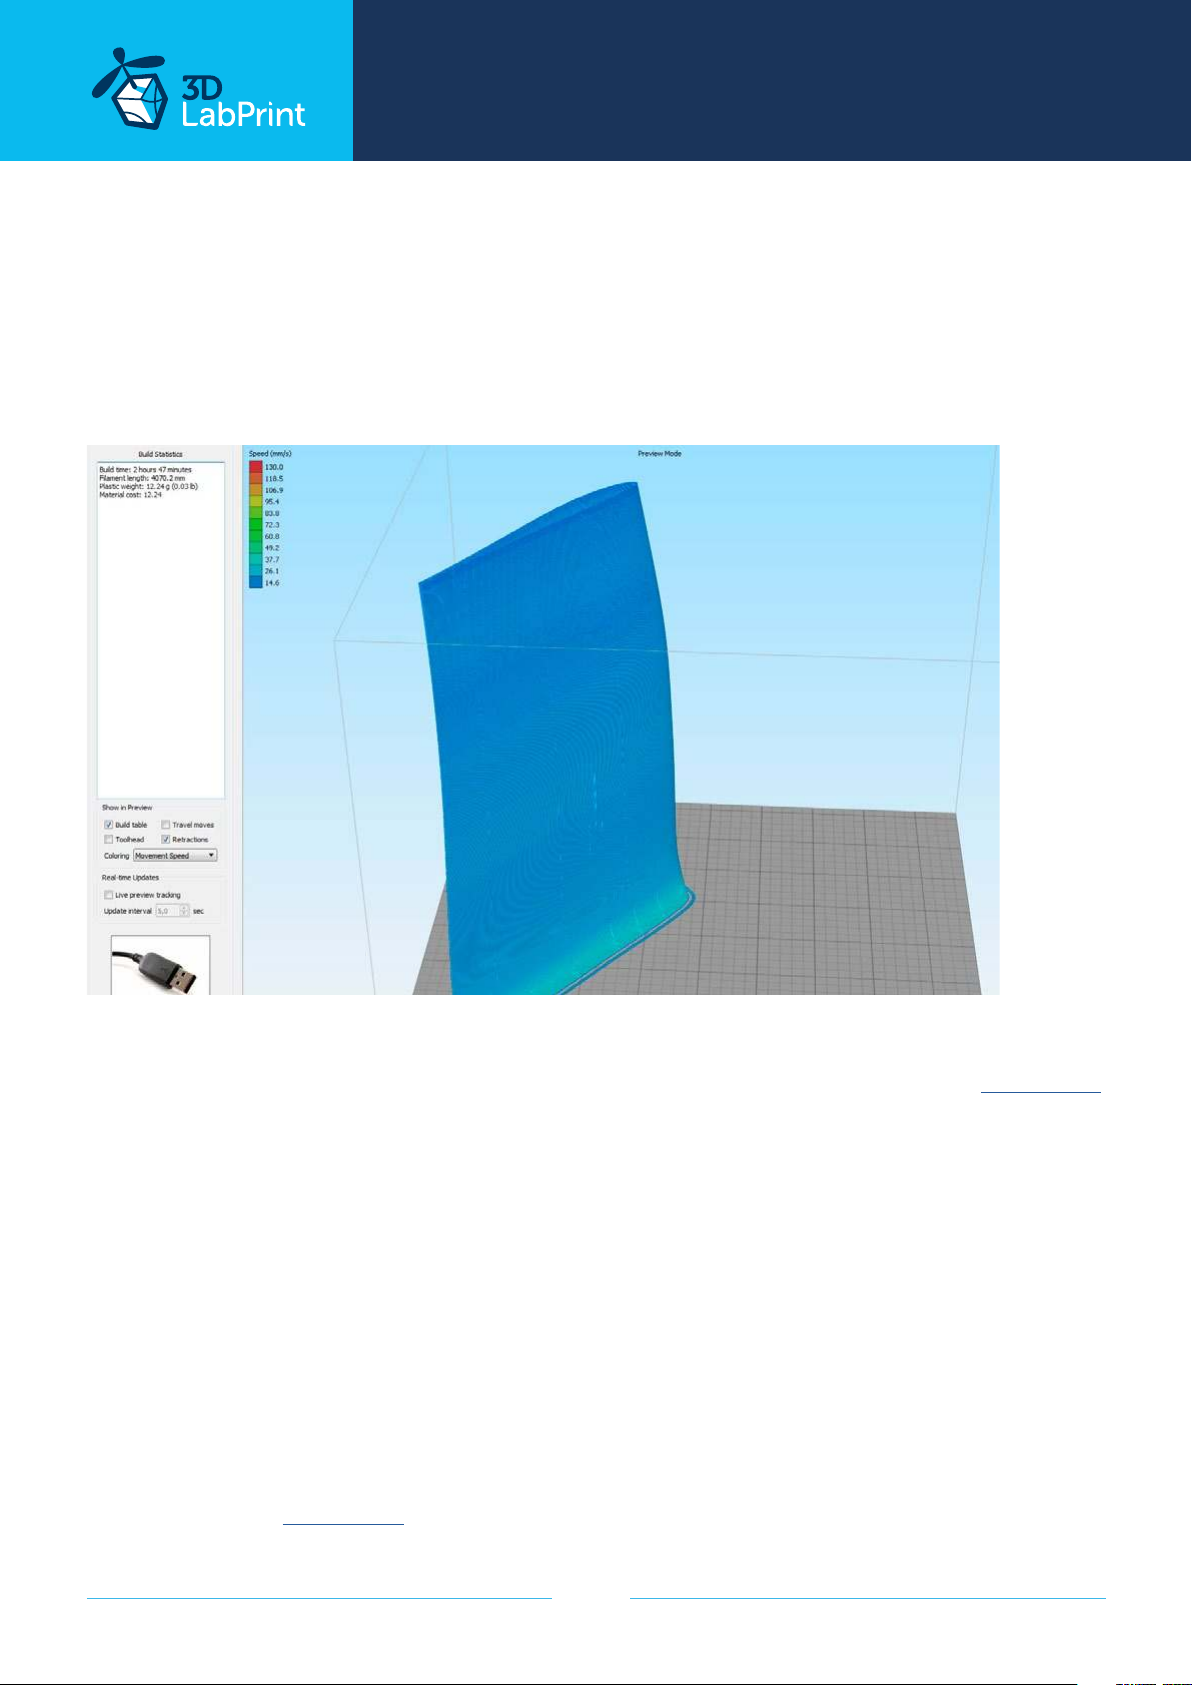
designed for foaming LW-PLA filament to be printed in a continous vase/spiral mode (without retractions).
The first fully printable airplanes with files prepared for your 3Dprinter, with
flight characteristics, comparable or even supperior to classic build model airplane.
This is not a dream, now you can print this HI-TECH at home. Simply download and print
the whole plane or spare parts anytime you need just for a cost of filament only about $12
Extensive hi-tech 3d structural reinforcement making the model very
rigid while maintaining a lightweight airframe and exact airfoil even it’s just a plastic. This
perfect and exact 3d structure is possible only thanks to additive 3dprinting technology. So
welcome to the 21st century of model flying and be the first at your airfield.
Easy to assembly, you don’t need any extra tools or hardware, just glue printed
parts together and make pushrods for control surfaces. The rest of the assembly is very
easy. Simply add brushless motor, ESC, servos and radio system. Don’t worry, detailed step
by step PDF/VIDEO is included.
You’ll get an extra stable and lightweight airplane, able to fly and land on its own wihout any
stick input such as free gliders do, so eventually you can use it as a free glider or to learn RC
flying basics. Great as a first RC plane suitable for calm weather conditions.
page 2
Page 3
... print your plane | www.3DLabPrint.com
General specifications:
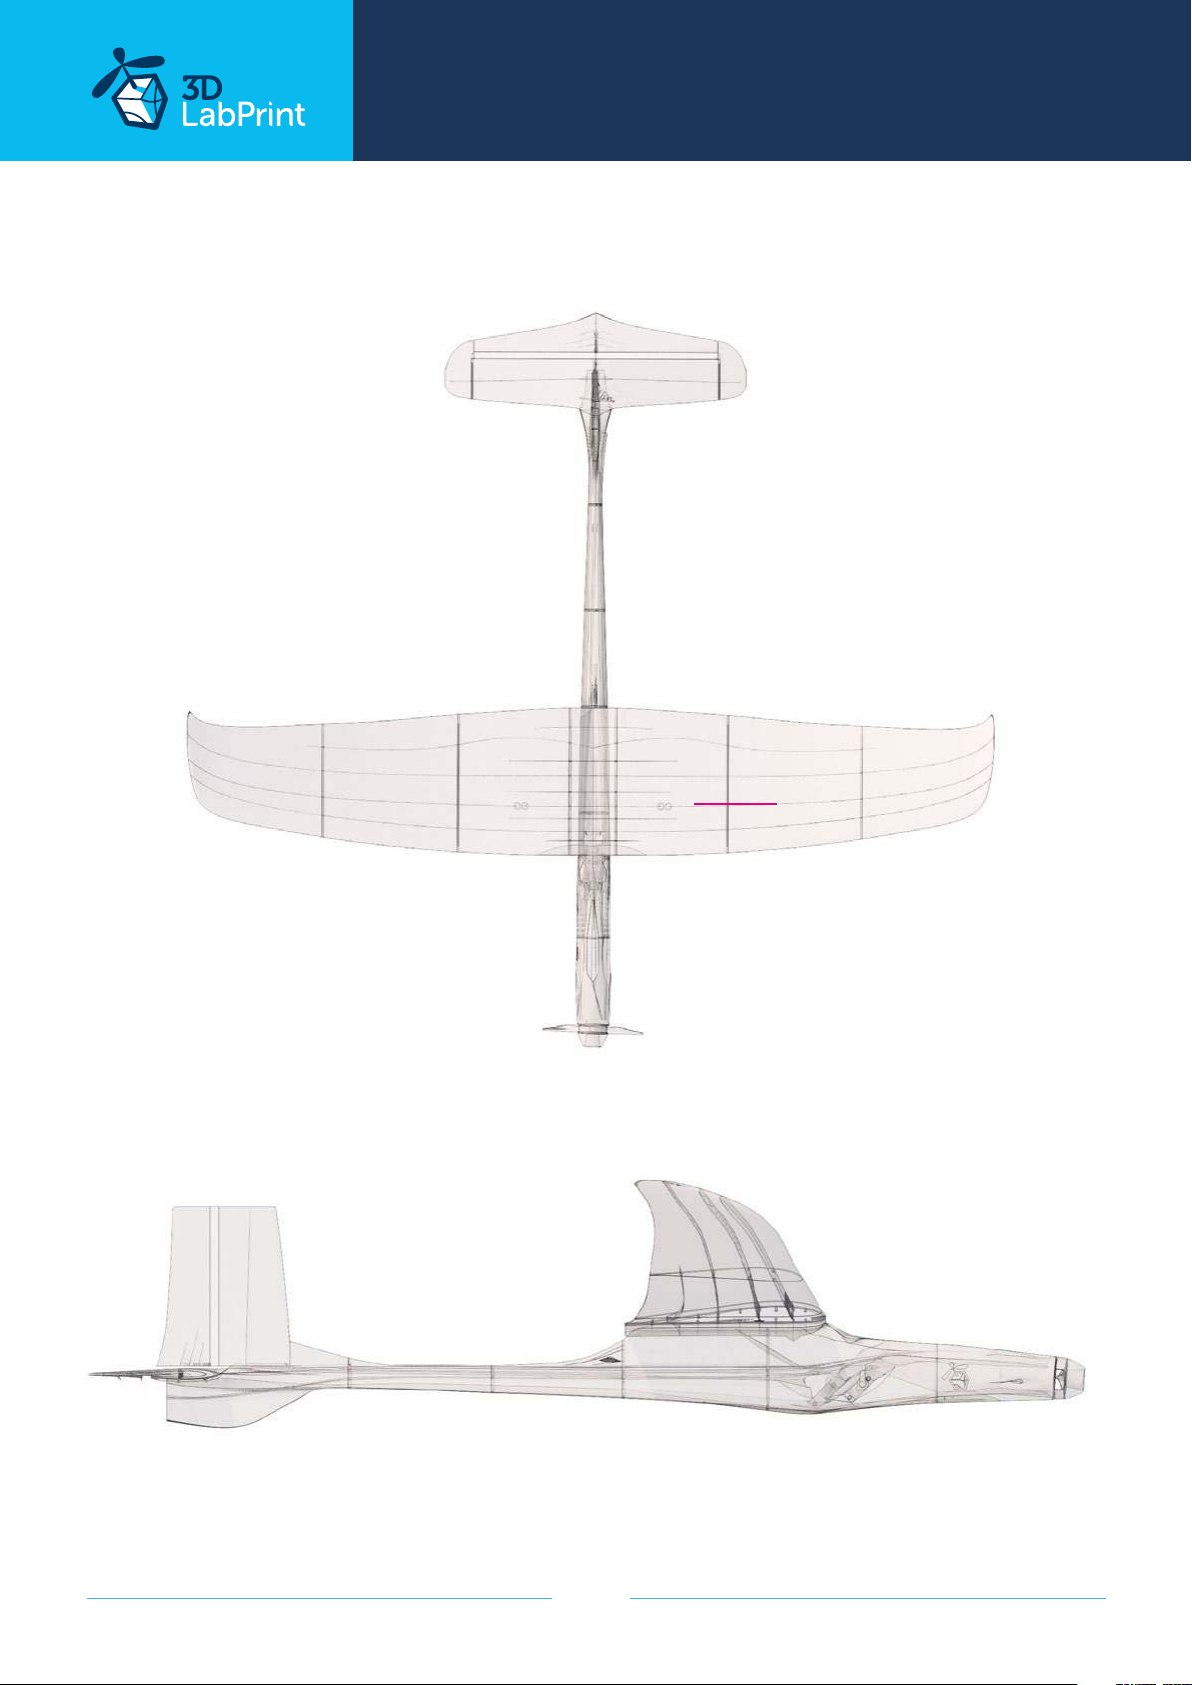
Wingspan: 1180 mm / 46.5 inch
Lenght: 1070 mm / 42.1 inch
Height: 260 mm / 10.2 inch
Wing area: 21,2 dm2 / 2.3 square feet
Wing loading: 15,1 g/dm2 / 4.9 oz/square feet
Center of gravity: 84 mm / 3.35 in from leading edge
CG tag on wing...
Airfoil: 3DLabPrint glide flight 03
Print weight (LW PLA): 216 g / 7.6 oz
Takeo weight (2s 350 lipo): 320 g / 11.3 oz
Never exceed speed, VNE: 40 km/h / 25 mph
Design maneuvering speed, VA: 32 km/h / 20 mph
Stall speed, VS: 7 km/h / 4 mph
Recommended setup
Motor: 2805 - 2800KV - 26g
ESC: Turnigy 12A or similar
Propeller: two blade GWS 5 x 3 (ugly orange)
Battery: LiPol 350mAh / 2s
Performance measurement
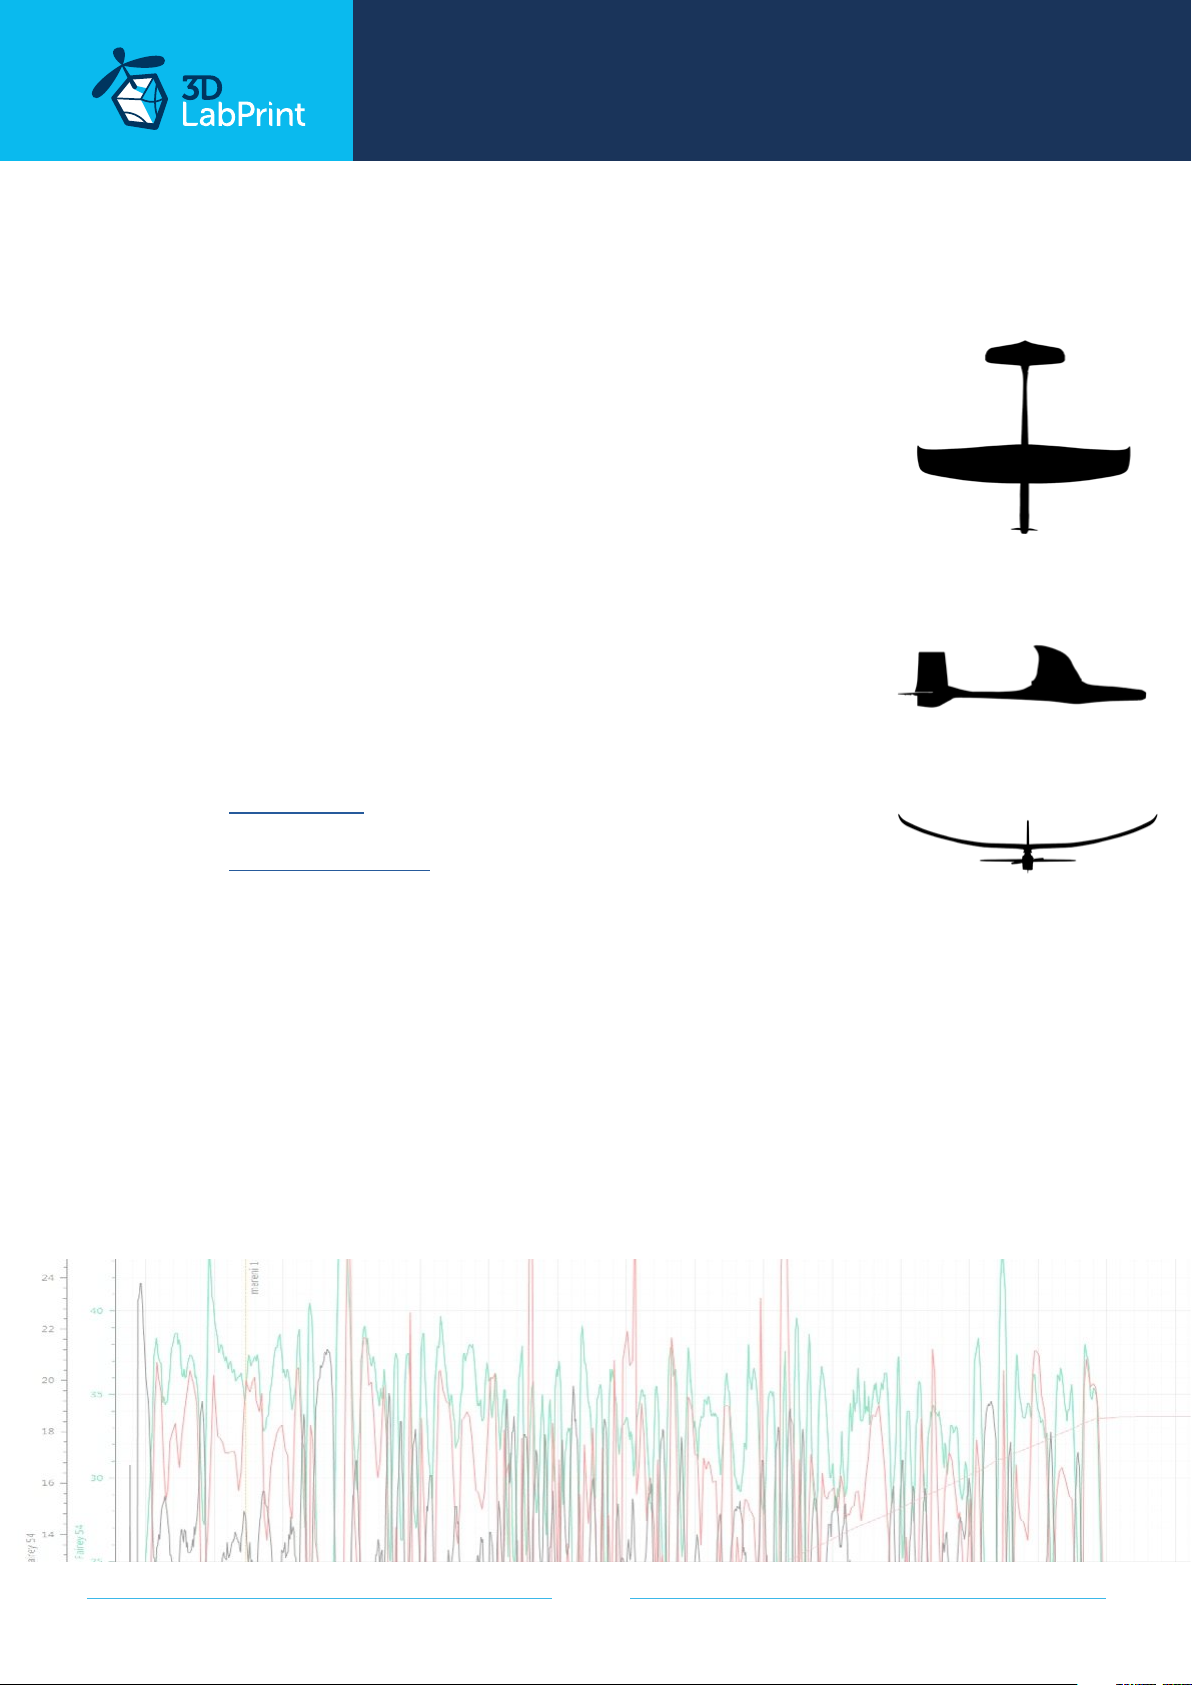
Max speed VH (level flight): 35 km/h – 18.9kn – 22mph
Rate of climb: 15 m/s, 2950 ft/min
Flight time (350mAh/2s): +30min (glider flying)
page 3
Page 4
... print your plane | www.3DLabPrint.com
Included:
1. STL 3d files
Universal STL files designed to be used with desktop FDM 3d printers and slicer software
as Simplify3D (recommended), CURA or MatterControl (these STLs are not compatible with
Slic3r).
2. Factory files for Simplify3D slicer - preered
Contains all the necessary settings to slice the models along with suggested bed layout. We‘re
using PRUSA i3 ORIGINAL printers so you may need to adjust the basic printing parameters
to match your printer or use these files as a start point for you. Please check the
Simplify3D
3. Step By Step PDF/VIDEO userguides
Apart from this userguide, please see the Printing Guide to find some Tips and Advice for
airplane printing (Thin Wall Printing).
4. Gcodes
Basic Gcodes prepared for direct use, as universal as possible. Should work on i3 style printers,
Give it a try, but we can‘t guarantee it will work on your printer.
5. Slice on your own with CURA or MatterControl slicers
If you for any reason don‘t like Simplify3D, there is always option to use another free slicer
Please follow our Cura guide in the Help section of the website where you can find the basic
single-wall profile. Remember: We use 0 retraction with LW-PLA and a continous vase mode.
page 4
Page 5
Bungee Prop
... print your plane | www.3DLabPrint.com
Wing area: 21,2 dm2 / 2.3 square feet
Centre of Gravity
Lenght: 1070 mm / 42.1 inch
page 5
Page 6
... print your plane | www.3DLabPrint.com
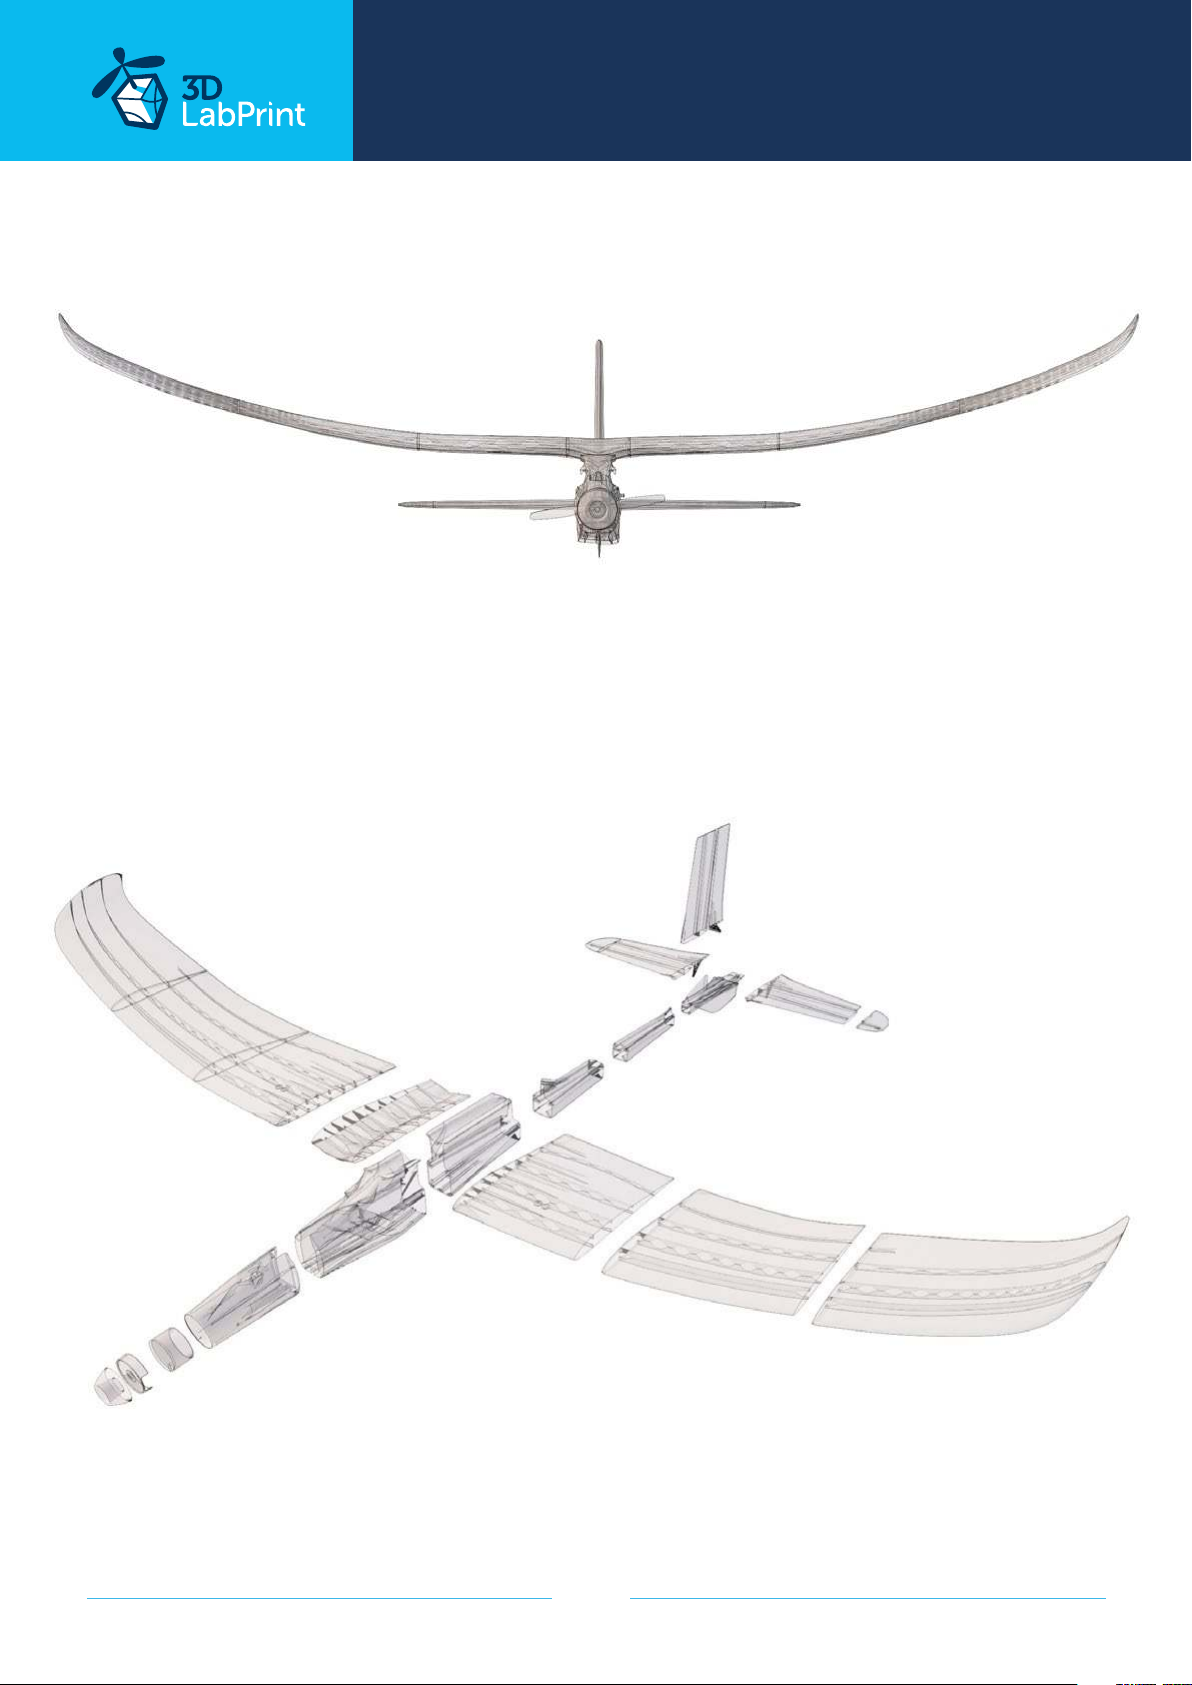
Wing span: 1180 mm / 46.5 inch
page 6
Page 7
... print your plane | www.3DLabPrint.com
Step By Step PDF/VIDEO userguide
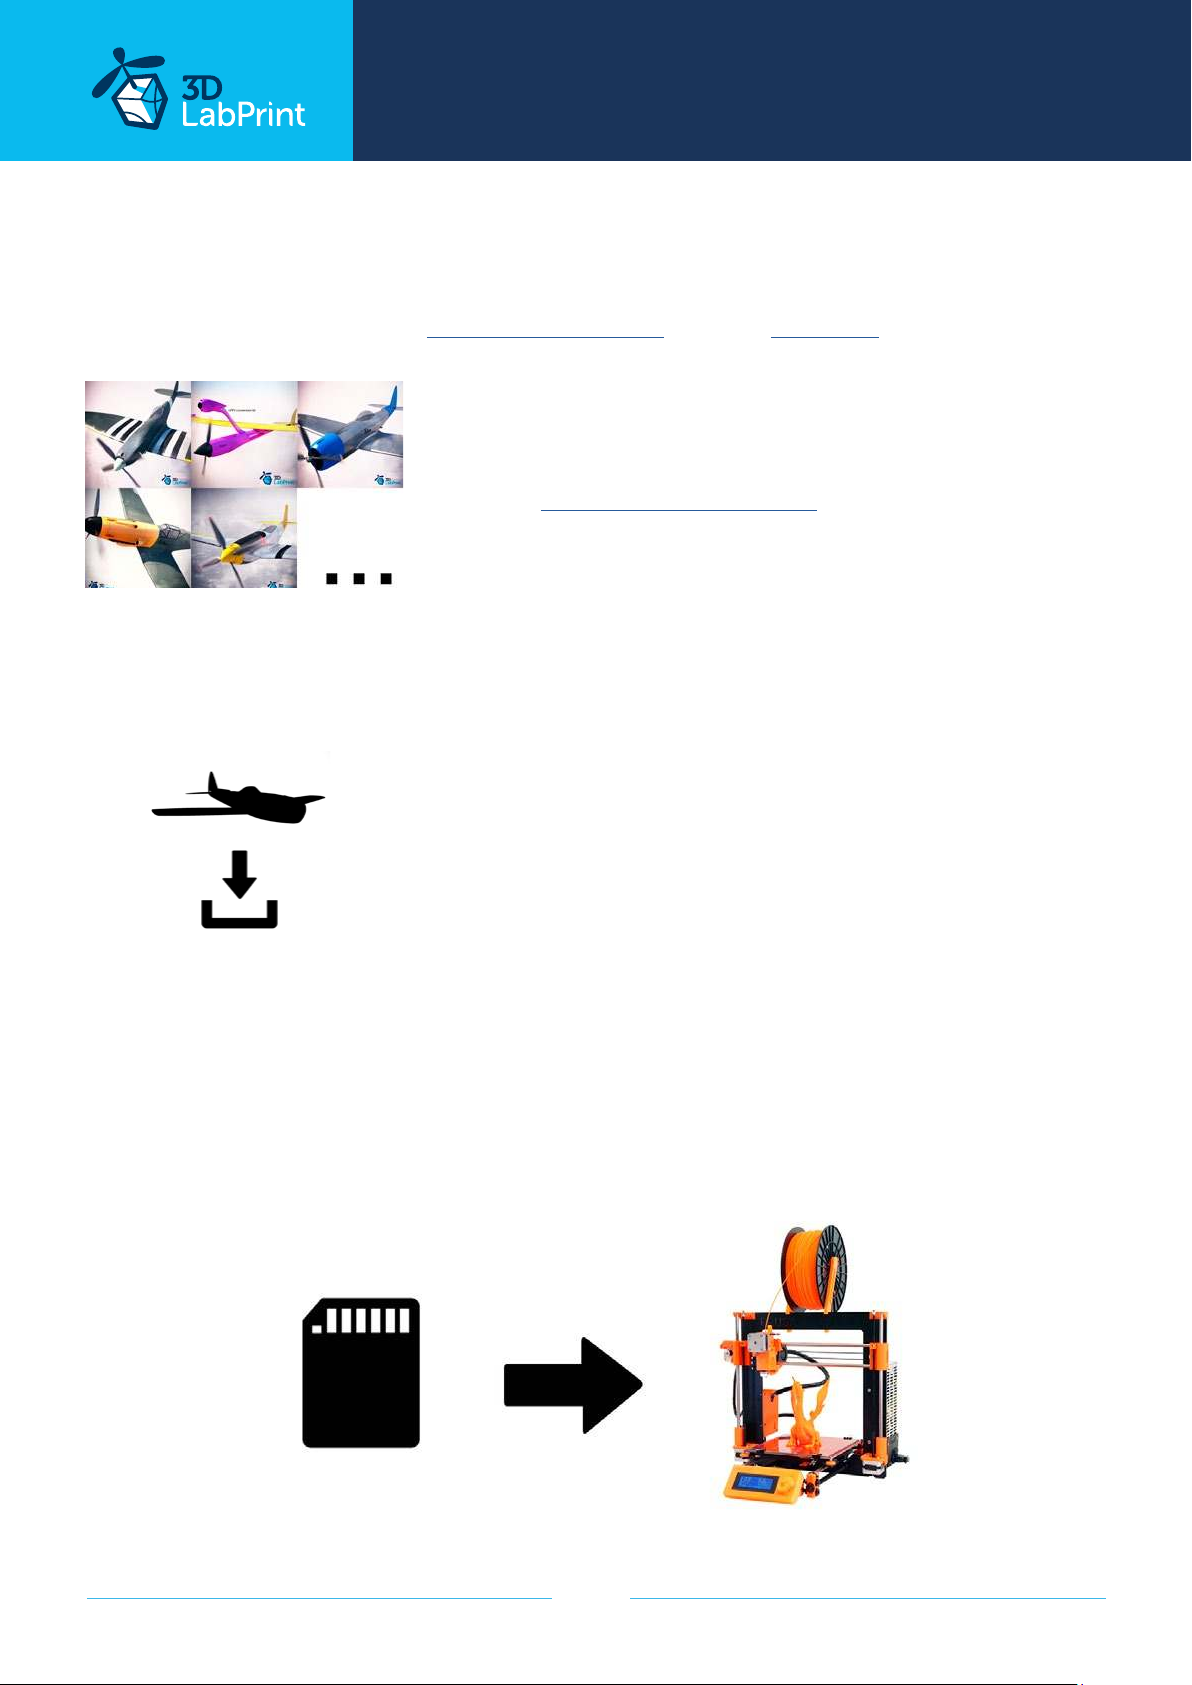
1. Choose airplane at www.3Dlabprint.com, visit our Facebook for latest info.
Basic requirments for Bungee Prop are 195/195/200 mm
volume, nozzle 0.4mm recommended (0.35 or 0.5mm
alternativelly). Heated bed recommended. Designed to be
printed with LW PLA filament.
Contact: [email protected]
2. Create account, download
You will receive download link to all the zipped files to your email (please check your spam
folder if not) or you can log in to your account and download directly from our websites.
3. Gcodes preparing
option A Gcodes:
if your printer is i3 comptatible you can use prepared gcodes directly. Just save them to the
SD card and let the 3d printer do it‘s job. HE temperature is set to 250°C so the layers fuse
together well (with great foaming eect), you can adjust speed and temperature only through
your printer‘s LCD. If these Gcodes does not work for you, please proceed to the next options.
page 7
Page 8
... print your plane | www.3DLabPrint.com
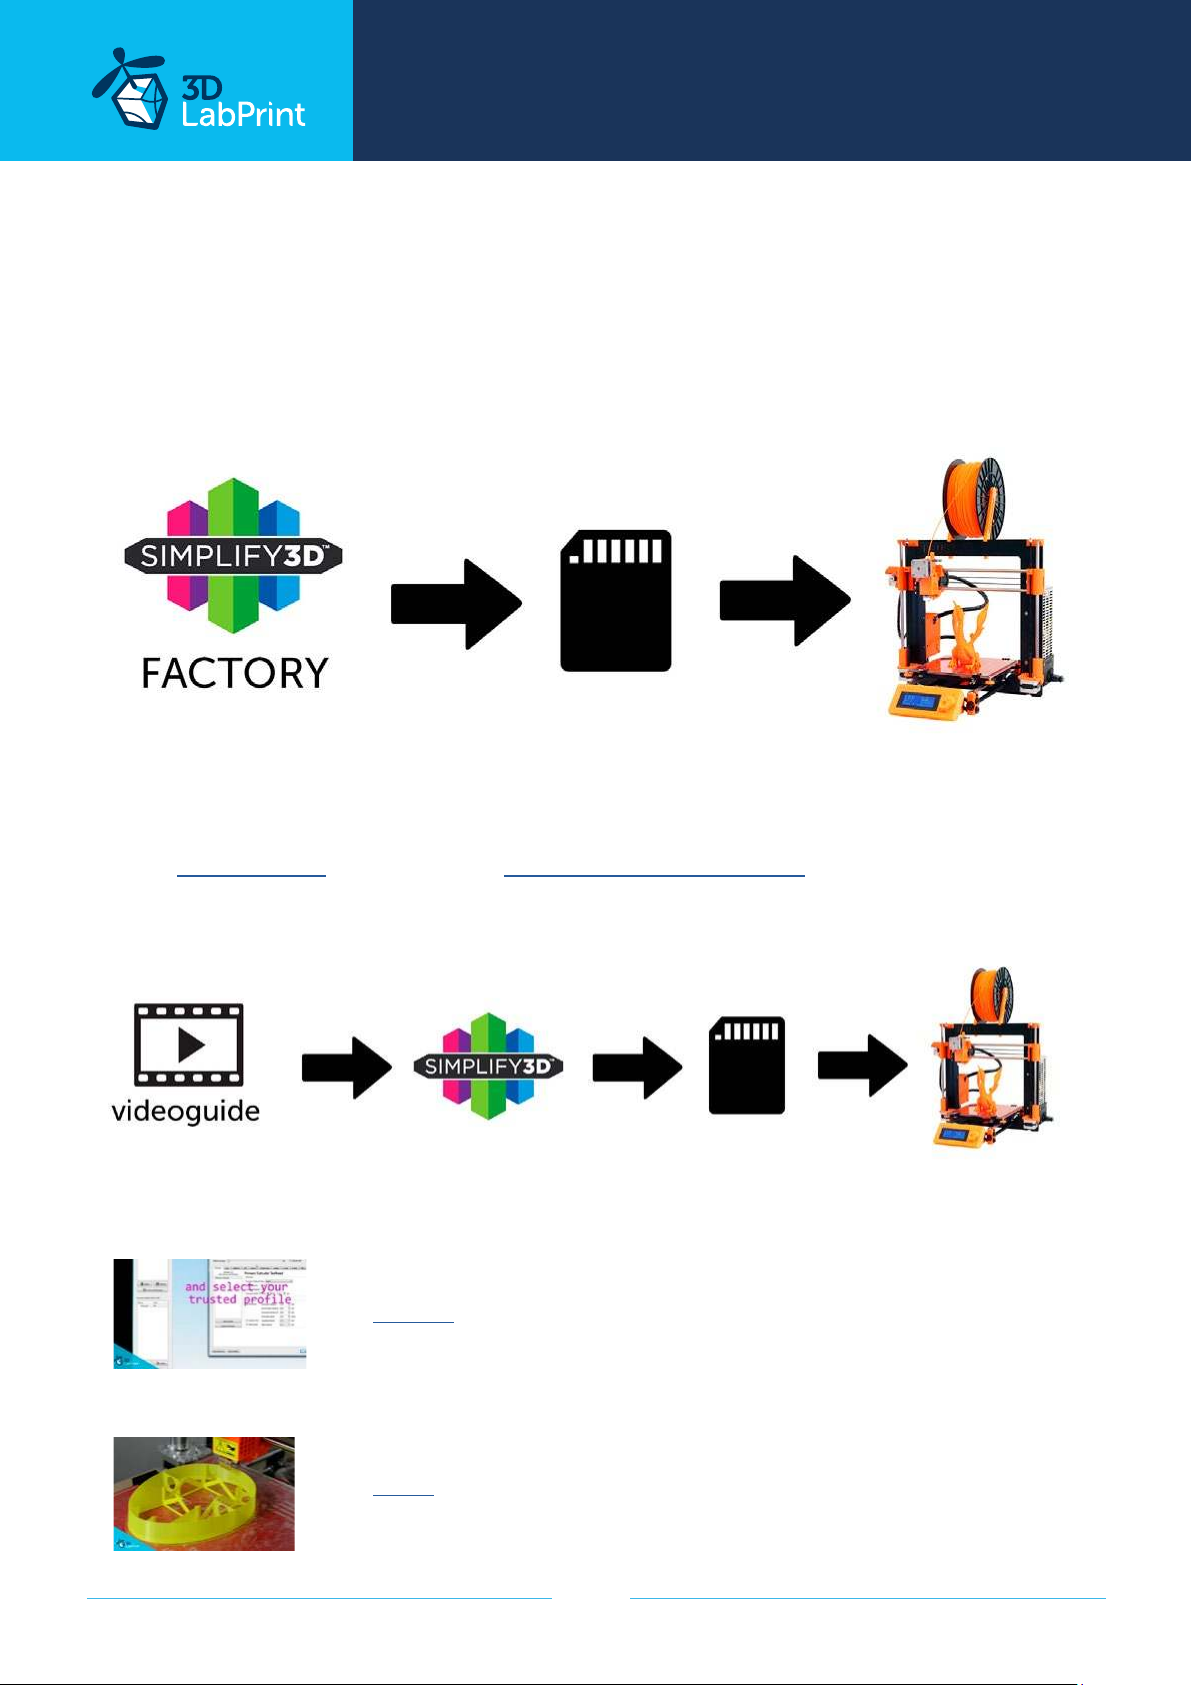
option B Factory files Simplify3D (recommended):
Note: check proper extrusion multiplier for each part - see weight chart on page 11.
We prepared all you need in these files (FFF process settings, parts layout on bed, etc...)
You can use these settings as a start point. Adjust according to your need (adapt for your
printer), print single parts and so on... Most 3d printers should work just with these settings,
but please go through the settings and amend if necessary, we are not liable for any damage
resulting from using our settings. If this still does not work for you, please proceed to the
next option.
option C Simplify3D manual setting (watch and learn):
Note: check proper extrusion multiplier for each part - see weight chart on page 11.
Use our video guide 2 and check our Simplify3D reference guide for proper setting... this
is very good option and you will learn a lot about Simplify3D and become an 3d printing
expert. Remember: We use 0 retraction with LW-PLA and a continous vase mode.
AND... please watch our VideoGuides:
video 2 Simplify3D setting
video about Thin Wall Printing (normal PLA)
page 8
Page 9
... print your plane | www.3DLabPrint.com
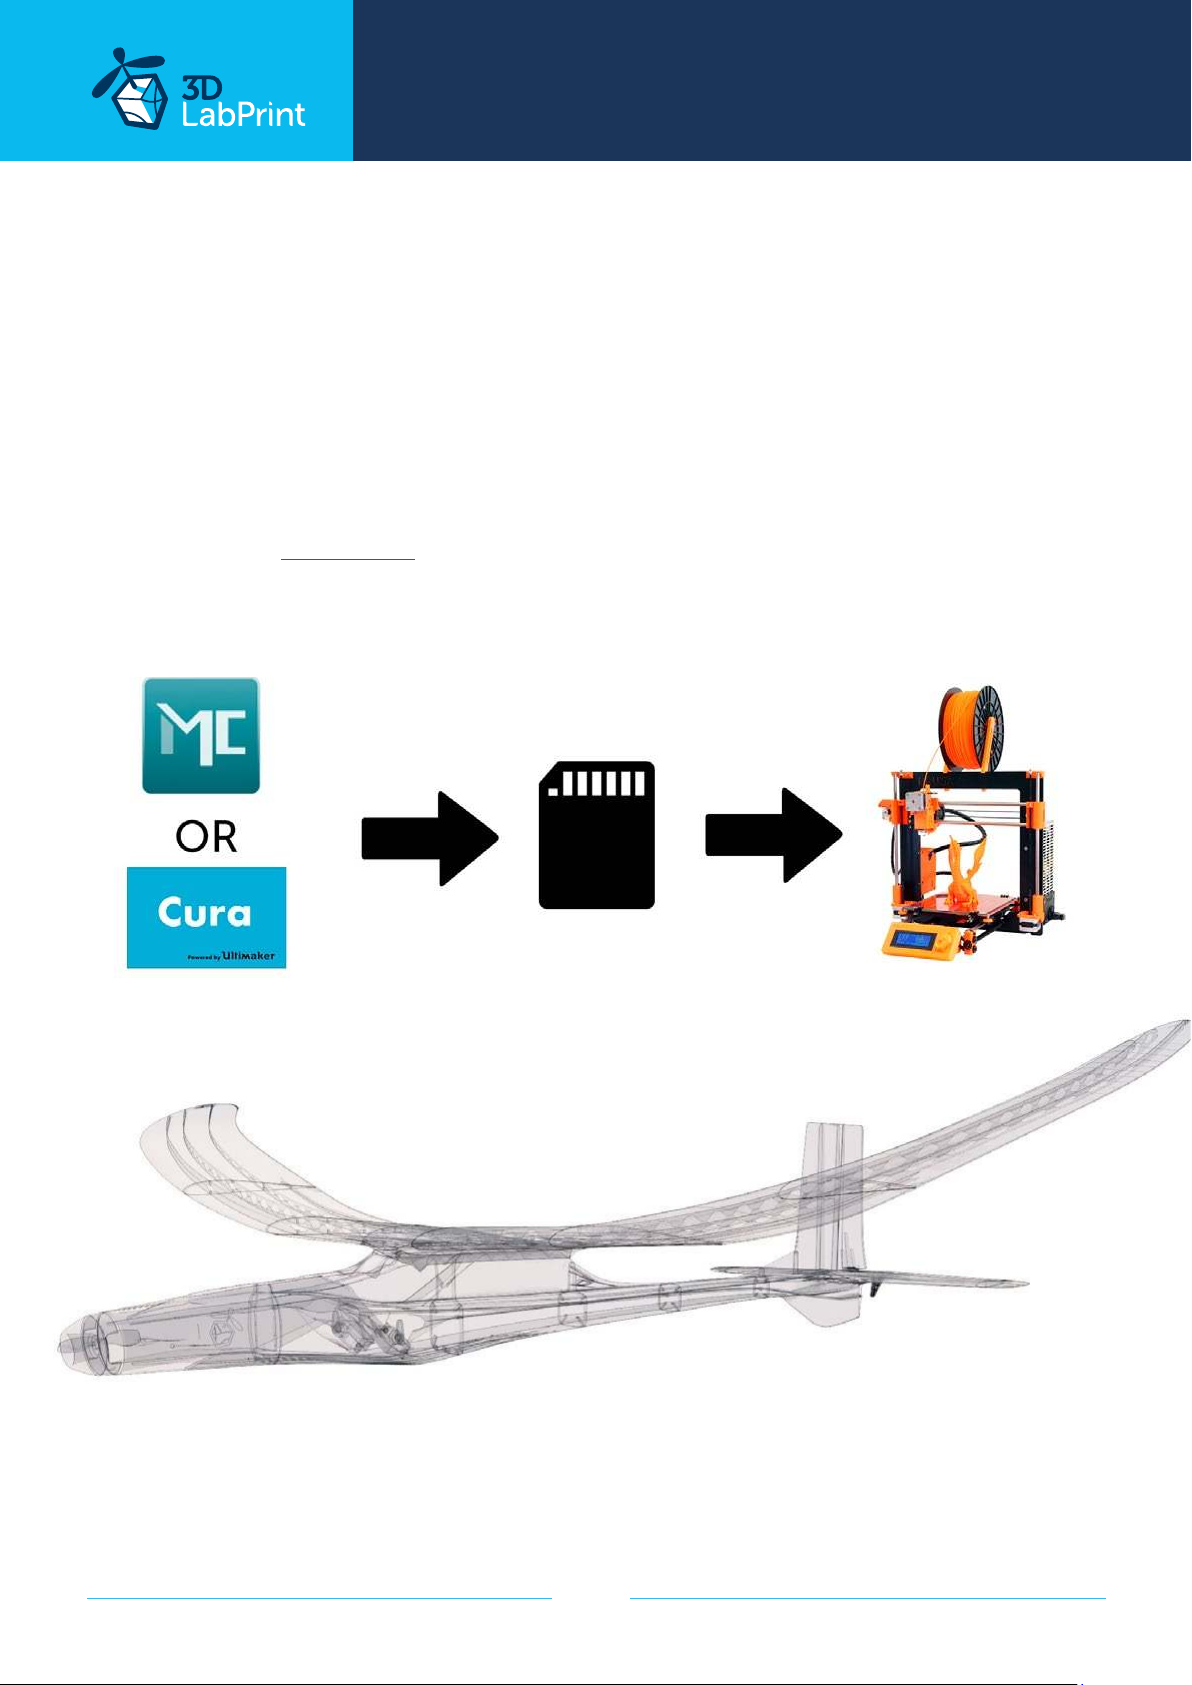
option D CURA or MatterControl
Note: check proper extrusion multiplier for each part - see weight chart on page 11.
MatterControl and CURA are free and provide satisfactory results. The airframe is still strong
enough, but don‘t expect the best quality. Both slicers lacks some very useful features, and
finer settings, like multiple processes according to Z height, retraction options, layer start,
etc.
Please try to find the best extrusion multiplier and temperature for good weight and best
possible layer bonding. Look at parts weight list for proper multiplier settings.
As a starting point you can use our predefined CURA or MC slicer setting file - see below
(always adapt it for your printer, change build volume, filament diameter, etc...
according to your printer!!!)
Please check our CURA guide on the website for the latest basic profile. Please visualise our
presliced gcodes to see how the result should look like and try to achieve the same in your
slicer.
Please watch our VideoGuides...
Remember: We use 0 retraction with LW-PLA.
page 9
Page 10
... print your plane | www.3DLabPrint.com
4. Print it
Save the prepared Gcodes to the SD card and insert into your printer. Prepare your printer
and start printing, we prefer to use SD card rather than direct USB connection. Scaling the
model will lead to unusable result!
you will need: LW PLA filament
3DLac, Strong hair spray, PEI or your favorite adhesive bed surface
Razor blade
AND... please watch our VideoGuides:
printing guide video
Basic Tips and Advice
This plane has been designed to be printed from foaming LW-PLA that means about 60%
weight reduction on printed parts (with this multiplyer setting).
Note: check proper extrusion multiplier for each part - see weight chart on page 11.
Please Experiment with temperature and extrusion multiplier. Hotend temperature is very
important (230° up to 250° celsius). The temperature determines, how much the LW-PLA
foams while printing. Cranking up temperature means, you can go lower on multiplier as the
material will gain on volume. Turn OFF cooling fan for better layer adhesion (HE fan should
be ON). We dont need it for thin wall printing. Heated bed is very recommended, 55° Celsius
(to prevent warping ends).
Price of the LW-PLA may look a bit steep at first glance, but since we’re using 50-65% less
material thanks to the foaming feature, the cost dierence is not so high as it may look.
LW-PLA by ColorFabb comes in two colours. White and Black. We found no dierence in
printing of both colours, but the black colour will probably attract the sunrays more, causing
warping of the thin wall surface. There are many 3d printers on the market, most of them are
capable of printing our airplanes (specific thin wall printing...) suficient volume, heated bed,
0.4mm nozzle.
Please see the Printing Guide (FAQ):
page 10
Page 11
... print your plane | www.3DLabPrint.com
Enjoy the fun together!
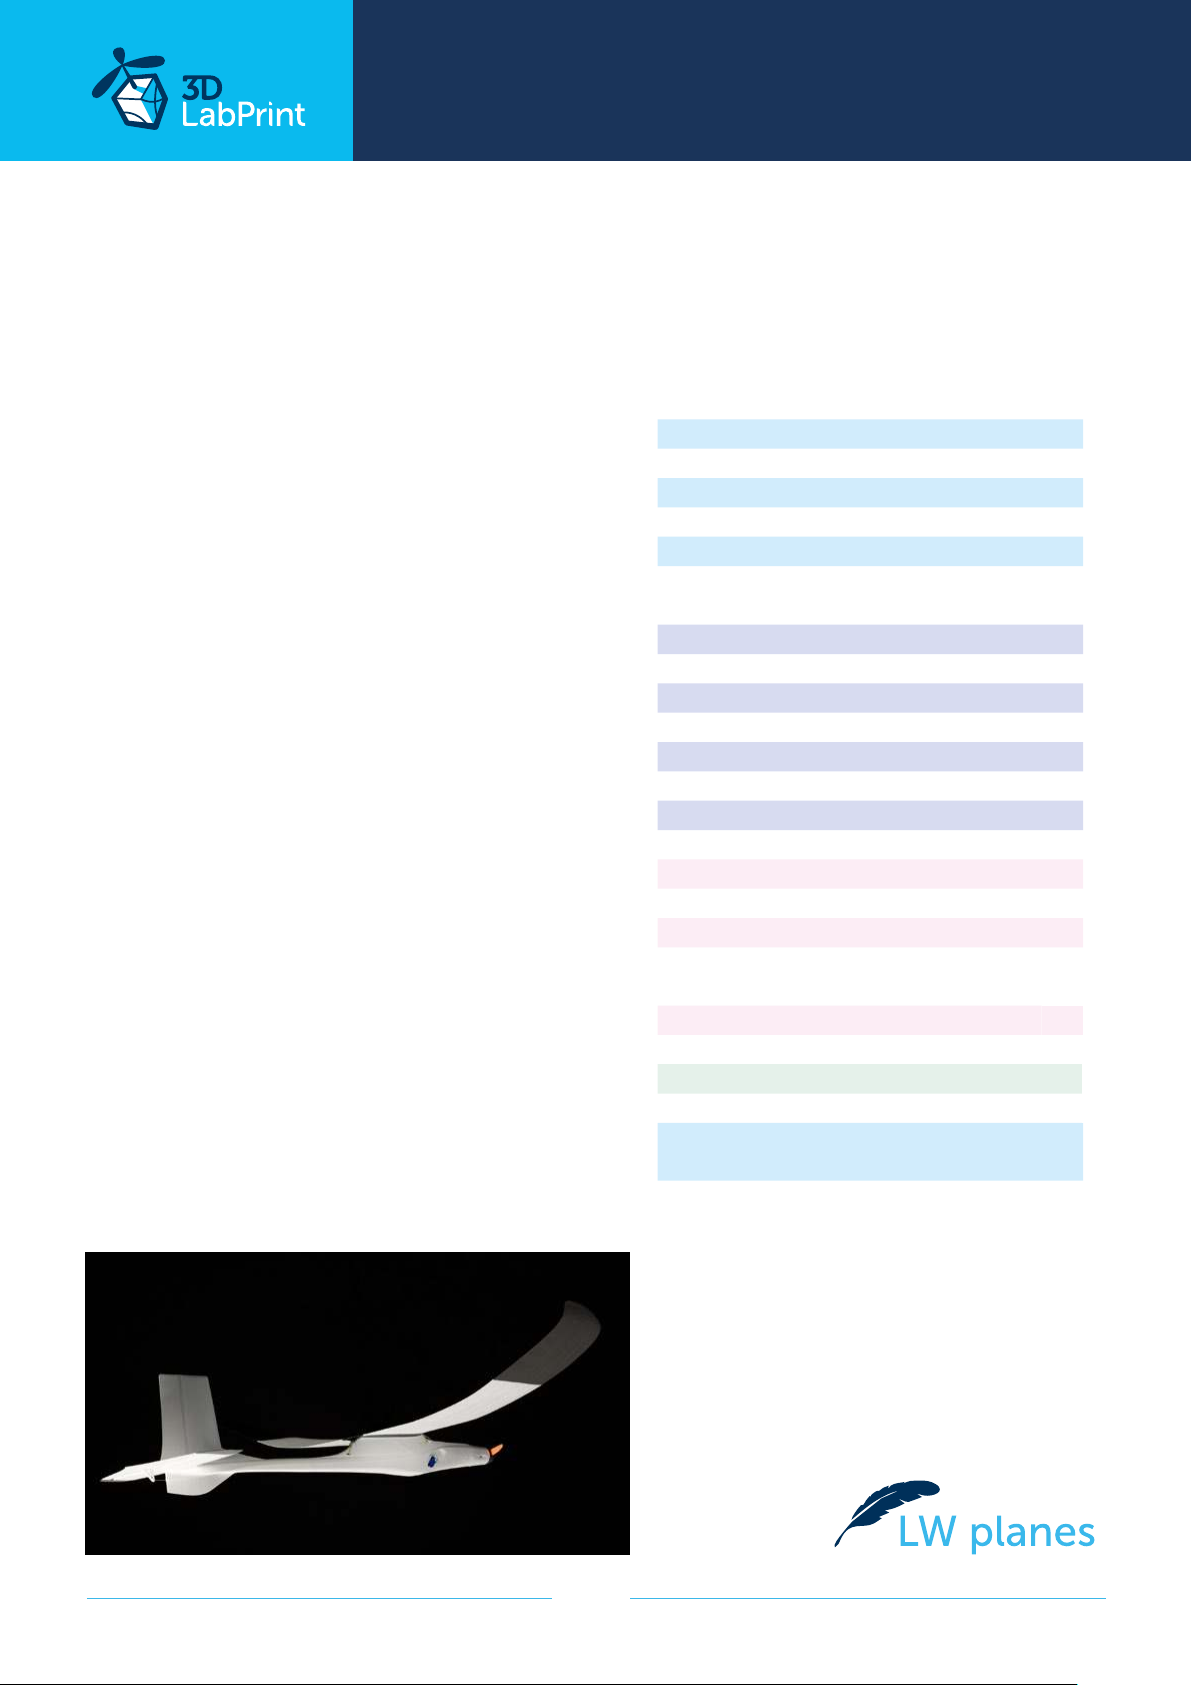
Bungee Prop is another of a new LW Planes
series designed for easy and cheap flying. The
build is simple even for a beginner. It’s very
low weight, easy assembly and fantastic flight
characteristics makes this model an ideal plane
for beginner RC pilots.
Very suitable for dads and kids. Children will learn
some modern building skills and technology and
most of all have fun. This is the reason, why every
dad should have a 3D printer at home.
This model has been completely designed with a
new LW PLA material by ColorFabb in mind.
Parts printed from this LW PLA are light, easily
sanded and glued together. This model requires
only about 220 g of this material, that means it’s a
very cheap build. In case of accident, parts can be
easily reprinted with just a filament cost.
We’ve been testing this material for half a year
before the first LW plane was released... The
material is using an active foaming technology
to achieve lightweight, low density PLA parts.
At around 230°C this material will start foaming,
increasing its volume by nearly 3 times.
All parts of this plane should be printed from LWPLA.
Note: check proper extrusion multiplier for each
part.
Bungee Prop
weights of printed parts
extrusion setting
fuselage LW PLA
F1 (extrusion m. 0.50) 11 g
F2 (extrusion m. 0.50) 22 g
F3 (extrusion m. 0.40) 12 g
F4 (extrusion m. 0.40) 7 g
F5 (extrusion m. 0.40) 6 g
F6 (extrusion m. 0.40) 8 g
wing
wing L1 (extr. m. 0.40) 17 g
wing L2 (extr. m. 0.40) 19 g
wing L3 (extr. m. 0.40) 14 g
wing R1 (extr. m. 0.40) 17 g
wing R2 (extr. m. 0.40) 19 g
wing R3 (extr. m. 0.40) 14 g
wing C (extr. m. 0.50) 12 g
tail
H stab. L1 (extr. m. 0.35) 9 g
H stab. L2 (extr. m. 0.35) 1 g
H stab. R1 (extr. m. 0.35) 9 g
H stab. R2 (extr. m.
0.35)
V stab. (extr. m. 0.35) 10 g
accessories
m. mount (extr. m. 0.5) 4 g
spinner (extr. m. 0.5) 4 g
1 g
page 11
all printed parts 216 g
Page 12
... print your plane | www.3DLabPrint.com
5. Assembly of printed parts
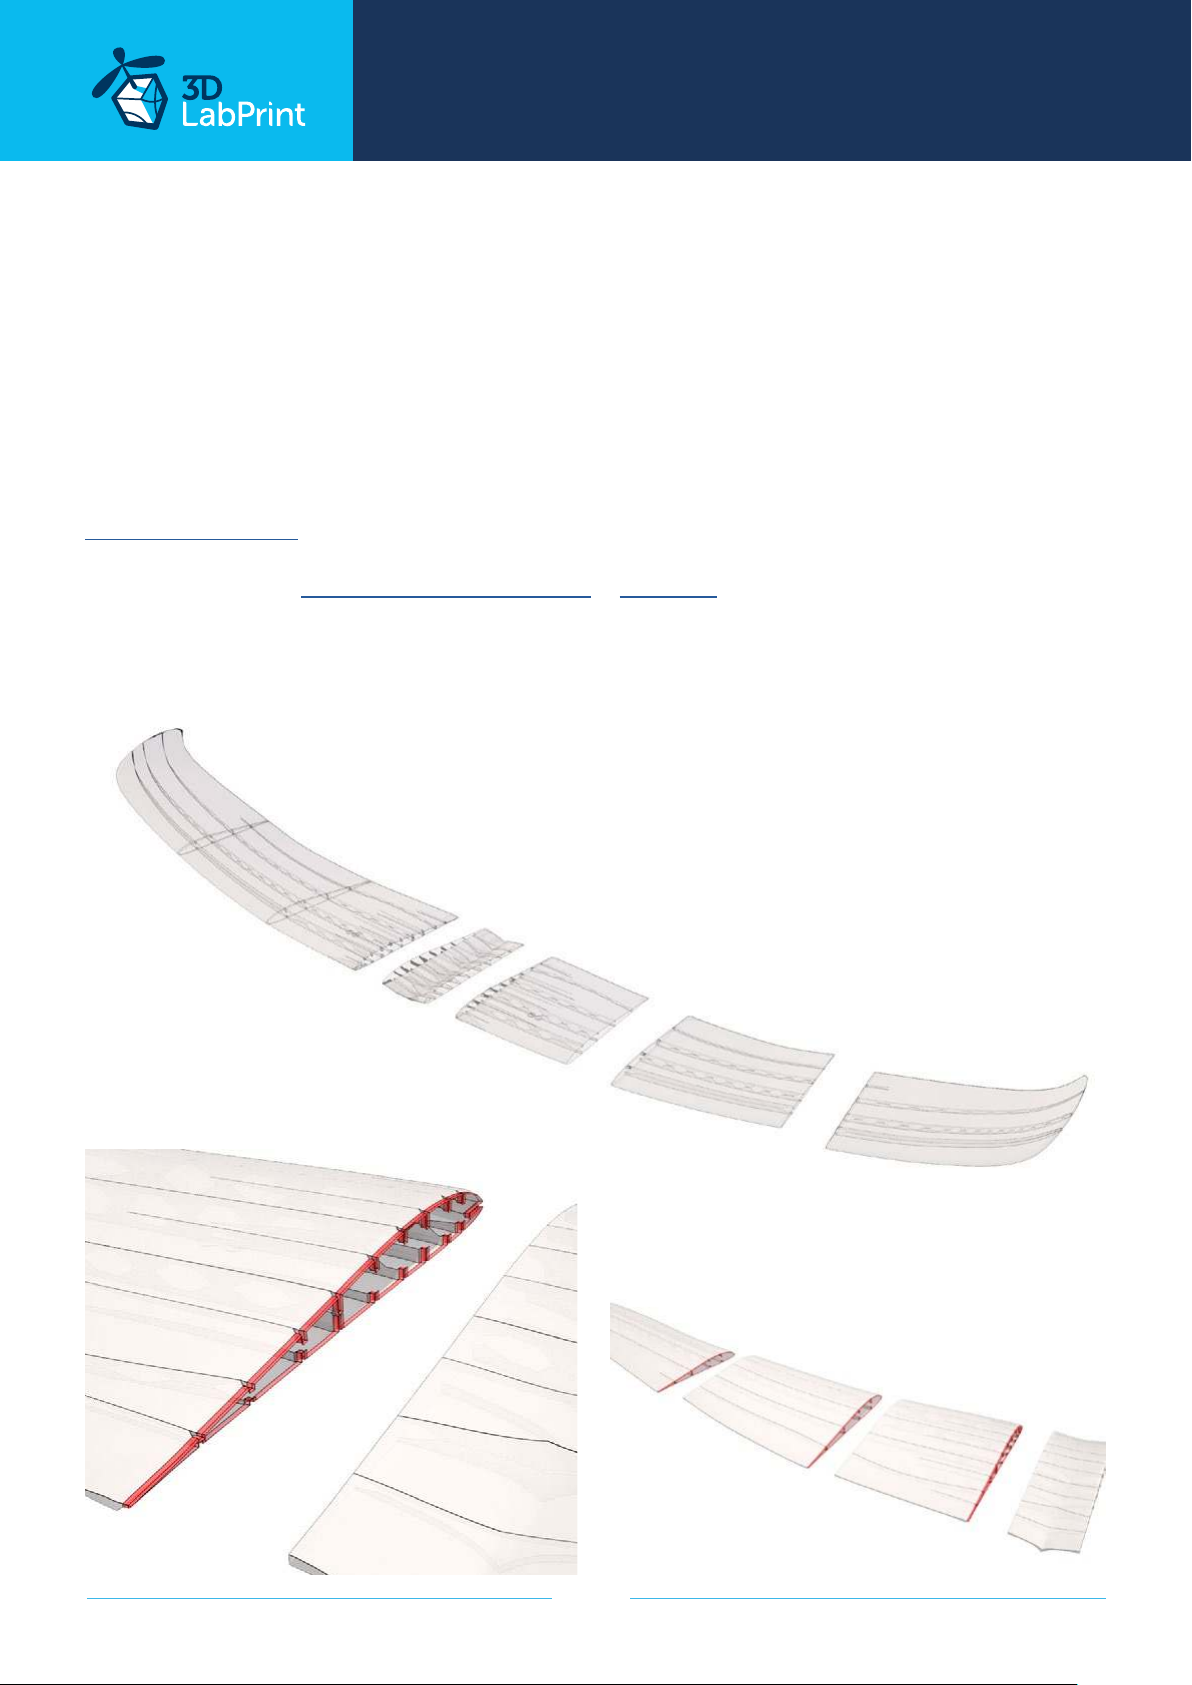
5.1 Wing assembly
Glue wing parts together. The new 3DLabPrint lock system will help you. Repeat for the right
side. Glue both halves of the wing together. Use the CA glue and activator to speed up the
glue curing.
See video guide #4
you will need: CA Glue medium viscosity + activator
Snap knife, some cloth for wiping CA glue...
wing C
12g/0.42oz
wing L1
17g/0.6oz
wing L2
19g/0.67oz
wing L3
14g/0.49oz
page 12
Page 13
... print your plane | www.3DLabPrint.com
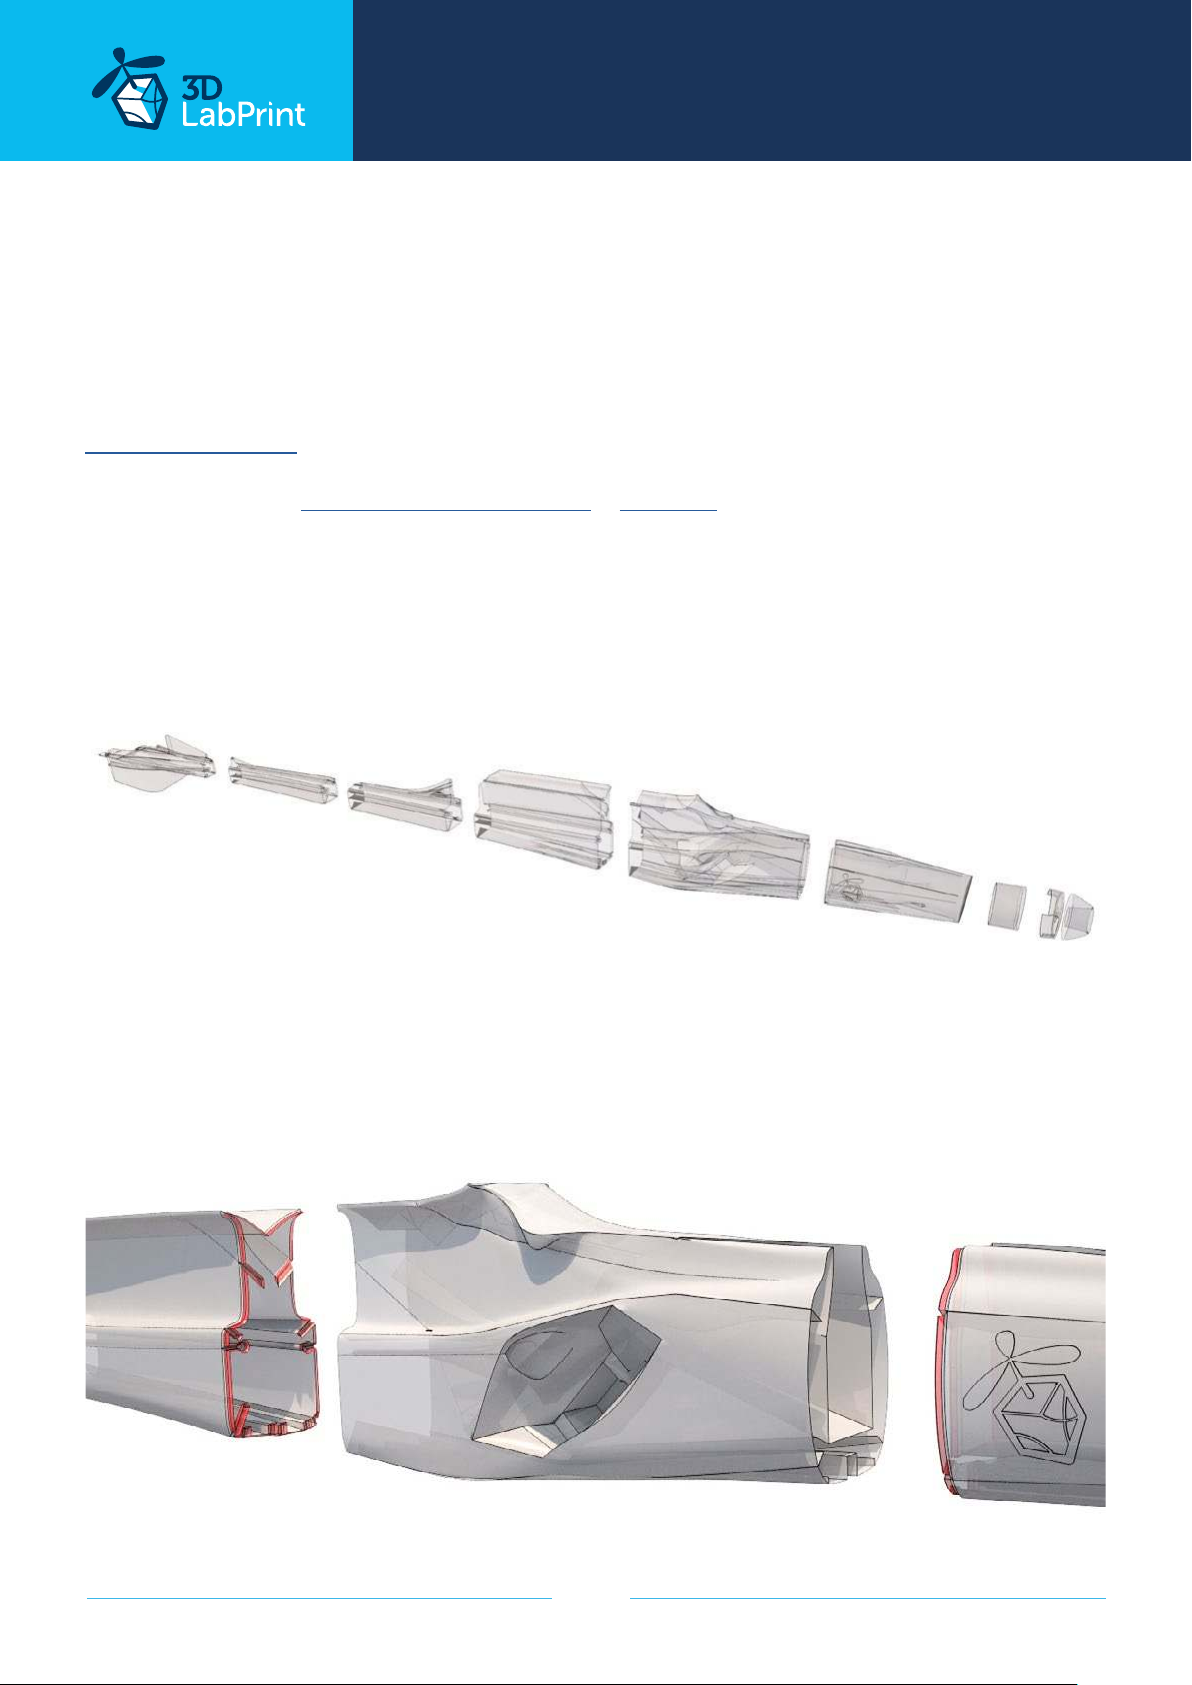
5.2 Fuselage assembly
You can use snap knife for cleaning the surface of printed parts (joining spots), but mostly it
is not necessary.
Glue fuselage parts F1-F6 with CA glue together. The new 3DLabPrint lock system will help you.
Use any hot tool to cut out the hole for rubber band in F4 part (main wing join).
See video guide #5
you will need: CA Glue medium viscosity + activator
Snap knife, Soldering Iron or any hot tool (dremel torch)
F6
8g/0.28oz
F4
7g/0.25oz
F2
22g/0.78oz
F5
6g/0.21oz
F3
12g/0.42oz
F1
11g/0.39oz
motor mount
4g/0.14oz
spinner
4g/0.14oz
page 13
Page 14
... print your plane | www.3DLabPrint.com
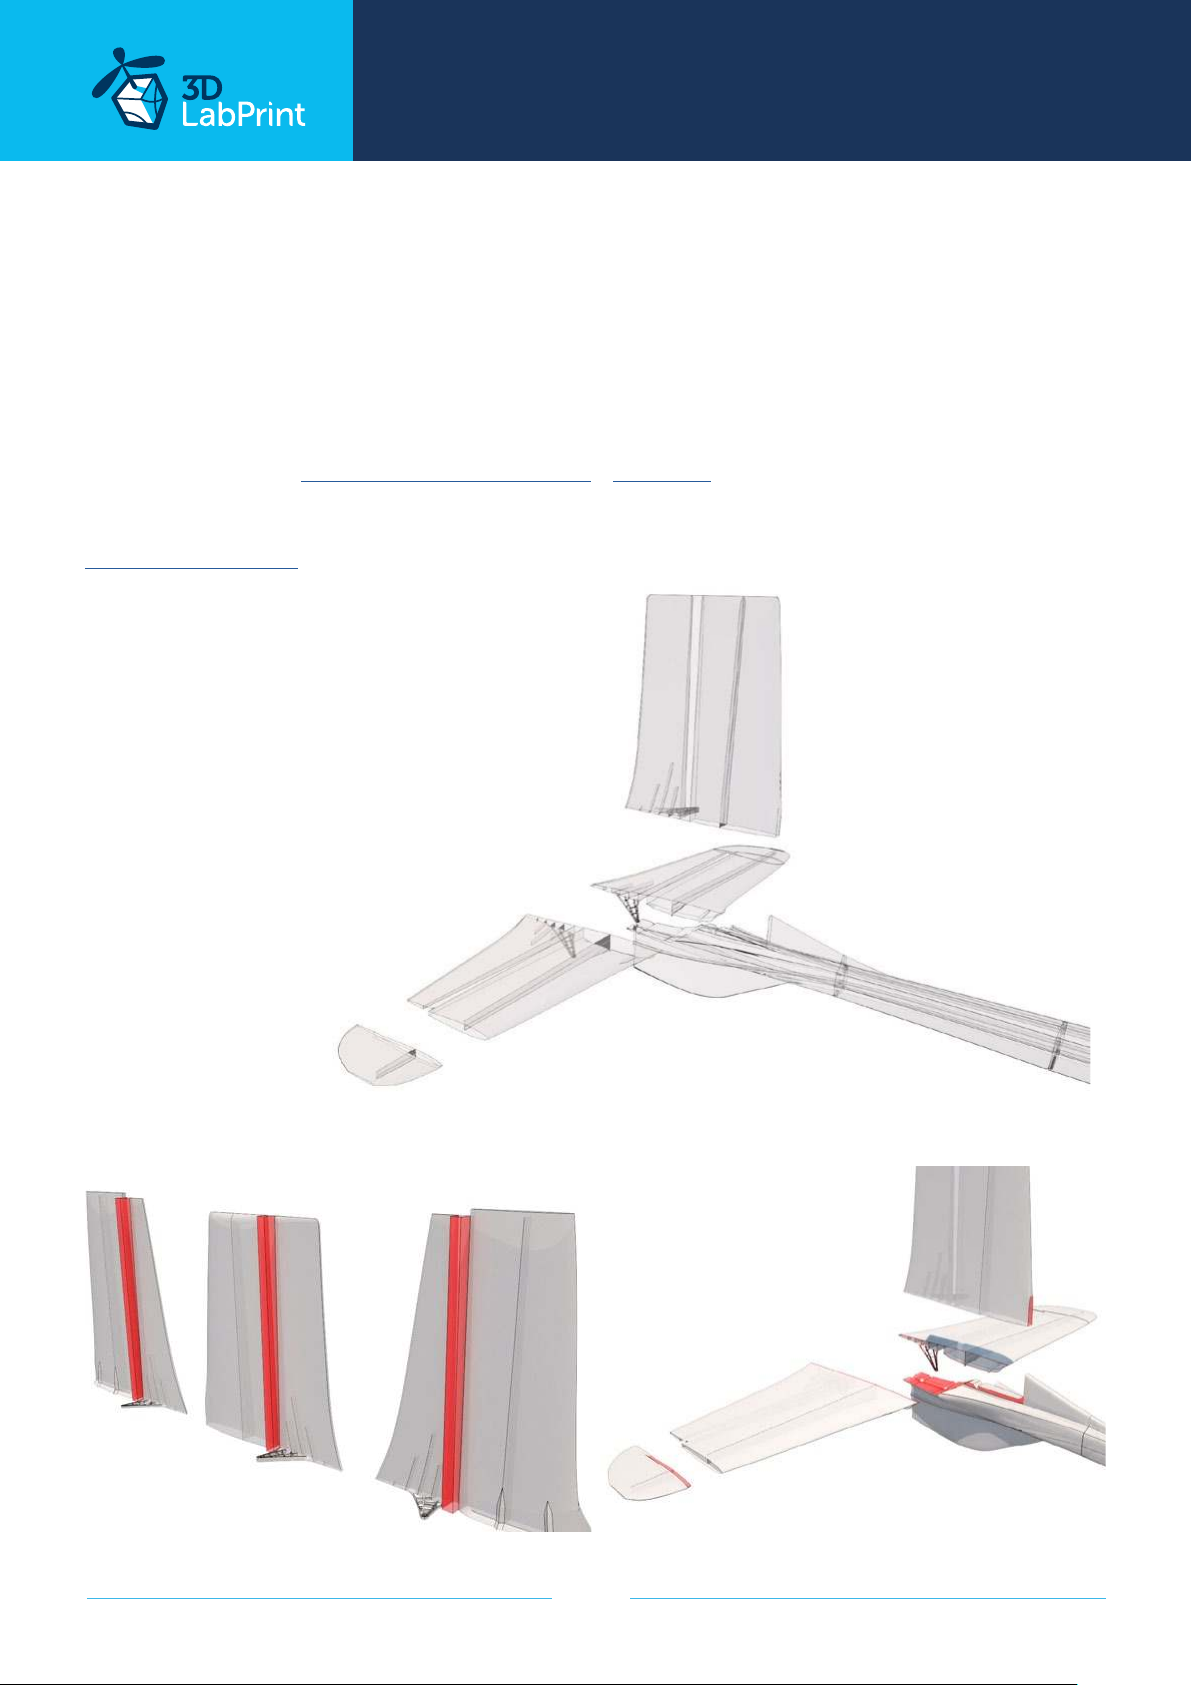
5.3 Fuselage tail
Use hot snap knife or any hot tool and cut out print bridge so the elevator can freely move
(you can than cut some longitudal holes so the elevator hinges will be softer). Glue L1 and
L2 parts of the stabilizer, proceede with R side and glue both sides together, then glue whole
stabilizer/elevator to the fuselage.
V stabilizer/rudder - cut out the bridge the same way and glue it to the fuselage.
you will need: CA Glue medium viscosity+ activator
Snap knife, Soldering Iron or any hot tool (dremel torch)
See video guide #6
V stabilizer
10g/0.35oz
H stabilizer L2
1g/0.04oz
H stabilizer L1
9g/0.32oz
page 14
Page 15
... print your plane | www.3DLabPrint.com
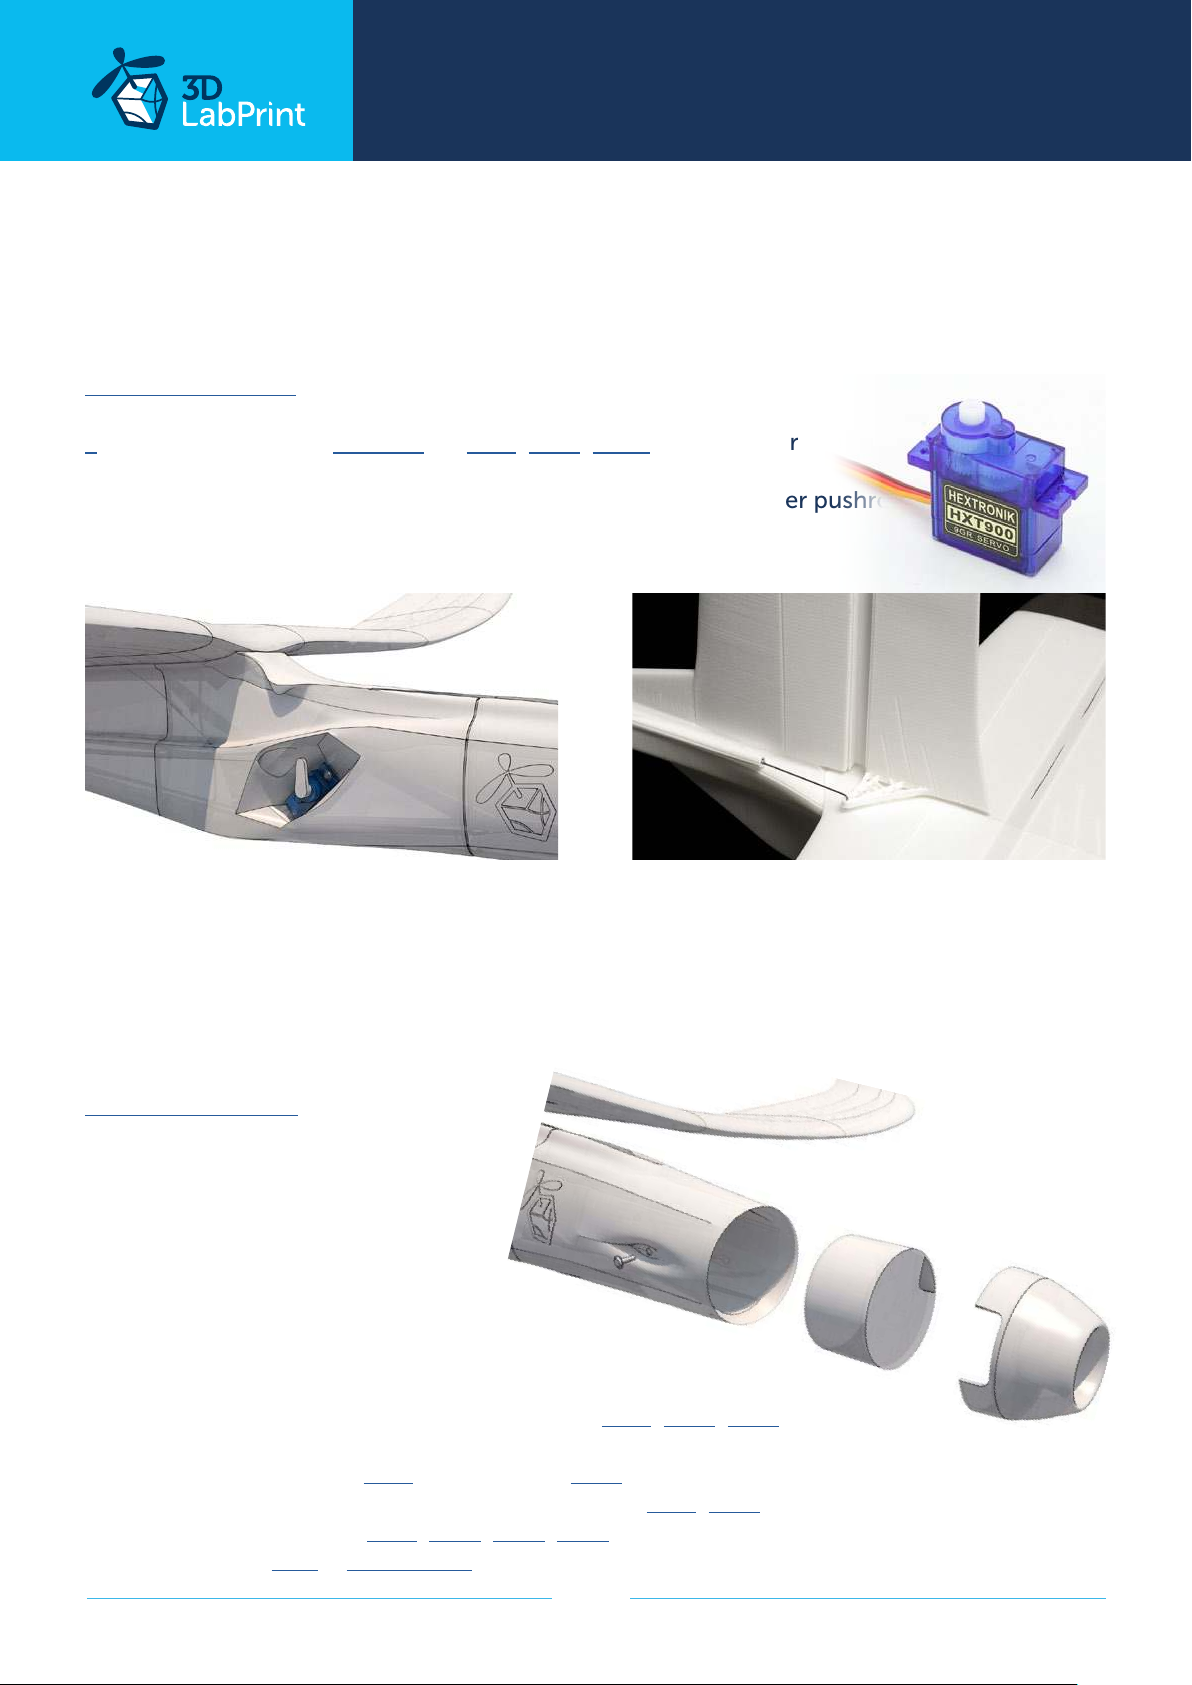
6. Servo and pushrod installation
Install servos to fuselage servo bays. Use a 0,6-0,8mm steel wire with L bends as a linkage
between the servos and elevator/rudder control horns.
See video guide #7
you will need: 2x HXT900, or opt1, opt2, opt3 or any similar
23x12x26 mm / 0.74x0.42x0.78 inches
0,6-0,8 mm steel wire for elevator and rudder pushrod
Snap knife, pliers
7. Motor & ESC
Mount the motor using small self-tapping screws to the printed universal motor holder. For
long motors you can flip the holder to the front. Connect ESC and check rotation. Insert
universal motor mount with motor into the fuselage in right position and secure with two
screws.
See video guide #8
you will need:
6x 1.5/10self-tapping screws
soldering Iron, shrink tube...
Motor Setup
Motor: any 10-30grams, 28-05, 2800KV, opt1, opt2, opt3... or similar
+ suitable propeller holder (if not included)
ESC: any 12A/2s, opt1, with caution opt2 or similar
Propeller: two blade GWS 5 x 3 (ugly orange) or
Battery: 350mAh/2s, opt1, opt2, opt3, opt4,
Batt. connector: JST + shring tube
page 15
opt1, opt2 (use CCW)
Page 16
... print your plane | www.3DLabPrint.com
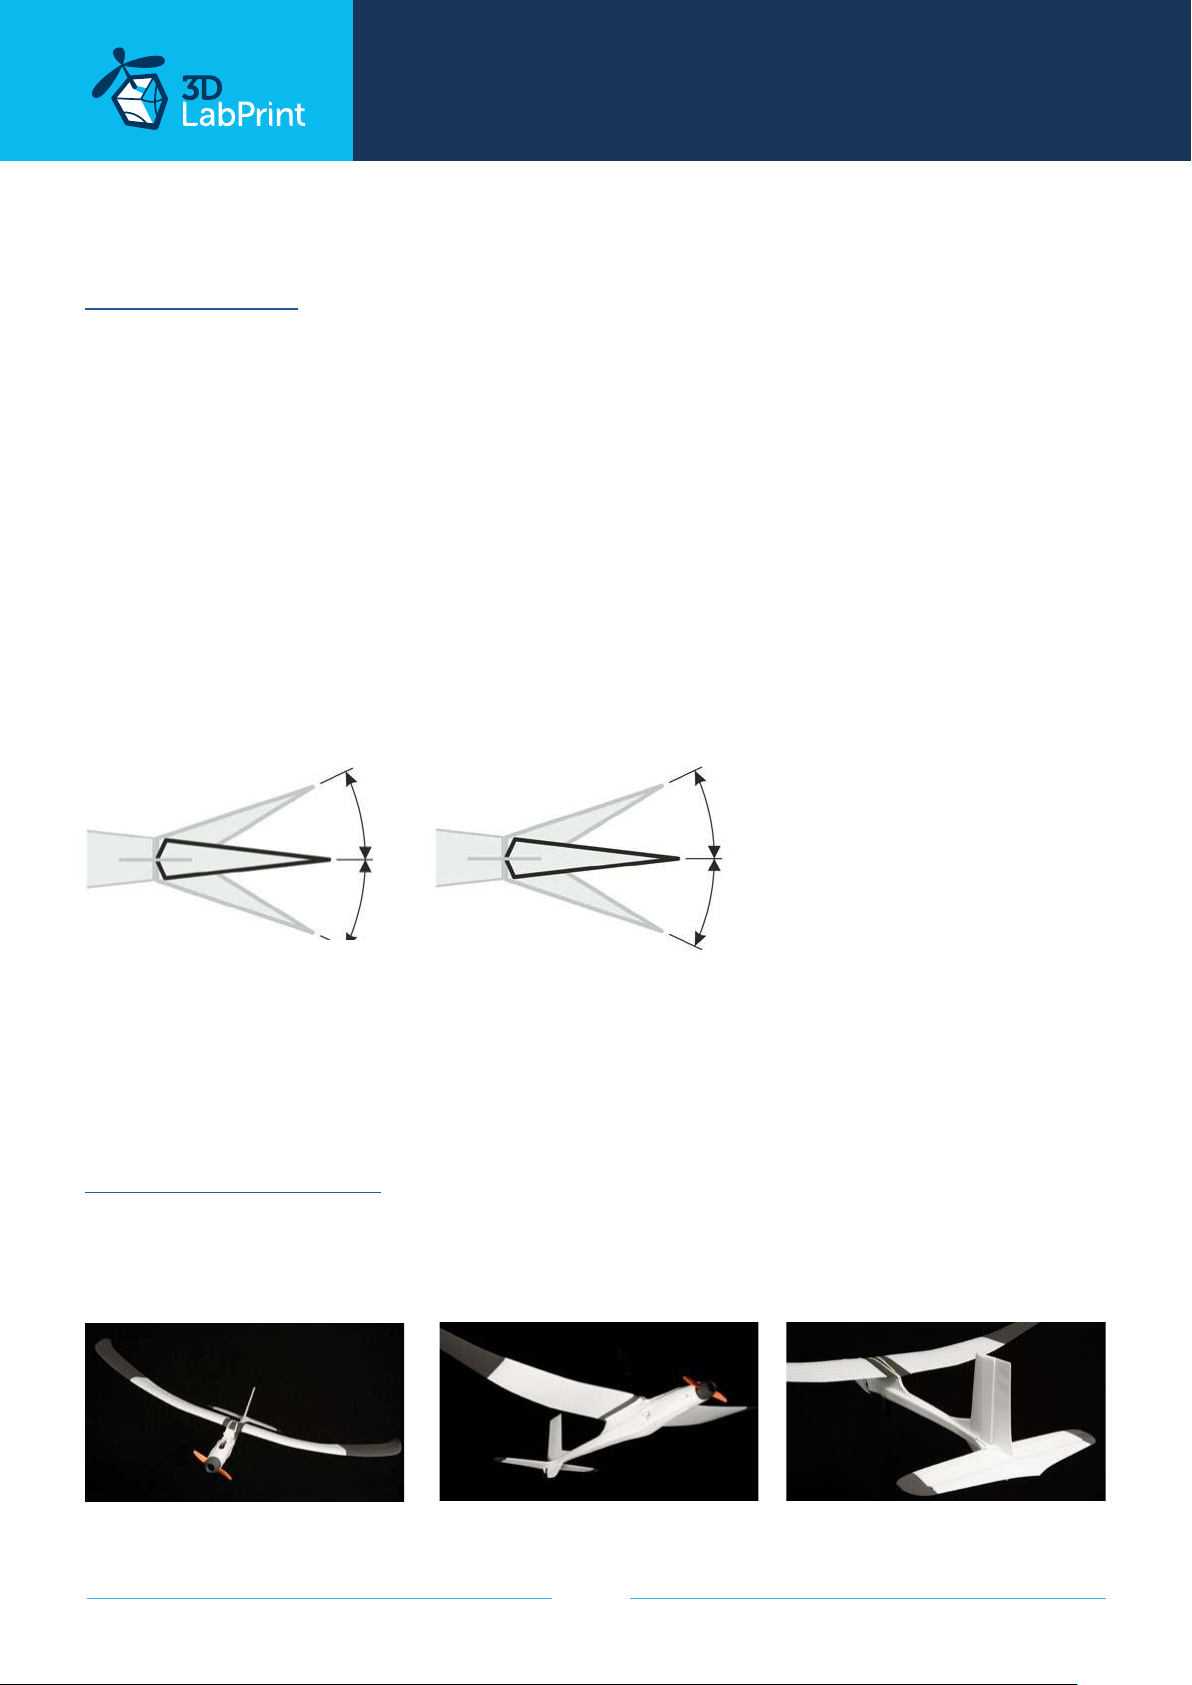
8. Final assembly/setting
See video guide #9
you will need: Your own Rx/Tx system
Rubber Band (thiny)
Refer to your R/C system userguide for setup information.
Install your reciever, connect battery, setup servos and etc. with your trasmitter, check servo
position, then install propeller, and spinner.
Never set ESC with propeller installed, this could be very dangerous!
elevator rudder
+6mm
+10mm
-4mm -10mm
9. Go flying
Pre-flight check center of gravity is very important, battery properly charged, rudder and
elevator deflection check, calm weather (wind under 5km/h, 3mph) ...
Bungee Prop -Flyght video
page 16
Page 17
... print your plane | www.3DLabPrint.com
10. Pilots Please Attention! Wait for a calm weather.
With its 320g/11.3oz this is a very lightweight R/C Glider so We recomend to fly it only in
very calm conditions (wind under 5 km/h, 3mph). You can then experiment with angle of
attack by wedging the wing and shifting the Center of Gravity to achieve expected flight
characteristics. By shifting the CoG backwards you can achieve better glide ratio (in this case
you can go further because this plane is itself very stable). Feel free to experiment.
The plane is very stable and able to fly and land without any pilot inputs (given the plane is
well tuned) so it can be used as a free glider as well (you need to use balast weight instead of
a motor to achieve the CoG).
Never fly aft positioned Center of gravity (not too much in this case :-).
Please, use these files only for your own purpose, do not
redistribute or publish. Thank you very much.
Enjoy your flight.
page 17
Page 18

... print your plane | www.3DLabPrint.com
Shopping list
Printing material: 0,22 kg of LW-PLA by ColorFabb
RC: R/C system, Tx (EU) (GLOBAL) + compatible Rx 4ch, or opt1
we use JETI
Motor: any 10-30grams, 28-05, 2800KV, opt1, opt2, opt3... or similar
+ suitable propeller holder (if not included)
ESC: any 12A/2s,
Batt. connector: JST + shring tube
Battery: 350mAh/2s, opt1, opt2, opt3, opt4,
opt1, with caution opt2 or similar
Servos: 2x HXT900, or opt1, opt2, opt3
or any similar sized servos
23x12x26 mm / 0.82x0.47x0.86 inches
Glue: CA Glue - medium
Activator for CA Glue
Other: 2x 1m of 0.8mm / 16 AWG pushrod wire
6x 1.5/10self-tapping screws
Rubber Band (thiny)
page 18
 Loading...