

Page 1
... print your plane | www.3DLabPrint.com
User Guide
rev. 2018/05
Fully 3d printable
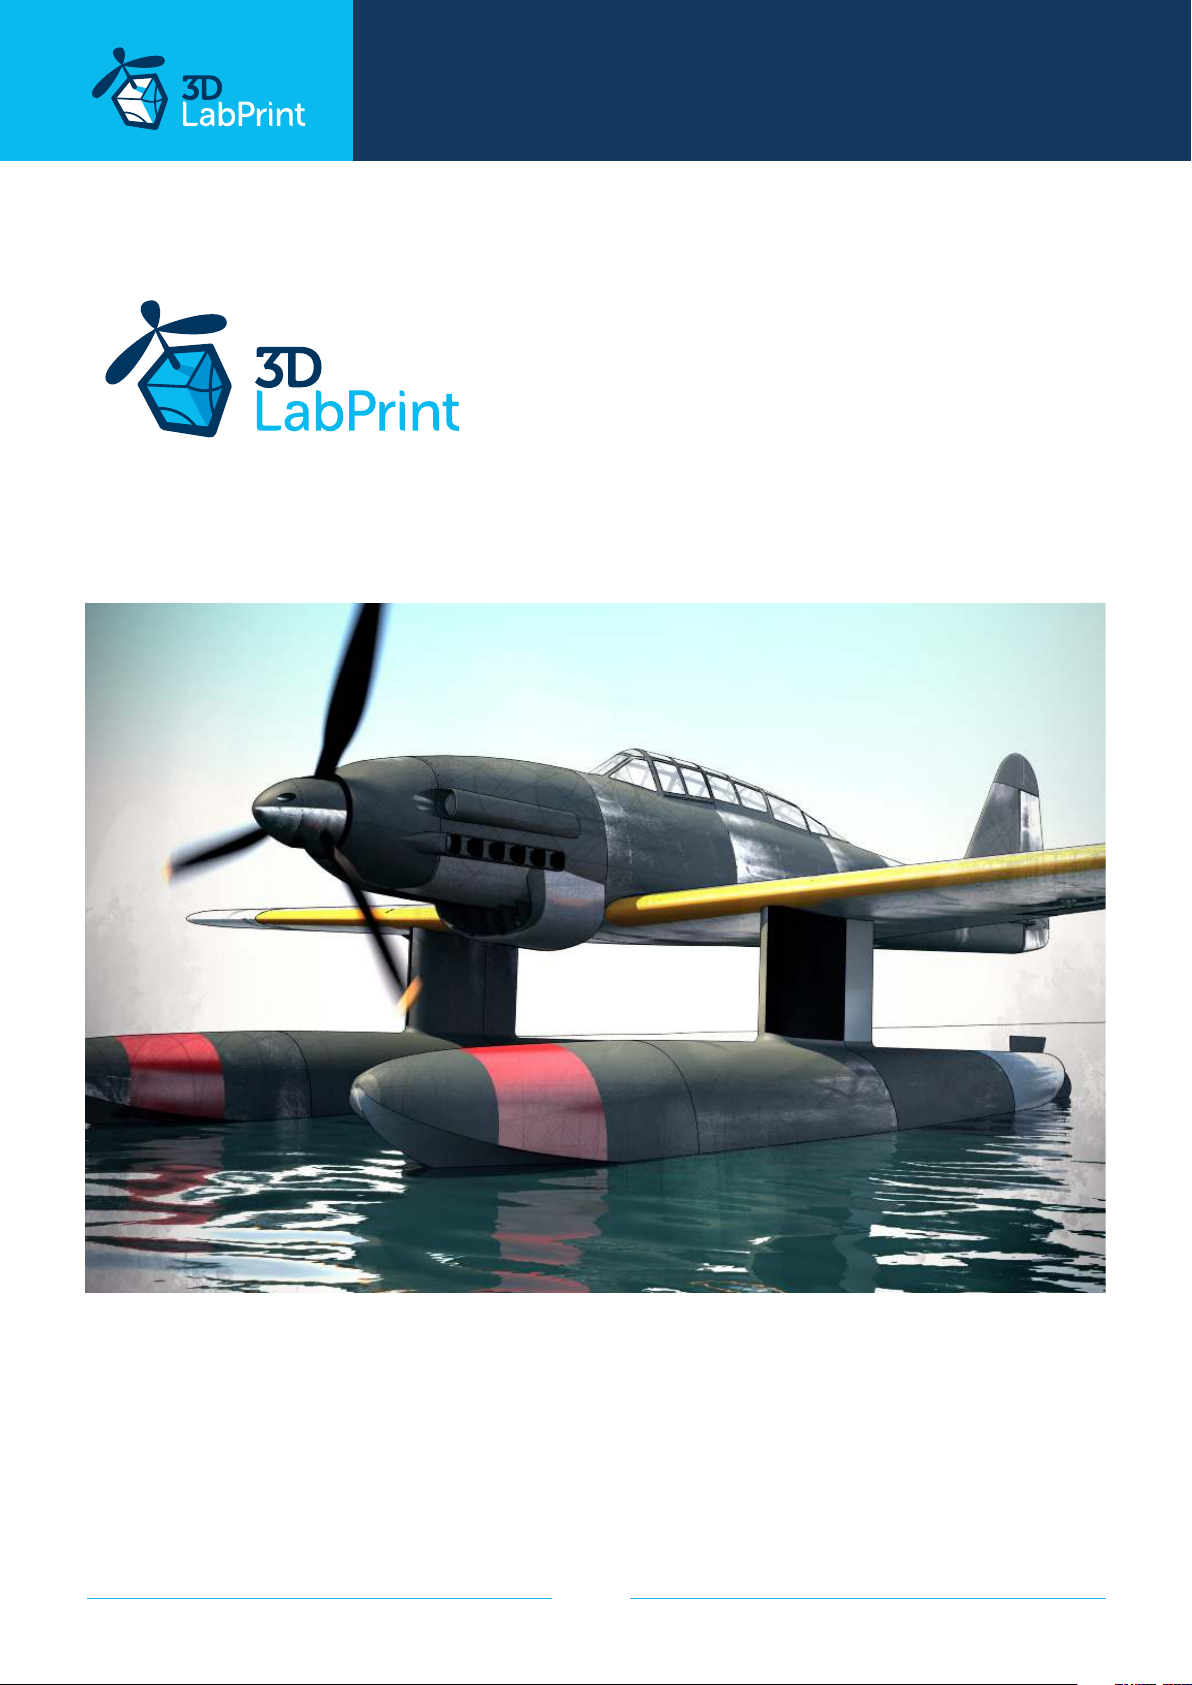
Aichi M6A1 Seiran / Nanzan
scale 1:12, wingspan 1070mm (42.1in)
page 1
Page 2

... print your plane | www.3DLabPrint.com
Aichi M6A1 Seiran / Nanzan
– fully printable R/C plane for your desktop 3Dprinter
Future of flying - Print your own plane.
We are always trying to push our limits and move things further, so every new project is full
of improvements for better durability, easier assembly, better geometry solutions and so on.
We are passionate about our products and hope you enjoy using them as much as we enjoy
developing them, although this print may test your competencies and quality of your printer (welcome to thin wall printing)
The first fully printable airplanes with files prepared for your 3Dprinter, with
flight characteristics, comparable or even supperior to classic build model airplane.
This is not a dream, now you can print this HI-TECH at home. Simply download and print
the whole plane or spare parts anytime you need just for a cost of filament only about $18
Extensive hi-tech 3d structural reinforcement making the model very
rigid while maintaining a lightweight airframe and exact airfoil even it’s just a plastic. This
perfect and exact 3d structure is possible only thanks to additive 3dprinting technology. So
welcome to the 21st century of model flying and be the first at your airfield.
Easy to assembly, you don’t need any extra tools or hardware, just glue printed
parts together and make pushrods for control surfaces. The rest of the assembly is very
easy. Simply add brushless motor, ESC, servos and radio system. Don’t worry, detailed step
by step PDF/VIDEO is included.
You’ll get a superb performing airplane with highly ecient powerplant capable of flying 7+
minutes at full throtle and speeds exceeding 110 kph (HP setup). Low stall speed is achieved
for easy landing on the other hand.
Versions:
Aichi M6A Nanzan
- simpler variant suitable for flying on the grass field means
lot of fun. No floats, no rudder, rubber rings for fixing the
wing. (many times tested in ACES aircombat)
Aichi M6A Seiran
- full and complex version of plane for water take o and
landing.
page 2
Page 3
... print your plane | www.3DLabPrint.com
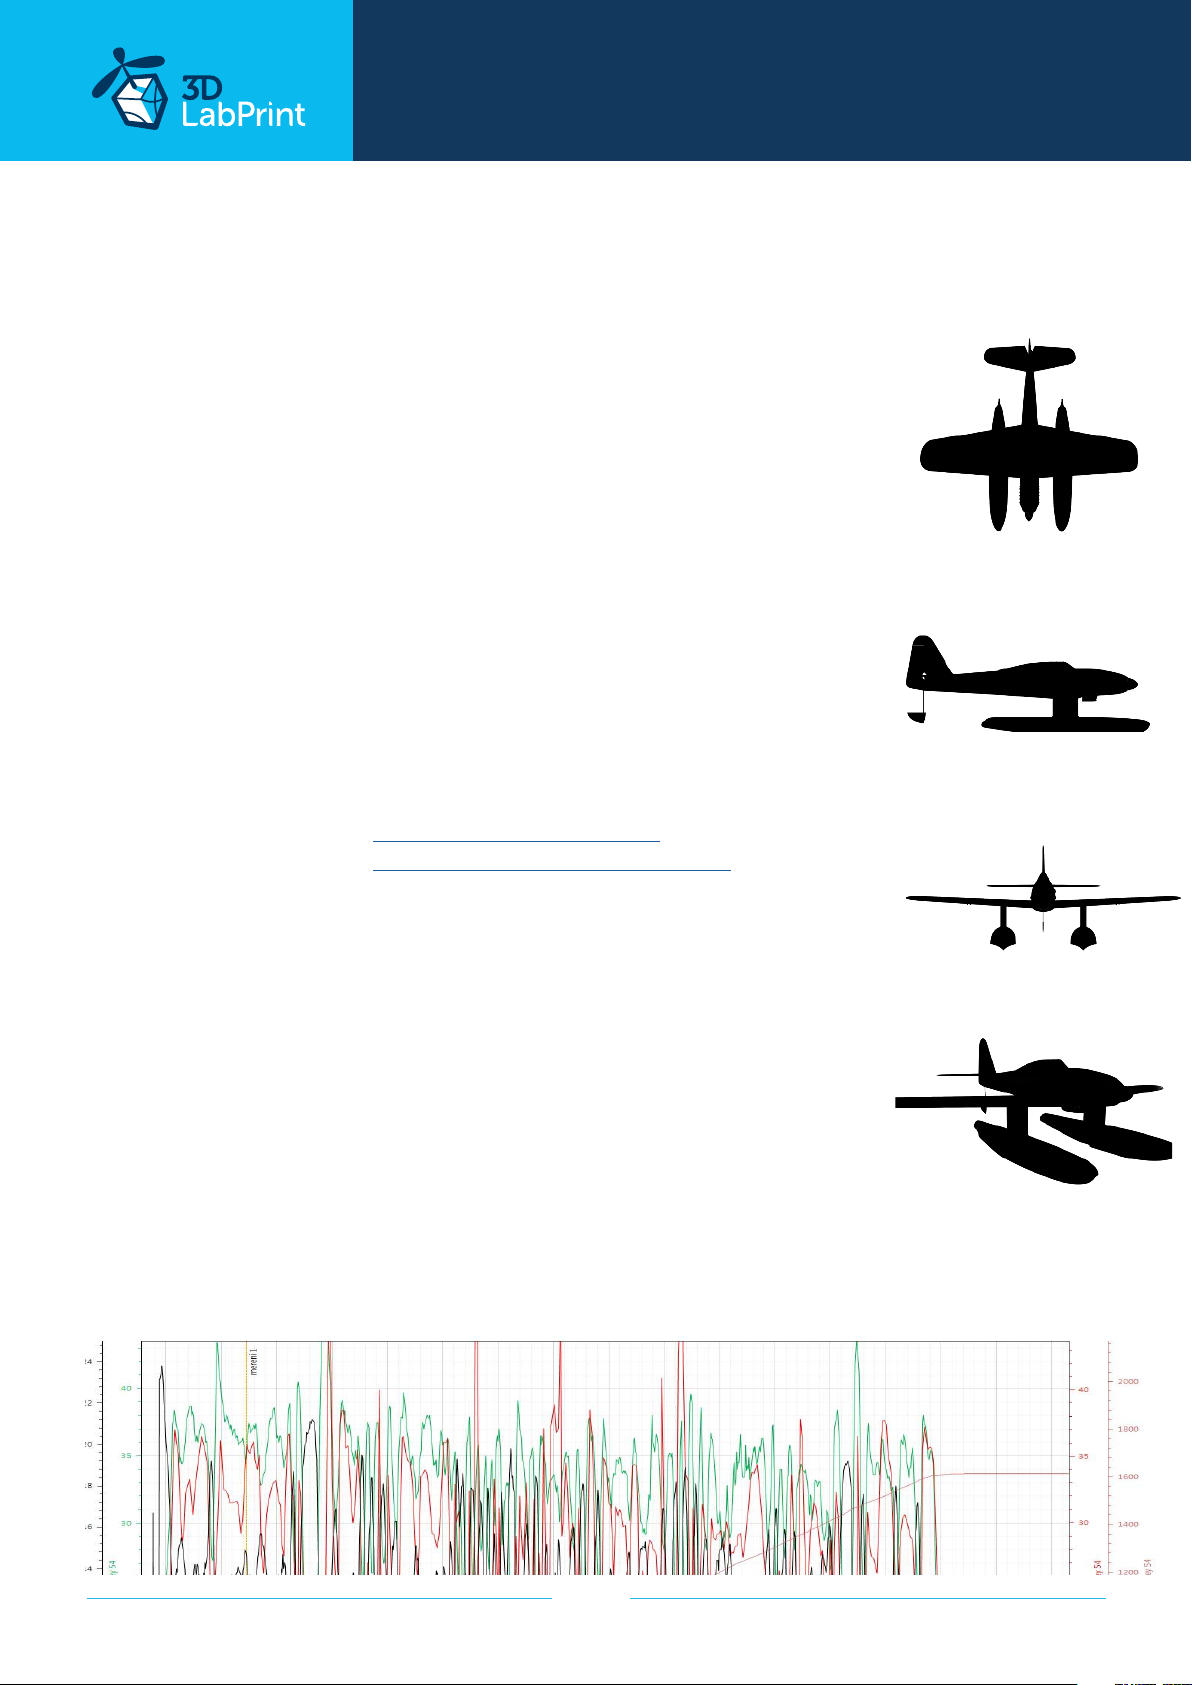
General specifications (HP setup):
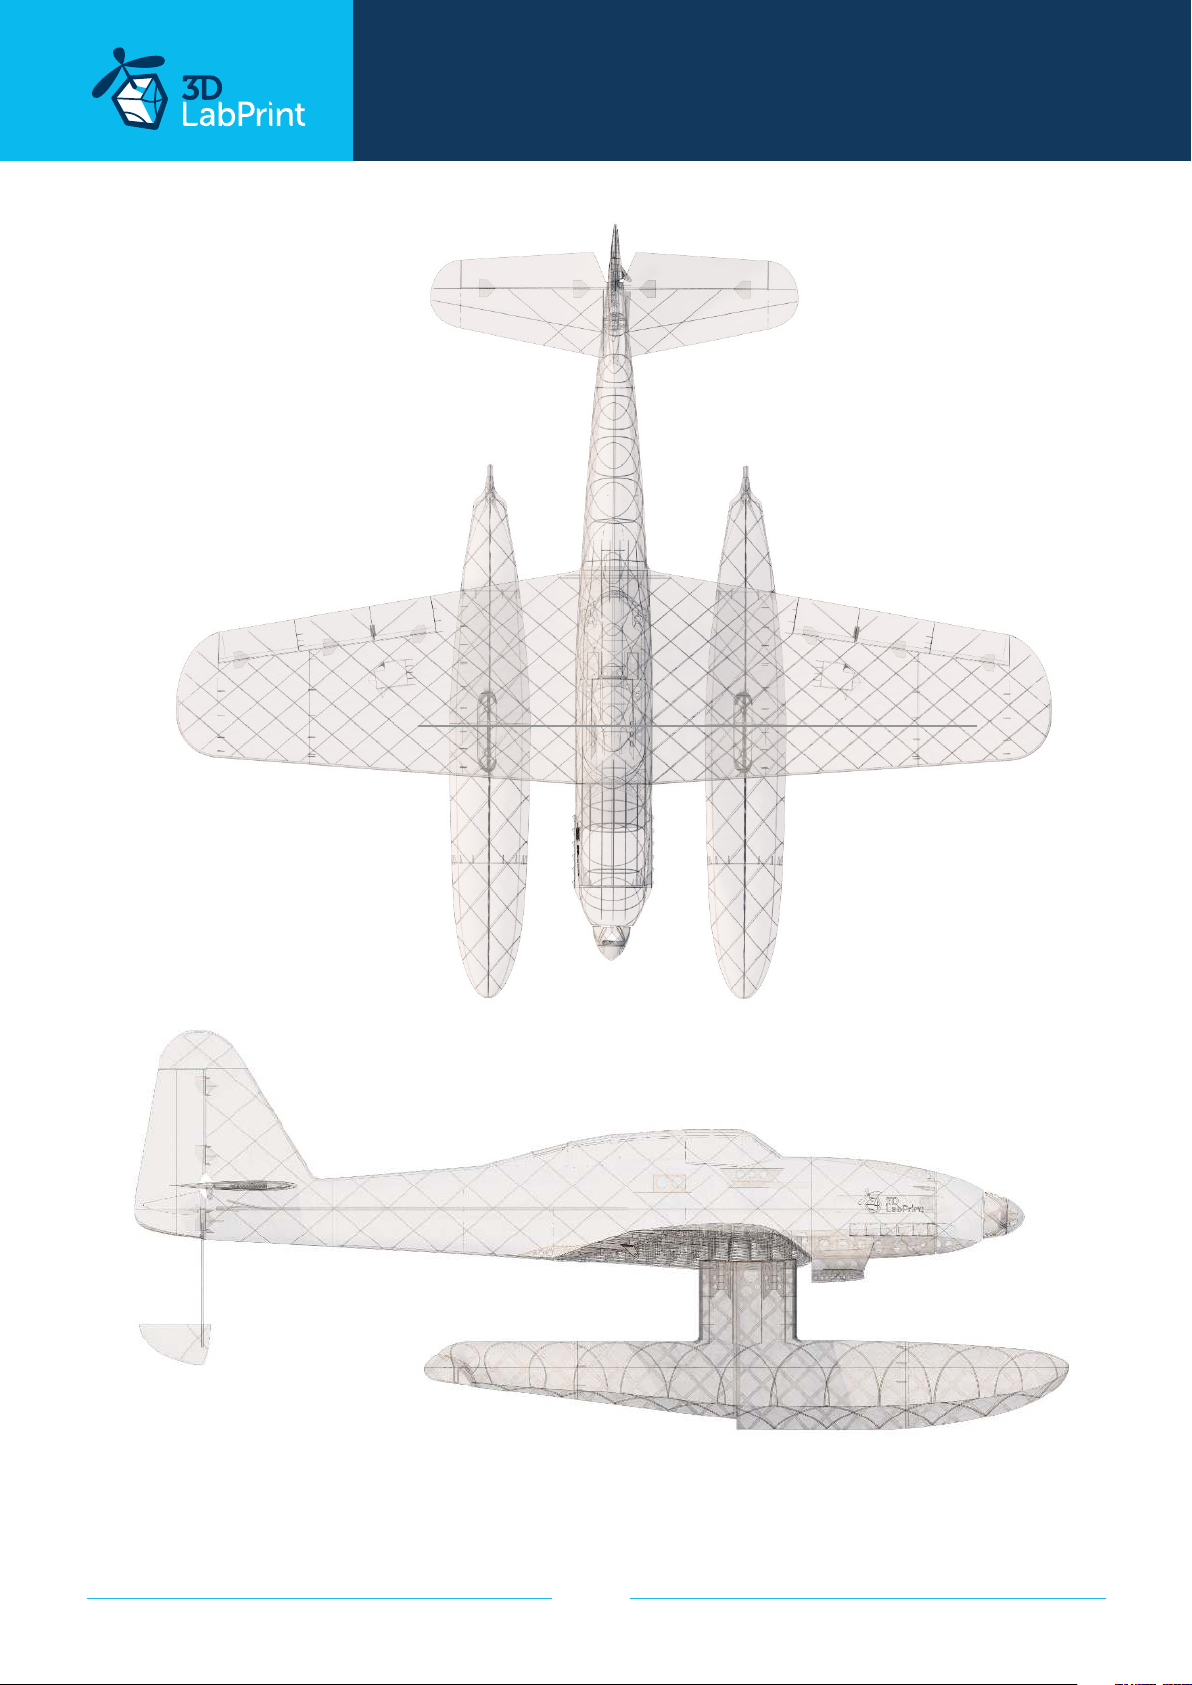
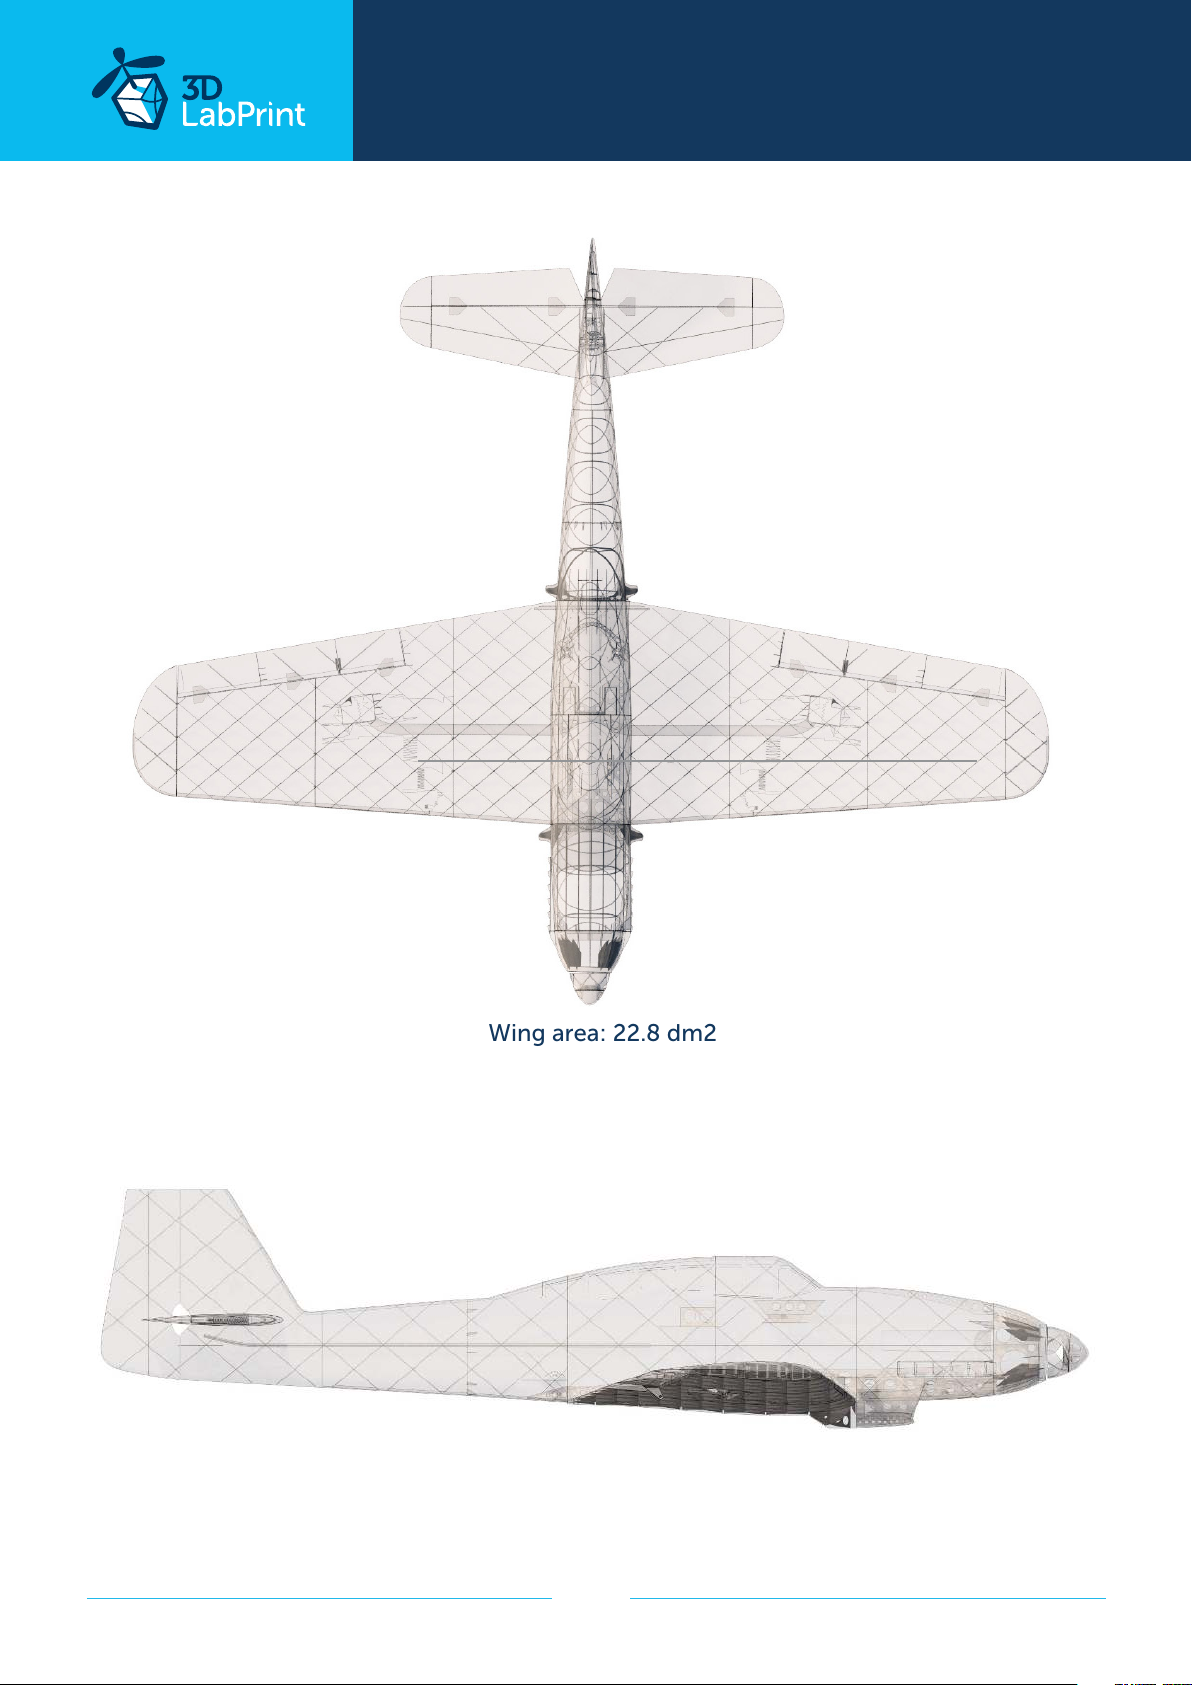
Lenght: 910 mm (35,8 in)
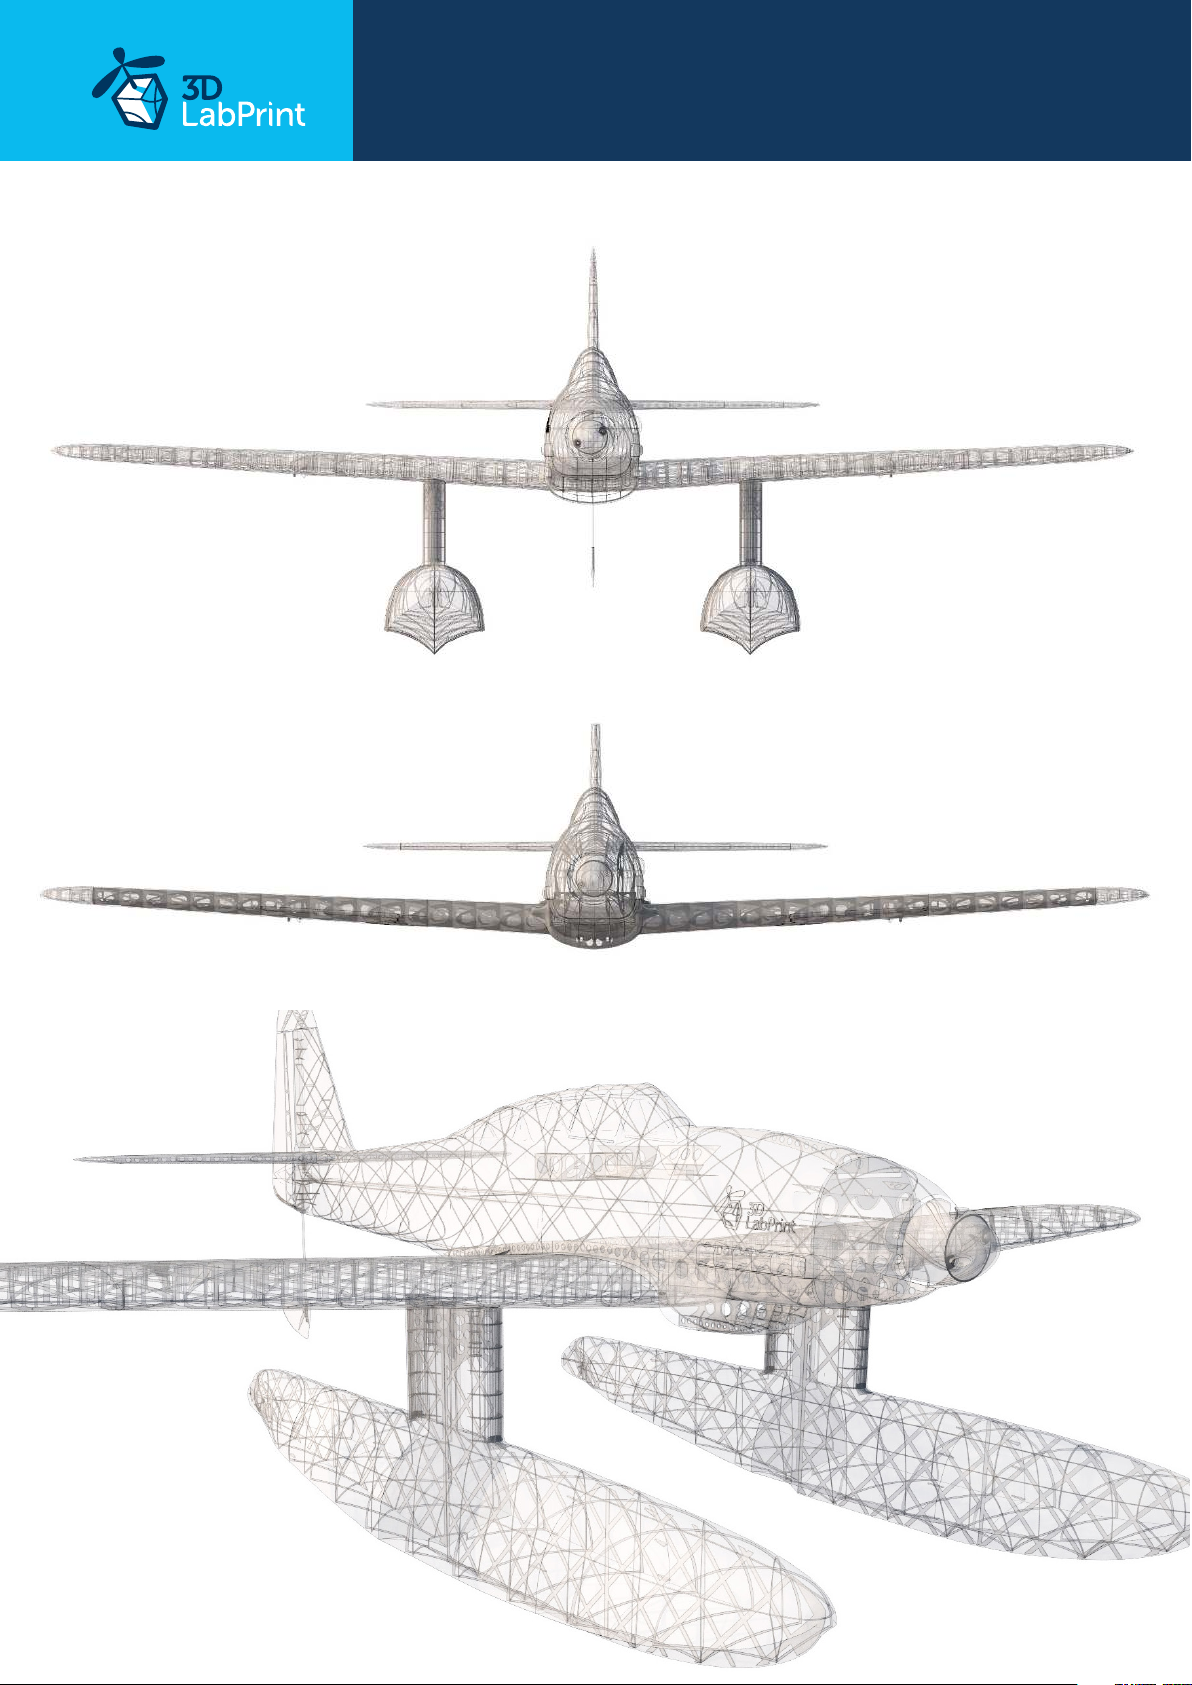
Wingspan: 1070 mm (42.12 in)
Height: 380 mm (14.9 in)
Wing area: 22.8 dm2
Wing loading: 66.6 g/dm2
Center of gravity: 74 mm (28,9 in)
from leading edge
Airfoil: LHK508
Print weight: 918 g
Empty weight (w/o battery): 1220 g (920g Nanzan)
Takeo weight (3s 3000 lipo): 1520 g (1220g Nanzan)
Max takeo weight: 1800 g
Never exceed speed, VNE: 170 km/h
Design maneuvering speed, VA: 150 km/h
Stall speed, VS: 34 km/h
Powerplant
Propeller: Aeronaut ELP 9x6 or APC 9x6 – 9x7
Motor: Turnigy D3530/14 1100KV or similar
ESC: 30A Electronic Speed Controller
or similar 30-40Amps
Battery: Li-Pol 3000mAh/3s (11.1V), 238g, 25C
Performance measurement
Max speed VH (level flight): 105 km/h – 56.7kn – 65.2mph with APC 9x6
Rate of climb: 20 m/s (5 373 ft/min) with APC 9x6
Flight time (3s 3000mAh/full): 7:40 with APC 9x6
5:30 with APC 9x7.5
7:40 with aeronaut ELP 9x6
page 3
Page 4
... print your plane | www.3DLabPrint.com
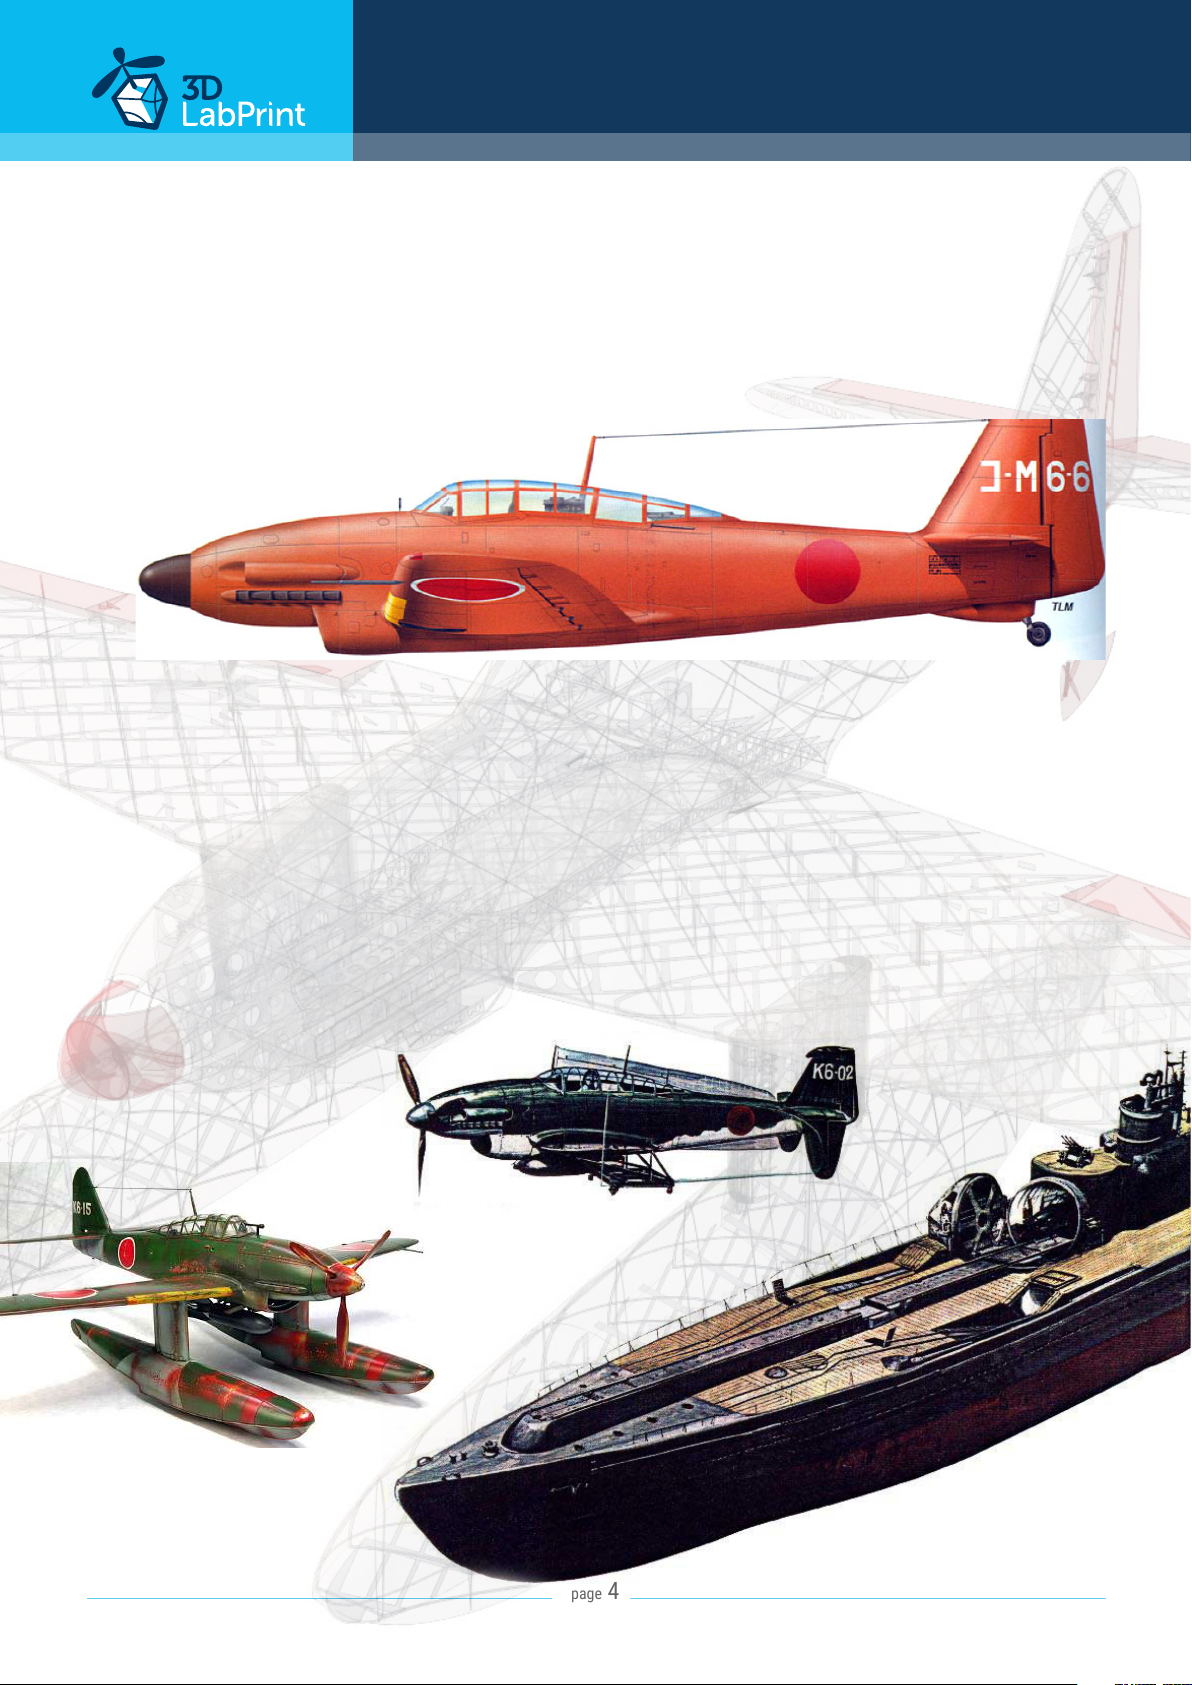
Aichi M6A1 Seiran / Nanzan, History
To equip the submarine aircraft carriers, the Imperial Japanese Navy Air Service requested
that Aichi design a folding attack aircraft with a range of 1,500 km (810 nmi) and a speed of
555 km/h (300 kn).
The first production examples of the Seiran were completed in October 1944. Construction
of the STo submarines and airplanes was stopped in March 1945, after two submarine aircraft
carriers had been completed and a third finished as a fuel tanker.
The first mission of the Seiran squadron was to be a surprise air strike on the Gatun locks of
the Panama Canal, to cut the main supply line for US forces in the Pacific. When the force was
finally ready to set o on their mission against Panama, Japan’s increasingly desperate situation
led to a change in plan, with the target for the attack, called Operation Hikari (Splendour),
being switched to the American base at Ulithi Atoll where forces, including aircraft carriers,
were massing in preparation for attacks on the Japanese Home Islands.
page 4
Page 5
... print your plane | www.3DLabPrint.com
Included:
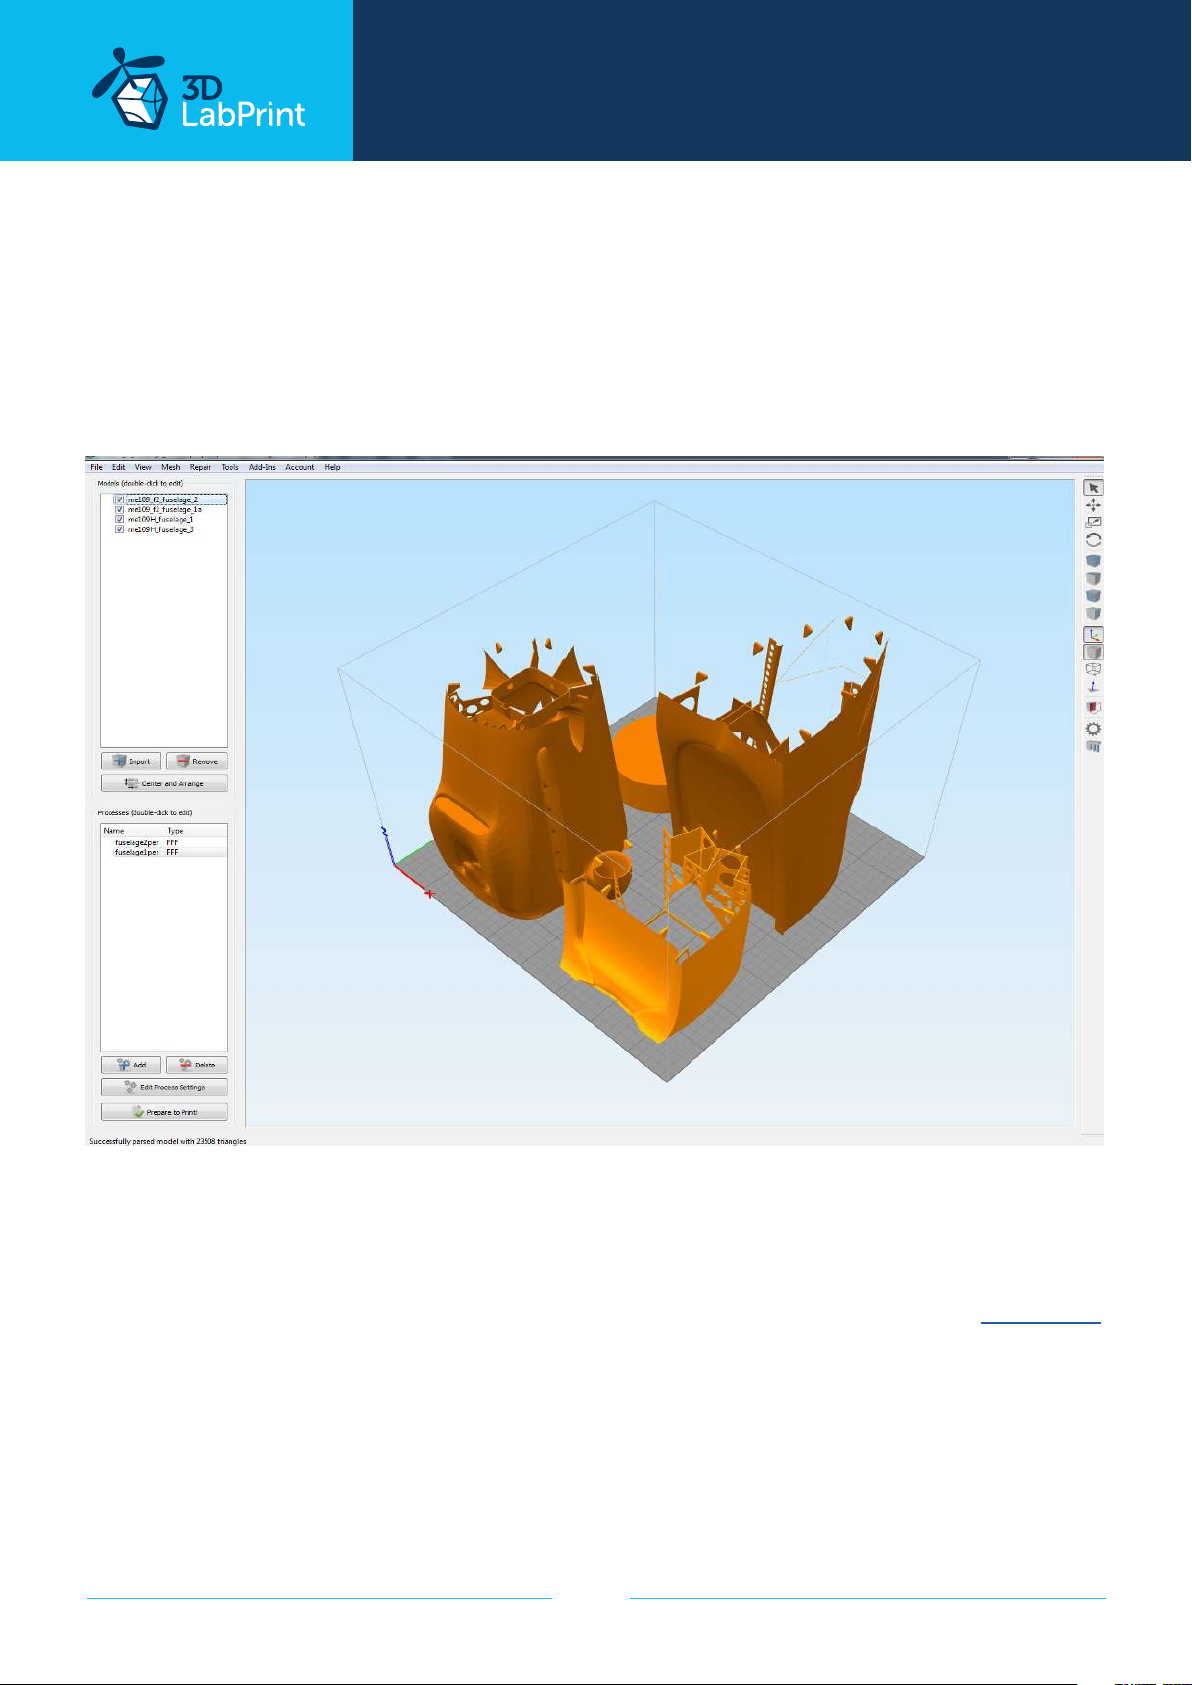
1. STL 3d files
Universal STL files designed to be used with desktop FMD 3d printers and slicer software
as Simplify3D (recommended), CURA or MatterControl (these STLs are not compatible with
Slic3r).
2. Factory files for Simplify3D slicer
contains all the necessary settings to slice the models along with suggested bed layout. We‘re
using PRUSA i3 ORIGINAL printers so you may need to adjust the basic printing parameters
to match your printer or use these files as a start point for you. Please check the Simplify3D
3. Step By Step PDF/VIDEO userguides
Apart from this userguide, please see the Printing Guide to find some Tips and Advice for
airplane printing (Thin Wall Printing).
page 5
Page 6
... print your plane | www.3DLabPrint.com
4. Gcodes
Basic Gcodes prepared for direct use, as universal as possible. Should work on i3 style printers,
Give it a try, but we can‘t guarantee that it will work on your printer. You can also easily adjust
the retractions if necessary using our guide. 100% compatible with PRUSA i3 ORIGINAL 3d
printers.
5. Prepared settings for CURA and MatterControl slicers
If you for any reason don‘t like Simplify3D, there is always option to use another free slicer
you can use our basic setting (setting files) as a start point and edit it as you need.
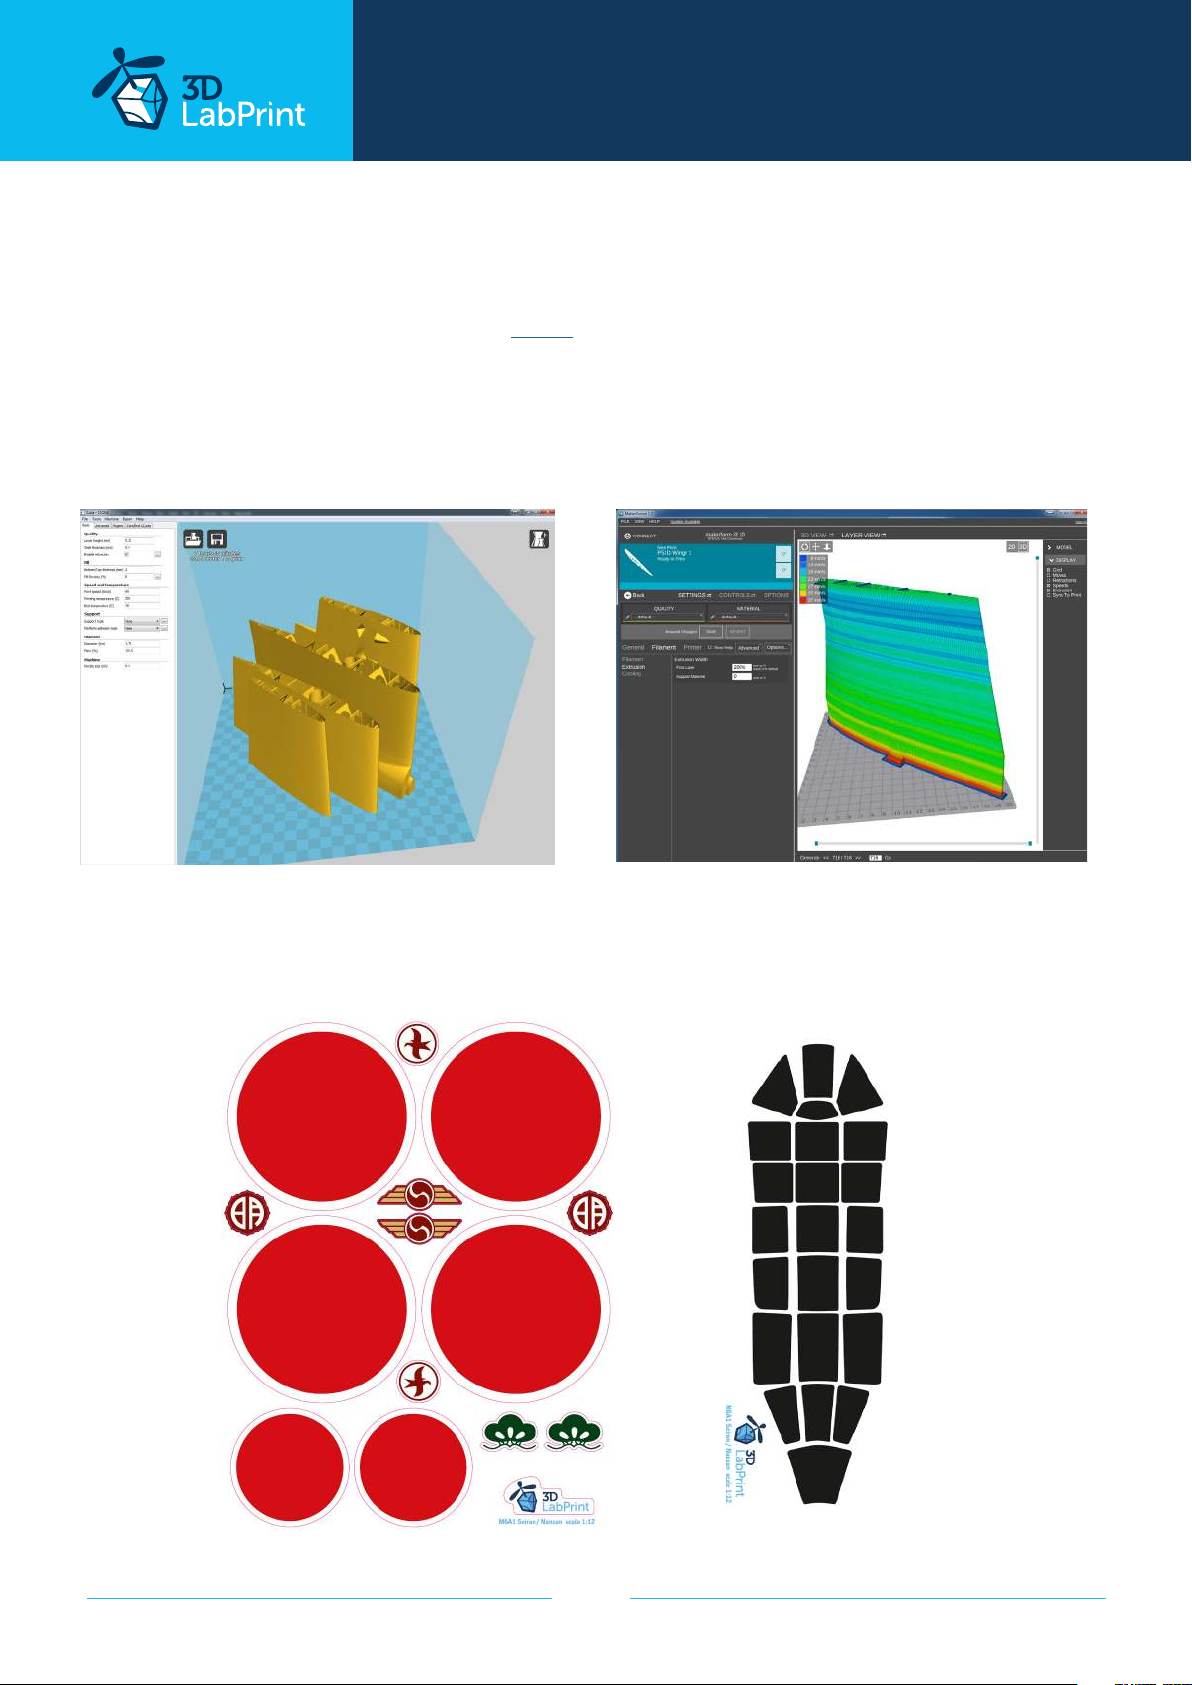
6. Scale markings PDF
Print this PDF in scale on thin self tape advertisement foil and place it on the model as needed,
violet cut lines included.
page 6
Page 7
Aichi M6A
Seiran
... print your plane | www.3DLabPrint.com
Wing area: 22.8 dm2
Centre of Gravity
Lenght: 910 mm (35,8 in)
page 7
Page 8
Aichi M6A
Nanzan
... print your plane | www.3DLabPrint.com
Wing area: 22.8 dm2
Centre of Gravity
Lenght: 910 mm (35,8 in)
page 8
Page 9
... print your plane | www.3DLabPrint.com
Wing span: 1070 mm (42.12 in)
page 9
Page 10
... print your plane | www.3DLabPrint.com
Step By Step PDF/VIDEO userguide
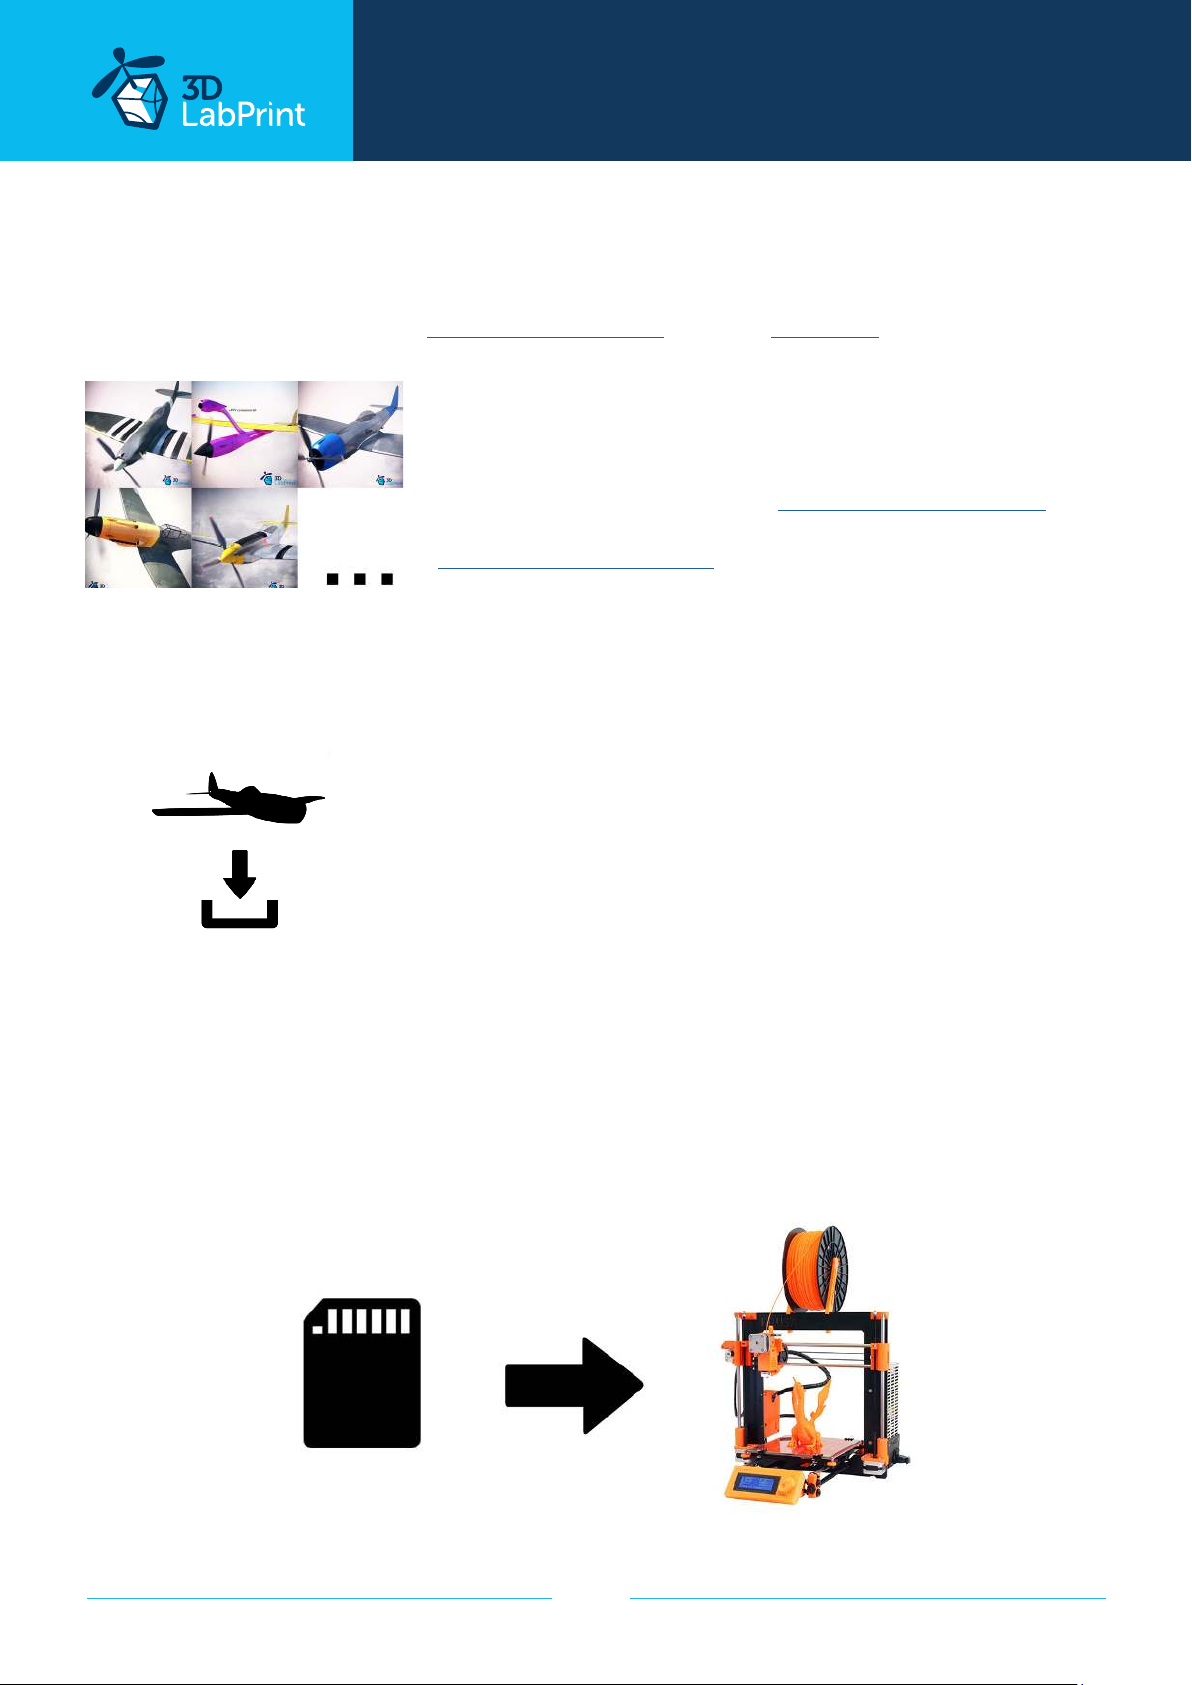
1. Choose airplane at www.3Dlabprint.com, visit our Facebook for latest info.
Basic requirments for Aichi M6A SEIRAN are 200/200/185mm
volume (or 250/120/185), nozzle 0.4mm recommended (0.35
or 0.5mm alternativelly). Heated bed recommended.
PLA filament (or PETG, APLA, htPLA, PC-max....) not ABS
If you want to try first, you can download wing test part from
our websites or thingiverse, (the biggest part). Or contact
2. Create account, download
You will receive download link to all the zipped files to your email (please check your spam
folder if not) or you can log in to your account and download directly from our websites.
3. Gcodes preparing
option A Gcodes:
if your printer is i3 comptatible you can use prepared gcodes directly. Just save them to the
SD card and let the 3d printer do it‘s job. HE temperature is set to 230°C so the layers well
fuse together, you can adjust speed and temperature only through your printer‘s LCD. If these
Gcodes does not work for you, please proceed to the next options.
page 10
Page 11
... print your plane | www.3DLabPrint.com
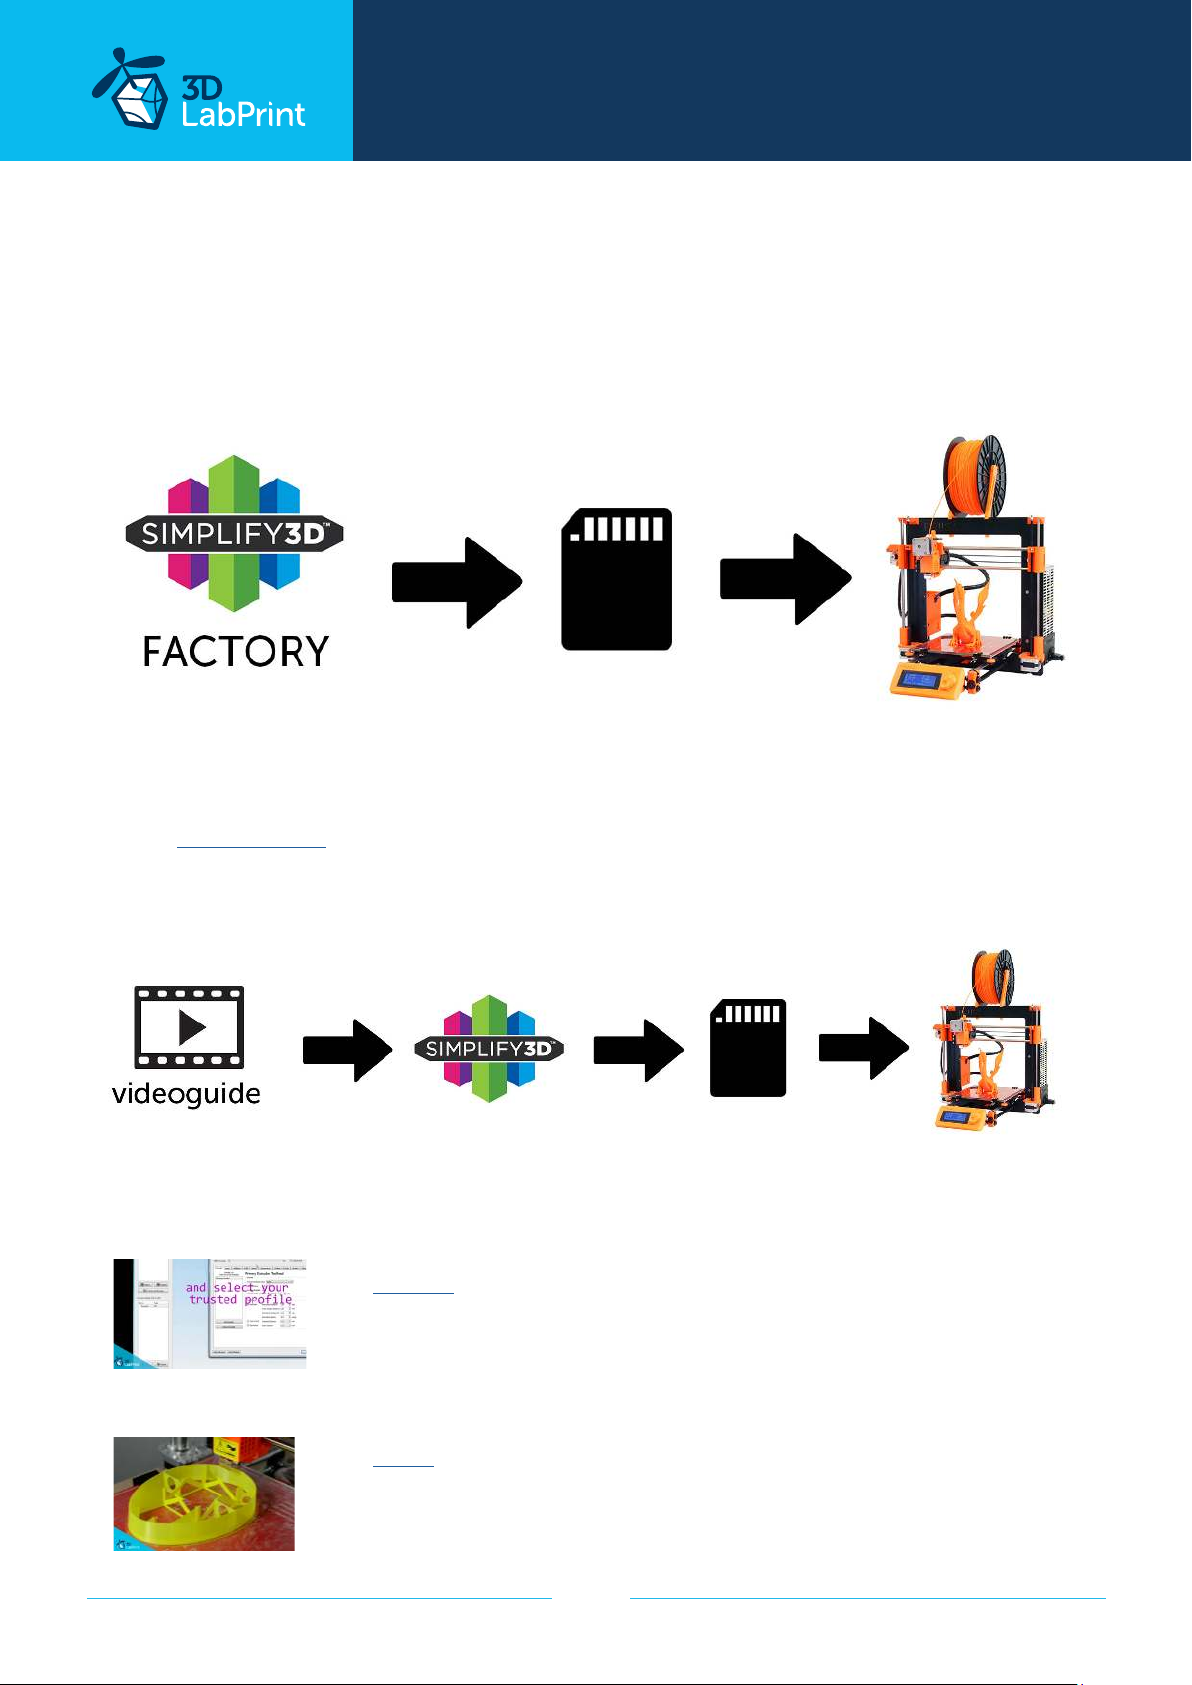
option B Factory files Simplify3D (recommended)
We prepared all you need in these files (FFF process settings, parts layout on bed, etc...)
You can use these settings as a start point adjusting according to your need (adapt for your
printer), print single parts you need and so on... Most 3d printers should work just with these
settings, but please go through the settings and amend if necessary, we are not liable for any
damage resulting from using our settings. If this still does not work for you, please proceed
to the next option.
option C Simplify3D manual setting (watch and learn)
Use our video guide 2 for proper setting... this is very good option and you will learn a lot
about Simplify3D and become an 3d printing expert. Of course you spend a lot of time and
youtube pause button will become your friend.
AND... please watch our VideoGuides:
video 2 Simplify3D setting
video about Thin Wall Printing
page 11
Page 12
... print your plane | www.3DLabPrint.com
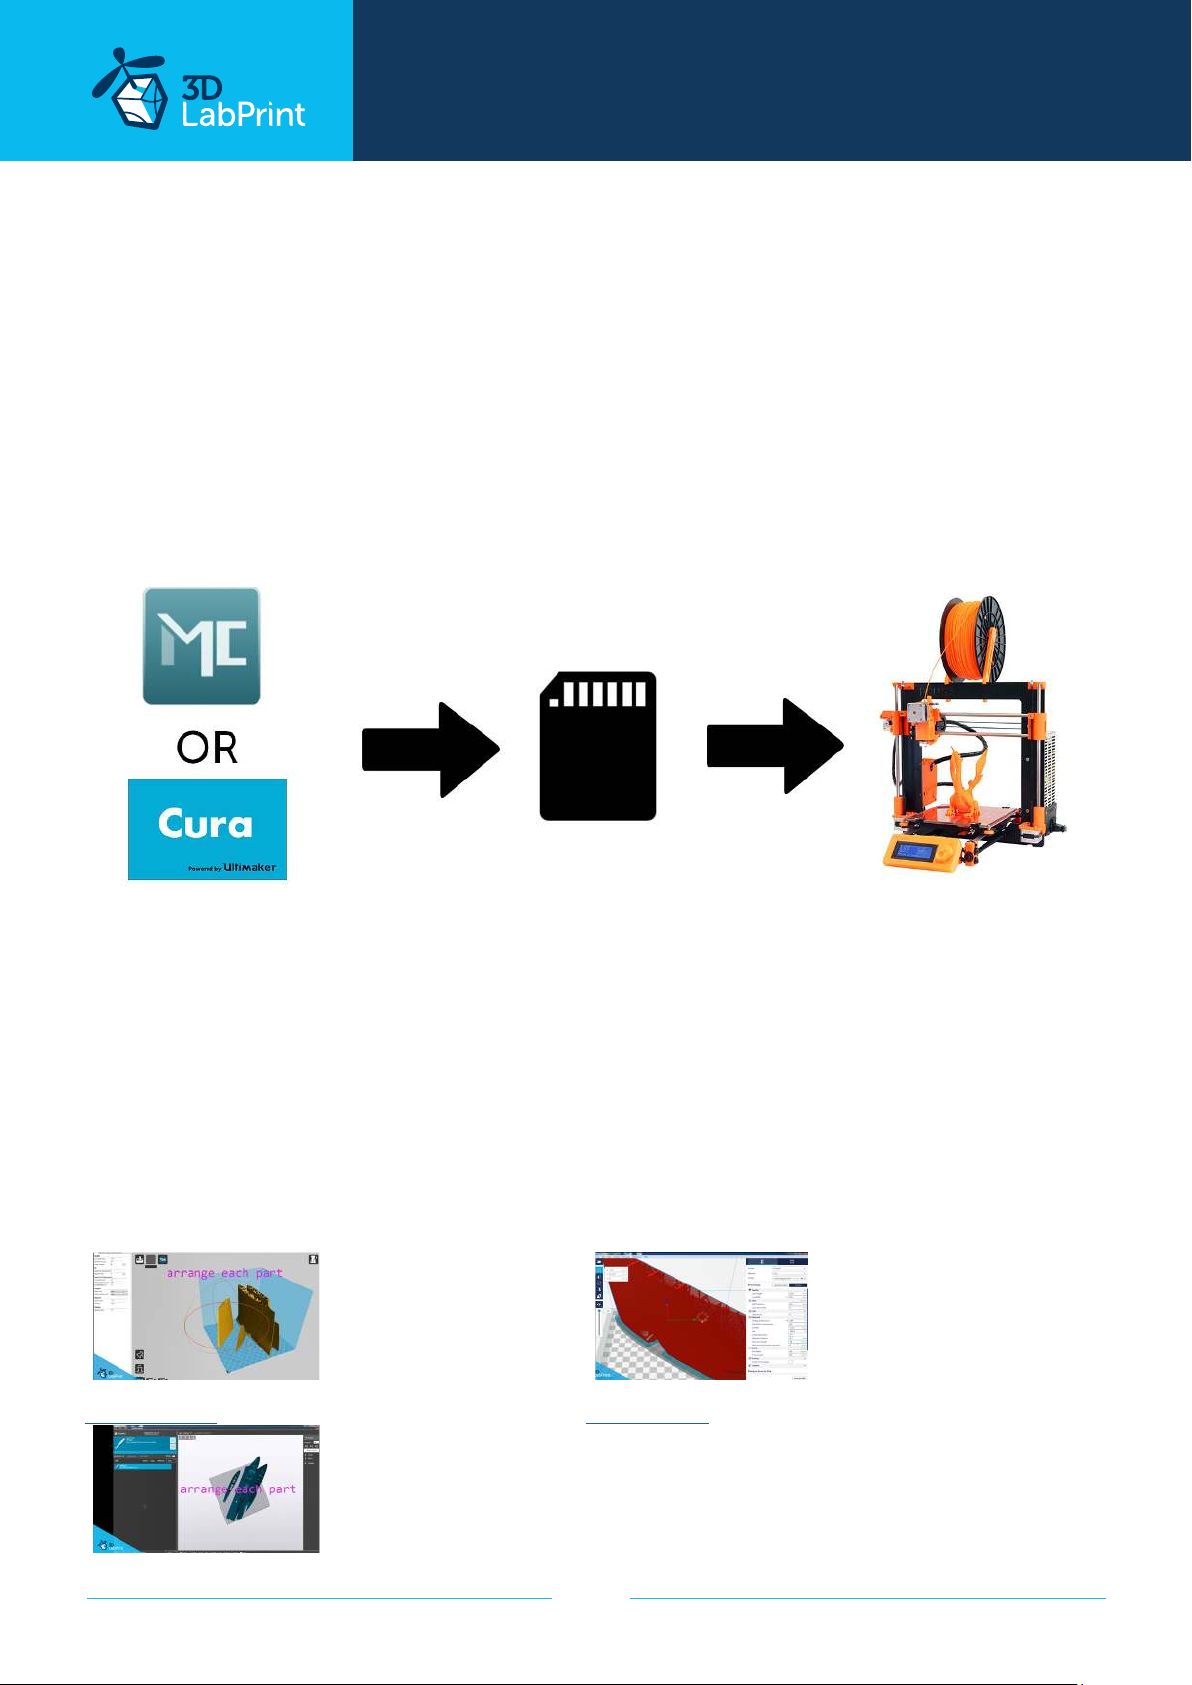
option D CURA or MatterControl
MatterControl and CURA are free and provide good results. The airframe is still strong
enough, but don‘t expect the best quality. Both slicers lacks some very useful features, and
finer settings, like multiple processes according to Z height, retraction options, layer start,
etc. Please try to find the best extrusion multiplier and temperature for good weight and
best
possible layer bonding. Look at parts weight list for proper multiplier settings.
As a starting point you can use our predefined CURA or MC slicer setting file included in
the package (always adapt it for your printer, change build volume, filament diameter, etc...
according to your printer!!!)
CURA_wing_fuse.ini (wing and fuselage and so on... parts)
CURA_ailer_elev.ini (only ailerons, elevator and rudder parts + fuselage 7)
CURA_thick.ini (motor mount, battery holder, spinner)
OR
MC_wing_fuse.slice (wing and fuselage and so on... parts)
MC_ailer_elev.slice (only ailerons, elevator and rudder parts + fuselage 7)
MC_thick.slice (motor mount, battery holder, spinner)
AND... please watch our VideoGuides:
video CURA slicer setting CURA 2.3.1 import setting
page 12
Page 13
... print your plane | www.3DLabPrint.com
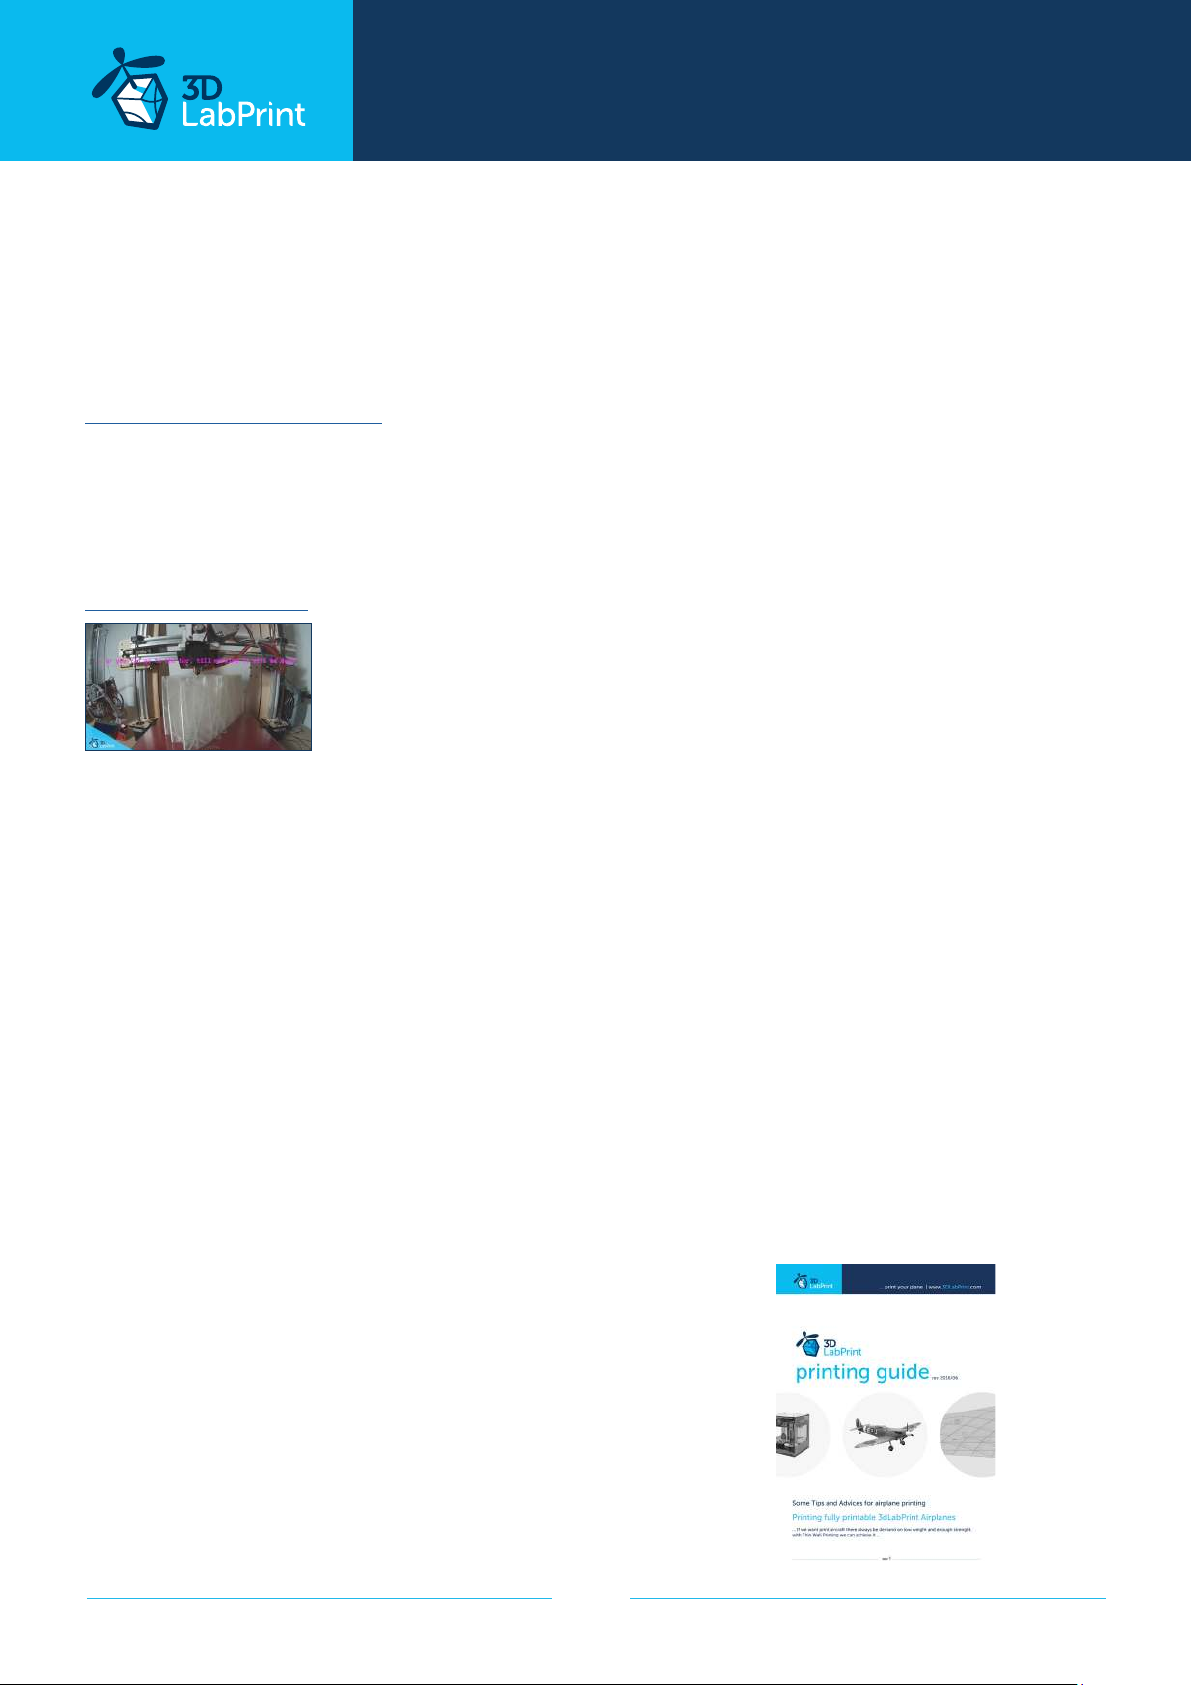
4. Print it
Save the Gcodes to the SD card and insert into your printer. Prepare your printer and start
printing, we prefer to use SD than direct USB connection. Note: ABS filament is not suitable
for thin wall printing. Scaling the model will lead to unusable result!
Video guide about printing
you will need: PLA filament - good quality and strong PLA (we need good layer bonding)
Strong hair spray (or your favorite adhesive bed surface)
Razor blade
AND... please watch our VideoGuides:
video printing guide
Basic Tips and Advice
Please Experiment with your extrusion multiplier.
Also HotEnd temperature is very important for strong result, please try increasing the
temperature to find the best value (200° up to 260° celsius).
Turn OFF cooling fan for better layer adhesion (HE fan should be ON). We dont need it for thin
wall printing. We tried many kinds of filaments and despite it‘s lower thermal resistance the
PLA is still the best choice.
Feel free to experiment with PETG, PC-max by Polymaker looks promissing.
Heated bed is very recommended, 60-70° Celsius (to prevent warping ends).
Looks like any standard quality PLA is good for our planes, but the combination of PLA vs.
Extruder vs. HotEnd is what matters the most.
We find some filament colors could have lower layer adhesion and lighter colors doesn‘t heat
so much on the direct sunlight.
Many 3dprinters are on todays market, most of them are capable of printing our airplanes
(specific thin wall printing...) suficient volume, heated bed, 0.4mm nozzle.
Please see the Printing Guide:
Look at website or Included PDF file
in your downloaded package.
page 13
Page 14
... print your plane | www.3DLabPrint.com
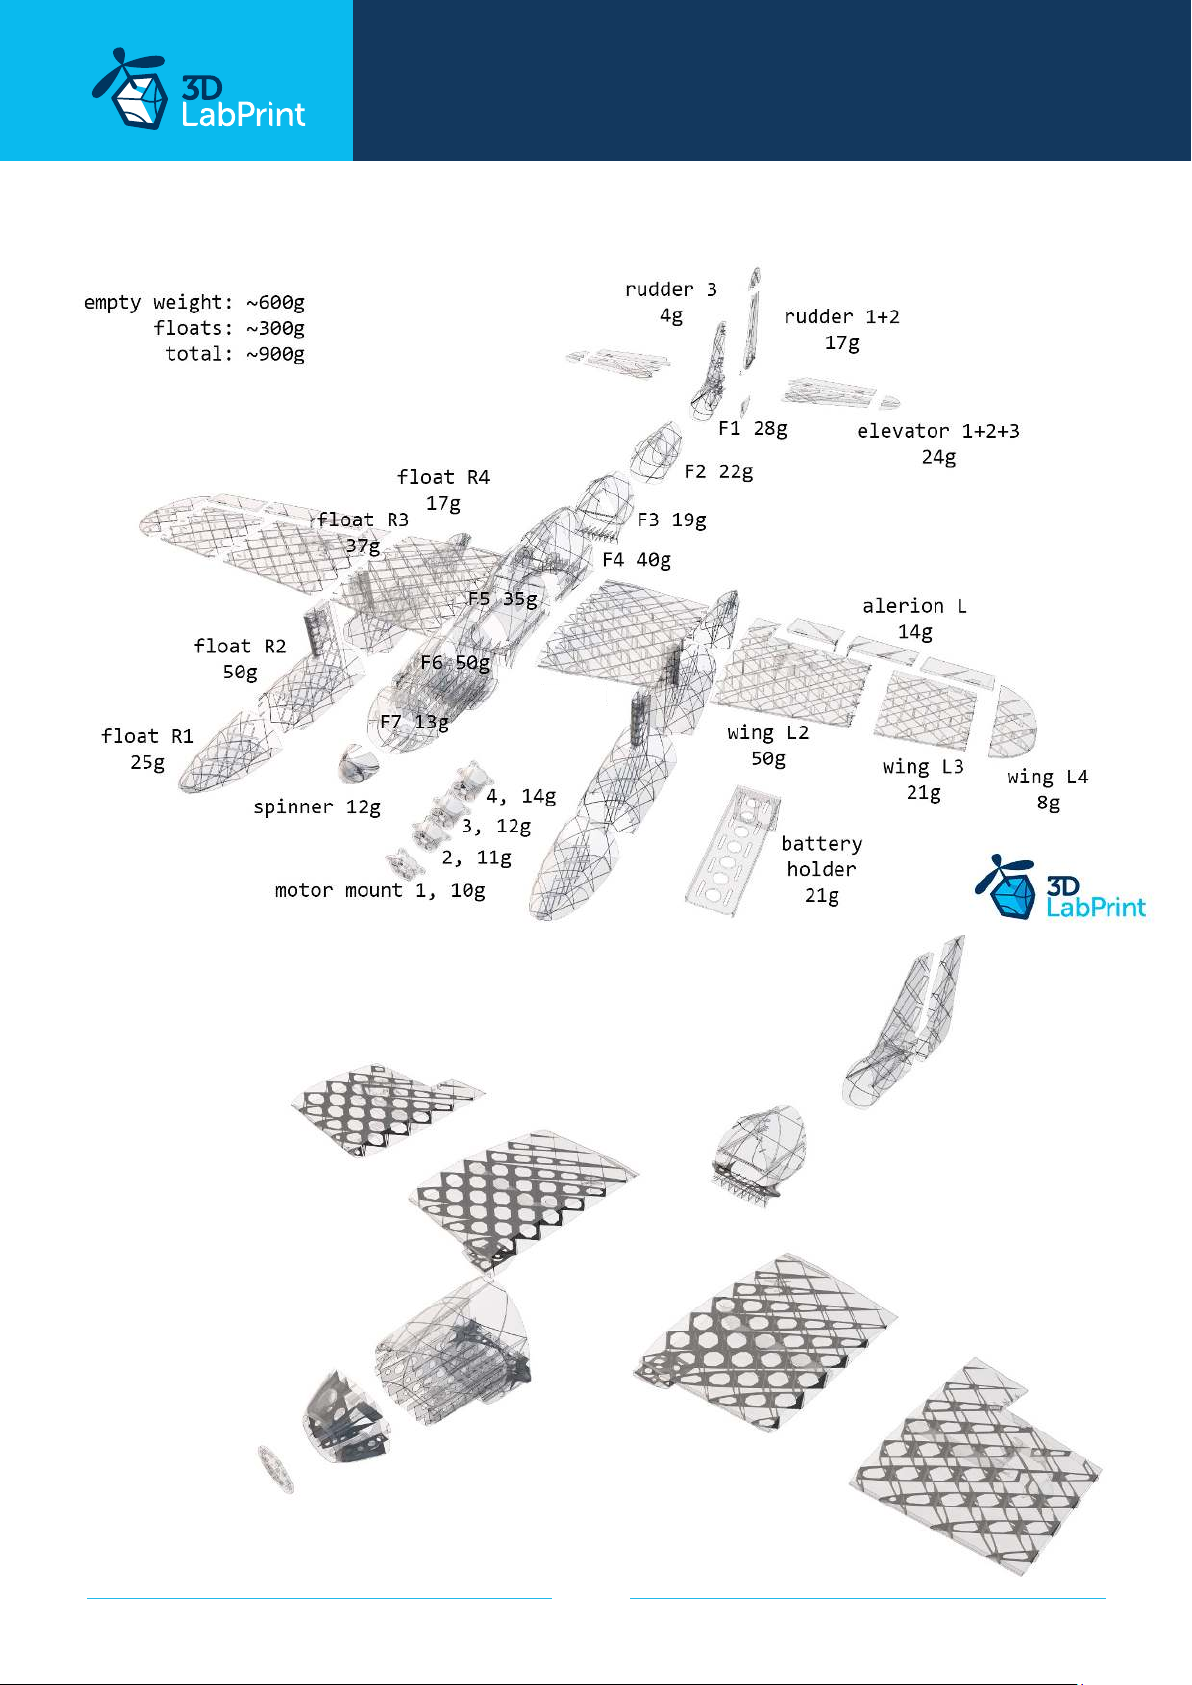
Main parts weight list Aichi M6A Seiran:
wing L1
80g
other ACES parts weight list Aichi M6A Nanzan:
wing R2
50g
F7
27g
motor mount
5g
wing R1
80g
F6
64g
wing L1
80g
F3
29g
wing L2
50g
rudder
10g
F1
23g
page 14
Page 15
... print your plane | www.3DLabPrint.com
5. Assembly of printed parts
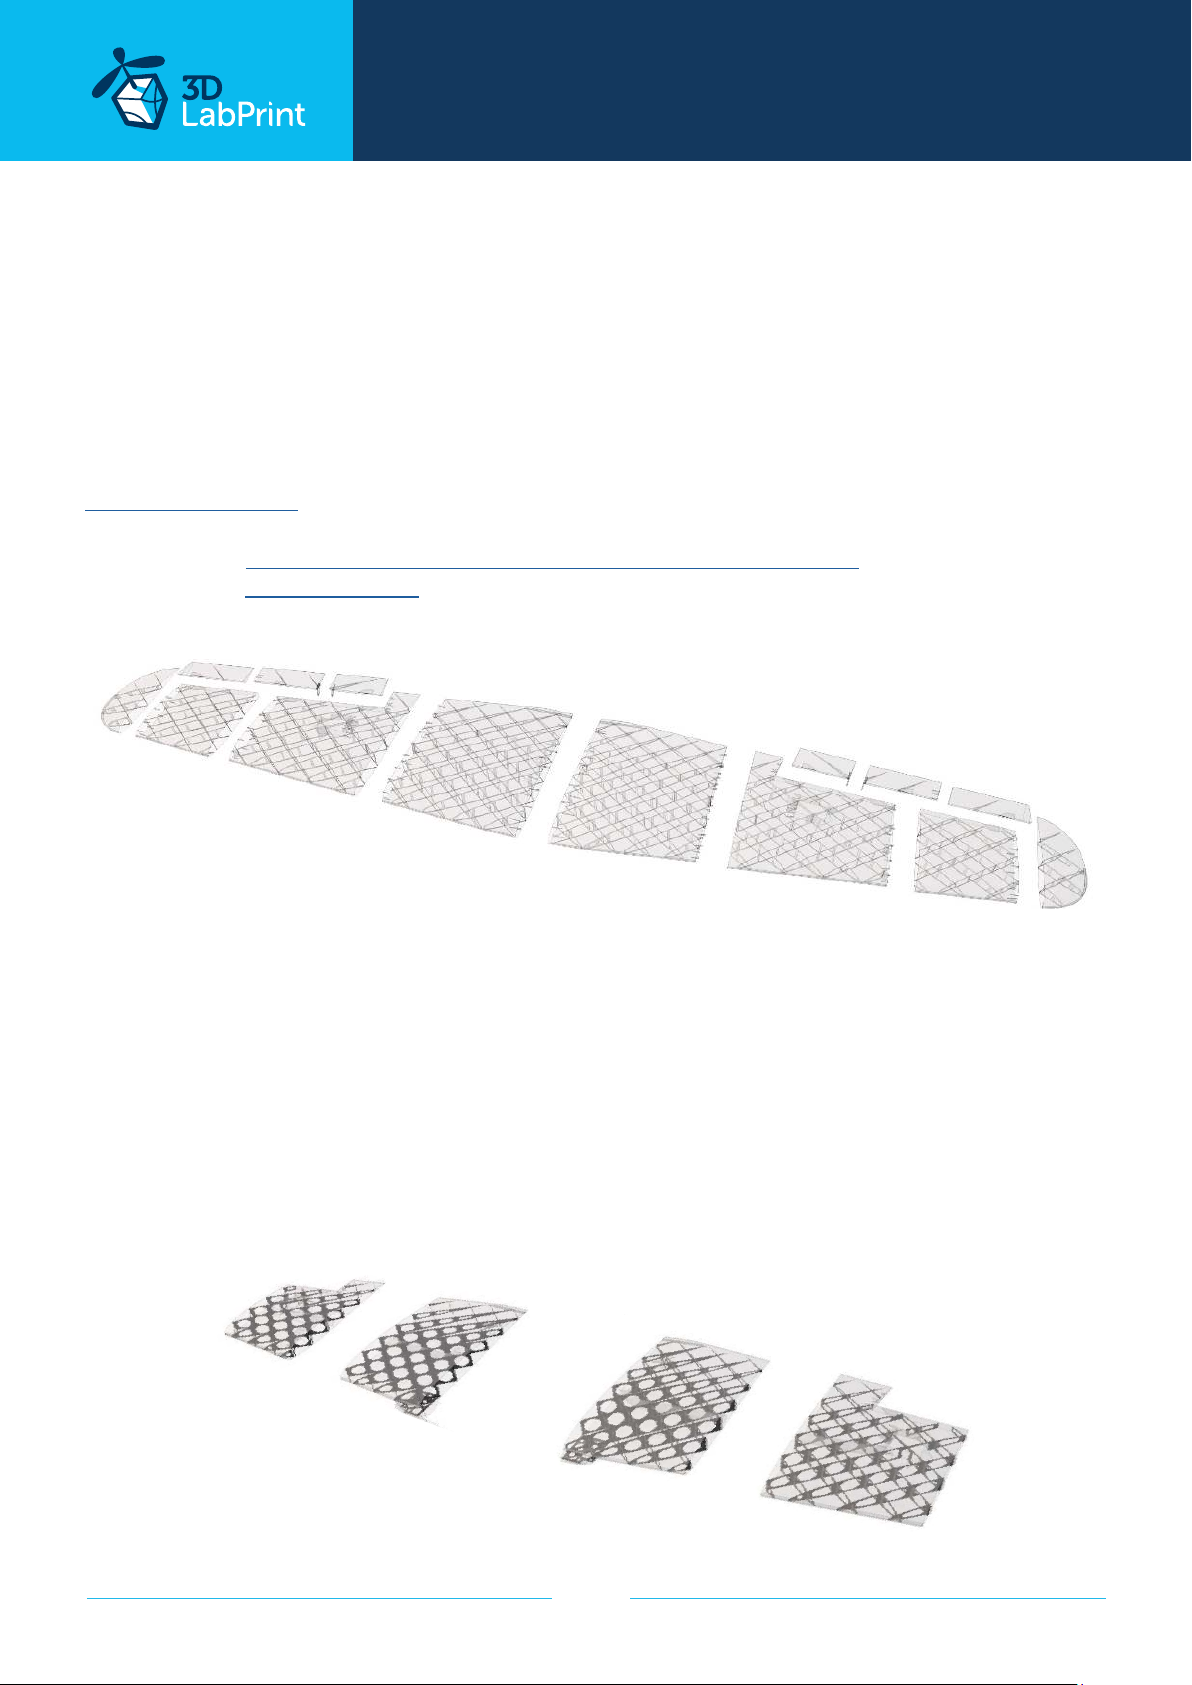
5.1 Wing assembly M6A Seiran
Glue wing parts with CA, use activator and install ailerons on hinges.
We recommend CA Hinge sheet. Please, ailerons and elevators may be dierent from
videoguide, just glue them simply together. Watch the parts aligning.
See video guide #4
you will need: CA Glue - medium or similar medium viscosity CA glue
CA Hinge Sheet or similar
Scissors, Snap knife, Some cloth for wiping CA glue...
W aileron right
W right 4
W aileron left
W right 3
W right 2
W right 1
W left 1
W left 2
5.1.1 ACES Wing assembling M6A Nanzan
Wing is the same as M6A Seiran version, except there are no holes in sections #2.
W left 4
W left 3
W right 2
W right 1
W left 1
W left 2
page 15
Page 16
... print your plane | www.3DLabPrint.com
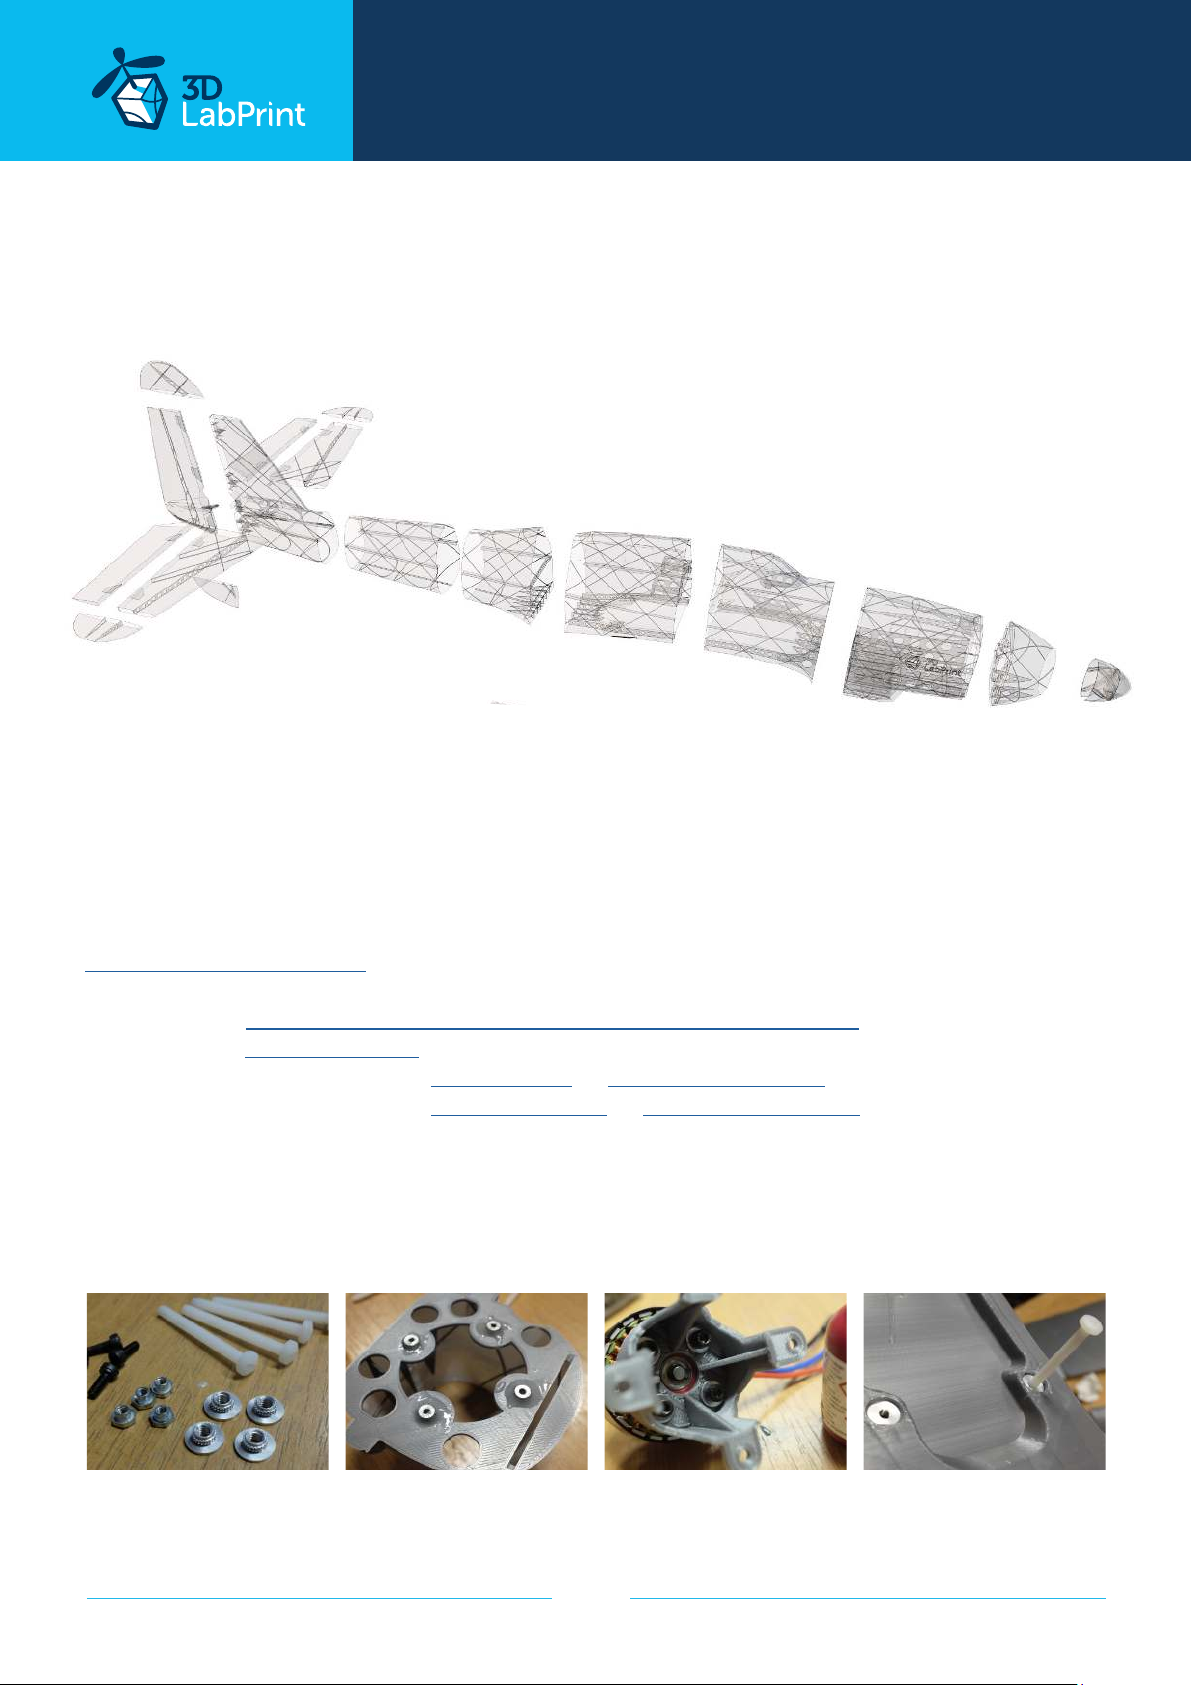
5.2.1 Fuselage assembly M6A Seiran
rudder 3
rudder 1, 2
fin
at 2,5mm
carbon wire
110mm long
elevator 2
elevator 1
F1
elevator 3
F2
F3
F4
F5
F6
F7
Now it‘s a good time to glue the 4x M3 nuts to the fuselage part 7 using a bit of epoxy glue.
Clean the threads and try the best fitting motor mount. Glue 2x M4 nuts using the epoxy
glue for wing mount to fuselage part 4. Clean the threads and try suitable M4x40 polyamid
screws. Trim the parts using knife or sandpaper if necessary. Glue all fuselage parts using CA
glue together. Take care glueing the elevator in right position to the fuselage.
See video guide #5 part1
spinner
you will need: CA Glue - medium or similar medium viscosity CA glue
AC Hinge Sheet or similar
4x M3 blind nuts MP-Jet 1035 or Hobbyking M3 nuts or similar
2x M4 blind nuts MP-Jet 1007 AL or Hobbyking M4 nuts or similar
Scissors, Snap knife or Sandpaper, Soldering Iron or any hot tool
page 16
Page 17
... print your plane | www.3DLabPrint.com
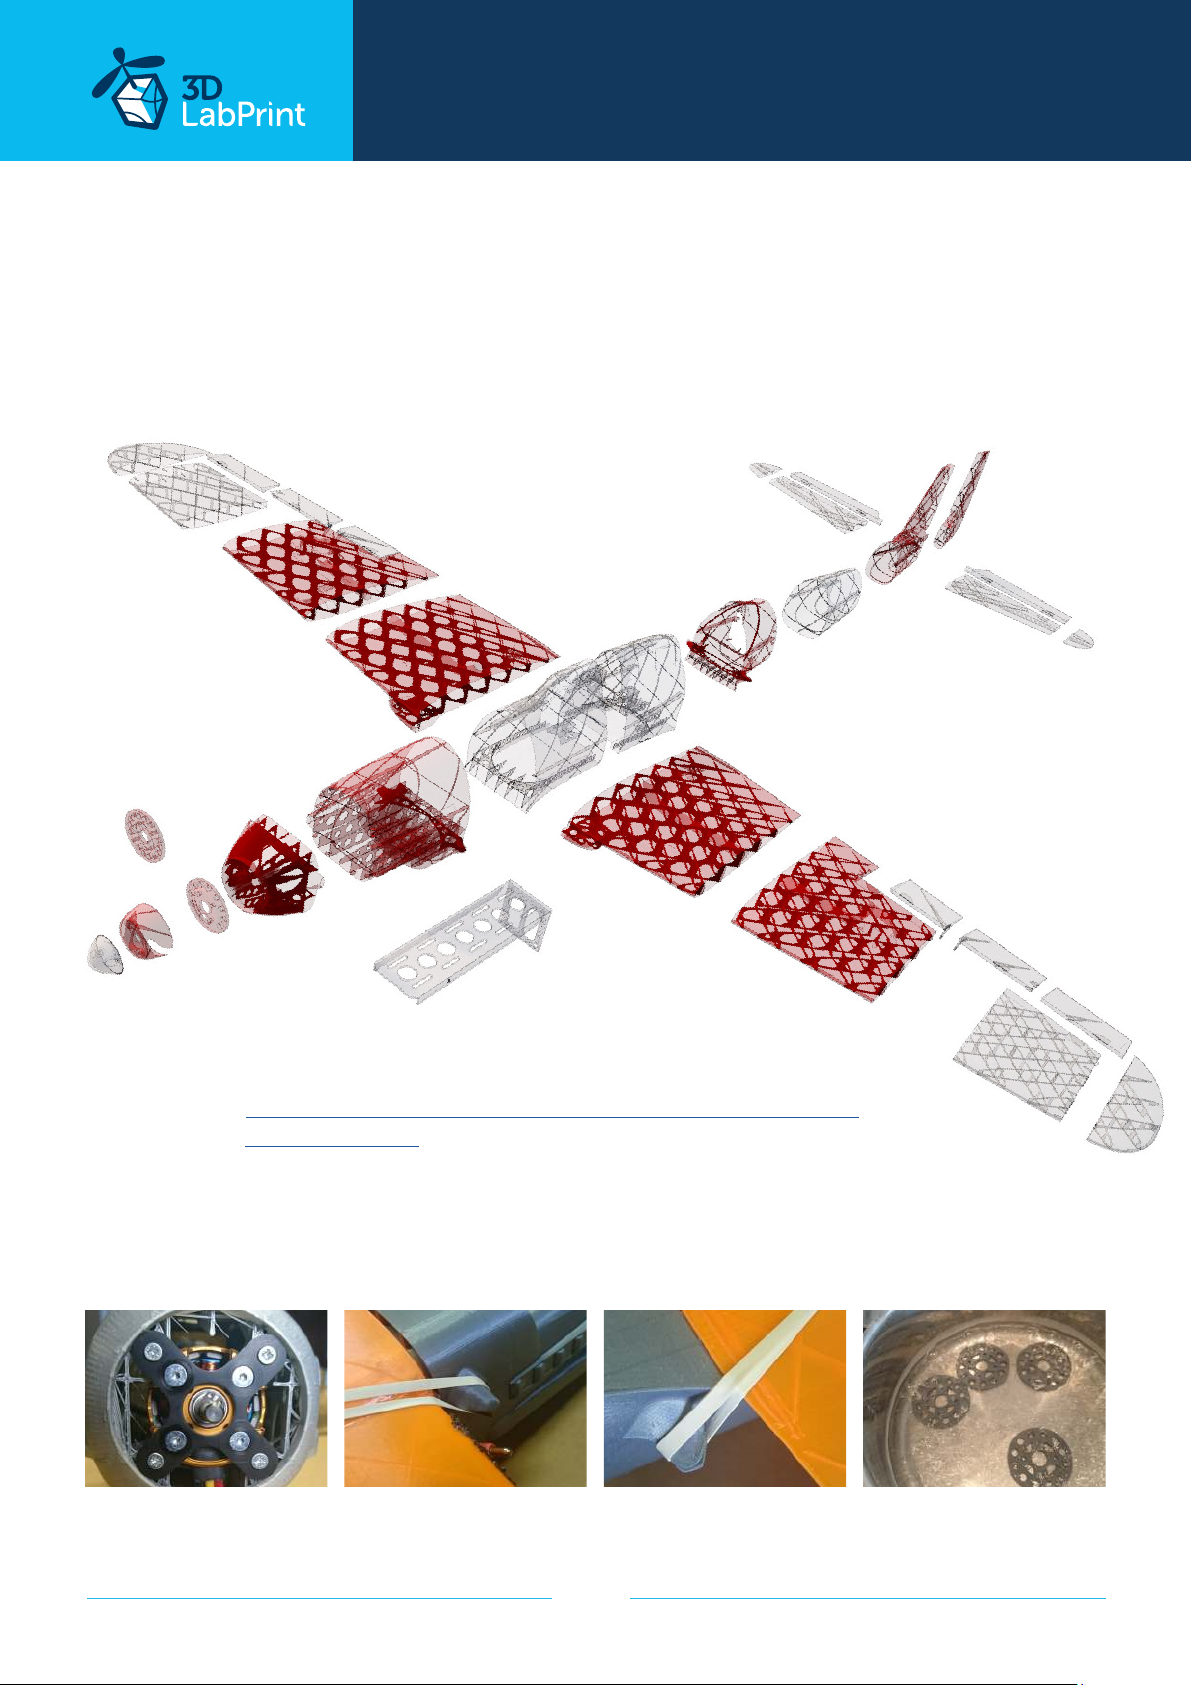
5.2.2 Fuselage assembling M6A Nanzan
The key dierence is the simplified motor wall and rubber band wing holders. ACES version
doesn‘t need controlled rudder. Use strong fuselage part F7 and printed motor wall or original
alluminium cross holder for better durability.
rudder 1
F1
F2
elevator 2
F3
F4
F5
motor mount
F7
spinner
F6
battery holder
you will need: CA Glue - medium or similar medium viscosity CA glue
AC Hinge Sheet or similar
Scissors, Snap knife or Sandpaper, Soldering Iron or any hot tool
elevator 1
elevator 3
page 17
motor mount anealing
in boiled watter
Page 18
... print your plane | www.3DLabPrint.com
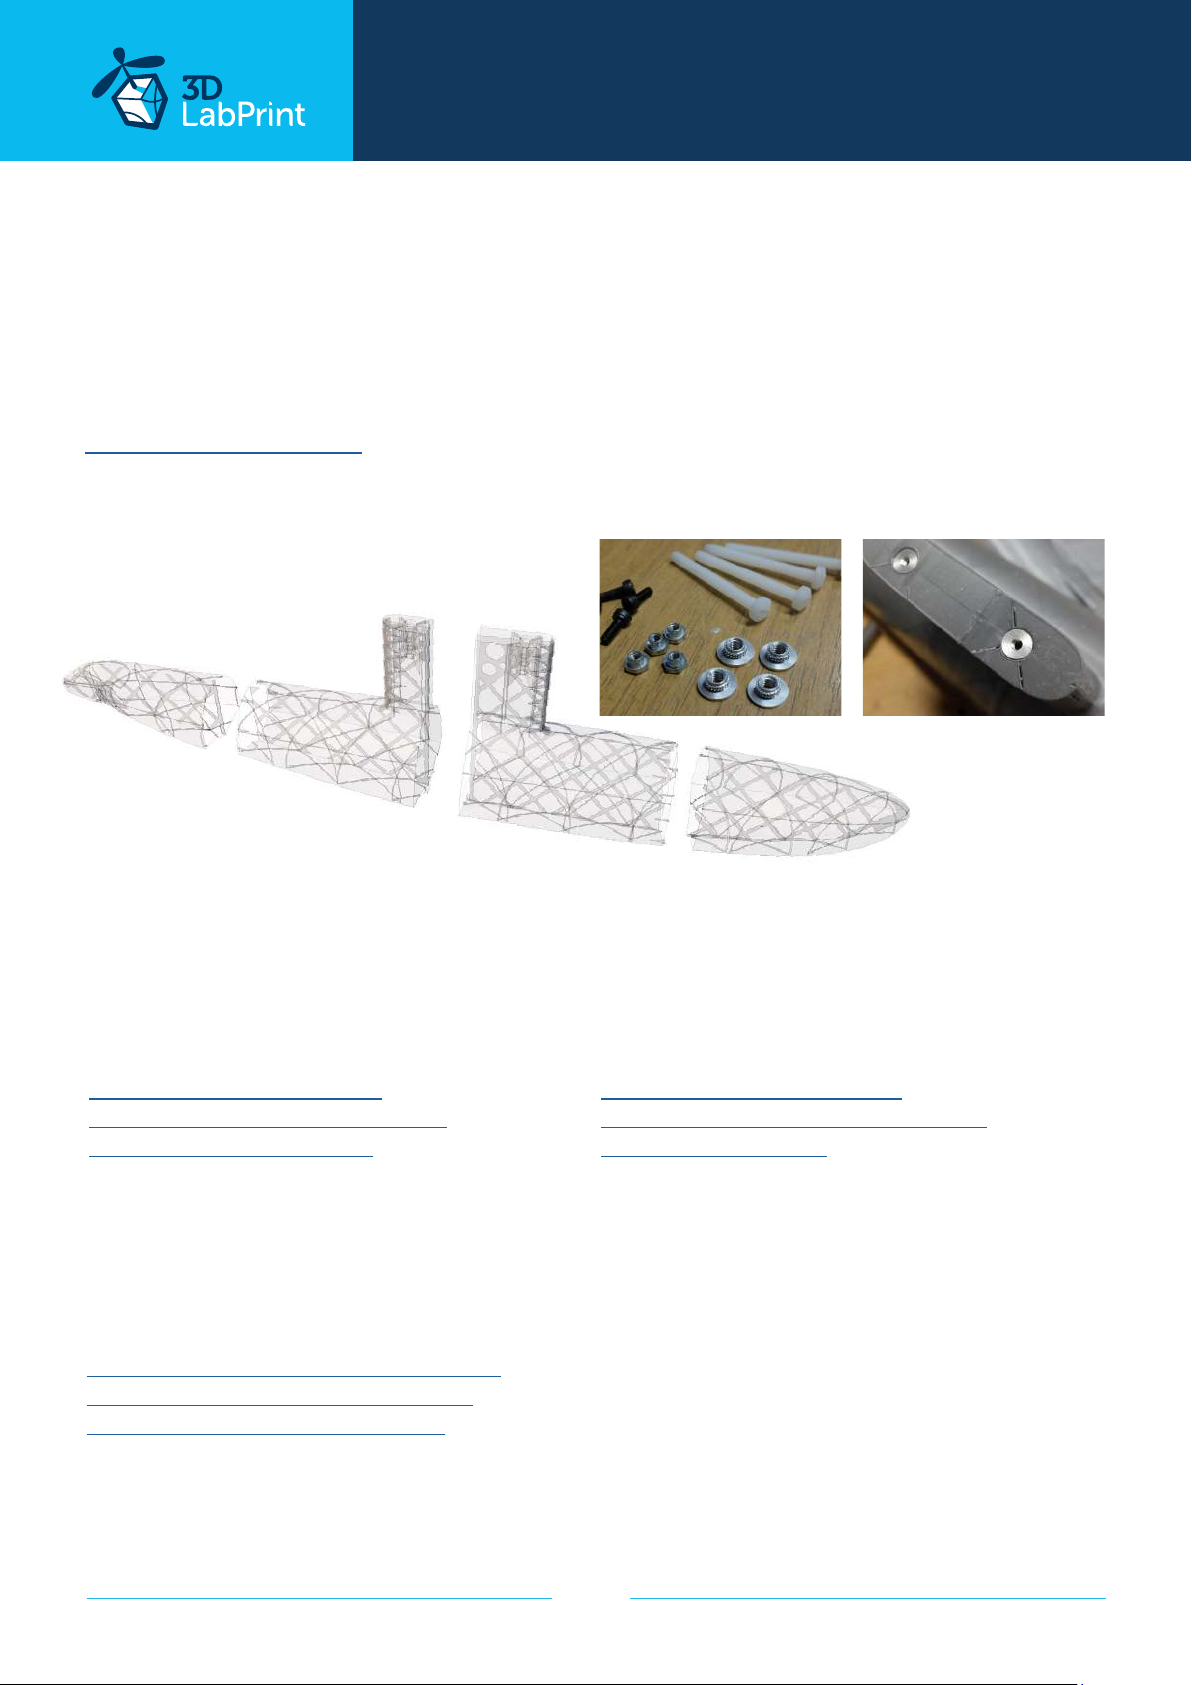
5.2.2 M6A Seiran floats assembly
Trim the parts using knife or sandpaper if necessary. Glue all floats parts together using CA
glue. Glue 2x M4 nuts using epoxy glue to each float. Clean the threads and try suitable
M4x40 polyamid screws. Apply two-three coats of waterproof varnish to both floats for a
perfect seal.
See video guide #5 part2
float 4
float 3
float 2
Recommended motor setups
(or use your own with sucient thrust and weight)
Eco performance setup
Turnigy D3530/14 1100KV or similar
30A Electronic Speed Controller or similar
Turnigy 3000mAh 3S 20C or similar
propeller two blade 9x6
printed motor mount (size 1, 2, 3 or 4)
High performance setup
Motor – AX-4008Q-620KV
Speed controller (ESC) YEP 40A/6S or similar
Battery 1550mAh/6s – or 2x 1550/3s better
(use 2to1 serial connector)
propellers two blade APC 11 x 5,5
printed motor mount (size 3)
ACES performance setup
float 1
Motor – Leopard LC3542 600KV RED
Speed controller (ESC) YEP 40A/6S or similar
Battery LiPol 1800-2400mAh/6s
propellers two blade Aeronout CAM Carbon
Light 11 x 6 or APC 11 x 5,5
printed anealed motor mount or alluminium
original cross mount
page 18
Page 19
... print your plane | www.3DLabPrint.com
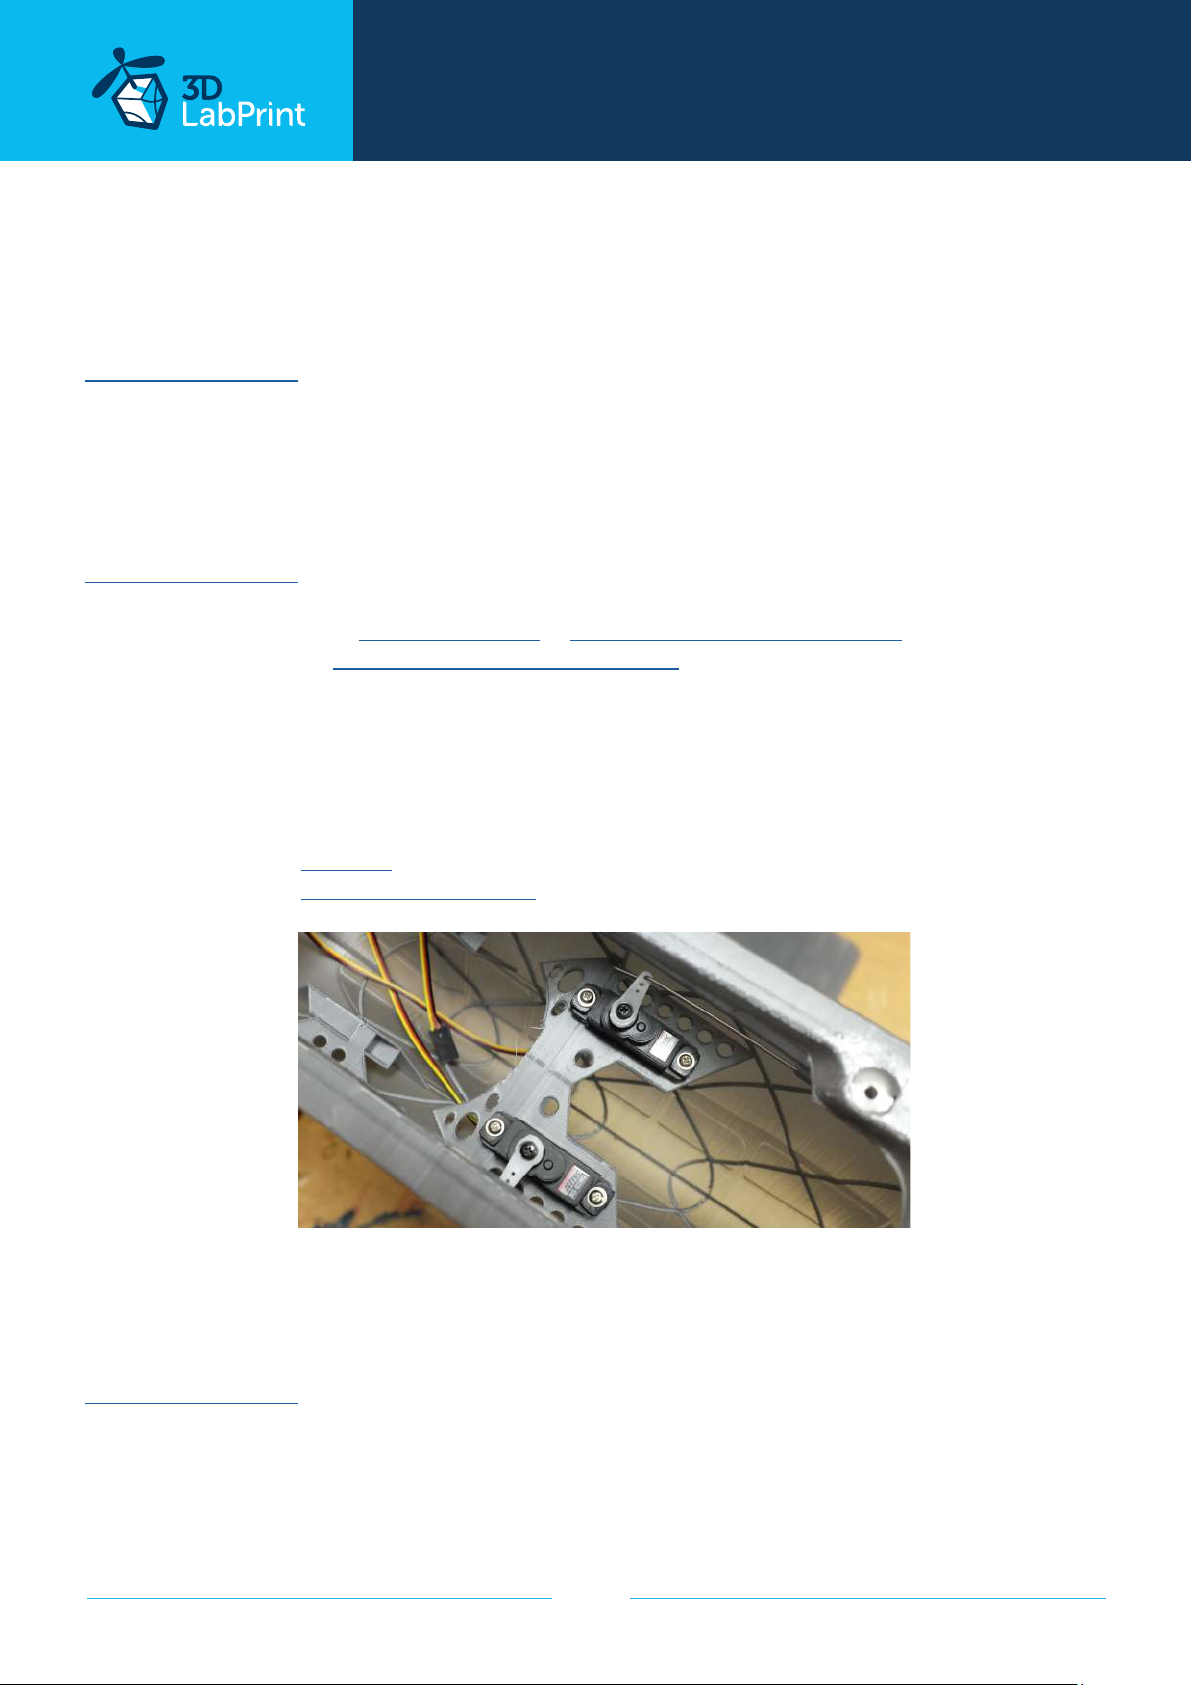
7. R/C Equipment and servo pushrods installation
(elevator + rudder installation)
Install prepared RC equipment: Motor, ESC, Servos...
See video guide #6
Nose and motor mount are already tilted to compensate rotating propeller wash. Mount it by
mark UP. Test and center all servos with servo tester or transmitter, then install horns in midle
position. Use Hitec HS-82MG or any servos sized 30x12x30mm (1.17 x 0.47 x 1.16 inches).
See video guide #8
you will need: 3-4x Hitec HS-82MG or similar 30 x 30 x 12mm servos
2x Servo Lead Extension or similar
Snap knife
4x M4 Screw depends on motor mount
Small screwdriver
Your earlier prepared R/C equipment
2x Steel pushrod, diameter 1.0-1.2mm
Pliers
CA Glue - medium
Activator for CA Glue or similar, but not mechanical is better
8. Final assembly
Refer to your R/C system userguide for installing information.
See video guide #9
you will need: Your own Rx/Tx system
Battery for your setup...
Velcro strip for Li-Pol battery
Scissors
page 19
Page 20
... print your plane | www.3DLabPrint.com
9. Final completion and setting
Install your reciever, connect batery, setup servos and etc. with your trasmitter, check servo
position, then instal propeller.
Make sure that the battery is placed properly and secured with wing battery holder, if
battery moves during flight it can shift the center of gravity backwards and aircraft will be
uncontrollable! Never set ESC with propeller installed, this could be very dangerous!
See video guide #10
you will need: Your own Rx/Tx system
Battery for your setup...
Foam strip for Li-Pol battery
Scissors
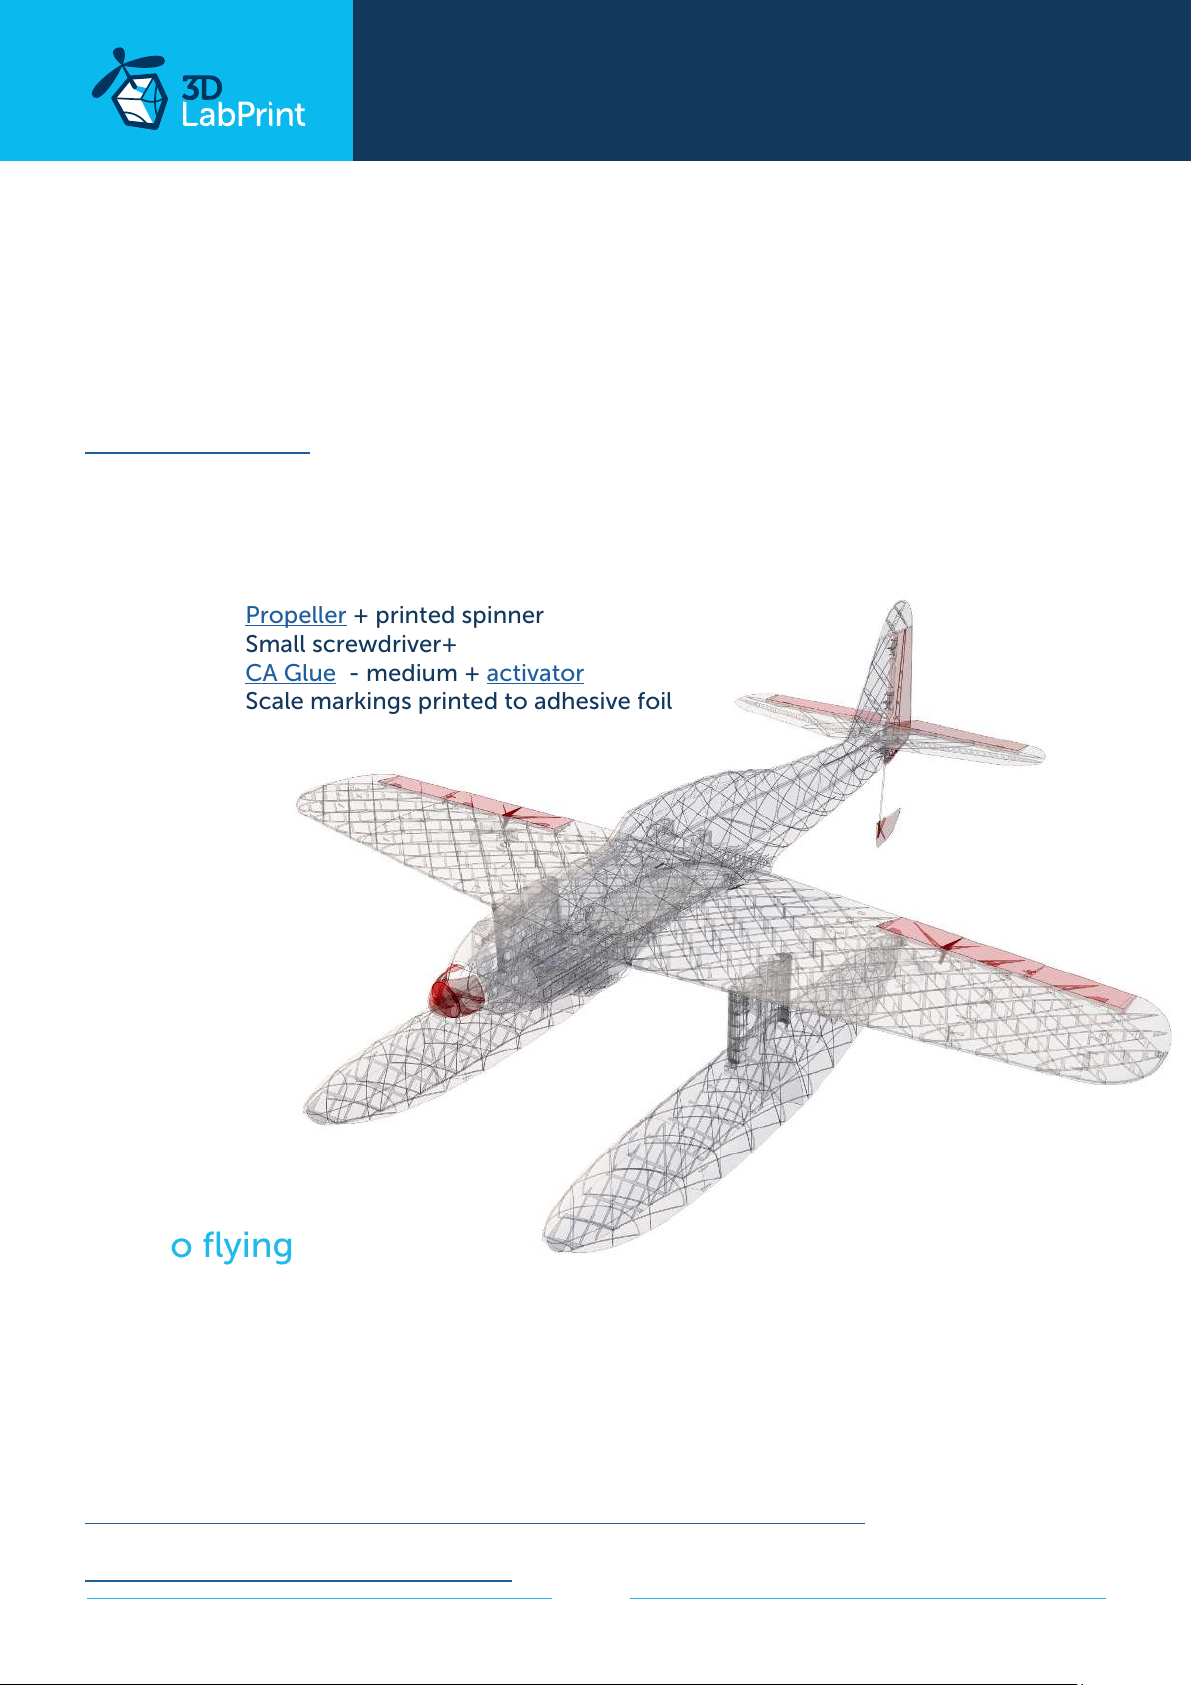
Propeller + printed spinner
Small screwdriver+
CA Glue - medium + activator
Scale markings printed to adhesive foil
10. Go flying
Pre-flight check center of gravity is very important (move it forward for the first flights see CG
markings bellow), battery properly charged, ailerons and elevator deflection check, your own
flying skills or RC simulator training ...
Accelerate smoothly and keep the direction during taxiing using the rudder, try water taxiing
without taking o a few times first. Then accelerate until the plane speeds up, pull the elevator
gently and you’re in the air. Never try to start from water without fin. Tested, doesn‘t work.
You can also remove floats and land on grass.
Basic to advanced ground handling take-o’s and landing for warbirds
Fly video of ACES version M6A Nanzan
page 20
Page 21
... print your plane | www.3DLabPrint.com
11. Pilots Please Attention!
For the first flights we recommend setting the center of gravity to around 5 mm forward of
the CG tag - nose heavy, this increases the stability (you can use heavier battery). Increasing
expo settings on your transmitter for elevator and ailerons to 80 % calms response from your
stick inputs. Also you can decrease elevator and ailerons deflection to calm down the plane.
Make sure the battery is well fixed in proper possition. If it moves during flight it will cause
shifting of CoG aft and will result in uncontrolable flight behavior.
After gaining some confidence you can balance the plane to the Center of Gravity marks and
set Expos to 60 % as shown in the video/instructions... this gains back extra maneuverability.
Never fly aft positioned Center of gravity.
Please, use these files only for your own purpose, do not redistribute or publish. Thank you very much. Enjoy your flight.
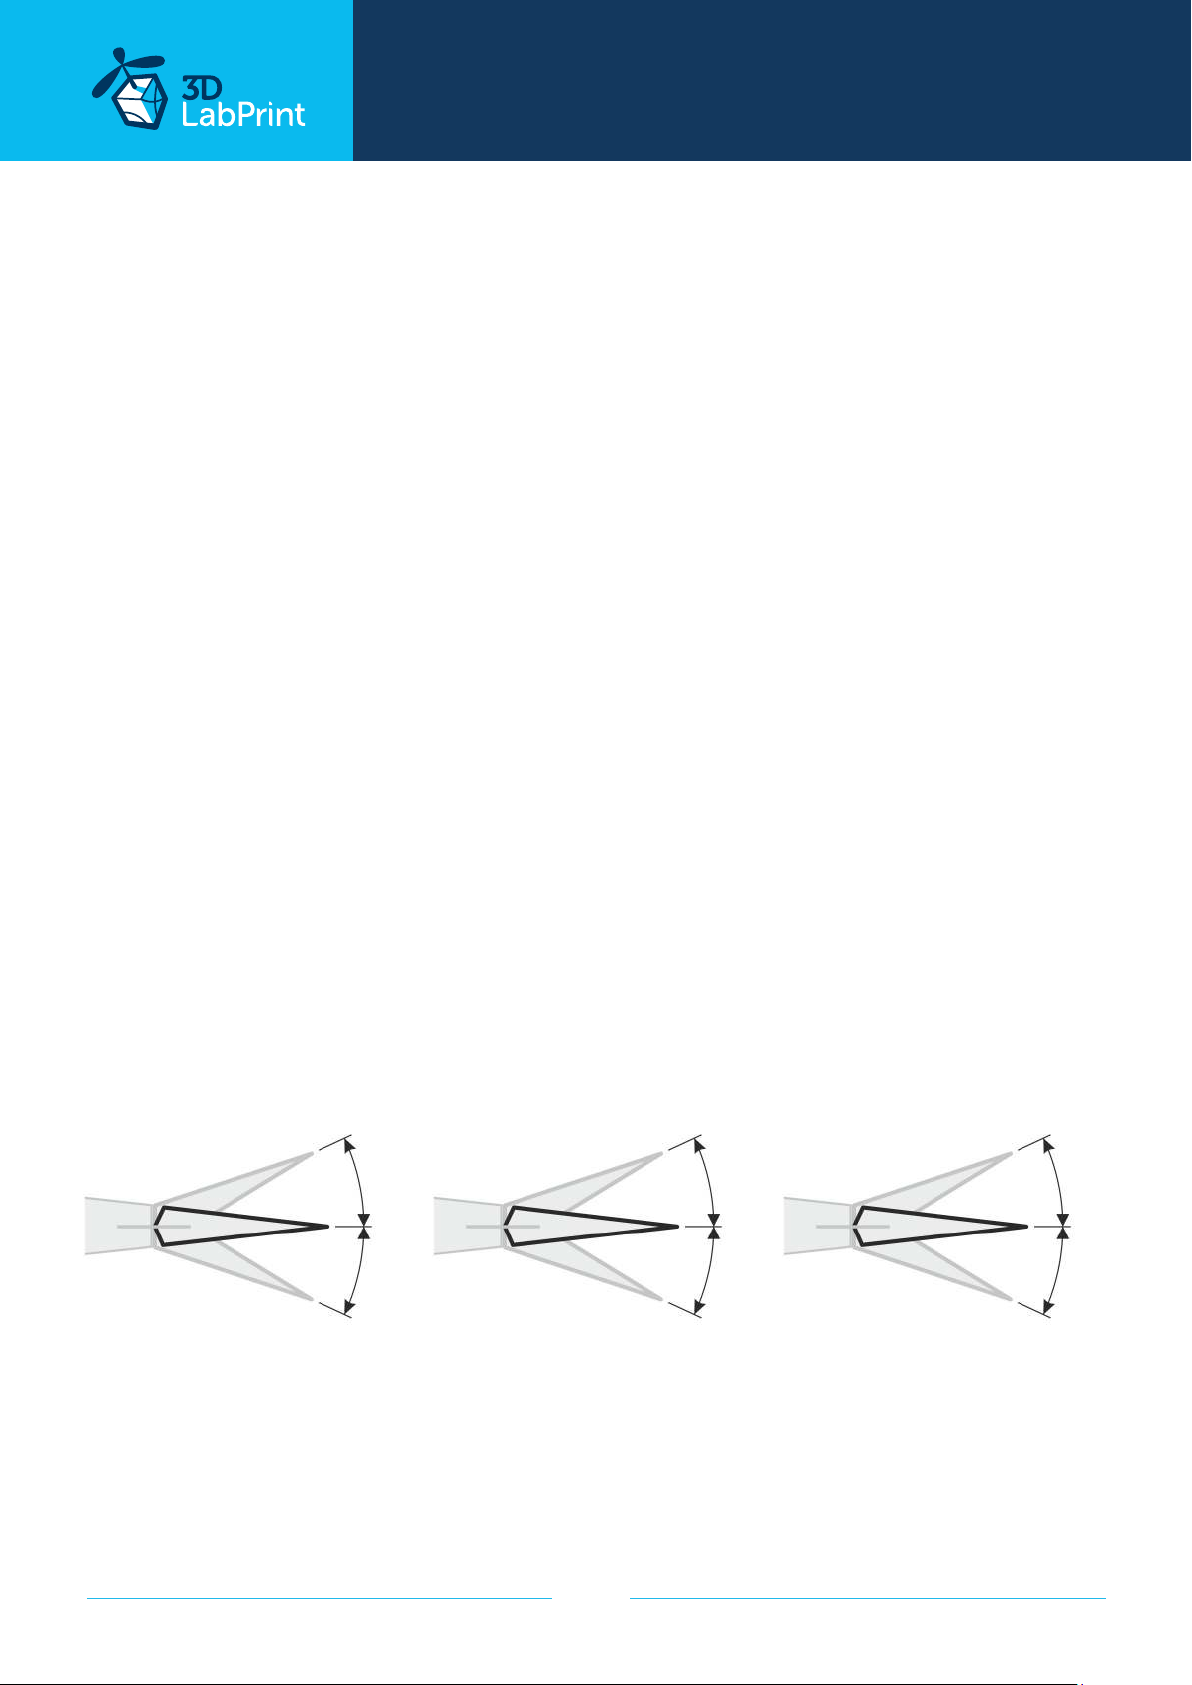
aileron elevator rudder
+18mm
-18mm -13mm
+13mm
R 30mm
L 30mm
page 21
Page 22
... print your plane | www.3DLabPrint.com
Shopping list
Printing material: 1kg of PLA
RC: 4-5 chanell receiver by your RC system
Motor: Motor – Leopard LC3542 600KV RED
Motor – AX-4008Q-620KV
or similar ~100-140g for 6S Li-Pol...
Controller: Speed controller (ESC) YEP 40A/6S or similar
Battery: 6S Battery LiPol 1800-2400mAh/6s
Servos: 3-4x Hitec HS-81/82 or similar 30 x 30 x 12mm servos
2x servo extension cables 300mm / 12 inch
Glue: CA Glue - medium or similar medium viscosity CA glue
Activator for CA Glue or similar,
Other: 1 mm / 14 AWG pushrod wire or carbon rod
fitting screws
page 22
 Loading...