

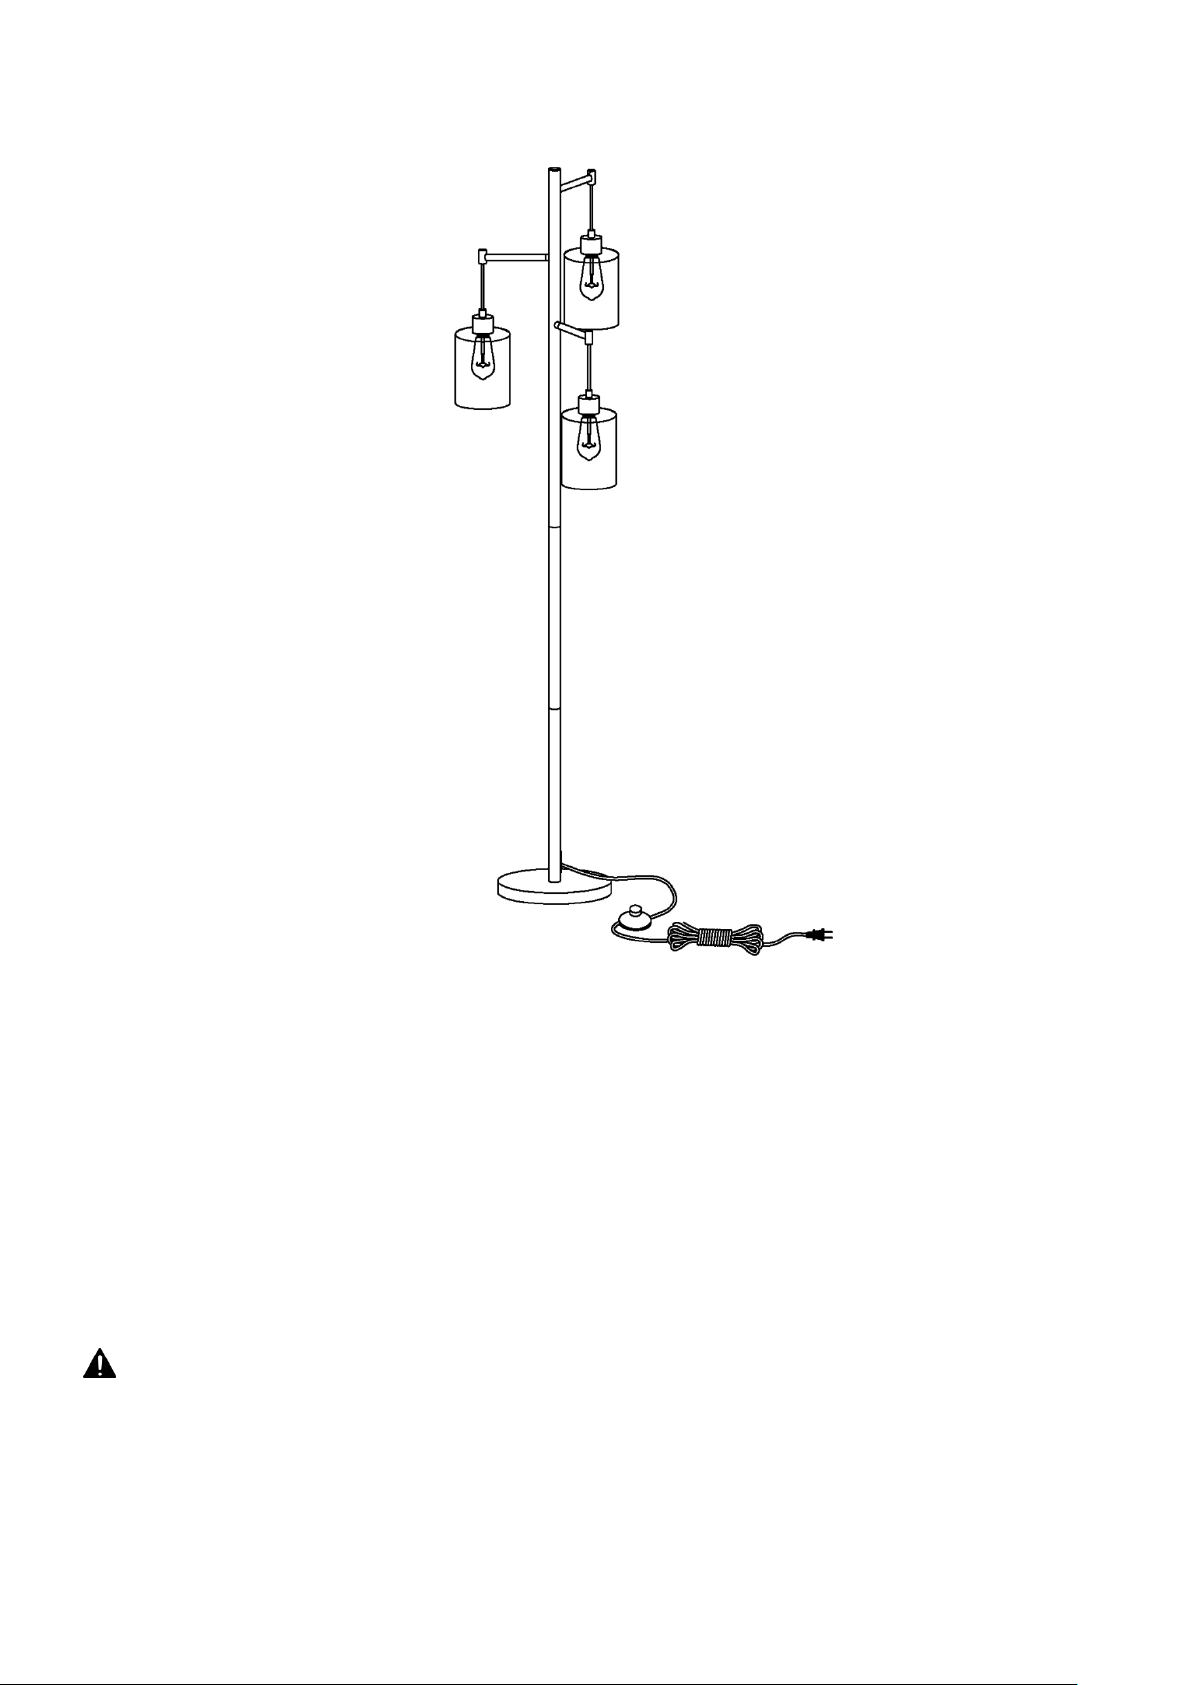
Floor Lamp Assembly Instruction
IMPORTANT SAFETY INSTRUCTIONS
This portable luminaire has a polarized plug (one blade is wider than the other) as a safety feature to
reduce the risk of electric shock. This plug will fit in a polarized outlet (only one right way). If the
plug does not fitful yin the outlet, reverse the plug. If it still does not fit, contact a qualified
electrician. Never use with an extension cord unless plug can be fully inserted. Do not alter the plug.
Do not attempt to defeat this safety feature.
This fixture has been rated for up to three(3) E26 60-watt maximum standard incandescent light
bulb(not included) or one(1) 24-watt maximum compact fluorescent light bulb(not included) or
one(1) 8W LED Bulb(Included). To avoid the risk of fire, do not exceed the recommended bulb
wattage.
WARNING:
Do not plug the power cord into the outlet until the lamp is fully assembled.
To reduce the risk of fire, electrical shock or personal injury, always turn off and unplug the light
fixture and allow it to cool prior to replacing the light bulb.
Do not touch bulb when fixture is turned on. Do not look directly at lit bulb.
Keep flammable materials away from lit bulb.

Parts List
DO NOT EXCEED THE SPECIFIED WATTAGE.
Lamp Body X 1
Glass Shade X 3
LED Bulb X 3
Assembly Instructions:
1. Turn the arm into the main pole and set it in a right postion-socket face down straightly. Repeat this
process, untill the rest of two arms are assembled correctly.
2. Connect the poles (B4, B3, B2, B1) together.
3. Turn the lamp base (A) to the pole assembled and tight it well.
4. Attach the glass shade (C) to the socket.
5. Screw the socket collar and make sure the glass shade (C) are well flxed.
6. Attach the bulbs (LED bulb supplied) to the sockets.
Care Instructions:
Wipe clean with a soft, dry cloth or static duster.
Always avoid the use of harsh chemicals or abrasive cleaners as they may cause damage to the
fixture’s finish.
Contact Information:
 Loading...