Yorkville UNITY UP15, UNITY UP215 Manual

Yorkville
OWNER'S MANUAL
MANUAL de L'UTILISATEUR
Yorkville |
|
UP215 |
CLIP A |
CLIP B |
P R O F E S S I O N A L B A L A N C E D S O U N D P R O C E S S I N G S Y S T E M |
Yorkville |
|
UP15 |
CLIP A |
CLIP B |
P R O F E S S I O N A L B A L A N C E D S O U N D P R O C E S S I N G S Y S T E M |
PROCESSORSTYPE: EP160
P R O F E S S I O N A L B A L A N C E D S O U N D P R O C E S S I N G S Y S T E M

IMPORTANT SAFETY INSTRUCTIONS
INSTRUCTIONS PERTAINING TO A RISK |
INSTRUCTIONS RELATIVES AU RISQUE |
OF FIRE, ELECTRIC SHOCK, |
DE FEU, CHOC ÉLECTRIQUE, OU |
OR INJURY TO PERSONS. |
BLESSURES AUX PERSONNES. |
CAUTION:
TO REDUCE THE RISK OF ELECTRIC SHOCK, DO
NOT REMOVE COVER (OR BACK).
NO USER SERVICEABLE PARTS INSIDE.
REFER SERVICING TO QUALIFIED
SERVICE PERSONNEL.
Read Instructions:
The Owner’s Manual should be read and understood before operation of your unit. Please, save these instructions for future reference.
Packaging:
Keep the box and packaging materials, in case the unit needs to be returned for service.
Warning:
When using electric products, basic precautions should always be followed, including the following:
Power Sources:
Your unit should be connected to a power source only of the voltage specified in the owners manual or as marked on the unit. This unit has a polarized plug. Do not use with an extension cord or receptacle unless the plug can be fully inserted. Precautions should be taken so that the grounding scheme on the unit is not defeated.
Hazards:
Do not place this product on an unstable cart, stand, tripod, bracket or table. The product may fall, causing serious personal injury and serious damage to the product. Use only with cart, stand, tripod, bracket, or table recommended by the manufacturer or sold with the product. Follow the manufacturer’s instructions when installing the product and use mounting accessories recommended by the manufacturer.
The apparatus should not be exposed to dripping or splashing water; no objects filled with liquids should be placed on the apparatus.
Terminals marked with the “lightning bolt” are hazardous live; the external wiring connected to these terminals require installation by an instructed person or the use of ready made leads or cords.
No naked flame sources, such as lighted candles, should be placed on the apparatus.
Power Cord:
The AC supply cord should be routed so that it is unlikely that it will be damaged. If the AC supply cord is damaged DO NOT OPERATE THE UNIT.
Service:
The unit should be serviced only by qualified service personnel.
AVIS:
AFIN DE REDUIRE LES RISQUE DE CHOC ELECTRIQUE, N’ENLEVEZ PAS LE COUVERT (OU LE PANNEAU
ARRIERE). NE CONTIENT AUCUNE PIECE REPARABLE
PAR L’UTILISATEUR.
CONSULTEZ UN TECHNICIEN QUALIFIE
POUR L’ENTRETIENT.
Veuillez lire le manuel:
Il contient des informations qui devraient êtres comprises avant l’opération de votre appareil. Conservez S.V.P. ces instructions pour consultations ultérieures
Emballage:
Conservez la boite au cas ou l’appareil devait être retourner pour réparation.
Attention:
Lors de l’utilisation de produits électrique, assurez-vous d’adhérer à des précautions de bases incluant celle qui suivent:
Alimentation:
L’appareil ne doit être branché qu’à une source d’alimentation correspondant au voltage spécifié dans le manuel ou tel qu’indiqué sur l’appareil. Cet appareil est équipé d’une prise d’alimentation polarisée. Ne pas utiliser cet appareil avec un cordon de raccordement à moins qu’il soit possible d’insérer complètement les trois lames. Des précautions doivent êtres prises afin d’eviter que le système de mise à la terre de l’appareil ne soit désengagé.
Risque:
Ne pas placer cet appareil sur un chariot, un support, un trépied ou une table instables. L’appareil pourrait tomber et blesser quelqu’un ou subir des dommages importants. Utiliser seulement un chariot, un support, un trépied ou une table recommandés par le fabricant ou vendus avec le produit. Suivre les instructions du fabricant pour installer l’appareil et utiliser les accessoires recommandés par le fabricant.
Il convient de ne pas placer sur l’appareil de sources de flammes nues, telles que des bougies allumées.
L’appeil ne doit pas être exposé à des égouttements d’eau ou des éclaboussures et qu’aucun objet rempli de liquide tel que des vases ne doit être placé sur l’appareil.
Les dispositifs marqués d’une symbole “d’éclair” sont des parties dangereuses au toucher et que les câblages extérieurs connectés à ces dispositifs de connection extérieure doivent être effectivés par un opérateur formé ou en utilisant des cordons déjà préparés.
Cordon d’alimentation:
Évitez d’endommager le cordon d’alimentation. N’UTILISEZ PAS L’APPAREIL si le cordon d’alimentation est endommagé.
Service:
Consultez un technicien qualifié pour l’entretien de votre appareil.
safety-4v0.pdf 04/29/03

UP15 |
Subwwofer Mode |
F U L L R A N G E M O D E |
|
In |
Out |
Balanced Output |
|
SUBWOOFER |
|
||
|
|
MODE |
|
|
|
|
|
Balanced
Outputs
C H A N N E L A |
|
C H A N N E L B |
||
Balanced |
Yorkville |
|
Balanced |
|
DESIGNED & MANUFACTURED BY |
||||
Input |
Input |
|||
YORKVILLE SOUND • TORONTO, CANADA |
||||
Live |
Full Range |
5 mSec Delay |
|
|
A Playback |
Bi-Amp |
Bypass |
B |
|
F U L L R A N G E M O D E
Balanced Output
BI-AMP
Balanced
Outputs
Subwwofer Mode |
120VAC 60Hz 5VA AVERAGE |
|
230V 50Hz 5VA AVERAGE |
||
In |
Out |
SUBWOOFER |
|
|
|
UP15, UP215
Introduction
Unity™ speaker systems have been designed to answer a variety of demands from projecting live music to accurately reproducing recorded program music. The Unity™ dual channel processor is an essential component to help you achieve this. It optimizes the performance of the Unity™ enclosures by performing a variety of functions such as proper crossover points, equalization, subsonic protection and hum rejection. The dual channel processor is placed in-between your audio source and the power amplifier. The processing should be done just prior to the amplification stage. Its output jacks should be connected to separate amplifiers, or amplifier channels, to power each cabinet. Crossover points for the full-range and bi-ampable enclosures have been factory optimized (table 1 page 3). A user-adjustable Subwoofer Crossover frequency control is provided. Suggested settings are listed on table 2 (page 3), as well as provided by a label located on the side of the Unity™ dual channel processor. In Full-Range mode the signal to the amplifier is provided by the Low frequency output only. Switches select between Live/Playback, Bi-amp/Full-Range and Subwoofer In/Out modes. Connections are made via balanced T.R.S. ¼ inch phone jacks in the 120V models or XLR for 230V models. XLR versions can be custom-ordered on the 120V version.
Live/Playback Push-Button
The Live preset position increases the presence in the vocal region by controlling the boost around 1.8 kHz. The Playback position is used for pre-recorded tracks and provides a flat frequency response.
The differences in performance are subtle; either setting will work for both functions — i.e. you’re not required to change settings when going from recorded program to live program.
Bi-Amp/Full Range Push-button
The Bi-Amp mode turns the Unity™ dual channel processor into an active crossover. The signals driving the power amplifiers are optimized for the appropriate level for the horn and low frequency driver(s). Two amplifiers are required to drive two-way enclosures. The U15 and U215 require passive crossovers between the HF and MF drivers even when operating in the bi-amp mode. Since this crossover network and the associated attenuator circuitry remain in place in the bi-amp mode, the required amplifier for the horn will be larger than expected. The AP2020 in 4-ohm mode (400 watts into 8-ohms) will give a proper flat response and sufficient power to match with the woofers. The AP4040 (750 watts into 8-ohms) may be more appropriate for applications requiring strong mid/high output. This will put the network and drivers at their maximum power handling. If the AP4040 is used the correct level control setting would be 6 clicks back from full gain. The woofer’s level has been preset for use with an individual one side of an amplifier, with a gain range of 36 dB (e.g. a Yorkville AP4040 or a Yorkville A4.4). Following these guidelines ensures your system will have a flat frequency response. The bi-ampable Unity™ enclosure must also be configured for bi-amp operation. (See figures 3 and 4.)
Full Range Output
The Full Range mode enhances low frequency response and allows the cabinet’s internal passive crossover to operate. If the Full Range mode is selected, the Low frequency outputs of the processor are used to supply the optimized full range signal, and should be connected directly to the amplifier’s inputs. Only one amplifier will be required to drive the enclosure. The bi-ampable Unity™ enclosure must also be set to the Full-Range position for full-range operation.
Note: These examples of system setups do not mention subwoofers. The addition of a subwoofer to the system will require additional power amplifiers.
A.P.P.S.
Bypass / 5 mSec Delay
Proper time alignment of the system is achieved by correctly selecting the Delay (All Pass Phase Shifter) switch. In conjunction with the proper subwoofer cutoff frequency (see tables 1 & 2 on page 3), the Unity™ Series outputs are time aligned with the Subwoofer. This minimizes the anomalies caused by phase cancellation and helps achieve the best quality sound.
Subwoofer Mode In/Out
The Subwoofer Mode push-button enables (IN position) the connection of an amplifier for driving a subwoofer. As an example, the processor factory presets allow one side of a Yorkville AP4040 or A4.4 (gain range of 36 dB) to be used for a flat frequency response. There are a variety of subwoofers in the élite line to choose from, contact your local Yorkville dealer for proper matching of full-range cabinets with subwoofers.
When the Subwoofer Mode push-button is in the OUT position, the cut-off frequency of the woofer(s) is lowered to accommodate the enclosure when not
1

using a subwoofer. It automatically optimizes subsonic cut-off and equalization of the lower portion of the woofer’s frequency response.
Note: in either position, the Subwoofer Balanced Output of the processor is always active.
Adjustable Crossover Control
The adjustable Crossover control accommodates all of Yorkville’s subwoofers by providing a variable
upper cutoff frequency optimized for the drivers (refer to corresponding curves for your Unity™ processor as shown in the Graph Section). This allows control of the crossover point between the subwoofer and woofer. The Crossover control can be set according to a list located on the side of the processor and in the back pages of manual.
Notes on Hum and Noise Reduction
Over the years, designers at Yorkville have been developing circuits that greatly reduce our products’ susceptibility to hum and buzz. These circuits require the use of the proper balanced shielded cables to
work. Balanced ¼ inch T.R.S. to T.R.S. (Tip/Ring/Sleeve) cables are correct for use with Unity™ processors, (XLR to XLR for 230V versions). The processors will reject some noise even when you are using unbalanced patch cables. To be sure of maximum noise rejection always use balanced cables.
What if your amplifier, or mixer, does not have balanced inputs or outputs? These processors have an exclusive Yorkville feature called Remote Ground Reference. This feature provides the noise rejection approaching a balanced circuit (even when the unit at the other end is unbalanced). In many cases, using a balanced (T.R.S. ¼ inch) cable will work, if it doesn’t, try the following… Assuming the mixer or power amplifier has mono ¼ inch jacks, rig a custom balanced patch cable by replacing the T.R.S. plug on one
end (not the Yorkville processor end) with a regular mono1/4 inch phone plug. Connect the hot (from tip of T.R.S. or pin 2 of XLR) to the tip of the mono plug. Now twist the unused center lead (from ring of T.R.S. or XLR pin 3) and the ground shield together (solder them to the phone plug’s ground lug. Identify the cable with tape on the plug that has been modified.
Wiring Tip / Ring / Sleeve Cables: Balanced cables should be wired Tip/Ring/Sleeve using cable with 2 conductors plus a shielded ground to connect the sleeves of the ¼ inch connectors. Cables with an XLR connector on one end and ¼ inch connectors on the other should be wired as shown below:
Tip – XLR pin 2 • Ring – XLR pin 3 • Sleeve (ground) – XLR pin 1
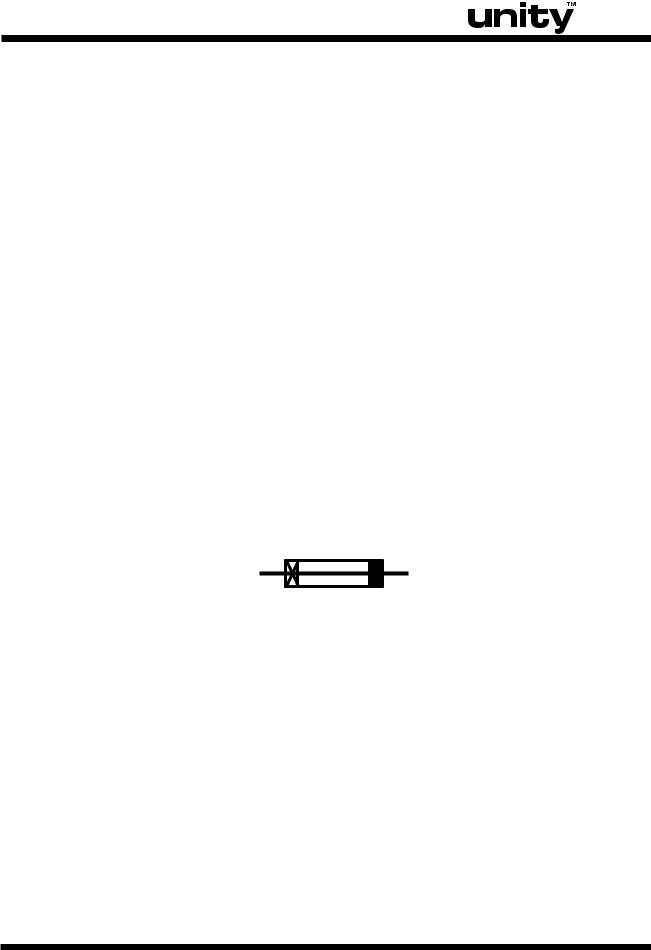
Internal Fuse
This unit should only be serviced by Qualified Service Personnel.
Risk of Electric Shock DO NOT OPEN!
CAUTION: FOR CONTINUED PROTECTION AGAINST FIRE HAZARD, REPLACE ONLY WITH SAME VALUE 0.1A SloBlo, 125V FUSE for 120V-130V or T 0,1 A FUSE for 230-250V UNITS.
ATTENTION: REMPLACER UNIQUEMENT PAR UN FUSIBLE DE MEME TYPE ET DE A, FUSEBLE 0.1 A Slo Blo / 125V POUR OPÉRATION
120V-130V • FUSEBLE 0,1 A POUR OPÉRATION 230V-250V
2

|
Bi-Amp Crossover frequency |
|
|
up15 |
up215 |
|
250 HZ |
250 HZ |
|
Suggested Crossover Settings |
|
LS608 |
up15 |
up215 |
115 Hz |
100 Hz |
|
LS808 |
120 Hz* |
115 Hz* |
LS908 |
115 Hz |
100 Hz |
LS1004 |
120 Hz* |
115 Hz* |
LS1208 |
115 Hz |
100 Hz |
UCS1 |
90 Hz* |
90 Hz* |
* Use 5 mSec A.P.P.S. Delay Setting
tables 1 & 2
SPECIFICATIONS
Variable Crossover frequencies |
|
with Subwoofer |
90 - 150 Hz |
Distortion |
<0.01% |
Signal to Noise |
>100 dB |
Maximum Output Level @ 1kHz |
8 Vrms, 20 dBu |
Clip LED Activation Level @ 1kHz |
5 Vrms, 16 dBu |
Maximum Input Level |
3.4 Vrms, 12.5 dBm |
Subwoofer OUT @ 90 Hz |
|
Maximum Input Level |
4 Vrms, 13.5 dBm |
Subwoofer IN @ 50 Hz |
|
Power Consumption |
50 mA |
Weight |
6 lbs / 2.75 kg |
3
 Loading...