


VA11A
USB Digital
Video Converter
Models VA11A and VA12A
32
Basic Setup
1. Download X10 Software. Click on the
software link in the email you received
titled “New Software Download
Link.” Before you download the
software, choose the option to save
the file, and save it onto your desktop
so you can more easily access it later.
2. Disable or turn off your anti-virus
software before you install the
software as some anti-virus programs
interfere with the installation.
Remember to turn on your anti-virus
program when you finish these steps.
3. Install Software. Go to your desktop
and double click the installation
program you just downloaded. The
software installation process will
install the driver for your VA11A/
VA12A.
Introduction
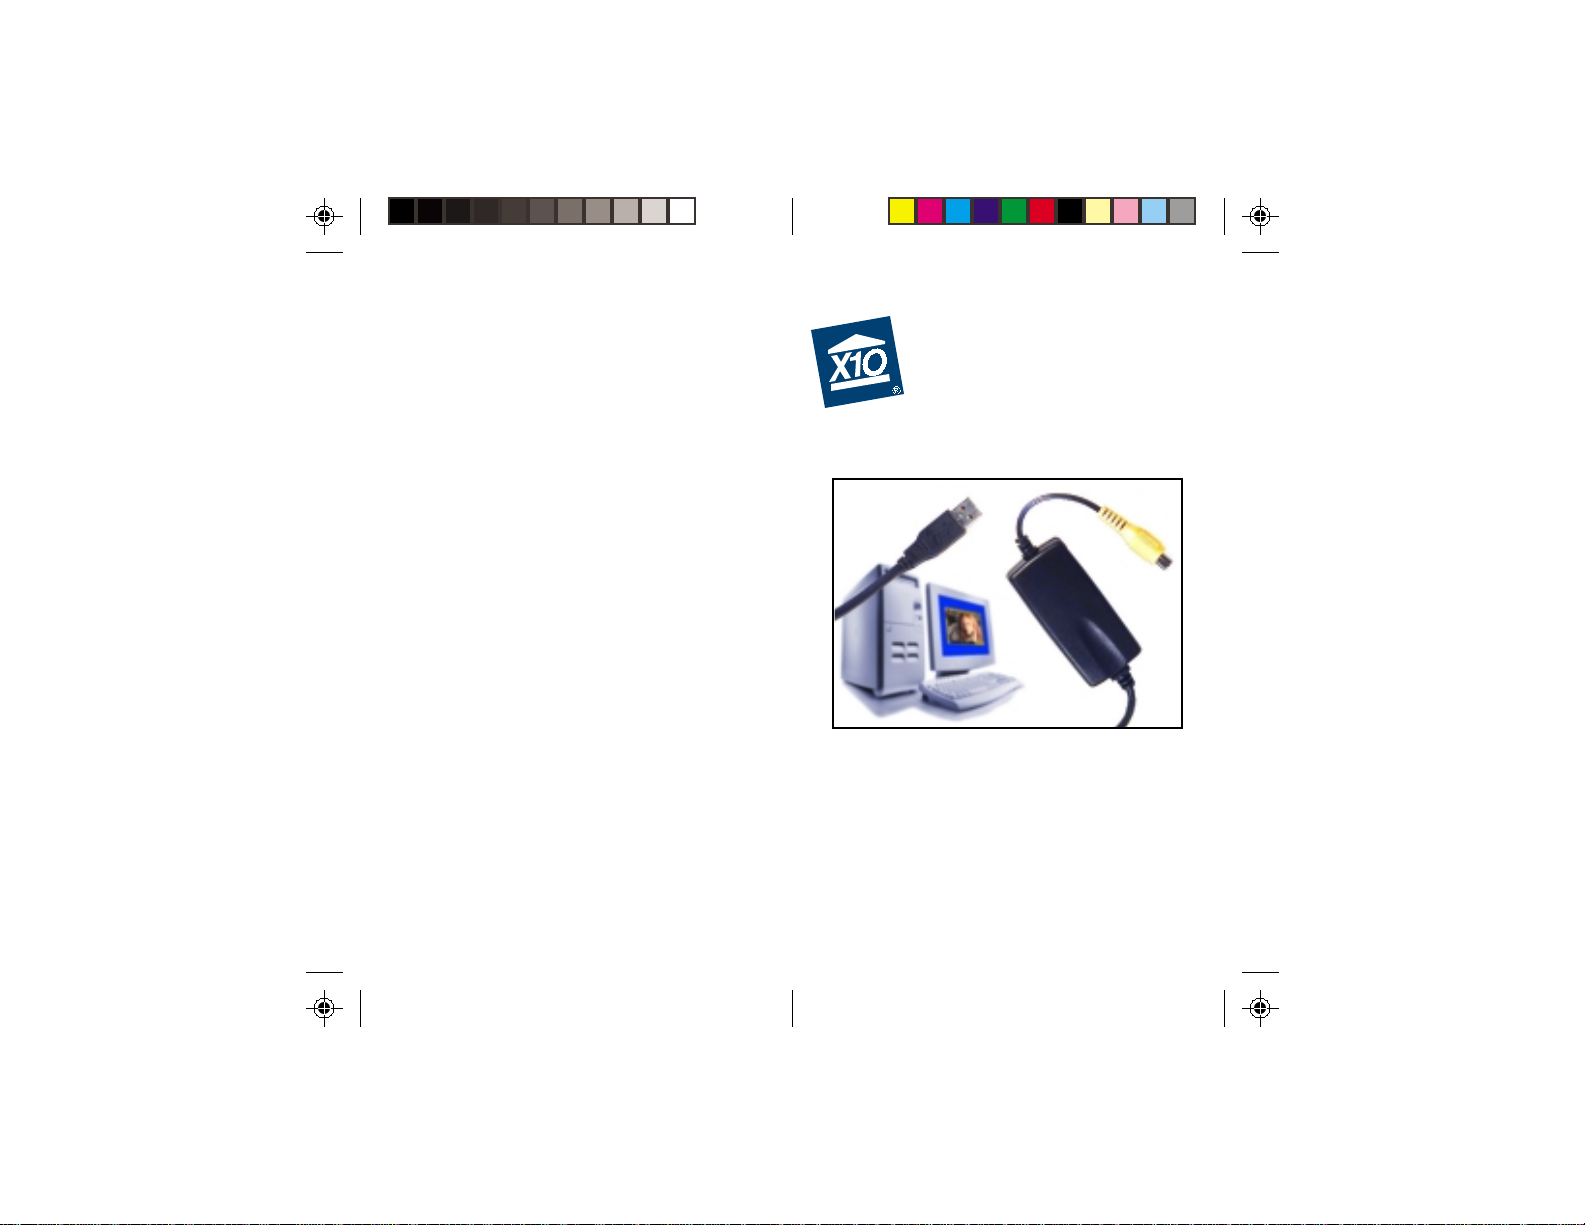
Thank you for purchasing the X10 USB
Digital Video Converter. The X10 software
you purchased, in conjunction with the video
converter, allows you to operate X10
cameras and display video using your PC.
Important: Please download and install
the X10 software before you plug in the
video converter.
The software you purchased should be
downloaded from the link you received in
our email titled “New Software Download
Link.” This manual assumes your camera is
working and your video receiver is near your
computer.

54
4. Plug in the Video Converter (wait until
the installation program asks you to
connect it).
5. Connect one end of the yellow video
cable to the Video Out jack on the
receiver and the other end to the
yellow input jack on the V ideo
Converter. Turn the receiver on.
If you are using the Video Converter with a
wired X10 camera like Anaconda or
NightWatch, connect the video output of the
camera directly into the yellow video input
on the Video Converter.
Basic Setup Basic Setup
Windows XP Users: When you see a
notice that the X10 VA11A (or VA12A)
Video Capture driver has not passed
Windows Logo testing, click “Continue
Anyway.” Installing these drivers will not
negatively affect your computer.
 Loading...