

Whirlpool AWOC 7221 INSTRUCTION FOR USE
10200448.fm Page 1 Monday, July 14, 2008 3:04 PM
GB
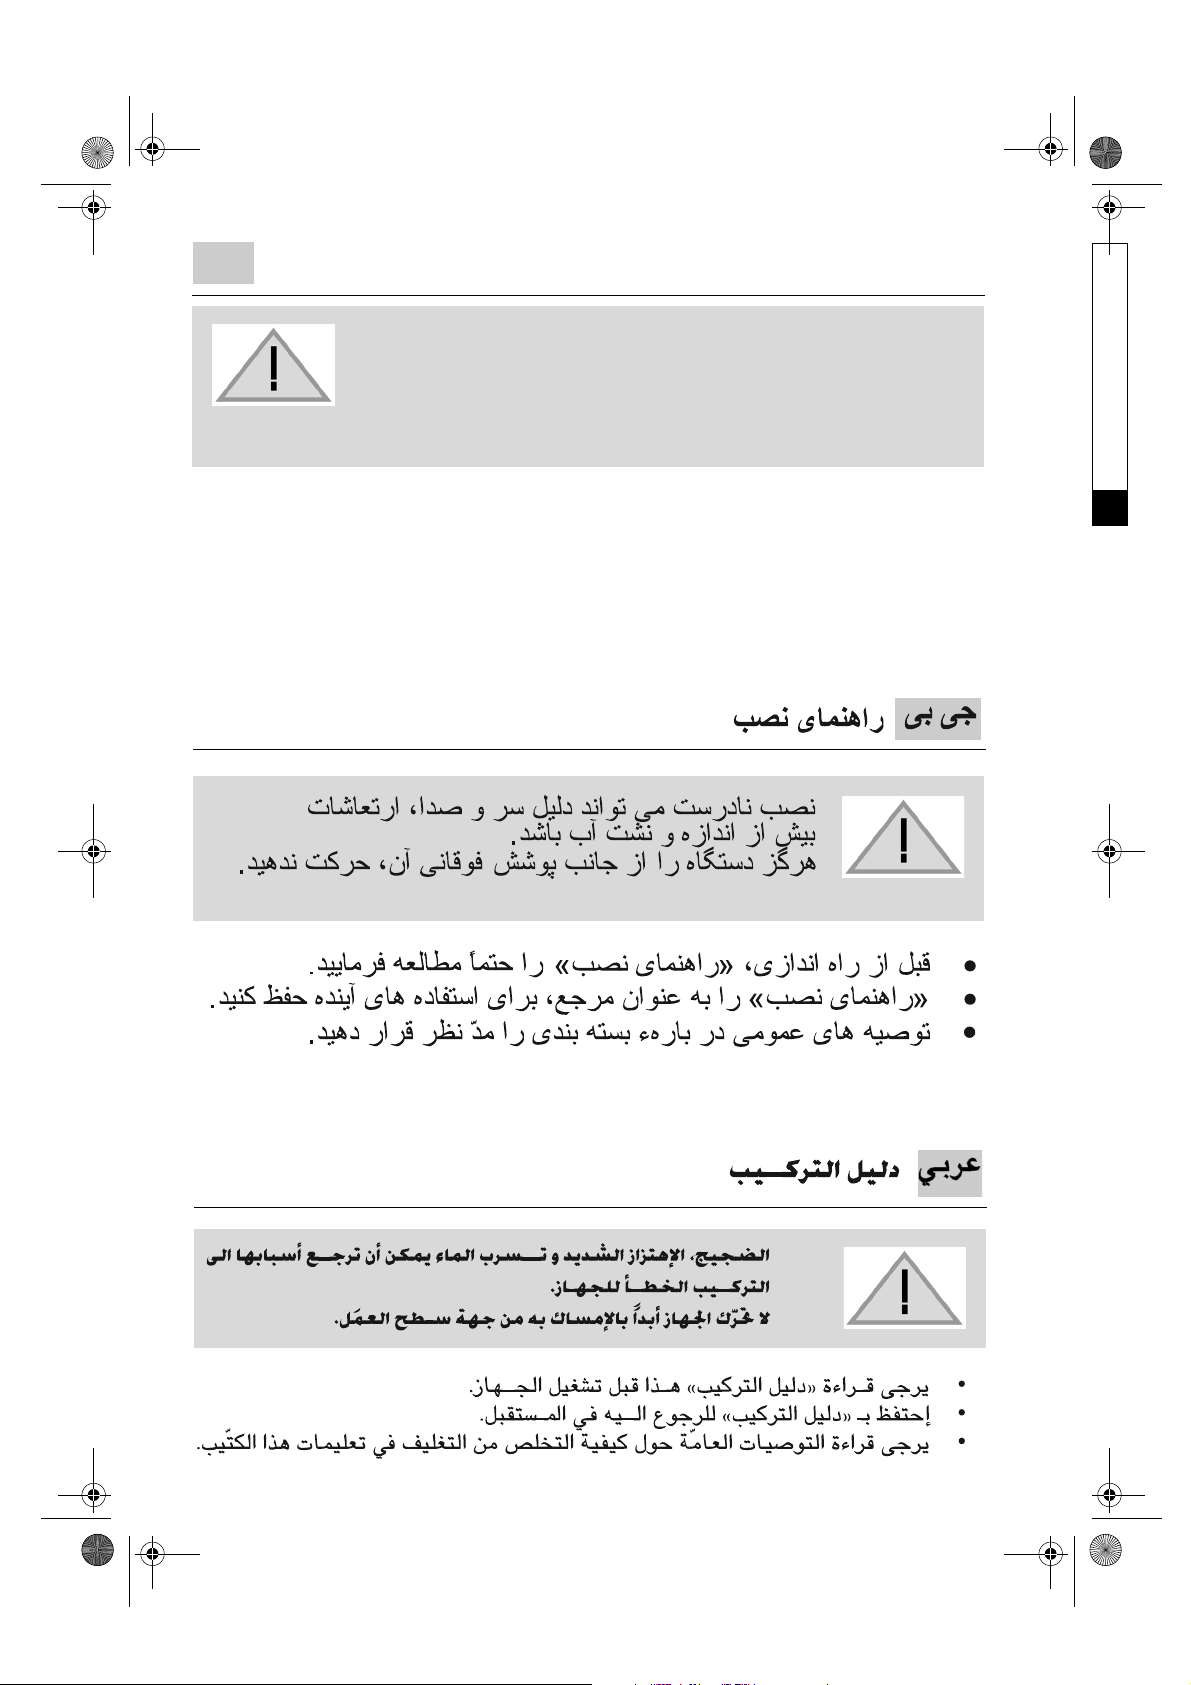
INSTALLATION GUIDE
NOISE, EXCESSIVE VIBRATIONS AND WATER
LEAKAGES CAN BE CAUSED BY INCORRECT
INSTALLATION.
NEVER MOVE THE APPLIANCE BY CARRYING
IT AT THE WORKTOP.
•
Read this “INSTALLATION GUIDE” before operating.
•
Keep this “INSTALLATION GUIDE” for future reference.
•
Read the general recommendations about disposing of
packaging in the Instructions for use.
Black process 45.0° 130.0 LPI
10200448.fm Page 2 Monday, July 14, 2008 3:04 PM
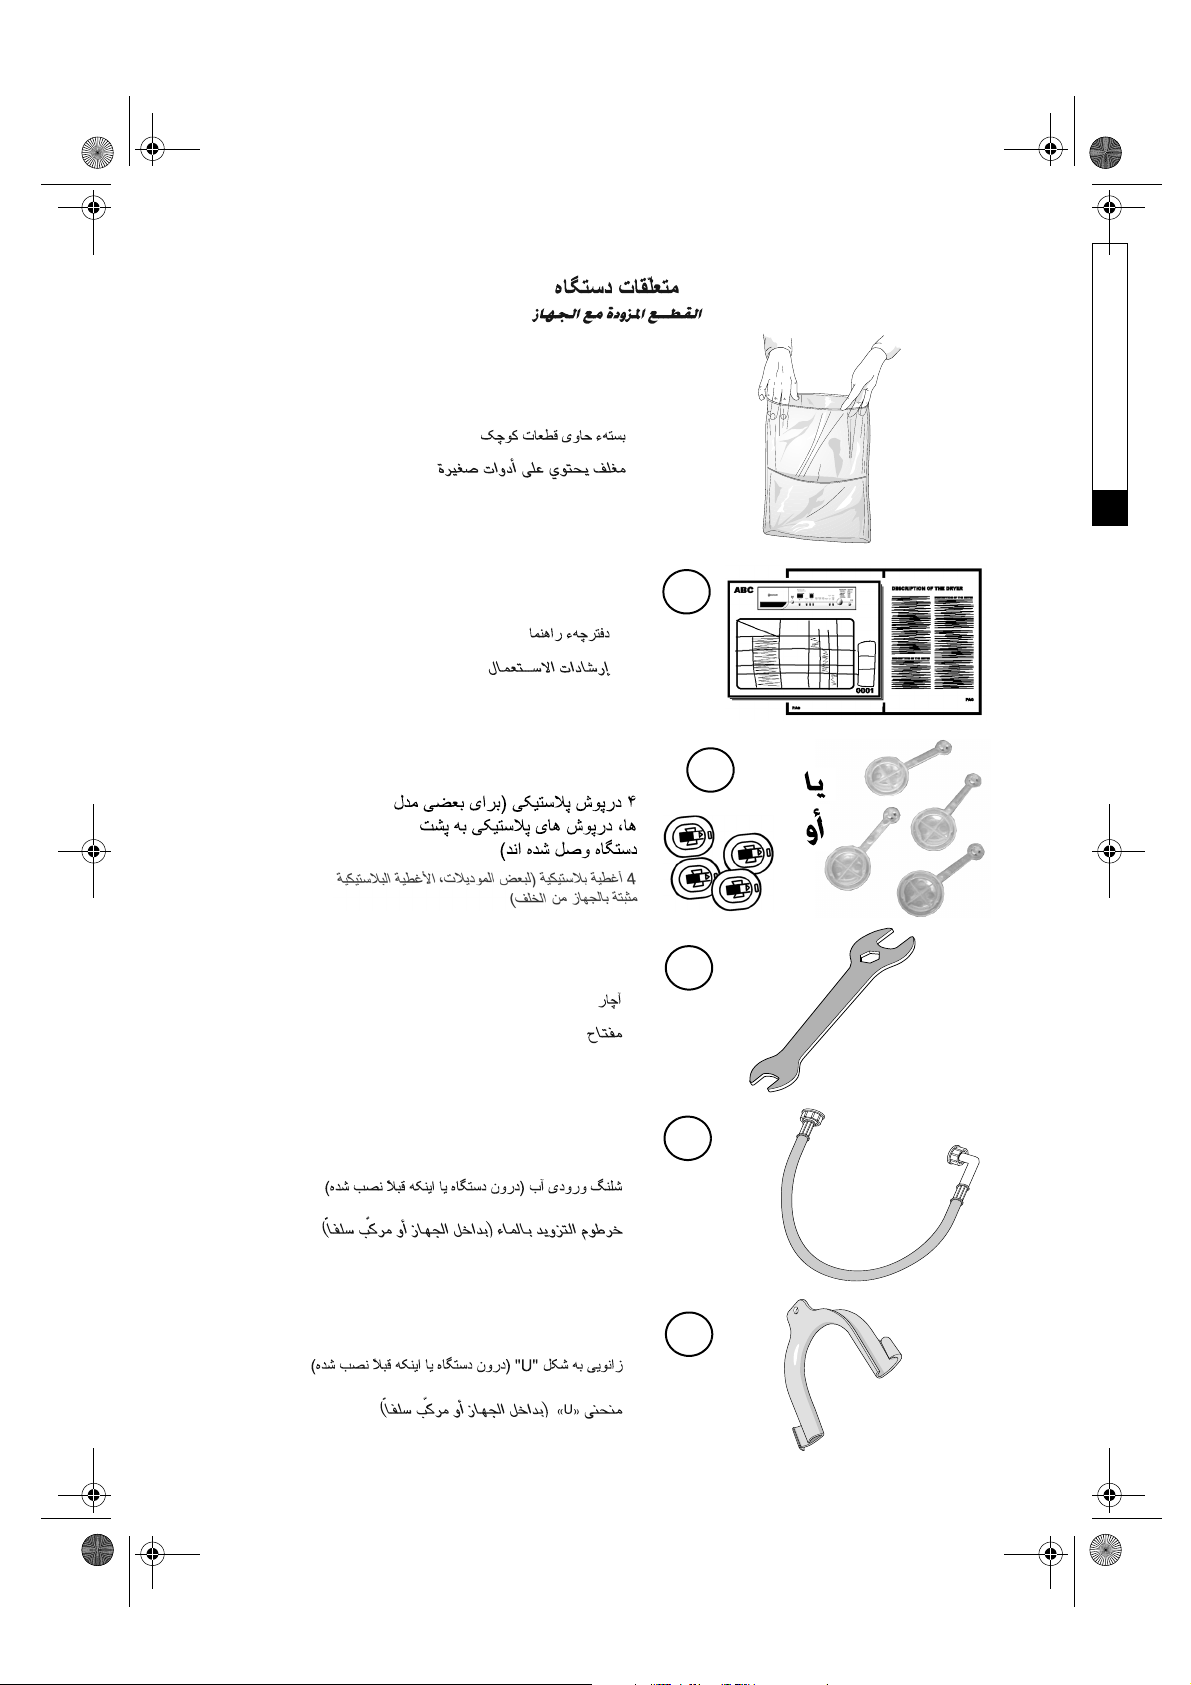
Package with small items
•
PARTS SUPPLIED
Instruction for use
•
4 plastic caps (for certain models, the plastic caps
•
are attached to the back of the appliance)
Wrench
•
Inlet hose (inside the machine or already installed)
•
A
C
D
B
OR
“U”-bend (inside the machine or already installed)
•
2
Black process 45.0° 130.0 LPI
E

10200448.fm Page 3 Monday, July 14, 2008 3:04 PM
REMOVE TRANSPORT BOLTS!
Important: - Not removed transport bolts cause damages to the appliance!
- If your washer model has the drain hose inside the appliance (see “Connect
the Drain Hose”, picture 10 / II), pull out the drain hose BEFORE removing the
transport bolts, otherwise you risk to damage the drain hose inside the
washer while moving the appliance to its final position.
- Keep the transport bolts and the wrench for further transporting of the
appliance; in this case refit the transport bolts in reverse order (for “Version
II” see additional instructions under
.
2
Black process 45.0° 130.0 LPI
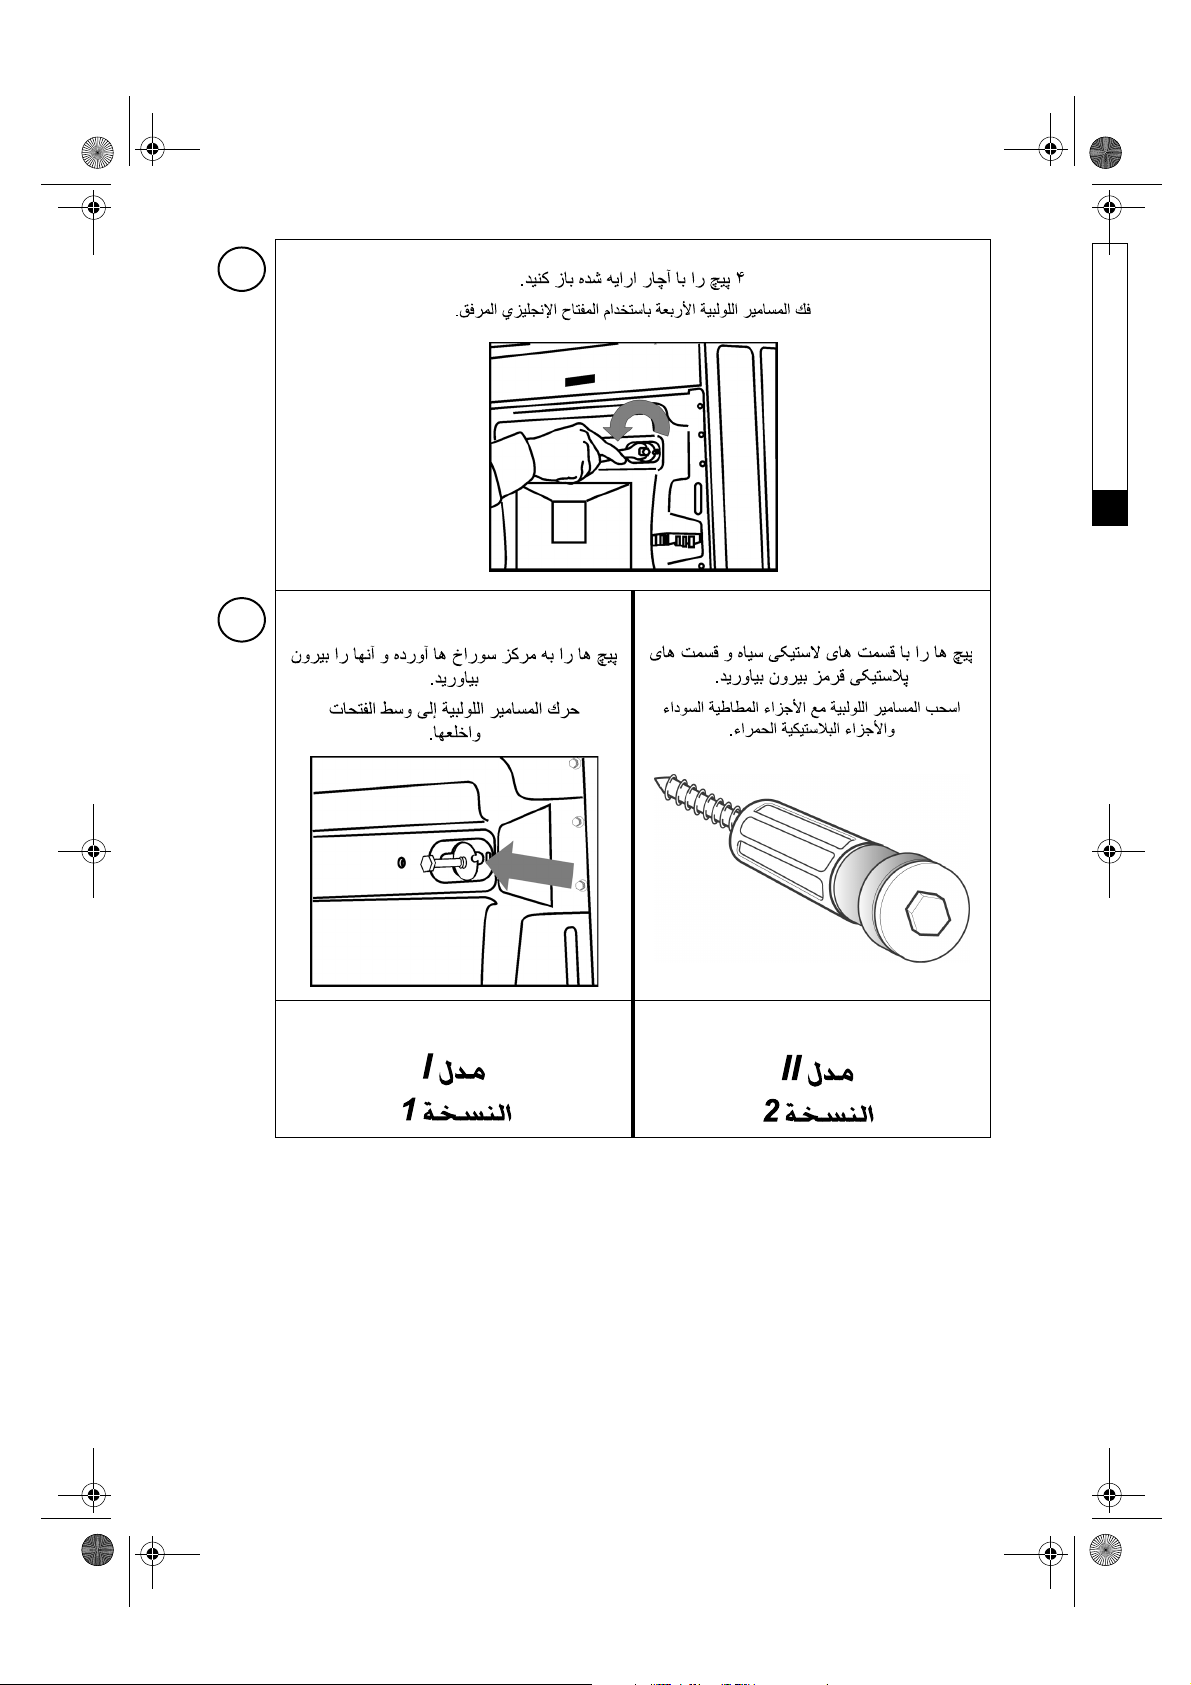
VERSION I
VERSION II
3
10200448.fm Page 4 Monday, July 14, 2008 3:04 PM
Unscrew the 4 screws with the wrench supplied.
1
Move the screws to the center of the holes
2
and remove them.
VERSION I VERSION II
Pull out the screws together with the black
rubber parts and red plastic parts.
4
Black process 45.0° 130.0 LPI
 Loading...