

Whirlpool AMW 731-IX Service Manual

IMPORTANT SAFETY INSTRUCTIONS
READ CAREFULLY AND KEEP FOR FUTURE REFERENCE
EN
DO NOT HEAT OR USE FLAMMABLE MATE-
RIALS in or near the oven. Fumes
can create a fire hazard or cause
an explosion.
D
O NOT USE YOUR MICROWAVE oven
for drying textiles, paper, spices, herbs, wood, flowers, fruit or
other combustible materials.
Risk of fire.
I
F MATERIAL INSIDE / OUTSIDE THE OVEN
SHOULD IGNITE OR SMOKE IS OBSERVED,
keep oven door closed and turn
the oven off. Unplug the power
cord or shut off the power at the
fuse or circuit breaker panel.
D
O NOT OVERCOOK FOOD. Risk of fire.
D
O NOT LEAVE THE OVEN UNATTEND-
ED, especially when using paper,
plastic or other combustible materials in the cooking process.
Paper can char or burn and some
plastics can melt if used when
heating foods.
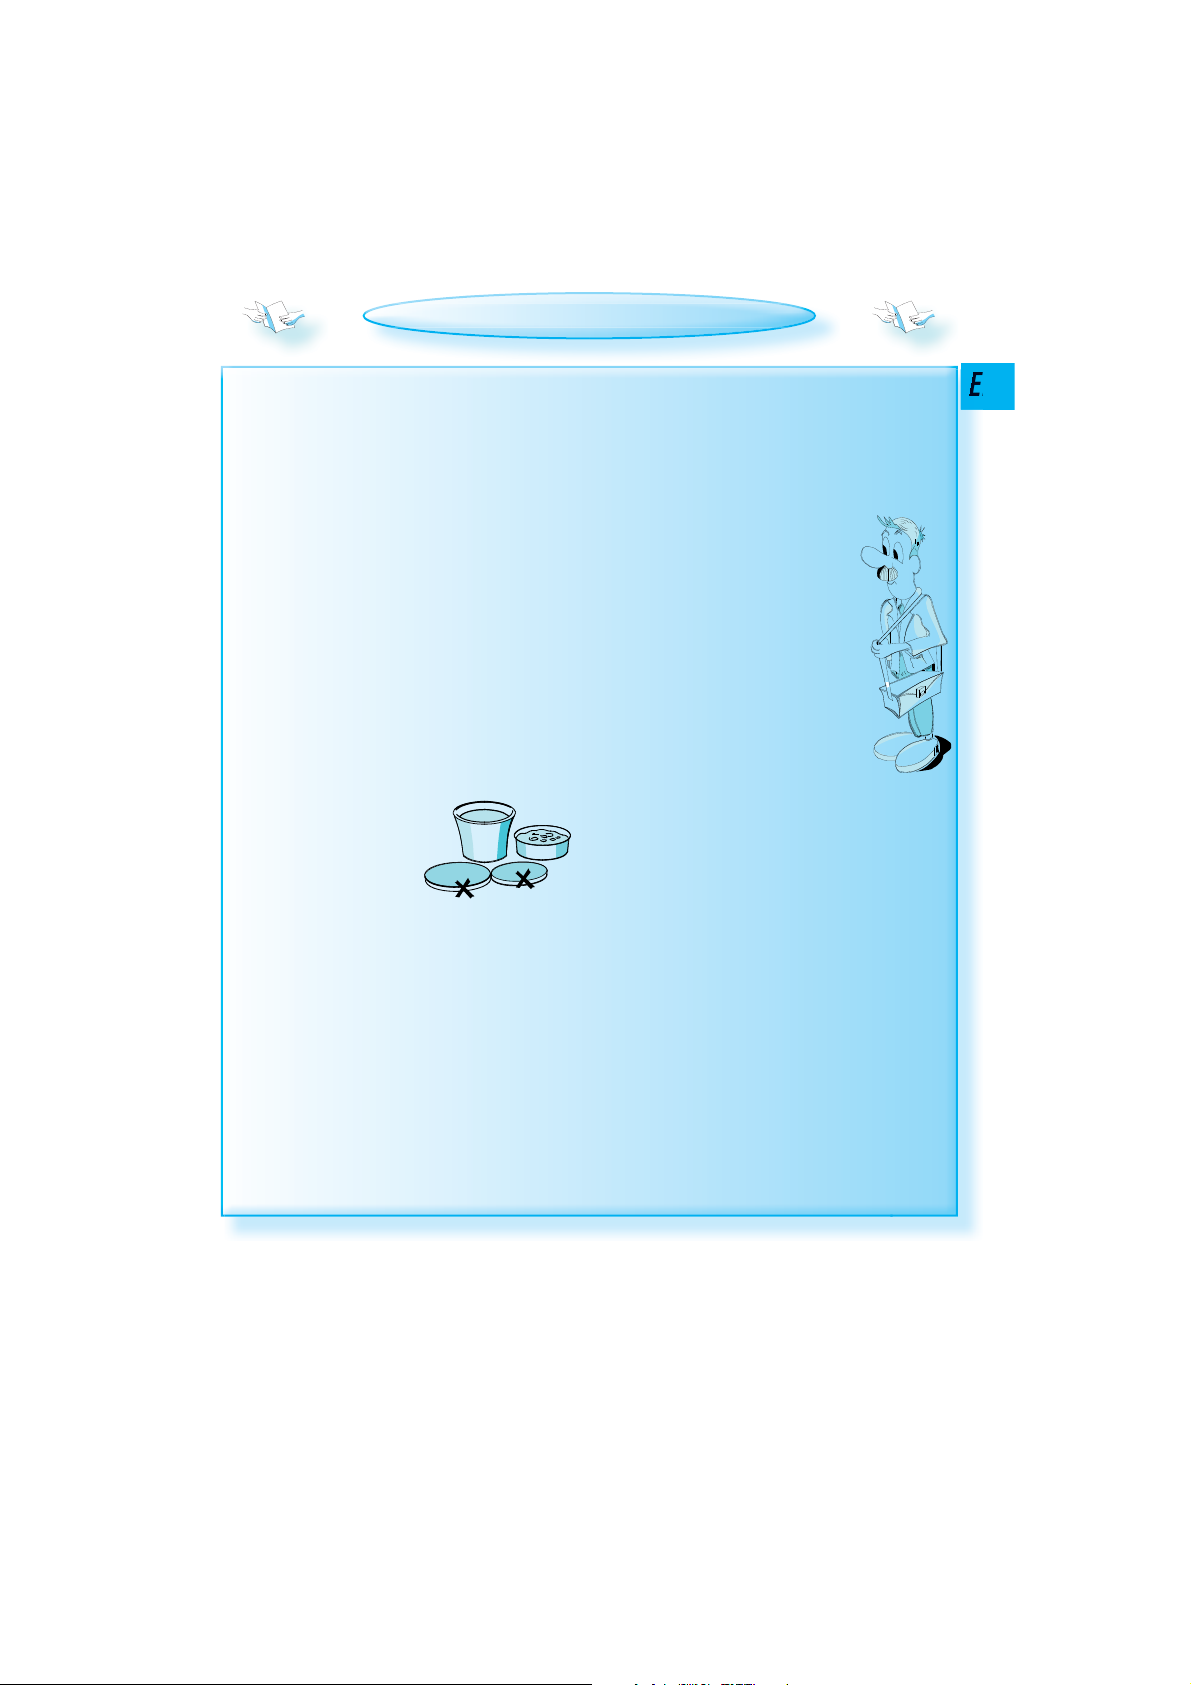
D
O NOT USE corrosive chemicals or
EGGS
D
O NOT USE YOUR MICROWAVE
oven for cooking or reheating whole eggs,
with or without the
shell, since they may explode
even after microwave heating
has ended.
T
HIS APPLIANCE MUST NOT BE USED by
children aged 8 and over or by
persons with reduced physical,
sensory or mental capabilities or
lack of experience and knowledge unless they are supervised
or have been given instructions
on how to use the appliance
safely and understand the hazards involved.
D
O NOT LET CHILDREN PLAY with the
appliance.
O
NLY CHILDREN AG ED 8 AND OVER AND
UNDER SUPERVISION MAY USE, clean or
perform maintenance on the appliance .
vapours in this appliance.
This type of oven is specifically
designed to heat or cook food.
It is not designed for industrial or
laboratory use.
26
IMPORTANT SAFETY INSTRUCTIONS
WARNING!
THE APPLIANCE AND ITS ACCESSIBLE
PAR TS MAY BECOME HOT during use.
C
ARE SHOULD BE TA KE N to avoid
touching the heating elements.
K
EEP CHILDREN AGED 8 AND UNDER
away from the appliance unless
under constant supervision.
D
O NOT USE YOUR
MICROWAVE oven for
heating anything
in sealed airtight
containers. The
pressure increases and may
cause damage when opening or
may explode.
F THE POWER CORD NEEDS REPLACING,
I
it should be replaced by an
original power cord, which is
available via our service
organization. The power
cord should only be
replaced by a trained
service technician.
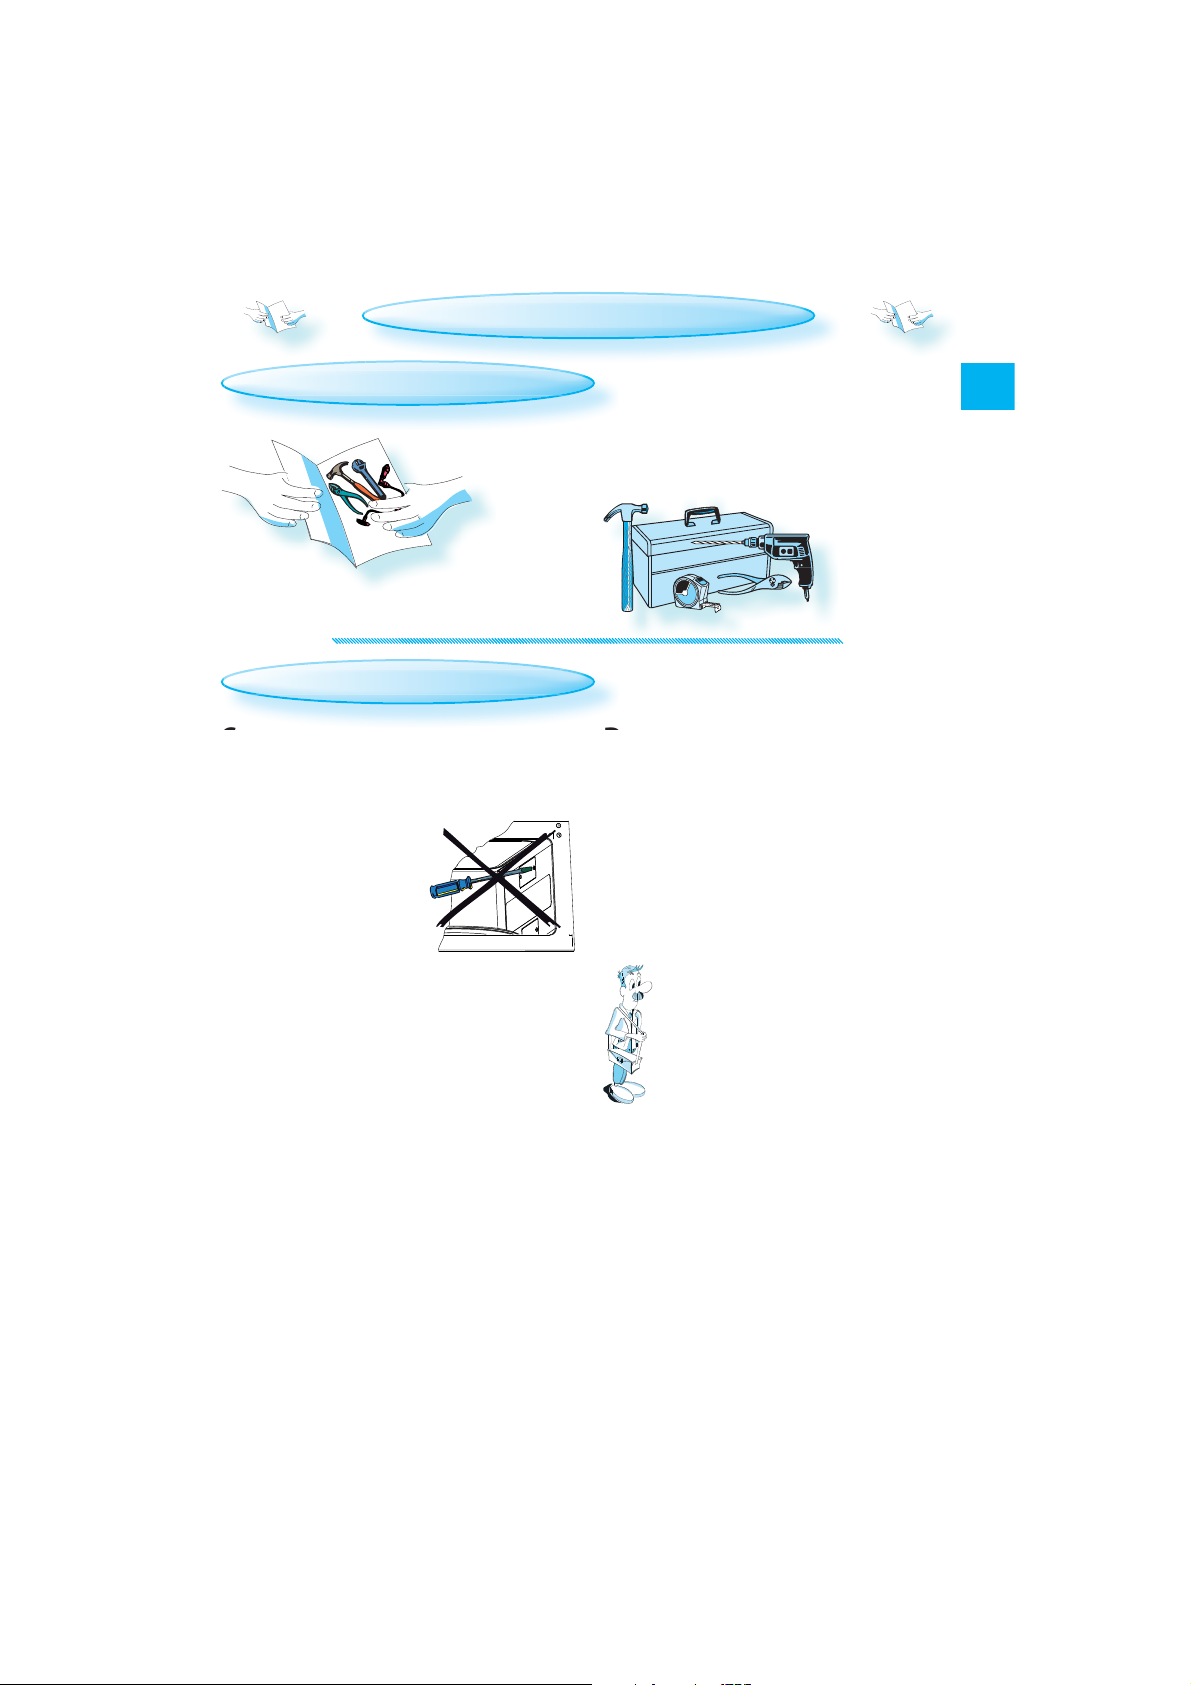
MAINTENANCE WORK
SHOULD ONLY BE CARRIED
OUT BY A TRAINED SERVICE
TECHNICIAN. It is hazardous
for anyone other than
trained staff to carry out any
maintenance or repair operation
which involves the removal
of any cover which provides
protection against exposure to
microwave energy.
DO NOT REMOVE ANY COVERS.
THE DOOR SEALS AND THE AREAS
AROUND THE DOOR SEALS must be
regularly inspected for damage.
If these areas are damaged
the appliance should not be
operated until it has been
repaired by a trained service
technician.
EN
27
IMPORTANT SAFETY PRECAUTIONS
GENERAL
EN
HIS APPLIANCE IS DESIGNED FOR DOMES-
T
TIC USE ONLY.
T
HIS APPLIANCE IS INTENDED to be built-
in. Do not use it freestanding.
T
HIS APPLIANCE IS INTENDED for heating
food and beverages. Drying food
or clothing and heating warming pads, slippers, sponges, damp
cloths and similar may lead to risk
of injury, ignition or fire.
T
HE APPLIANCE SHOULD NOT BE OPERATED
without food in the microwave oven.
Operation in this manner is likely to
damage the appliance.
I
F YOU WISH TO PRACTICE USING the
oven, place a glass of water inside. The water will absorb the
microwave energy and the oven
will not be damaged.
D
O NOT USE THE OVEN CAVITY for stor-
age purposes.
R
EMOVE WIRE TWIST-TIES from
paper or plastic bags before placing the bags in the
oven.
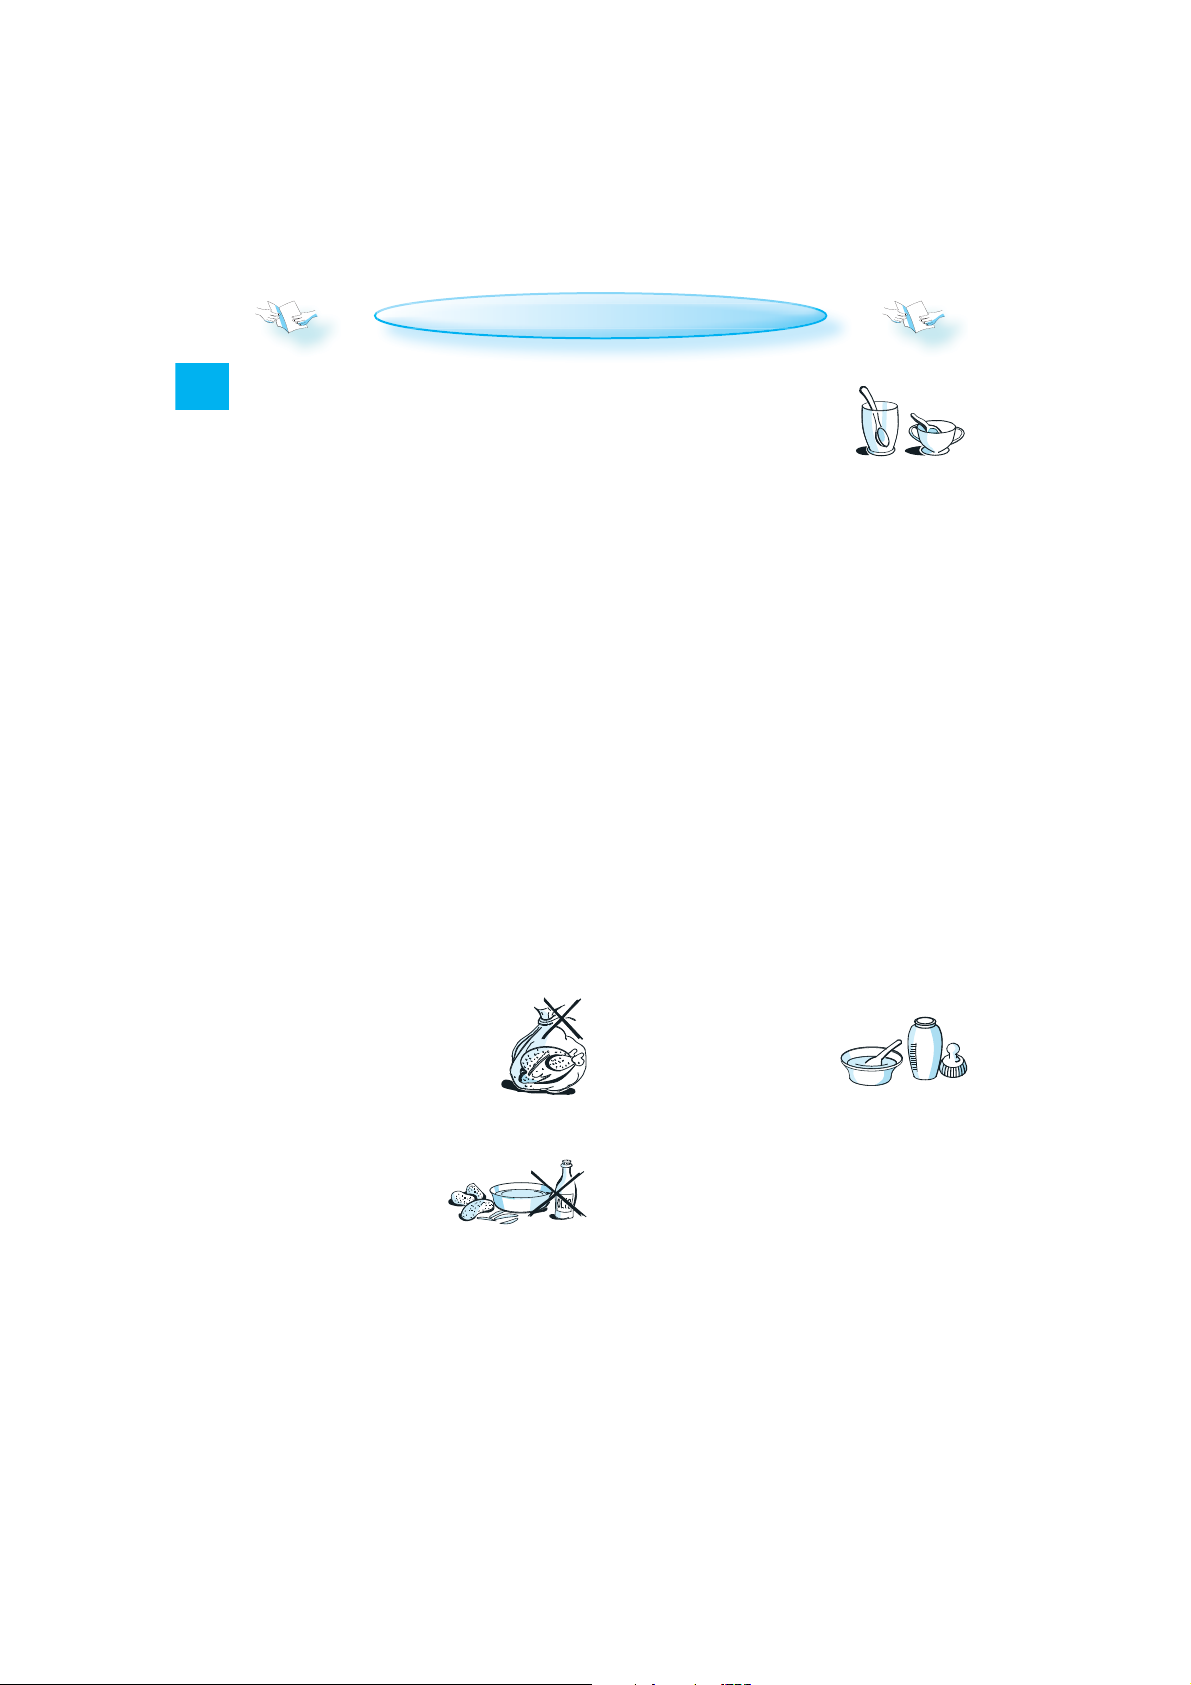
DEEPFRYING
D
O NOT USE YOUR MICROWAVE
oven for deep-frying because the
temperature of the
oil cannot be controlled.
U
SE HOT PADS OR OVEN MITTS to prevent
burns when touching containers,
oven parts and pans after cooking.
LIQUIDS
E.G. BEVERAGES OR WATER.
Liquids can overheat
beyond boiling point
without visibly bubbling. This could cause hot liquids
to suddenly boil over.
Take the following steps to prevent
this from happening:
1. Avoid using straight-sided
containers with narrow necks.
2. Stir the liquid before placing the container in the oven
and leave the teaspoon in the
container.
3. After heating, allow to stand
for a short time, stirring again
before carefully removing the
container from the oven.
CAUTION
A
LWAYS REFER to a microwave
cookbook for details, especially
if cooking or reheating food that
contains alcohol.
A
FTER HEATING BABY FOOD
or liquids in a baby
bottle or in a baby
food jar, always stir
and check the temperature before serving. This will ensure that
the heat is evenly distributed and
avoid the risk of scalding or burns.
Make sure that the lid and the
teat are removed before heating.
28
INSTALLATION
INSTALLING THE APPLIANCE
OLLOW THE separate installation instruc-
F
tions provided when installing the appliance.
PRIOR TO CONNECTING
CHECK THAT THE VOLTAGE on the rat-
ing plate corresponds to the
voltage in your home.
D
O NOT REMOVE THE
MICROWAVE INLET PRO-
TECTION PLATES lo-
cated on the side
of the oven cavity wall. They prevent grease and food particles
from entering the microwave inlet channels.
M
AKE SURE that the oven cavity is
empty before installing.
M
AKE SURE THAT THE APPLIANCE IS NOT
DAMAGED. Check that the oven
door closes firmly against the
door support and that the internal door seal is not damaged.
Empty the oven and clean the interior with a soft, damp cloth.
O NOT OPERATE THIS APPLIANCE if it
D
has a damaged power cord or
plug, if it is not working properly, or if it has been damaged
or dropped. Do not immerse
the power cord or plug in water. Keep the cord away from hot
surfaces. Risk of electrical shock,
fire or other hazards.
I
F THE POWER CORD IS TOO SHORT,
have a qualified electrician
or service technician install
an outlet near the appliance.
T
HE POWER CORD must be long
enough to connect the appliance to the mains power supply
once it is fitted inside the housing.
F
OR INSTALLATION to comply with
current safety regulations, an allpole disconnect switch with a
minimum contact gap of 3 mm
must be used.
29
EN
AFTER CONNECTING
THE OVEN CAN BE OPERATED ONLY if
EN
the oven door is firmly closed.
The manufacturer shall not be
liable for any problems caused
by the user’s failure to observe
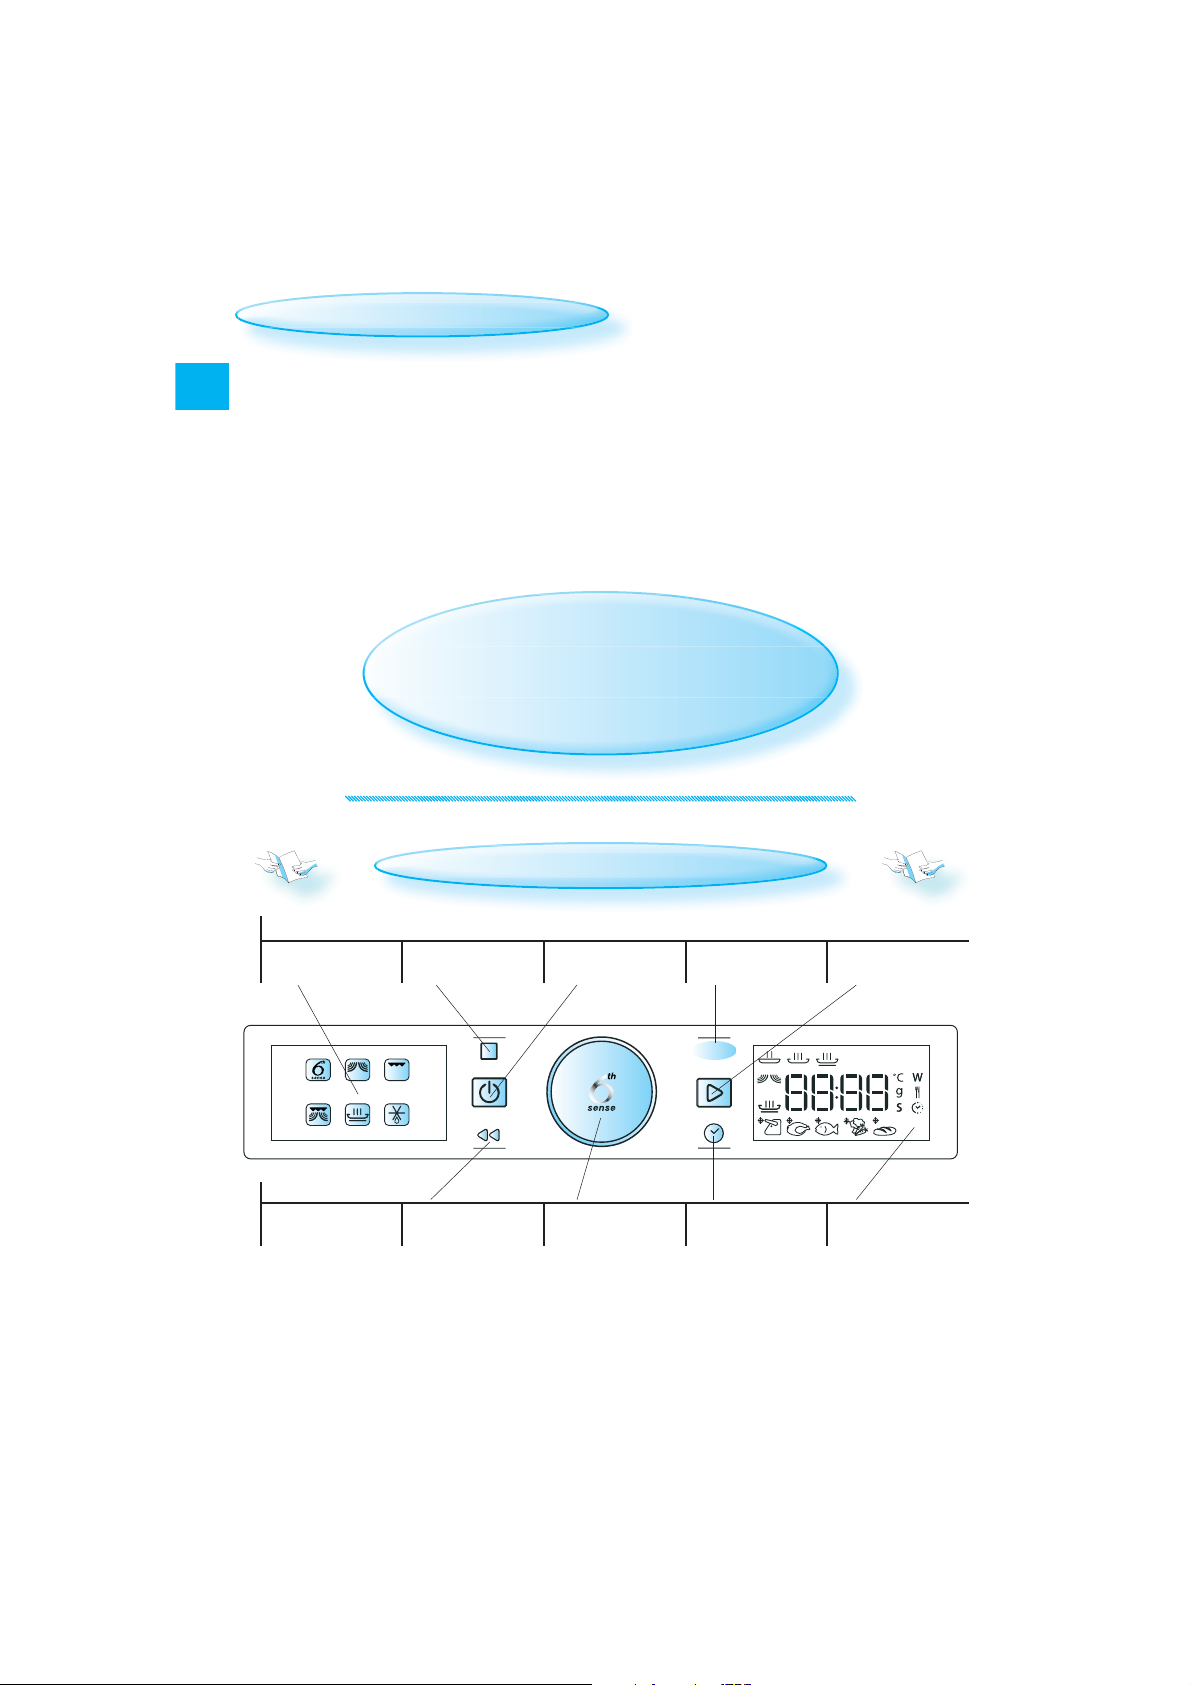
these instructions.
Function
symbols
STOP/PAUSE
button
THE EARTHING OF THIS APPLIANCE is
compulsory. The manufacturer
accepts no responsibility for injury to persons, animals or damage
to objects arising from the failure
to observe this requirement.
PANEL DESCRIPTION
ON/OFF
button
POWER
button
START
button
30
BACK
button
ADJUST
knob
Power
CLOCK
button
Digital
display
ACCESSORIES
GENERAL
HERE ARE a number of accessories available on
T
the market. Make sure that they are suitable for
microwave use before making any purchases.
AKE SURE THAT THE UTENSILS YOU USE are micro-
M
wave-safe and test them briefly in the microwave first before using them
for cooking.
WHEN PLACING FOOD AND/OR ACCESSOR IES in the microwave oven, make sure that they do not
come into contact with the interior of the
oven.
This is especially important with accessories made of metal or which have metal parts.
F ACCESSOR IES CONTAIN ING METAL come into con-
I
tact with the oven interior, sparking may occur while the oven is in operation and the oven
could be damaged.
LWAYS MAKE SURE that the turntable is able to
A
turn freely before starting the oven.
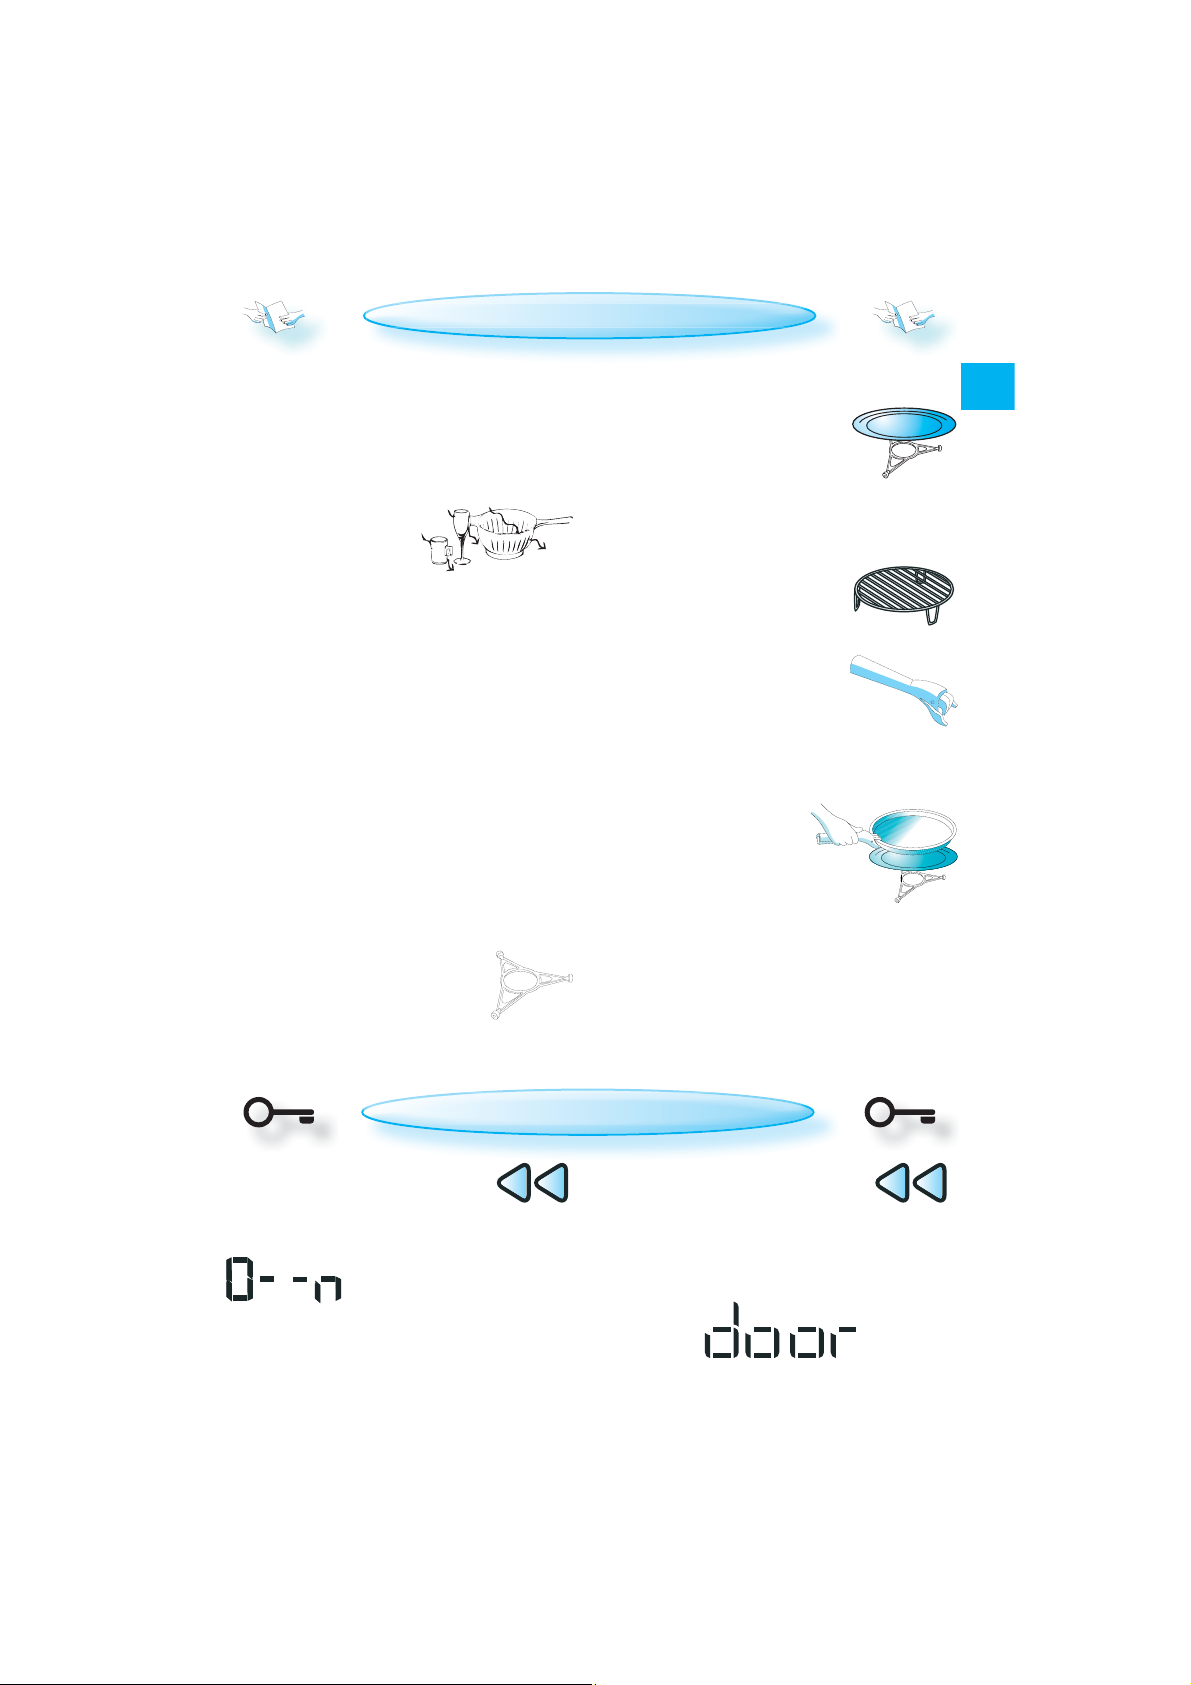
TURNTABLE SUPPORT
U
SE THE TURNTABLE SUPPORT under the
glass turntable. Never put any other
utensils on the turntable support.
Fit the turntable support in the
oven.
GLASS TURNTABLE
SE THE GLASS TURNTABLE with all cooking meth-
U
ods. It collects the dripping juices and food particles that would
otherwise stain and soil the interior of the oven.
Place the glass turntable on the turntable
support.
WIRE RACK
U
SE THE WIRE RACK when cooking
with Grill or Grill Combi.
CRISP HANDLE
U
SE THE SPECIAL CRISP HANDLE SUP-
PLIED to remove the hot crisp plate
from the oven.
CRISP PLATE
P
LACE THE FOOD DIRECTLY ON THE CRISP PLATE.
Always use the glass turntable as support when using the crisp plate.
O NOT PLACE ANY UTENSILS on the crisp
D
plate since it will quickly become very
hot and is likely to damage the utensil.
HE CRISP PLATE may be preheated before use
T
(max. 3 minutes). Always use the Crisp function
when preheating the crisp plate.
EN
KEY LOCK / SAFETY LOCK
T
HE KEY LOCK FUNCTION IS ACTIVATED by
pressing and holding the BACK button (approx. 5 seconds) until a key
symbol appears instead of digits.
The key disappears after 3
seconds and the display returns to the previous screen.
To unlock the Key Lock, press and
hold the BACK button for 5 seconds.
HE DOOR MUST BE OPENED AND CLOSED, for example
T
to put food in it, before the safety lock is released. Otherwise the display will show “door”.
31
STIR OR TURN FOOD (6
TO
CONTINUE AFTE
S
TH
SENSE FUNCTIONS ONLY)
WHEN USING SOME OF THE 6TH SENSE FUNCTIO NS the
oven may stop (depending on the chosen pro-
EN
gram and food class) and prompt you to TURN
FOOD.
To continue cooking:
Open the door.
Turn the food.
Close the door and restart by pressing the
Start button.
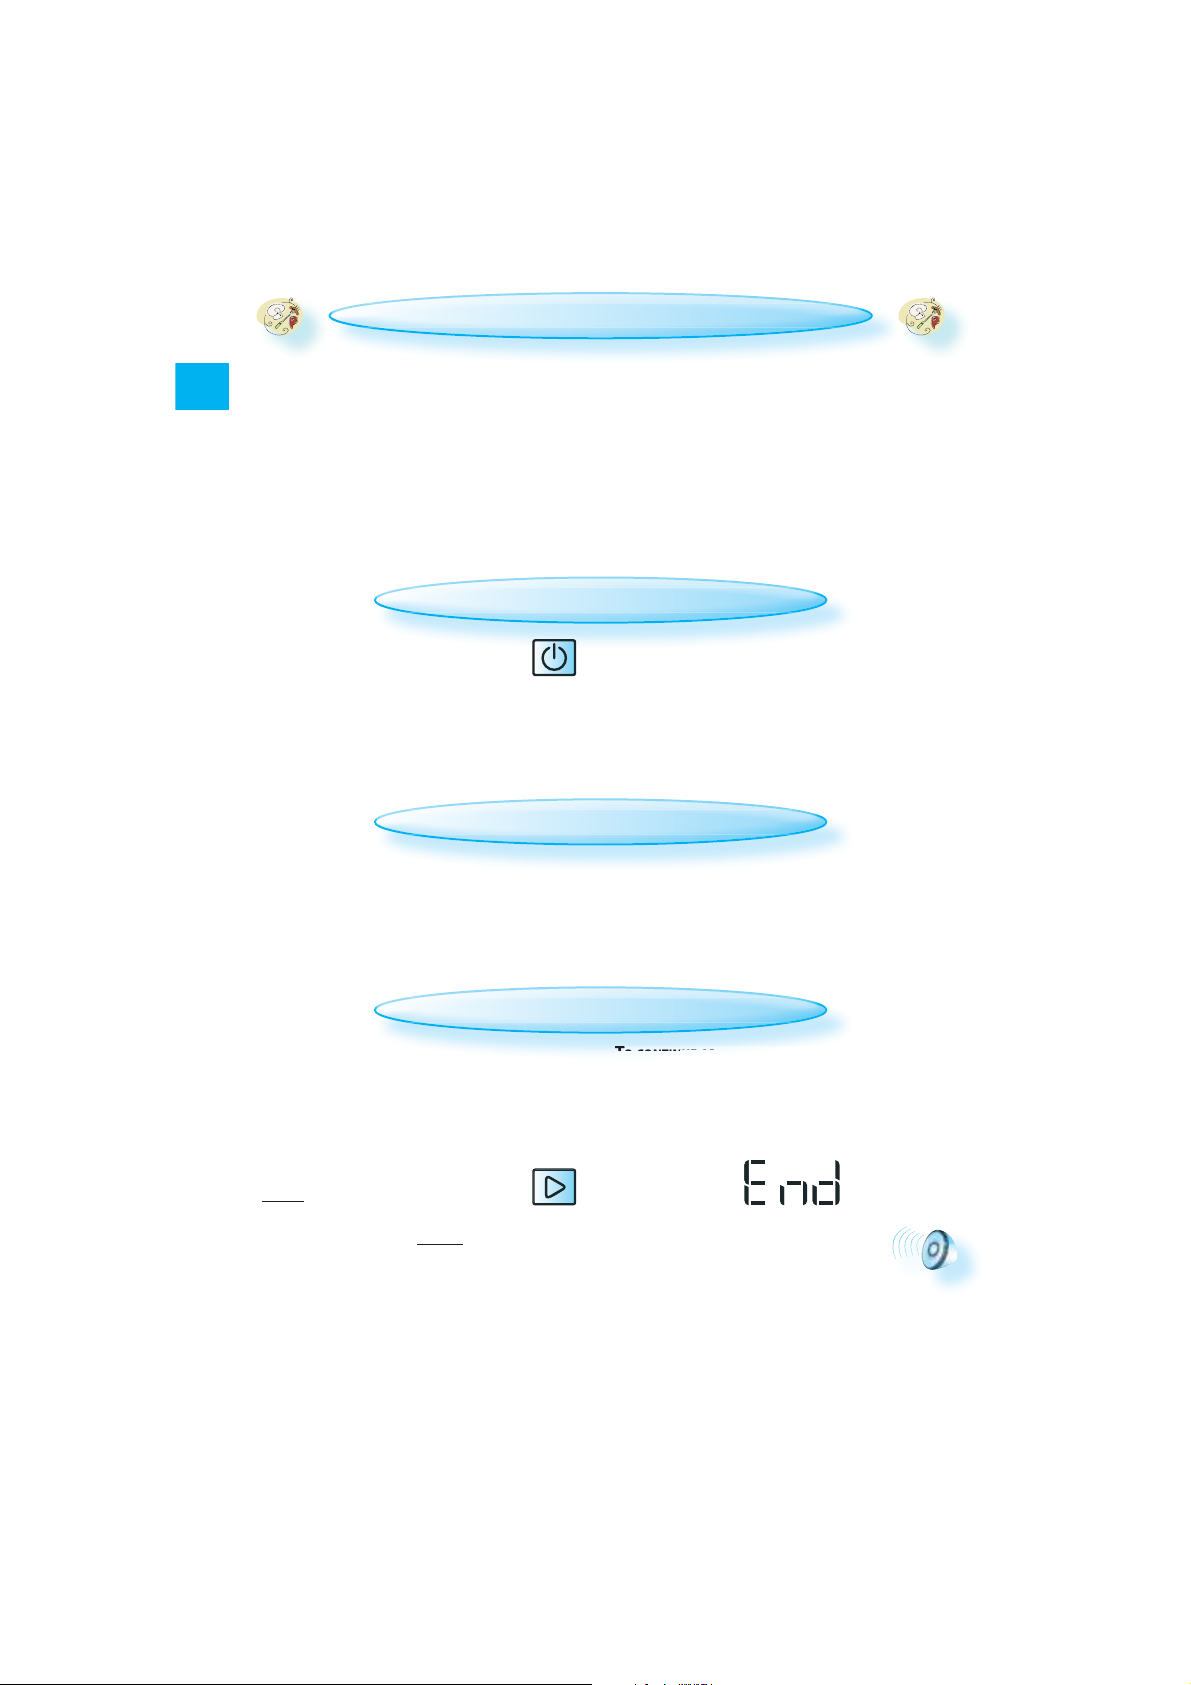
T
URN THE APPLIANCE ON OR OFF by press-
ing the On/Off button for ½ a second.
HEN THE APPLIANCE IS TURNED ON, all but-
W
tons and knobs function normally and the
24-hour clock is not displayed.
AFTER PRESSING THE STOP BUTTON, or if the user
does not interact with the product for a certain
time, the oven enters Standby mode.
NOTE: IN JET DEFROST MODE, THE OVEN CON TINUES AU -
TOMATICALLY AFTER 2 MINUTES if the food has not
been turned. The defrost time will be longer in
this case.
ON / OFF
W
HEN THE APPLIANCE IS TURNED OFF, all the buttons
and the adjust knob are non-responsive (apart
from the Start button). The 24 hour clock is displayed.
OTE: THE DESCRIPTIONS IN THESE INSTRUCTIONS FOR
N
USE assume that the oven is turned ON.
STANDBY MODE
When the appliance is in Standby, the dimmed
24-hour clock is displayed. Turn the rotary knob or press any button to exit Standby
mode.
STOP / PAUSE / CONTINUE COOKING
TO PAUSE COO KING:
COOKING CAN BE PAUSED to check, turn or stir the
food by opening the door. The setting will be
maintained for 10 minutes.
O CONTI NUE COOKI NG:
T
CLOSE THE DOOR and press the Start but-
ton ONCE. Cooking is resumed from
where it was paused.
PRESSING THE START BUTTON TWICE will increase
the time by 30 seconds.
32
TO CONTINUE AF TER A FUNCTION IS FINISHE D:
WHEN END IS DISPLAYED, you can prolong the cook-
ing time by 30 seconds by pressing the Start button. Each time the button is pressed, another 30
seconds is added to the cooking time.
A BEEP SOUNDS once a minute for 10
minutes when cooking is finished.
Press the STOP button or open the
door to stop the beeping.
NOTE: The oven will only maintain the settings
for 60 seconds if the door is opened and then
closed after cooking is finished.
R A FUNCTION I
FIN
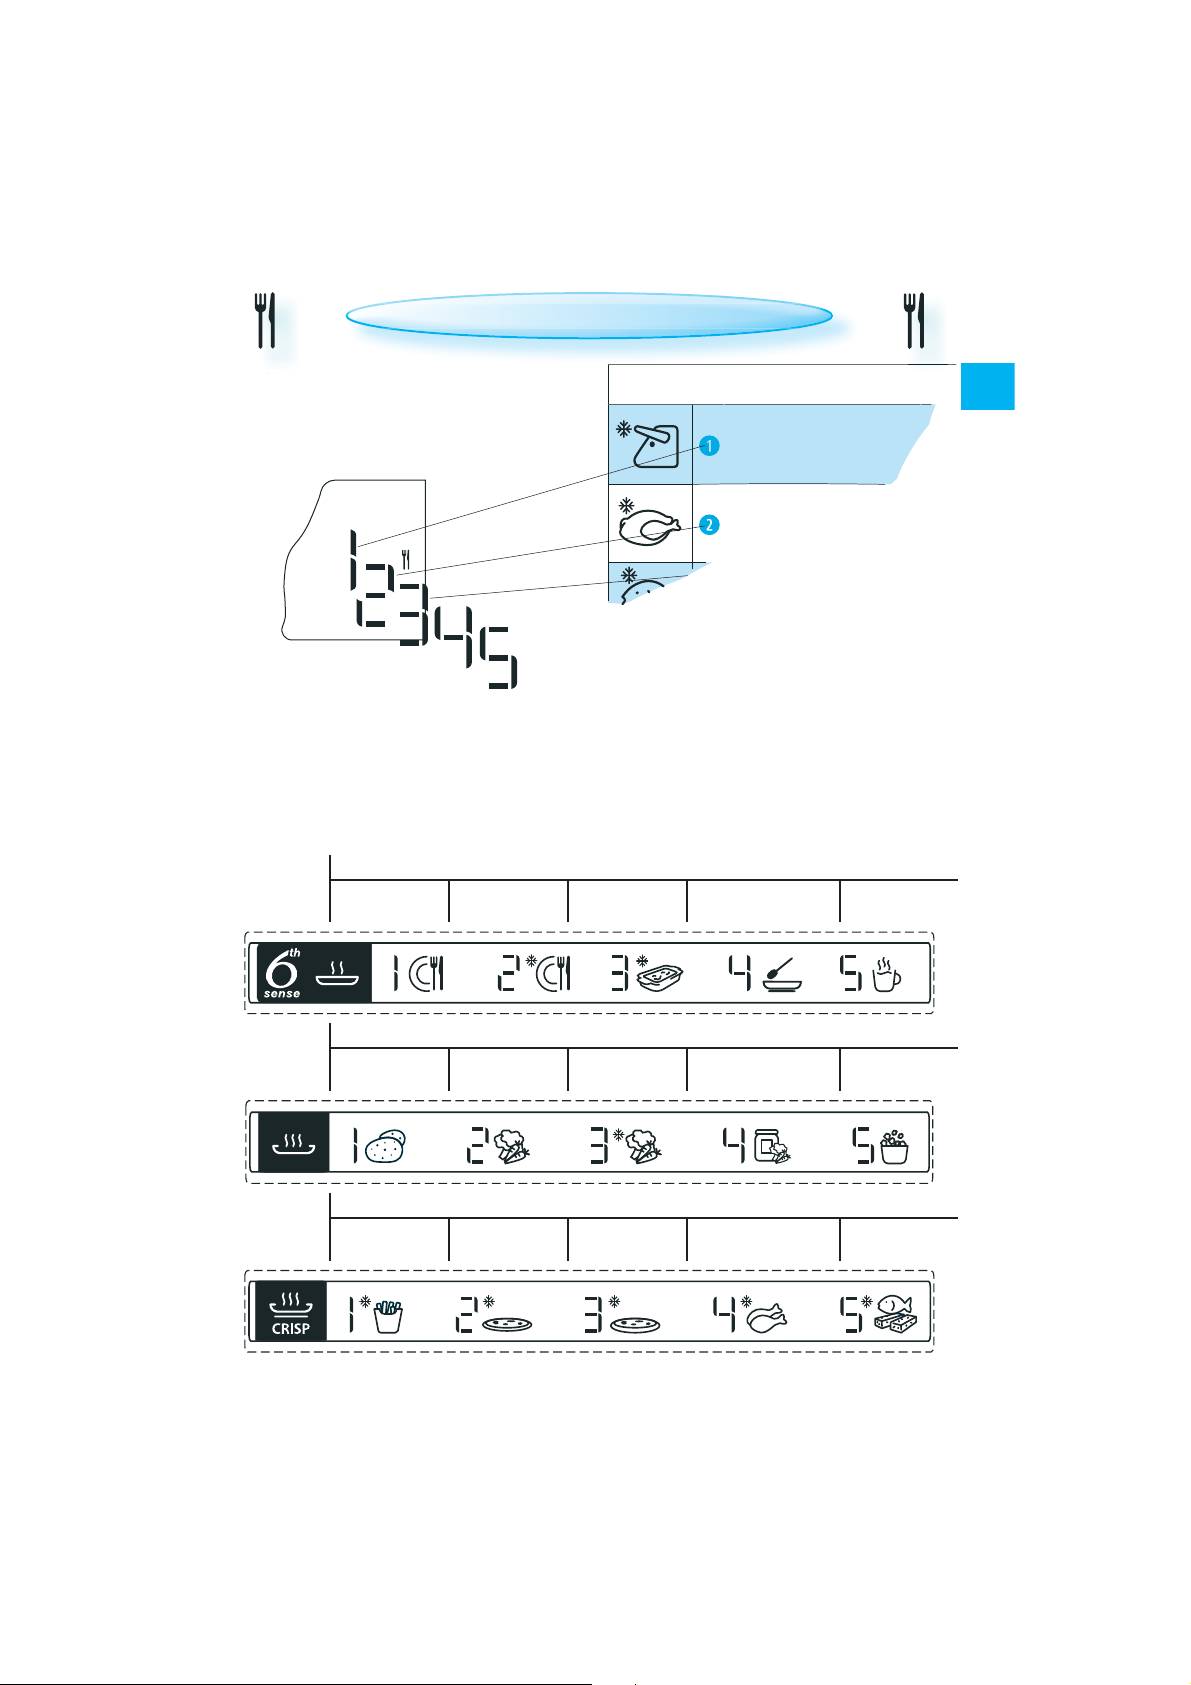
FOOD CLASSES (6
TH
SENSE FUNCTIONS ONLY)
W
HEN USING THE 6
TH
SENSE FUNCTIONS the oven needs
to know which food class it needs to use in order to achieve good results. The food class digit
and food class symbol is displayed when you are
choosing a food class with the adjust knob.
THE FOOD CLASSES are listed in the tables for each
6th Sense function.
HE FOOD CLASS GUIDE on this oven indicates
T
which food class is used in the functions that
apply food classes.
6th SENSE
Dinner plate
Frozen
portion
FOOD
M
EAT (100 g - 2.0 kg)
P
OULTRY (100 g -
FOR FOOD NOT LISTED IN THE TABL ES and if the
weight is lesser or greater than the recommended weights, you should follow the procedure for “Cook & Reheat with microwaves”.
Reheat
Frozen
lasagne
Soup Beverage
EN
6th SENSE
6th SENSE
Baked
potato
French fries
Fresh
vegetables
Pizza,
thin crust
Cook
Frozen
vegetables
Crisp
Pizza,
deep pan
Canned
vegetables
Buffalo wings /
chicken nuggets
Popcorn
Fish fingers
33
 Loading...