

Whirlpool ACM052MM, ACD052MM, ACM062MM, ACQ058MM, ACQ062MM Service Manual
CONSUMER SERVICES TECHNICAL
EDUCATION GROUP PRESENTS
Models: ACM052MM,
ACM062MM, ACD052MM
2003
5000 & 6000 BTU
AIR CONDITIONERS
R-96
Models: ACQ058MM &
ACQ062MM
JOB AID
Part No. 8178279

FORWARD
This Whirlpool Job Aid, “2003 - 5000 & 6000 BTU Air Conditioners” (Part No. 8178279), provides
the technician with information on the installation and service of the 2003 - 5000 & 6000 BTU Air
Conditioners. It is to be used as a training Job Aid and Service Manual. For specific information
on the model being serviced, refer to the “Use and Care Guide” provided with the air conditioner.
The Wiring Diagrams and Strip Circuits used in this Job Aid are typical and should be used for
training purposes only. Always use the Wiring Diagram supplied with the product when servicing
the unit.
GOALS AND OBJECTIVES
The goal of this Job Aid is to provide detailed information that will enable the service technician to
properly diagnose malfunctions and repair the 2003 - 5000 & 6000 BTU Air Conditioners.
The objectives of this Job Aid are to:
• Understand and follow proper safety precautions.
• Successfully troubleshoot and diagnose malfunctions.
• Successfully perform necessary repairs.
• Successfully return the air conditioner to its proper operational status.
WHIRLPOOL CORPORATION assumes no responsibility for any repairs made
on our products by anyone other than Authorized Service Technicians.
Copyright © 2003, Whirlpool Corporation, Benton Harbor, MI 49022
- ii -

TABLE OF CONTENTS
Page
GENERAL............................................................................................................................... 1-1
Safety First......................................................................................................................... 1-1
Whirlpool Model & Serial Number Designations ................................................................ 1-3
Model & Serial Number Label Locations ........................................................................... 1-4
Specifications..................................................................................................................... 1-5
Whirlpool Air Conditioner Warranty—Model ACD052MM ................................................. 1-6
Whirlpool Air Conditioner Warranty—Models ACM052MM,
ACM062MM, ACQ058MM, ACQ062MM ....................................................................... 1-7
INSTALLATION INFORMATION ........................................................................................... 2-1
COMPONENT ACCESS ......................................................................................................... 3-1
Component Locations ........................................................................................................ 3-1
Removing The Side Curtains, Front Grille, Top Cover, & Screen ..................................... 3-2
Removing The Fan Speed & Temperature Controls—Models ACD052MM,
ACM052MM, & ACM062MM ......................................................................................... 3-4
Removing The Electronic Control Assembly & Thermistor—Models ACQ058MM
& ACQ062MM................................................................................................................ 3-5
Removing The Power Cord And Capacitor—Models ACM052MM,
ACM062MM, & ACD052MM .......................................................................................... 3-6
Removing The Power Cord And Capacitor—Models ACQ058MM
& ACQ062MM................................................................................................................ 3-8
Removing The Fan Motor ................................................................................................ 3-10
Removing The Evaporator ............................................................................................... 3-14
Removing The Condenser ............................................................................................... 3-17
Removing The Overload Protector & Compressor .......................................................... 3-18
COMPONENT TESTING ........................................................................................................ 4-1
Temperature Control.......................................................................................................... 4-1
Thermistor.......................................................................................................................... 4-1
Fan Speed Control............................................................................................................. 4-2
Capacitor ........................................................................................................................... 4-2
Fan Motor ......................................................................................................................... 4-3
Overload Protector............................................................................................................. 4-3
Compressor ....................................................................................................................... 4-4
DIAGNOSTICS & TROUBLESHOOTING .............................................................................. 5-1
Diagnostics—Models: ACQ058MM & ACQ062MM ........................................................... 5-1
Troubleshooting Chart ....................................................................................................... 5-2
WIRING DIAGRAMS & STRIP CIRCUITS ............................................................................. 6-1
Wiring Diagram 1—Model ACD052MM ............................................................................. 6-1
Wiring Diagram 2—Models ACM052MM & ACM062MM .................................................. 6-2
Wiring Diagram 3—Models ACQ058MM & ACQ062MM ................................................... 6-3
Strip Circuits ...................................................................................................................... 6-4
TECH TIPS ............................................................................................................................. 7-1
Installing The Condensate Drain Adapter .......................................................................... 7-1
- iii -

— NOTES —
- iv -
GENERAL
SAFETY FIRST
Your safety and the safety of others is very important.
We have provided many important safety messages in this Job Aid and on the appliance. Always
read and obey all safety messages.
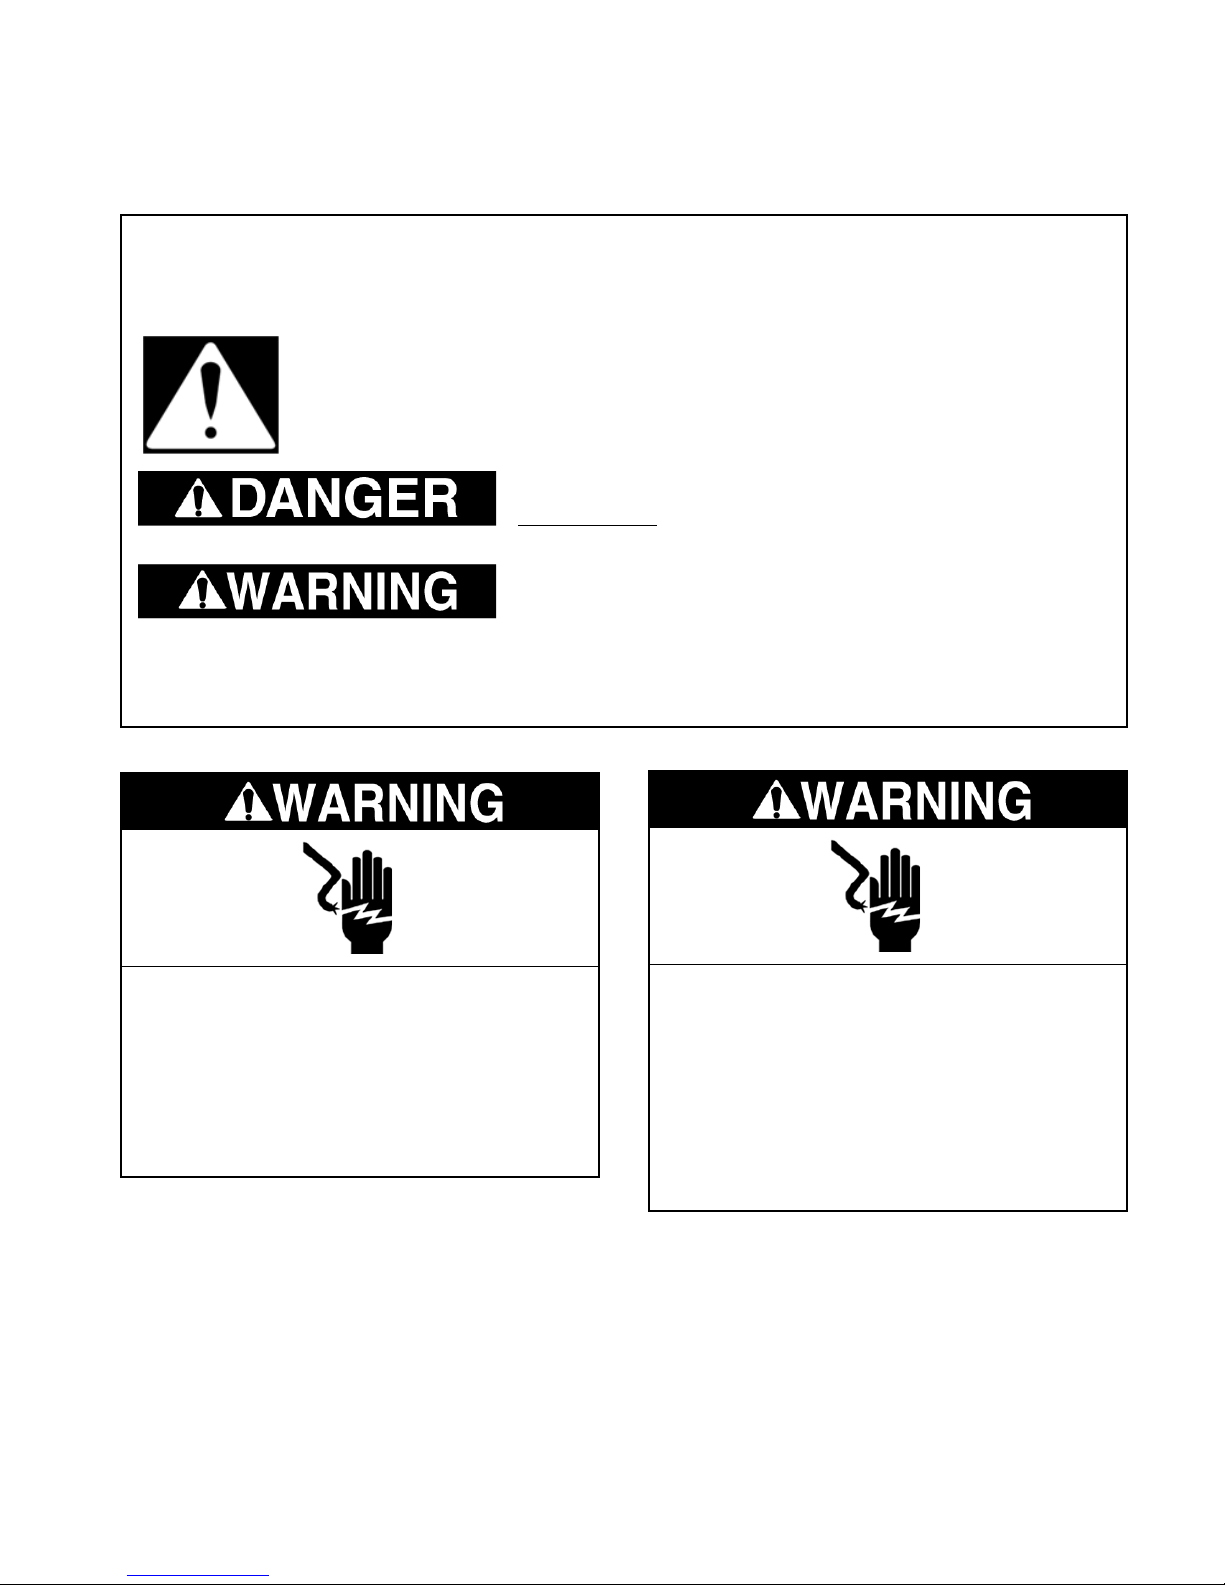
This is the safety alert symbol.
This symbol alerts you to hazards that can kill or hurt you and others.
All safety messages will follow the safety alert symbol and either the word
“DANGER” or “WARNING.” These words mean:
You can be killed or seriously injured if you don’t
immediately follow instructions.
You can be killed or seriously injured if you don’t
follow instructions.
All safety messages will tell you what the potential hazard is, tell you how to reduce the chance
of injury, and tell you what can happen if the instructions are not followed.
Electrical Shock Hazard
Disconnect power before servicing.
Replace all parts and panels before
operating.
Failure to do so can result in death or
electrical shock.
Electrical Shock Hazard
Plug into a grounded 3-prong outlet.
Do not remove ground prong.
Do not use an adapter.
Do not use an extension cord.
Failure to follow these instructions can
result in death, fire, or electrical shock.
1-1
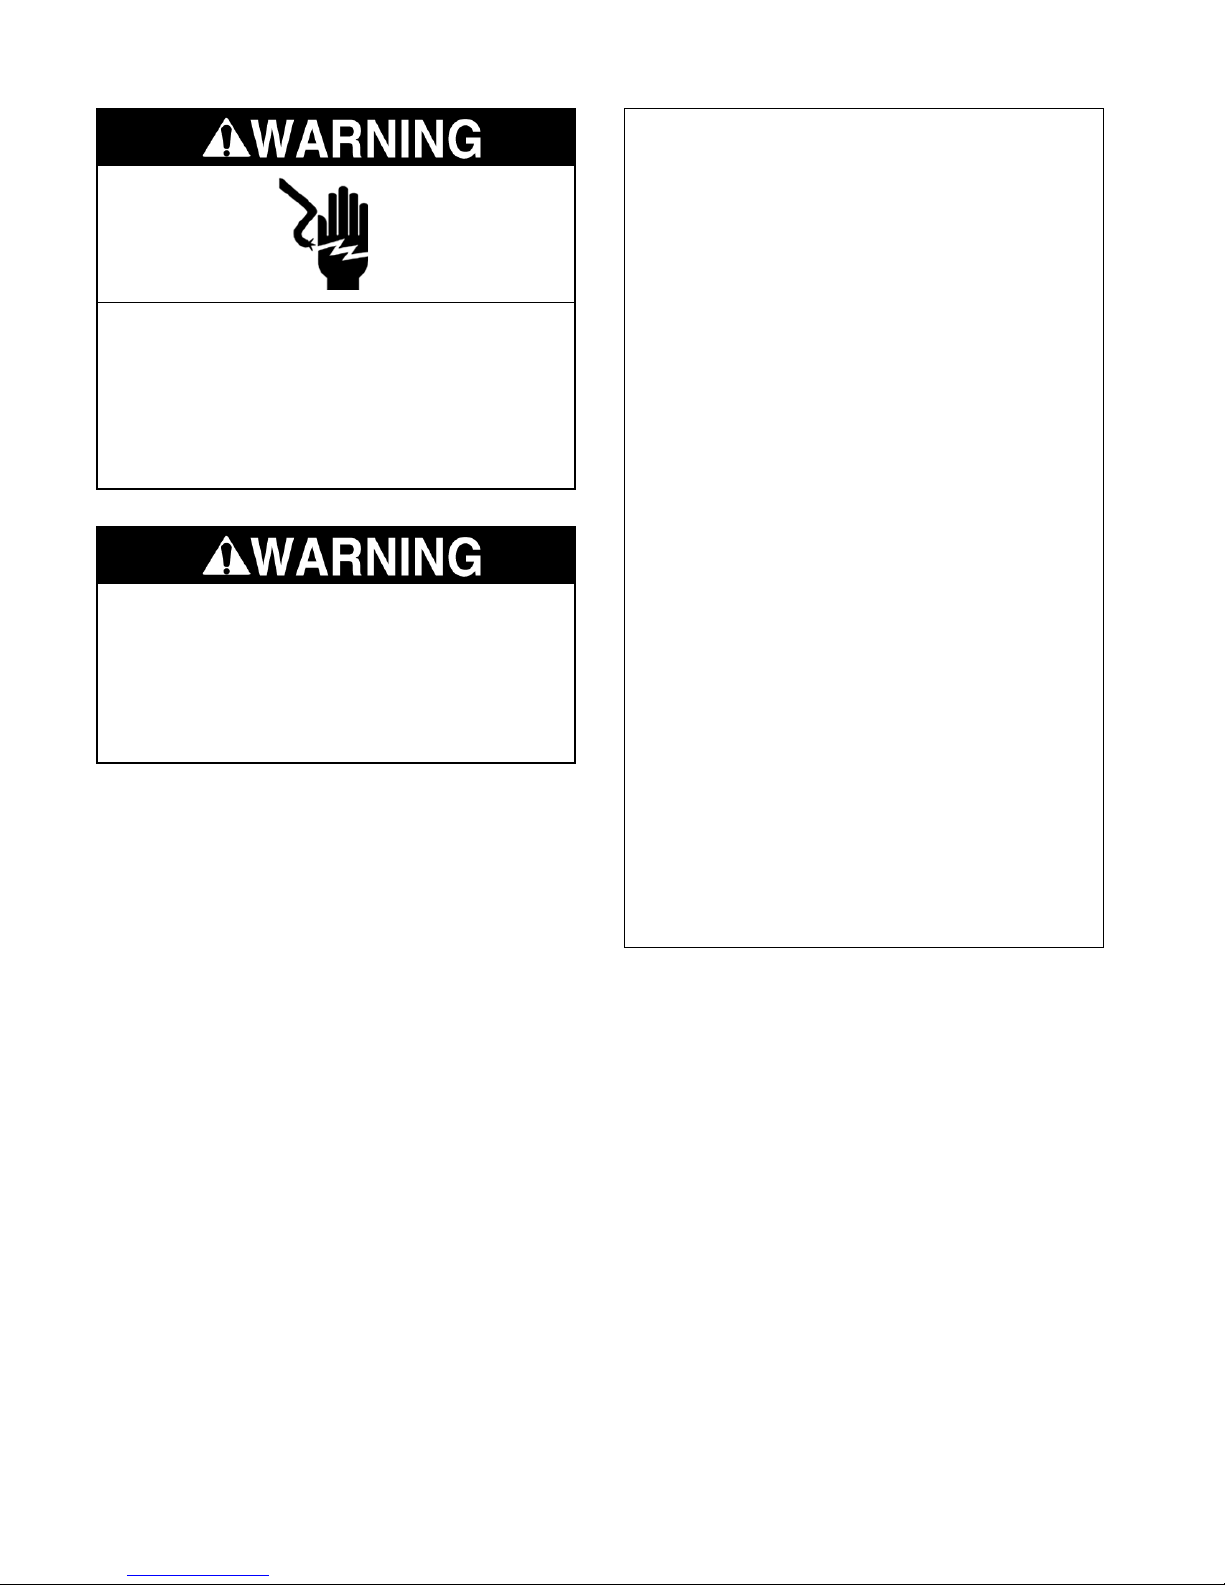
Electrical Shock Hazard
Connect green ground wire to ground
screw.
Failure to do so can result in death or
electrical shock.
Excessive Weight Hazard
Use two or more people to move and
install air conditioner.
Failure to do so can result in back or other
injury.
IMPORTANT
Electrostatic Discharge (ESD)
Sensitive Electronics
ESD problems are present everywhere.
ESD may damage or weaken the electronic control assembly. The new control
assembly may appear to work well after
repair is finished, but failure may occur at
a later date due to ESD stress.
• Use an antistatic wrist strap. Connect the
wrist strap to the green ground connection point, or to an unpainted metal surface in the appliance.
- OR -
• Touch your finger repeatedly to a green
ground connection point, or to an unpainted metal surface in the appliance.
• Before removing the part from its package, touch the antistatic bag to a green
ground connection point, or to an unpainted metal surface in the appliance.
• Avoid touching electronic parts, or terminal contacts. Handle the electronic control assembly by the edges only.
• When repackaging the failed electronic
control assembly in an antistatic bag,
observe the previous instructions.
1-2

WHIRLPOOL MODEL & SERIAL NUMBER DESIGNATIONS
MODEL NUMBER
MODEL NUMBER A C Q 05 8 M M 0
PRODUCT GROUP
A = AIR CONDITIONER
PRODUCT IDENTIFICATION
C = WARRANTY
D = DEHUMIDIFIER
O = ROOM A/C CABINETS
MODEL TYPE
D = VALUE
E = HEAT & COOL
M = VALUE SERIES
Q = DESIGNER WITH ELECTRONIC CONTROLS
S = SLIDING WINDOW
U = THROUGH-THE-WALL
NOMINAL CAPACITY
05 - 5,000 BTU/HR
07 - 7,000 BTU/HR
08 - 8,000 BTU/HR
10 - 10,000 BTU/HR
12 - 12,000 BTU/HR
15 - 15,000 BTU/HR
18 - 18,000 BTU/HR
21 - 21,000 BTU/HR
24 - 24,000 BTU/HR
ELECTRICAL CODE
2 = 115 VOLT STANDARD EER
4 = 230 VOLT STANDARD EER
8 = 115 VOLT ENERGY STAR EER
9 = 230 VOLT ENERGY STAR EER
FEATURE CODE
M = “M” MODEL
YEAR OF INTRODUCTION
L = 2002, M = 2003
ENGINEERING CHANGE
0, 1, 2, ETC.
SERIAL NUMBER
SERIAL NUMBER QM M 01 01527
MANUFACTURING RESPONSIBILITY
YEAR OF PRODUCTION
M = 2002, P = 2003
WEEK OF PRODUCTION
1ST WEEK
PRODUCT SEQUENCE NUMBER
1-3

MODEL & SERIAL NUMBER LABEL LOCATIONS
The Technician Model/Serial Number label location is shown below.
Model & Serial
Number Location
The Consumer Model/Serial Number label location is shown below.
Model & Serial
Number Location
1-4

SPECIFICATIONS
Model Number ACD052MM ACQ058MM ACQ062MM ACM052MM & ACM062MM
Ratings
BTU - Cool 5000 5000 6000 5000 (052)/6000 (062)
Energy Efficiency Rating # 9.7 10.7 9.7 9.7
Air Features
Air Flow on Turbo (CFM) 180 190 180 180
Air Flow on Medium (CFM) N / A 170 160 160
Air Flow on Low (CFM) 14 0 150 140 140
Features
Cooling Speed Selections 2 3 3 3
Timer (On/Off) No Yes Yes No
Power Saver No Yes Yes No
Remote No Yes Yes No
Electrical
Volts 115 115 115 115
Frequency (Hz) 60 60 6 0 6 0
Amps (Cooling) 4.8 4 . 7 5.7 5.7
Fuse Size (Amps) 15 15 15 15
Power Cord Length (ft) - Cabinet to Wall 6 ft. 6 ft. 6 ft. 6 ft.
Power Cord Length (m) - Cabinet to Wall 1.8 m. 1.8 m. 1.8 m. 1.8 m.
Exterior
Fan Control Rotary Electronic Electronic Rotary
Thermostat Control Rotary Electronic Electronic Rotary
Miscellaneous
Weight (lbs./kg) 52.5/24 54/24.5 54/24.5 54/24.5
Filter Washable, L/R Access Washable, L/R Access Washable, L/R Access Washable, L/R Access
Window Opening (Inches)
Warranty
Full 1 Year 1 Year 1 Year 1 Year
Full Sealed System 1 Year 5 Years 5 Years 5 Years
25 - 38 W x 16 H (min) 25 - 38 W x 16 H (min) 25 - 38 W x 16 H (min) 25 - 38 W x 16 H (min)
1-5
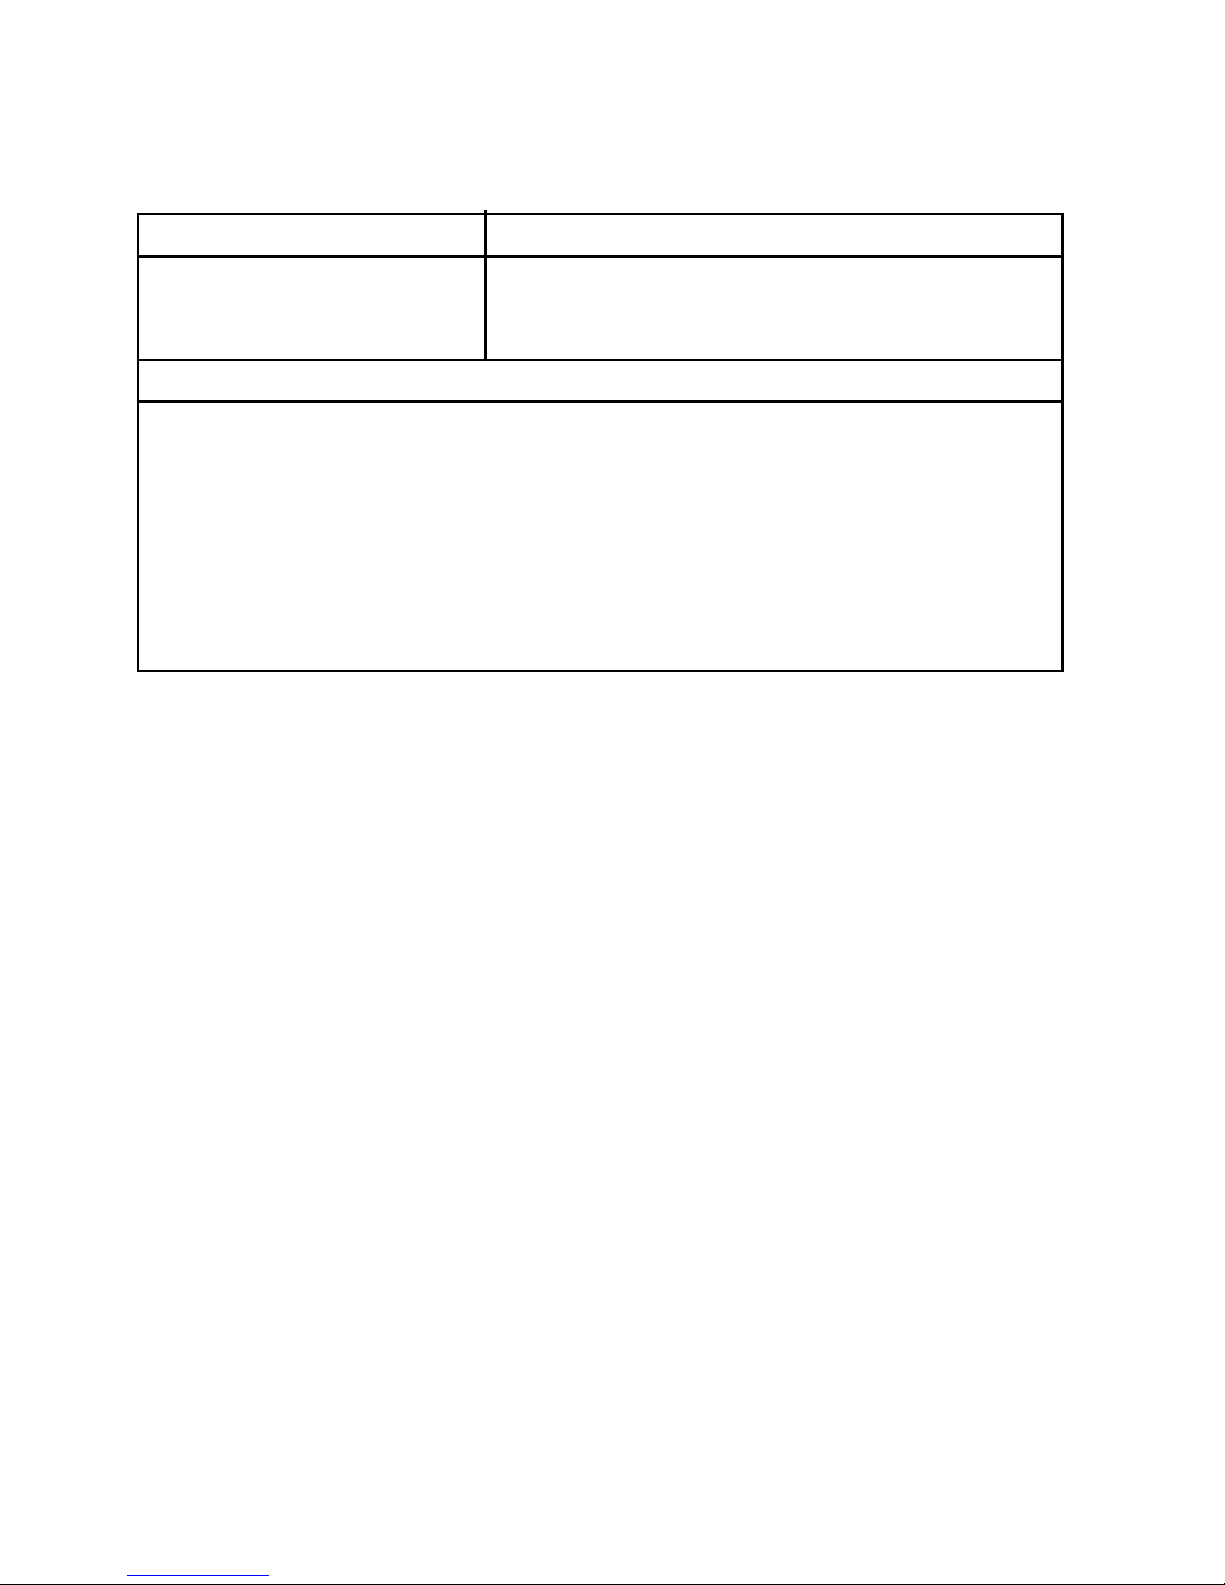
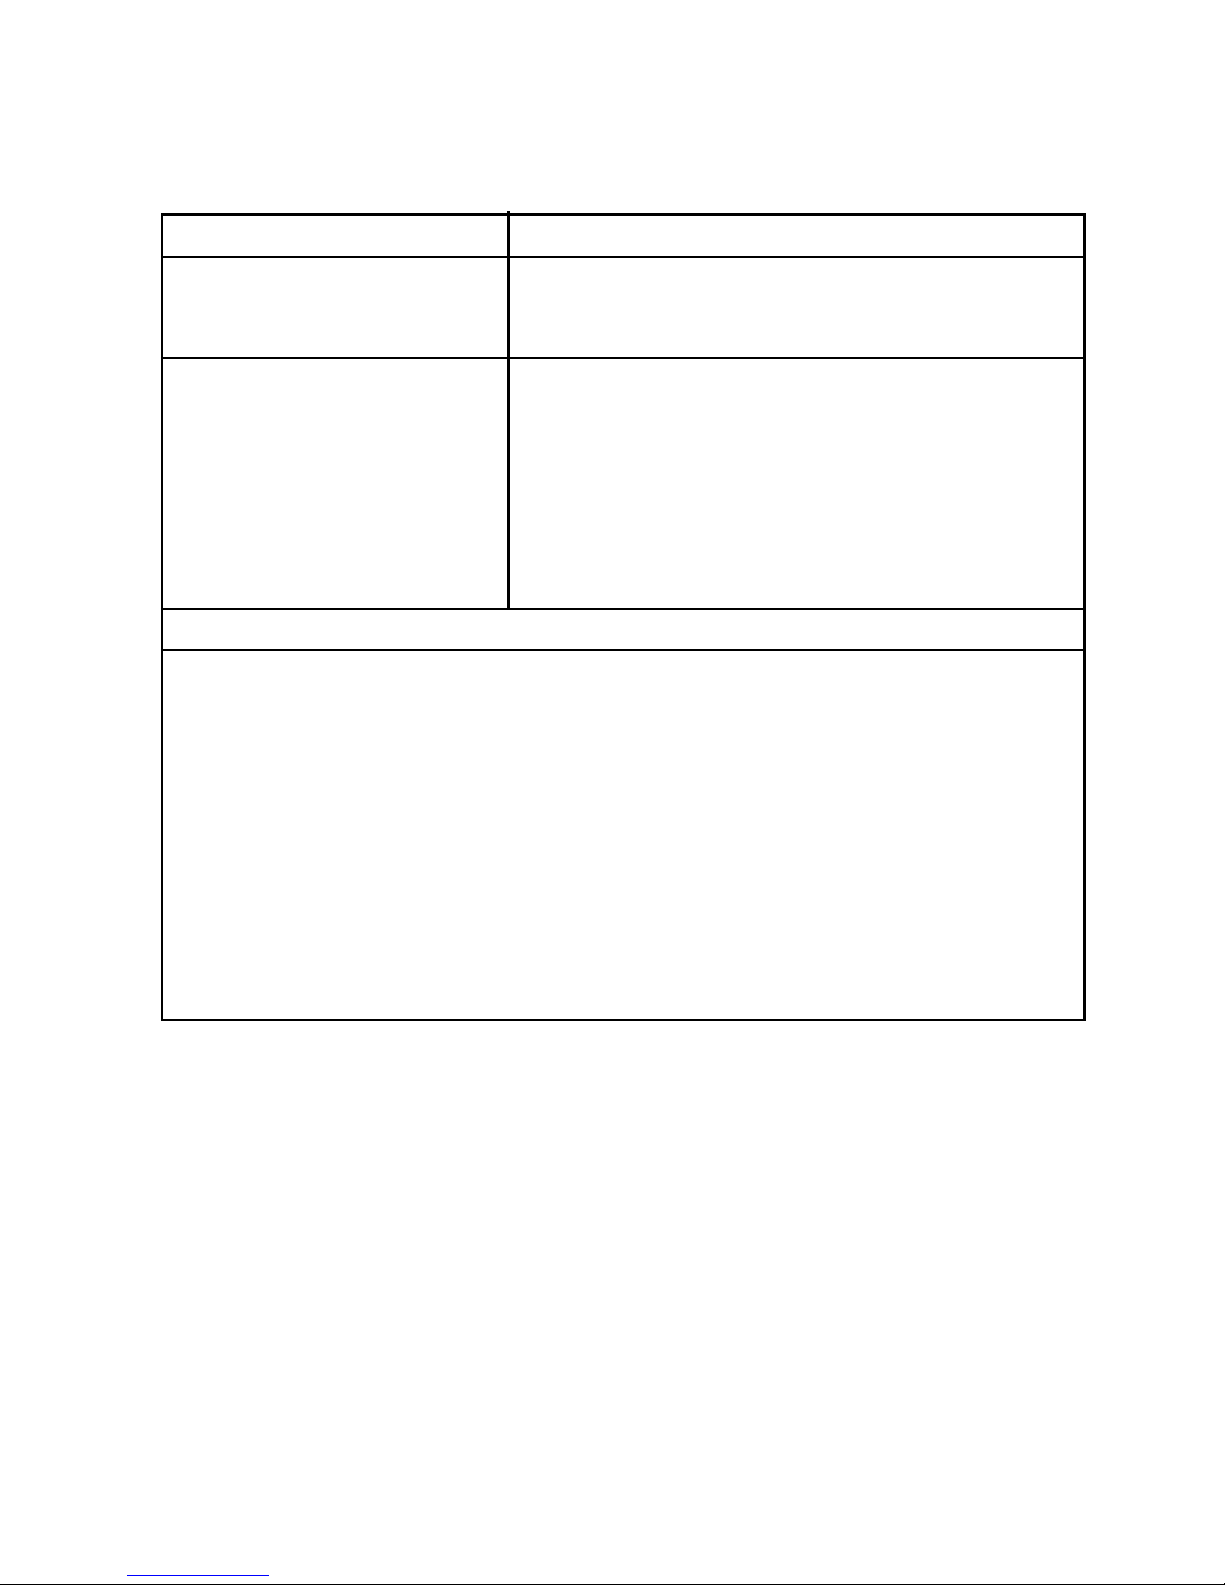
WHIRLPOOL AIR CONDITIONER WARRANTY
Model ACD052MM
LENGTH OF WARRANTY
FULL ONE-YEAR
WARRANTY FROM
DATE OF PURCHASE
WE WILL NOT PAY FOR
A. Repairs when room air conditioner is used for other than household use.
B. Any shipping or handling costs to deliver your room air conditioner to a designated
service center.
C. Damage to your air conditioner caused by accident, misuse, fire, flood, acts of God,
or use of products not mentioned in the Use and Care Guide.
D. Repairs to parts or systems resulting from unauthorized modifications made to the
appliance.
E. Replacement parts or repair labor costs for units operated outside the United States.
MANUFACTURER SHALL NOT BE LIABLE FOR INCIDENTAL OR CONSEQUENTIAL
DAMAGES. Some states do not allow the exclusion or limitation of incidental or
consequential damages, so this exclusion or limitation may not apply to you. This warranty
gives you specific legal rights, and you may also have other rights which vary from state to
state.
MANUFACTURER WILL PAY FOR
Replacement parts and repair labor to correct
defects in materials or workmanship. Service must
be provided by an authorized service company.
Outside the United States a different warranty may apply. For details, please contact your authorized dealer.
If you need service, first see the “Troubleshooting” section of the Use and Care Guide.
After checking “Troubleshooting,” additional help can be found by checking the
“Assistance or Service” section, or by calling the manufacturer’s Customer Interaction
Center, 1-800-253-1301 (toll-free), from anywhere in the U.S.A.
Room air conditioner, along with proof of purchase, should be delivered to your nearest
designated service company.
1-6
WHIRLPOOL AIR CONDITIONER WARRANTY
Models ACM052MM, ACM062MM, ACQ058MM, ACQ062MM
LENGTH OF WARRANTY
FULL ONE-YEAR
WARRANTY FROM
DATE OF PURCHASE
FULL FIVE-YEAR
WARRANTY FROM
DATE OF PURCHASE
WE WILL NOT PAY FOR
A. Service calls to:
1. Correct the installation of your air conditioner.
2. Instruct you how to use your air conditioner.
3. Replace house fuses or correct house wiring.
4. Clean or replace the air filter.
B. Pickup and delivery. Your air conditioner is designed to be repaired in the home.
C. Damage to your air conditioner caused by accident, misuse, fire, flood, acts of God,
or use of products not mentioned in the Use and Care Guide.
D. The removal and reinstallation of your air conditioner if it is installed in an overhead
or other inaccessible location or is not installed in accordance with published installation instructions.
E. Repairs to parts or systems resulting from unauthorized modifications made to the
appliance.
MANUFACTURER WILL PAY FOR
Replacement parts and repair labor to correct
defects in materials or workmanship. Service must
be provided by an authorized service company.
Replacement parts and repair labor to correct
defects in materials or workmanship in the sealed
refrigeration system. These parts are:
1. Compressor 4. Drier-Strainer
2. Evaporator 5. Connecting Tubing
3. Condenser
Service must be provided by an authorized service
company.
WHIRLPOOL CORPORATION SHALL NOT BE LIABLE FOR INCIDENTAL OR
CONSEQUENTIAL DAMAGES. Some states do not allow the exclusion or limitation of
incidental or consequential damages, so this exclusion or limitation may not apply to you.
This warranty gives you specific legal rights, and you may also have other rights which vary
from state to state.
Outside the United States a different warranty may apply. For details, please
contact your authorized dealer.
If you need service, first see the “Troubleshooting” section of the Use and Care Guide.
After checking “Troubleshooting,” additional help can be found by checking the
“Assistance or Service” section, or by calling the Whirlpool Customer Interaction Center,
1-800-253-1301 (toll-free), from anywhere in the U.S.A.
1-7

— NOTES —
1-8
INSTALLATION INFORMATION
Excessive Weight Hazard
Use two or more people to move and
install air conditioner.
Failure to do so can result in back or
other injury.
IMPORTANT: Observe all governing codes
and ordinances.
Check the location where the air conditioner
will be installed. Proper installation is your
responsibility. Make sure you have everything
necessary for correct installation.
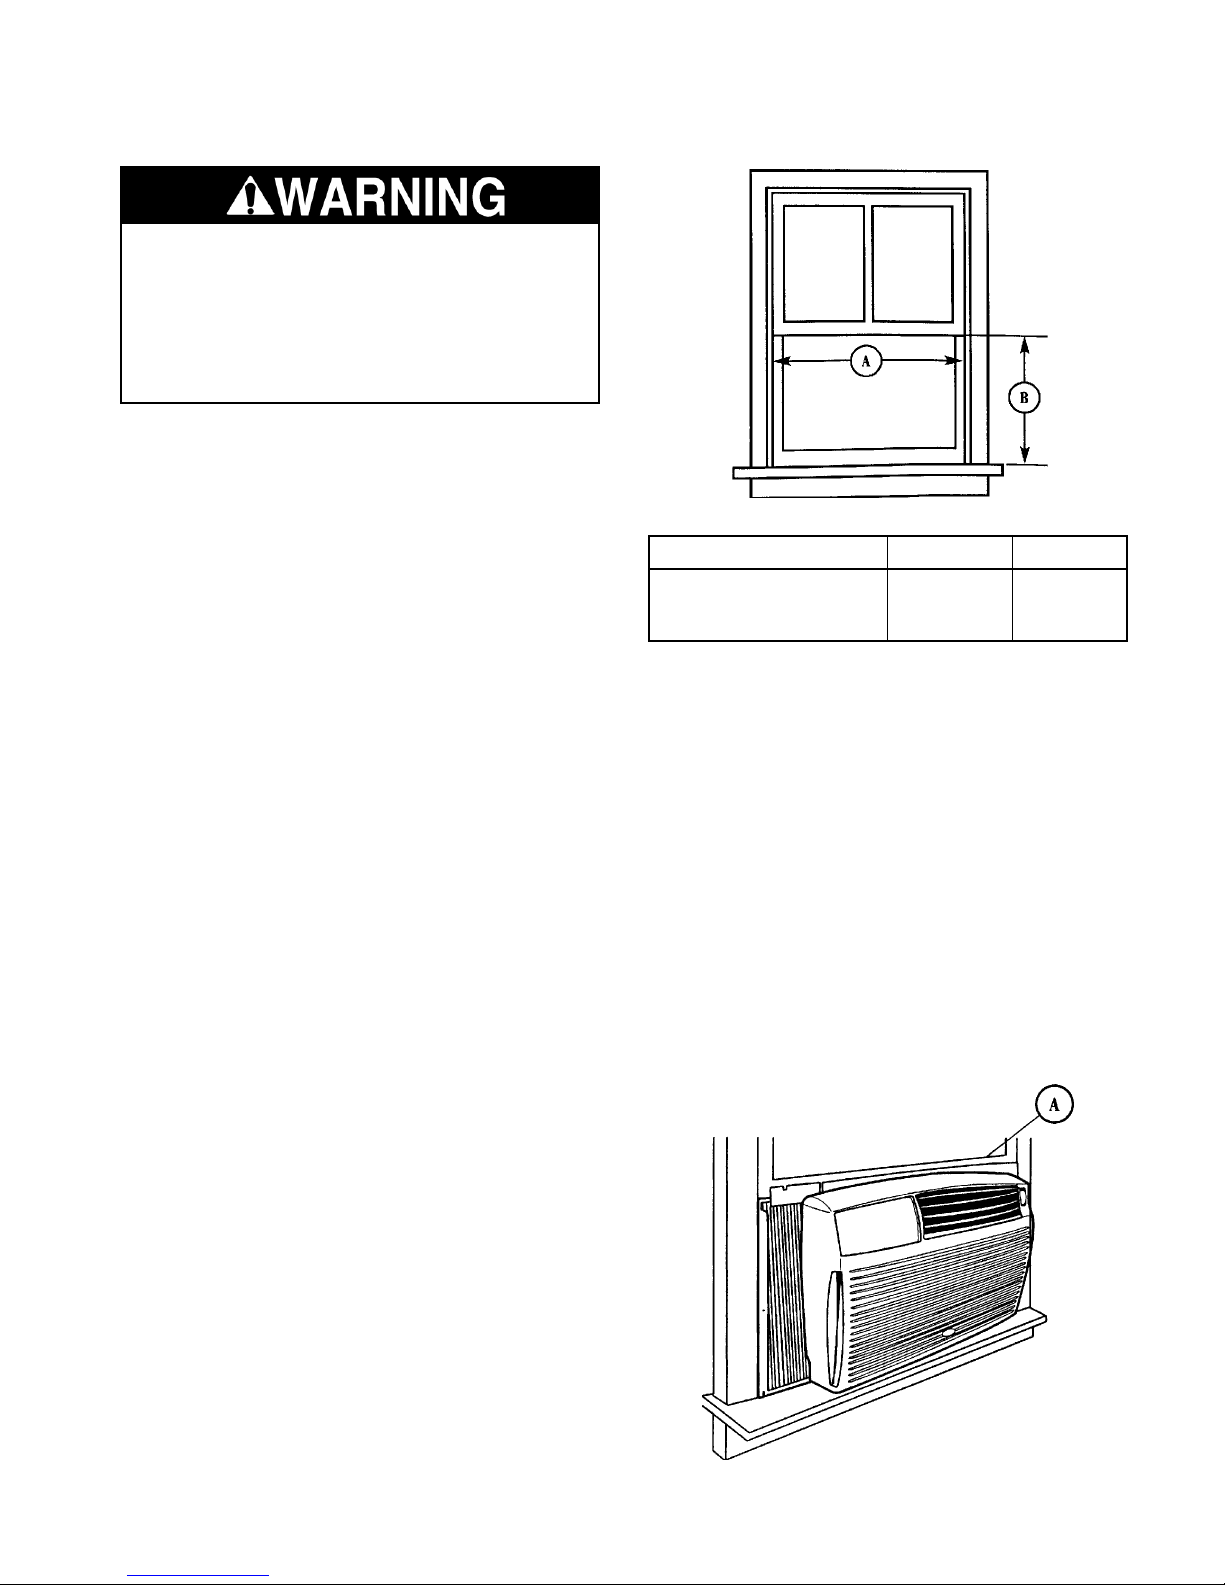
The location should provide:
• A grounded electrical outlet within 4 ft. (122
cm) of the window. Do not use an extension
cord.
Air Conditioner Size A B
5000 to 6000 BTUs 25″ to 38″ 16″
(63.5 cm to (40.6 cm)
96.5 cm)
Handle the air conditioner with care. Watch out
for the sharp metal fins on the rear coils.
• Free movement of air to rooms to be cooled.
• A large enough opening for the air conditioner. Installation parts are supplied for
double-hung windows (some models) up to
38 in. (96.5 cm) wide.
• Adequate wall support for the weight of the
air conditioner. The air conditioner weighs
between 56 lbs. (25 kg) and 80 Ibs. (36 kg).
Do not install the air conditioner in an area
where the front panel will be exposed to heat
sources that will raise the panel surface temperature above 120°F (50°C).
Be sure the air conditioner does not fall out of
the opening during installation or removal.
The air conditioner should be placed no more
than 4 ft. (122 cm) from a grounded outlet.
1. Center the air conditioner in the window.
Check that the lower rail of the air conditioner is behind and against the back side
of the window seal, then lower the window
sash (A) to hold the cabinet in place. Do
not block the louvers in the front panel, or
block the openings on the outside of the air
conditioner.
2-1
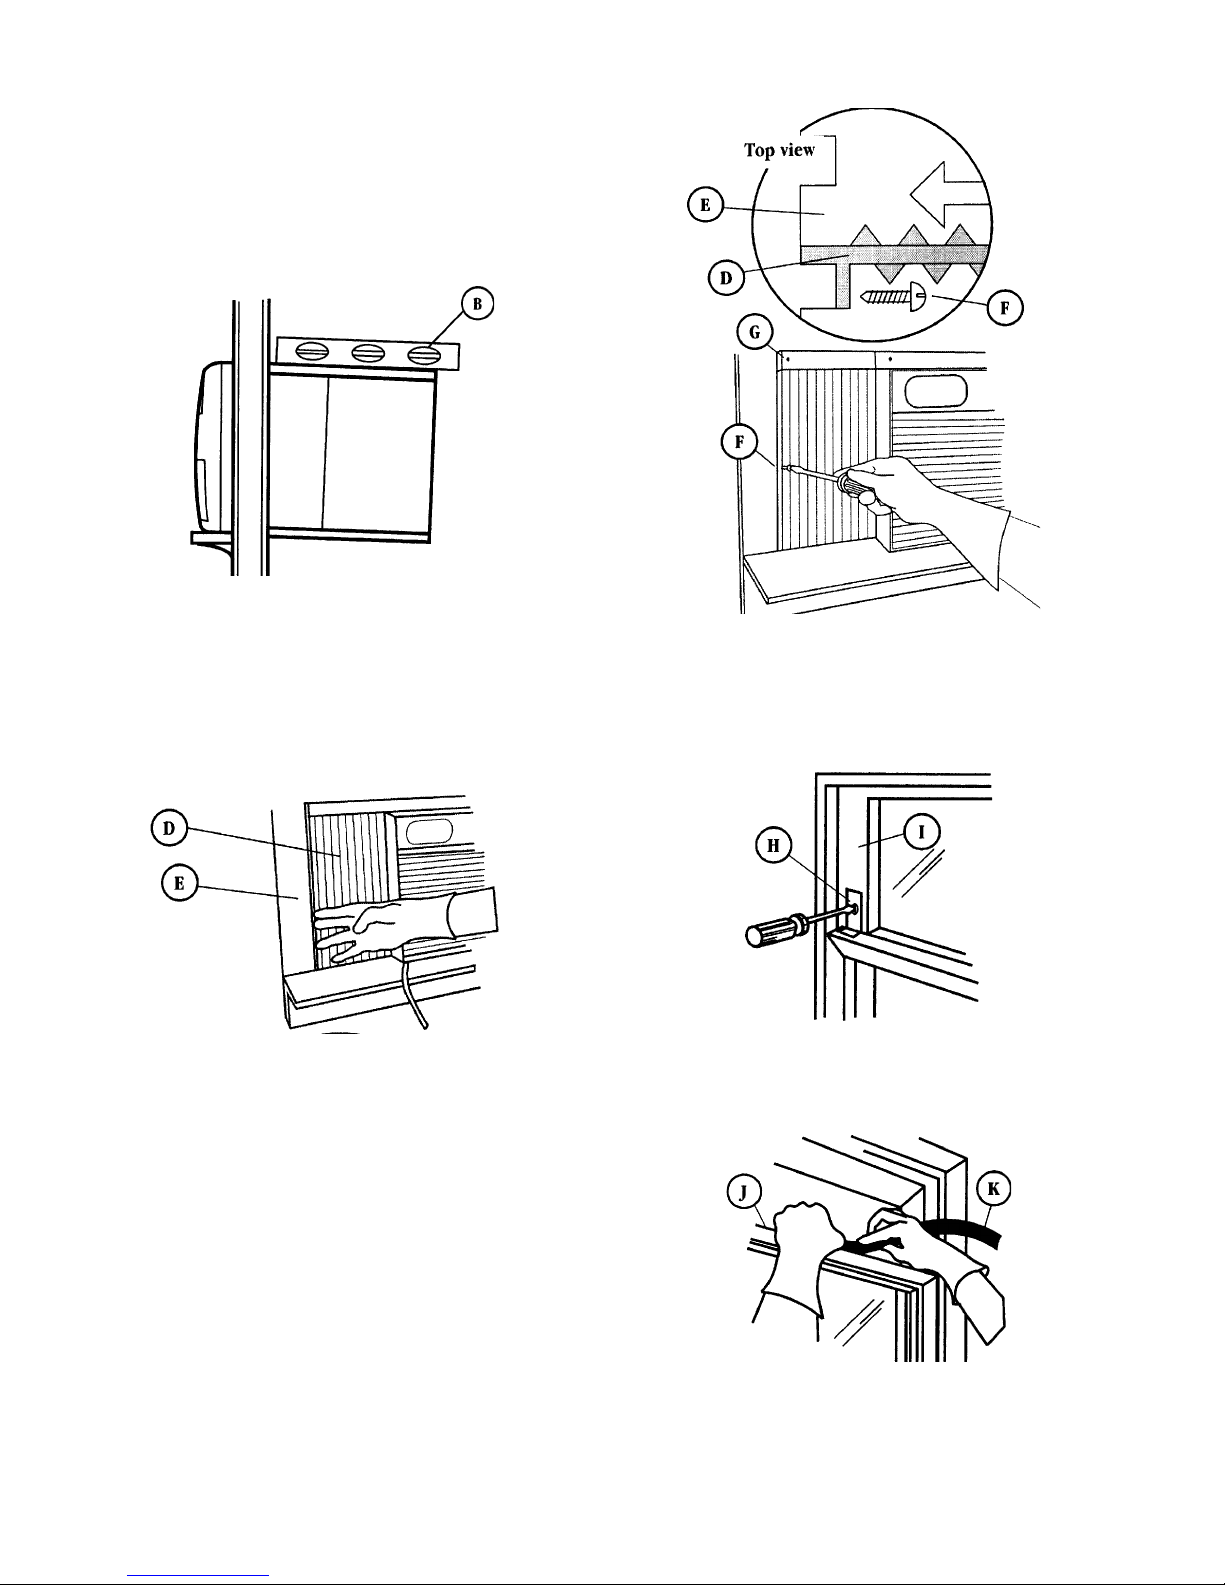
2. Make sure that the back of the air conditioner cabinet is tilted down so that water
will run to the outside. The tilt should be
about 1/2 bubble (B) on a spirit level. If the
cabinet is not properly positioned, reposition or shim it to provide the proper tilt.
3. Pull the left curtain (D) out and fit it into the
window channel (E).
4. Install the right curtain in the same manner
as the left curtain. NOTE: If the air conditioner does not have side curtains, fill
spaces with a suitable material.
7. Mount the window-lock bracket (H) on top
of lower window and against upper window sash (I). Use a 3/32″ drill bit to drill a
starter hole through the hole in the bracket.
5. Secure the left curtain with one of the
round-head screws (F) to the window channel. If desired, use alternate hole (G) at the
top of the curtain to secure it to the window
channel (see the illustration at the top of
the next column).
6. Fasten the right curtain to the window
channel in the same manner as the left
curtain.
8. Insert foam seal (K) behind the top of the
lower window sash (J), and against the
glass of the upper window.
9. Plug the power cord into an appropriate
AC outlet.
2-2
COMPONENT ACCESS
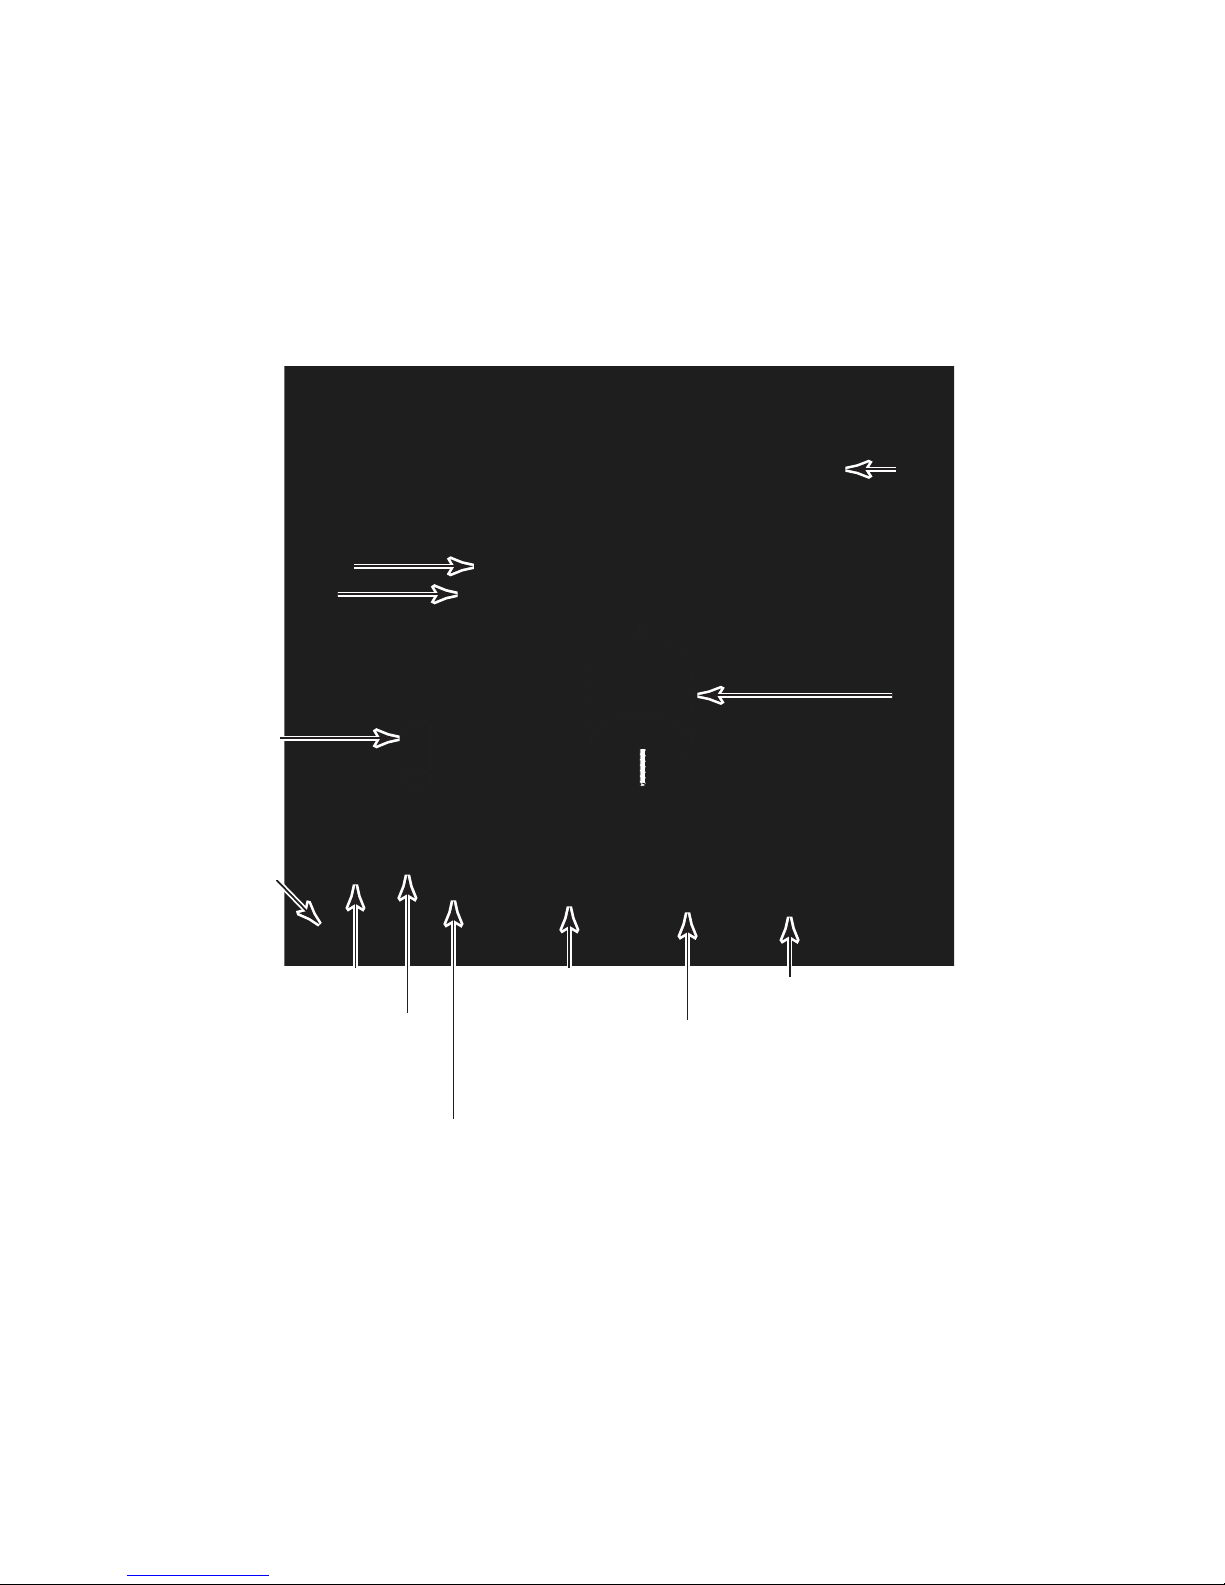
This section instructs you on how to service each component inside the air conditioner. The
components and their locations are shown below.
COMPONENT LOCATIONS
Condenser
Overload Protector
Compressor
Fan Motor
Capacitor
Power Cord
Fan Speed Control
Models ACQ058MM
& ACQ062MM Use An
Electronic Control Assembly
Instead Of Manual Controls
Temperature
Sensor Tube
Temperature Control
Evaporator
Models ACQ058MM &
ACQ062MM Use A
Thermistor In Place Of A
Temperature Sensor Tube
3-1
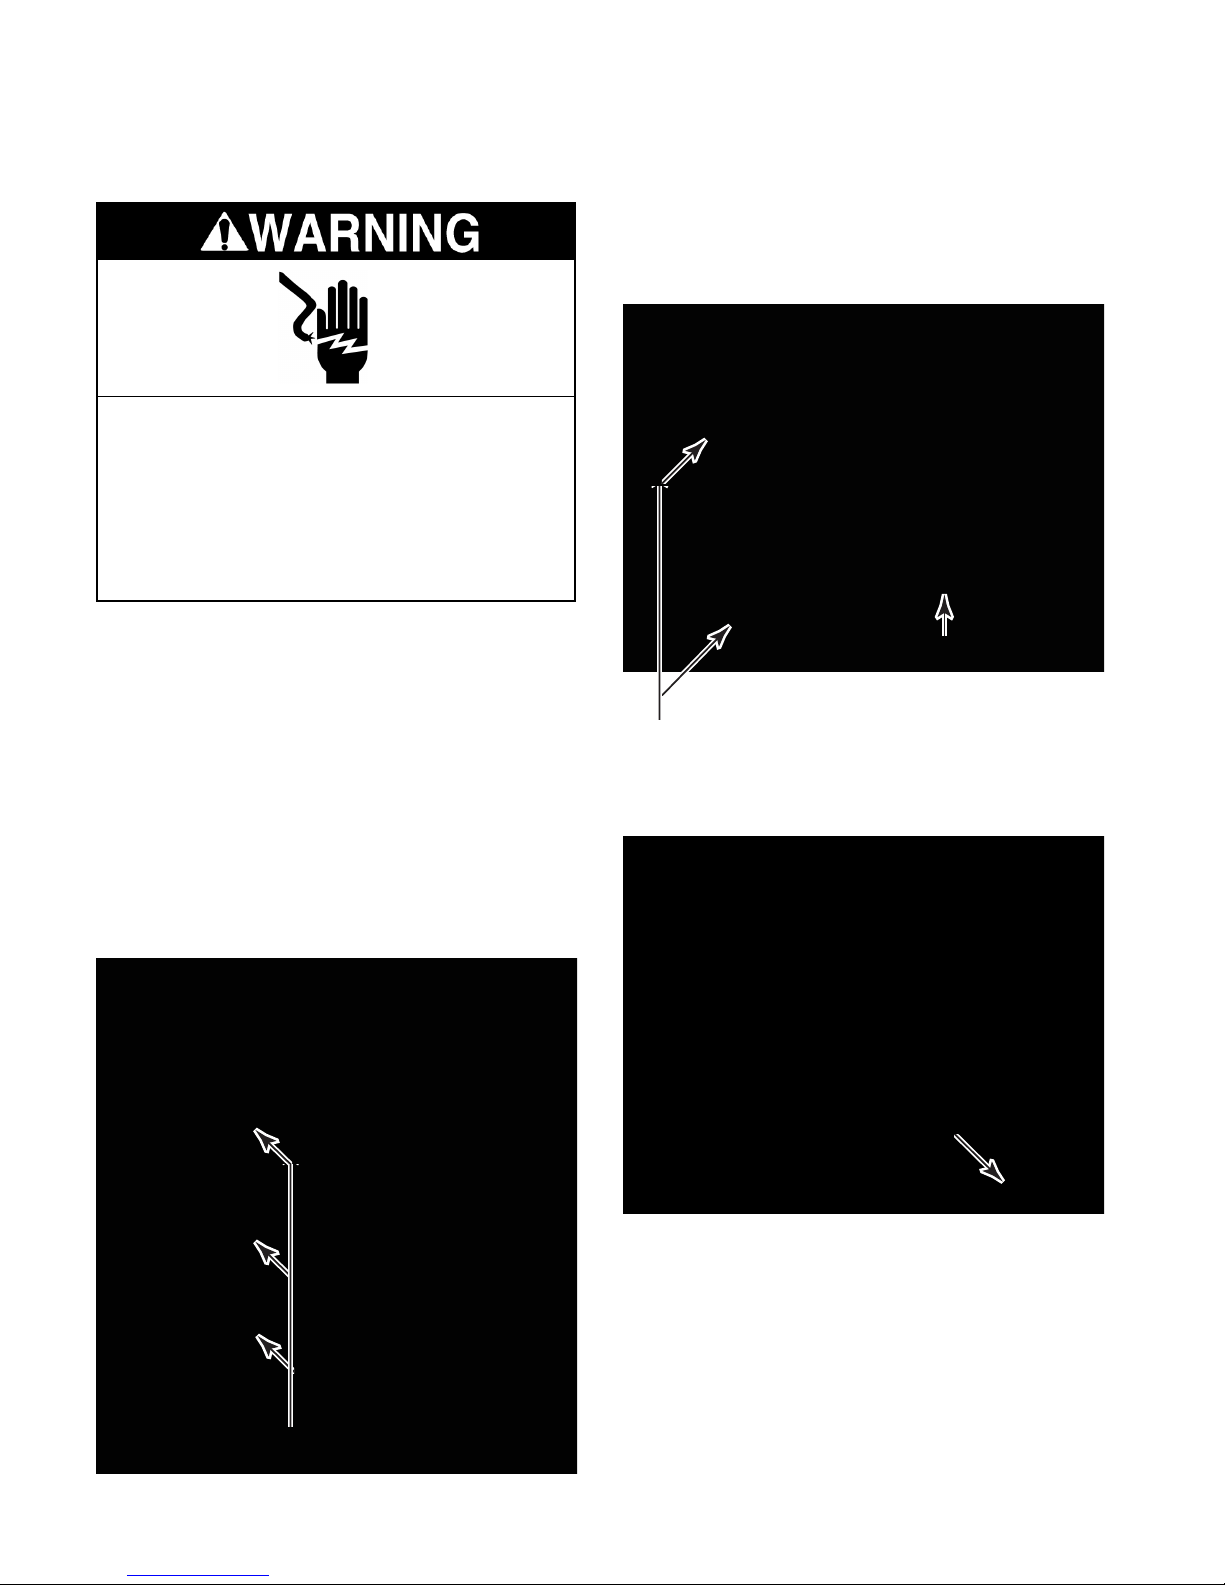
REMOVING THE SIDE CURTAINS, FRONT GRILLE,
TOP COVER, & SCREEN
Electrical Shock Hazard
Disconnect power before servicing.
Replace all parts and panels before
operating.
Failure to do so can result in death or
electrical shock.
4. To remove the front grille:
a) Remove the four screws (two on each
side) from the grille.
1. Unplug air conditioner or disconnect power.
2. Remove the air conditioner from the window.
NOTE: Model ACD052MM is shown.
3. To remove the left and right side cur-
tains:
a) Remove the three screws from each of
the side curtains.
b) Slide the curtains out of the top and
bottom guides and remove them.
Front Grille
Grille Screws
(2 of 4)
b) Pull the grille forward and remove it.
Side Curtain
Screws
3-2
 Loading...