


41135
STAND MIXER
Instruction Manual
Register this and other West Bend® Housewares products through our website:
www.westbend.com
Important Safeguards...............................................................................................2
Precautions For Use Around Children...................................................................... 2
Electricity Precautions.............................................................................................. 3
Assembling your Stand Mixer...................................................................................4
Using Your Stand Mixer ........................................................................................... 4
Mixing Guide ............................................................................................................ 5
Cleaning Your Stand Mixer ......................................................................................5
Mixing Tips...............................................................................................................5
Warranty...................................................................................................................6
SAVE THIS INSTRUCTION MANUAL FOR FUTURE REFERENCE

IMPORTANT SAFEGUARDS
To prevent personal injury or property damage, read and follow all instructions
and warnings.
When using electrical appliances, basic safety precautions should always be
followed including the following:
• Read all instructions, including these important safeguards and the care and use
instructions in this manual.
• Do not use appliance for other than intended use.
• Do not place on or near a hot gas or electric burner, or a heated oven.
• The use of accessory attachments not recommended by West Bend®
Housewares may cause injuries.
• Do not attempt to repair this appliance yourself.
• For household use only.
To prevent burns or other personal injuries to children, read and follow all
instructions and warnings.
PRECAUTIONS FOR USE AROUND CHILDREN
• Always supervise children.
• Do not allow children to operate or be near the mixer, as contact with moving
parts may cause injury.
• Do not allow cord to hang over any edge where a child can reach it. Arrange
cord to avoid pulling, tripping or entanglement.
2

To prevent electrical shock, personal injury or property damage, read and
follow all instructions and warnings.
ELECTRICITY PRECAUTIONS
• To protect against electric shock, do not immerse cord, plugs, or other electric
parts in water or other liquids.
• Do not operate any appliance with a damaged cord or plug.
• Do not operate when the appliance is not working properly or when it has been
damaged in any manner. For service information see warranty page.
• Do not use this appliance outdoors.
• Always switch appliance to OFF and unplug the appliance from outlet and allow
to cool before putting on or taking off parts and before cleaning.
• Avoid contacting moving parts. Keep hands, hair, clothing, spatulas and other
utensils away from beaters during operation to reduce the risk of injury to
persons, and/or damage to the mixer.
• Remove beaters from mixer before washing.
• Do not leave appliance unattended while it is operating.
• Your appliance has a short cord as a safety precaution to avoid pulling, tripping
or entanglement. Position the cord so that it does not hang over the edge of the
counter, table or other areas or touch hot surfaces.
• While use of an extension cord is not recommended, if you must use one, make
sure the cord has the same or higher wattage as the appliance (wattage is
stamped on the underside of the mixer head). To avoid pulling, tripping or
entanglement, position the extension cord so that it does not hang over the edge
of the counter, table or other areas or touch hot surfaces.
• Use an electrical outlet that accommodates the polarized plug on the appliance.
On a polarized plug, one blade of the plug is wider than the other. If the plug
does not fit fully into the outlet or extension cord, reverse the plug. If the plug still
does not fit fully, contact a qualified electrician. Do not alter the plug.
• Do not use an outlet or extension cord if the plug fits loosely or if the outlet or
extension cord feels hot.
• Keep the cord away from moving parts of the appliance during operation.
SAVE THESE INSTRUCTIONS
3

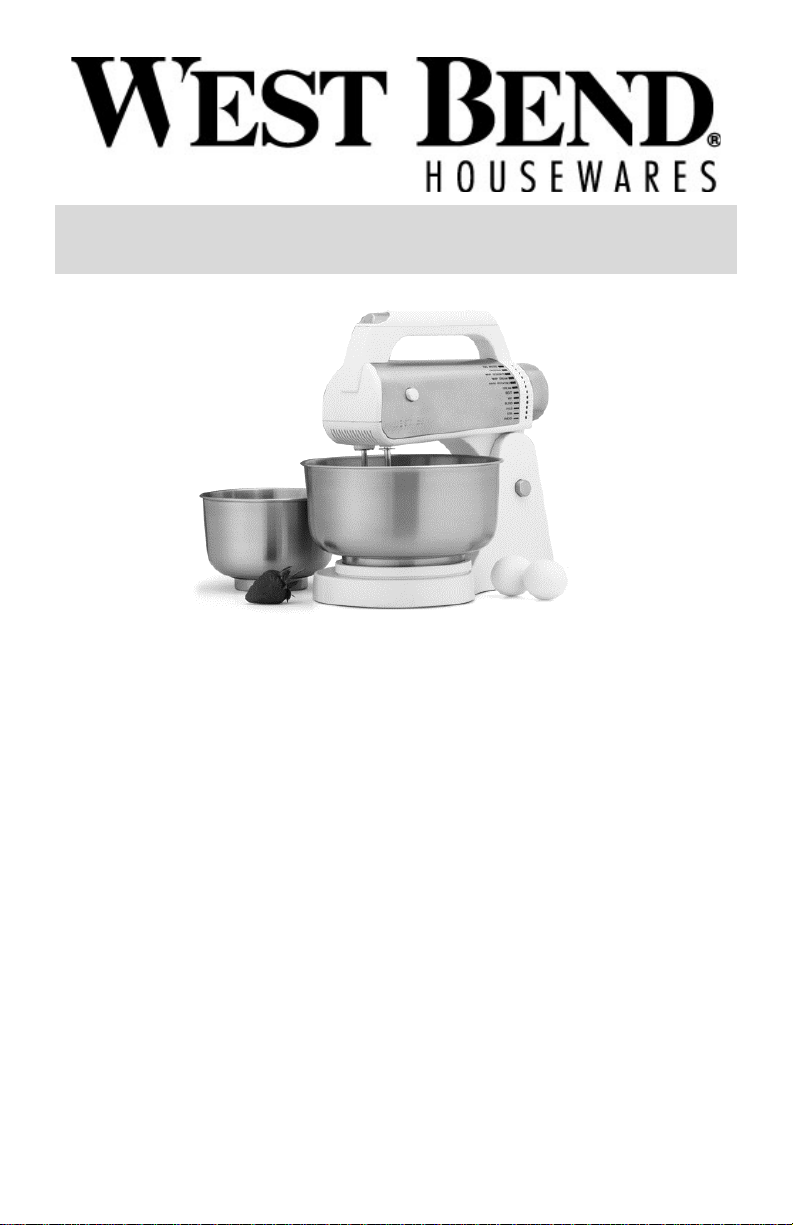
ASSEMBLING YOUR STAND MIXER
Your mixer requires some assembly before using. Do not plug cord into electrical
outlet until after mixer is assembled and ready for
operation.
1. To attach mixer to stand, press and hold down mixer
release lever located on the back of the mixer stand.
Position mixer head on stand so metal pin on
underside of mixer fits into groove on mixer stand.
Make sure mixer is securely attached to stand before
using. NOTE: Mixer should not be used as a hand
mixer. It must always be used on the stand.
2. Place turntable onto platform of stand, aligning
extension on underside into correct opening for the
size bowl being used, Small or Large. Lip on underside of bowl will fit into
groove on turntable.
3. To insert beaters or dough hooks, press the lock release button located on side
of mixer stand, lift mixer head up until it stops. The beater or dough hook with
the round collar fits into the round socket of the mixer head. The beater with the
hexagon collar fits into the hexagon socket of the mixer head. Insert beaters by
pushing shaft into socket, turning slightly if needed until they lock in place.
Beaters must be inserted into correct socket, as they are not interchangeable.
USING YOUR STAND MIXER
1. Make sure speed control dial is set at the OFF position and mixer is securely
attached to the stand before using. NOTE: Mixer should not be used as a hand
mixer. Use only on stand.
2. Position turntable according to size bowl being used. Position bowl onto
turntable.
3. Insert beaters or dough hooks into correct sockets.
4. Add ingredients to bowl as recipe directs. Plug cord into a 120 volt, AC
electrical outlet only. Turn speed control dial to start mixing. Always begin
mixing at a lower speed setting to prevent spattering, then increase to desired
speed for mixing task. Speed setting can be adjusted during operation by
turning dial forward and back. Use mixing guide as reference by aligning speed
setting with indicator line. A red light will illuminate next to the setting that was
selected. If you need to scrape the bowl during use, always turn mixer off,
scrape then continue mixing.
5. When mixing is complete, turn speed control dial to OFF position and unplug
cord from electrical outlet. Press the lock release button and lift mixer head up
until it stops. Press the beater/hook release button located on side of mixer
head and remove the beaters/hooks. NOTE: Do not try to pull the
beaters/hooks out of the mixer head without pressing the beater release button
as damage to the mixer head could occur.
• A small amount of smoke and/or odor may occur upon heating due to the
release of manufacturing oils – this is normal.
4

MIXING GUIDE
MIXING TASK EXAMPLE
Knead Use to knead dough
Stir Use to begin mixing
Fold Use to gently blend ingredients
Blend Use to blend two or more ingredients
Mix Use to mix ingredients to form a smooth batter
Beat Use to mix prepackaged cake mixes
Cream Use to cream butter or shortening and sugar
Mash Potatoes Use to mash cooked potatoes
Whip Cream Use to prepare whipped cream
Whip Desserts Use to prepare fluffy desserts
Frosting Use to prepare frostings
Egg Whites Use to whip egg whites
CLEANING YOUR STAND MIXER
1. Turn mixer OFF and unplug cord from electrical outlet before cleaning.
2. With beaters or hooks removed, wipe mixer, stand and turntable with a damp
cloth and dry.
3. Wash beaters, hooks and bowls in hot soapy water with a soft cloth, rinse and
dry. Beaters, hooks and bowls may be cleaned in an automatic dishwasher.
NOTE: Do not use any abrasive scouring pads or cleansers on bowls, beaters or
hooks as scratching can occur. Also, do not allow beaters or hooks to soak in water
for extended periods of time (several hours or overnight) to prevent damage to metal
finish.
MIXING TIPS
• Use beaters for all mixing/whipping tasks. Use dough hooks only for the
preparation of yeast doughs.
• Maximum capacity of the Large mixing bowl is 4 quarts; the Small mixing bowl is
1½ quarts. Do not fill bowls more than half full with ingredients.
• Do not exceed using 4 cups of flour in a recipe.
• Begin mixing at lowest speed, and then increase to higher speed to prevent
spattering.
• Turn mixer off and use a rubber spatula to scrape side of bowl as needed. Do
not scrape bowl while mixer is running. Should an object, such as a spatula fall
into the bowl while mixing, immediately turn mixer off. Unplug, then remove
object.
• Do not attempt to use a dough hook with a beater, as damage to mixer will
occur.
5

PRODUCT WARRANTY
Appliance 1 Year Limited Warranty
West Bend® Housewares, LLC warrants this appliance from failures in the material and
workmanship for 1 year from the date of original purchase, provided the appliance is operated
and maintained in conformity with the West Bend® Housewares, LLC Instruction Manual. Any
failed part of the appliance will be repaired or replaced without charge at West Bend®
Housewares, LLC discretion. This warranty applies to indoor household use only.
The West Bend® Housewares, LLC warranty does not cover any damage, including
discoloration, to any non-stick surface of the appliance. The West Bend® Housewares, LLC
warranty is null and void, as determined solely by West Bend® Housewares, LLC, if the
appliance is damaged through accident, misuse or abuse, scratching, overheating, or if the
appliance is altered in any way or if used outside of an indoor household setting.
This warranty gives you specific legal rights. You may also have other rights, which may vary
from state to state.
THIS WARRANTY IS IN LIEU OF ALL IMPLIED WARRANTIES, INCLUDING WARRANTIES
OF MERCHANTABILITY, FITNESS FOR A PARTICULAR PURPOSE, PERFORMANCE, OR
OTHERWISE, WHICH ARE HEREBY EXCLUDED. IN NO EVENT SHALL WEST BEND®
HOUSEWARES, LLC BE LIABLE FOR ANY DAMAGES, WHETHER DIRECT, IMMEDIATE,
INCIDENTAL, FORESEEABLE, CONSEQUENTIAL, OR SPECIAL, ARISING OUT OF OR IN
CONNECTION WITH ITS APPLIANCE.
If you think the appliance has failed or requires service within its warranty period, please
contact the West Bend® Housewares Customer Service Department at (866) 290-1851 or email us at housewares@westbend.com. Return shipping fees are non-refundable. Hand-written
receipts are not accepted. West Bend Housewares, LLC is not responsible for returns lost in
transit.
Valid only in USA and Canada
REPLACEMENT PARTS
Replacement parts may be ordered direct from West Bend® Housewares, LLC by ordering
online at www.westbend.com: Replacement Parts. Or you may call or e-mail the service
department at the number/e-mail address listed above, or by writing to us at:
West Bend Housewares, LLC
Attn: Customer Service
P.O. Box 2780
West Bend, WI 53095
Be sure to include the catalog/model number of your appliance (located on the bottom/back of
the unit) and a description and quantity of the part you wish to order. Along with this include
your name, mailing address, Visa/MasterCard number, expiration date and the name as it
appears on the card. Checks can be made payable to West Bend Housewares, LLC Call
Customer Service to obtain purchase amount. Your state’s sales tax and a shipping/processing
fee will be added to your total charge. Please allow two (2) weeks for delivery.
This manual contains important and helpful information regarding the safe use and care of your new West
Bend® Housewares, LLC product. For future reference, attach dated sales receipt for warranty proof of
purchase and record the following information:
Date purchased or received as gift: _______________________________________________________
Where purchased and price, if known: ____________________________________________________
Item Number and Date Code (shown bottom/back of product): ___________________________________________
L5657A 12/06 West Bend® Housewares, LLC A Focus Products Group Company Printed in China
6
 Loading...