


Challenger Laptop
INTRODUCTION
Thank you for buying the VTech® Genius Notebook. The VTech
Genius Notebook is your child’s launch pad into a whole world
of learning fun! In addition to language basics such as letters and
vocabulary words, the Genius Notebook introduces Spanish
through fun, graphics-enhanced games. Your child will learn basic
math, sharpen logic skills and develop musical and artistic creativity
- playing and having fun at the same time! Plus, the Genius
Notebook is loaded with other cool features such as tools to store
personal info, vivid animations, fun sound effects, snappy melodies
and a realistic keyboard and mouse.
With the Genius Notebook, your child will find that learning and
fun go hand in hand!
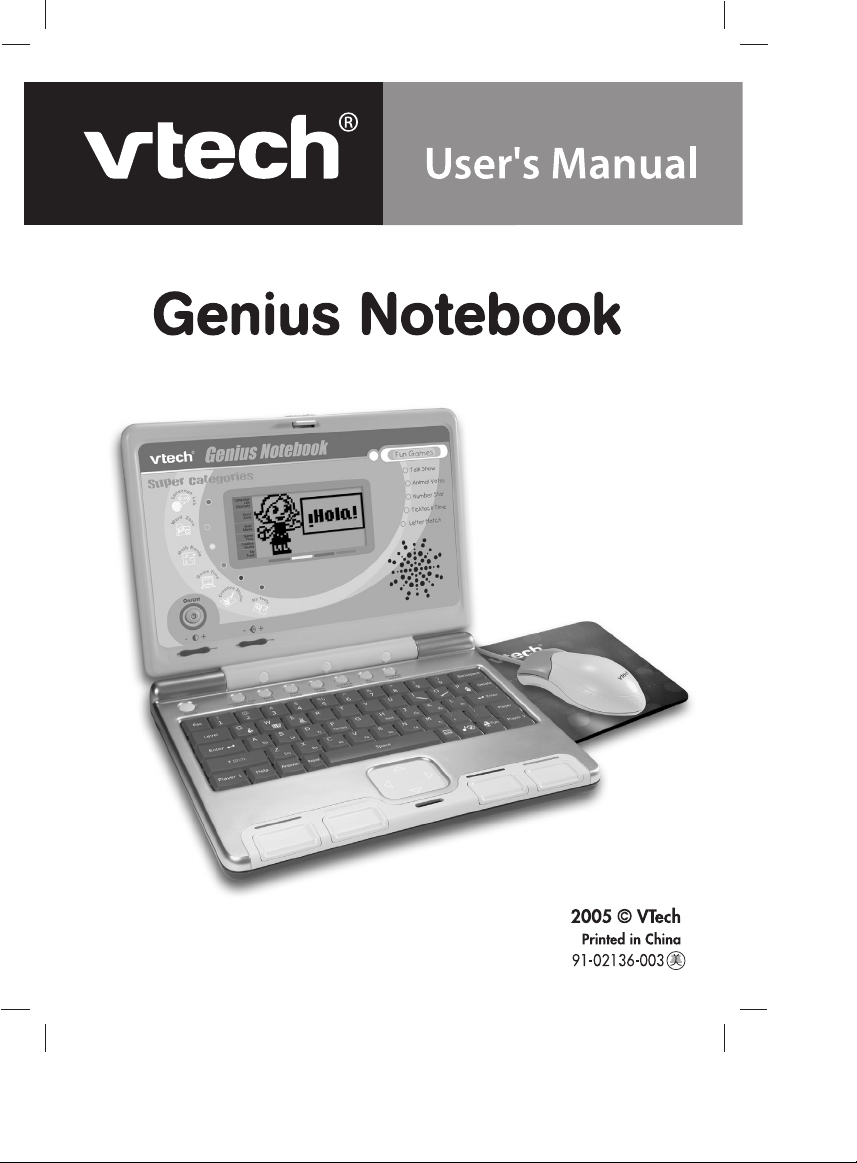
LOCK KEY
®
LM
LCD SCREEN
ON/OFF BUTTON
CONTRAST SWITCH
DEMO BUTTON
CHOICE BUTTONS
CURSOR PAD
PROGRESS REPORT
INCLUDED IN THIS PACKAGE
• Genius Notebook
• User’s manual
• Real mouse
• Mouse pad
WARNING: All packing materials such as tape, plastic sheets, wire
ties and tags are not part of this toy and should be discarded
for your child’s safety.
64900 new-2 copy 5/18/05, 16:081
BUILT-IN SPEAKER
VOLUME SWITCH
BUTTON
CATEGORY KEYS
KEYBOARD
REAL MOUSE
CHOICE BUTTONS
INTRODUCTION
Introduction
RM
2
GETTING STARTED
POWER SOURCE
The Genius Notebook operates on 3 “AA” size batteries (UM-
3/LR6) or a VTech® 9V adaptor (sold separately).
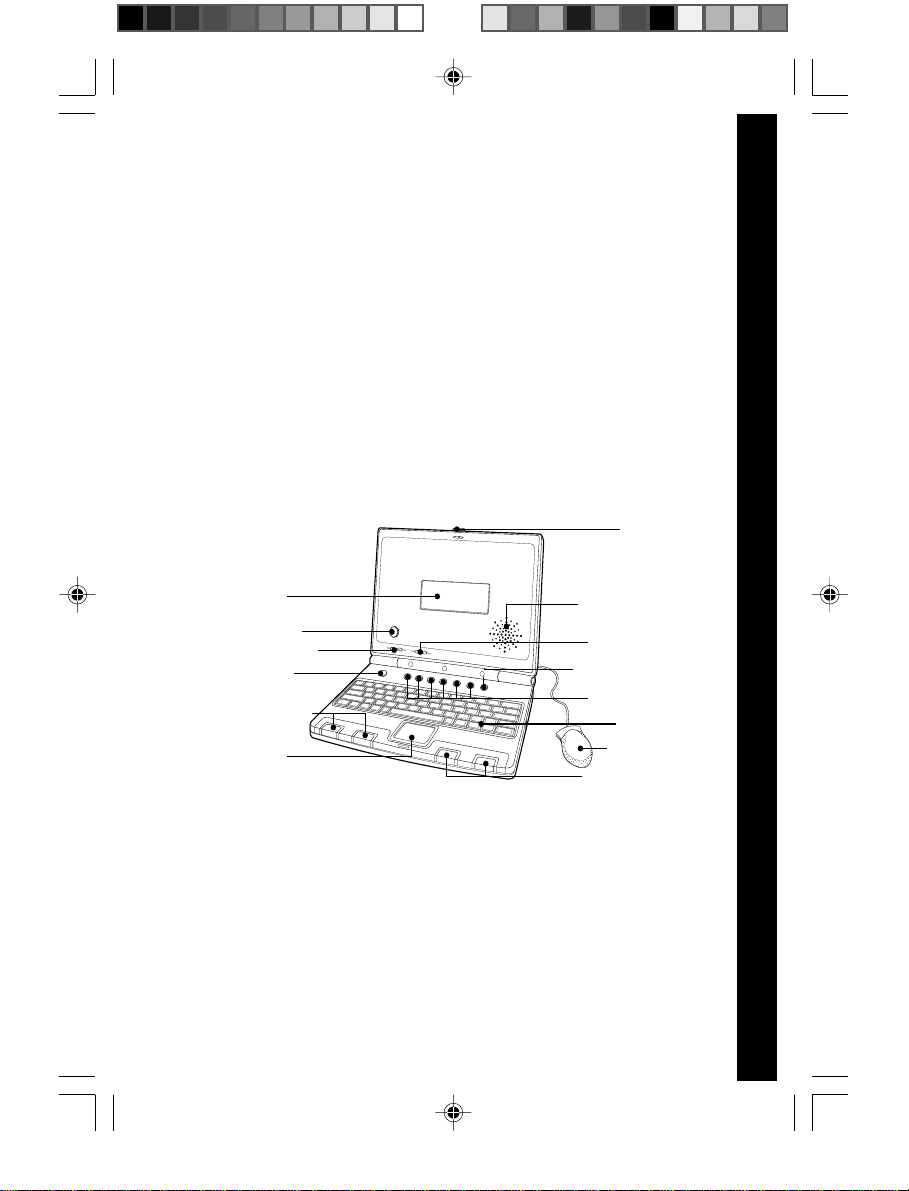
BATTERY INSTALLATION
1. Make sure the unit is turned OFF.
2. Locate the battery covers on the bottom of
the unit and open them.
3. Insert 3 new “AA” batteries (UM-3/LR6)
as illustrated.
RECHARGEABLE BATTERIES ARE NOT
RECOMMENDED.
4. Close the battery covers.
NOTE: For best performance, remove all
factory-installed batteries and use new, alkaline batteries.
STANDARD FOR BATTERY TOYS
• Do not try to recharge non-rechargeable batteries;
• Rechargeable batteries are to be removed from the toy before
being charged;
• Rechargeable batteries are only to be charged under adult
supervision;
• Do not mix different types of batteries; Do not mix new and
used batteries;
• Only use batteries of the recommended or equivalent type;
• Always insert batteries properly matching the plus (+) and minus
(-) signs;
• Batteries that have run out of energy must be removed from
the toy;
• Do not short-circuit the supply terminals;
• Do not use more batteries than recommended;
• Do not mix alkaline, standard(carbon-zinc) or rechargeable
(nickel-cadmium) batteries
• Remove batteries from the toy if it will not be used for an
extended period of time.
GETTING STARTED
LM
3
64900 new-2 copy 5/18/05, 16:082
AC/DC ADAPTOR
Use a VTech® adaptor or any other standard adaptor that complies
with EN61558 AC/DC 9V 300mA center-positive adaptor.
Connecting the adaptor
1. Make sure the unit is OFF.
2. Locate the adaptor jack on the back of the unit.
3. Insert the adaptor plug into the unit’s adaptor jack.
4. Plug the adaptor into a wall outlet.
5. Turn the unit ON.
NOTE: When the toy is not going to be in use for an extended
period of time, unplug the adaptor.
Standard for toys with adaptor
• The toy is not intended for use by children under 3 years old.
• Only use the recommended adaptor with the toy.
• The adaptor is not a toy.
• Never clean a plugged-in toy with liquid.
• Never use more than 1 adaptor.
• Do not leave plugged-in for extended periods of time.
Notice to parents
Regularly examine the adaptor, checking for damage to the cord,
plug, transformer or other parts. Do not use the adaptor if there
is any damage to it.
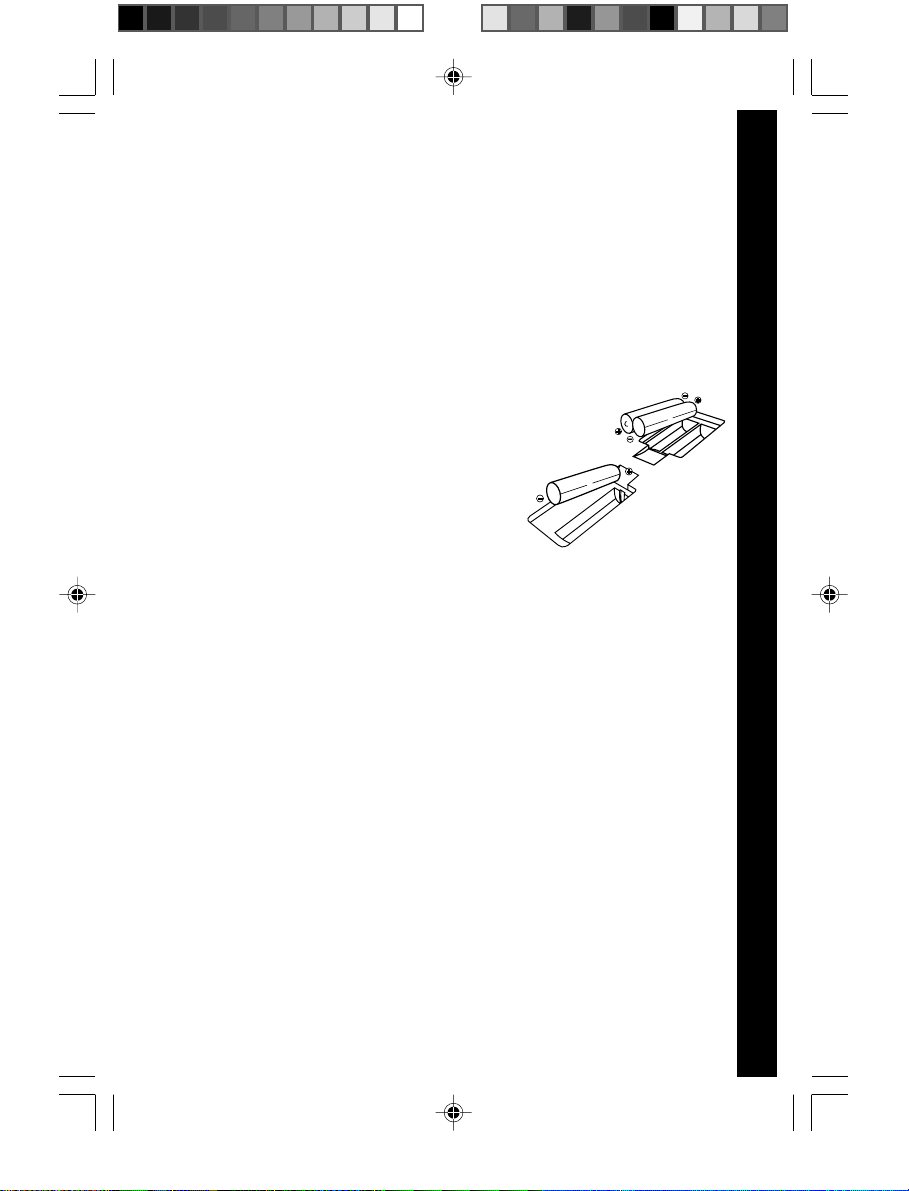
REAL MOUSE
GETTING STARTED
LM
Use the mouse only on a clean,
flat surface, so that the roller
ball is not damaged and the
cursor moves freely across the
screen. Use only a mouse that
is compatible with VTech
products.
CONNECTING THE MOUSE
1. Make sure the unit is OFF.
2. Locate the mouse jack on the back of the unit.
3. Plug the mouse into the mouse jack.
64900 new-2 copy 5/18/05, 16:083
Mouse door
®
Mouse button
RM
4
USING THE MOUSE
1. Move the mouse in the direction you want the cursor to move.
2. Click on the mouse button to make a selection.
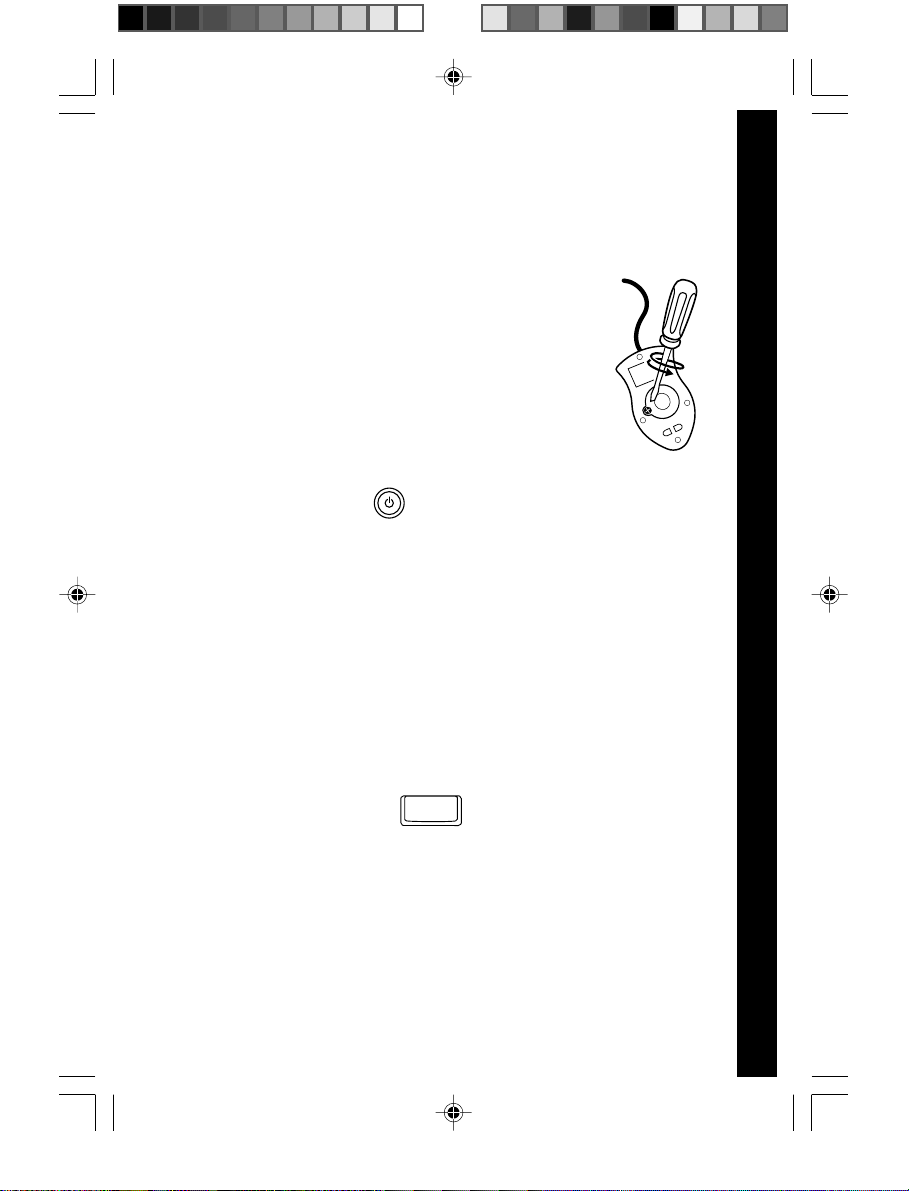
CLEANING THE MOUSE
1. Following the arrows, use a screwdriver to open
the cover on the bottom of the mouse.
2. Take the ball out of the mouse and use a dry
cloth to clean the mouse and the ball.
3. Place the ball back into the mouse, place the
cover back onto the mouse and screw the cover
closed.
PRODUCT FEATURES
ON/OFF BUTTON
Turn your Genius Notebook learning toy on by pressing the On/
Off button. You can turn the unit off by pressing the On/Off button
again.
PLAY MODES
In the Genius Notebook, you can choose from 6 different
categories of play and learning:
1. Language Lab (Spanish)
2. Word Zone
3. Math Mania
4. Game Time
5. Creative Studio
6. My Tools
LEVEL SELECTION
Pressing this button will change the level of the current activity
from level one to level two and then level three. Press it again
to go back to level one. Level one is the default setting when
starting a new activity.
Level
PRODUCT FEATURES
CONTRAST SWITCH
Adjust the image on the screen by sliding the contrast switch to
the right for higher contrast and to the left for lower contrast.
64900 new-2 copy 5/18/05, 16:084
LM
5
VOLUME SWITCH
Adjust the volume by sliding the volume switch to the right for
higher volume and to the left for lower volume.
ONE/TWO PLAYER MODE
Press the key on the keyboard to switch between One
Player and Two Player modes. The activities that can be played
with two players are:
• Word Train
• Talk Show
• Typing Fun
• Mouse’s Lunch
• Subtract It
• Show Time
• Costume Ball
• Hide and Seek
• Animal Shadows
• Carrot Patch
Player
SCREEN SAVER
Pressing the Screen Saver key allows you to choose 1 of 3 screen
savers to start up after a few minutes of inactivity.
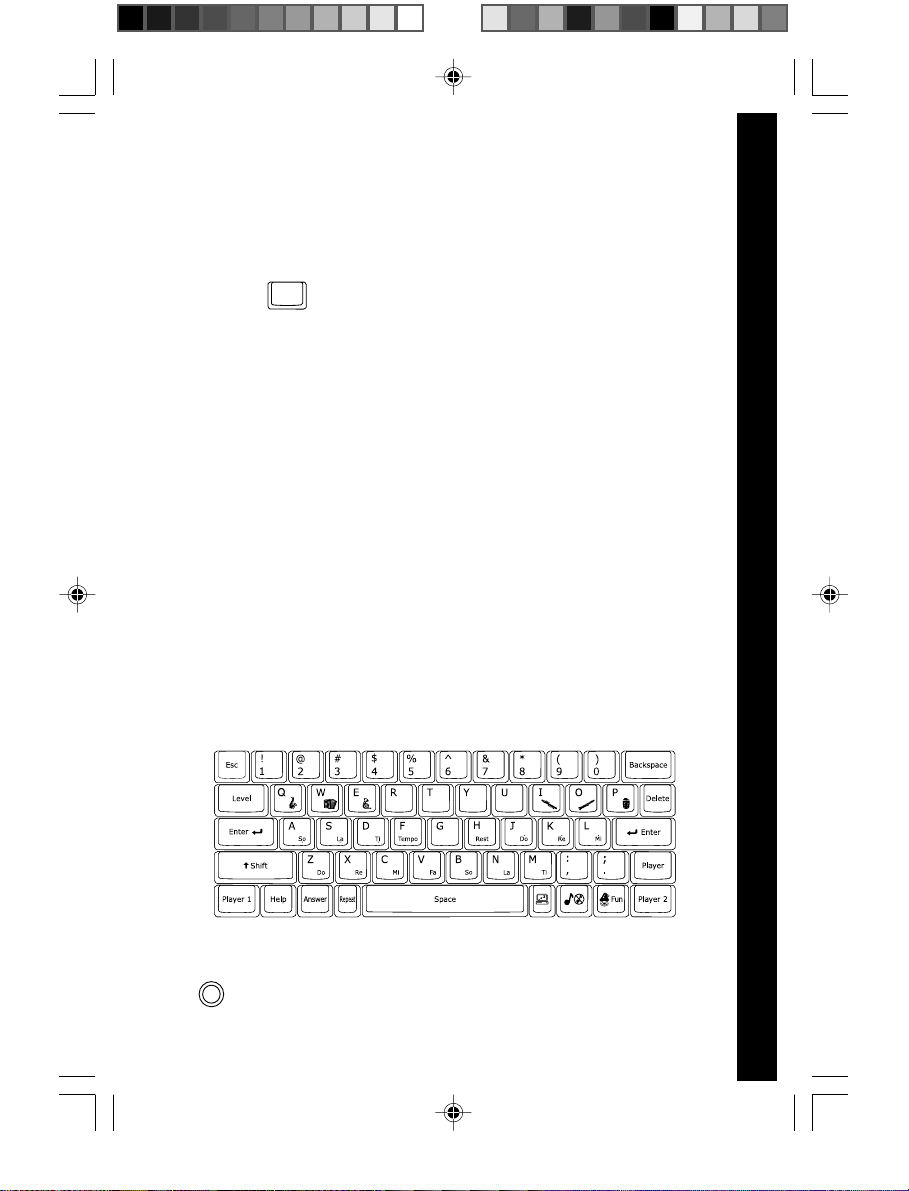
KEYBOARD LAYOUT
Your Genius Notebook has a full typing keyboard that doubles
as a music keyboard.
PRODUCT FEATURES
LM
FUNCTION KEYS:
1. Press this button to see a short preview of your Genius
Demo
64900 new-2 copy 5/18/05, 16:085
Notebook.
RM
6
 Loading...