


 Loading...
Index |
|
Authentication.......................................................................................................... |
3 |
Live Video..................................................................................................................... |
5 |
Visualization Mode........................................................................................................... |
6 |
Selection panel of cameras............................................................................................ |
6 |
Full Screen........................................................................................................................ |
8 |
Camera Sequencer.......................................................................................................... |
9 |
Advanced Options ........................................................................................................... |
9 |
Advanced Options Menu ................................................................................................ |
9 |
PTZ control (mouse) ..................................................................................................... |
10 |
Joystick (USB)................................................................................................................ |
10 |
Installing Keyboard and Joystick ............................................................................ |
10 |
Activating the Keyboard and Joystick .................................................................... |
11 |
Enabling the Keyboard and Joystick....................................................................... |
11 |
Keyboard Commands................................................................................................ |
11 |
Joystick Commands................................................................................................... |
14 |
Capture Snapshots........................................................................................................ |
15 |
Snapshots Directory...................................................................................................... |
15 |
Digital Zoom................................................................................................................... |
15 |
Show/Hide cameras’ Name.......................................................................................... |
15 |
Camera Selection Panel................................................................................................ |
18 |
Viewing Controls............................................................................................................ |
19 |
Video’s timeline bar....................................................................................................... |
20 |
Capture Snapshots........................................................................................................ |
20 |
Digital Zoom................................................................................................................... |
20 |
Show/Hide the cameras’ name ................................................................................... |
20 |
Video Smart Search ...................................................................................................... |
21 |
Smart Search ONLINE .................................................................................................. |
21 |
Smart Search OFFLINE................................................................................................. |
24 |
Visual Video Search....................................................................................................... |
26 |
Electronic Map ....................................................................................................... |
30 |
Using the map................................................................................................................ |
30 |
Editing the map ............................................................................................................. |
31 |
Dragging and dropping cameras ................................................................................ |
31 |
Importing Electronic Map............................................................................................. |
31 |
Erasing Electronic Map ................................................................................................. |
32 |
Exit the system .............................................................................................................. |
32 |
Appendix A – Error Messages.................................................................. |
33 |
Appendix B – Problem Solving................................................................ |
34 |
2 of 36
Authentication
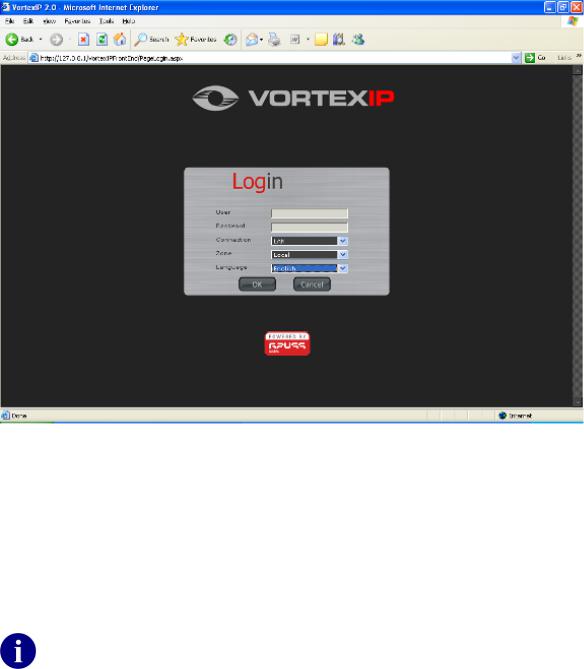
To login to VortexIP, enter the URL or IP address of your server. The following screen will appear:
Enter your user name and password and select the type of connection you have: LAN, Broadband, MODEM or Recording (same speed and compression of the image to the one configured for the recording).
Under the zone option, choose Local or Remote. Local is for accessing it from the internal network. Remote is for accessing it from outside the network.
To change the Language, select the language that you prefer and then click Ok. By default, language is set to Spanish.
If this is the first time that you enter the system, remember that root is the user name by default. By default, there is no password.
3 of 36
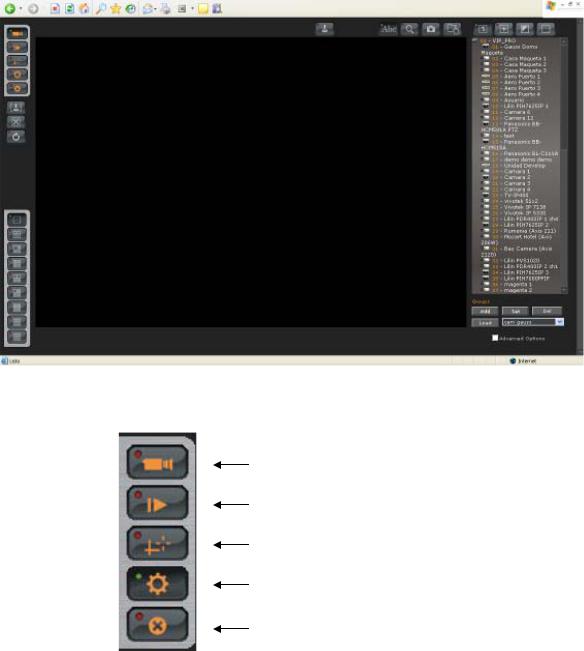
Once you have successfully entered the system, the following screen will appear. The following options will appear on the upper left hand side of the screen: Live Video, Recorded Video, Maps, Configuration and Close Session.
At any time, you will be able to use the side menu to access the desired function:
Live Video
Recorded Video
Maps
Configuration
Close Session
4 of 36
Live Video
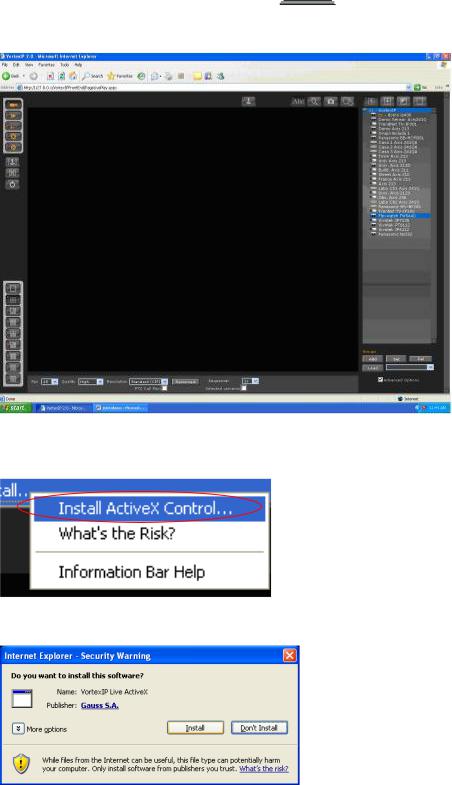
To access cameras’ live video, click on this icon .
.
If you have not previously logged in to the system from the PC or laptop, you will have to install the ActiveX component for live video. Click Install ActiveX Control.
The following dialog box appears. Click Install.
Once the installation is complete, you will be able to select the visualization mode for the cameras that you want to view. You may choose from the following:
5 of 36
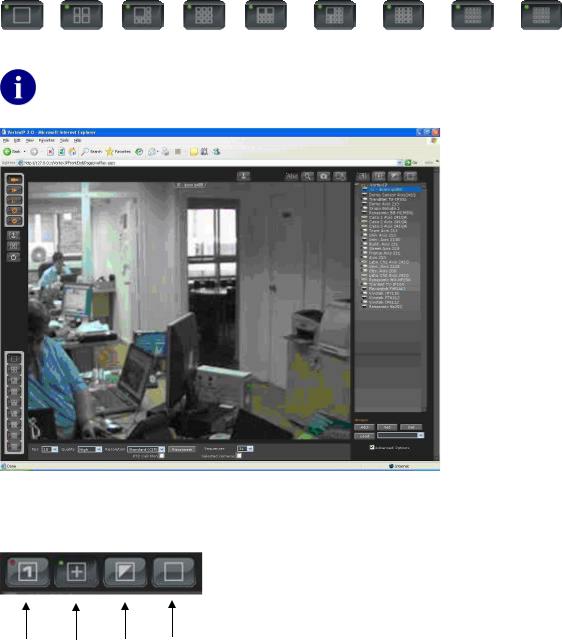
Visualization Mode
1 |
4 |
6 |
9 |
10 |
13 |
16 |
20 |
25 |
Camera |
cameras |
cameras |
cameras |
cameras |
cameras |
cameras |
cameras |
cameras |
Every time that you choose a visualization mode and/or camera, the system will automatically save these users’ preferences.
Selection panel of cameras
Single |
Multiple |
Invert |
Deselect |
Selection |
Selection |
NVR |
All |
|
|
Selection |
|
6 of 36

On the list of cameras, the cameras that are being viewed are highlighted in blue.
If you want to view more than one camera, first select the multiple selection mode. Then click on the cameras that you want to view.
If you want to remove a camera, click on the camera you want to remove.
If you want to select all the cameras from a NVR, then, first click Deselect All and then click Invert Selection .
.
An example of visualization mode is shown:
Visualization Mode x16
7 of 36
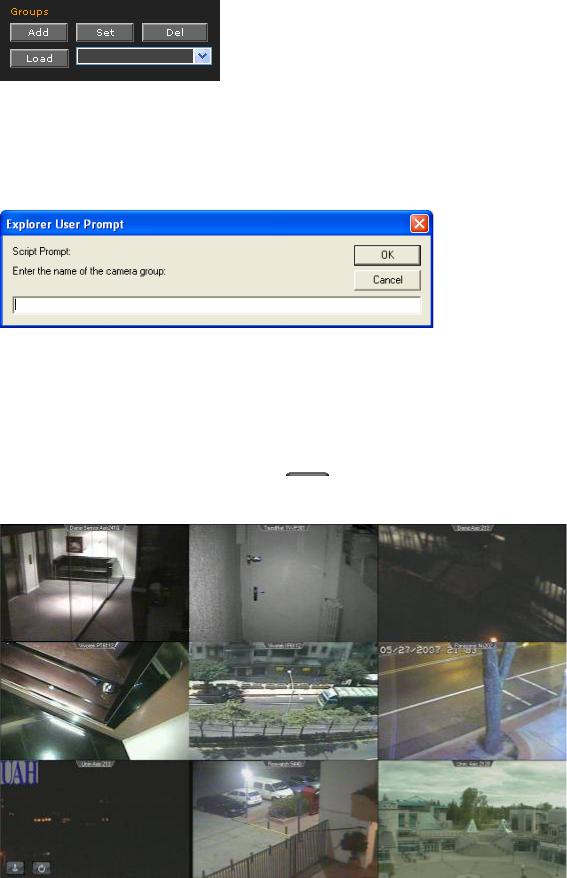
Camera Groups
The application allows the creation of groups of cameras in order to expedite surveillance.
First select the cameras that will belong to the group, and then click Load. The following window will appear:
Enter a name for the group and then click OK.
Full Screen
If you want to view a group of cameras full screen, first choose the visualization mode and the group that you want to see. Then click this icon .
.
8 of 36
To exit the full screen mode press ESC.
In full screen mode, you can activate camera sequencer  and the PTZ control
 .
.
If you do not want to see frames or edge of the browser, add the IP address or host name as a trusted site in Internet Explorer.
Camera Sequencer
If you want to enable camera sequencer, click this icon  . The cameras will be sequenced every 5 seconds.
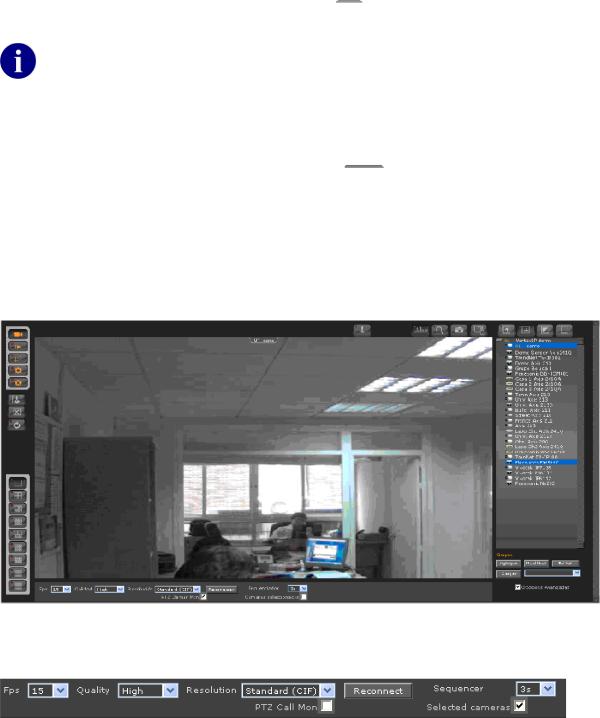
Advanced Options
Check “Advanced Options” to view additional options.
Advanced Options Menu
If you check Advanced Options, the following options will appear:
•FPS – Frames per second
•Quality
•Resolution
•Reconnect
•Sequencer – select the sequencer interval
•PTZ Call Mon – allows the use of a USB joystick and the keyboard.
•Selected cameras -- If checked, only these cameras will be rotated.
9 of 36
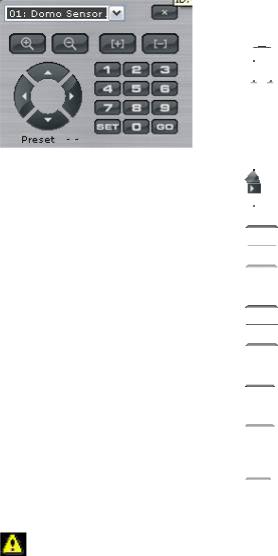
PTZ control (mouse)
To manage IP cameras that support PTZ control, click this icon . The following window will appear:
Select the camera that you wish to control from the dropdown list.
Commands of the PTZ control
 Up
Up
 Down
Down
 Left
Left
 Right
Right
 Zoom in
 Zoom out
 Near Focal Point.
 Away from Focal Point.
 Set the current position as preset.
First, you have to press the number for the preset.
 Call a preset. First, you have to press the number for the preset.
 Close the PTZ control panel.
If you do not have any Domo (Pan and Tilt) type camera  selected, the PTZ control will not appear. To assign a camera as a Domo type, go to the configuration guide.
Joystick (USB)
Installing Keyboard and Joystick
VortexIP supports the use of a USB Joystick. It complementary combines with a numeric keyboard to obtain full functionality of a joystick
Get a USB Joystick and a numeric USB Keyboard and connect them to your computer:
10 of 36
Activating the Keyboard and Joystick
Access the VortexIP. When you access the live video page, there are two modes for the use of the Joystick:
•Selection Mode
•Monitor Call Mode
Selection Mode
The Keyboard and Joystick only act over the list of selected cameras on the camera tree. Whenever one camera is selected with the keyboard, the view will not be modified.
This is the default operation mode.
Monitor Call Mode
The Keyboard and Joystick act over the whole list of cameras of the camera tree. Whenever one camera is selected with the keyboard, the camera is brought to the first position on the grid.
If you wish to enable this mode, click Live Video, check Advanced Options, then check PTZ Call Mon.
Enabling the Keyboard and Joystick
To enable the operation of the keyboard and joystick click this icon  . Once it has been enable the PTZ console will appear:
Keyboard Commands
The numeric keyboard has been redefined to be able to operate as a PTZ console.
11 of 36
Loading...