


Quick Installation Guide
TE100-S16
TE100-S24

Table of Contents
English ...................................................................................................... |
1 |
|
1. |
Before You Start ................................................................................. |
1 |
2. |
Hardware Installation ......................................................................... |
2 |
Technical Specifications ............................................................................. |
4 |
|
Troubleshooting .......................................................................................... |
6 |
|
Version 08.08.2006

1. Before You Start
Package Content
TE100-S16/TE100-S24
Quick Installation Guide
Power Cord
Rack Mount Kit
Installation Requirements
Computer with Network adapter installed
An environment that is fairly cool and dry
An environment that is free from strong electromagnetic field generators (such as motors), vibration, dust and direct exposure to sunlight
Leave at least 10 cm of space at the front and rear of the Switch for ventilation
EIA Standard, 19 inch rack or sturdy, level surface that can support the weight of the Switch
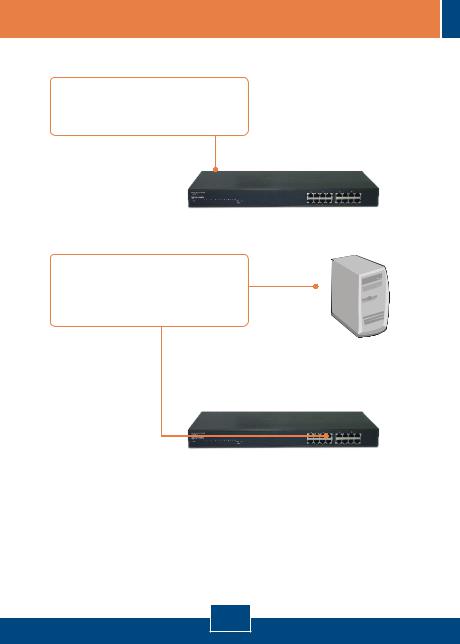
Application
16/24 Ports 10/100Mbps Fast Ethernet Switch
(TE100-S16 or TE100-S24)
|
|
|
Internet |
Laptop with PC Card |
Workstations with PCI Adapter |
Server with PCI Adapter |
Cable/DSL |
(TE100-PCBUSR) |
(TE100-PCIWN) |
(TE100-PCIWA) |
Modem Router |
1
10/100Mbps Multi-Port Print Server (TE100-P21)
Printers
English
2.Hardware Installation
1.Connect the Power Cord to the TE100-S16/TE100-S24 and then to a power outlet.
2.Connect a CAT-5 RJ-45 network cable from the computer to an available Ethernet port on the TE100-S16/TE100-S24
2
English
 Loading...