

Samsung Yepp YP-700, Yepp YP-700H, Yepp YP-700S User Manual
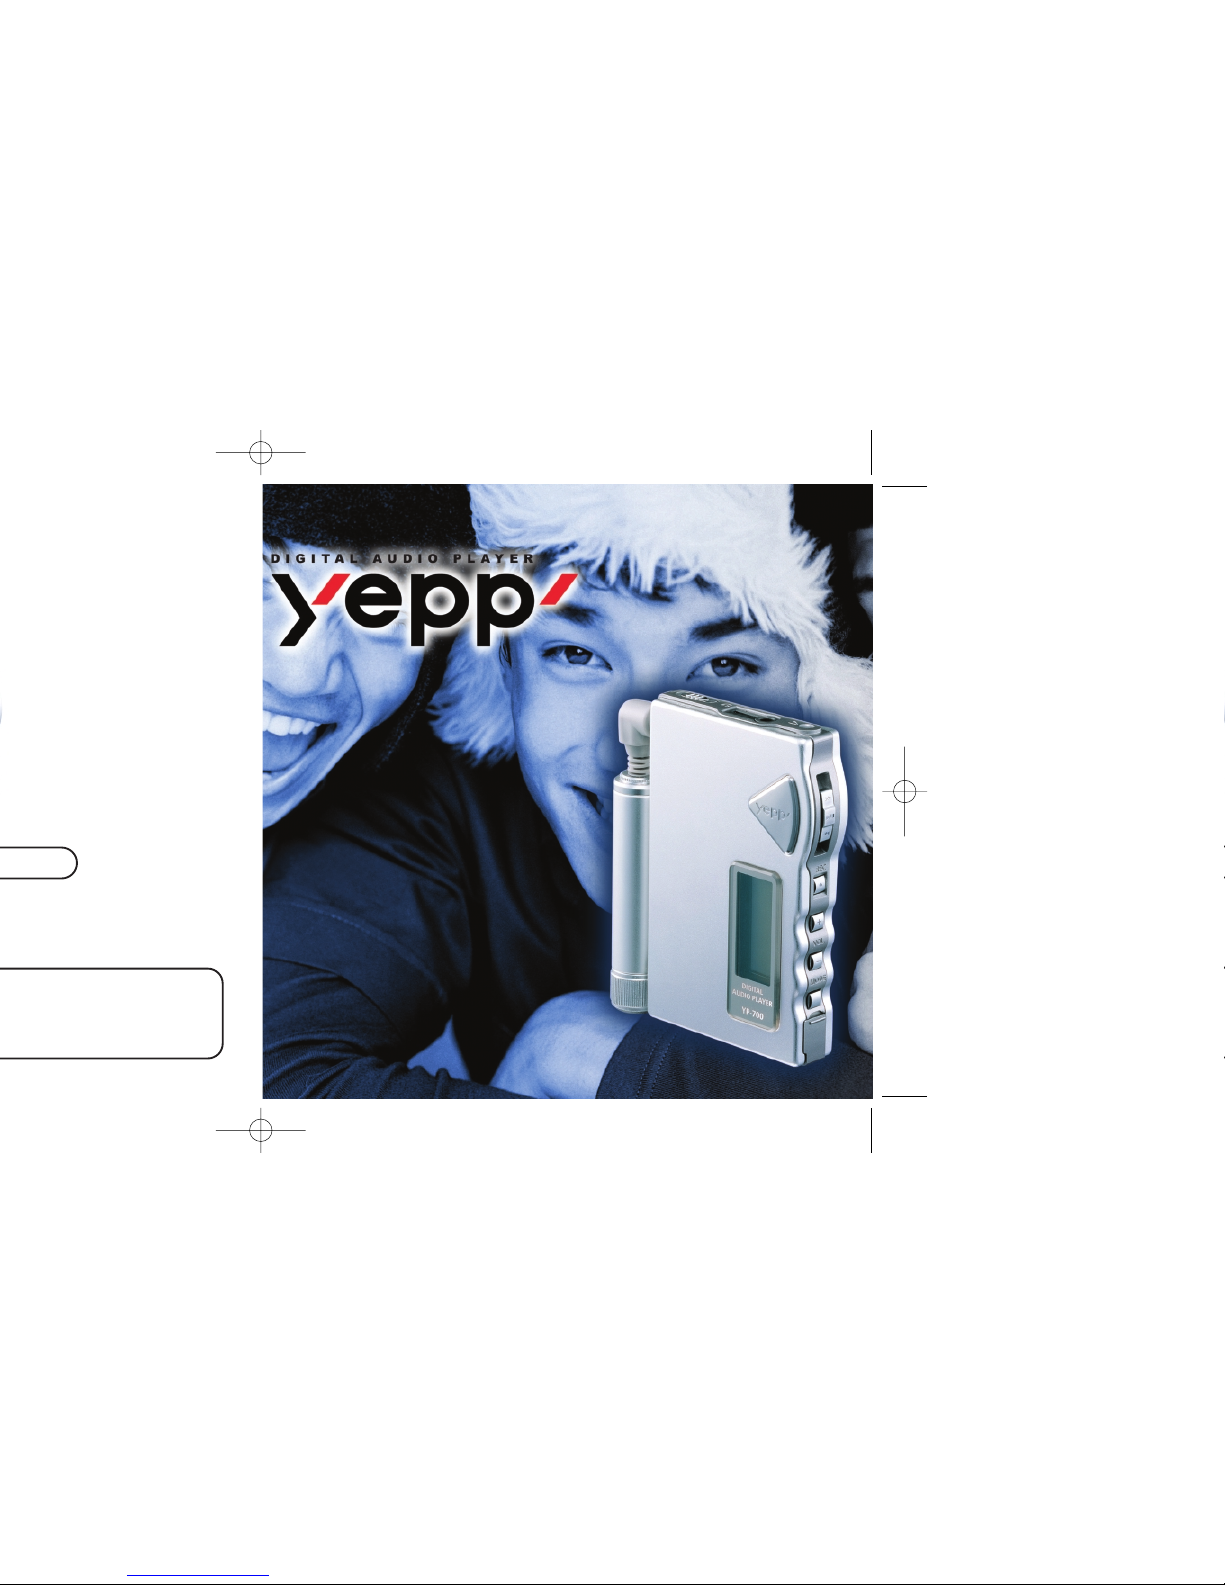
YP-700
YP-700
2X MP3
Memory Expansion Slot
MP3 & WMA Playback
FM Remote Controller(Option)
Voice Recording Function
High Speed USB
D.I.Y. Support
Upgradeable
32
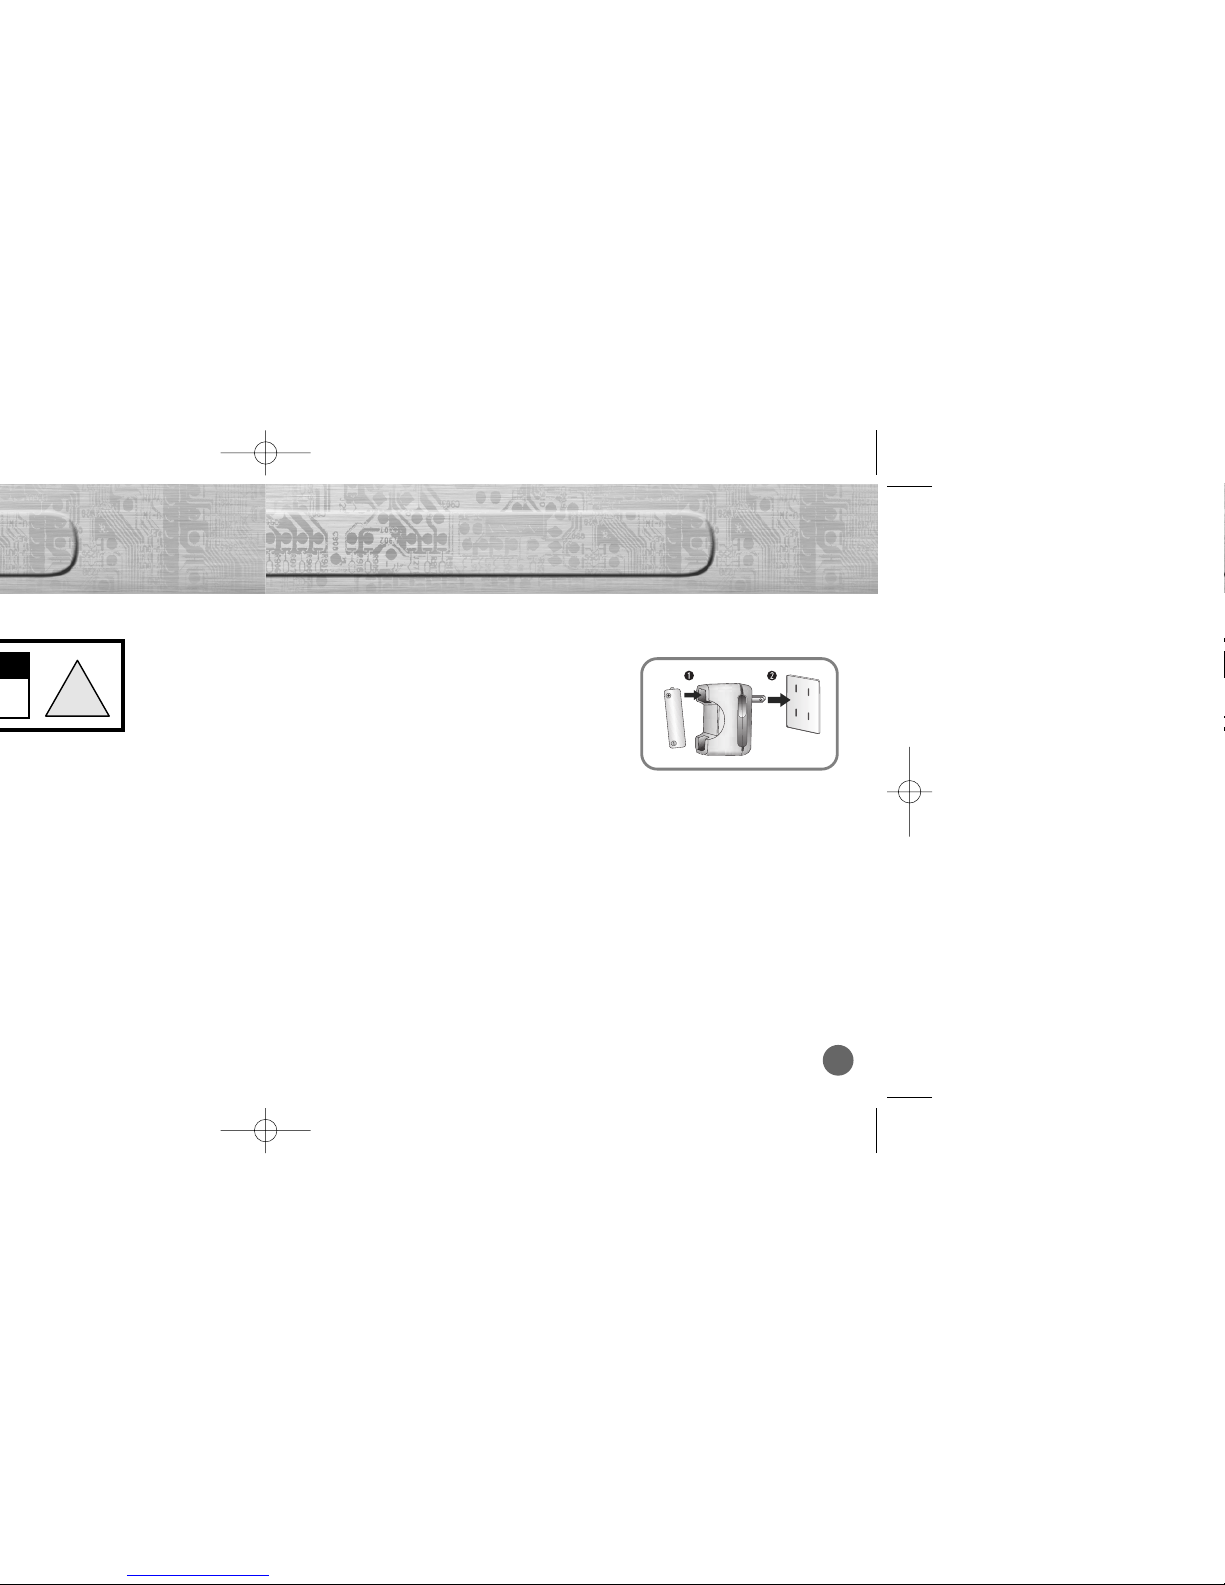
- A charger is provided with yepp.
- Use only approved NI-MH rechargeable battery and charger.
Plug the charger into a wall outlet.
❈ The charger can be operated from an AC
120V/60Hz source
❈ Red light indicates that battery is being charged.
❈ Green light indicates that battery is fully charged after charging about 4 hours.
❈ When light color changes to green, remove the rechargeable battery from the
charger within one hour.
WWWWaaaarrrrnnnniiiinnnngggg ::::
Never use any charger or battery that is damaged in any way.
After charging the rechargeable battery, disconnect charger from power source.
Do not overload the outlet or extension cords.
The battery can be charged and discharged hundreds of times, but it will gradually wear out.
When the operation time is noticeably shorter than normal, it is time to buy a new battery.
Don’t charge the rechargeable battery over 24 hours.
Overcharging or overdischarging will shorten the life of the rechargeable battery.
To use the rechargeable battery for long time, repeat full charging and full discharging.
When using the rechargeable battery for the first time or when left unused for a long time,
charge it fully before using it again.
Do not short-circuit the battery. Accidental short circuiting can occur when a metallic object
(coin, clip or pen) causes a direct connection between the + and - terminals of the battery.
Short-circuiting the terminals may damage the battery.
2
!
Insert the rechargeable battery into the battery slot.
❈ Make sure that you put the polarity of the battery
in the right direction.
1
5
Setting Option Function (PC)................................................................................................49
Copying Files to yepp (PC) ..................................................................................................50
Copying Files to yepp (Mac) ................................................................................................52
Deleting Files (PC) ..............................................................................................................54
Deleting Files (Mac)..............................................................................................................55
Formatting (PC) ....................................................................................................................56
Formatting (Mac) ..................................................................................................................57
Uploading Files (PC) ............................................................................................................58
Uploading Files (Mac) ..........................................................................................................59
Make MP3 files from an Audio CD (PC) ..............................................................................60
Rearranging Files (PC) ........................................................................................................62
Using Additional Functions through yepp Explorer ..............................................................63
Software Usage
Description of Buttons (yepp Player) ....................................................................................72
MENU Table ........................................................................................................................74
Appendix
Precautions ..........................................................................................................................76
Troubleshooting....................................................................................................................77
Security ..............................................................................................................................78
Specifications........................................................................................................................79
Safety Information ................................................................................................................80
Warranty ..............................................................................................................................82
Customer Support
Connecting yepp to PC ........................................................................................................38
Manual Installation of USB Driver ........................................................................................42
Connecting yepp to Mac ......................................................................................................46
MP3 & WMA
MP3 & WMA
Playback
Playback
MP3 is an MPEG1 Layer3 audio format.
WMA is a Microsoft Windows Media audio format.
FM Remote Controller
FM Remote Controller(Option, refer to P.22)
Capable of storing 5 stations
D.I.Y
D.I.Y..
● Setting up EQ (refer to P.28) ● Adjustable Scroll speed(refer to P.36)
● LOGO Embellishment (refer to P.35) ● Adjustable Contrast (refer to P.36)
● Changeable LCD Fonts (refer to P.64)

9
Components
YR-20FS
FM
Player
Earphone
Remote Controller
Rechargeable Battery
Auxiliary (1.2V NI-MH)
User’s Guide Carrying case
(Option)
● SmartMedia Card(3.3V) and Disposal Battery(AAA type) are not included.
● Design of accessories is subject to change for improvement without notice.
Auxiliary Battery
Pack
USB Cable Installation
CD
Charger
Model
Built-in memory
YP-700i
192MB
YP-700H
128MB
YP-700S
64MB

USB Cable
Connection Port
Battery Cover
Memory Expansion Slot
Microphone
Play/Stop/Pause/
Forward/Backward
Button
Voice Recording
Button
Volume Buttons
MENU/Mode/Loop
Repeating Button
Model without FM
(YP-700HBB)
Display
YR-20S
Hold Switch
Earphone Jack
Button
Dial
Button
Button
Display
Equalizer/
Repeating
Button
Loop Repeating
Button
YR-20FS
FM
Remote Controller Connection
1
Insert the remote controller plug
into the remote controller jack on the
top of the yepp player.
2
Insert the earphone plug into
the earphone jack on the remote
controller
Remote Controller
Player
1514
Open the battery pack cover in the
direction of arrow.
Insert the battery correctly and close
the battery pack cover.
1
2
Plug the battery pack into the
extension battery connection port.
3
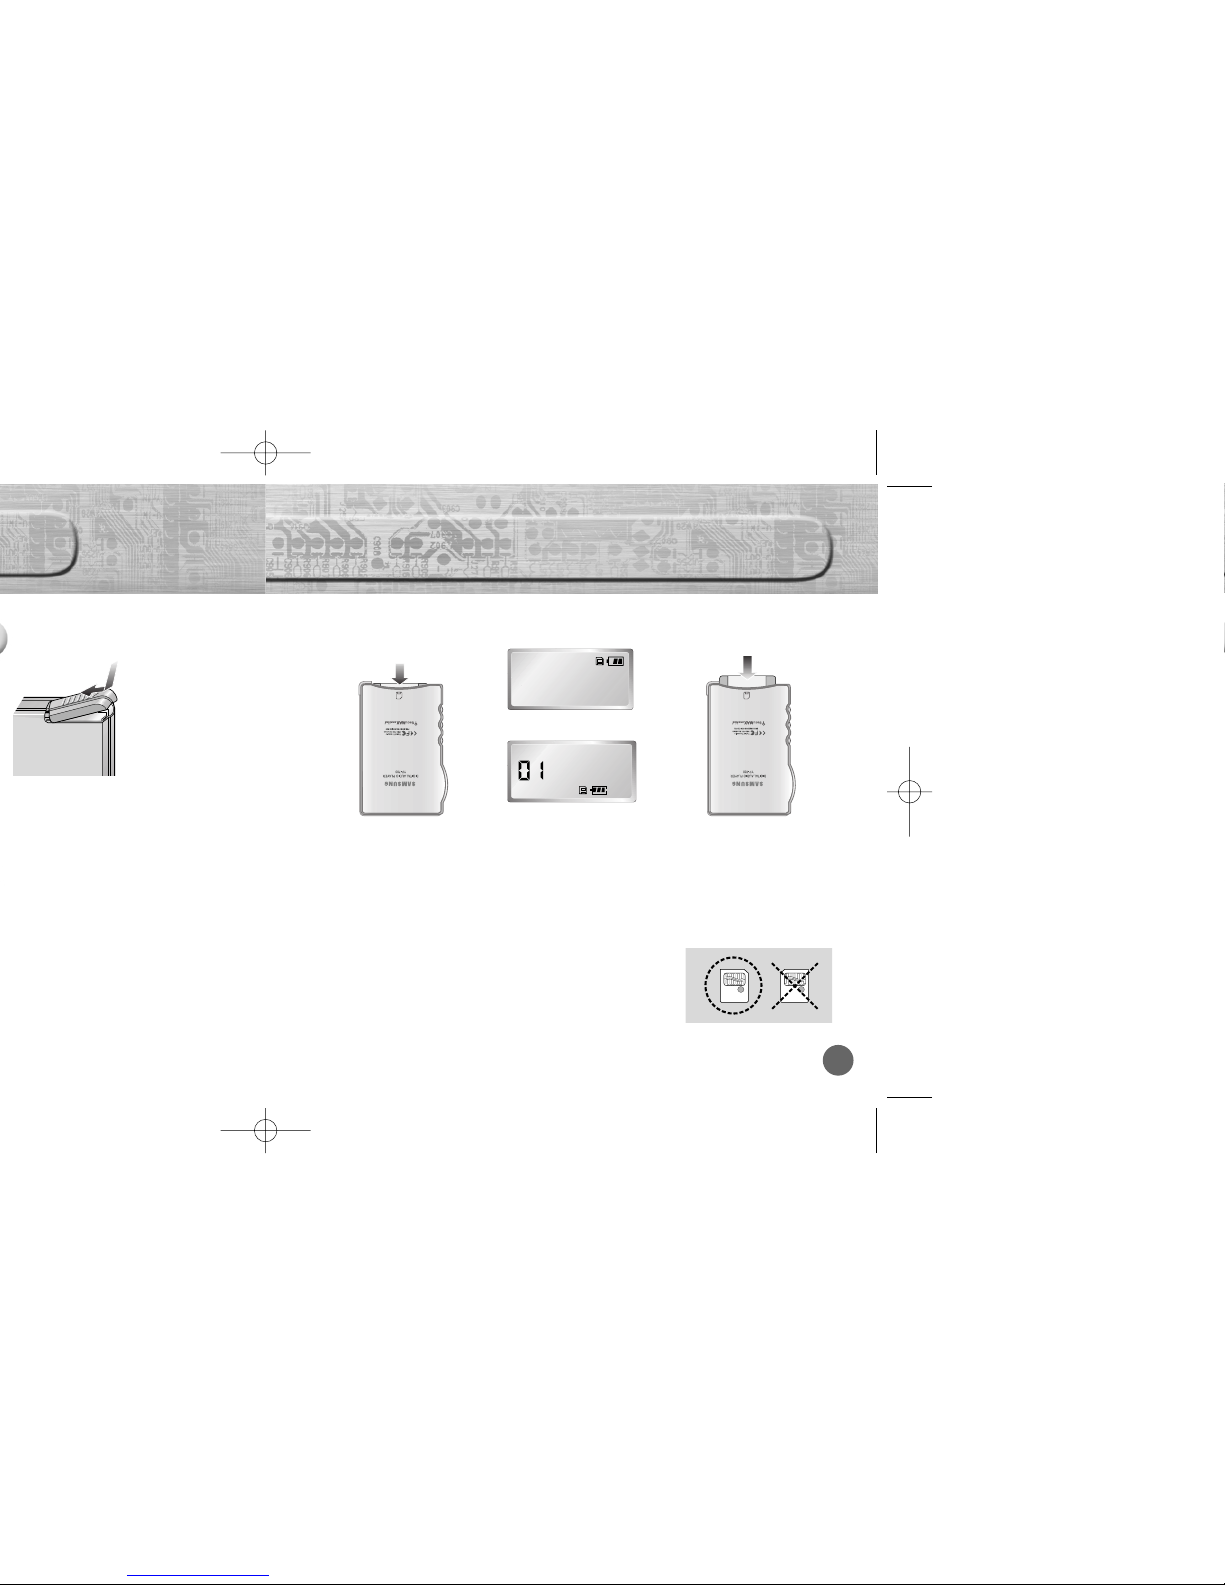
Using the SmartMedia Card
Your yepp player allows you to expand memory capacity by adding a SmartMedia card.
Insert the SmartMedia
card into the memory
expansion slot on your
yepp player in the
direction of the arrow.
Inserting the
SmartMedia card
Ejecting the
SmartMedia card
Confirm the SmartMedia
card mark is displayed on
the display.
Push the SmartMedia card again
in the direction of the arrow to
take out the SmartMedia card
from the slot.
NNNNooootttteeee ::::
Do not insert/eject the SmartMedia card during playback of music/voice files.
Make sure to turn off the player before inserting/ejecting the SmartMedia card.
Use 3.3V SmartMedia cards only.
SmartMedia cards of 8MB~128MB can be used.
Do not touch the metal face of the SmartMedia card.
◗
◗
12 3
3.3V 5V
Player
Remote Controller

17
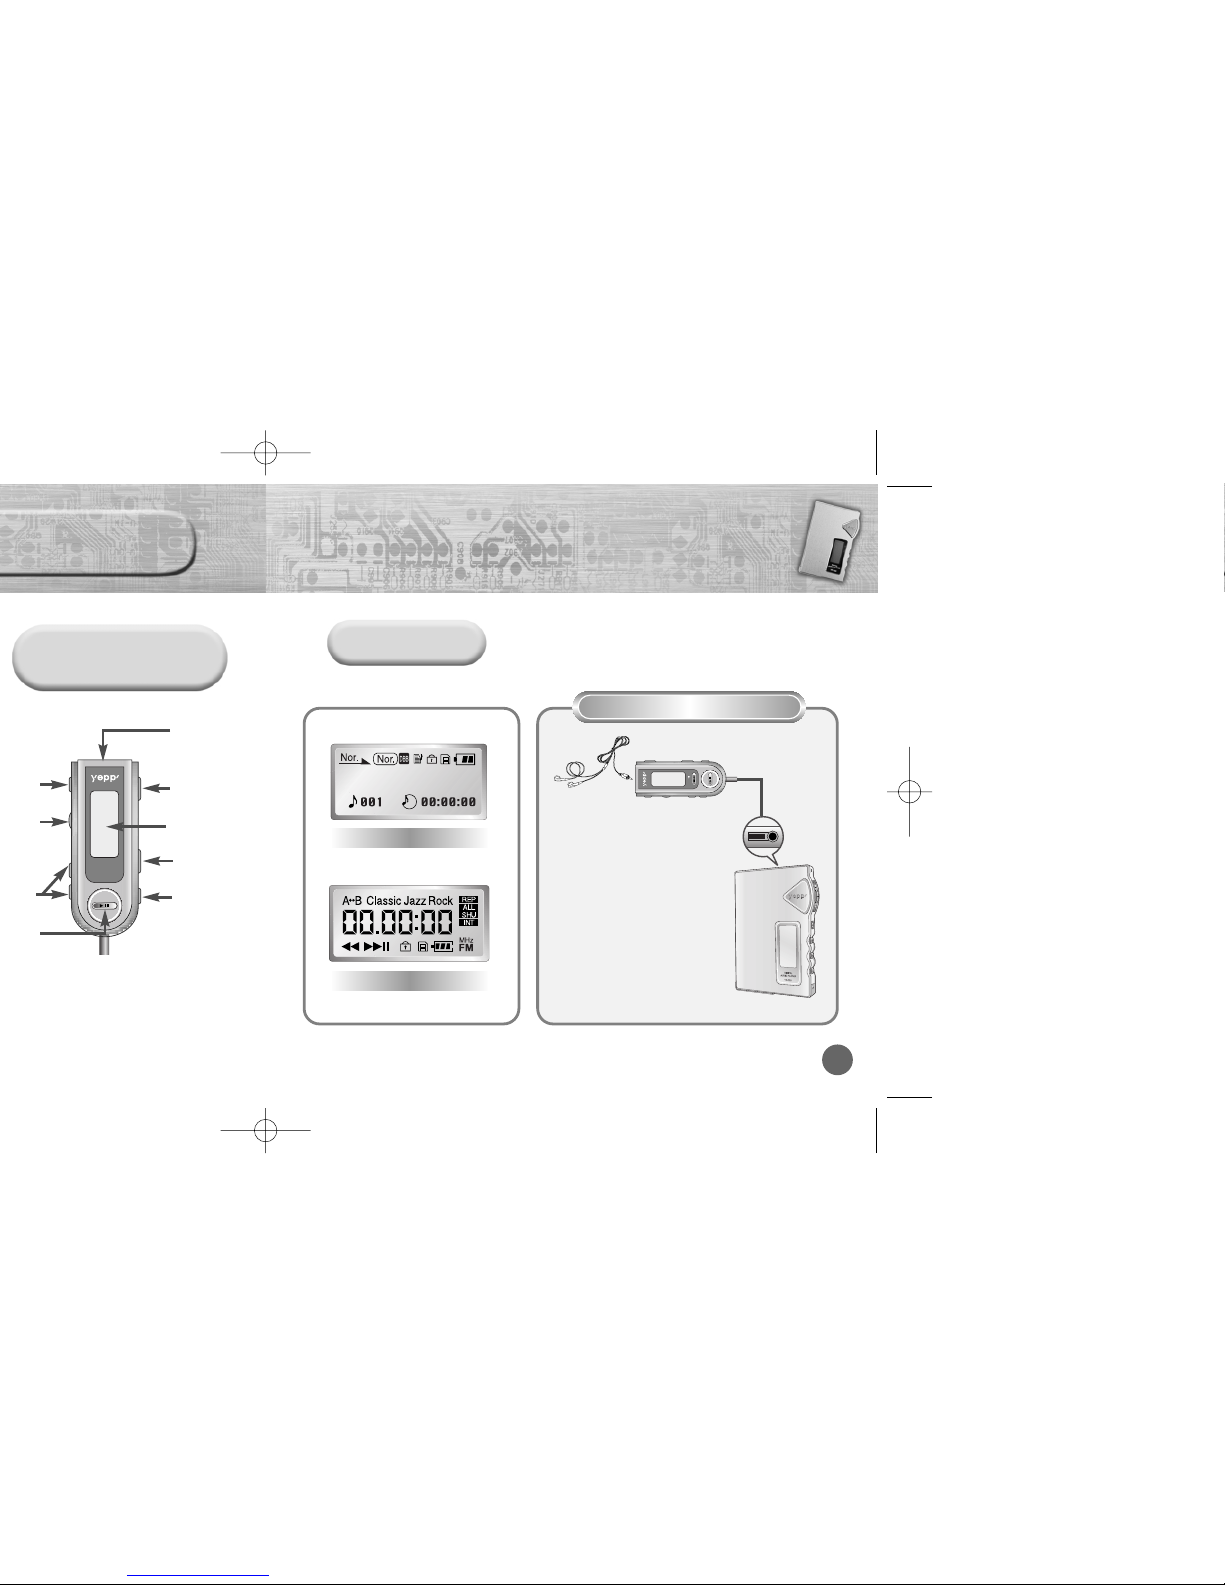
Setting up Volume/Hold Functions
Stopping Music
(Power Off)
Adjusting the Volume
HOLD Function
HOLD function on the player
Press the button on the side of the yepp
player to adjust the volume while playing.
NNNNooootttteeee ::::
Volume ranges from 00 to 30.
Press briefly to adjust step by step.
Press and hold to adjust continuously.
Under Hold mode, no buttons work.
Slide the switch on the player in
the direction of the arrow.
❈ Then no buttons on the yepp player will work.
Only the remote controller buttons will work.
❈ When a button is pressed, “Hold” message
will appear on the display.
❈ The mark will appear on the display.
HOLD function on the remote controller
Slide the switch on the remote
controller in the direction of the arrow.
❈ The mark will appear on the display.
No buttons on the remote controller will work.
(Volume control dial will work.)
Only the yepp player buttons will work.
◗◗
◗
Player
Remote Controller
19
Recording Voice
FM Mode(Option)
To Record Voice
➡
FM Mode button is
available on the remote
controller only.
Press the REC button(player) in STOP mode.
Use the button to select built-in
memory/SmartMedia card and start recording
using the REC or button
1
Press the button to pause while recording.
Press the button again to resume recording.
2
Press the REC button to stop recording.
A new voice file is created.
The Voice messages are recorded on the built-in memory
or SmartMedia card in order of VI001, VI002.....
3
NNNNooootttteeee ::::
When the recording function does not work well, format the relevant memory first before starting recording again.
Voice recording function button is available on the player only.
Do not take out or insert the SmartMedia card while voice recording is under way.
When memory is full, recording stops automatically.
(The available time is displayed on the right of display(player) when recording begins.)
◗
◗
◗
◗
Button on the remote controller
Player
Remote Controller
Œ
´
ˇ
21
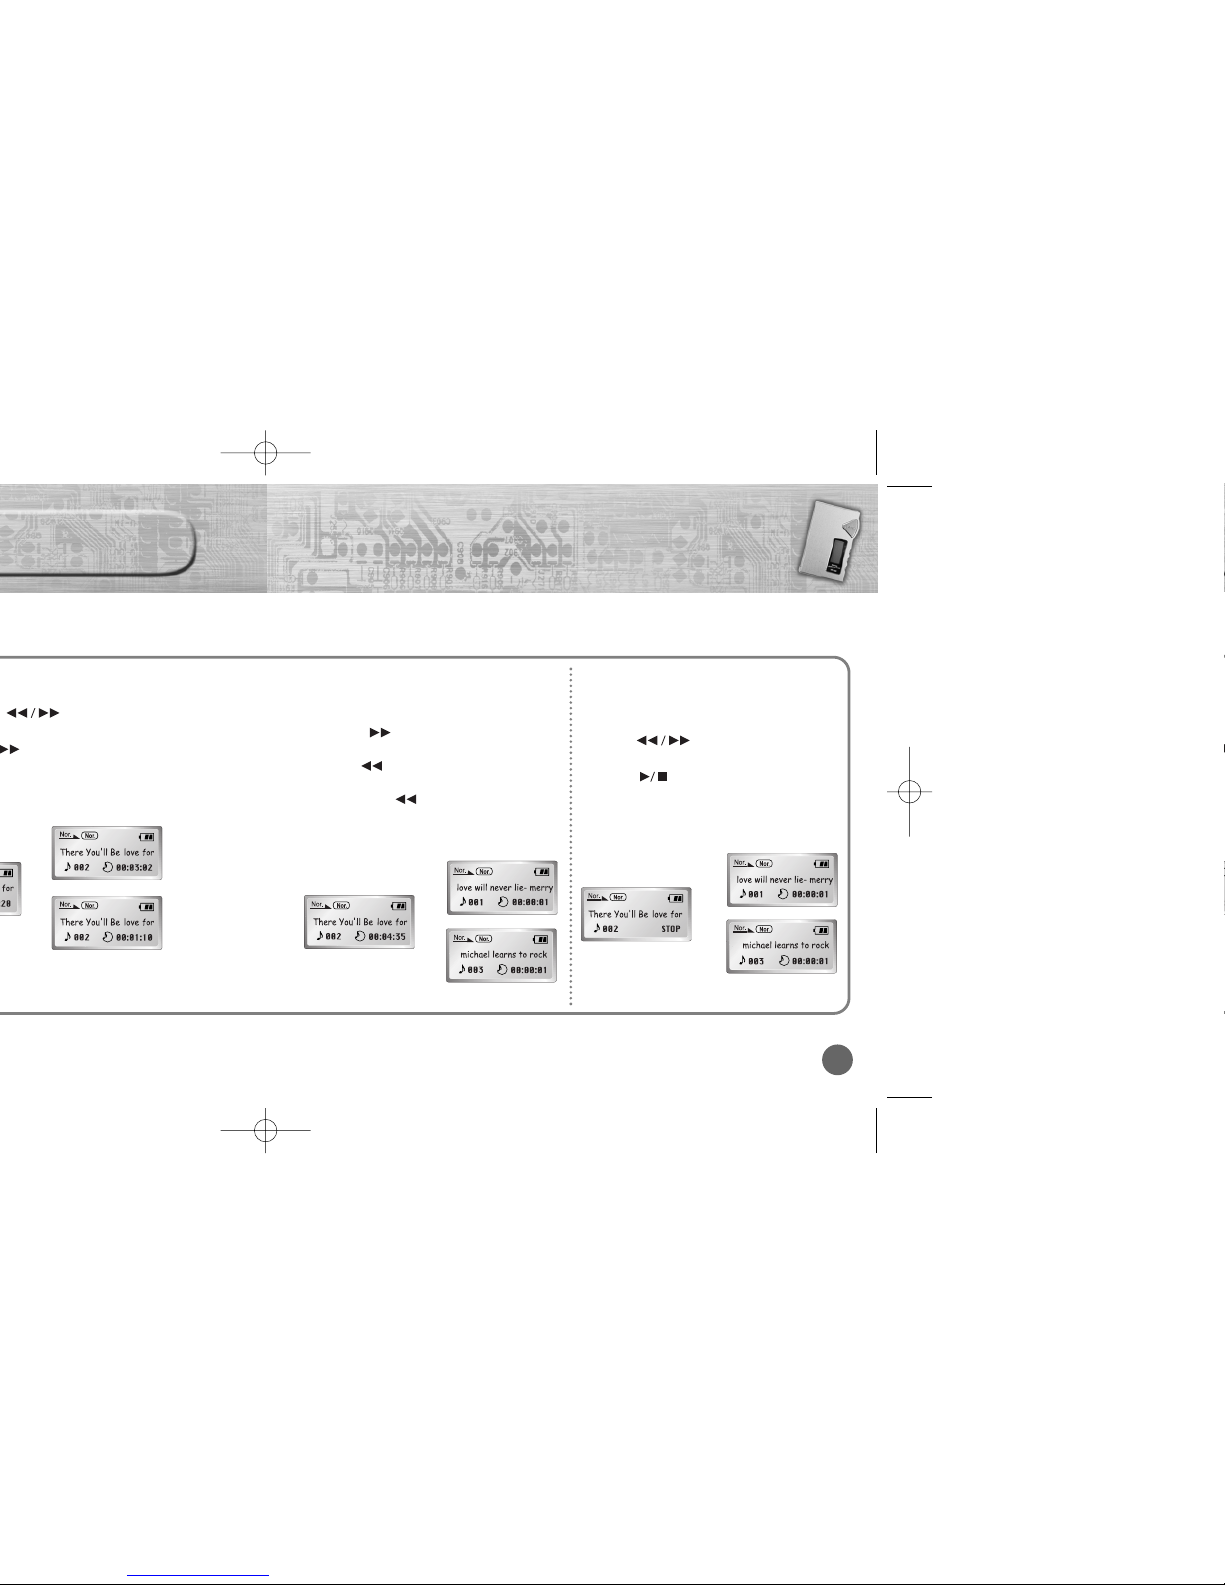
Searching for Music/Voice
Files in PLAY Mode.
Press the button briefly while playing
to advance to the next track.
Press the button briefly within 5 seconds
from the start of the track to play the previous
track. Press the button briefly after 5
seconds from the start of the track to play the
beginning of the current track.
Searching for Music/Voice Files
in STOP Mode.
Press the button in STOP mode to
skip to the previous or next track.
Press the button to play.
◗
◗
◗
23
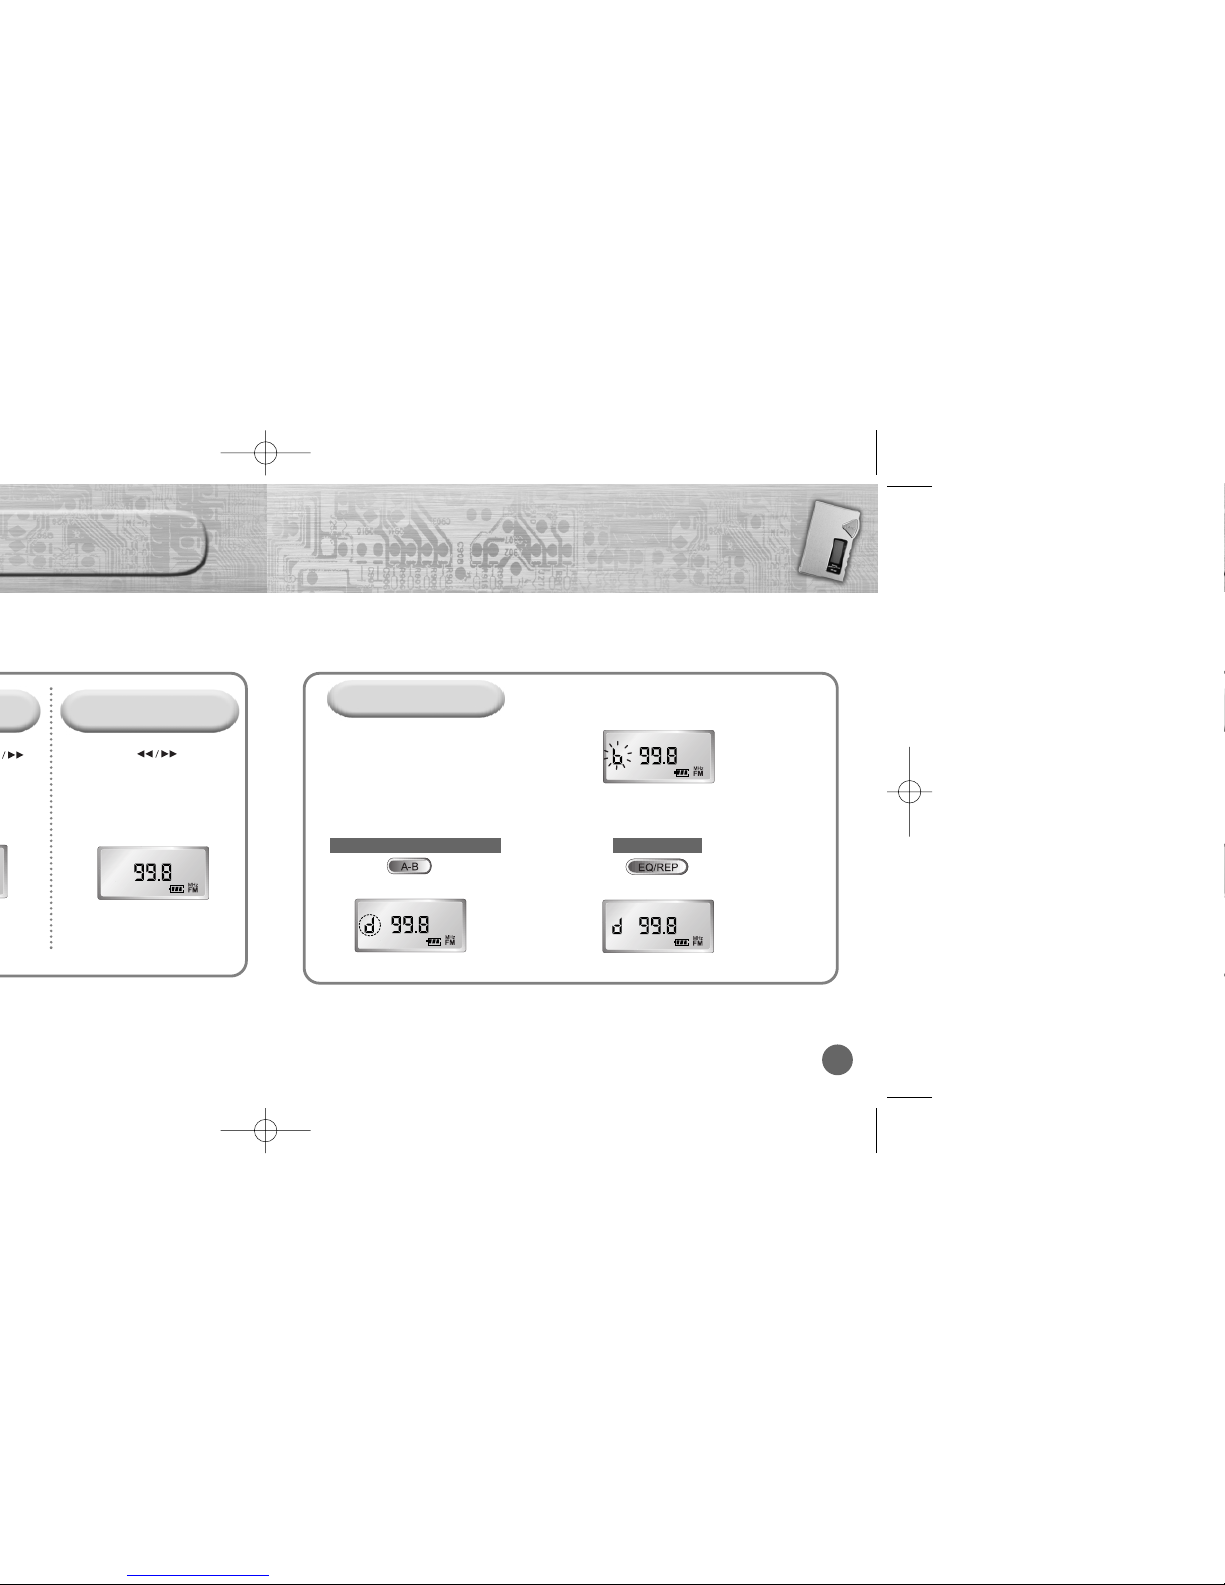
To Save a Radio Station
Manual Searching for
FM Frequency
Press the button
briefly on the remote
controller.
Manually set the frequency
that you want.
NNNNooootttteeee ::::
Up to five stations(a, b, c, d, and e) can be saved.
You can replace one station with another at each saved location, but it is not possible to delete a saved station.
Press the A-B button to access the saved location directly.
Press the EQ/REP button on the
remote controller for the radio station
frequency that you want to store.
1
Press the A-B button to select
the location to save.
Select one of the following locations: a, b, c, d, or e
The radio station frequency is saved in the chosen location
2
Press the EQ/REP button to save a
Radio Station.
3
Select the location to save a Radio Station
Save a Radio Station
◗
◗
▼▼
Remote Controller
25
Setting up MENU
Ending Point
Press the
MODE
button briefly
(yepp player)/ the A-B button
(Remote controller) at the end of
the loop.
appears in the display.
The loop is played repeatedly.
Play mode : To select track repeating mode.
Equalizer : To use equalizer function.
Play list : To select files to listen to.
File : To delete or format music/voice files.
Setting : To change the basic setup options of the display.
Track : To search for the file quickly.
Exit menu : To exit MENU.
Press and hold the MODE button on the yepp player to switch to MENU mode.
Use the button to select and the button to move.
Press the MODE button one more time to cancel the MENU mode.
NNNNooootttteeee ::
::
In MENU, Go up can be used to exit the current setting.
In MENU mode, no input for 10 seconds will cancel the MENU mode.
3. Play list
2. Equalizer
1. Play mode 1. Play mode
4. File
2. Equalizer
2. Equalizer
3. Play list
4. File
5. Setting
5. Setting
6. Track
6. Track
7. Exit menu
◗
◗
◗
◗
◗
◗
2726
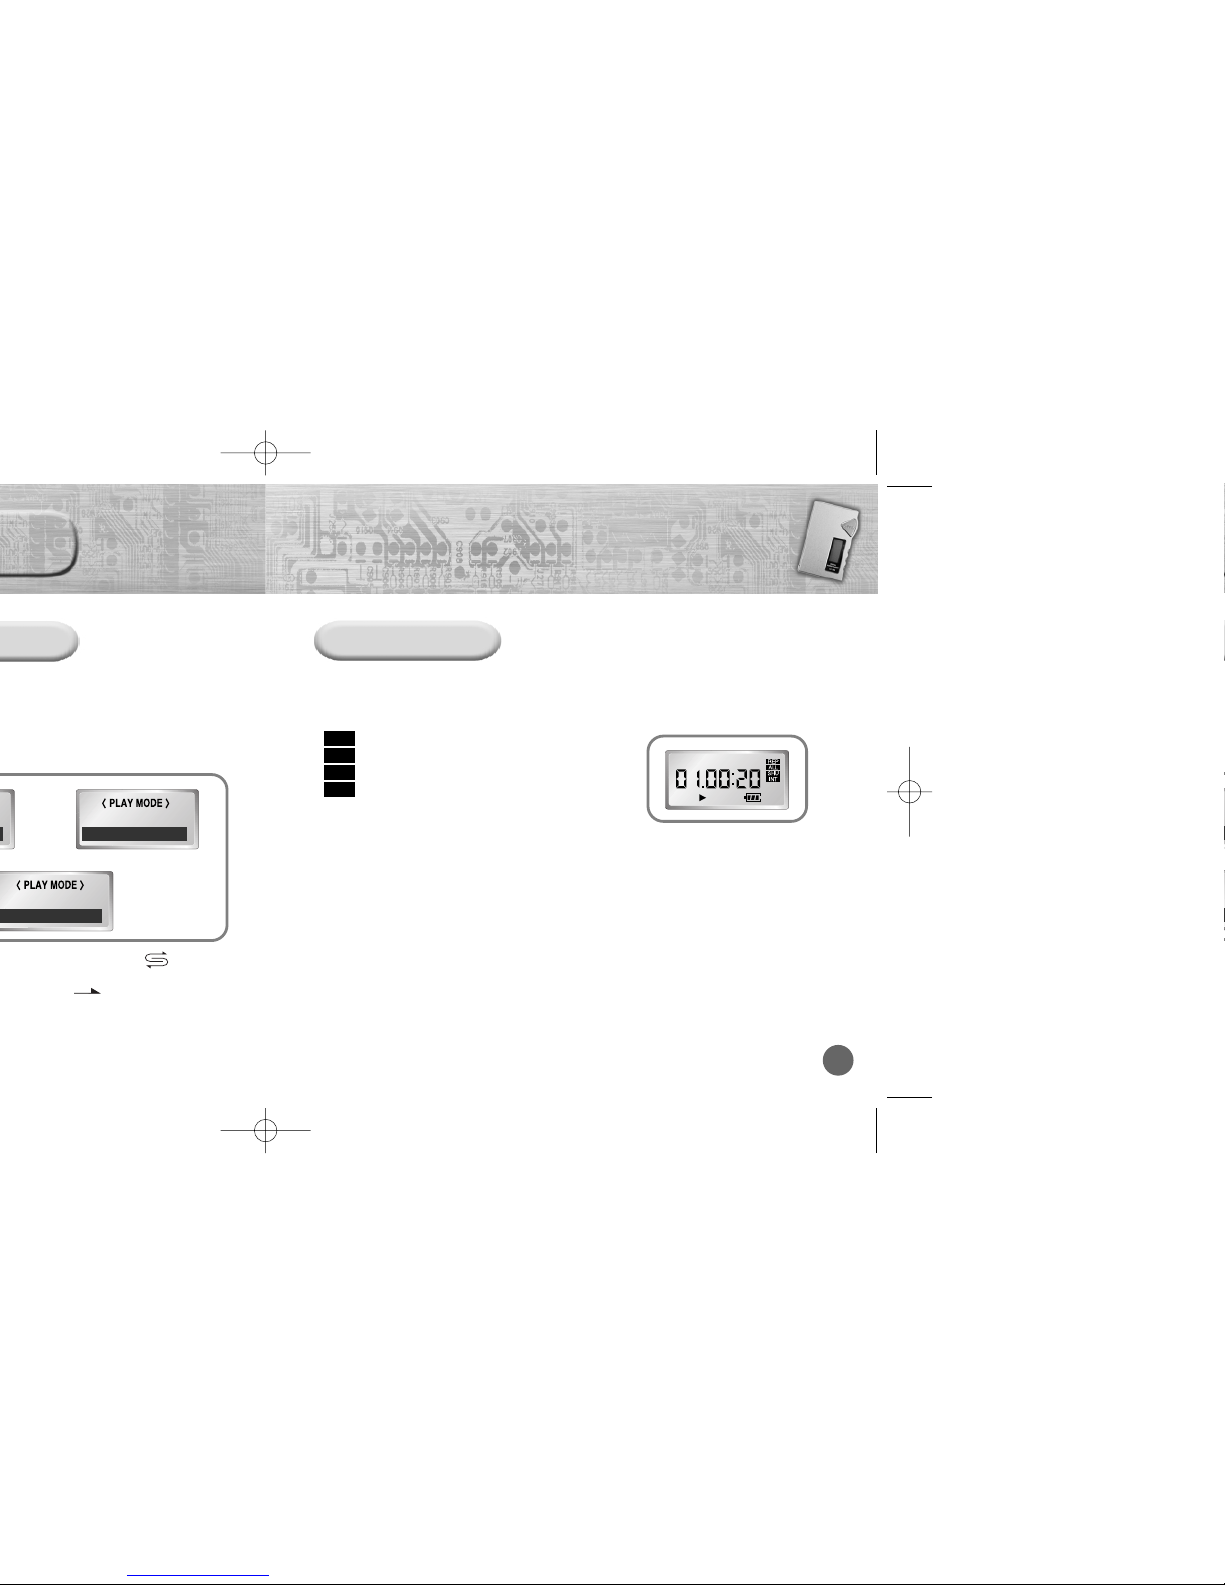
Each time the EQ/REP button is pressed and held, the mode will change in
order of REP, ALL, SHU, INT and Normal.
Repeats one track only.
Repeats all tracks.
Enables random playback.
Enables yepp to repeat the first 10 seconds of each track.
each track.
intro
2. Repeat one
3. Repeat all
4. Shuffle
5. lntro
◗
On the Remote Controller
REP
ALL
SHU
INT
NNNNooootttteeee ::
::
Normal mode is not indicated on the display.
 Loading...