

Samsung WAM1500, WAM3500, WAM1501 User Manual

Wireless Audio - 360
R5/R3/R1
WAM5500/WAM3500/WAM1500
User Manual
imagine the possibilities
Thank you for purchasing this Samsung product.
To receive more complete service,
please register your product at
www.samsung.com/register

Contents
GETTING STARTED
Accessories ...................................... 3
Speaker Top ..................................... 3
Operation Terminology ........................... 3
OLED Display and LED Indicator
Descriptions ........................................... 5
Speaker Bottom ............................... 6
Connecting the Power Cord ................... 7
Installing on a wall ............................ 8
CONNECTING TO A WI-FI
NETWORK
Connecting to Bluetooth Devices ..... 9
Connecting TV to the speaker ........ 11
Connecting to TV via bluetooth (TV
SoundConnect) .................................... 11
APPENDIX
Troubleshooting .............................. 12
Open Source Licence Notice .......... 14
Licences ......................................... 14
Specifications ................................. 14
Regulatory Compliance Statements 16
Warning ............................................... 16
CAUTION ............................................. 16
Wiring the Main Power Supply Plug (UK
Only) .................................................... 17
Safety precautions .......................... 18
Power Supply Precautions ................... 18
Installation Precautions ........................ 18
Usage Precautions ............................... 19
Cleaning Precautions ........................... 20
Additional Information ..................... 20
About the Network Connection ............ 20
Works with SmartThings™ ................... 20
Copyright ....................................... 20
2
4
Getting Started
A
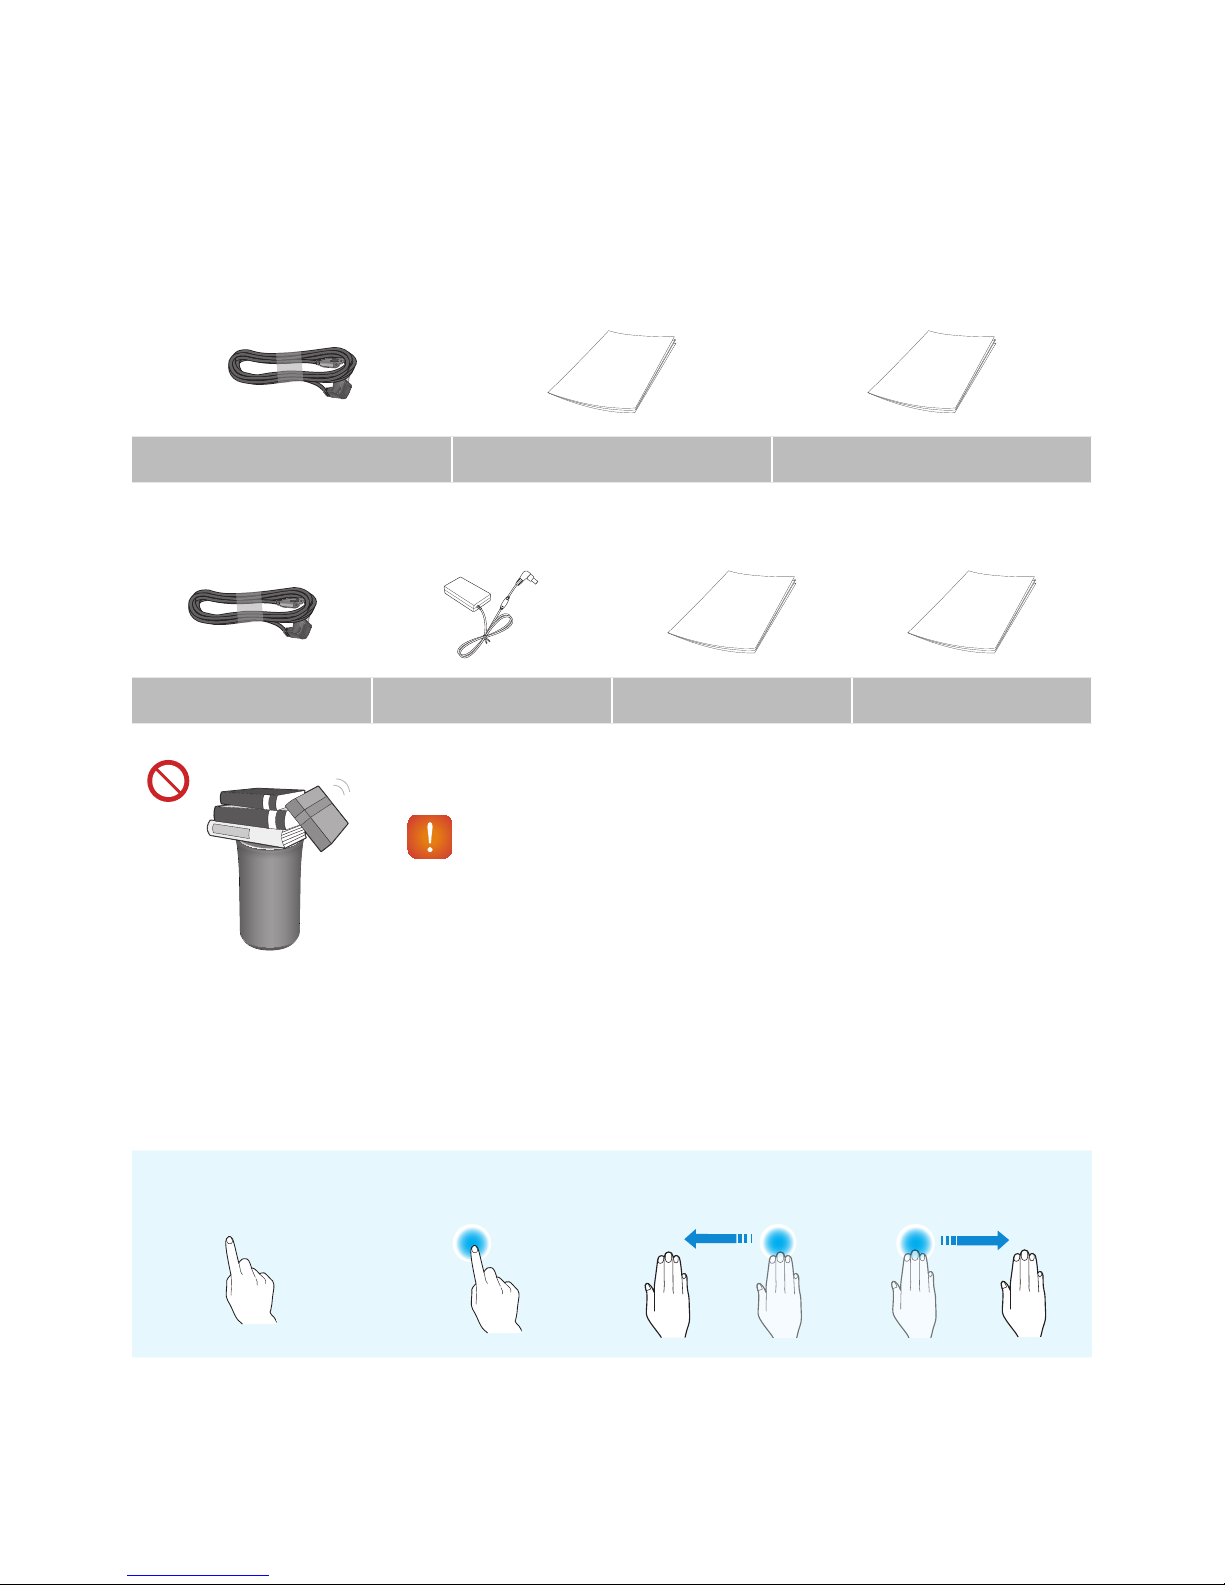
Accessories
Confirm you have the supplied accessories shown below.
• WAM5500/WAM3500
Power Cord Quick Setup Guide Regulatory Guide
• WAM1500
Power Cord Power Adapter Quick Setup Guide Regulatory Guide
A
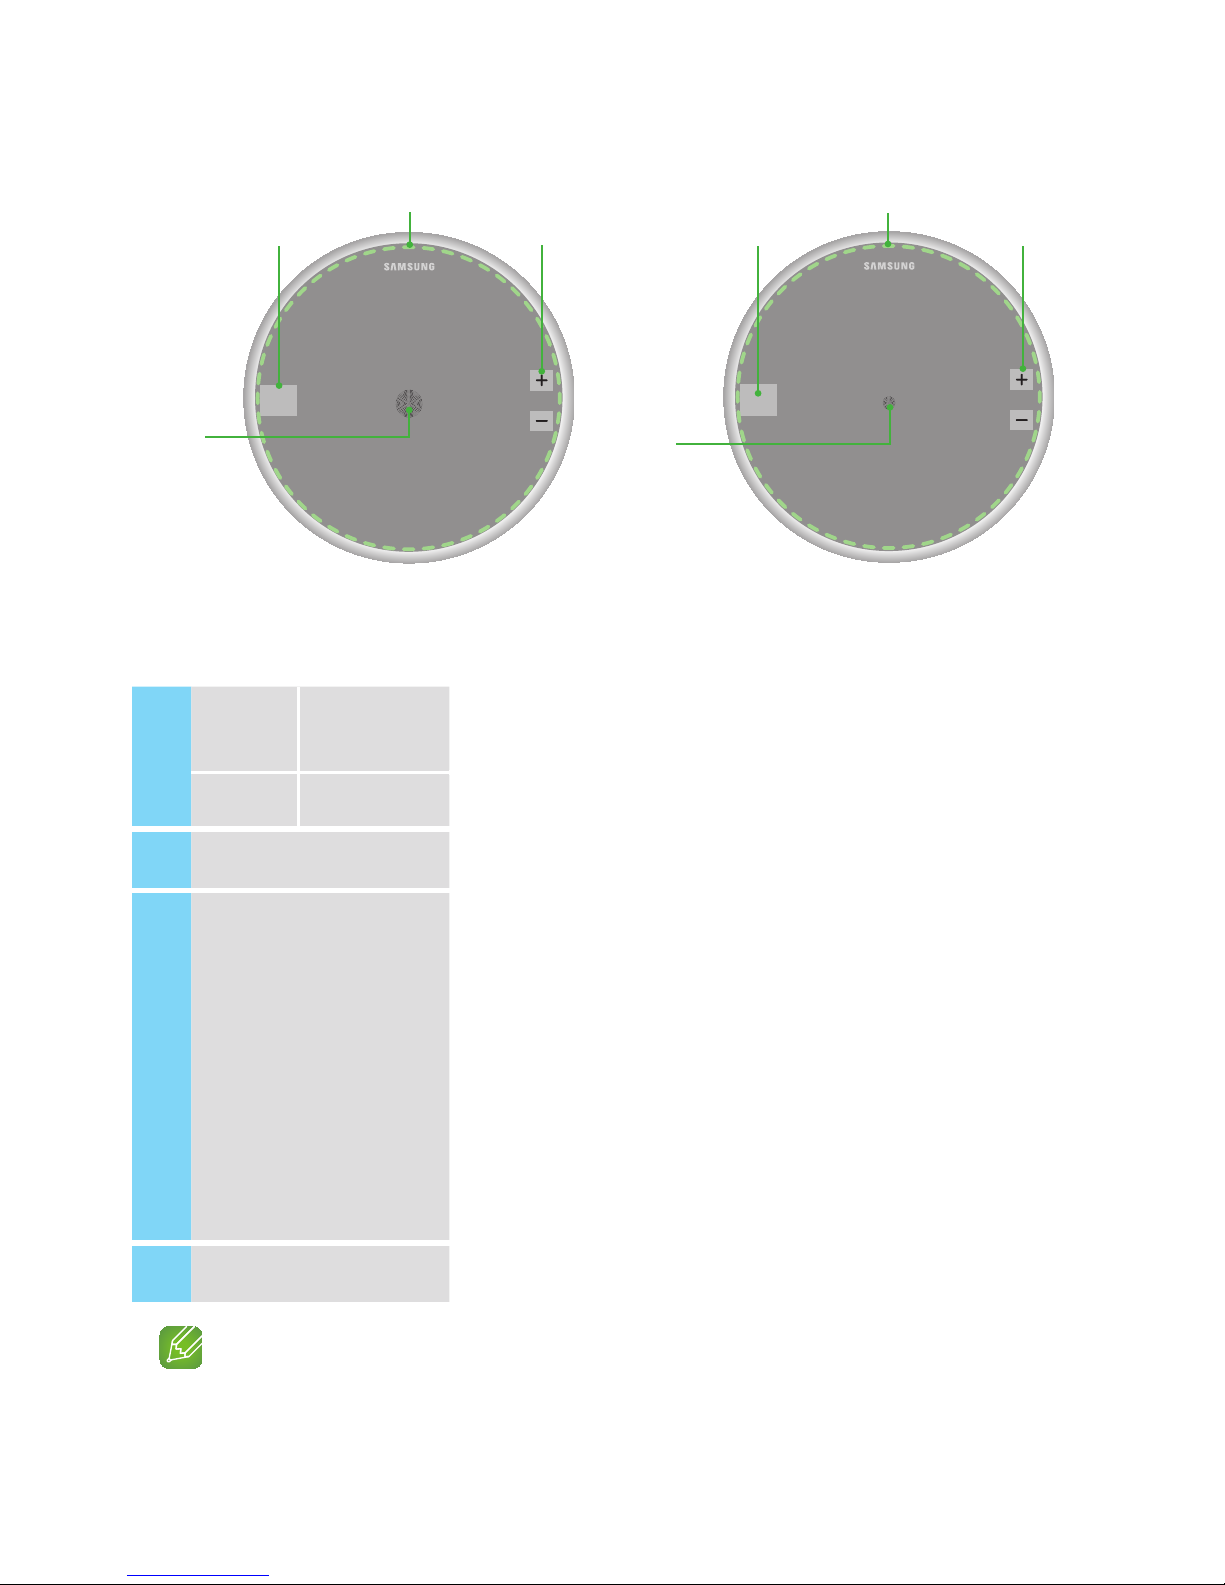
Speaker Top
❚
Operation Terminology
Touch/Tap Touch and Hold Swipe
MODE
CAUTION
9Do not place any items on top off or sit on the main unit.
3
4
< WAM5500/WAM3500 >
< WAM1500 >
MODE
VOL
c
a
MODE
VOL
c
b d
a
db
1
Display
WAM5500/
WAM3500
Displays the current status.
Indicator WAM1500 Flashes, glows, or changes colour depending on the speaker's status.
2
MODE Button Toggle between the TV SoundConnect, Bluetooth and Wi-Fi modes.
3
Touch Area
Tap in the Touch Area to play music or to pause playback.
Tap to mute the sound if the TV SoundConnect function is enabled.
•Play/Pause : Tap the Touch Area to toggle between playback and pause.
•Mute : If TV SoundConnect is enabled, tap the Touch Area to mute or unmute
the sound.
•Previous/Next Song : Swipe LEFT TO RIGHT to play the next song.
Swipe RIGHT TO LEFT to play the previous song.
•Standby mode : Touch and hold anywhere in the Touch Area for 5 seconds.
Touch the touch area to wake the speaker up.
•Power Off : Touch and hold anywhere in the Touch Area for 10 seconds.
Touch the touch area to turn the speaker back on.
4
Volume +,- Button To adjust the volume rapidly, touch and hold + or - key.
NOTE
9To reset the speaker, touch and hold the Volume (-,+) button at the same time for 5 seconds.
4
4
❚
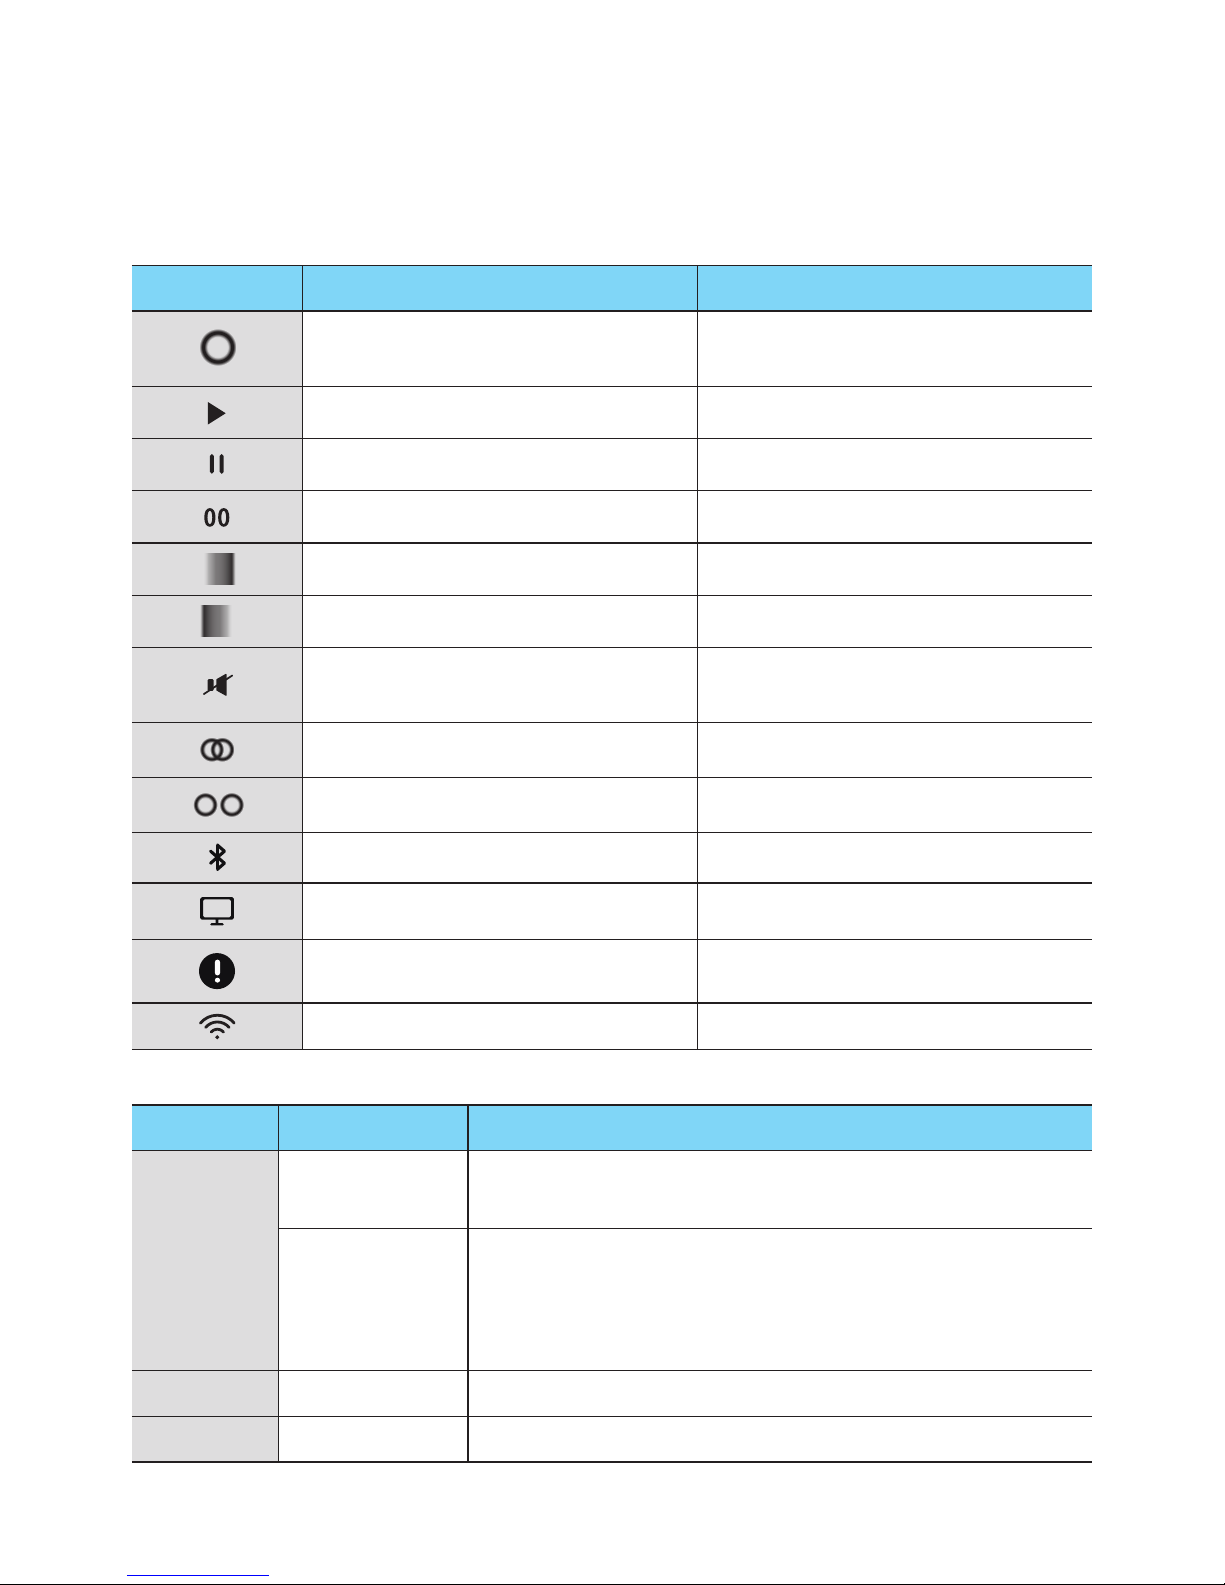
OLED Display and LED Indicator Descriptions
<R3/R5 OLED indicator>
OLED Display Description Indicated Action
Circle size increases or decreases, then fades
out
Power on / Wake-up / Power off
Play icon Play
Pause icon Pause
Volume status Volume up or down
Wave moves to the right Next song
Wave moves to the left Previous song
Mute icon
Mute (from the App or by tapping in the Touch
Area when TV SoundConnect is active.)
Group icon (Two circles partially overlapped) Group/Surround mode
Ungroup icon (Two circles separated) Un-Group/Release Surround mode
Bluetooth icon (blinking) Bluetooth Pairing
TV icon (blinking) TV SoundConnect Pairing
Exclamation icon Wireless router disconnected
Wi-Fi Pairing Wi-Fi mode
<R1 LED indicator>
LED Colour Description Indicated Action
White
ON
1) Power On
2) Volume max/min
Flashing
1) Touch control
2) Wake up
3) Any connecting or group action
4) StandBy Mode (fade in/out repeatedly then after a few hours, auto off)
Red Flashing (6 seconds) Wireless router disconnected
Off All off Power Off
5
4
A
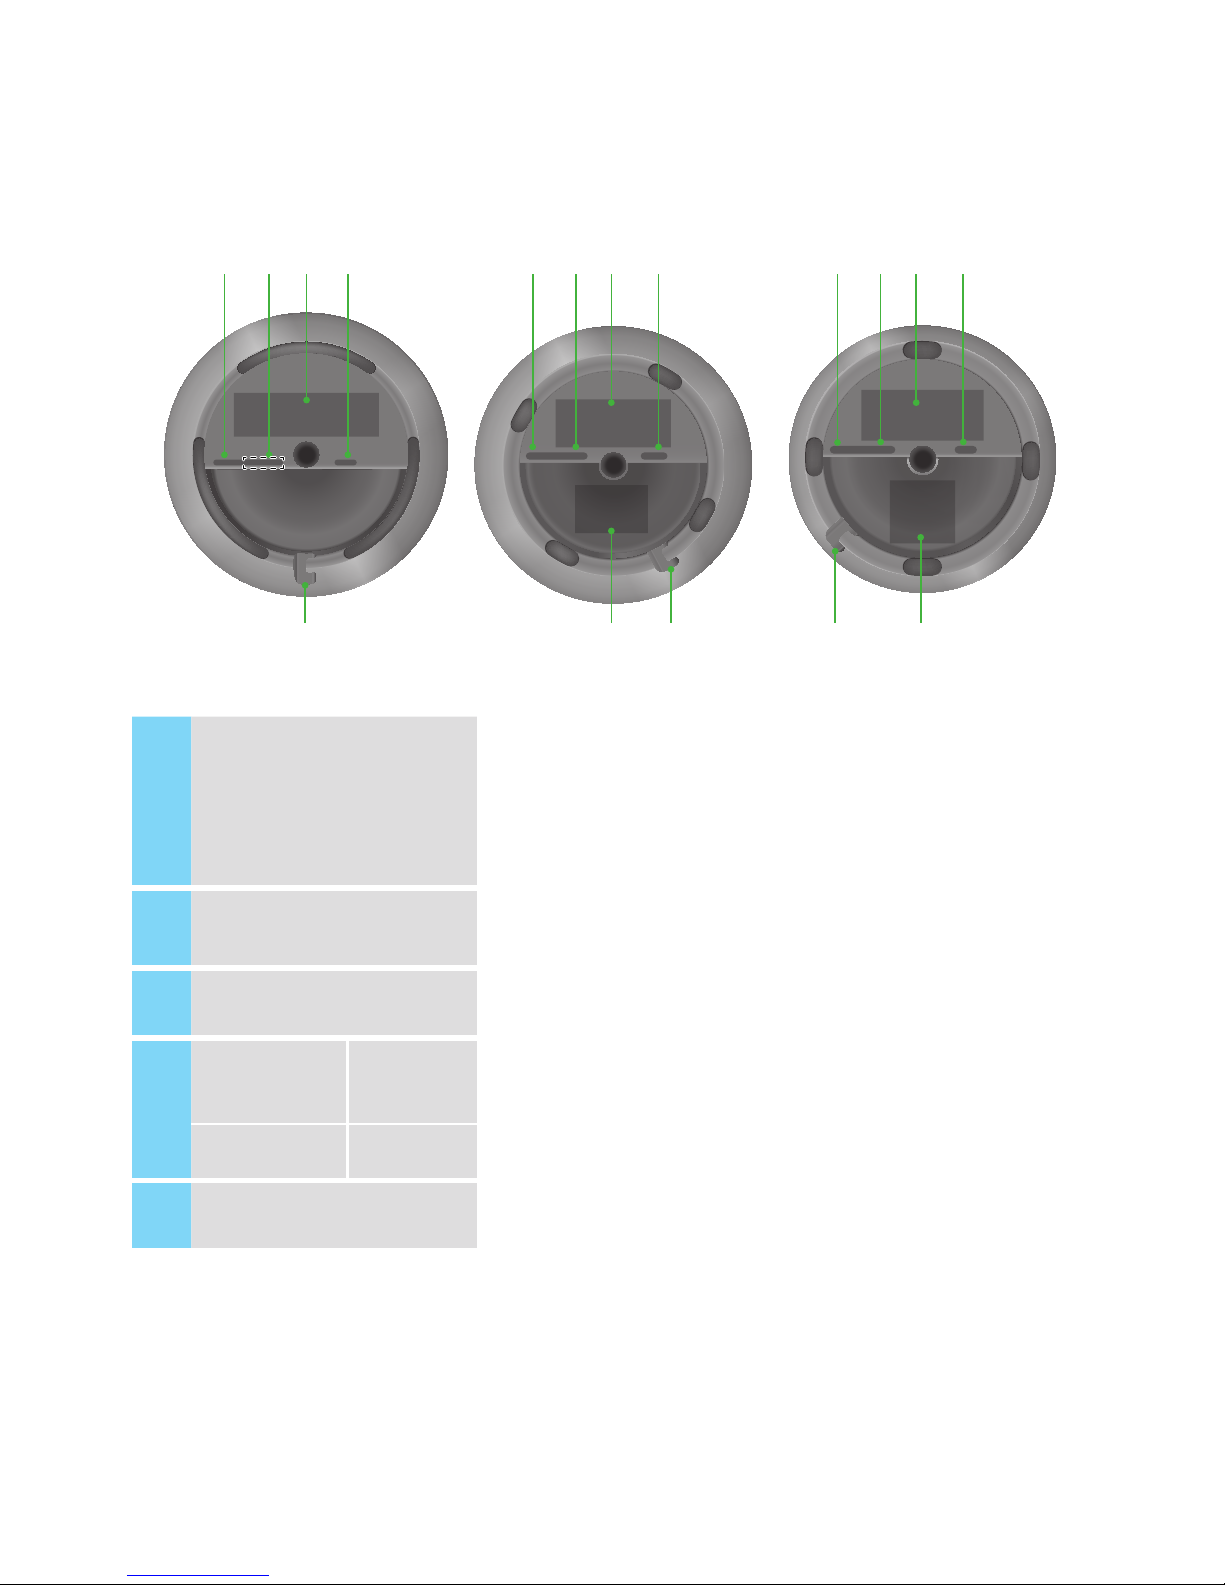
Speaker Bottom
< WAM5500 > < WAM1500 >< WAM3500 >
a b dc
SPK ADD/Wi-Fi SETUP SERVICE
DC 19V
a b dc
c
SPK ADD/Wi-Fi SETUP SERVICE
POWER
a b dc
MODE
MODE
SPK ADD/Wi-Fi SETUP
SERVICE1 SERVICE2
POWER
c
e e e
1
SPK ADD/Wi-Fi SETUP
• Press this button to pair your speaker with a HUB (Not Included) or add
another speaker.
• Press and hold this button for more than 5 seconds when connecting
the speaker to your network using the Wi-Fi Setup method. (Requires
a smart device and the Samsung Multiroom app.)
2
SERVICE For service only.
3
Label -
4
POWER
WAM5500/
WAM3500
Connection for the product's power cord.
DC 19V WAM1500
5
Notch for Power Cable -
6
4
❚
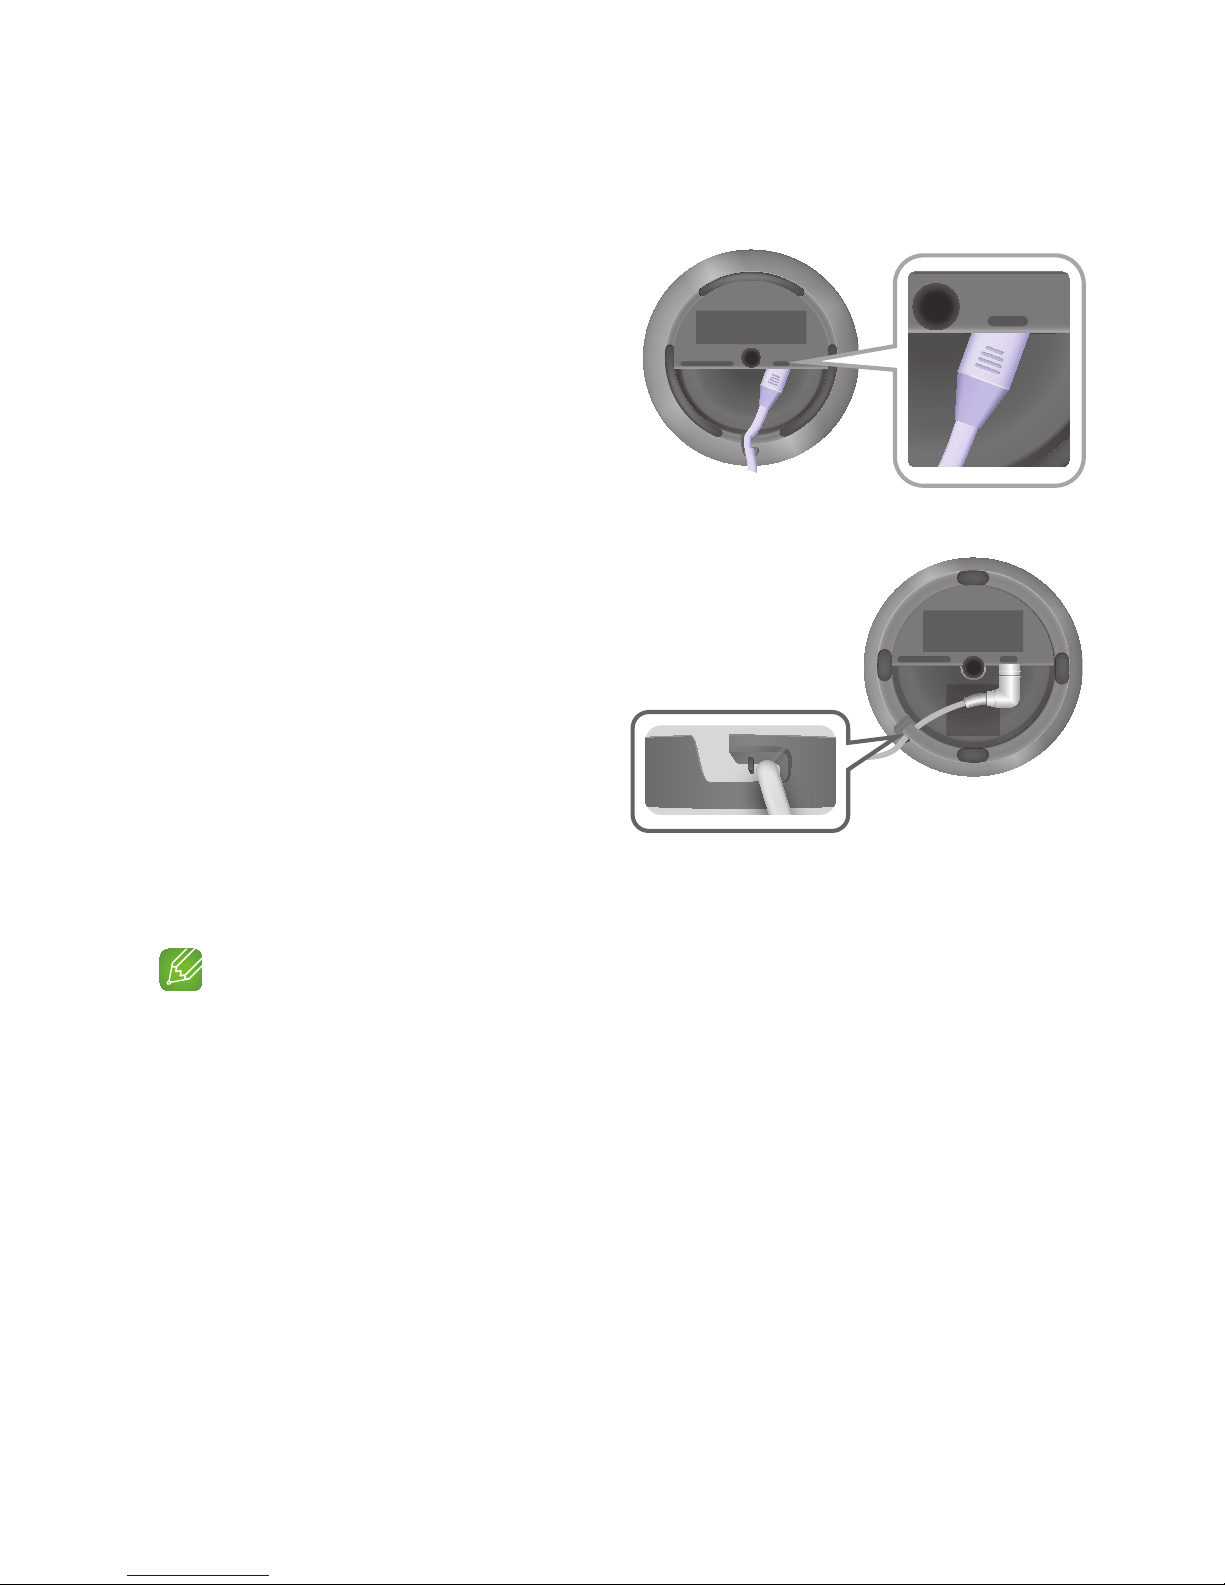
Connecting the Power Cord
<WAM5500, WAM3500 Only>
1 Connect the power cord of your speaker
as shown. It will connect at an angle.
2 Push the power cord into the notch at the
edge of the speaker bottom. This lets the
speaker rest flat when you stand it up.
<WAM1500 Only>
1 Connect the adaptor’s input power
cord to the adaptor.
2 Connect the adaptor’s output power
cord (with the round plug) to the DC
19V jack on the speaker.
3 Push the power cord into the notch at
the edge of the speaker bottom. This
lets the speaker rest flat when you
stand it up.
NOTE
9Make sure to rest the AC/DC Adapter flat on a table or the floor. If you place the AC/DC Adapter so that
it is hanging with the AC cord input facing upwards, water or other foreign substances could enter the
Adapter and cause the Adapter to malfunction.
SPK ADD/Wi-Fi SETUP
SERVICE1 SERVICE2
POWER
POWER
SPK ADD/Wi-Fi SETUP SERVICE
DC 19V
7
4

A
Installing on a wall
You can purchase a wall mount separately to install the speaker on a wall if you want.
`
Considerations for purchasing
- Endurable load : WAM5500 : Above 10.8 Kg
WAM3500 : Above 8.0 Kg
WAM1500 : Above 5.6 Kg
- Hole size : 1/4 - 20 threaded insert
NOTE
9Since Wall-mount installation is optional, you must purchase the corresponding accessories separately.
9Please have a qualified installer install the Wall Mount Bracket.
9Ask a professional installation company to mount your product on the wall.
9Check the strength of the wall before you install the Wall Mount Bracket. If the strength is
insufficient,make sure to reinforce the wall before installing the Wall Mount Bracket and the speaker on
the wall.
9For more information, please refer to the Wall Mount's manual.
9Samsung Electronics is not liable for any damage to the product due to the product being installed
inappropriately.
9Please beware not to install the speaker being laid down or turned upside down.
8
4
 Loading...