

Samsung MS5797G, MS5796W, MS7797G, MS7796W Owner's Manual
Oven
Owner’s Manual
MS5796S
MS5796W / MS5797G
MS7796W / MS7797G
CODE NO. : DE68-00279A-01
:
IMPORTANT SAFETY
INSTRUCTIONS
WARNING
• Some items, like whole eggs and food in sealed
containers, may explode if heated in this oven.
• Use this appliance only for its intended use as
described in the manual. Do not use corrosive
chemicals or vapors in this appliance. This type
of oven is specifically designed to heat, cook, or
dry food. It is not designed for industrial or laboratory use.
• As with any appliance, close supervision is necessary when used by children.
To reduce risk of burns, electric
shock, fire, personal injury or exposure to excessive microwave energy:
• Read all safety instructions before using the
appliance.
• Read and follow the specific “Precautions to
Avoid Exposure to Excessive Microwave
Energy” on this page.
• This appliance must be grounded. Connect
only to properly grounded outlets. See
“Important Grounding Instructions” on page 4
of this manual.
• Install or place this appliance only in accor-
dance with the installation instructions
provided.
When using any electrical appliance,
basic safety precautions should be
followed, including the following:

• Do not cook without the glass tray in place on the
oven floor. Food will not cook properly without the
tray.
• Do not defrost frozen beverages in narrow-necked
bottles. The containers can break.
• Dishes and containers can become hot. Handle
with care.
• Carefully remove container coverings, directing
steam away from hands and face.
• Remove lids from baby food before heating. After
heating baby food, stir well and test temperature
by tasting before serving.
• A short power-supply cord is provided to reduce
the risk of becoming entangled in or tripping over
a longer cord. Longer cord sets or extension
cords are available and may be used
with caution.
• Do not operate any other heating or cooking appliance beneath this appliance.
• Do not mount unit over or near any portion of a
heating or cooking appliance.
• Do not mount over a sink.
• Do not store anything directly on top of the appliance when it is in operation.

WARNING
Do not cut or remove the third (ground) prong
from the power cord under any circumstances.

Cooking Instructions 16
Cooking Utensils 16
Testing Utensils 16
Cooking Techniques 17
General Tips 17
Auto Sensor Cook 18
Utensils & Cover For
Sensor Cooking 18
Important 18
Cooking Guides 19-20
Sensor Cooking Guide 21-22
Sensor Reheat Guide 22
Sensor Recipes 23-24
Appendix 25
Troubleshooting Guide 25
Care and Cleaning 25
Warranty Information 26
Specifications 27
Guía de Consulta Rápida en
Español
28-29
Manual Block Warranty
Inside Back Cover
Quick Guide Back Cover
ICROWAVE OVEN
071100
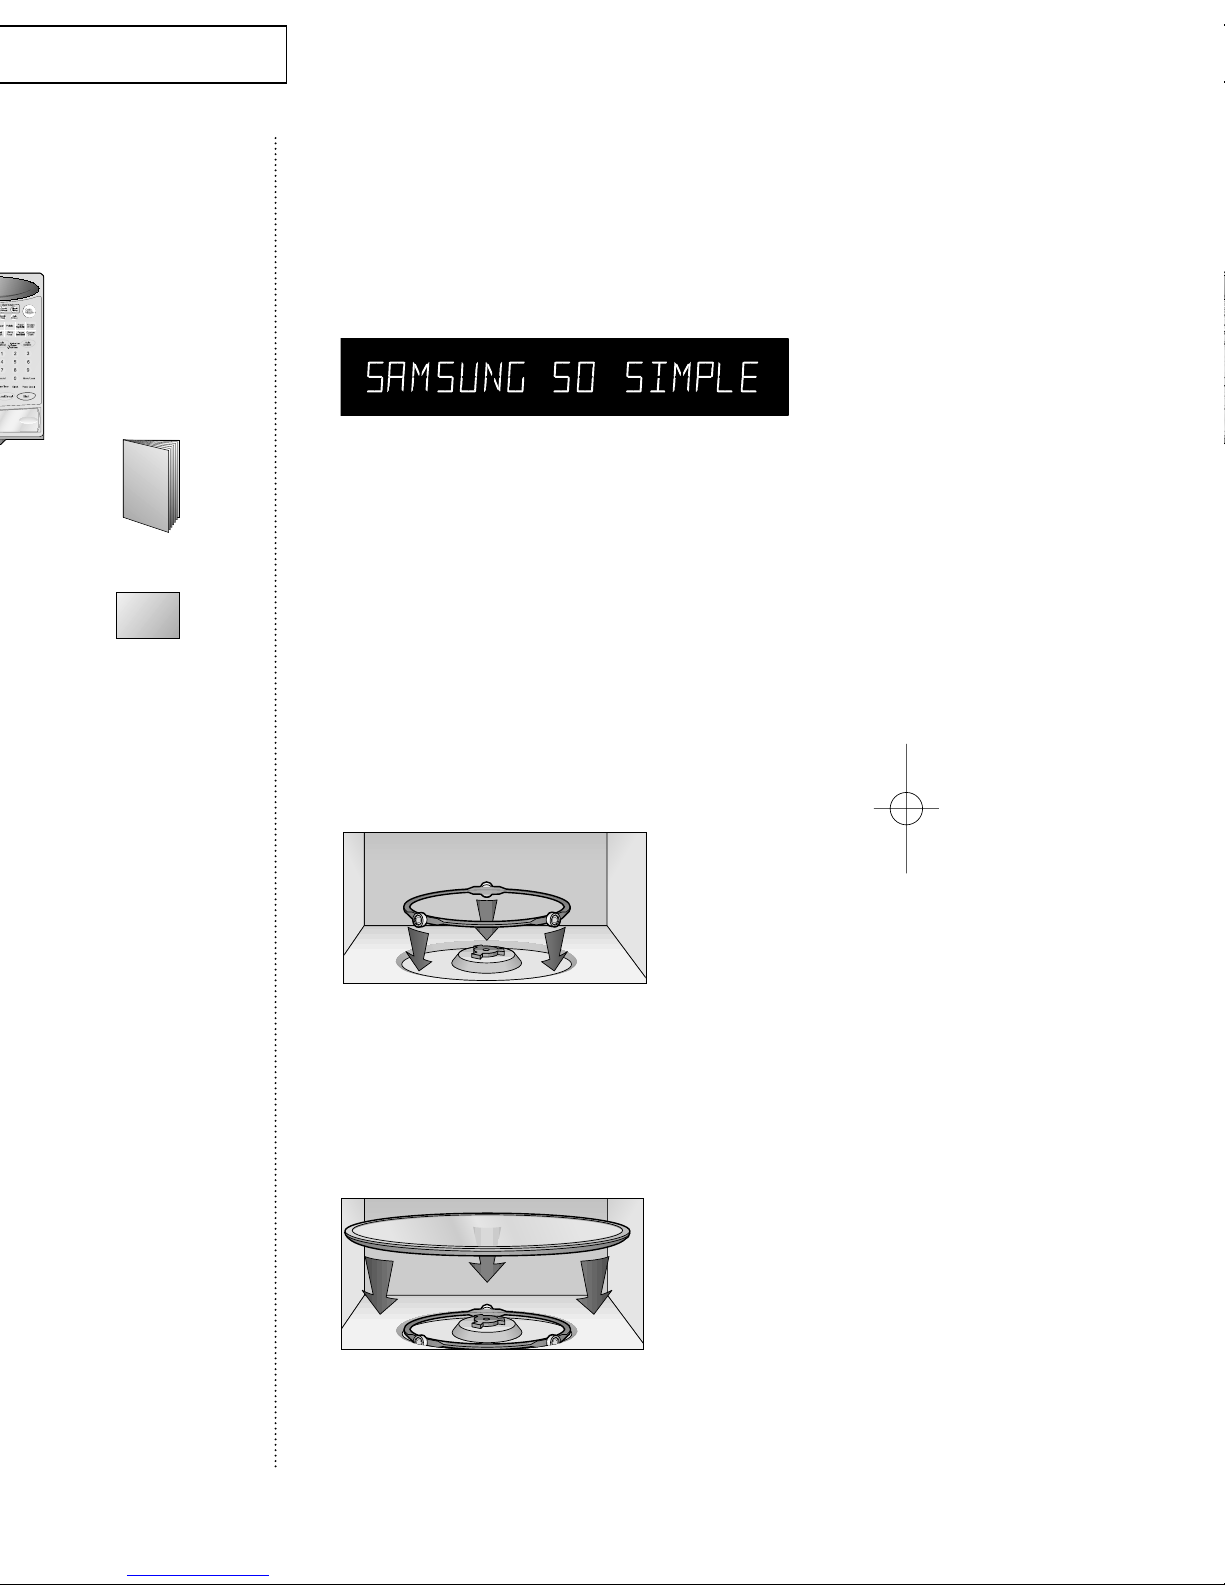
Setting Up Your Microwave Oven
1 Place the oven on a flat, sturdy surface
and plug the cord into a grounded outlet.
Once plugged in, the display on your
oven will show:
Make sure there is adequate ventilation for your
oven by leaving at least four inches of space
behind, above, and to the side of the oven.
2 Open the oven door by pressing the but-
ton below the control panel.
3 Wipe the inside of the oven with a damp
cloth.
4 Place the pre-assembled ring in the
indentation in the center of the oven.
5 Place the glass tray on top of the ring so
that the three glass tabs in the center of
the tray fit securely into the tabs on the
floor of the oven.
instruction manual
registration card
ICROWAVE OVEN
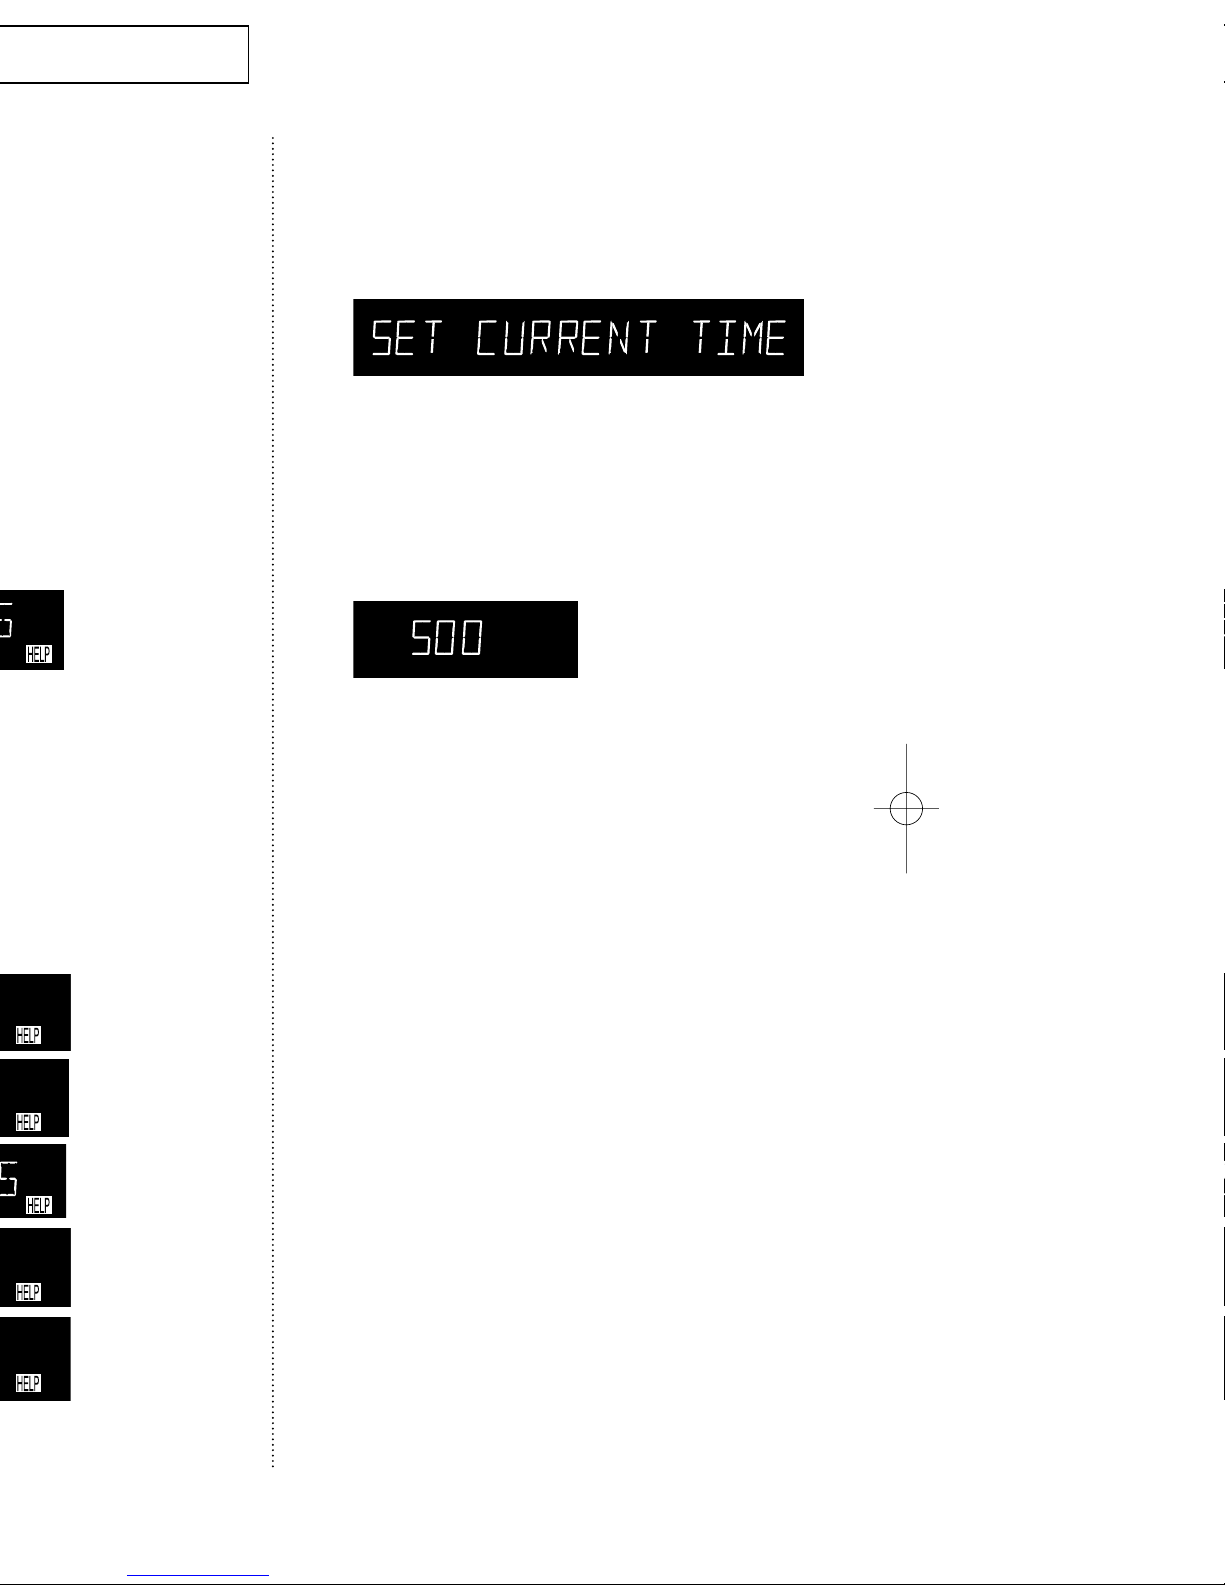
Setting the Clock
1 Press the Clock button. The display will
show:
2 Use the number buttons to enter the cur-
rent time. You must press at least three
numbers to set the clock. If the current
time is 5:00 enter, 5,0,0.
3 Press Clock again. A colon will appear,
indicating that the time is set.
If there is a power interruption, you will need to
reset the clock.
You can check the current time while cooking is in
progress by pressing the Clock button.
Using the Pause/Cancel Button
The Pause/Cancel button allows you to clear
instructions you have entered. It also allows you to
pause the oven’s cooking cycle, so that you can
check the food.
• To pause the oven during cooking: press
Pause/Cancel once. To restart, press Start.
• To stop cooking, erase instructions, and return
the oven display to the time of day: press
Pause/Cancel twice.
• To correct a mistake you have just entered:
press Pause/Cancel once, then re-enter the
instructions.
• To cancel a timer setting: press Pause/Cancel
once.
When cooking popcorn, wait at least five minutes
between each bag to avoid overheating the glass tray.
If you want to adjust the cooking time,
you can use the MORE/LESS button.
See page14 for more information.
If you want to check the current time while cooking
is in progress, press the CLOCK button.
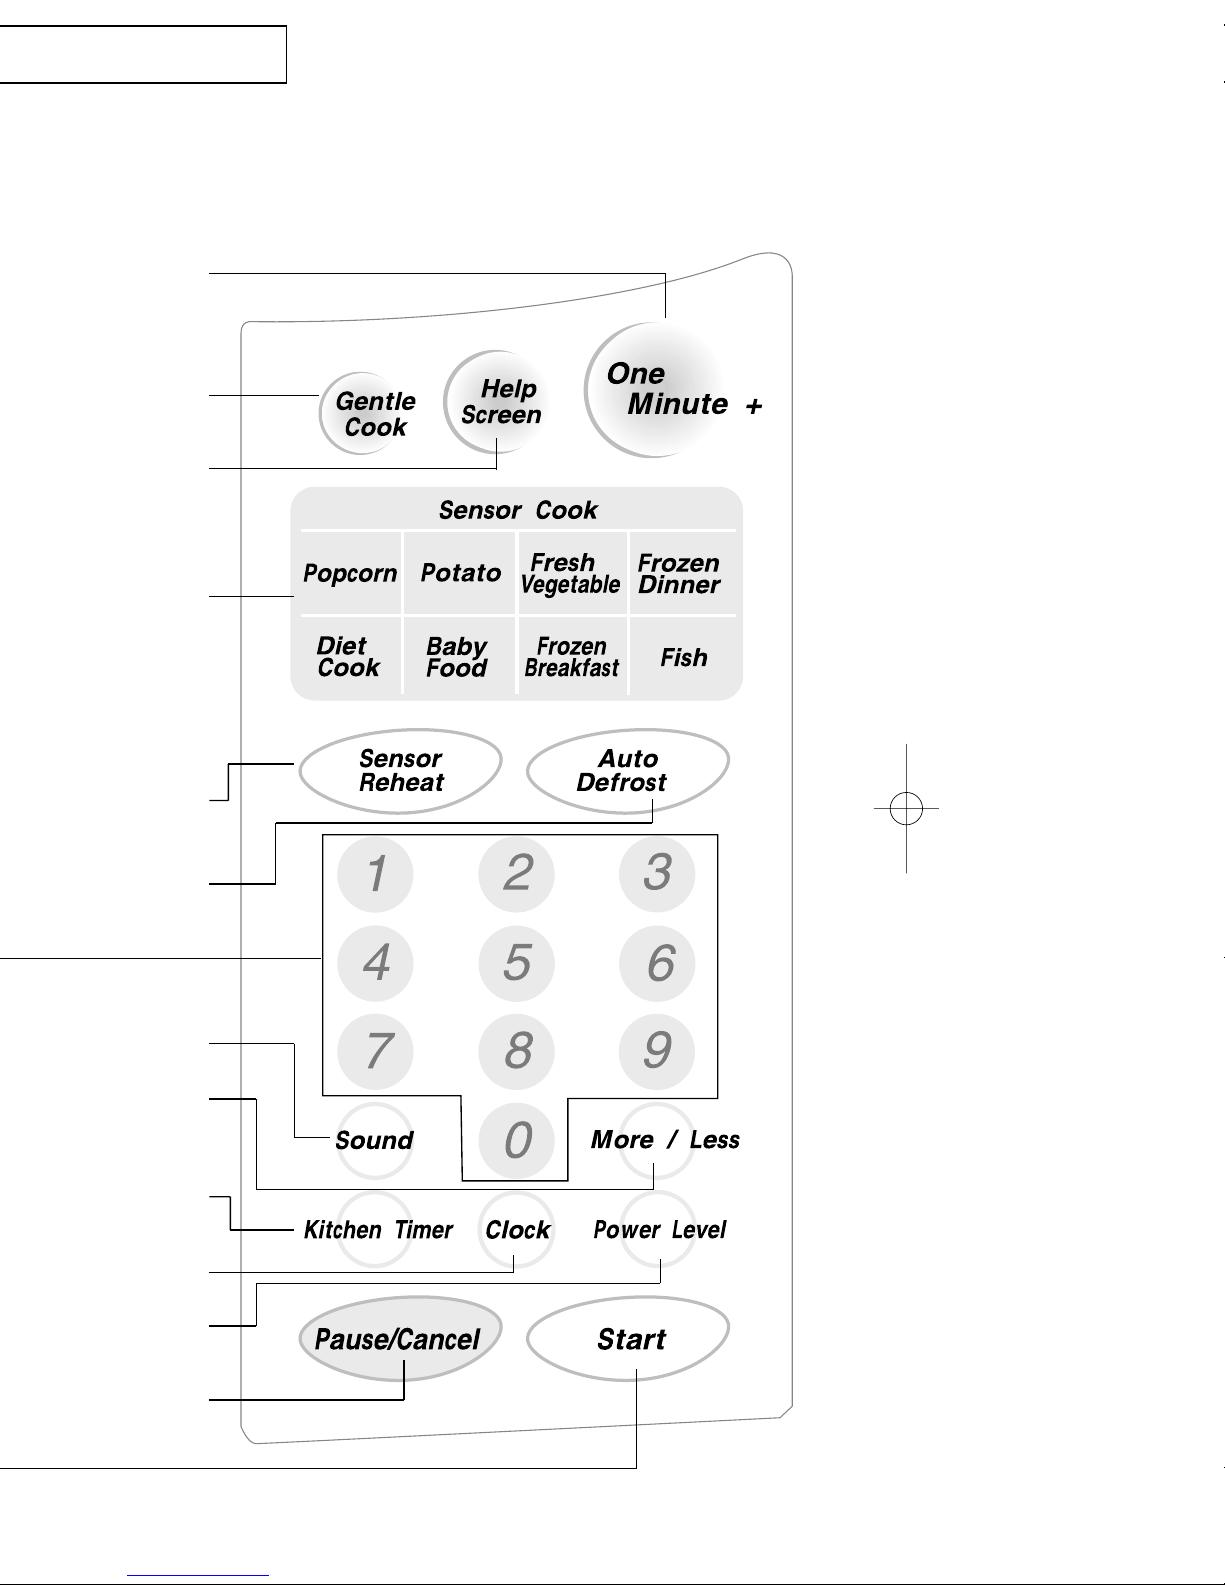
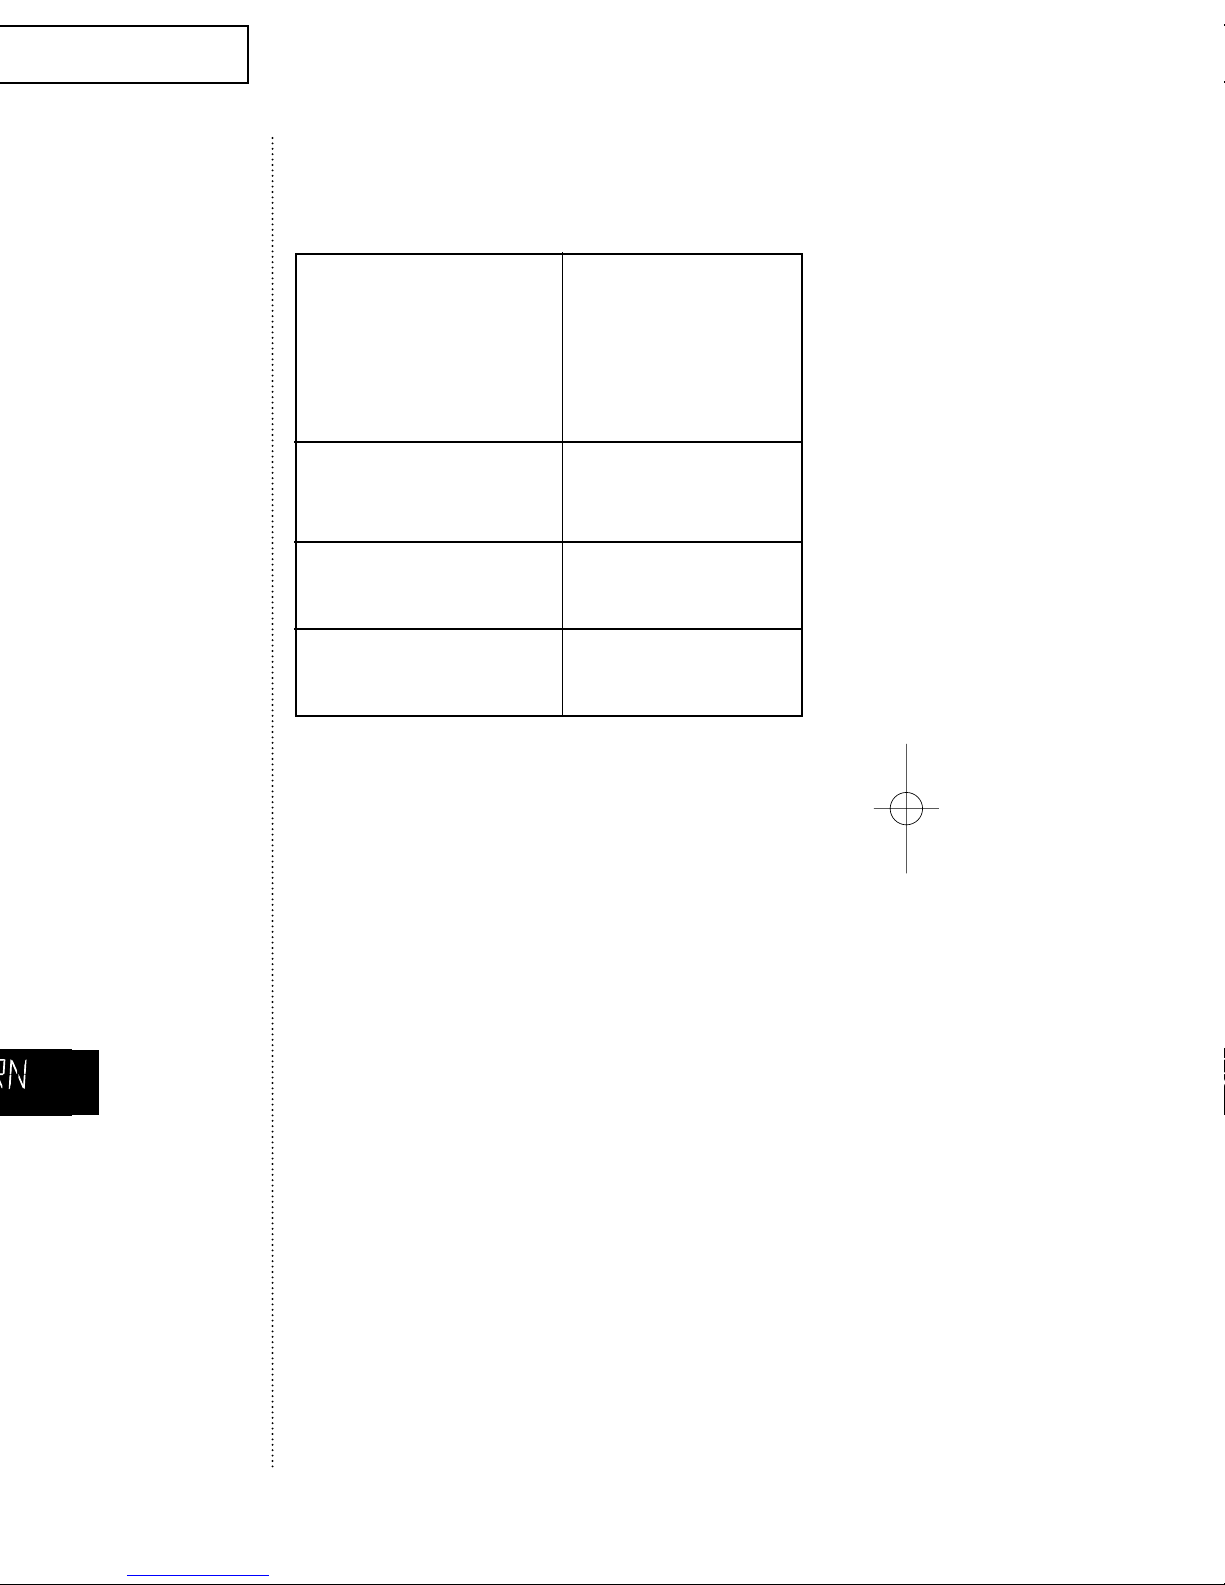
Serving sizes available for each button:
POPCORN
3.0 oz -3.5 oz
(If you want to use the 1.75 oz
serving size, you can use the
“LESS” key of the MORE/LESS
button.
FROZEN BREAKFAST
(Sandwich, Waffle, Egg)
2 - 8 oz
FRESH VEGET ABLE
1 - 4 CUPS
FISH
0.5-1.5 lbs
POT ATO
6 oz -8 oz each
DIET COOK
(Low calorie frozen dinners)
7-18 oz
FROZEN DINNER
(Frozen Entree, Frozen Dinner)
7-18 oz
BABY FOOD
2.5-6.0 oz

Sensor Reheat
Heating leftovers and precooked foods is easy with
your new microwave. By actually sensing the
steam that escapes as food heat, this feature automatically adjusts the oven’s heating time for various types and amounts of precooked food. All food
should be precooked and at refrigerator temperature. To use sensor reheating:
1 Press SENSOR REHEAT.
The display will show “REHEAT”
and the oven will start automatically.
If you want to adjust the heating
time, use the MORE/LESS button.
See page14.
If you want to check the current
time while reheating, press the
CLOCK button


Type of food: Chicken, whole
Amount: 2.5-6.0 lbs.
Procedure: Remove giblets before freezing
poultry. Start defrosting with the
breast side down. After the first
stage, turn the chicken over and
shield any warm portions with
narrow strips of aluminum foil.
After the second stage, again
shield any warm portions with
narrow strips of aluminum foil.
When defrost cycle is over, let
stand, covered, for 30–60 minutes
in the refrigerator.
Type of food: Chicken, pieces
Amount: 0.5-3.0 lbs.
Procedure: After each stage, rearrange or
remove any pieces of food that
are nearly defrosted. Let stand
for 10-20 minutes.
Notes
Check foods when the oven signals. After the final
stage, small sections may still be icy; let them stand
to continue thawing. Do not cook until all ice crystals
have thawed.
Shielding roasts and steaks prevents the edges from
cooking before the center of the food has defrosted.
Use narrow, flat, smooth strips of aluminum foil to
cover the edges and thinner sections of the food.
Setting Cooking Times, continued
Some recipes require different stages of cooking at
different temperatures. You can set multiple stages
of cooking with your microwave.
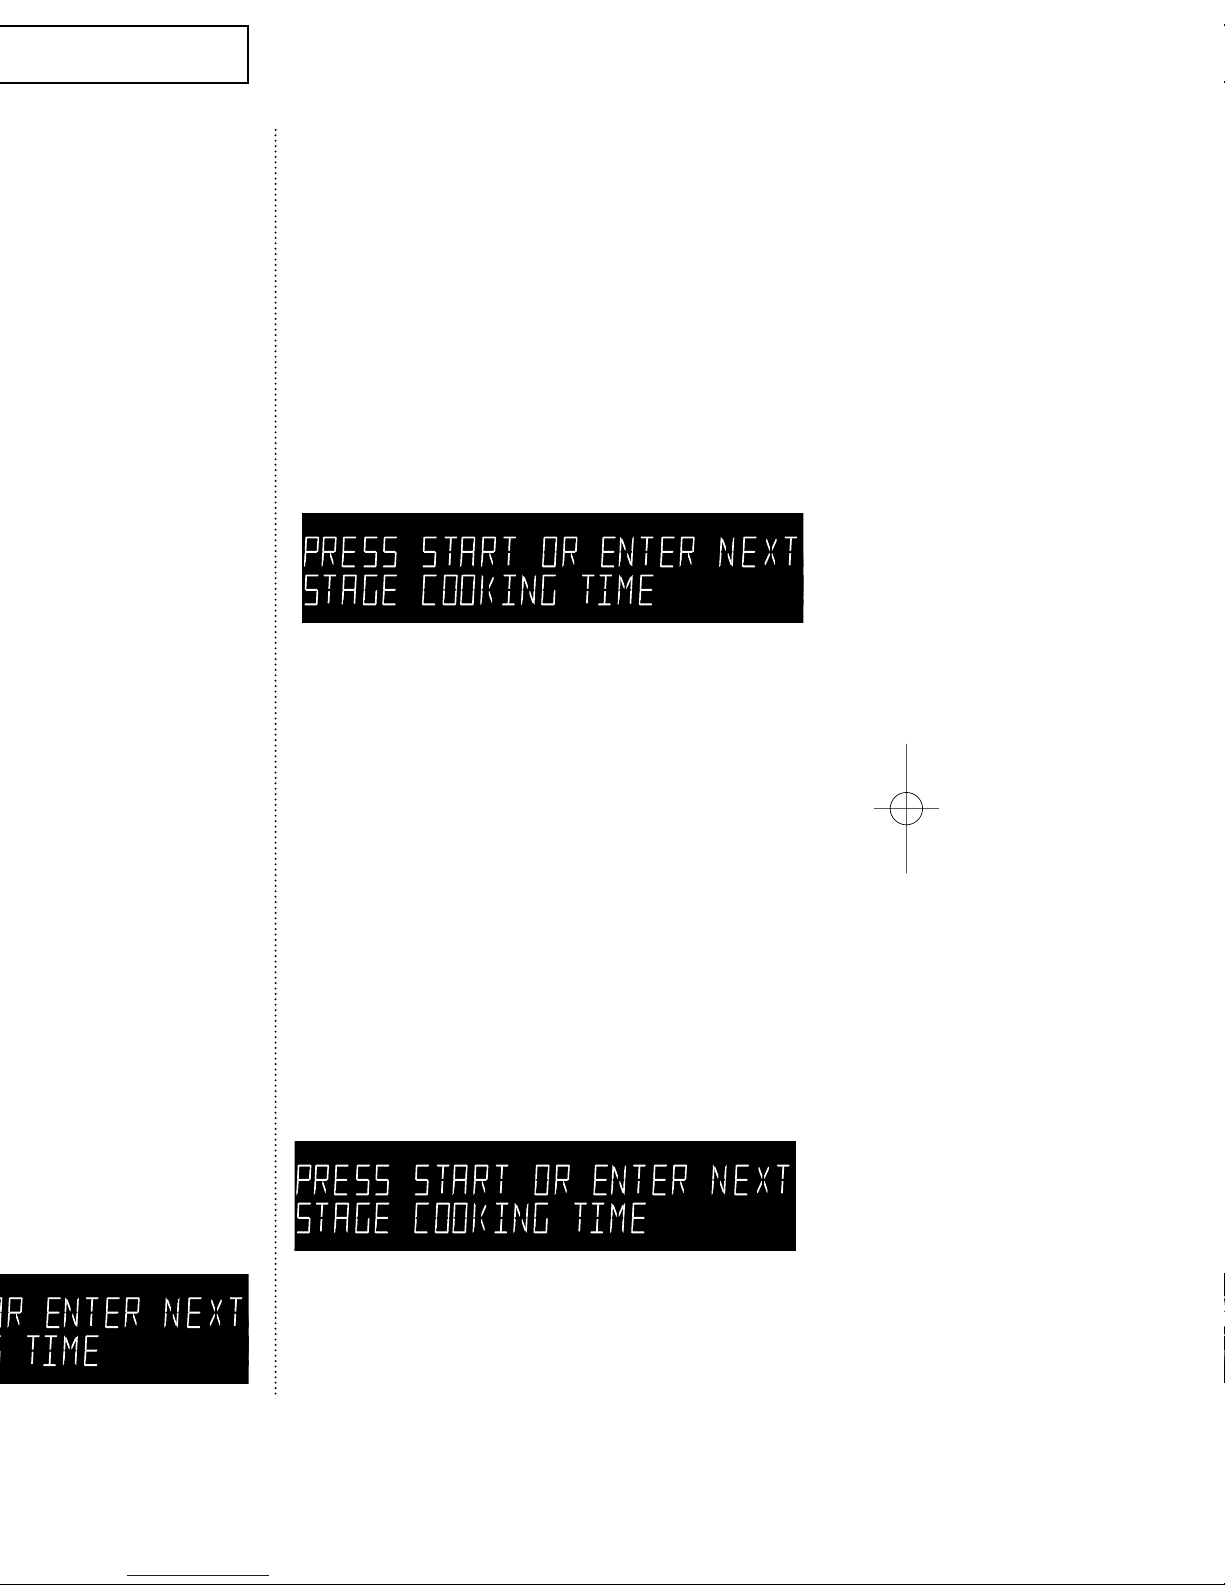
Multi-stage Cooking
1 Follow steps 1 and 2 in the “One-Stage
Cooking” section on this page. The display shows “PRESS START OR ENTER
NEXT STAGE COOKING TIME.”
When entering more than one cooking stage, the
Power Level button must be pressed before the
second cooking stage can be entered.
To set the power level at High for a stage of cooking, press the Power Level button twice.
2 Use the Number buttons to set a second
cooking time.
3 Press the Power Level button, then use
the number buttons to set the power
level of the second stage of cooking.
The display shows the power level you
have set and then “PRESS START OR
ENTER NEXT STAGE COOKING TIME.”
4 Press Start to begin cooking, or repeat
steps 2 and 3 to set a cooking time and
power level for a third stage of cooking.
When finished, press Start.
Adjusting the Volume
The Sound button on the microwave allows you to
adjust the volume of the microwave’s chime
sound. The sound is initially set to its highest setting. To change the volume:
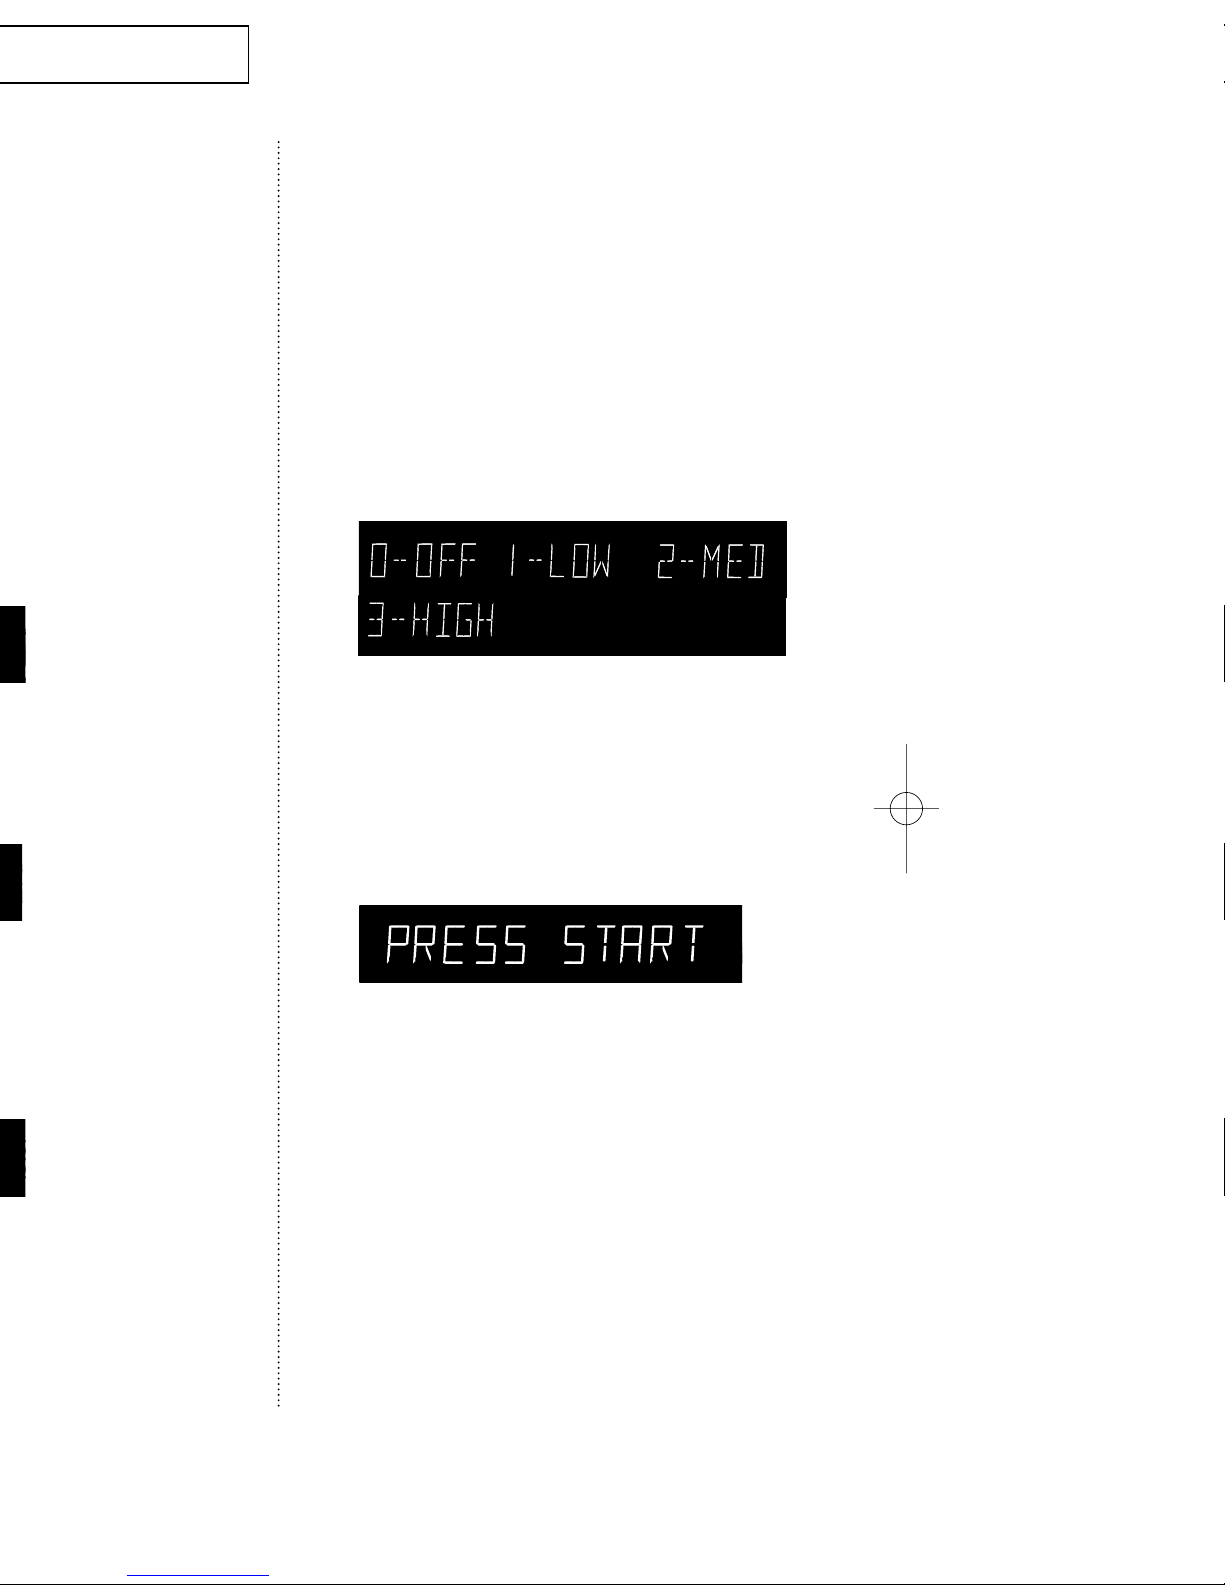
1 Press the Sound button. The display
shows
“0-OFF 1-LOW 2-MED 3-HIGH”
2 Press “0” to turn the volume off, “1” for
low volume, “2” for medium volume, or
“3” for high volume.
The display will show the volume you
have chosen, then shows “PRESS
START”
3 Press Start:
The display returns to the time of day.
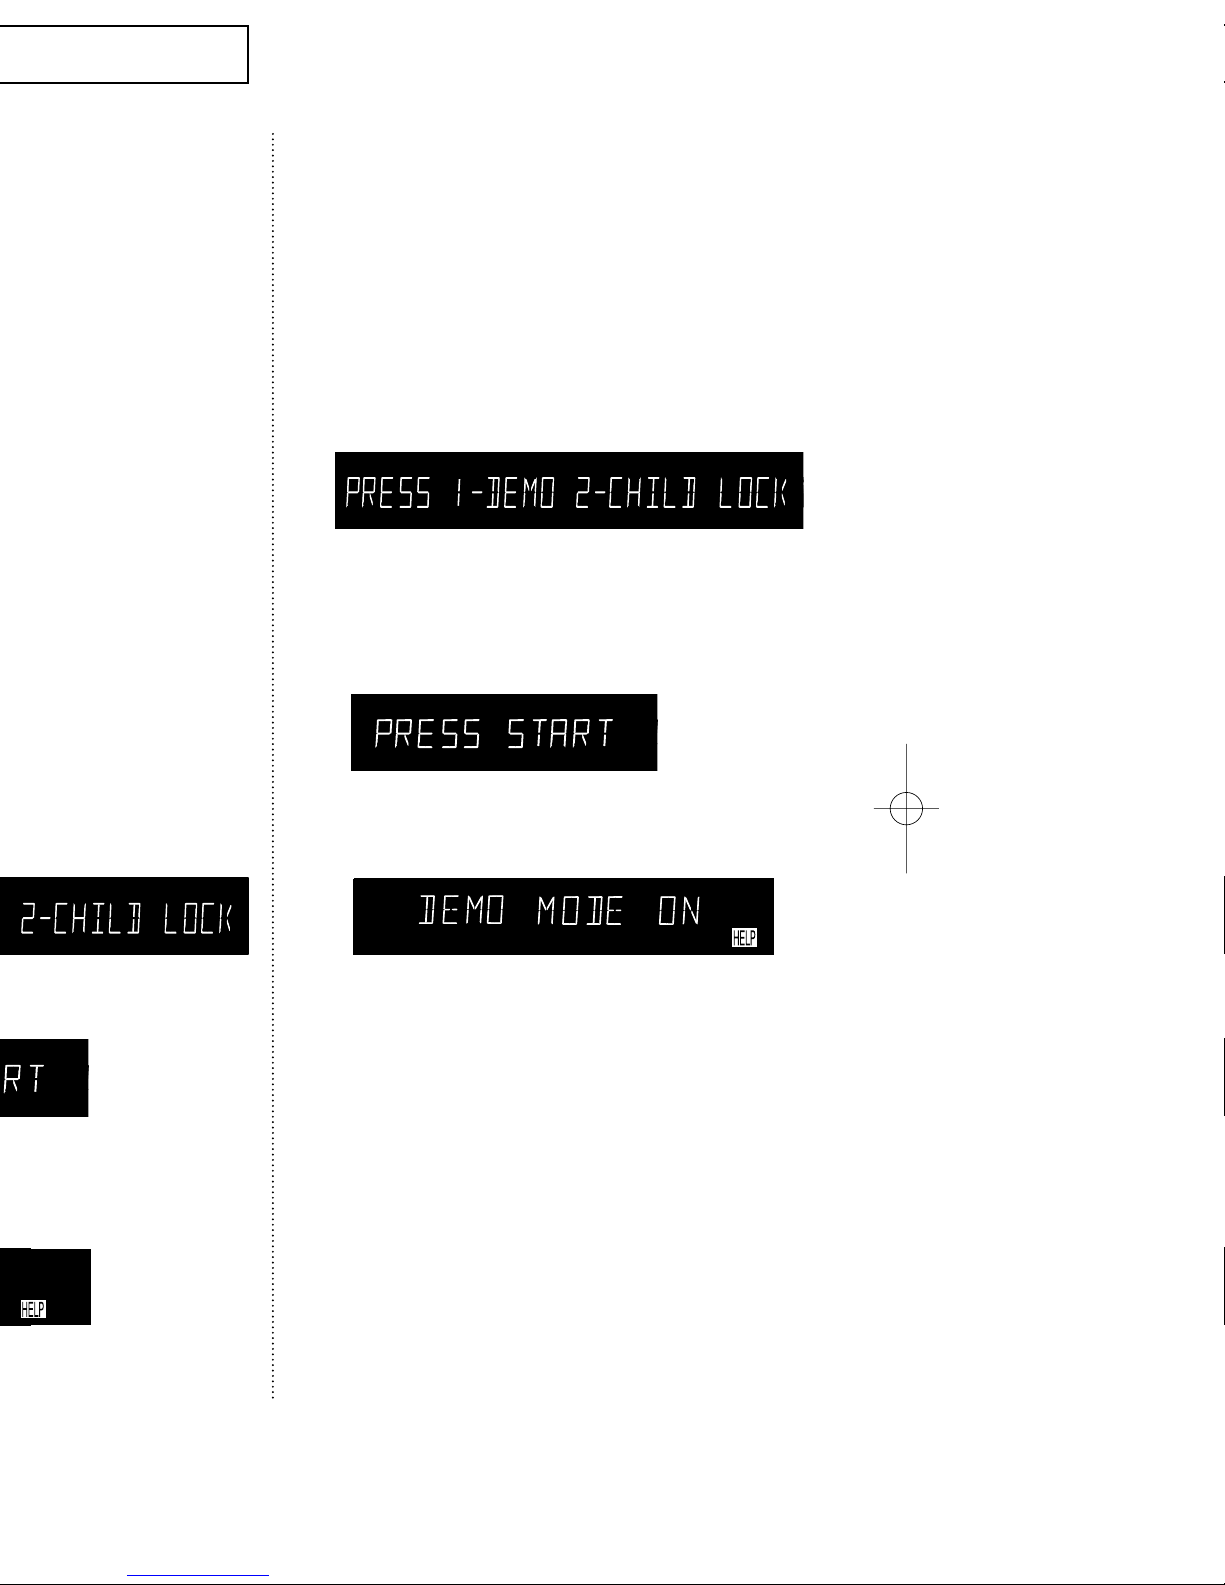
Demonstration Mode
You can use the Demonstration Mode to see how
your microwave oven operates without the oven
heating.
1 Press the “0” button. The display shows
“PRESS 1-DEMO 2- CHILD LOCK.”
2 Press the “1” button. The display shows
“PRESS START”.
3 Press the Start button. The display
shows “DEMO MODE ON”.
To turn demo mode off, repeat steps 1–3 above.
NOTE ; You can not use Demonstration Mode for
sensor cooking. If use, “E1” error will be displayed.
Not Recommended
• Glass jars and bottles — Regular glass is too
thin to be used in a microwave, and can shatter.
• Paper bags — These are a fire hazard, except
for popcorn bags that are designed for
microwave use.
• Styrofoam plates and cups — These can melt
and leave an unhealthy residue on food.
• Plastic storage and food containers —
Containers such as margarine tubs can melt in
the microwave.
• Metal utensils — These can damage your oven.
Remove all metal before cooking.
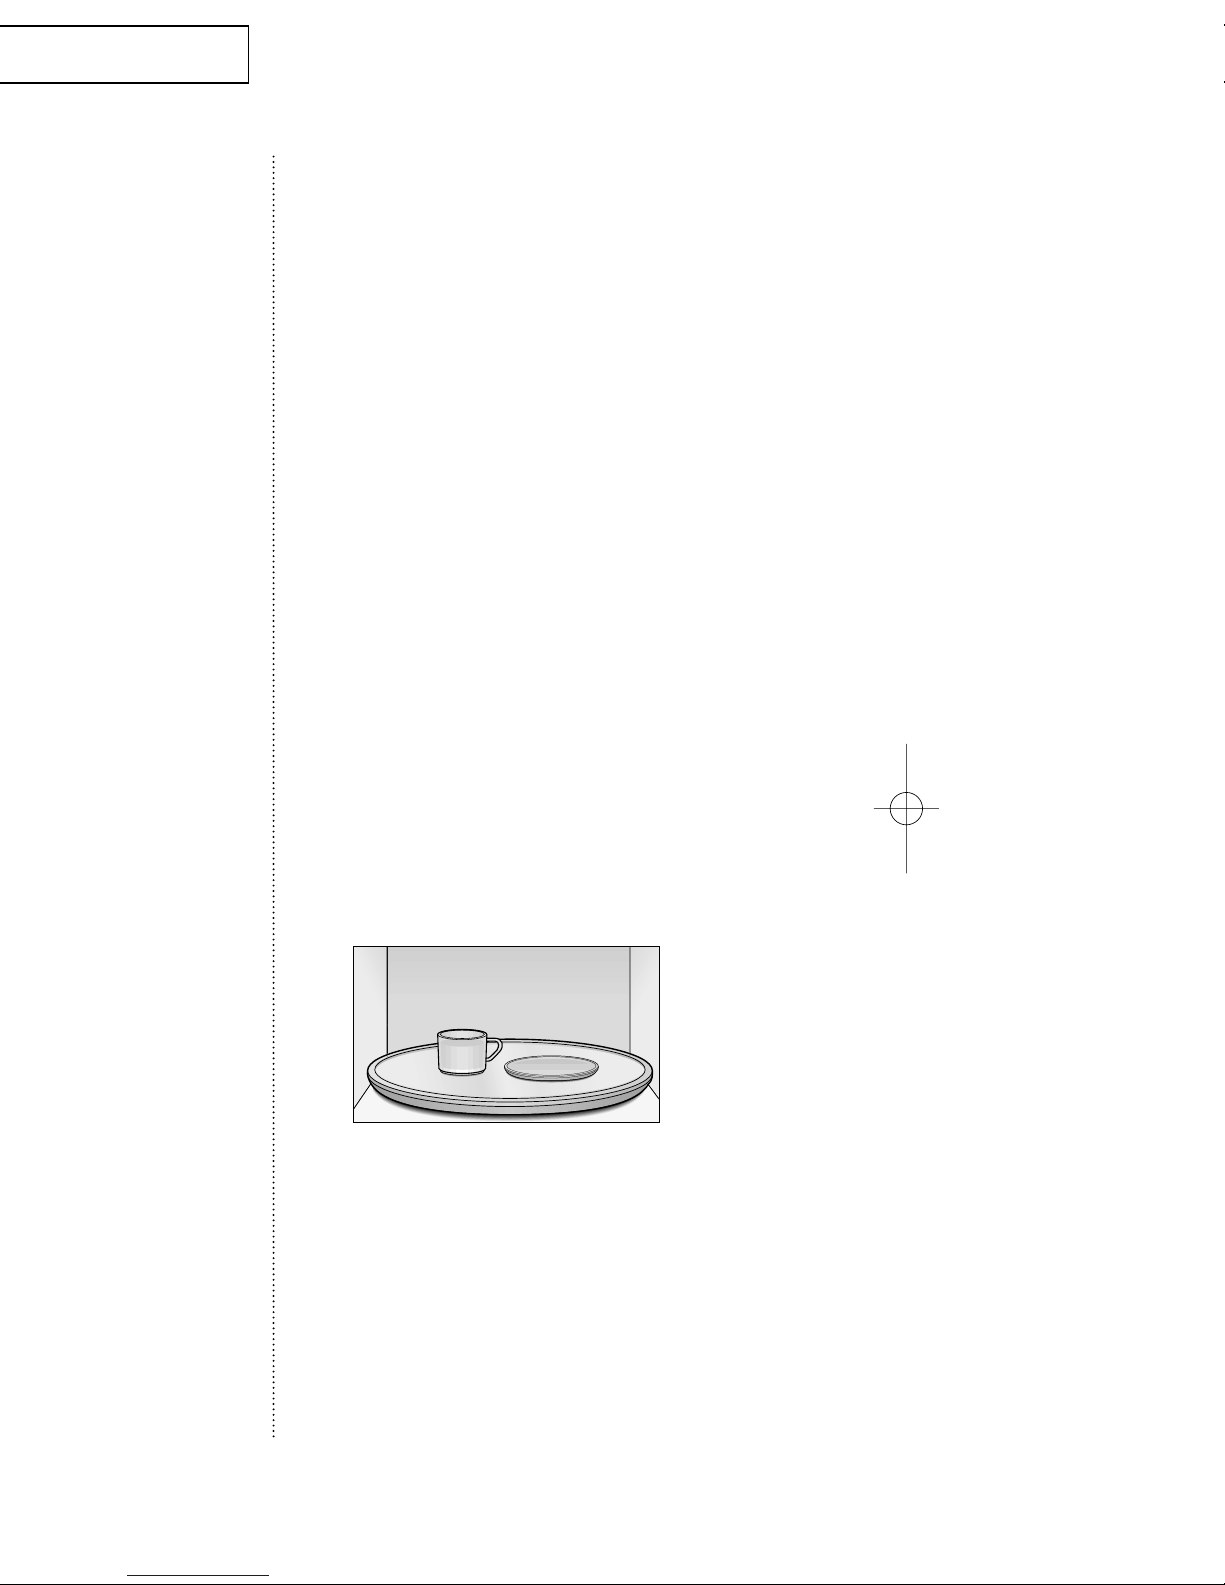
Testing Utensils
If you are not sure whether a dish is microwavesafe or not, you can perform this test:
1 Fill a 1 cup glass measuring cup with
water and put it inside your oven, next to
the dish you want to test.
2 Press the One Minute+ button once to
heat them for one minute at High power.
The water should be warm and the dish you are
testing should be cool. If the dish is warm, then it is
absorbing microwave energy and is not acceptable
for use in the microwave.

Adding Moisture
Microwave energy is attracted to water molecules.
Food that is uneven in moisture content should be
covered or allowed to stand so that the heat disperses evenly. Add a small amount of water to dry
food to help it cook.
General Tips
• Dense foods, such as potatoes, take longer to
heat than lighter foods. Foods with a delicate
texture should be heated at a low power level to
avoid becoming tough.
• Altitude and the type of cookware you are using
can affect cooking time. When using a new
recipe, use the minimum cooking time and
check the food occasionally to prevent overcooking.
• Foods with a non-porous skin or shell, such as
potatoes, eggs, or hot dogs, should be pierced
to prevent bursting.
• Frying with heating oil or fat is not recommended. Fat and oil can suddenly boil over and
cause severe burns.
• Some ingredients heat faster than others. For
example, the jelly inside a jelly doughnut will be
hotter than the dough. Keep this in mind to avoid
burns.
• Home canning in the microwave oven is not
recommended because all harmful bacteria may
not be destroyed by the microwave heating
process.
• Although microwaves do not heat the cookware, the heat is often transferred to the cookware. Always use pot holders when removing
food from the microwave and instruct children
to do the same.

Important
• After installing the oven and plugging into an
electrical outlet, do not unplug the power cord.
The gas sensor needs time to stabilize in order
to cook satisfactorily.
• It its not advisable to use the auto sensor cook-
ing feature on a continuous cooking operation,
i.e. one cooking operation immediately after
another.
• Install the oven in a well ventilated location for
proper cooling and airflow and to ensure the
sensor will operate accurately.
• To avoid poor results, do not use the Auto sen-
sor when the room ambient temperature is too
high or too low.
• Do not use volatile detergent to clean your
oven. Gas resulting from this detergent may
affect the sensor.
• Avoid placing the oven near high moisture or
gas emitting appliances, since this will interfere
with the proper performance of the Auto
Sensor.
• Always keep the inside of the oven clean. Wipe
all spills with a damp cloth.
This oven is designed for household use only.
 Loading...