

Samsung EO-BG925 User Manual

www.samsung.com
User Manual
English (USA). 05/2017. Rev.1.0
EO-BG925
Samsung U Headphones

Table of Contents
English (USA)
Español (Castellano)
3
English (USA)
Read me first
Please read this manual before using the device to ensure safe and proper use.
•
Images may differ in appearance from the actual product. Content is subject to change
without prior notice.
•
Before using the headset, make sure it is compatible with your device.
Instructional icons
Warning: situations that could cause injury to yourself or others
Caution: situations that could cause damage to your device or other equipment
Note: notes, usage tips, or additional information

4
English (USA)
Getting started
Package contents
Check the product box for the following items:
•
Headset
•
Quick start guide
•
The items supplied with the device and any available accessories may vary
depending on the region or service provider.
•
The supplied items are designed only for this device and may not be compatible
with other devices.
•
Appearances and specifications are subject to change without prior notice.
•
You can purchase additional accessories from your local Samsung retailer. Make
sure they are compatible with the device before purchase.
•
Use only Samsung-approved accessories. Using unapproved accessories may cause
the performance problems and malfunctions that are not covered by the warranty.
•
Availability of all accessories is subject to change depending entirely on
manufacturing companies. For more information about available accessories, refer
to the Samsung website.
Getting started
5
English (USA)
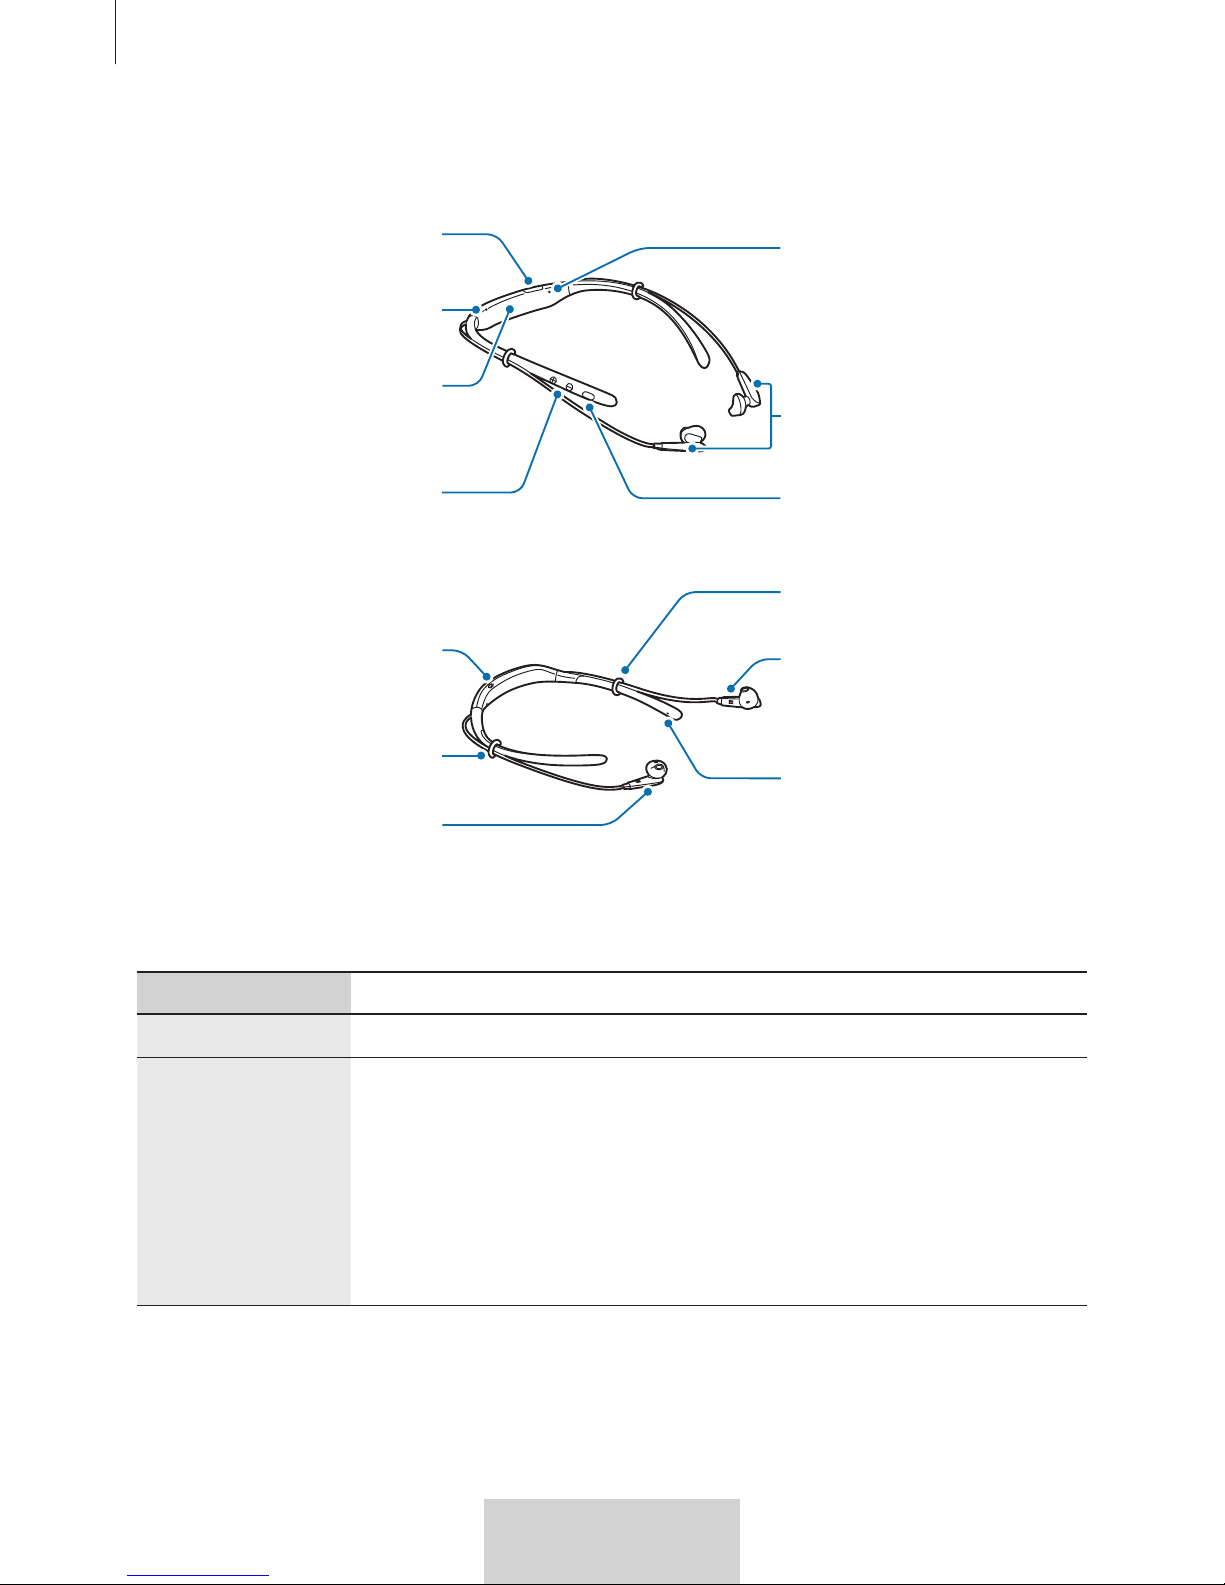
Device layout
Charger port
Multifunction/Talk
button
Notification light
Magnet
Neckband (Vibration
area)
Volume button
Microphone
Rubber o-ring
Power switch
Left earphone
Microphone
Right earphone
Rubber o-ring
Buttons and functions
Name Function
Power switch
•
Slide to turn the headset on or off.
Multifunction/
Talk button
•
Press to answer or end calls.
•
Press to play or pause multimedia files.
•
Press to reconnect devices when the connection is lost.
•
Press twice to skip to the next file during media playback.
•
Press and hold for one second to reject a call or to launch
S Voice
.
•
Press and hold for three seconds to enter Bluetooth pairing mode.
Getting started
6
English (USA)
Name Function
Volume button
•
Press to adjust the volume during a call or media playback.
•
Press and hold the Volume (-) button to skip to the next file during
media playback.
•
Press and hold the Volume (+) button to skip to the previous file
during media playback.
•
Press and hold the Volume buttons (+ and -) simultaneously for
about a second to turn the vibration feature on or off.
If the vibration feature is turned off when you restart the headset, the feature will be
turned on automatically.
Charging the battery
Charge the battery before using the headset for the first time or when the headset has been
unused for extended periods.
Use only Samsung-approved chargers and cables. Unapproved chargers or cables can
cause the battery to explode or damage the headset.
If the battery is completely discharged, the headset cannot be turned on immediately
when the charger is connected. Allow a depleted battery to charge for a few minutes
before turning on the headset.
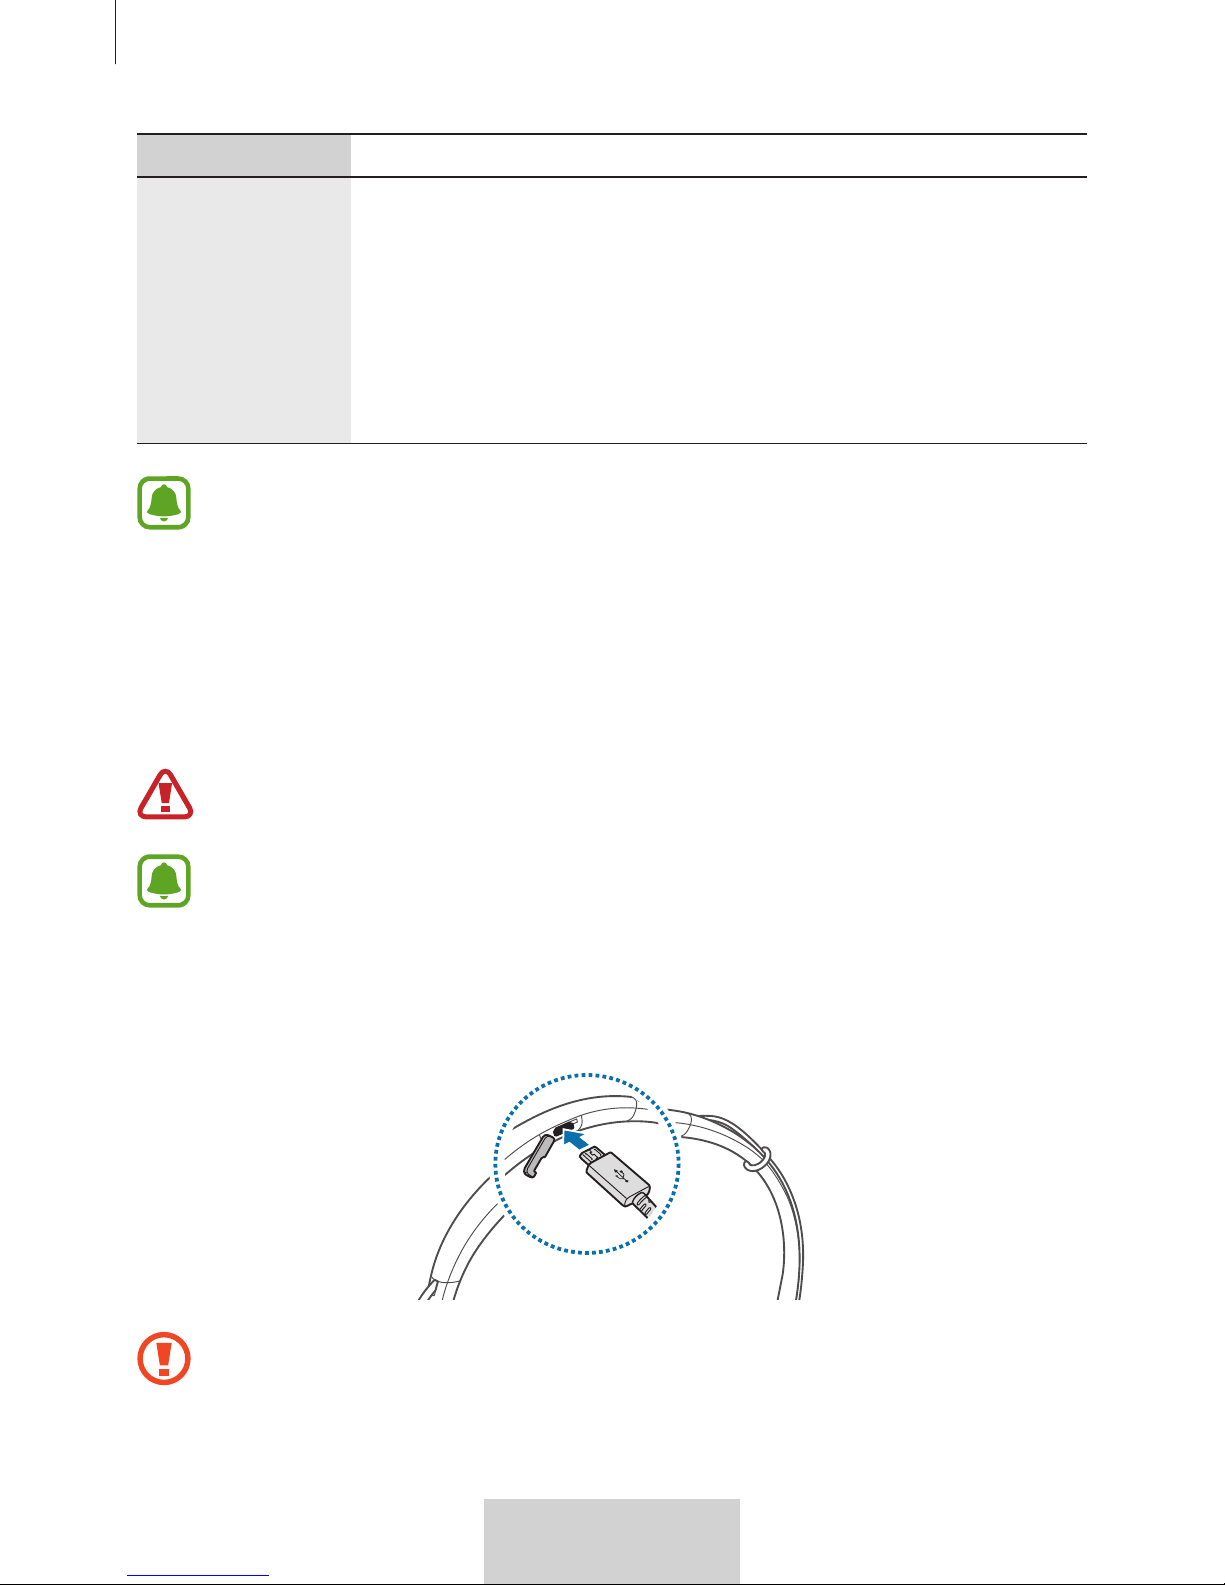
Open the charging port cover and connect the headset to a computer or the USB power
adapter via the USB cable. Plug the USB power adapter into an electric socket.
Connecting the charger improperly may cause serious damage to the headset. Any
damage caused by misuse is not covered by the warranty.
Getting started
7
English (USA)
•
You can charge the headset using the charger (sold separately).
•
The headset can be used while it is charging, but it may take longer to fully charge
the battery.
•
While charging, the headset may heat up. This is normal and should not affect the
headset’s lifespan or performance. If the battery gets hotter than usual, the charger
may stop charging.
•
If the headset is not charging properly, take the headset to a Samsung Service
Center.
After fully charging, first unplug the USB cable from the headset, and then unplug it from the
computer or the electric socket.
To save energy, unplug the charger when not in use. The charger does not have a
power switch, so you must unplug the charger from the electric socket when not in
use to avoid wasting power. The charger should remain close to the electric socket
and easily accessible while charging.
Turning the headset on and off
Slide the Power switch to turn on or off the headset.
On Off
Follow all posted warnings and directions from authorized personnel in areas where
the use of wireless devices is restricted, such as airplanes and hospitals.
Getting started
8
English (USA)
Notification light identification
The notification light alerts you to the headset’s status.
Status Color
Power on
•
Flashes blue three times
Power off
•
Flashes red three times
Bluetooth pairing
mode
•
Flashes red and blue
Connected via
Bluetooth
•
Quickly flashes blue three times
Incoming call
•
Flashes blue
Charging
•
Continuously on red
Fully charged
•
Continuously on blue
During use or in
sleep mode
•
Off
•
If the notification light does not work as described, disconnect the charger from
the headset and reconnect it.
•
The notification light may work differently depending on the connected device.

9
English (USA)
Connecting via Bluetooth
Bluetooth
About Bluetooth
Bluetooth is a wireless technology standard that uses a 2.4 GHz frequency to connect to
various devices over short distances. It can connect and exchange data with other Bluetooth
enabled devices, such as mobile devices, computers, printers, and other digital home
appliances, without connecting via cables.
Notices for using Bluetooth
•
To avoid problems when connecting your headset to another device, place the devices
close to each other.
•
Ensure that your headset and the other Bluetooth device are within the Bluetooth
connection range (10 m). The distance may vary depending on the environment the
devices are used in.
•
Ensure that there are no obstacles between the headset and a connected device,
including human bodies, walls, corners, or fences.
•
Do not touch the Bluetooth antenna of a connected device.
•
Bluetooth uses the same frequency as some industrial, scientific, medical, and low power
products and interference may occur when making connections near these types of
products.
•
Some devices, especially those that are not tested or approved by the Bluetooth SIG, may
be incompatible with the headset.
•
Do not use the Bluetooth feature for illegal purposes (for example, pirating copies of files
or illegally tapping communications for commercial purposes).
Connecting via Bluetooth
10
English (USA)
Connecting to other devices
This headset is compatible with Bluetooth-enabled devices.
1
Headset Slide the Power switch to turn on the headset.
2
Headset Press and hold the Multifunction button for three seconds to enter Bluetooth
pairing mode.
When you turn on the headset for the first time, it automatically enters Bluetooth pairing
mode.
3
Other device Activate the Bluetooth feature and search for Bluetooth devices.
For more information, refer to the other device’s user manual.
4
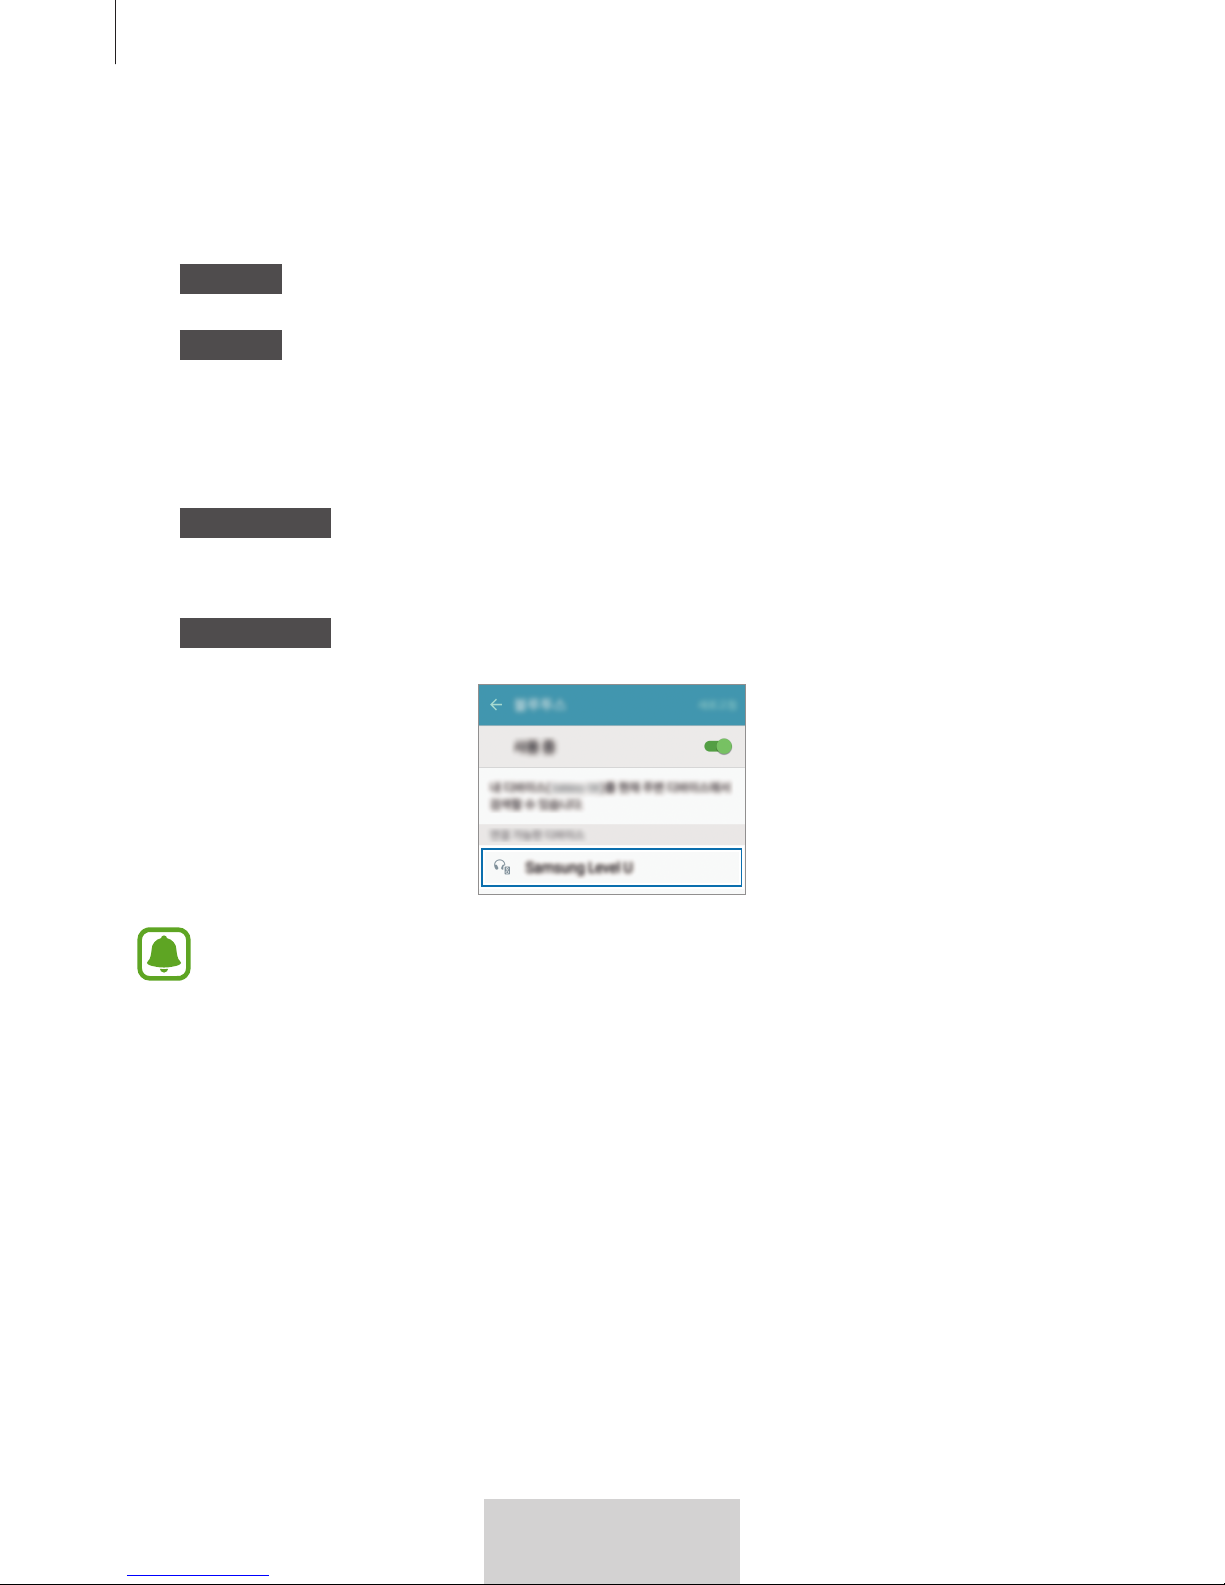
Other device Tap
Samsung U
from the list.
•
If the Bluetooth connection fails or other device cannot locate the headset, remove
the device’s information from the other device’s list. Then, try to connect again.
•
If the headset does not work properly, restart it or try to pair the devices again.
•
The Bluetooth connection range and sound quality may vary depending on the
connected devices.

Connecting via Bluetooth
11
English (USA)
Connecting additional devices
The headset can connect to up to two Bluetooth-enabled devices at the same time. When
you connect the headset to two devices, the last device you connect is recognized as the
primary device. The other device is recognized as the secondary device.
1
Connect the headset to a device via Bluetooth.
2
Press and hold the Multifunction button for three seconds to re-enter Bluetooth pairing
mode.
The first device will be disconnected.
3
Connect the headset to a second device.
4
Reconnect the headset to the first device.
This feature may not be supported on some devices.
Reconnecting or disconnecting the devices
Reconnecting the devices
When your headset is disconnected from the device due to the distance between the devices,
bring the devices closer together to pair them again.
If the connection is lost due to a problem with the connected device, press the Multifunction
button on the headset. You can also access the Bluetooth menu on the connected device to
pair them again.
Disconnecting the devices
Press and hold the Multifunction button for three seconds. Then, the connection ends and
the headset enters Bluetooth pairing mode.
You can also end the connection by turning off the headset. When you turn on the headset
again and the devices are in range, the headset automatically connects with the most
recently paired device.
12
English (USA)
Using the headset
Wearing the headset
The headset contains magnets in its earbuds. The American Heart Association (US)
and the Medicines and Healthcare Products Regulatory Agency (UK) both warn
that magnets can affect the operation of implanted pacemakers, cardioverters,
defibrillators, insulin pumps or other electro medical devices (collectively, “Medical
Device”) within the range of 15 cm (6 inches). If you are a user of any of these Medical
Devices, DO NOT USE THE HEADSET UNLESS YOU HAVE CONSULTED WITH YOUR
PHYSICIAN.
•
Do not store your headset near magnetic fields. Magnetic stripe cards, including
credit cards, phone cards, passbooks, and boarding passes, may be damaged by
magnetic fields.
•
Do not bend or twist the headset excessively.
•
Do not apply excessive pressure to the headset.
•
Do not pull on any part of the headset excessively.
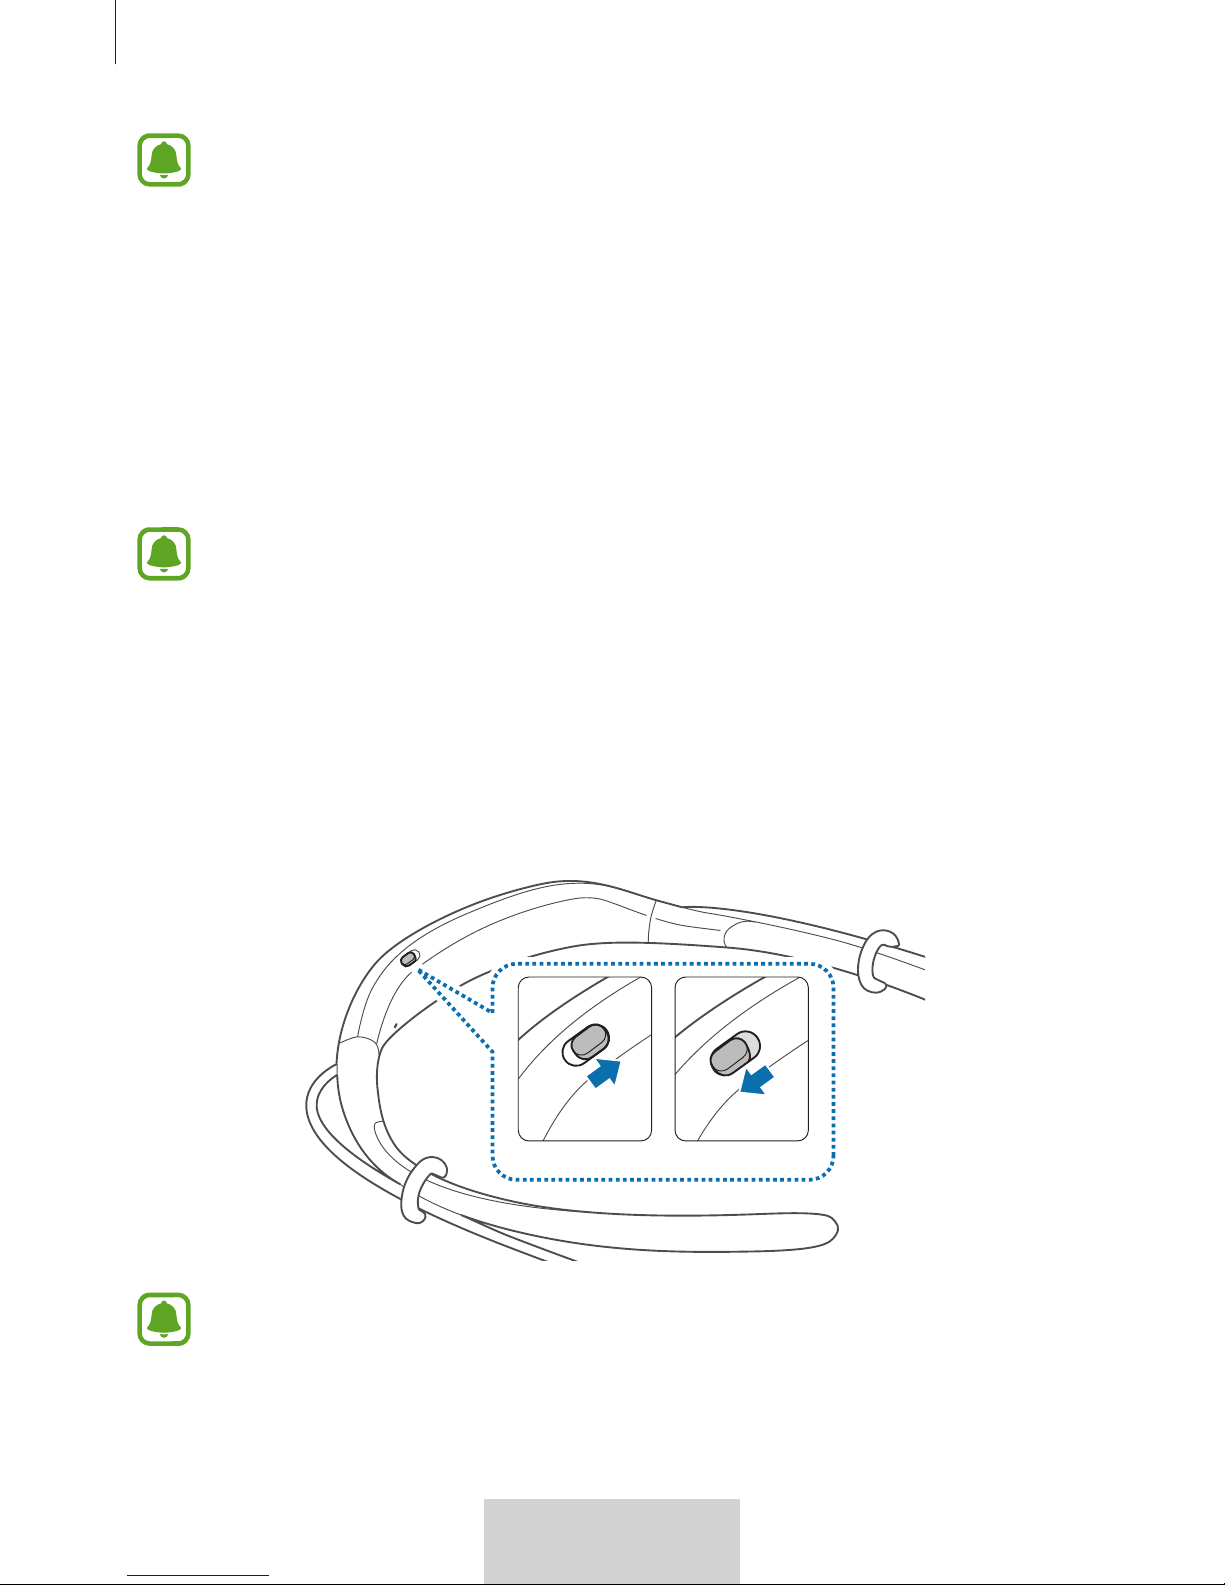
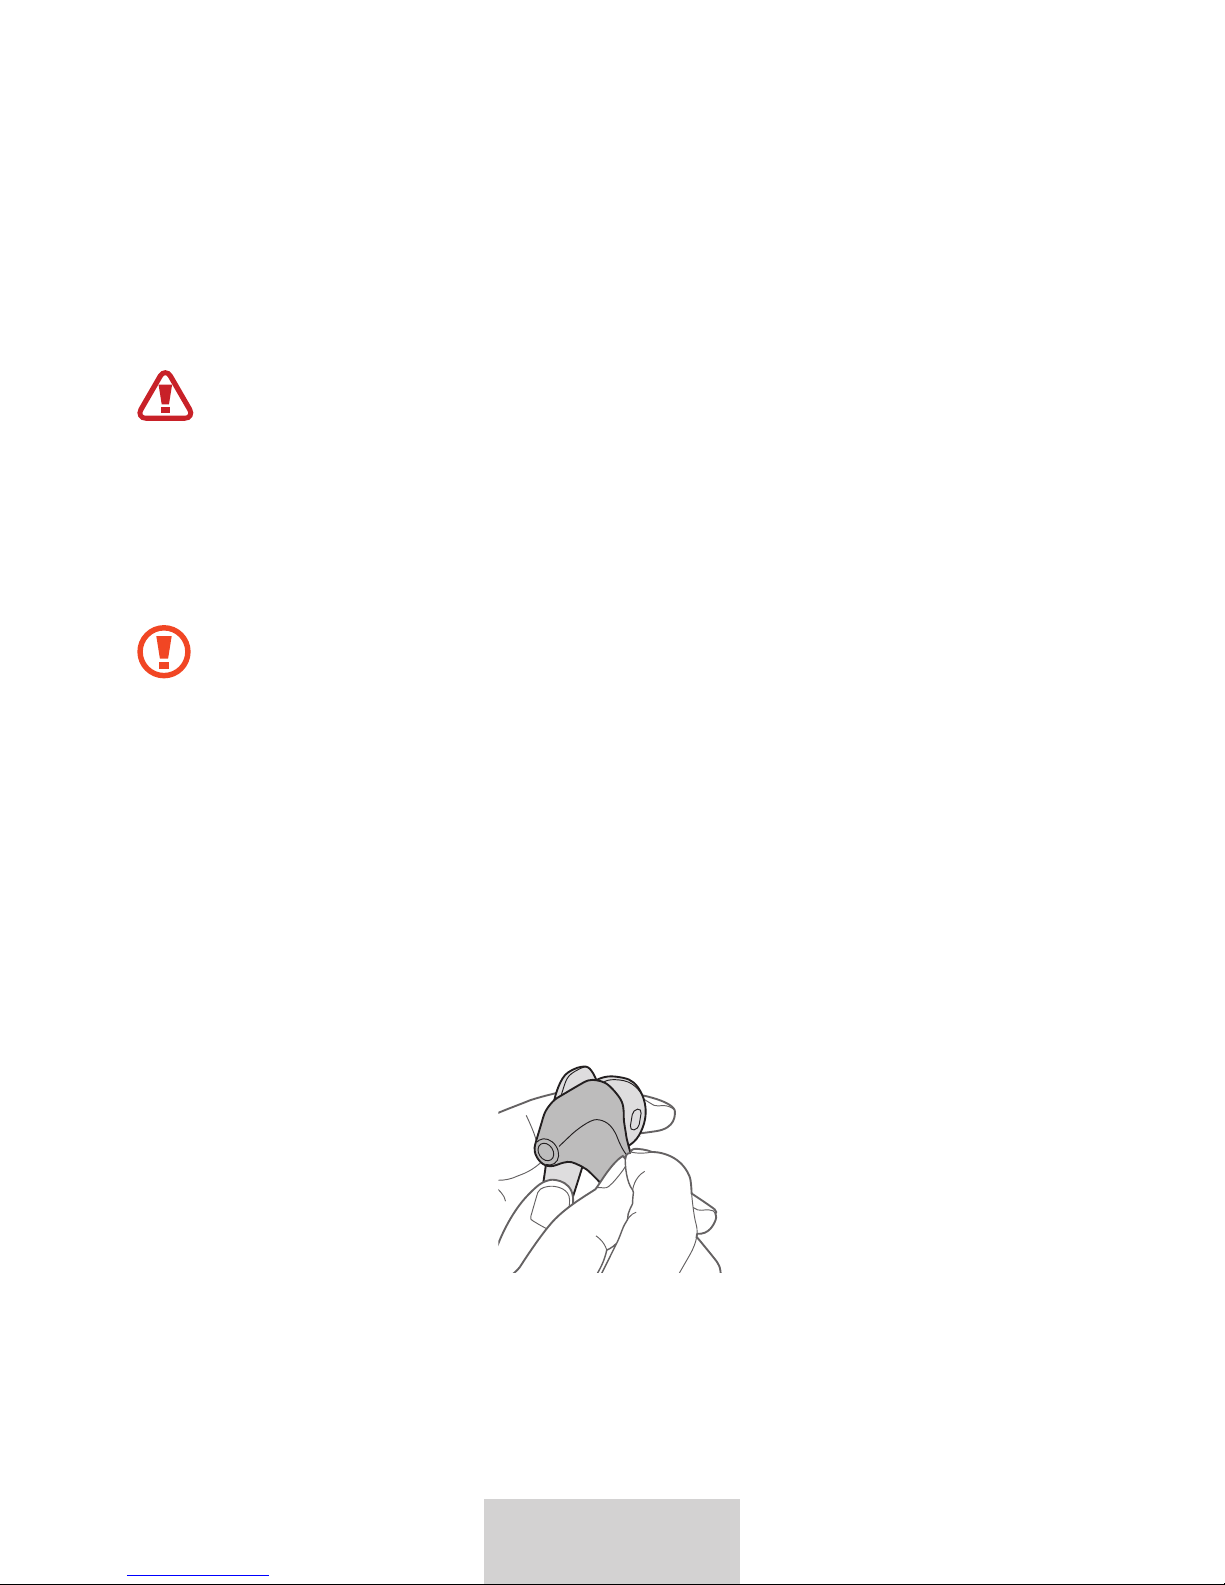
1
Select the earbud tip for the left or right ear.
Each earbud tip is marked with L for the left ear and R for the right ear.
2
Cover the latch at the bottom of the earphone with the earbud tip.
 Loading...