

Samsung 8 CHANNEL, 16 CHANNEL Quick Manual
8 CHANNEL/16 CHANNEL DVR
www.samsungtechwin.co.kr
www.samsungcctv.co.kr
www.samsungipolis.co.kr
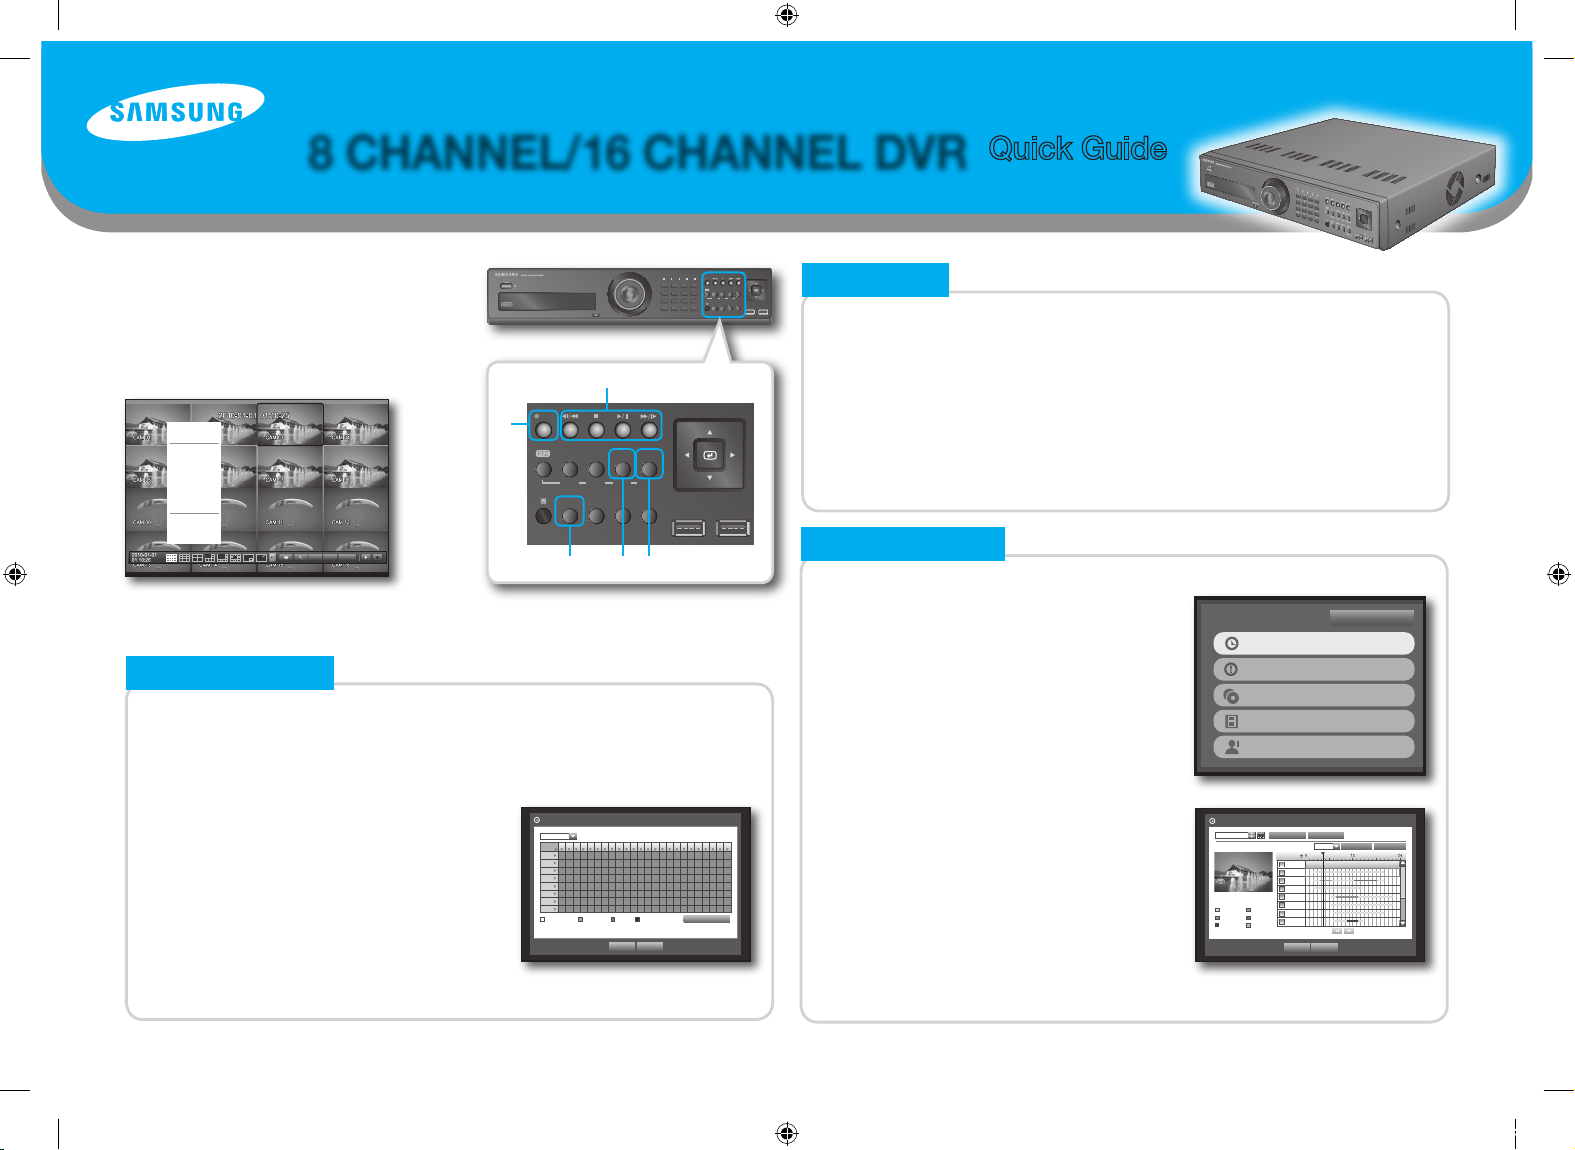
Switching the split mode
Pressing the [MODE] button it switches the screen in the following between 16-, 9-,
4-, 6-, 8-, 13- split screen, PIP, and auto sequence mode in order.
When in live mode, right-click the mouse to display the context menu and select
<Scene mode>.
Selecting a single channel
Press the number button to select the respective channel on the screen.
Or, double click the mouse on the desired channel on screen.
2. LIVE
Manual recording
Pressing the [REC] button starts or ends the recording.
When in live mode, right-click the mouse to display the context menu and select <Record>.
Recording Schedule
Press the [MENU] button.
Select <Record>-< Recording Schedule> using
[▲▼◄►] buttons then press [ENTER] button.
Select channel, day and time to be recorded.
Each press of a selected cell will cycle through
<No Recording>-<Continuous>-<Event>-
<Both(Cont&Evnt)>.
Press [ENTER] or <OK> button.
For more information, refer to "Setting the Recording" section in the user manual.
1.
2.
3.
4.
5.
1. RECORD
Selecting a search type
Press the [SEARCH] button.
When in live mode, right-click the mouse to display
the context menu and select <Search>.
Select a desired search mode.
Searching by time
Select <Time Search> in the <Search> menu.
Select a date to search.
The record data on the specific date will be listed.
The display bar is different according to the data type.
So check the data type color key in the left pane.
Select time using time bar on search table.
Select a data item and press <Play>.
The screen switches to the data playback mode.
To search by event, backup, POS and Motion, refer to "Search" section in the user manual.
1.
2.
1.
2.
3.
4.
5.
3. SEARCH
All
0 1 2 3 4 5 6 7 8 9 10 11 12 13 14 15 16 17 18 19 20 21 22 23
Sun
Mon
Tue
Wed
Thu
Fri
Sat
Hol
No Recording Continuous Event Both(Cont&Evnt)
Apply to All CH
OK Cancel
Recording Schedule
CH1
Time Search
2010-01-01
Play Return
2010/01/01 00:01:17
Standard Schedule
Motion Sensor
V.Loss Etc
Go to First Go to Last
Zoom In Zoom Out
All Data
CAM 01
CAM 02
CAM 03
CAM 04
CAM 05
CAM 06
CAM 07
Previous/Next Page
00:01
Overlapped Data List1
Time Search
Event Search
Backup Search
POS Search
Motion Search
Return
Quick Guide
PTZ Alarm Freeze
Full Screen
Spot Out
PTZ Control
ZOOM
Audio
Freeze
Stop Alarm
Record
Play
Shutdown
Hide Launcher
Logout
<Using The Mouse Menu>
1 2 3 4
5 6 7 8
9 10 11 12
13 14 15 16
ALARM HDD NETWORK BACKUP REC
DVD RECORDER
REC
ZOOM
MODE
FREEZE
AUDIO
BACKUP
ALRAM
SEARCH
TELE WIDE VIEW PRESET
MENU
RETURN
USB
OPEN/CLOSE
REC
ZOOM
MODE
FREEZE
AUDIO
BACKUP
ALRAM
SEARCH
TELE WIDE VIEW PRESET
MENU
RETURN
USB
d
a
b e c
<Using The Button>
This is a quick guide covering some of the more
frequently used features only.
For more more information about the product,
please refer to the User Manual.
Z0000000000A-SRD-16XX,8XX-ENGLIS1 1 2010-10-12 오전 11:00:30
8 CHANNEL/16 CHANNEL DVR
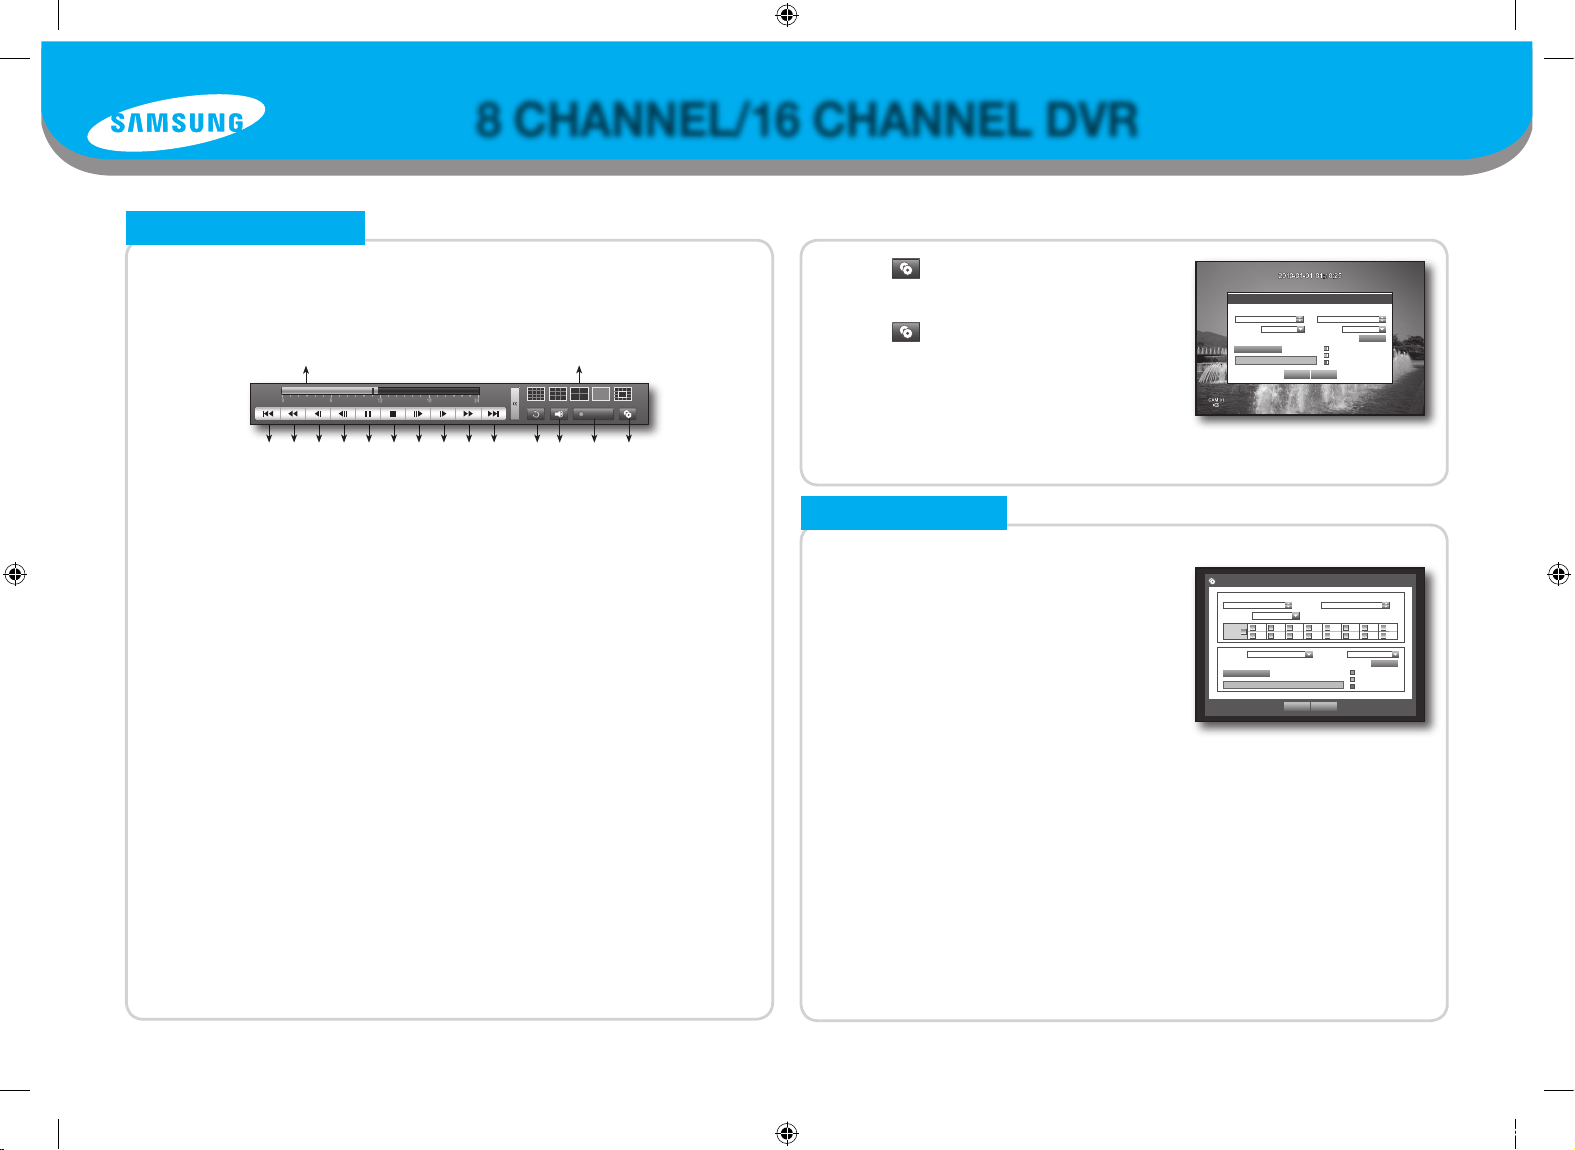
Using the playback button
If you decide to playback any desired data, you can see launcher menu appear on the screen
as shown below.
You can also use the button on the front panel or remote control to manage palyback.
a Indicates the current playback point, and can be used to move.
b Moves backward by unit time.
c Used for quick backward search while in Play. (-x2, -x4, -x8, -x16, -x32, -x64)
d Used for backward frame-by-frame search while in PAUSE.
e Moves backward by 1 frame.
f Pause
g Stops playback and moves to the live screen.
h Moves forward by 1 frame.
i You can play up to 4 channels in real time.
j Used for quick forward playback. (x2, x4, x8, x16, x32, x64)
k Moves forward by unit time.
l Return to the previous.
m Sets Audio ON/OFF.
n Records all channels in Live mode.
o Begins backup of the selected section of the video being played, with the specified starting/ending point.
p Select a desired play mode or press the [MODE] button to switch the mode in the sequence of 1-split, 13-
split, 16-split, 9-split and 4-split.
Backup during Playback
While replaying the desired data you can back up at any point.
4. PLAYBACK
Going into Backup menu
Press the [MENU] button.
When in live mode, right-click the mouse to display
the context menu and select <Backup>.
Select <Backup> using [◄►] buttons.
then press [ENTER] button.
Starting Backup
The application may slow down during the backup.
You can switch to the menu screen during the backup in operation, but playback of data is not
available.
When a CD/DVD or memory device is used for backup, it is not available to use the full capacity of
the media since the system consumes a part of its capacity.
Sets the <Start> and <End> time, channel, device and type.
Check capacity before starting backup.
When the backup setup is done, press <OK>.
If no available device is recognized for backup, <OK> button is not activated.
When backup is done, a message shown.
1.
2.
3.
J
1.
2.
3.
4.
5. BACKUP
Backup
Used
Free
Check capacity
OK Cancel
Backup
Start
End
2010-01-01 00:01:06 ~ 2010-01-01 08:25:45
Overlap List0
Device USB-Storage
Type AVI
Folder \20100101\
Filename 0001
1 2 3 4 5 6 7 8
9 10 11 12 13 14 15 16
ALL
Change
Click < > to set the current time to the start time
of backup; you can specify a backup area using the
mouse (yellow triangle).
Click < > again to set the current time to the end
time of the backup and the “Backup Range” window
appears.
Type : Supports formats of DVR, AVI and SEC.
Device : Select a backup device.
Check Capacity : Enables you to check the capacity of the selected storage device.
Click <Back up> button to start backup.
1.
2.
-
-
-
3.
English
Backup 0
Used 0
Free 0
Check capacity
Backup Cancel
Backup Range
Start End
2010-01-01 00:01:06 2010-01-01 08:25:45
Device USB-Storage Type DVR
Folder \20100101\ Filename 0001
Change
REC
a
b c d e f g h i j k l m n o
p
Z0000000000A
Z0000000000A-SRD-16XX,8XX-ENGLIS2 2 2010-10-12 오전 11:00:31
 Loading...