


TD-20

SMARTRIGGER USERS GUIDE
Version 1.4
1/30/2005
Users Guide
Smartrigger Electronic Percussion Products

SMARTRIGGER USERS GUIDE
Version 1.4
1/30/2005
Table of Contents
Table of Contents....................................................................................................................... 2
Introduction ................................................................................................................................ 3
Smartrigger Cymbal Features .................................................................................................... 4
Setup ......................................................................................................................................... 5
Quick Setup............................................................................................................................ 5
Connecting the Cable............................................................................................................. 5
Proper Cymbal Mounting........................................................................................................ 6
Mounting the Hi Hat Cymbals................................................................................................. 7
Using a Fixed Hi Hat Arm ................................................................................................... 7
Using a Standard Hi Hat Stand........................................................................................... 7
Hi Hat Clutch Mounting....................................................................................................... 8
Installing the Hi Hat Cable .................................................................................................. 8
Triggering the Dual-Zone Crash and Hi Hat Cymbals ............................................................ 9
Triggering the Dual-Zone Ride ............................................................................................. 10
Triggering the Triple-Zone Ride............................................................................................ 11
Setting Your Trigger Inputs................................................................................................... 12
Roland Drum Module Settings.............................................................................................. 13
Settings for the Roland TD-20 and Roland TD-12 ............................................................ 13
Settings for the Roland TD-10 .......................................................................................... 14
Settings for the Roland TD-8 ............................................................................................ 15
Settings for the Roland TD-6/6V ....................................................................................... 16
Settings for the Roland TD-3 ............................................................................................ 17
Settings for the Roland TMC-6 ......................................................................................... 18
Yamaha Drum Modules .................................................................................................... 19
Alesis Drum Modules........................................................................................................ 19
Ddrum Modules ................................................................................................................ 19
Care and Feeding of your Smartrigger Cymbals...................................................................... 19
Transporting Your Cymbals.................................................................................................. 20
Cleaning your cymbals ......................................................................................................... 20
Cleaning the Top Surface ................................................................................................. 20
Cleaning the Bottom Surface ............................................................................................ 20
Warranty Information ............................................................................................................... 21
SMARTRIGGER USERS GUIDE
Version 1.4
1/30/2005
Introduction
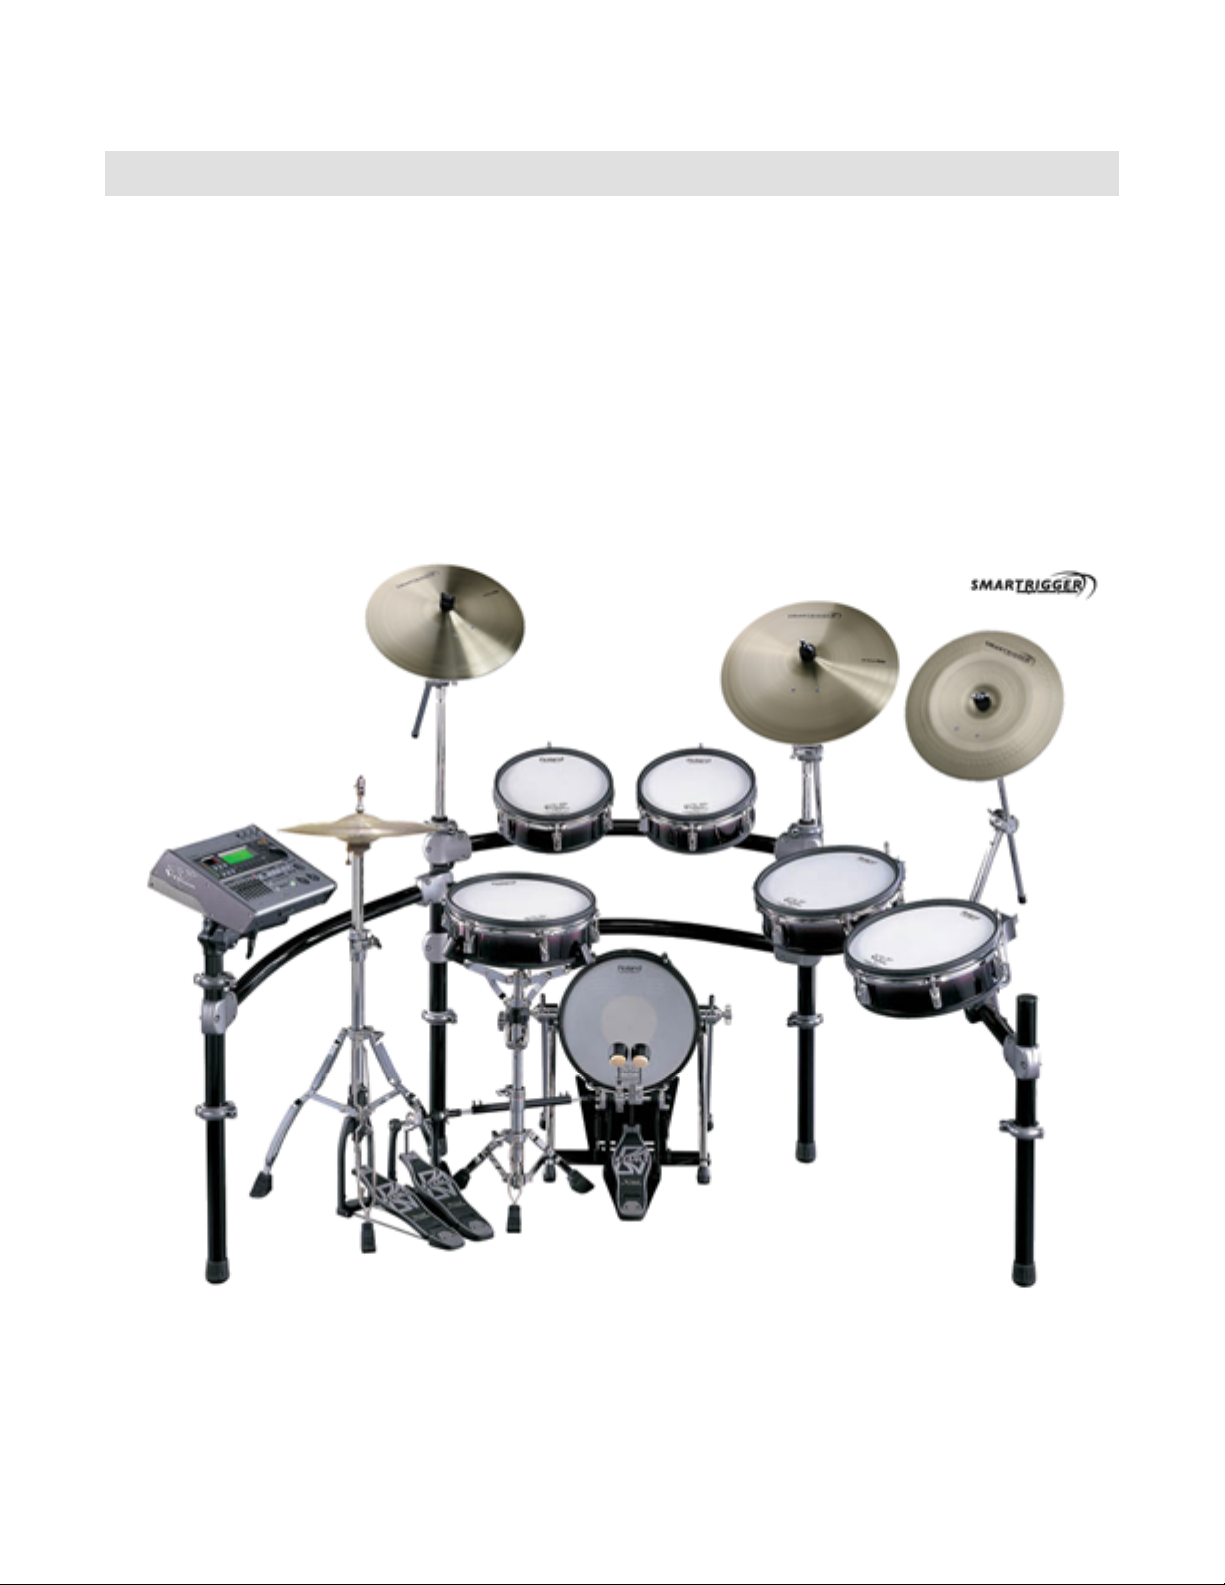
Thank you for purchasing Smartrigger Electronic Cymbals – the biggest advance in electronic
drumming since MIDI! Smartrigger cymbals were designed to meet the needs of today’s
electronic drummer, providing the ultimate electronic cymbal triggering, aesthetics, and
playability available anywhere, at any price.
This user’s guide provides simple instructions for getting your new Smartrigger Cymbals
integrated into your electronic drum setup.

SMARTRIGGER USERS GUIDE
Version 1.4
1/30/2005
Smartrigger Cymbal Features
Smartrigger Electronic Cymbals feature many improvements over previous electronic cymbals
including:
Authentic Playability is accomplished by using real brass alloy metal cymbals. This
means that your sticks respond to the playing surface the exact same way as they do
when using real acoustic cymbals.
Acoustic Dampening – our special patent pending dampening layer provides several
important features:
o Vibration dampening to reduce the actual sound of the cymbal by more than
90%.
o Waveform reduction reduces the secondary cymbal vibrations eliminating double
triggering.
o Shock buffering from the trigger housing.
Authentic Aesthetics means that your cymbals look like cymbals not pieces of
recycled black rubber tires. The vibration dampening layer on the bottom of the cymbal
is clear! This allows the bottom of the cymbal to look just like a real acoustic cymbal
when mounted on a stand. You audience will never know you are using electronic
cymbals!
Natural Swinging Motion means that your cymbals respond and swing naturally when
struck, allowing you to concentrate on your playing while reducing the negative effects
on the human body which come from hitting stationary objects that have no “give”. The
cymbals absorbs the impact, not your body.
New Dual Piezo Designs - Several of the Smartrigger Cymbals provide a new patent
pending “ring” piezo sensor centrally located under the bell of the cymbal. Mounting
directly under the bell, at the center, allows even edge to edge triggering and authentic
bell playing on a single cymbal surface.
Easier Choke – a wider 180 degree choke switch provides easier crash cymbal choking
on half of the cymbal’s surface.

SMARTRIGGER USERS GUIDE
Version 1.4
1/30/2005
Setup
Electronic cymbals produce no sound themselves and require the use of external sound
modules in order to be used as musical instruments. Smartrigger Electronic Cymbals are
compatible with many drum modules on the market including those manufactured by Roland,
Yamaha, Alesis, and Ddrum and can also be used to trigger sounds on any MIDI instrument
using a “Trigger to MIDI” interface such as the Roland TMC-6.
Quick Setup
1. Insert the “right angle” plug into the trigger housing on the underside of the cymbal.
2. Place the cymbal onto a cymbal stand.
3. Connect the other end of the cable to your drum module.
4. Set the trigger type specified for your cymbal and module.
5. Adjust the trigger settings to suit your needs.
Connecting the Cable
Each Smartrigger cymbal comes complete with a stereo 1/4” male to male 10 foot cable. One
end of the cable had a “right angle” make plug and the other has a straight male plug. The
“right angle” end should be connected to the trigger housing on the bottom of the Smartrigger
Cymbal and the straight end should be connected to the trigger input on your module.
You can tell a “stereo” cable from a “mono” cable by the number of black rings on the plug. A
stereo cable will have 2 black rings and a mono cable will have only one. Typically, a dual-
zone or dual-piezo cymbal will require a stereo cable. A single zone cymbal can use a stereo
or mono cable. We include stereo cables with all Smartrigger Cymbals so you don’t have to
worry about moving dual-zone cymbal to a different stand only to find out you don ‘t have the
proper cable wired to that stand.
SMARTRIGGER USERS GUIDE
Version 1.4
1/30/2005
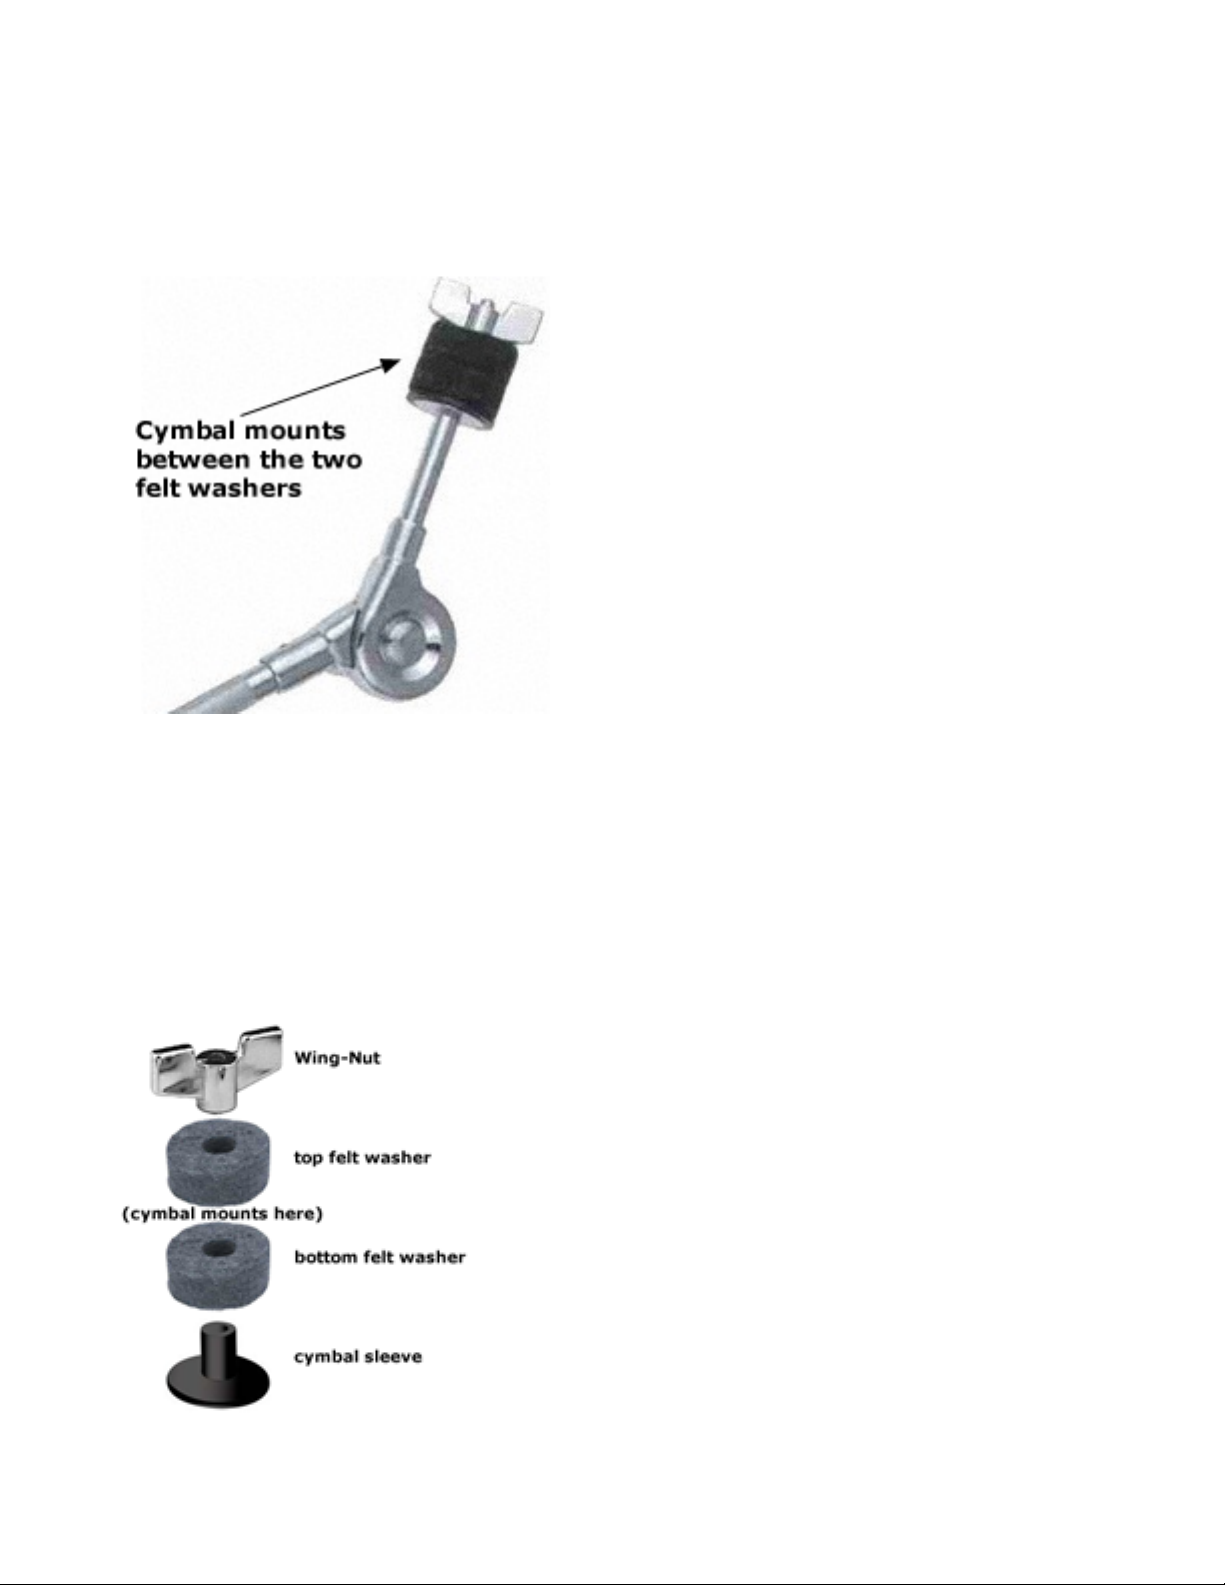
Proper Cymbal Mounting
Smartrigger cymbals are designed to be mounted on any standard cymbal stand or mounting
arm.
Most stock cymbal stands come with a 6mm or 8m threaded mounting rod, a series of washers
and a wing-nut. You Smartrigger cymbal should be mounted between the two felt washers that
come with almost all cymbals stands. If you need additional cymbal hardware, any drum shop
or music store will have these in stock as they are considered replacement accessories and
should be replaced when they are worn out.
Gibraltar cymbal arms are very good for acoustic and Smartrigger electronic cymbals as they
come standard with a nice ‘T’ shaped black plastic cymbal sleeve. Alternatively, you can
always use Aquarian Cymbal Springs or other mounting systems with a standard 1/2” bore.
SMARTRIGGER USERS GUIDE
Version 1.4
1/30/2005
Note that you CAN NOT use a cymbal sleeve with the Ride cymbal as it already has a built-in
sleeve. Make sure to use felt washers on the top and bottom of the ride.
Mounting the Hi Hat Cymbals
The Smartrigger hi hat cymbals offer the best of both worlds and are designed to be mounted
on a fixed hi hat arm or standard hi hat stand. Your choice of mounting will depend on what
type of hi hat controller you are using and how much hardware you want to lug around. The
Smartrigger hi hat is only the trigger. The controller is responsible for the changing of
sound between open and closed.
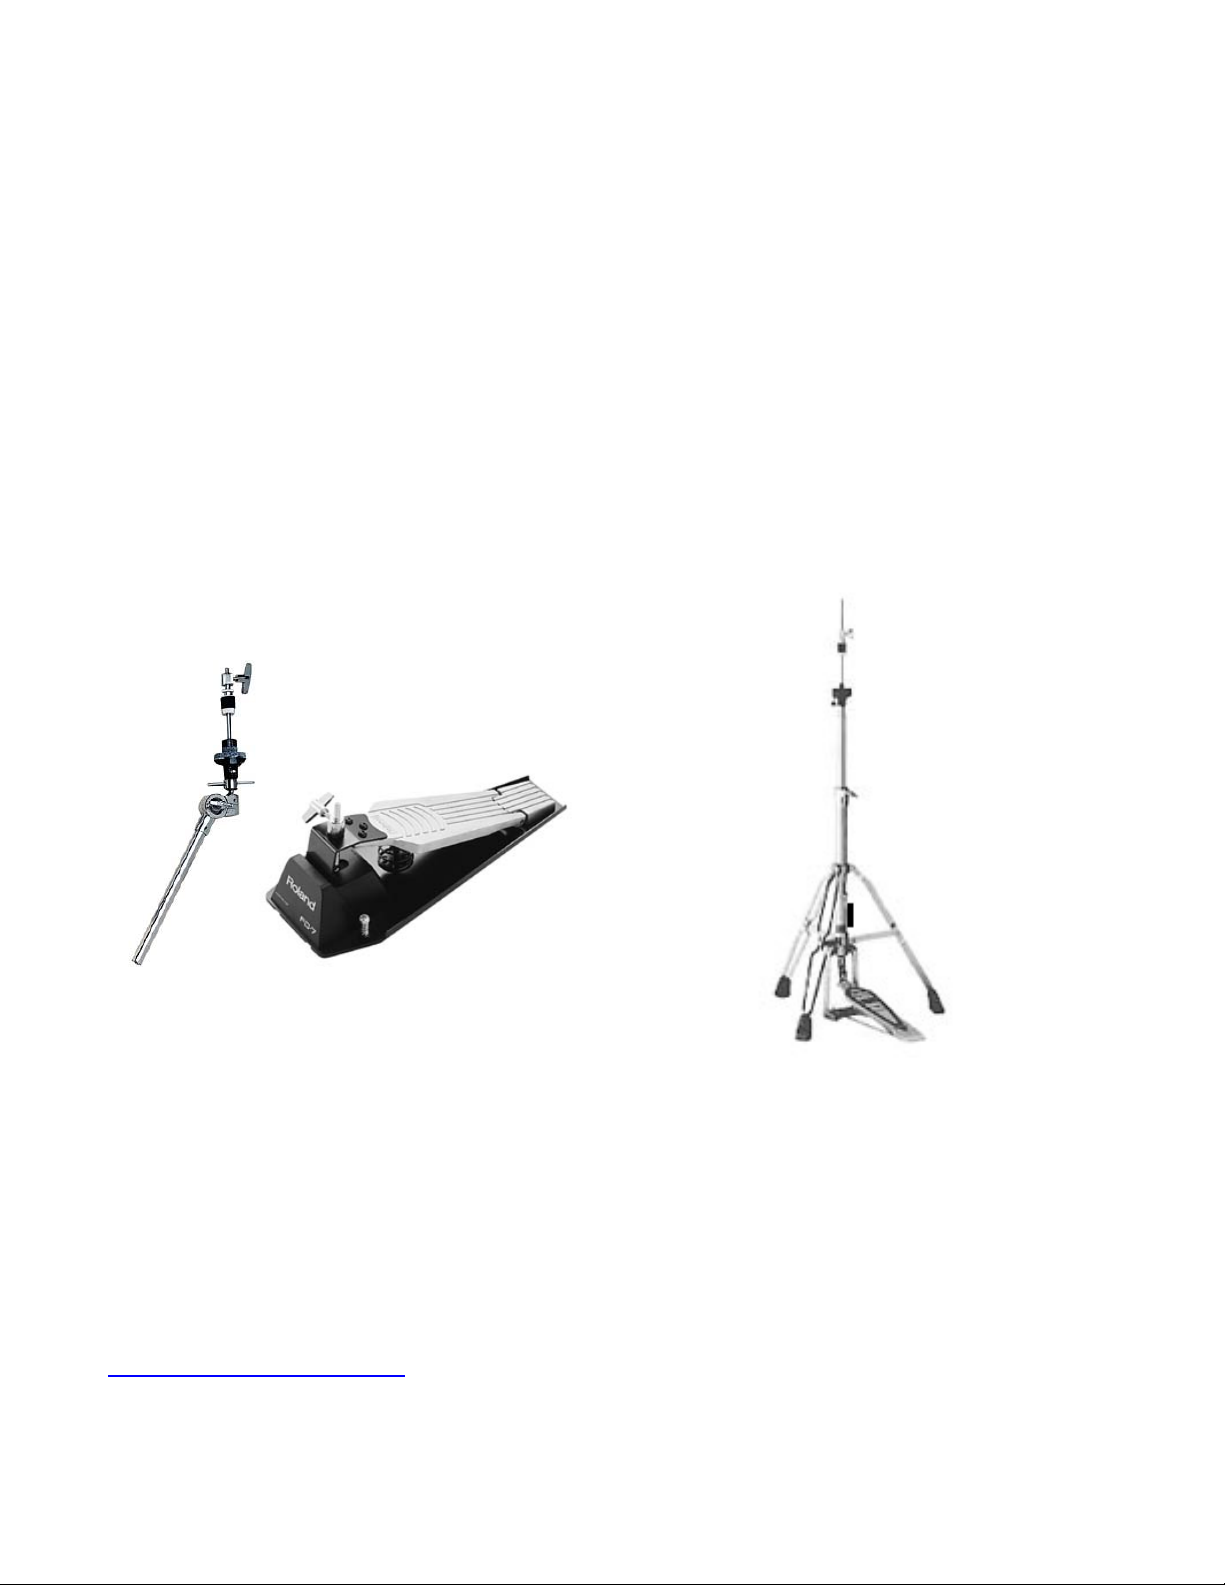
Using a Fixed Hi Hat Arm
If you are using a typical hi hat controller pedal such as the Roland FD-7 or FD-8, you’ll want to
mount your Smartrigger hi hats on a fixed hi hat arm. These are manufactured by most drum
hardware companies and are available from your favorite drum shop. This is the most popular
mounting method if you are using a Roland drum modules.
Fixed Hi Hat Arm w/ Roland FD-7 Pedal
Standard Hi Hat stand w/ Visu-Lite RHC-100
Using a Standard Hi Hat Stand
Advanced users can mount your Smartrigger hi hats onto a standard hi hat stand only if you
are using the appropriate controller (like the VisuLite RHC-100, Pintech Full Range HH10CV
Hi Hat Controller, or Hart Epedal II). These controllers attach to your stand’s pedal and provide
the electronics to create the variable positions between the open and closed hi hat sounds.
These controllers are available from specialty electronic drum shops like Drumbalaya
http://www.drumbalaya.com.
Note that these controllers do not provide the foot pressure feature that the Roland VH-12 Hi
Hat system provides when using a Roland TD-20 module.
 Loading...