


63-973.fm Page 1 Friday, January 7, 2000 7:45 AM
Cat. No. 63-973
OWNER’S MANUAL
Please read before using this equipment.
Radio-Controlled Clock
with Thermometer
63-973.fm Page 2 Friday, January 7, 2000 7:45 AM
FEATURES
Your RadioShack Radio Controlled Clock with Thermometer combines a simple design with advanced technology.
You can set the clock so it automatically sets the time and date, using a a 60 kHz longwave radio signal from radio station WWVB. (This station broadcasts the time according to the U.S. government’s atomic clock in Boulder, Colorado.) The clock checks the radio signal several times each day and automatically updates the time and date, providing the most accurate time possible. Or, if you are unable to receive the time-setting signal, you can set the clock manually.
Its other features include:
Large Liquid Crystal Display — makes the clock easy to read from across the room. The display shows the current time and alarm time, the time zone you are in, the indoor temperature, and the day of the week.
Four Time Zones — let you see the time for Pacific, Mountain, Central, or Eastern time zones.
Snooze Control — temporarily silences the alarm for about 8 minutes so you can sleep a little longer.
Crescendo Alarm — at the set alarm time, the clock sounds a series of beeps that gradually increase in volume.
Thermometer — displays the temperature between 23° and 122°F (–5° to 50°C).
Mounting Options – you can place the clock on a flat surface using the supplied stand, or mount it on a wall using the supplied mounting bracket.
Low Battery Indicator — appears when the battery is weak.
© 2000 Tandy Corporation.
All Rights Reserved.
RadioShack is a registered trademark used by Tandy Corporation.
2

63-973.fm Page 3 Friday, January 7, 2000 7:45 AM
PREPARATION
INSTALLING BATTERIES |
Notes: |
Your clock requires two AA batteries (not supplied) for power. For the best operation and longest life, We recommend RadioShack alkaline batteries.
Cautions:
•Use only fresh batteries of the required size and type.
•Do not mix old and new batteries, different types of batteries (standard, alkaline, or rechargeable), or rechargeable batteries of different capacities.
1.Pull the tab on the battery compartment cover at the back of the clock to remove the cover.
2.Place the batteries in the compartment as indicated by the polarity symbols (+ and –) marked inside.
3.Replace the cover.
•When BATT flashes on the display, replace the batteries with fresh ones.
•If the clock does not operate after you install the batteries, remove them and wait about five seconds until the display clears. Then reinstall the batteries.
As soon as you install the batteries, all display segments briefly appear. Then AM 12:00 and the seconds display appear. 1M1D appears, indicating January 1, and the clock displays the current indoor temperature. To change the display language, see “Manually Setting the Time, Date, and Language” on Page 6.
For about 2 minutes after you install the batteries, the clock scans for the radio signal while  flashes.
3
63-973.fm Page 4 Friday, January 7, 2000 7:45 AM
The clock also automatically shows a time zone to the left of the time. While the clock is scanning for a signal, you can set it (if necessary) to show your time zone. To change the time zone, repeatedly press ZONE until the desired time zone (PACIFIC, MOUNTAIN,
CENTRAL, or EAST) appears.
Note: You must reset the time zone each time you install batteries.
MOUNTING
You can place the clock on a flat surface using the built-in stand, or mount it on a wall using a screw (not supplied).
Selecting a Location
Choose an indoor location:
•where the clock will not be in direct sunlight
•away from heat or cold sources such as stoves, heating and air conditioning vents, and radiators
•not near a TV, high power cable, or metal table (because these could interfere with radio signal reception)
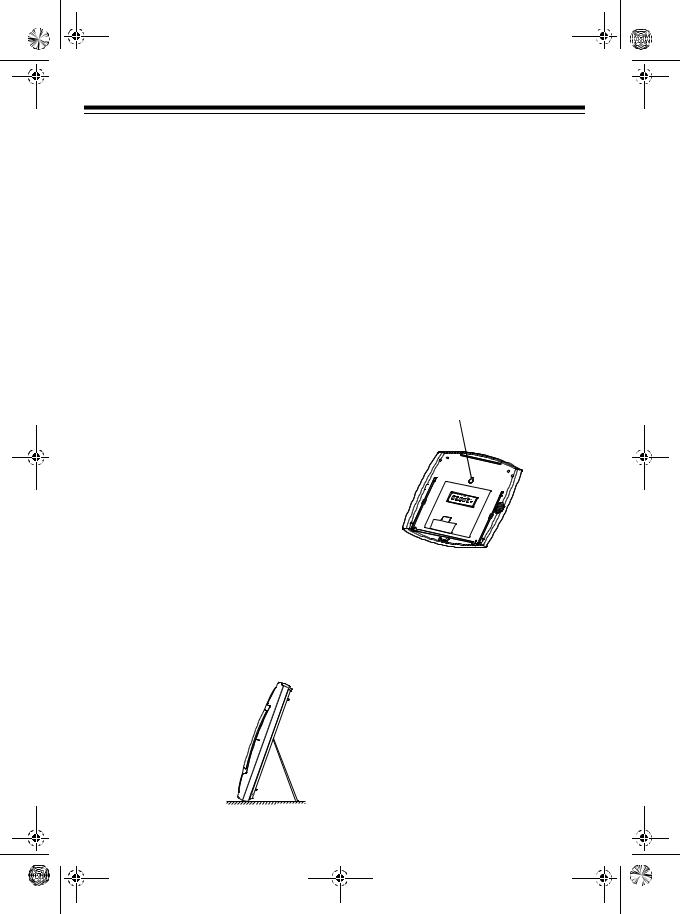
Using the Stand
To set the clock on a flat surface, pull the built-in stand away from the back of the clock.
4
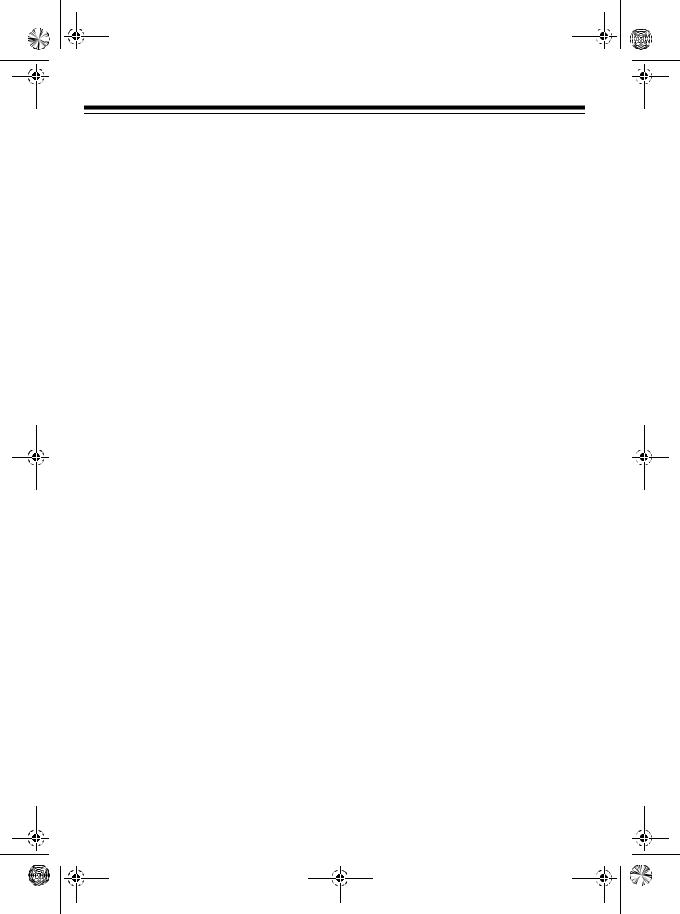
Mounting the Clock on a Wall
To mount the clock on a wall, you need a 1/8-inch (3-mm) screw (not supplied) with a head that fits into the keyhole slot on the back of the clock.
1.Drill a hole in the wall at the desired mounting location.
2.Thread a screw into the wall until the head extends about 1/4 inch from the wall.
3.Position the keyhole slot over the screw and slide the thermometer down to secure it.
Keyhole Slot
SETTING THE TIME
Automatic Time/Date Setting
The clock checks the radio signal six times a day, at about 2:00 AM, 3:00 AM, 4:00 AM, 9:00 AM, 3:00 PM, and 9:00 PM (as shown on the clock). When the clock receives a good signal, it automatically sets the time and date.
 Loading...