


 Loading...
Q-See QD6002D, QD6005B, QD6502B, QD6004B, QD6003D User Manual
...User Manual
MODEL QD6001D QD6002D QD6003D QD6004B QD6005B QD6501B QD6502B QD6503X
High-Resolution Security Cameras
Thank You for Choosing a Q-See Product!
All of our products are backed by a conditional service warranty covering all hardware for 12 months from the date of purchase. Additionally, our products also come with a free exchange policy that covers all manufacturing defects for one month from the date of purchase. Permanent upgrading service is provided for the software and is available at www.Q-See.com.
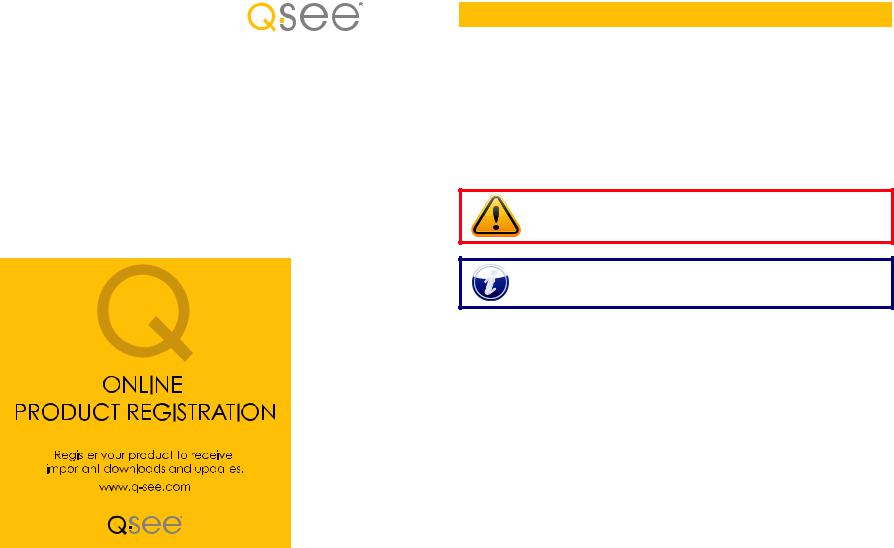
Be certain to make the most of your warranty by completing the registration form online. In addition to warranty and technical support benefits, you’ll receive notifications of product updates along with free downloadable firmware updates for your DVR. Register today at www.Q-See.com!
Please see the back of this manual for exclusions.
© 2011 Q-See. Reproduction in whole or in part without written permission is prohibited. All rights reserved. This manual and software and hardware described herein, in whole or in part, may not be reproduced, translated, or reduced to any machine-readable form without prior
written approval.
Trademarks: All brand names and products are trademarks or registered trademarks of their respective owners.
Q-See is a registered trademark of DPS, Inc.
Disclaimer: The information in this document is subject to change without notice. The manufacturer makes no representations or warranties, either express or implied, of any kind with respect to completeness of its contents.
Manufacturer shall not be liable for any damages whatsoever from misuse of this product.
2
About this Manual
This manual is written for the QD6000 series of high-resolution cameras and was accurate at the time it was completed. However, because of our ongoing effort to constantly improve our products, additional features and functions may have been added since that time and on-screen displays may change. We encourage you to visit our website at www.Q-See.com to check for the latest firmware updates and product announcements. You can also find technical details for your specific camera on its product page at our site.
Throughout the manual we have highlighted warnings and other important information that will assist you in operating your new system in a safe and trouble-free manner. Please take the time to read and follow all instructions and pay attention to alerts as shown below:
IMPORTANT! Red boxes with this icon indicate warnings. To prevent possible injury or damage to the product, read all warnings before use.
NOTE! Text in blue boxes with the Information icon offer additional guidance and explanations about how to make the most out of your system.
Rev. 1.0 8/19/11
3

TABLE OF CONTENTS
INTRODUCTION |
5 |
Components and Connection |
6 |
Installing Your Camera |
7 |
Connecting the Camera to a Security DVR System |
9 |
Connecting the Camera to a TV or Monitor |
10 |
Controlling Your Camera |
10 |
Operation |
11 |
Setup Menu |
11 |
Lens |
11 |
Shutter/AGC (Automatic Gain Control) |
12 |
White Balance |
12 |
Backlight |
13 |
Picture Adjust |
13 |
ATR (Adaptive Tone-curve Reproduction) |
13 |
Motion Detection |
14 |
Privacy |
14 |
Day/Night Mode |
15 |
NR (Noise Reduction) |
15 |
Camera ID |
16 |
Sync |
16 |
Language |
16 |
Camera Reset |
16 |
TROUBLESHOOTING |
17 |
Q-SEE PRODUCT WARRANTY |
18 |
INTRODUCTION
For your safety
To prevent damage to your Q-See product or injury to yourself or to others, read and understand the following safety precautions in their entirety before installing or using this equipment.
WARNING! ELECTRIC SHOCK RISK!
nCare should be taken during transportation, storage and installation of this camera to avoid rough handling, dropping, or other abuse in order to prevent damage to the optics or components inside the camera.
nCamera should be installed in accordance with electrical standards including keeping the camera and cable away from high voltage, using a surge protector and using only the rated power supply.
nDo not use strong or abrasive cleaners on camera body or lens. Use a damp cloth for cleaning the housing and a lens cloth for the optics.
nDo not attempt to disassemble the camera. Only authorized, trained technicians should service this camera.
nCameras should not be immersed in water and should be mounted in a sheltered location. Do not point camera directly at the sun or other strong light source.
Product Features
These cameras offer the following features:
nUltra high definition video using 1/3” Sony HAD CCD II coupled with the latest Sony Effio-E digital signal processors to produce 600 and 650 TV lines of resolution.
nState-of-the-art IR cut filter to ensure accurate color representation during the day and sharper images at night.
nLow light and infrared operation. The camera takes advantage of even low levels of ambient lighting to produce images with color.
nAutomatically switches to infrared (black and white) mode when no light is detected.
nInfrared illumination (excludes QD6305X).
nBuilt-in motion detection. The camera can be set to respond to motion even without being connected to a DVR.
nOn-Screen Display (OSD) allows you to configure the camera using the built-in thumbstick when connected to a monitor.
nMultiple language support; English, Spanish, French, Russian, Portuguese, German, Chinese and Japanese.
nCustomizable settings: WDR (wide dynamic range), White Balance, Contrast, Shutter Speed, Sharpness, etc.
nHighlight Compensation. Excessive light, such as headlights, can be masked if desired.
nManually adjustable 2.8mm to 12mmm varifocal lens and focus.
nHigh-speed Moving Object Capture function allows clear images of objects moving at high speed.
4 |
5 |

COMPONENTS AND CONNECTION
QD6005B AND QD6502B |
QD6503X |
|
|
|
|
||
1 |
5 |
1 |
2 |
3 |
7 |
8 |
9 |
|
|
|
|
|
|
|
|
QD6001D |
|
|
QD6002D |
2 |
6 |
7 |
8 |
|
|
|
|
||||
1 |
5 |
6 |
7 |
5 |
|
|
|
|
|
1 |
|
|
|
||
|
|
|
|
|
|
2 |
2 |
6 |
7 |
8 |
3 |
4 |
4 |
5 |
6 |
10 |
3 |
3 |
|
|
|
|
4 |
# |
Component |
# |
Component |
|
|
4 |
1 |
Adjustable Sun Shade |
1 |
CS Lens (packaged separately) |
|
2 |
Optics (lens and IR LEDs) |
2 |
Lens Mount Spacing Adjustment |
|
|
|
|
|
|
|
|
3 |
Zoom Knob (2.8mm - 12mm) |
3 |
Auto Iris Port (on right side) |
||
# |
Component |
|
# |
Component |
||||||
|
|
|
|
|
|
|
||||
|
|
|
|
|
4 |
Focus Knob |
4 |
Focus Adjust |
||
1 |
Clear Dome |
|
1 |
Optics (lens and IR LEDs) |
||||||
|
|
|
|
|
|
|
||||
|
|
|
|
|
5 |
3-Axis Mounting Bracket |
5 |
Iris Adjustment Ring |
||
2 |
Case |
|
2 |
Focus (behind rubber plug) |
||||||
|
|
|
|
|
|
|
||||
|
|
|
|
|
6 |
Multi-Function Button |
6 |
Zoom |
||
3 |
Base Release Screw (both sides) |
|
3 |
Body |
||||||
|
|
|
|
|
|
|
||||
|
|
|
|
|
7 |
Power Connector |
7 |
Multi-Function Controls |
||
4 |
Mounting Base |
|
4 |
Mounting Base |
||||||
|
|
|
|
|
|
|
||||
|
|
|
|
|
8 |
Video Connector (BNC) |
8 |
Power Status Indicator |
||
5 |
Multi-Function Button |
|
5 |
Zoom (behind rubber plug) |
||||||
|
|
|
|
|
|
|
||||
|
|
|
|
|
|
|
|
9 |
Power Connection |
|
6 |
Power Connector |
|
6 |
Multi-Function Button |
|
|
|
|||
|
|
|
|
|
|
|
||||
|
|
|
|
|
|
|
|
10 |
Video Connector (BNC) |
|
7 |
Video Connector (BNC) |
|
7 |
Power Connector |
|
|
|
|||
|
|
|
|
|
|
|
||||
|
|
|
|
|
|
|
|
|
|
|
|
|
|
8 |
Video Connector (BNC) |
|
|
|
|
|
|
|
|
|
|
|
|
|
|
|
|
|
QD6003D |
QD6004B AND QD6501B |
INSTALLING YOUR CAMERA |
|
5 |
1 |
5 |
|
6 |
|
|
When installing your camera, it is important to select a proper site not only for field of view, but |
1 |
2 |
6 7 8 |
for other considerations as well: |
|
|||
|
7 |
8 |
9 |
|
|
Distance from viewing/recording device. The further the camera is from the DVR or monitor, |
|
|
|
|
|
|
|
2 |
|
|
|
3 |
4 |
the higher the chances of signal degradation. Typical 75Ω Video Cable provides acceptable |
|
|
|
signal at distances up to 200’ (30m). At greater distances, UL-Listed shielded RG59 should be |
|||
|
|
|
|
|
||
3 |
|
|
|
|
|
used. The camera’s power supply should be located as near to the camera as possible when |
4 |
|
|
|
|
|
|
|
|
|
|
|
the distance exceeds 200’ as the power level will drop over extended distances resulting in a |
|
|
|
|
|
|
|
|
# |
Component |
|
# |
Component |
decrease in video quality and IR LED range. |
|
1 |
Optics (lens and IR LEDs) |
|
1 |
Adjustable Sun Shade |
Do not place near high voltage wires or other sources of electrical interference. Electrical |
|
2 |
Body |
|
2 |
Optics (lens and IR LEDs) |
interference will degrade the quality of the signal. |
|
|
|
|||||
3 |
Base Release Screws (3) |
|
3 |
Zoom Knob (2.8mm - 12mm) |
Place camera out of reach to avoid damage. |
|
|
|
|||||
4 |
Mounting Base |
|
4 |
Focus Knob |
Avoid direct exposure to weather. Do not place the camera where rain or snow will hit the |
|
|
lens directly nor should the camera be placed so that the sun or bright light shines directly into |
|||||
5 |
Zoom Knob (2.8mm - 12mm) |
|
5 |
3-Axis Mounting Bracket |
||
|
the lens. Indoor cameras should never be placed outside. Weatherproof cameras will not work |
|||||
6 |
Focus Knob |
|
6 |
Multi-Function Button |
||
|
when submerged. Ensure that all power and video connections are not directly exposed to |
|||||
7 |
Multi-Function Button |
|
7 |
Power Connector |
water and are protected from the elements. |
|
8 |
Power Connector |
|
8 |
Video Connector (BNC) |
Do not place camera behind a window. The IR LEDs act like a flashlight and will create a |
|
9 |
Video Connector (BNC) |
|
|
|
|
reflection that will obscure events on the other side of the glass. |
|
|
|
|
Light levels should be approximately the same between camera and target area. A |
||
|
|
|
|
|
|
|
|
|
|
|
|
|
camera in a brightly-lit area looking into a shaded area, or vice versa, will produce inadequate |
|
|
|
|
|
|
results. |
6 |
7 |
Loading...