


RISM900

All products are trademarks of Nostalgia Products Group, LLC.
Worldwide design & utility patented or patents pending.
© 2012 Nostalgia Products Group, LLC.
www.nostalgiaelectrics.com
(rev. 08/08/14)
2014
RISM900RETRORED
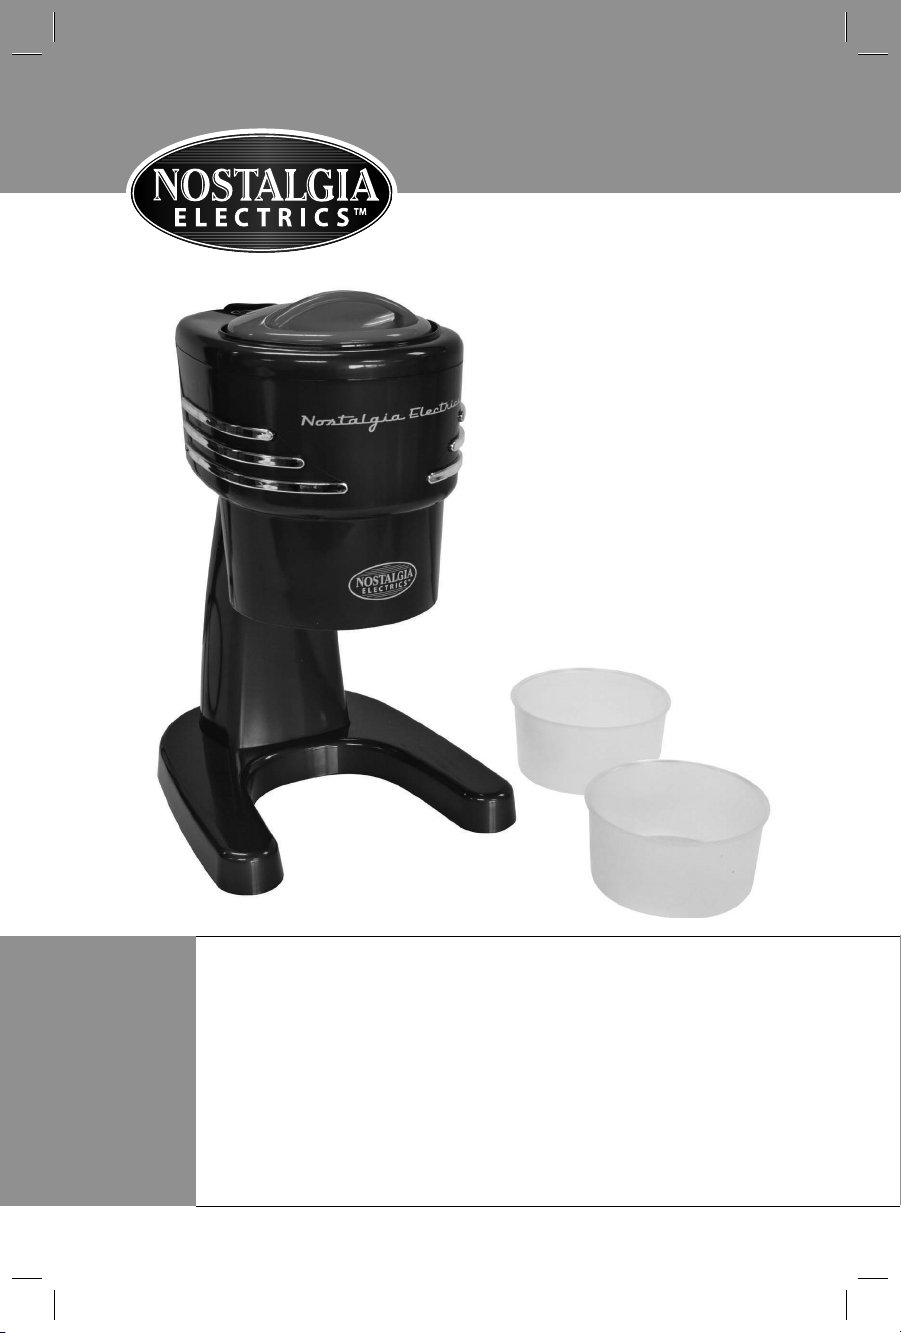
Retro Series™ Electric Shaved Ice Machine
Máquina eléctrica de granizado de la Serie Retro™
Broyeur de glace électrique de la Série Retro™
Instructions and Recipes
Instrucciones y recetas
Instructions et recettes


ENGLISH
2
Make every day a party!
Visit www.nostalgiaelectrics.com for more fun products.
CONTENTS
IMPORTANT PRECAUTIONS . . . . . . . . . . . . . . . . . . . . . . . . . . . . . 3
IMPORTANT SAFEGUARDS . . . . . . . . . . . . . . . . . . . . . . . . . . . . . 3
INTRODUCTION . . . . . . . . . . . . . . . . . . . . . . . . . . . . . . . . . . . . 4
PARTS & ASSEMBLY . . . . . . . . . . . . . . . . . . . . . . . . . . . . . . . . . . 5
HOW TO OPERATE . . . . . . . . . . . . . . . . . . . . . . . . . . . . . . . . . . 6
HELPFUL TIPS . . . . . . . . . . . . . . . . . . . . . . . . . . . . . . . . . . . . . 6
CLEANING & MAINTENANCE . . . . . . . . . . . . . . . . . . . . . . . . . . . 7
RECIPES . . . . . . . . . . . . . . . . . . . . . . . . . . . . . . . . . . . . . . . . . 7
RETURNS & WARRANTY . . . . . . . . . . . . . . . . . . . . . . . . . . . . . . . 8
SAFETY
Appliance Specications:
120 Volts, 60 Hz
50 Watts
THIS PRODUCT IS FOR USE IN 120V AC OUTLET ONLY.
Your safety and the safety of others is very important.
We have provided many important safety messages in this manual and
on your appliance. Always read and obey all safety messages.
This is the safety alert symbol.
This symbol alerts you to potential hazards that
can kill or hurt you and others.
All safety messages will follow the safety alert symbol.
All safety messages will tell you what the potential hazard is, tell you how to reduce the
chance of injury, and tell you what can happen if the instructions are not followed.

ENGLISH
3
IMPORTANT PRECAUTIONS
1. NEVER immerse Motor or plug in water.
2. NEVER use near water.
3. NEVER use an abrasive sponge or cloth on the appliance.
4. NEVER use a scouring pad on the appliance.
5. NEVER leave appliance unattended while in use.
6. Unplug unit from outlet when not in use, before placing
or removing parts and during cleaning.
7. DO NOT operate this appliance with a damaged cord or
plug, nor if the appliance ever malfunctions.
8. DO NOT put in a dishwasher.
9. Blades are extremely sharp. Use EXTREME CAUTION when operating this appliance.
10. Keep out of reach of children.
11. This appliance is NOT A TOY.
12. Unsupervised young children and cognitively challenged
individuals should never operate this appliance.
13. Young children should be supervised while in proximity of the
appliance to ensure that they do not play with it.
IMPORTANT SAFEGUARDS
Basic safety precautions should always be followed when using
electrical appliances, including the following:
1. Read all instructions before operating this appliance.
2. Keep hands away from blade mechanism.
3. DO NOT touch moving parts.
4. To protect against electrical shock do not immerse cord,
plug or Motor in water or other liquids.
5. Close supervision is necessary when any appliance is used near children.
6. Unplug from outlet when not in use, before removing parts and before cleaning.
7. DO NOT operate any appliance with a damaged cord or plug, nor if
the appliance has been damaged in any manner. Return the appliance
to the nearest repair shop for examination or repair.
8. The manufacturer does not recommend the use of accessory
attachments. Use of accessory attachments may cause injuries.
9. DO NOT use outdoors.
10. Position the appliance as close to the outlet as possible
to prevent injury due to tripping over cord.
11. DO NOT place on or near a hot gas or electric burner, nor in a heated oven.

ENGLISH
4
12. Check Shaver Bowl for presence of foreign objects prior to use.
13. DO NOT use the appliance for other than its intended use.
14. DO NOT operate the appliance when the Shaver Bowl is empty.
15. DO NOT place ngers or utensils into feed or discharge areas.
16. DO NOT press the Power Button when Motor is not assembled to Shaver Bowl and Base.
17. After each 1 minute of continuous use, wait 10 minutes
before using again to allow motor to cool.
18. An appliance that is plugged into an outlet should not be left unattended while in operation.
19. A short power supply cord is provided to reduce the risk resulting
from becoming entangled or tripping over a long cord.
20. Longer detachable power supply cords can be used if care is exercised in their use.
21. The marked electrical rating of an extension cord should be at
least as great as the electrical rating of the appliance.
22. This appliance has a polarized plug (one blade is wider than the other). To reduce the
risk of electrical shock, this plug is intended to t into a polarized outlet only one way.
SAVE THESE INSTRUCTIONS!
INTRODUCTION
Thank you for purchasing the RETRO SERIES™ ELECTRIC SHAVED ICE MACHINE
from Nostalgia Electrics™. This fun and easy to use appliance produces snow-
like shaved ice, perfect for snow cones, slush drinks, margaritas, daiquiris
and much more! The included Ice Molds freeze ice into the perfect shape
for making soft, uy, shaved ice. Simply add avored syrup, soda or your
favorite beverage to create unique refreshments at home anytime.
ENGLISH
5
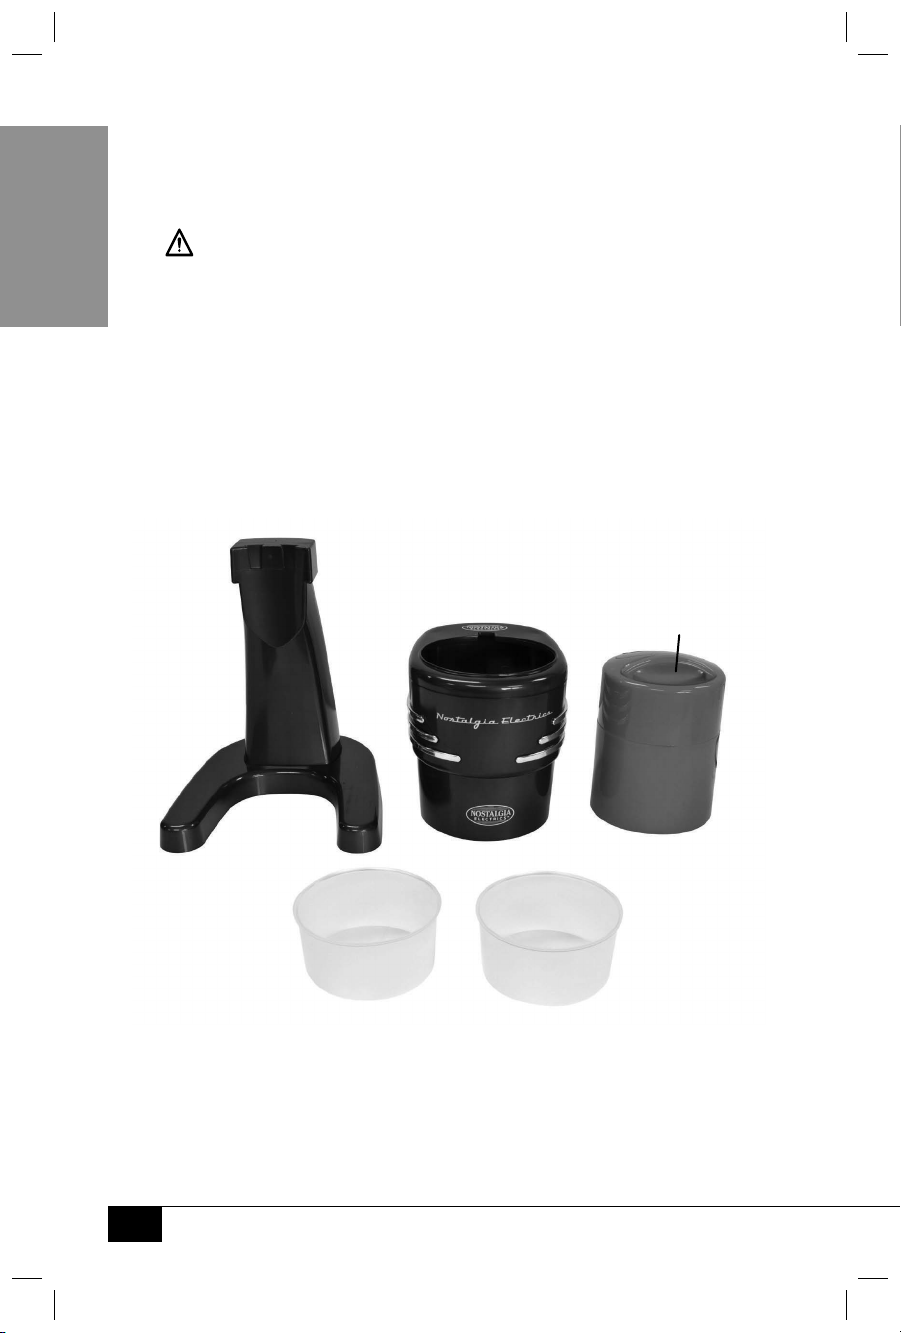
PARTS & ASSEMBLY
ASSEMBLY
Your RETRO SERIES™ ELECTRIC SHAVED ICE MACHINE requires very little assembly.
• The RETRO SERIES™ ELECTRIC SHAVED ICE MACHINE has a sharp stainless steel blade
that can cut and cause injury. Use EXTREME CAUTION when handling the
appliance. Keep ngers clear from blade and avoid contact at all times when using and
cleaning.
• Wipe the Motor, Shaver Bowl and Base with a damp, non-abrasive cloth.
Dry thoroughly. DO NOT immerse Motor or cord in water.
• Clean the Shaver Bowl and Ice Molds with a soft cloth in warm water mixed
with a mild detergent. Rinse and dry with a non-abrasive towel.
• Place the Shaver Bowl on top of the Base.
Now you are ready to enjoy cool, refreshing icy drinks!
Power Button
Base
Ice Molds
Shaver Bowl
Motor

ENGLISH
6
HOW TO OPERATE
• Fill a standard ice cube tray or the supplied Ice Molds with water
and place in freezer until frozen. Remove ice from tray(s). See
HELPFUL TIPS section for instructions on using Ice Molds.
• Place the RETRO SERIES™ ELECTRIC SHAVED ICE MACHINE on a stable,
waterproof surface near an electrical outlet before starting.
• Always make sure that the cord is away from a water source.
• With Shaver Bowl tted on top of Base, place frozen ice cubes in Shaver Bowl. If
using ice from Ice Molds, place with at side down and notched side up.
• BE CAREFUL when placing ice cubes in Shaver Bowl. The blade in the Shaver Bowl is
very sharp.
• Place a bowl under the Shaver Bowl to catch the shaved ice.
• Place the Motor on top of the Shaver Bowl and hold in place. When lled with
ice, the Motor will rest a few inches above the bottom of the Shaver Bowl.
• Plug in the unit. The RETRO SERIES™ ELECTRIC SHAVED ICE MACHINE
operates at one speed. While holding the Shaver Bowl steady with one
hand, press the Power Button. It will start with a gentle press.
• Press continuously until majority of ice is shaved, or until the Motor sits ush on the
bottom of the Shaver Bowl. To stop shaving ice, release pressure on the Power Button.
• Some ice may remain in the Shaver Bowl. Discard this ice before adding a new ice cube.
• Repeat the process until you have the desired amount of shaved ice.
• After each 1 minute of continuous use, wait 10 minutes
before using again to allow Motor to cool.
• Unplug unit from outlet when nished.
HELPFUL TIPS
USING ICE MOLDS
Common ice cubes may be used in the RETRO SERIES™ ELECTRIC
SHAVED ICE MACHINE, but will produce slightly coarser textured ice.
For best results, we recommend using the included Ice Molds.
• Fill the supplied Ice Molds with liquid to approximately
½ inch below the top, just below the Max ll line.
• Place on a at surface in the freezer until frozen (about 10 - 12 hours).
• If unable to remove ice from Ice Molds, run under water until ice is loose.
• Each Ice Mold makes approximately 2 cups of shaved ice.
• Ice Molds may also be used as serving bowls for shaved ice.
USING TRADITIONAL ICE CUBES
• Place 10 medium-sized ice cubes in an even layer in Shaver
Bowl to yield approximately 2 cups of shaved ice.
• Do not overll Shaver Bowl with ice.
 Loading...