


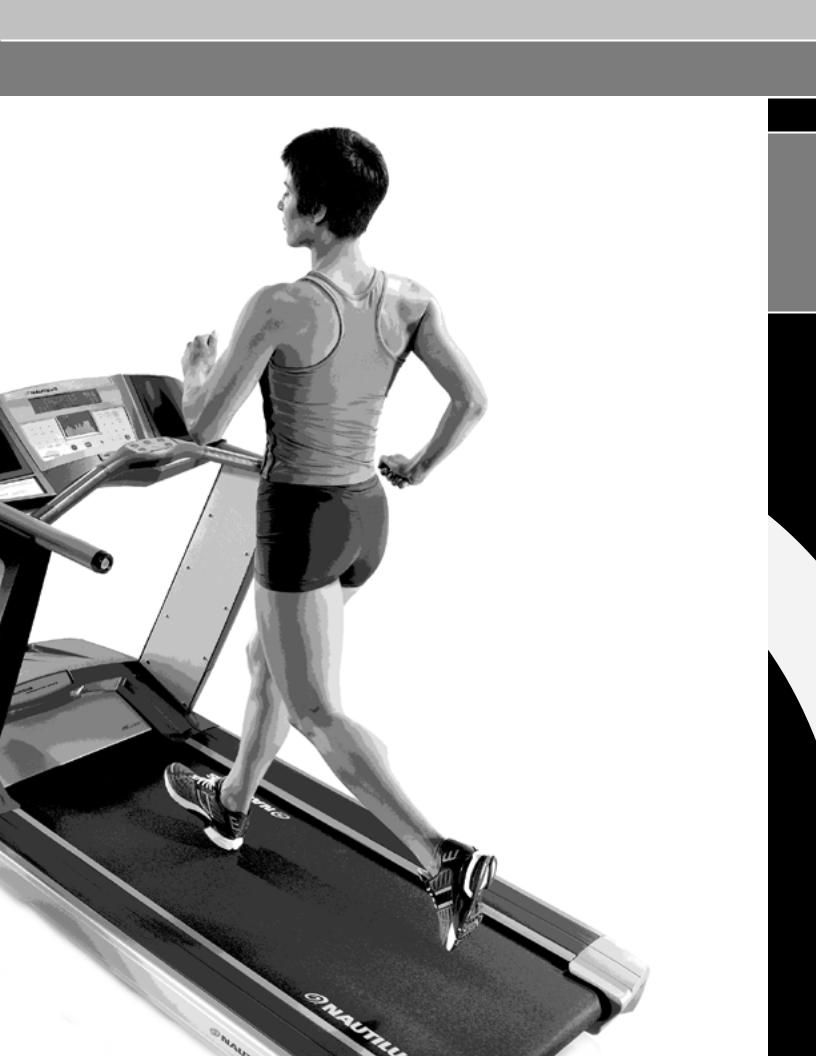
CHANGING THE GAME IN HEALTH AND FITNESS™
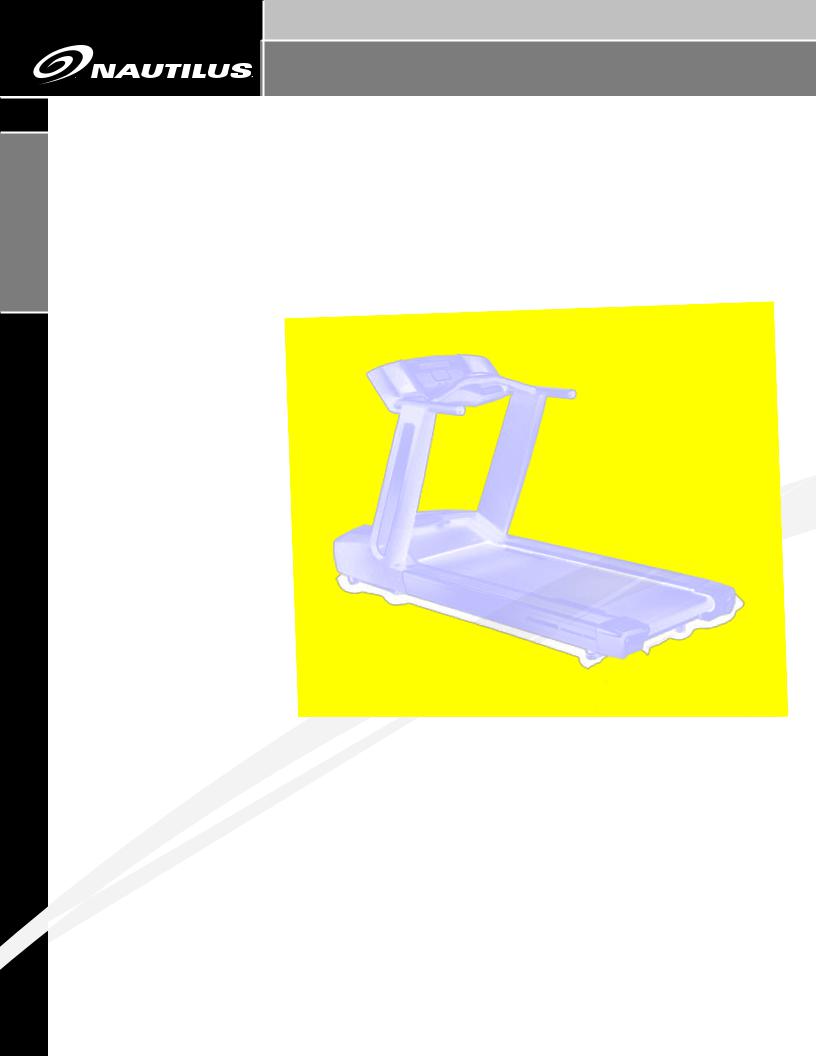
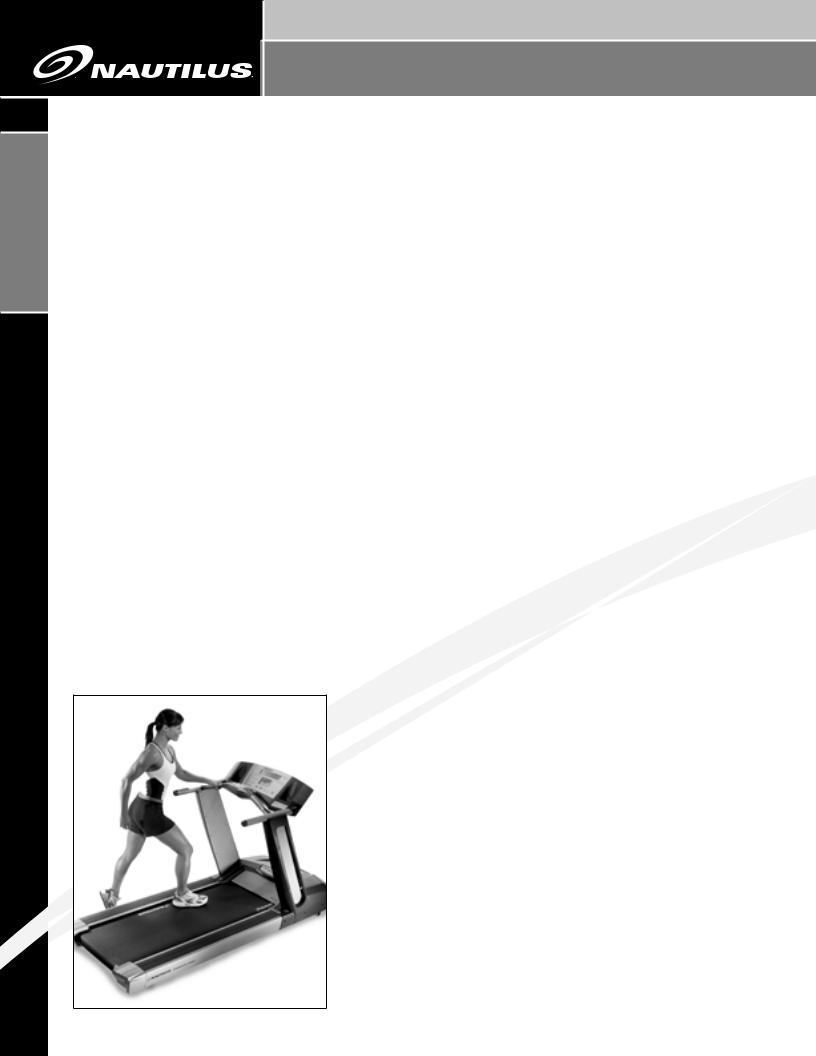
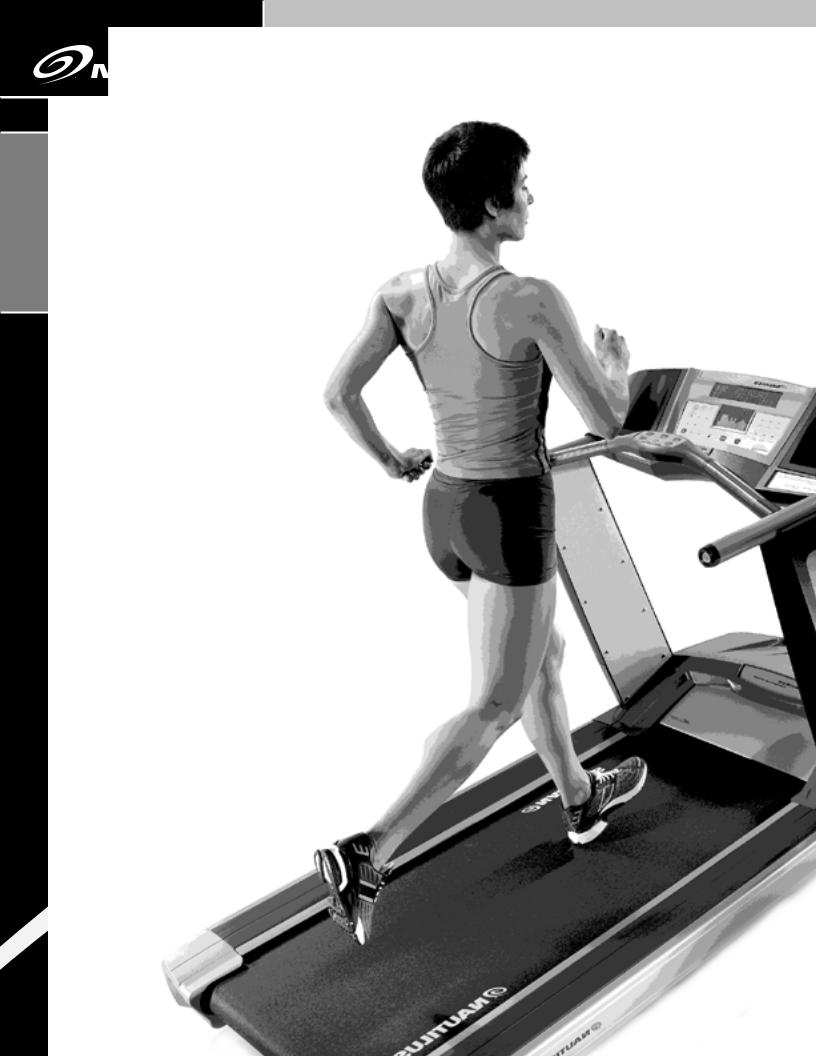
Model T9.14
Be Strong.
Nautilus® Commercial Series
Treadmill Owner’s Manual
®NAUTILUS
Model T9.14
CHANGING THE GAME IN HEALTH AND FITNESS™ |
INTRODUCTION |
INTRODUCTION
NAUTILUS®
Thank you for purchasing the Nautilus® Commercial Series T9.14 Treadmill. For more than 30 years Nautilus has been producing the world’s finest fitness equipment used in health clubs and homes around the globe. We hope this product exceeds your expectations and is a valuable tool for your facility.
Please carefully read through this manual to familiarize yourself with the operation of your new Nautilus® treadmill. Doing so will help to insure that your users get the most out of your treadmill, enjoying safe and effective workouts in the many miles ahead.
Nautilus, Inc.
World Headquarters
16400 SE Nautilus Drive
Vancouver, WA 98683
(800) NAUTILUS nautilus.com
Model T9.14

TABLE OF CONTENTS
Safety Requirements > > > > > > > > > > 2
Installation & Operation> > > > > > > > > |
4 |
||
Power Plug Receptacles> > > > > > > 4 |
|||
Turning On the Power |
> > > > > > > > 4 |
||
Understanding the Display |
|
||
and Controls |
> > > > > > > > > > > > > 4 |
||
Limited Access Control |
> > > > > > > |
4 |
|
Magnetic Safety Stop |
> > > > > > > > 5 |
||
Magnetic Safety Stop |
|
|
|
Deactivation |
> > > > > > > > > > > > > |
5 |
|
Getting Started |
> > > > > > > > > > > > > |
6 |
|
Guidelines For Getting On |
|
||
and Off the Treadmill > > > > > > > > > |
6 |
||
Treadmill Display Definitions > > > > > > |
7 |
||
Treadmill Key Functions |
> > > > > > > > |
9 |
|
Workout Program Overview > > > > > >11
Workout Program Keypad > > > > > >11
Quick Start Program > > > > > > > > >12 Manual Program > > > > > > > > > > >13 Fat Burner Program> > > > > > > > > >14 Calorie Burner Program > > > > > > >15 Intervals Program> > > > > > > > > > 16 Heart Rate Zone Trainer Program > >17 More Workouts > > > > > > > > > > > >20
Nautilus Fit Test Program > > > > >20 Custom Intervals Program> > > > >26
Random Play Program> > > > > > >27
HR Intervals Program > > > > > > >28
Workout Program Options > > > > > > >30
Heart Rate Monitoring > > > > > > > > >32 Telemetry Heart Rate > > > > > > > > >32 Maintaining the Transmitter Belt> > >32 Contact Heart Rate > > > > > > > > > >33
Heart Rate Priority > > > > > > > > > > >34
Exercise & Fitness Guidelines > > > > >35 Starting a Fitness Program> > > > > >36 Components of Fitness > > > > > > > >37 Nutrition> > > > > > > > > > > > > > > >39
Determining Workout
Intensity Levels > > > > > > > > > > > >40
Console Codes > > > > > > > > > > > > >44 Default and Custom Codes > > > > > >44 Machine Status Codes > > > > > > > >45
Diagnostic Codes > > > > > > > > > > >46
Maintenance > > > > > > > > > > > > > >48 Cleaning and Inspecting > > > > > > >49
Tensioning and Tracking
Walking Belt > > > > > > > > > > > > >50
Moving and Storing> > > > > > > > > >51
Warranty Information > > > > > > > > > >52
Contacting Nautilus > > > > > > > > > > >53
®NAUTILUS CONTENTS OF TABLE
1

CHANGING THE GAME IN HEALTH AND FITNESS™ |
GENERAL GUIDELINES FOR SAFE OPERATION |
NAUTILUS® SAFETY REQUIREMENTS
qqqqq THESE GUIDELINES ARE DIRECTED TO WARNING YOU, AS THE OWNER OF THE MACHINE
YOU SHOULD INSIST THAT ALL USERS FOLLOW THE SAME GUIDELINES. YOU SHOULD MAKE THIS MANUAL AVAILABLE TO ALL USERS.
qqqqq Do not begin an exercise program without WARNING first consulting a physician.
qqqqq If at any time during your workout you feel WARNING chest pain, experience severe muscular
discomfort, feel faint, or are short of breath, stop exercising immediately. If the condition persists, you should consult your medical doctor immediately.
qqqqq Secure long hair and loose clothing WARNING before use.
1.Obtain a complete physical examination from your medical doctor and enlist a health/fitness professional’s aid in developing an exercise program suitable for your current health status.
2.When working out for the first time, use the MANUAL exercise program at the lower levels until you feel comfortable and capable of higher workloads.
3.The intensity and duration of your exercise program should always be subject to how you feel. Never permit peer pressure to override your personal judgment while exercising.
4.Overweight or severely de-conditioned individuals should be particularly cautious when using the machine for the first time. Even though such individuals may not have histories of serious physical problems, they may perceive the exercise to be far less intense than it really is, resulting in the possibility of overexertion or injury.
5.Although all equipment manufactured by Nautilus, Inc. has been thoroughly inspected by the manufacturing facility prior to shipment, proper installation and regular maintenance are required to ensure safety. Maintenance is the sole responsibility of the owner.
2

SAFETY REQUIREMENTS – SAVE THESE INSTRUCTIONS
When using electrical equipment, always follow these basic precautions:
IMPORTANT SAFETY INSTRUCTIONS
The following definitions apply to the words “Danger” and “Warning” found throughout this manual:
qqqqq Used to call attention to immediate hazards DANGER which, if not avoided, will result in immediate,
serious personal injury or loss of life.
qqqqq Used to call attention to potential hazards that WARNING could result in personal injury or loss of life.
READ ALL INSTRUCTIONS BEFORE USING THE MACHINE.
qqqqq
DANGERTo reduce the risk of electrical shock, always unplug the external power supply from the electrical outlet before cleaning, maintaining, or repairing.
qqqqq
WARNINGTo reduce the risk of burns, electric shock, or injury to persons: Read this manual in full before operating the treadmill. Failure to follow these guidelines can produce a
serious or possibly fatal electrical shock hazard or other serious injury. Consult a qualified electrician as required.
1.The controller Stop Key does not turn off the electrical current to the treadmill. The treadmill continues to draw power, even when the controller is off. To avoid electric shock, do not remove treadmill hood or place hands beneath the treadmill while the treadmill is plugged into a power source.
2.Do not start the treadmill when someone else is standing on the belt.
3.Keep speed and incline at the lowest settings when someone is getting on and off the treadmill.
4.Keep the area underneath and around the treadmill clear.
5.qqqqqNever position the treadmill with the back WARNING end (direction of belt travel) facing a wall or
any other objects such as furniture or other pieces of fitness equipment. Failure to do so can prevent safe exit of the treadmill in an emergency situation such as falling. Allow
a minimum of four feet behind the treadmill and any objects.
6.Before each use of this equipment, check the power receptacle for signs of damage. Do not operate the equipment if the integrity of this item is in question.
7.To avoid potential safety and electrical problems, replace with manufacturers’ specified parts only.
8.This equipment is classified Class I, Type B, ordinary equipment. Not protected against fluid ingress. Rated for continuous operation. Do not operate this equipment in the presence of flammable anesthetic mixtures.
9.Do not let liquid enter the controller. If it does, the controller must be inspected and tested for safety by an approved technician before it can be used again.
10.Increased risk due to leakage current can result if this equipment is not grounded properly.
11.The treadmill must be on an appropriate, dedicated electrical circuit. Nothing else should be connected to the circuit.
12.Do not stand on treadmill hood or front trim cover.
13.Close supervision is necessary whenever the machine is used by or near children, invalids, or disabled persons.
Failure to follow the conditions set forth below shall limit, to the extent allowed by law, Nautilus Inc. responsibility for the safety, reliability, and performance of this equipment.
•The operator manual must be read in full by each owner and trainer before the product is first used. Each user must be instructed in the proper use of the treadmill and its accessories.
Do not remove the treadmill hood: dangerous voltages are present. Components are serviceable only by qualified service personnel.
•The electrical wiring within the treadmill setting and the electrical installation of the treadmill must comply with the applicable local or provincial requirements.
•The equipment must be used in accordance with the instructions for use.
•For further information or instruction on use, maintenance or specifications, please contact your Authorized Nautilus® Fitness Dealer or Service Technician.
®NAUTILUS REQUIREMENTS SAFETY
3

CHANGING THE GAME IN HEALTH AND FITNESS™ |
INSTALLATION & OPERATION |
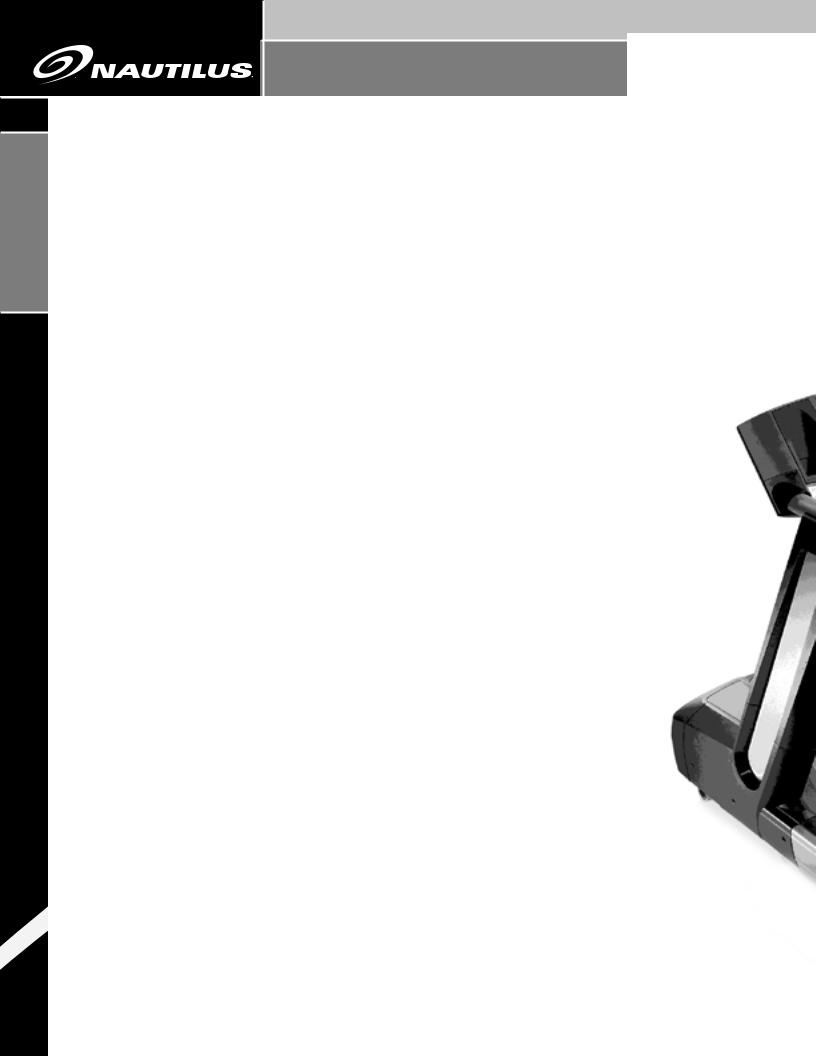
INSTALLATION
NAUTILUS®
Attach power cord here if your treadmill will be facing a wall or will be parallel to a wall.
Treadmill Power Plug Receptacles
The Commercial Series T19.14 Treadmill has two power plug receptacles allowing you to plug in the treadmill from the front or the rear of the machine. The rear power cord receptacle, located underneath the right side of the side rail, should be used if the treadmill is going to be placed in the center of the room facing away from the wall. The front power cord receptacle, located on the front side of the motor pan, can be used if the treadmill is placed facing a wall or parallel to a wall.
Attach power cord here if your treadmill will face away from the wall .
Turning On the Power
After you have determined which end of the treadmill to plug in, the treadmill can be turned on by moving the power switch located at the front of the treadmill, to the ON position.
 Understanding the Display and Controls
Power Switch
The treadmill display is a computerized panel used to operate the treadmill and see all workout data and operational status. You should familiarize yourself with the operation of the treadmill and the location of all keys before beginning use.
Limited Access Control/Magnetic Safety Stop
Limited-access control lets you restrict treadmill use to authorized personnel. It also lets you stop the treadmill in an emergency. The magnetically-activated control is located on the bottom of the display as shown. The limited-access control is deactivated on machines shipped from the factory.
Emergency
Stop
Magnet
4
INSTALLATION & OPERATION
Magnetic Safety Stop Activation
To activate the limited-access control and restrict access, place the magnetic safety stop cord supplied with the treadmill in the designated area located below the display.
The magnet will activate the control. If you remove the key, the treadmill belt will stop and the controller will not respond to any key presses. Accumulated values will remain on the display until you turn off the power, or press [Clear].
The console will display a message, REPLACE MAGNET when you remove the magnetic key from its designated area. You must replace the key or deactivate the control to start the walk belt.
Attach magnetic safety cord onto clothing as shown.
Magnetic Safety Stop Deactivation
To deactivate the Safety Stop Cord and permit unrestricted access of the treadmill follow the steps below.
1.With the magnet key in place and the display at the opening message, SELECT WORKOUT, or, if the magnet key is removed and the display reads,
REPLACE MAGNET, press [Speed UP], [3], [ENTER]. The display will read “CUSTOMIZE”. Use the [Speed UP] or [Speed DOWN] keys to scroll through the options until the console displays ENABLE MAGKEY.
2.Press [ENTER], and the display will either read ON or OFF. Press [Speed: +] or [Speed: -] to toggle between ON and OFF. With OFF displayed, press [ENTER] to select OFF.
3.The display will show UPDATING for a few seconds, then display the OFF setting.
4.Next, turn off the power to the treadmill from the circuit breaker switch. The circuit breaker switch is located on the bottom front panel of the treadmill.
5.With the power to the treadmill off, remove the magnet key. Then, turn the power to the treadmill back ON at the circuit breaker switch.
6.The display will show the SELECT WORKOUT screen. The limited access control remains inactive, granting unrestricted access, until you turn the magnetic key option back on, or place the magnet back in its designated area.
qqqqq
IMPORTANTIf at any time the safety key is put back in place THE SAFETY CORD FEATURE REACTIVATES AUTOMATICALLY and must be turned off again using the above steps.
OPERATION
®NAUTILUS
5
CHANGING THE GAME IN HEALTH AND FITNESS™ |
GETTING STARTED |
NAUTILUS® GETTING STARTED
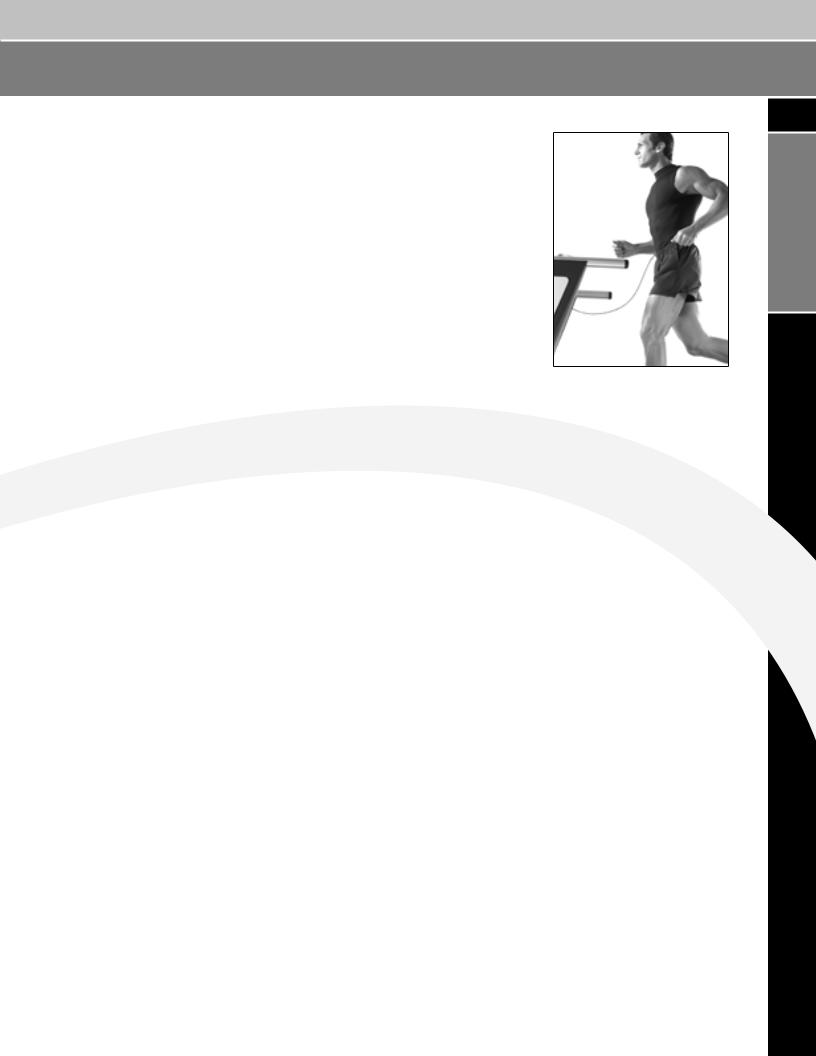
Guidelines For Getting On and Off the Treadmill
Instruct each user in the following guidelines for getting on and off the treadmill.
1.The walking belt should be moving at minimum speed before the user steps onto the treadmill.
2.Stand next to the treadmill and place both hands on the front handrail.
3.Straddle the walking belt or step onto the side of the deck. Step onto the moving belt and begin walking.
4.(Optional) To get the feel of the moving belt place the foot nearest the treadmill on the walking belt and let it move backwards. Lift it and repeat several times until comfortable with the treadmill speed.
5.When walking comfortably on the treadmill, let go of the handrail.
6.While walking on the treadmill:
•Face forward. Avoid looking down at the walking belt.
•Maintain speed by keeping a consistent distance from the handrail.
•Adjust the speed and incline as desired. Hold the handrail as the speed and incline change.
7.Before stepping off the treadmill, place one hand on the handrail, wait for the belt to stop, then step off.
6

TREADMILL DISPLAY DEFINITIONS
Treadmill Display Functions
The following describes the display functions and specifications for the |
00:01 |
Commercial Series T9.14 Treadmill. |
|
Incline — The treadmill incline is displayed in percentage of elevation. The T9.14 |
00:02 |
|
|
treadmill has an incline range of 0 to 15%. |
00:03 |
(MANUAL) or (HR ZONE TRAINER) workout, the timer will count up. |
|
Time — The selected workout time is displayed in the upper left section of the |
|
display window. In most of the workouts, the timer will count down, in minutes |
|
and seconds, until the workout is finished or stopped. If (0) is entered in the |
|
Interval Time — The interval time is displayed in the lower display, upper left |
00:04 |
area. The interval timer counts down the remaining time within each interval. |
Speed — The treadmill speed is displayed in miles per hour (or kilometers per hour). The Commercial Series T9.14 treadmill has a speed operation range of 0.5 mph to 12 mph (0.8 kph to 19.2 kph).
Heart Rate — Current heart rate is displayed next to the heart icon, in beats per minute, in the lower display, upper right area.
Percentage of Maximum Heart Rate — An approximation of maximal heart rate is calculated based on the latest American College of Sports Medicine predictive equation as follows:
Max Heart Rate = 215 – (Age * .75)
Percentage of maximum heart rate will only be shown in HRC programs.
Example: For a person 40 years of age, max HR is estimated as
215 – 40 (age) * .75 = 185 . 185 beats per minute would be the approximate maximum heart rate for a 40-year-old user.
If the user works out at 140 beats per minute, then 76% (140 / 185 = 76%) will be displayed in the upper left corner of the lower display area. This means that the 40 year old user working at 140 beats per minute is at 76% of their maximum heart rate.
(See the Heart Training programs for more information.)
Distance — Provides a cumulative total of the equivalent distance, in miles (or kilometers if your display is set to metric units), you have traveled.
®NAUTILUS DEFINITIONS DISPLAY
7

CHANGING THE GAME IN HEALTH AND FITNESS™ |
TREADMILL DISPLAY DEFINITIONS |
NAUTILUS® DISPLAY DEFINITIONS
Calories — Provides a current total of the number of calories burned during a workout. Note: this number is only an approximation as a user’s caloric expenditure will vary significantly based on a persons age, gender, weight and metabolism.
Calories/Hour — Provides the rate at which calories are burned per hour at the current speed and incline.
Pace — Displays the walking/running pace in minutes per mile (or minutes per kilometer), or the time it will take you to complete one mile (or one kilometer) at your current rate. Pace is shown in the top text line.
Watts — During a workout, this statistic displays the power output at the current speed and incline, displayed in watts (746 watts = 1 hp).
METs — Gives you the relative energy cost of exercise. MET stands for multiples of the resting metabolic rate. While you are sitting quietly, your body consumes oxygen at the rate of about 3.5 milliliters per kilogram of body mass per minute. When you exercise, your body needs more oxygen in order to function. For example, exercising at 10 METs requires ten times the resting rate of oxygen consumption, or about 35 milliliters per kilogram per minute. During a workout, the display shows the current MET level. During the workout summary, the average MET level is displayed.
Workout Profile — The dot-matrix area of the display shows the actual course profile of the selected exercise program. The taller the column, the higher the incline and/or speed for that interval. The flashing column shows your current interval.
8
TREADMILL KEY FUNCTIONS
Remote
Operation
Controls
(ROC™)
Remote Operation Controls (ROC™) — The Remote Operation Controls are located on the ergo bar in front of the console. The treadmill can be
controlled from these keypads. The ROCTM keypad includes a Quick Start key, Speed UP and DOWN keys, Incline UP and DOWN keys, and a STOP key.
Display LOCK / UNLOCK - Statistics Key — During the exercise program, the Display LOCK / UNLOCK key is used to track workout statistics which are shown in the text line of the display window. When a workout is started, the display is in an unlocked mode and the various exercise statistics will scroll in order. Press the [DISPLAY] key once to turn off the scan feature and show the current statistic in the display window. Press the [DISPLAY] key a second time and the scan feature will turn back on to scroll through the different statistics.
When in the Display Unlock mode, the console will cycle through the following statistics in order: Distance, Calories/Hour, Watts, METs, Target Heart Rate.
At the completion of a workout, the statistic averages are calculated based on the accumulation of data during the workout program.
Quick Start Key — The Quick Start Key provides an immediate start to a workout session without having to provide any user information.
Stop Key — Press the STOP Key any time you want to pause the workout program for up to one minute. Press the STOP Key a second time, or press (1), and the workout statistics will be displayed, then the console will return to the “SELECT WORKOUT” prompt.
Numeric Keypad (0-9) — The numeric keypad is located on the right side of the console. During program setup, this keypad allows you to quickly enter requested information such as time, age, intensity Speed or Incline , weight and heart rate.
®NAUTILUS FUNCTIONS KEY
9
CHANGING THE GAME IN HEALTH AND FITNESS™ |
TREADMILL KEY FUNCTIONS |
NAUTILUS® KEY FUNCTIONS
Enter – The ENTER Key confirms workout selections and stores the information used by the console to calculate workout statistics.
Clear – During data entry, the CLEAR Key erases information from the console memory and backs up to the previous data entry prompt.
Incline Up & Down Keys — The treadmill incline may be changed at any time during a workout. Pressing the INCLINE UP key increases the incline and pressing the INCLINE DOWN key decreases the incline. The treadmill incline increases or decreases by increments of 0.5%.
Speed Faster & Slower Key — The treadmill belt speed may be changed at any time during a workout. Pressing the SPEED DOWN Key decreases the belt speed and pressing the SPEED UP key increases the belt speed. The belt speed increases or decreases by increments of 0.1 MPH (0.15 KM/H).
qqqqq
IMPORTANTIt is important to know that the speed change up or down is not immediate. Speed will gradually increase or decrease so be sure to allow the treadmill to adjust to a new speed before changing again to avoid overshooting your desired speed.
10
WORKOUT PROGRAM OVERVIEW
Workout Program Keypad |
Program Overview |
The workout program keypad is located to the left of the display. There are six workout program keys, including a More Workouts key with multiple advanced program options.
While the console is in the SELECT WORKOUT mode, press one of the exercise program keys to preview the desired workout. After selecting the desired workout, simply follow the prompts to enter the required user data for
that program.
When entering data, the user can select the standard default values by pressing [ENTER] at the display prompt without first typing data. This will set up the console with the following default data:
The Commercial Series T9.14 treadmill has a wide variety of programming options with a great amount of flexibility to allow anyone of any fitness level to use.
•Weight – 175 lbs.
•Speed – 2.0 mph in Fat Burner, Calorie Burner or HR Zone Trainer. 1.0 mph in Manual.
•Age (HR Zone Trainer program only) – 40 years
•Workout Time – The default time in the programmed workouts and Quick Start is 20 minutes. The Manual and HR Zone Trainer programs do not have a specified default time. In this program, the console timer will count up to the maximum time of 99 minutes.
Once you have selected a program, follow the console prompts.
•ENTER BODY WEIGHT – type in your body weight in pounds (or kilograms if your console is set to metric units).
•ENTER SPEED – type in your desired speed. The T9.14 treadmill has a speed range of 0.5 mph – 12 mph.
•ENTER TIME 5 - 99 – select the workout duration in one minute increments from five to 99.
®NAUTILUS OVERVIEW PROGRAM
11
CHANGING THE GAME IN HEALTH AND FITNESS™ |
QUICK START PROGRAM |
NAUTILUS® QUICK START PROGRAM
The Quick Start Program
Provides an immediate start, without having to enter any user information. This program uses the standard default settings to calculate calories burned during a workout session.
To use the Quick Start program:
1.Press the [QUICK START] key. A message, ENJOY WORKOUT is displayed, the workout begins with exercise statistics accumulating.
2.During the workout:
•Speed may be changed at any time during the workout by pressing the [Speed: UP] key to increase the speed, or the [Speed: DOWN] key to decrease the speed. The new speed will continue through the rest of the workout until changed using the Speed keys.
•Incline may be changed at any time during the workout by pressing the [Incline: UP] key to increase the incline, or the [Incline: DOWN] key to decrease the incline. The new incline will continue through the rest of the workout until changed using the Incline keys.
3.Press [STOP] to pause the workout. Press [STOP] again to end the workout. The workout statistics will be displayed, and then the console will revert back to the SELECT WORKOUT message.
12

MANUAL PROGRAM
The Manual Program
The Manual Program allows you to control the speed and incline of the treadmill during the workout, while accurately calculating exercise statistics based on your weight. The default speed is 1.0 mph unless changed during the data entry mode. The incline is 0%. The workout profile in the display window is divided into 30 equal intervals within the selected workout time. The profile is based on the MET level, with every 1 MET equating to one vertical bar. MET level is based on a combination of incline and speed.
To use the Manual program:
1.Press the [MANUAL] key. The message, MANUAL WORKOUT will be displayed in the text line and the workout profile displayed in the lower display.
2.The console will display ENTER WEIGHT - LBS (or ENTER WEIGHT – KG if in Metric mode). Enter your weight using the numeric keypad and press [ENTER]. Or, press [ENTER] to accept the default value.
•Your weight is used to calculate the number of calories burned for each minute of exercise and the total number of calories burned for the exercise session.
3.The console will display ENTER SPEED - MPH ( or ENTER SPEED – KMH if in Metric mode). Enter the desired speed using the numeric keypad and press [ENTER]. Or, press [ENTER] to accept the default value.
4.Next, the console will display ENTER TIME 5
–99. Enter the desired time and press [ENTER]. Or, press [ENTER] to select the default time.
If you press [0], then the timer will count-up from 0:00 to the maximum time of 99:00.
5.The console will display ENJOY WORKOUT and the timer will begin.
•Speed may be changed at any time during the workout by pressing the [Speed: UP] key to increase the speed, or the [Speed: DOWN] key to decrease the speed. Any changes to the speed will be displayed in the current flashing column. The new speed will continue through the rest of the workout until changed using the Speed keys.
•Incline may be changed at any time during the workout by pressing the [Incline: UP] key to increase the incline, or the [Incline: DOWN]  key to decrease the incline. Any changes to incline will be displayed in the current flashing column. The new incline will continue through the rest of the workout until changed using the Incline keys.
6.Press [STOP] to end the workout. The workout statistics will be displayed, and then the console will revert back to the SELECT WORKOUT message.
®NAUTILUS PROGRAM MANUAL
13

CHANGING THE GAME IN HEALTH AND FITNESS™ |
FAT BURNER PROGRAM |
NAUTILUS® FAT BURNER PROGRAM
The Fat Burner Program
The Fat Burner program is a 30 interval workout designed with moderate changes in the incline designed to stimulate fat store assimilation for users on a weight control program. The profile in the center display indicates the relative intensity. Any changes to the intensity level will not change the look of the remaining profile; however, the new intensity level will continue through the rest of the workout.
To use the Fat Burner program:
1.Press the [FAT BURNER] key. The message, FAT BURNER, will be displayed on the text line with the workout profile displayed in the lower display.
2.The console will display ENTER WEIGHT - LBS (or ENTER WEIGHT - KG if in Metric mode).
Enter your weight using the numeric keypad and press [ENTER]. Or, press [ENTER] to accept the default value.
•Your weight is used to calculate the number of calories burned for each minute of exercise and the total number of calories burned for the exercise session.
3.The console will display ENTER SPEED – MPH (or ENTER SPEED – KMH if in Metric mode). Enter the desired speed using the numeric keypad and press [ENTER]. Or, press [ENTER] to accept the default value.
4.Next, the console will display ENTER TIME 5 – 99. Enter the desired time and press [ENTER]. Or, press [ENTER] to select the default time.
5.The console will display ENJOY WORKOUT and the timer will begin.
•Speed may be changed at any time during the workout by pressing the [Speed: UP] key to increase the speed, or the [Speed: DOWN] key to decrease the speed. Any changes to the speed will be displayed in the current flashing column. The new speed will continue through the rest of the workout until changed using the Speed keys.
•Incline may be changed at any time during the workout by pressing the [Incline: UP] key to increase the incline, or the [Incline: DOWN] key to decrease the incline. Any changes to incline will be displayed in the current flashing column. The new incline will continue through the rest of the workout until changed using the Incline keys.
6.Press [STOP] to end the workout. The workout statistics will be displayed, and then the console will revert back to the SELECT WORKOUT message.
14

CALORIE BURNER PROGRAM
The Calorie Burner Program
The Calorie Burner program is a 30 interval workout designed for users wanting to increase their aerobic capacity. The changes of intensity in the program are greater than the changes in the Fat Burner program, and are designed specifically to tax the cardiorespiratory system. The profile in the center display indicates relative intensity. Any changes to the intensity level will not change the look of the remaining profile; however, the new intensity level will continue through the rest of the workout.
To use the Calorie Burner program:
1.Press the [CALORIE BURNER] key. The message, CALORIE BURNER, will be displayed on the text line with the workout profile displayed in the lower display.
2.The console will display ENTER WEIGHT - LBS (or ENTER WEIGHT - KG if in Metric mode).
Enter your weight using the numeric keypad and press [ENTER]. Or, press [ENTER] to accept the default value.
•Your weight is used to calculate the number of calories burned for each minute of exercise and the total number of calories burned for the exercise session.
3.The console will display ENTER SPEED - MPH or (ENTER SPEED – KMH if in Metric mode). Enter the desired speed using the numeric keypad and
press [ENTER]. Or, press [ENTER] to accept the default value.
4.Next, the console will display ENTER TIME 5 – 99. Enter the desired time and press [ENTER]. Or, press [ENTER] to select the default time.
5.The console will display ENJOY WORKOUT and the timer will begin.
•Speed may be changed at any time during the workout by pressing the [Speed: UP] key to increase the speed, or the [Speed: DOWN] key to decrease the speed. Any changes to the speed will be displayed in the current flashing column. The new speed will continue through the rest of the workout until changed using the Speed keys.
•Incline may be changed at any time during the workout by pressing the [Incline: UP] key to increase the incline, or the [Incline: DOWN]  key to decrease the incline. Any changes to incline will be displayed in the current flashing column. The new incline will continue through the rest of the workout until changed using the Incline keys.
6.Press [STOP] to end the workout. The workout statistics will be displayed, and then the console will revert back to the SELECT WORKOUT message.
®NAUTILUS PROGRAM BURNER CALORIE
15
 Loading...