


WCS-2030

LevelOne
WCS-2030
11g Wireless IP Network Camera
User’s Manual

Table of Contents
Before You Use This Product.......................................................................... 1
Warning Before Install.................................................................................. 2
Package Contents ........................................................................................ 4
Installation ................................................................................................. 5
Hardware installation.............................................................................. 5
Software installation............................................................................... 7
User Interface................................................................................ 13
Action buttons................................................................................ 14
Function buttons ............................................................................ 15
Setup ........................................................................................... 16
System Setting .............................................................................. 16
Change root password..................................................................... 17
Adjust date and time....................................................................... 18
Network Setting ............................................................................. 18
Fix the IP address........................................................................... 19
Basic Network Settings.................................................................... 19
Upgrade ........................................................................................ 20
Device Information ......................................................................... 20
Package Information ....................................................................... 21
File Selection ................................................................................. 22
Upgrade ........................................................................................ 22
How to Use ......................................................................................... 23
Authentication................................................................................ 23
Installing plug-in.................................................................................. 24
Primary user’s capability ....................................................................... 26
Main Screen with Camera View......................................................... 26
Digital Zoom.................................................................................. 27
Snapshot....................................................................................... 28
Client settings................................................................................ 29
Administrator’s capability ...................................................................... 31
Fine-tuning for Best Performance...................................................... 31
Opening accounts for new users ....................................................... 33
Change homepage layout ................................................................ 34
Build a multimedia web attraction site ............................................... 39
Build a security application .............................................................. 42
Software revision upgrade ............................................................... 43

Definitions in Configuration ......................................................................... 44
System parameters .............................................................................. 45
Security settings.................................................................................. 46
Network settings.................................................................................. 47
General......................................................................................... 47
HTTP ............................................................................................ 47
Streaming ..................................................................................... 47
WLAN Configuration........................................................................ 48
Mail & FTP........................................................................................... 49
SMTP ............................................................................................ 49
FTP .............................................................................................. 50
DDNS and UPnP settings ....................................................................... 51
Video codec parameters........................................................................ 51
Motion detection .................................................................................. 53
Application settings .............................................................................. 54
Weekly schedule............................................................................. 54
Send out the snapshot while motion detection .................................... 54
Sequential operation ....................................................................... 54
Homepage layout settings................................................................ 56
Viewing system log .............................................................................. 57
Viewing system parameters................................................................... 57
Factory default .................................................................................... 57
Appendix.................................................................................................. 58
A. Troubleshooting ............................................................................... 58
Status LED .................................................................................... 58
Reset and restore ........................................................................... 58
B. Frequently asked questions ............................................................... 58
C. URL commands of the Network Camera............................................... 51
Capture update Snapshot of JPEG image............................................ 51
Query status of the digital input ....................................................... 51
Drive the digital output ................................................................... 51
Restore factory default settings ........................................................ 51
Restart system............................................................................... 52
Page URL ...................................................................................... 53
System resource URL ...................................................................... 53
General format of command URL ...................................................... 54
System configuration URL................................................................ 54
Security configuration URL............................................................... 55

Network configuration URL............................................................... 55
DDNS & UPnP configuration URL ....................................................... 57
Mail & FTP configuration URL ............................................................ 57
Video configuration URL .................................................................. 58
Image quality configuration URL ....................................................... 60
Application configuration URL ........................................................... 60
Homepage layout configuration URL .................................................. 61
D. Technical specifications ..................................................................... 62

1
Before You Use This Product
The use of surveillance devices may be prohibited by law in your country. The Network
Camera is not only a high-performance web-ready camera but also can be part of a
flexible surveillance system. It is the user’s responsibility to ensure that the operation
of such devices is legal before installing this unit for its intended use.
It is important to first verify that all contents received are complete according to the list
in the "Package Contents" chapter. Take notice of the warnings in “Quick installation
guide” before the Network Camera is installed, then carefully read and follow the
instructions in the “Installation” chapter to avoid damages due to faulty assembly and
installation. This also ensures the product is used properly as intended.
The Network Camera is a network device and its use should be straightforward for
those who have basic network knowledge. The “Troubleshooting” chapter in the
Appendix provides remedies to the most common errors in set up and configuration.
You should consult this chapter first if you run into a system error.
The Network Camera is designed for various applications including video sharing,
general security/surveillance, etc. The “How to Use” chapter suggests ways to best
utilize the Network Camera and ensure proper operations. For the creative and
professional developers, the "URL Commands of The Network Camera " chapter serves
to be a helpful reference to customize existing homepages or integrating with the
current web server.
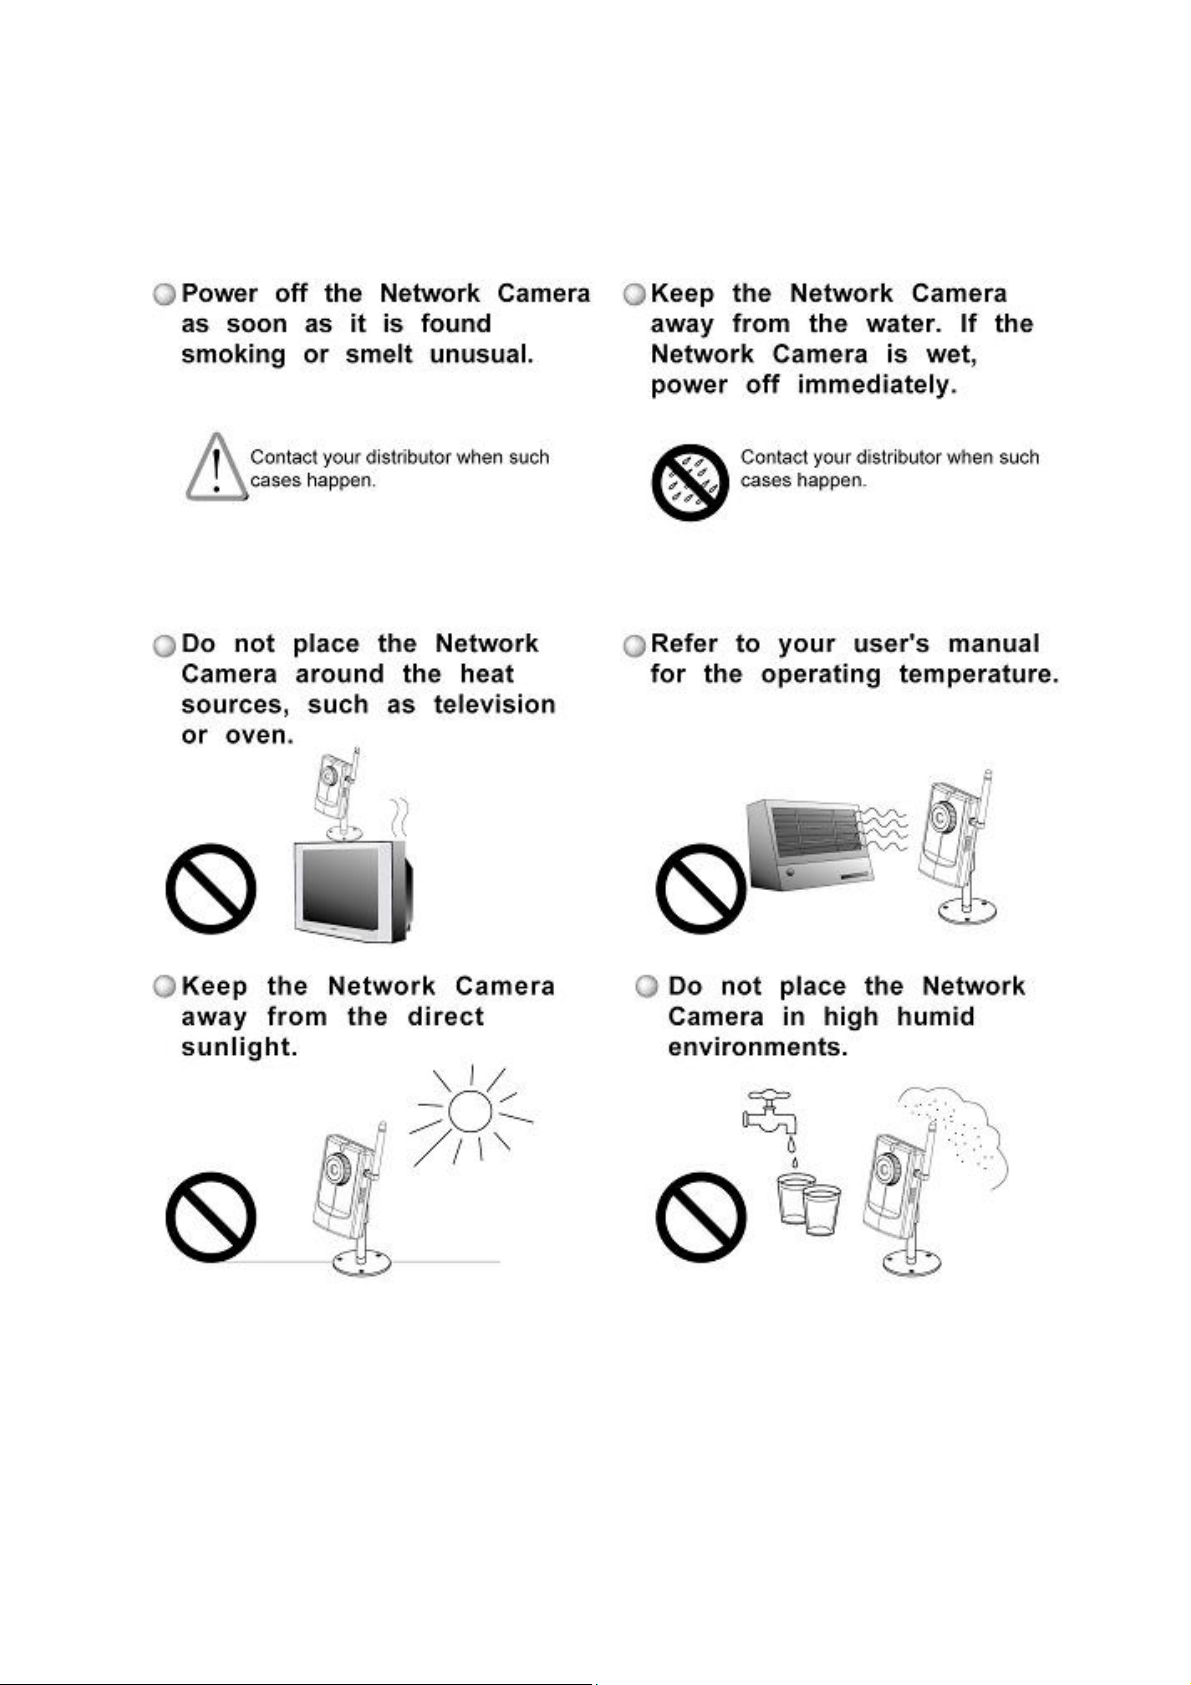
For paragraphs preceded by the reader should use caution to understand
completely the warnings. Ignoring the warnings may result in serious hazards or
injuries.
2
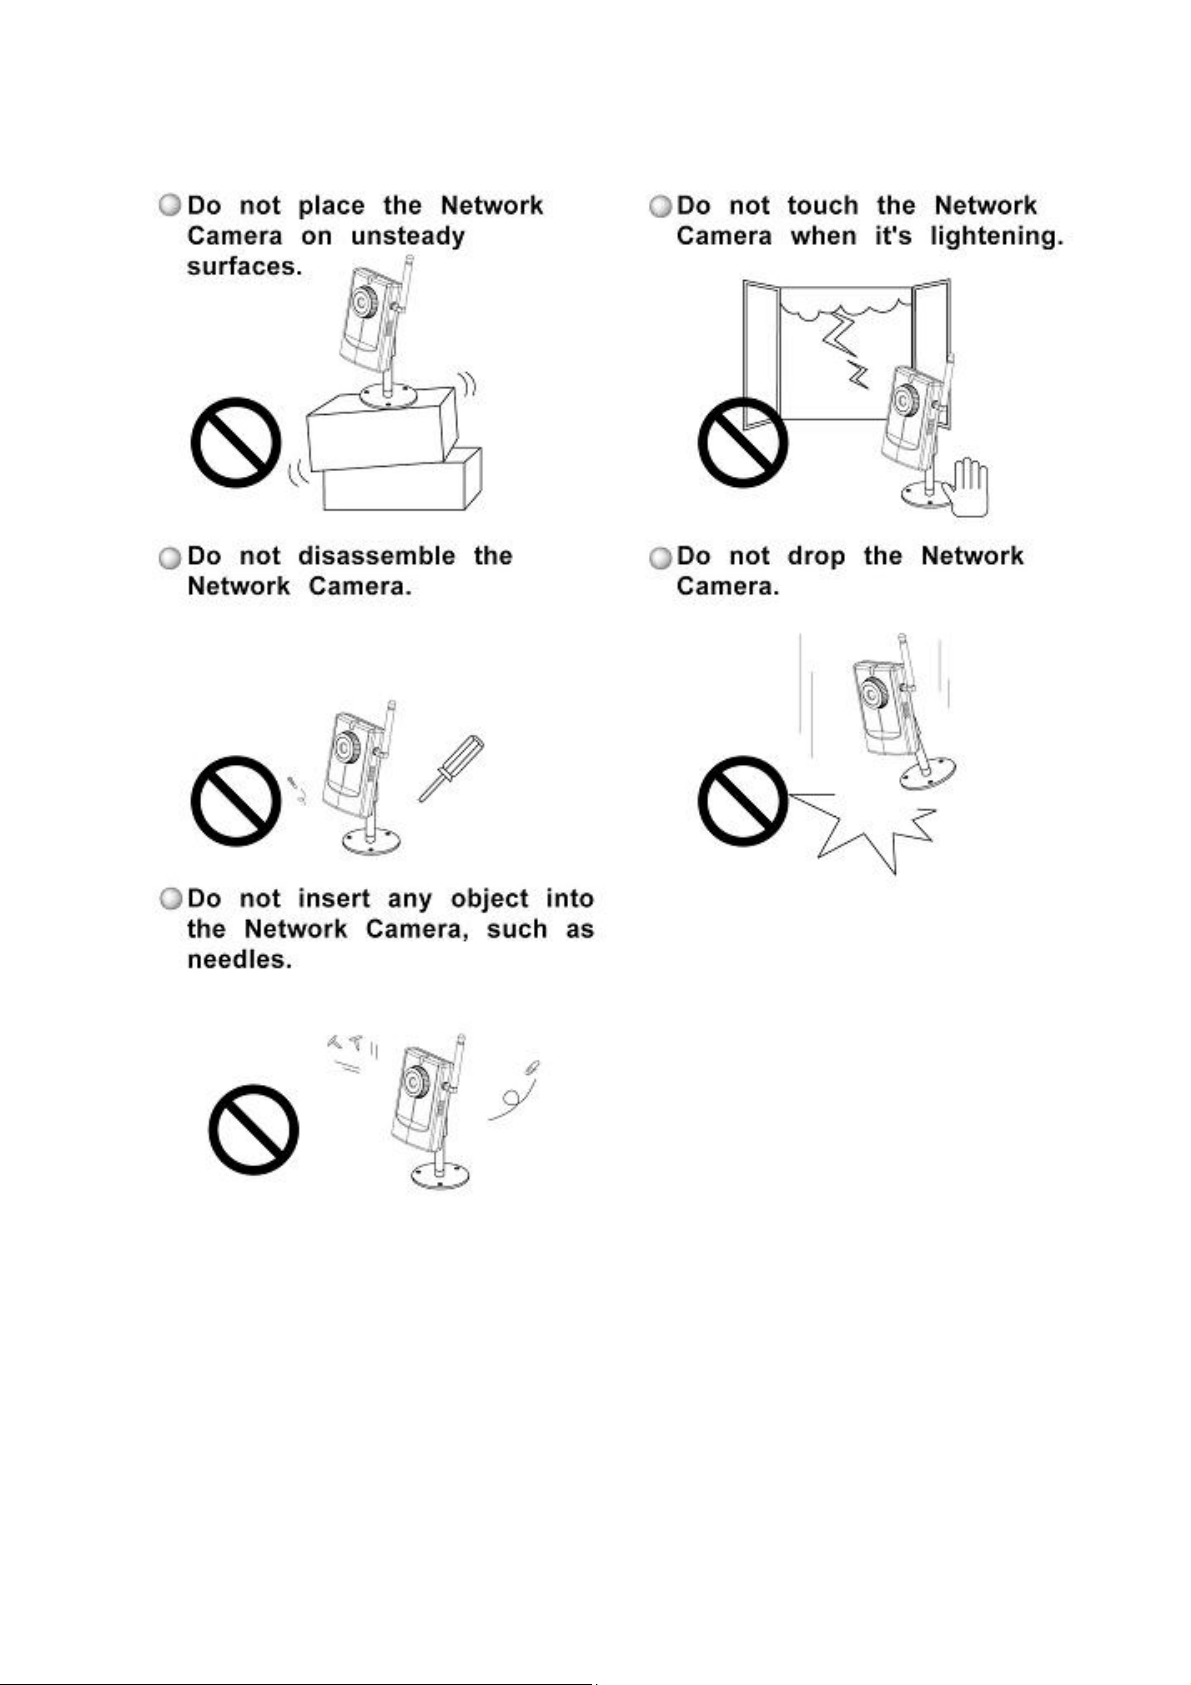
Warning Before Install
3
4
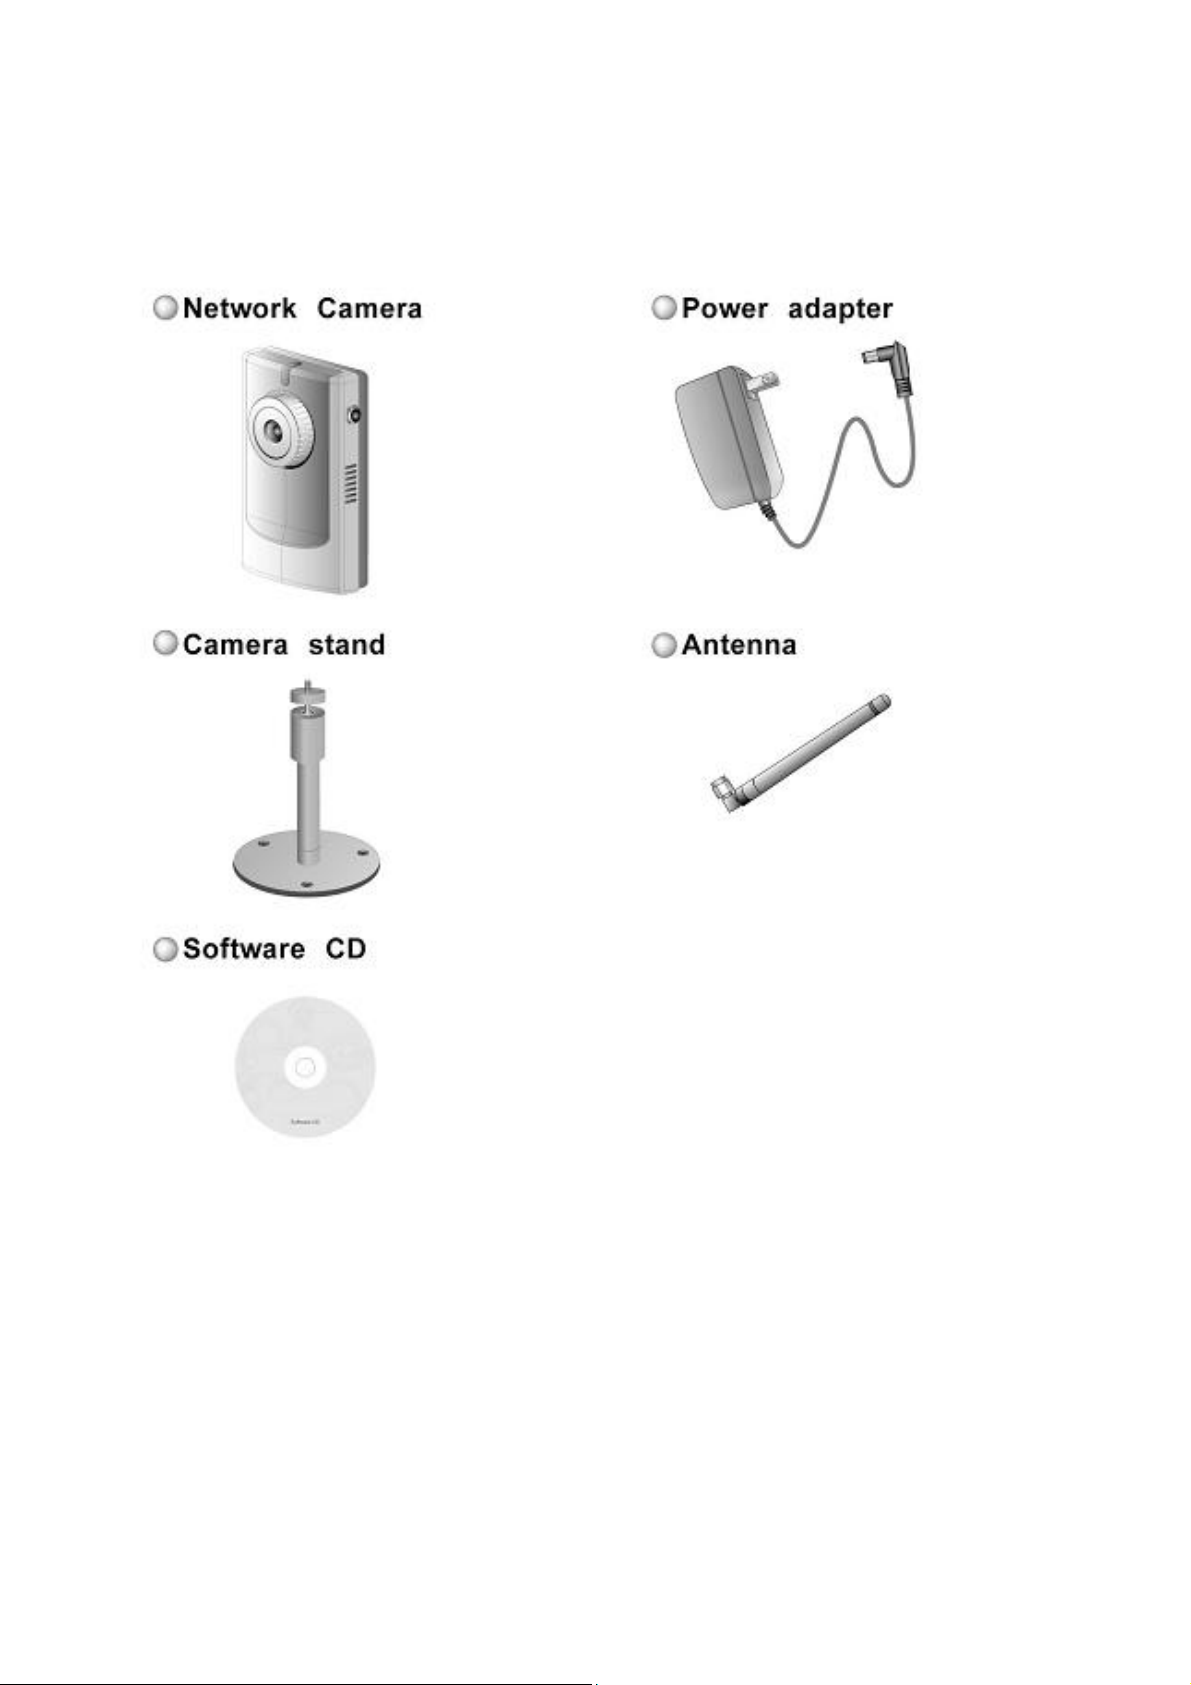
Package Contents
5
Installation
In this manual, "User" refers to whoever has access to the Network Camera, and
"Administrator" refers to the person who can configure the Network Camera and grant
user access to the camera.
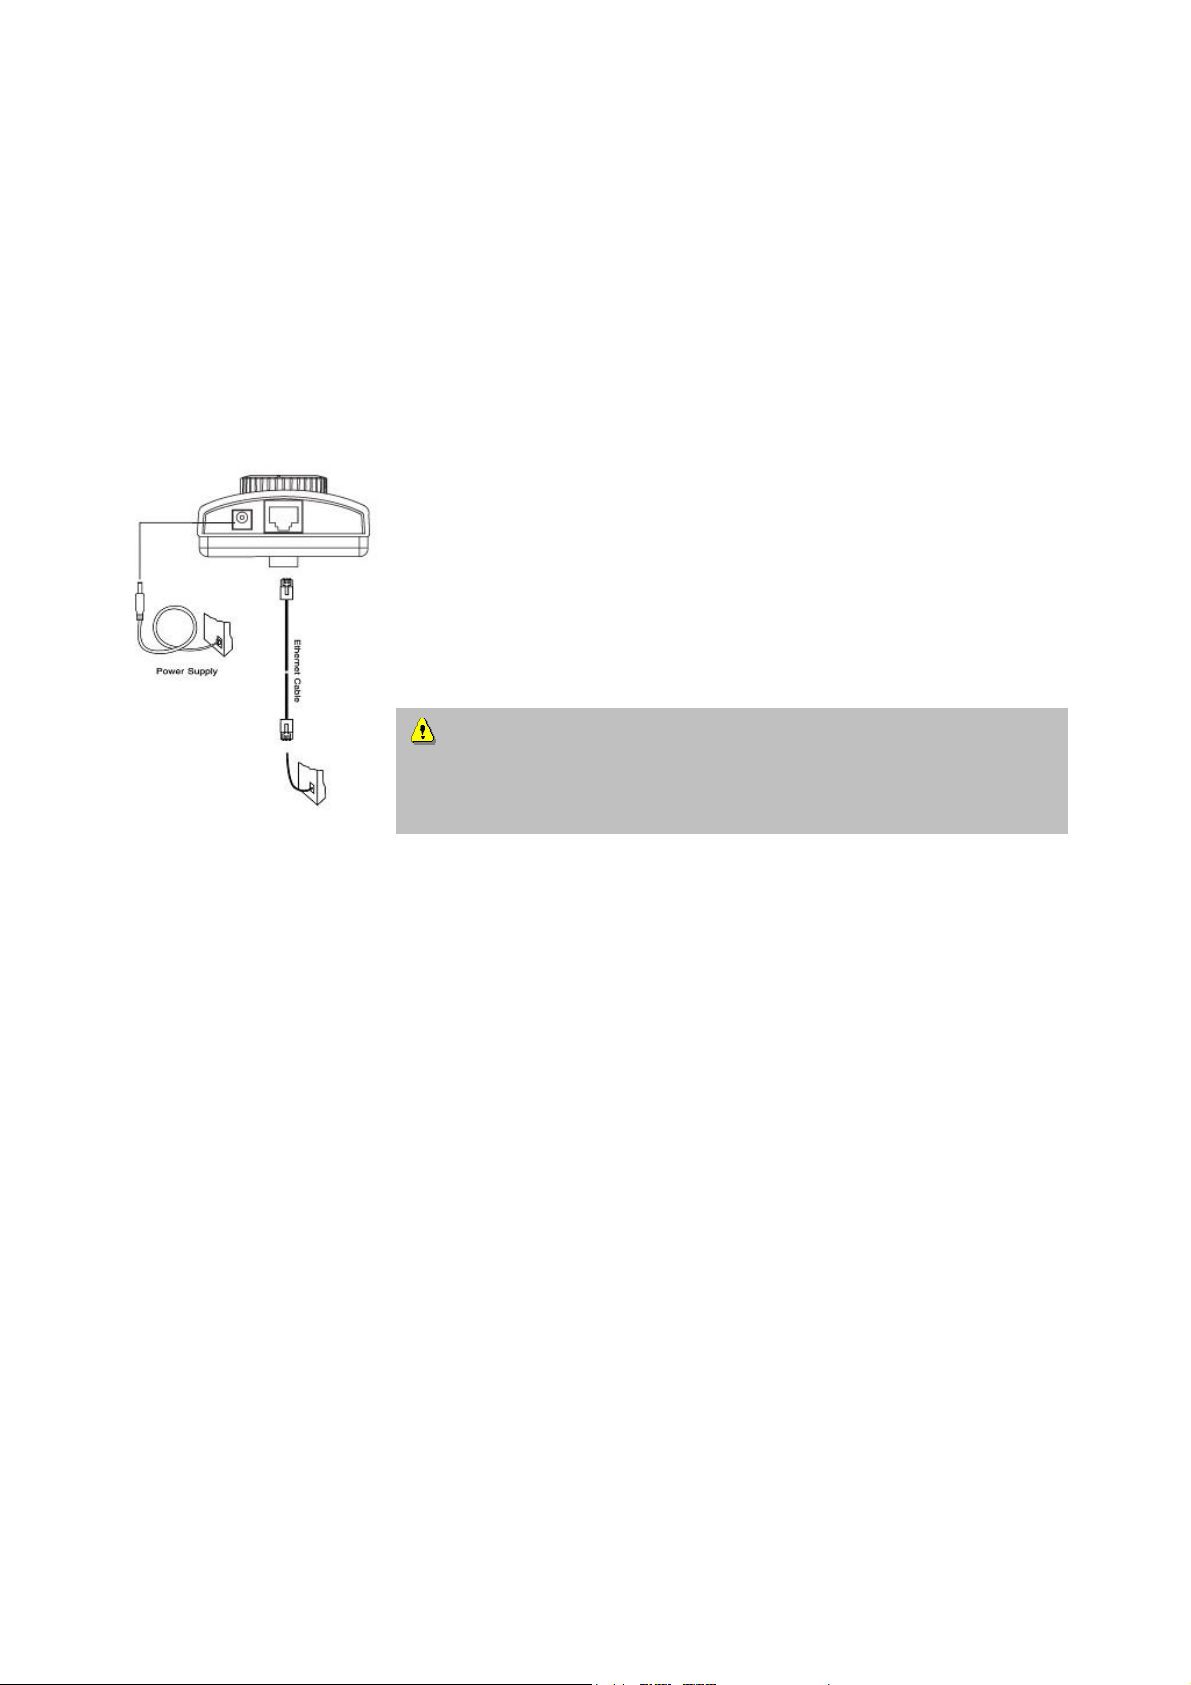
Hardware installation
Please verify that your product package contains all the
accessories listed in the foregoing Package Contents.
Depending on the user’s application, an Ethernet cable may
be needed. The Ethernet cable should meet the specs of UTP
Category 5 and not exceed 100 meters in length.
Upon powering up, the device runs through a self-test procedure and the front LEDs
will blink between green and red a few times. If self-test passes, the LED will be green
and the Network Camera will standby for getting IP address. After getting IP Address,
the LED will blink green every second. If self-test fails the red LED will blink several
times. Refer to Appendix A for troubleshooting.
The Network Camera will first detect Ethernet. If it does not connect to Ethernet, the
Network Camera will try WLAN. During the searching and connecting process to the
wireless access point or station, the red LED of the Network Camera will flash every
second. Until the Network Camera connects to the other wireless device, the red LED
will become lighted. Operating in either network mode, the green LED will flash every
second as heartbeat to indicate alive.
To install in Ethernet
Make sure the Ethernet is firmly connected to a switch hub. After attaching the
Ethernet cable plug in the power adapter. If the LED turns out to be steady green after
self-test, go to next paragraph “Software installation”. If the Ethernet is not available,
Network Camera will switch to wireless LAN mode.
Connect the power adapter jack to the Network Camera
before plugging in to the power socket. This will reduce the
risk of accidental electric shock.

6
To install in wireless LAN
If the Ethernet is not available while power on, the Network Camera will search for any
access point with the SSID “default”. Once any access point is found, the LED will turn
green to wait for installation. If the network environment cannot meet the default
settings, install Network Camera in Ethernet to proceed with wireless LAN
configuration.
7
Software installation
The following are steps for the software installation.
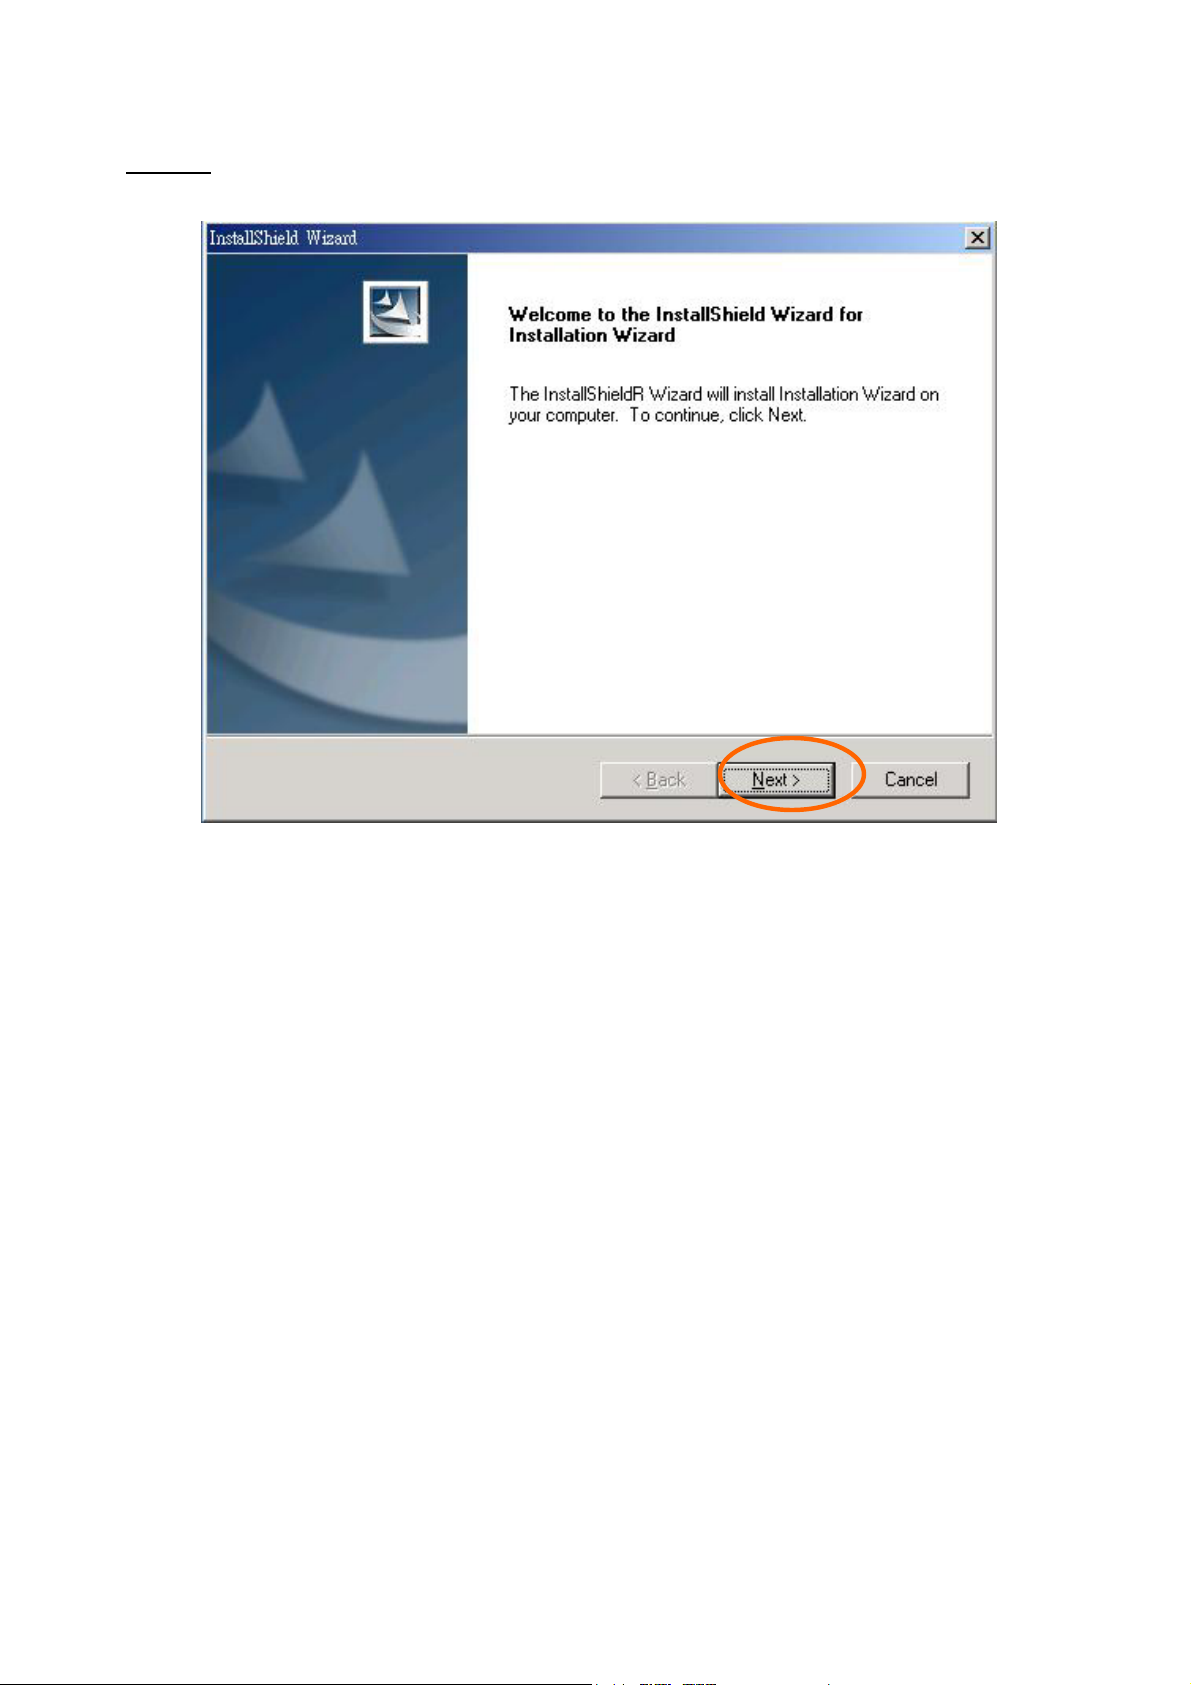
STEP 1
Put the Installation disk into the CD-ROM drive, and the installation should
start automatically. If the installation does not start, click on “Start” on the lower left
corner of your screen, open “My Computer” and double click on the CD-ROM icon. The
Installation Wizard Installation Window will appear.
8
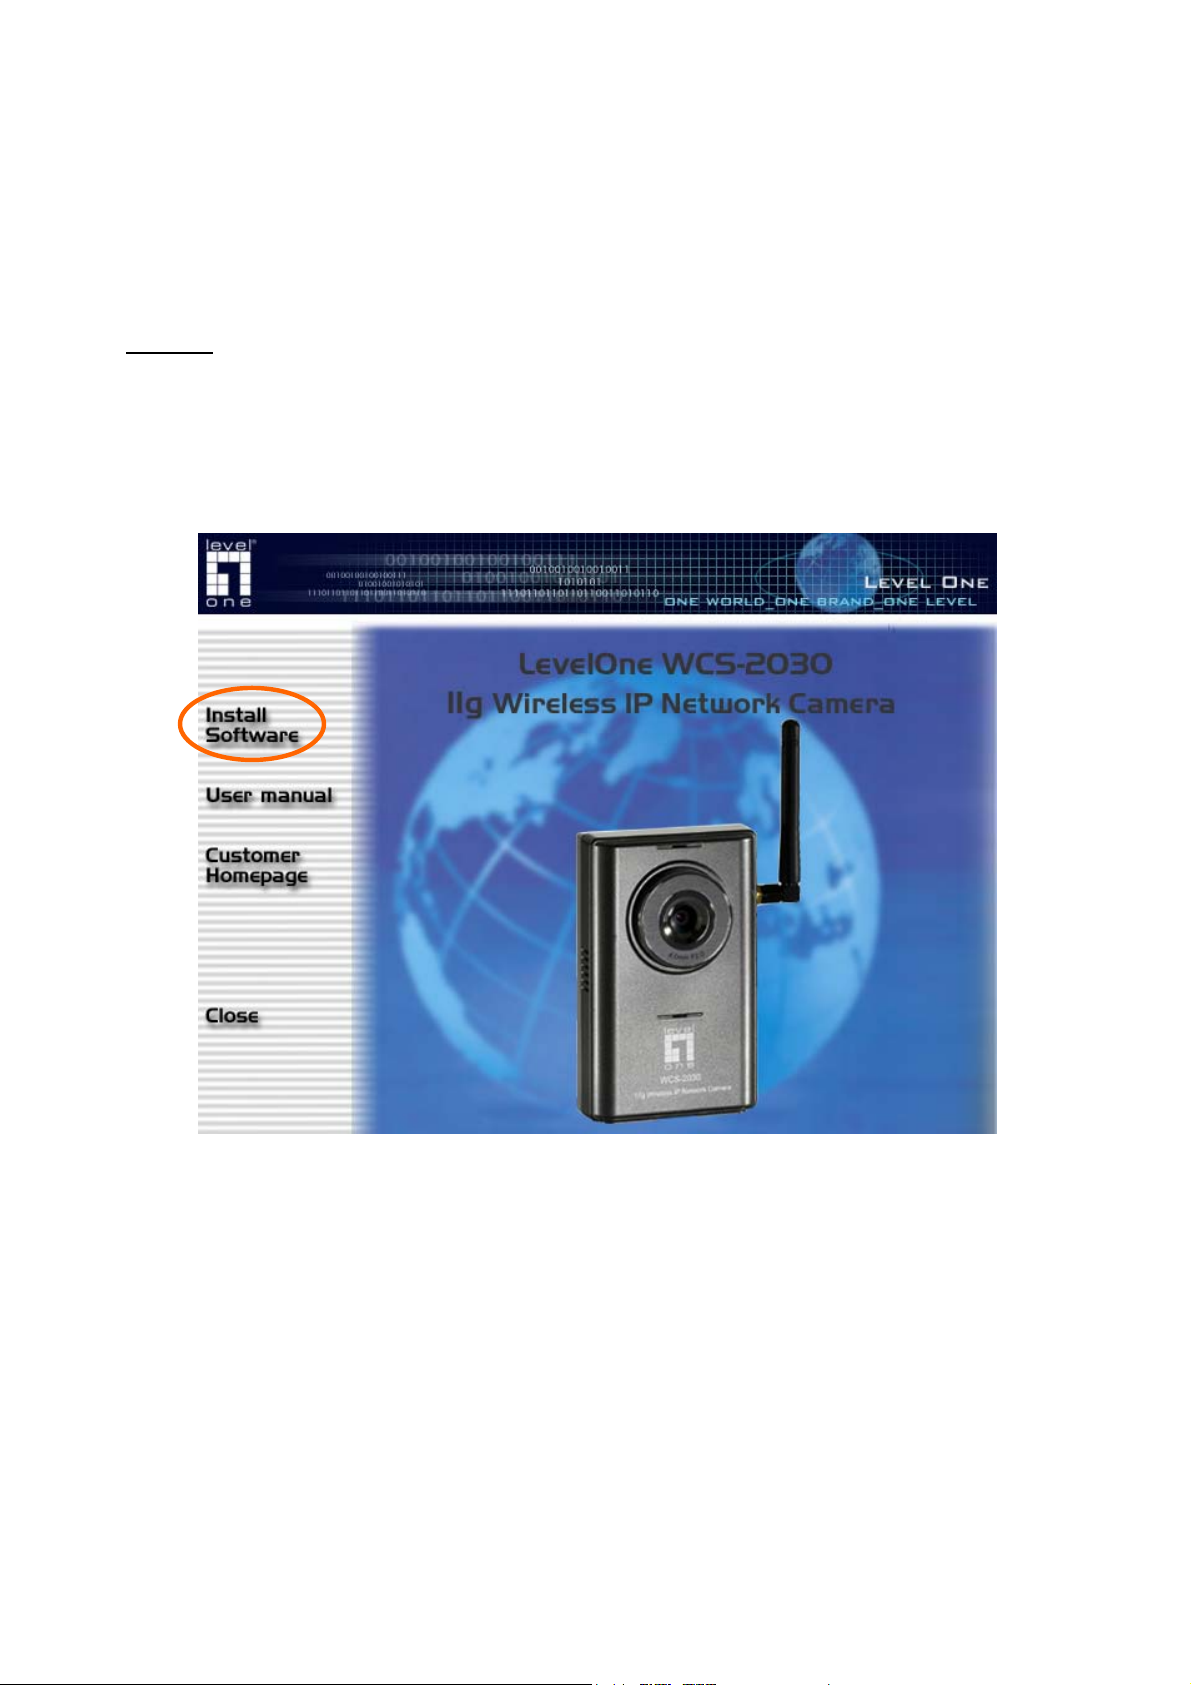
STEP 2
There are links on this page, including Install Software, User’s Manual and
Customer Homepage. Click on “Install Software” to enter Install Software page.
9
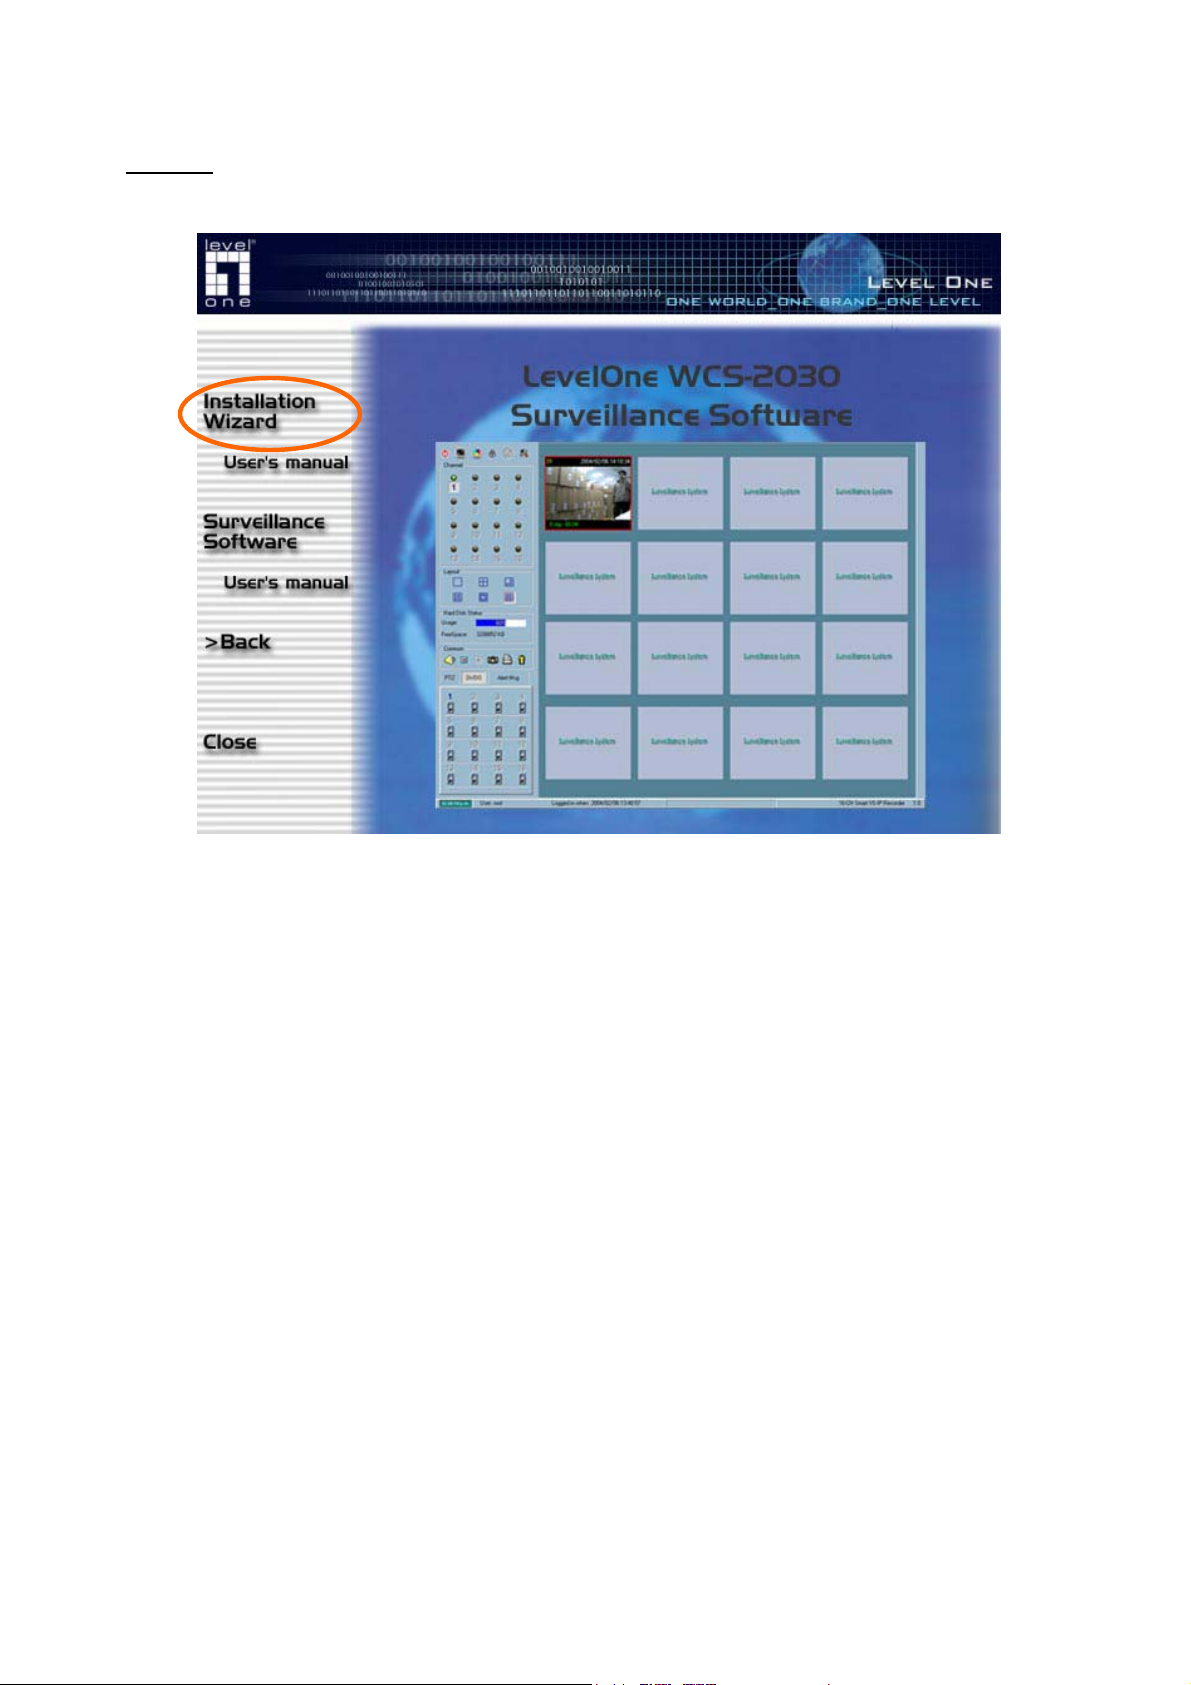
STEP 3
There are links on this page, including Installation Wizard, User’s Manual and
Surveillance Software. Click on “Installation Wizard” to launch the setup program.
10
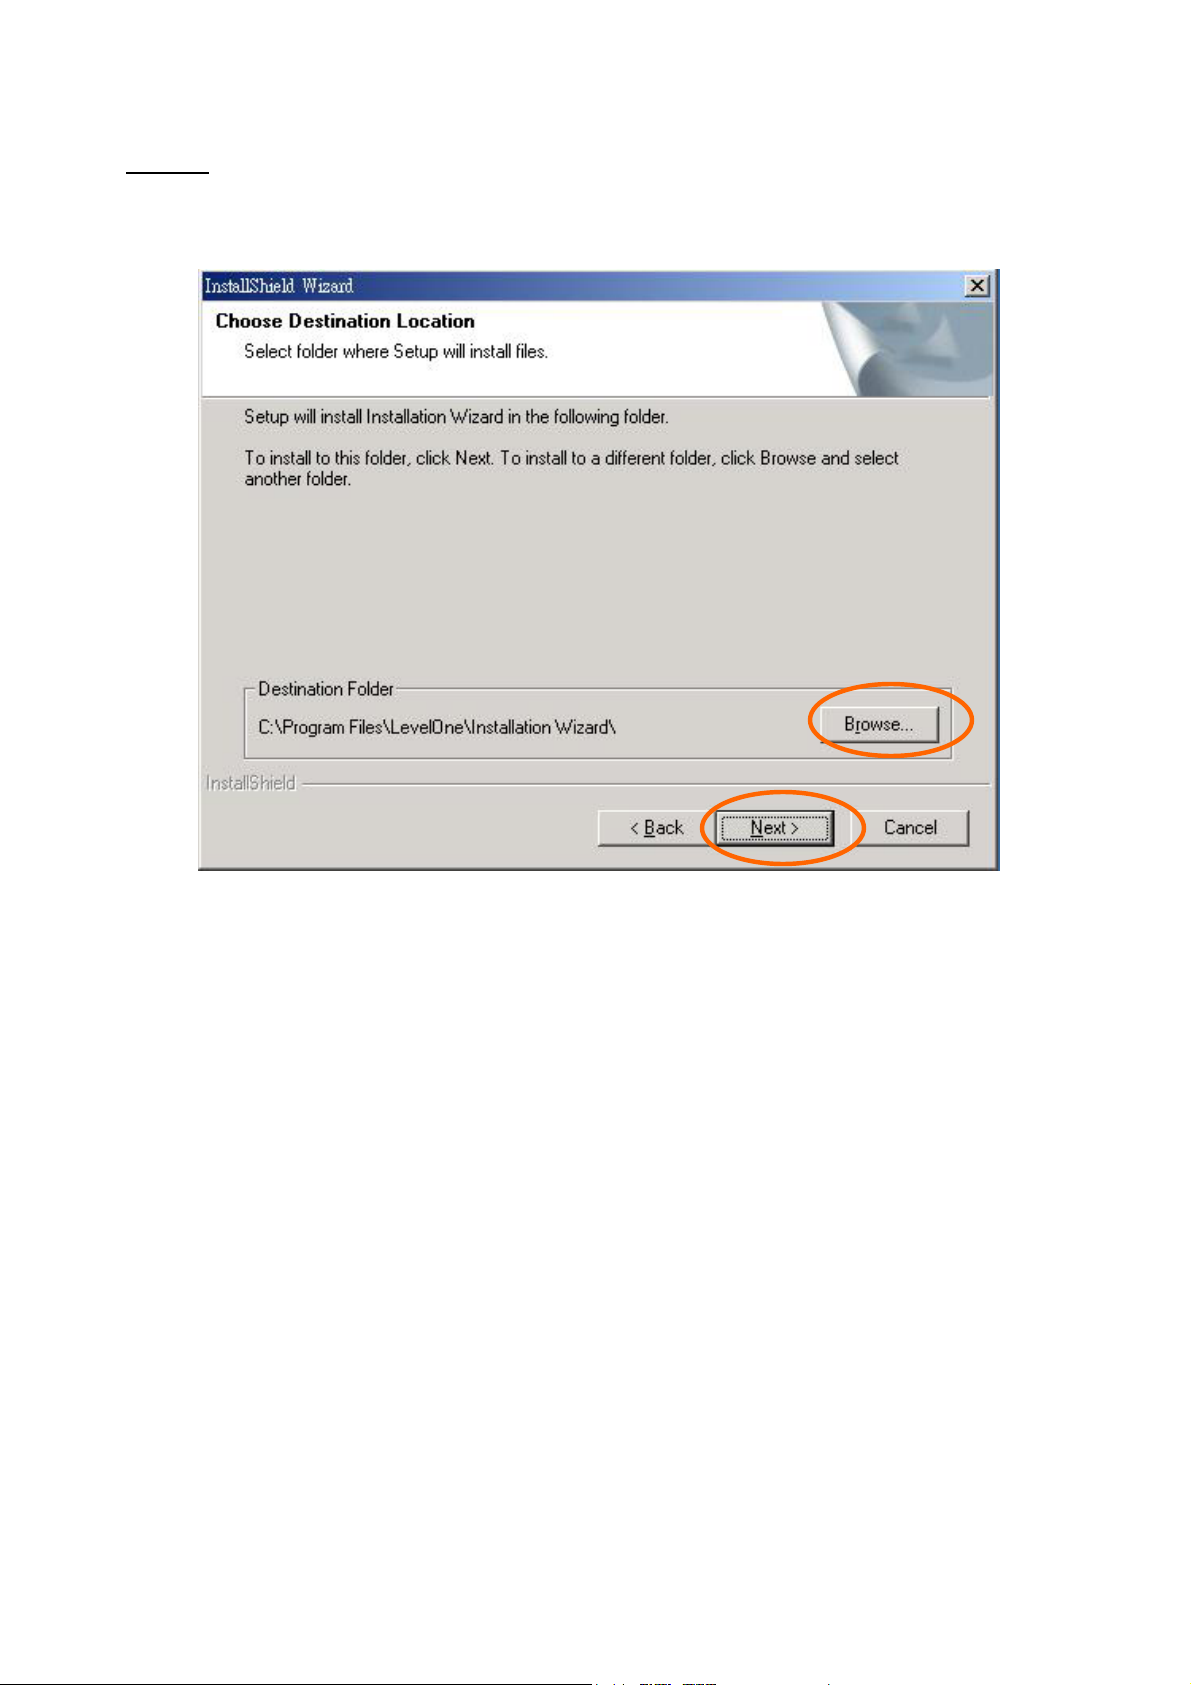
STEP 4
Select the installation directory for this application software and click on “Next”.
You can also change the installation directory from the default directory by clicking on
“Browse…”
11
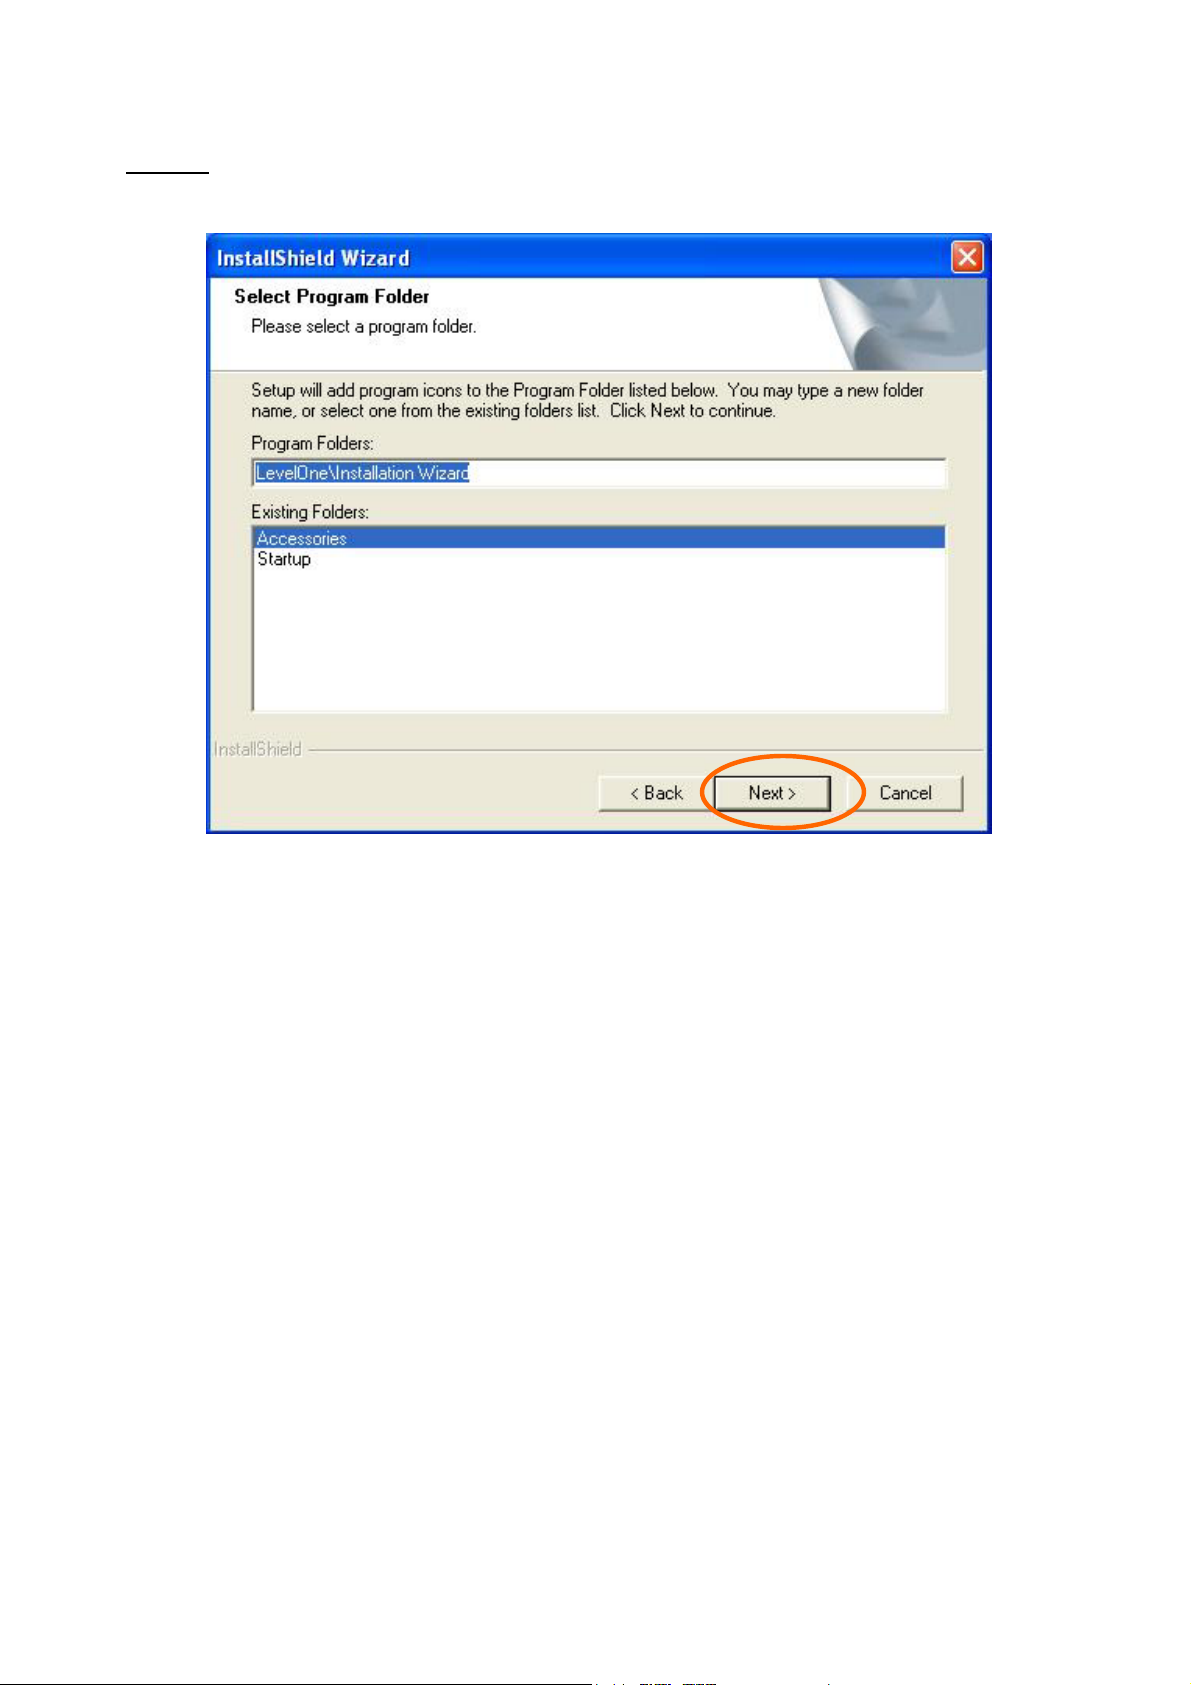
STEP 5
Select a program folder to install the application software into and then click on
“Next”.
12
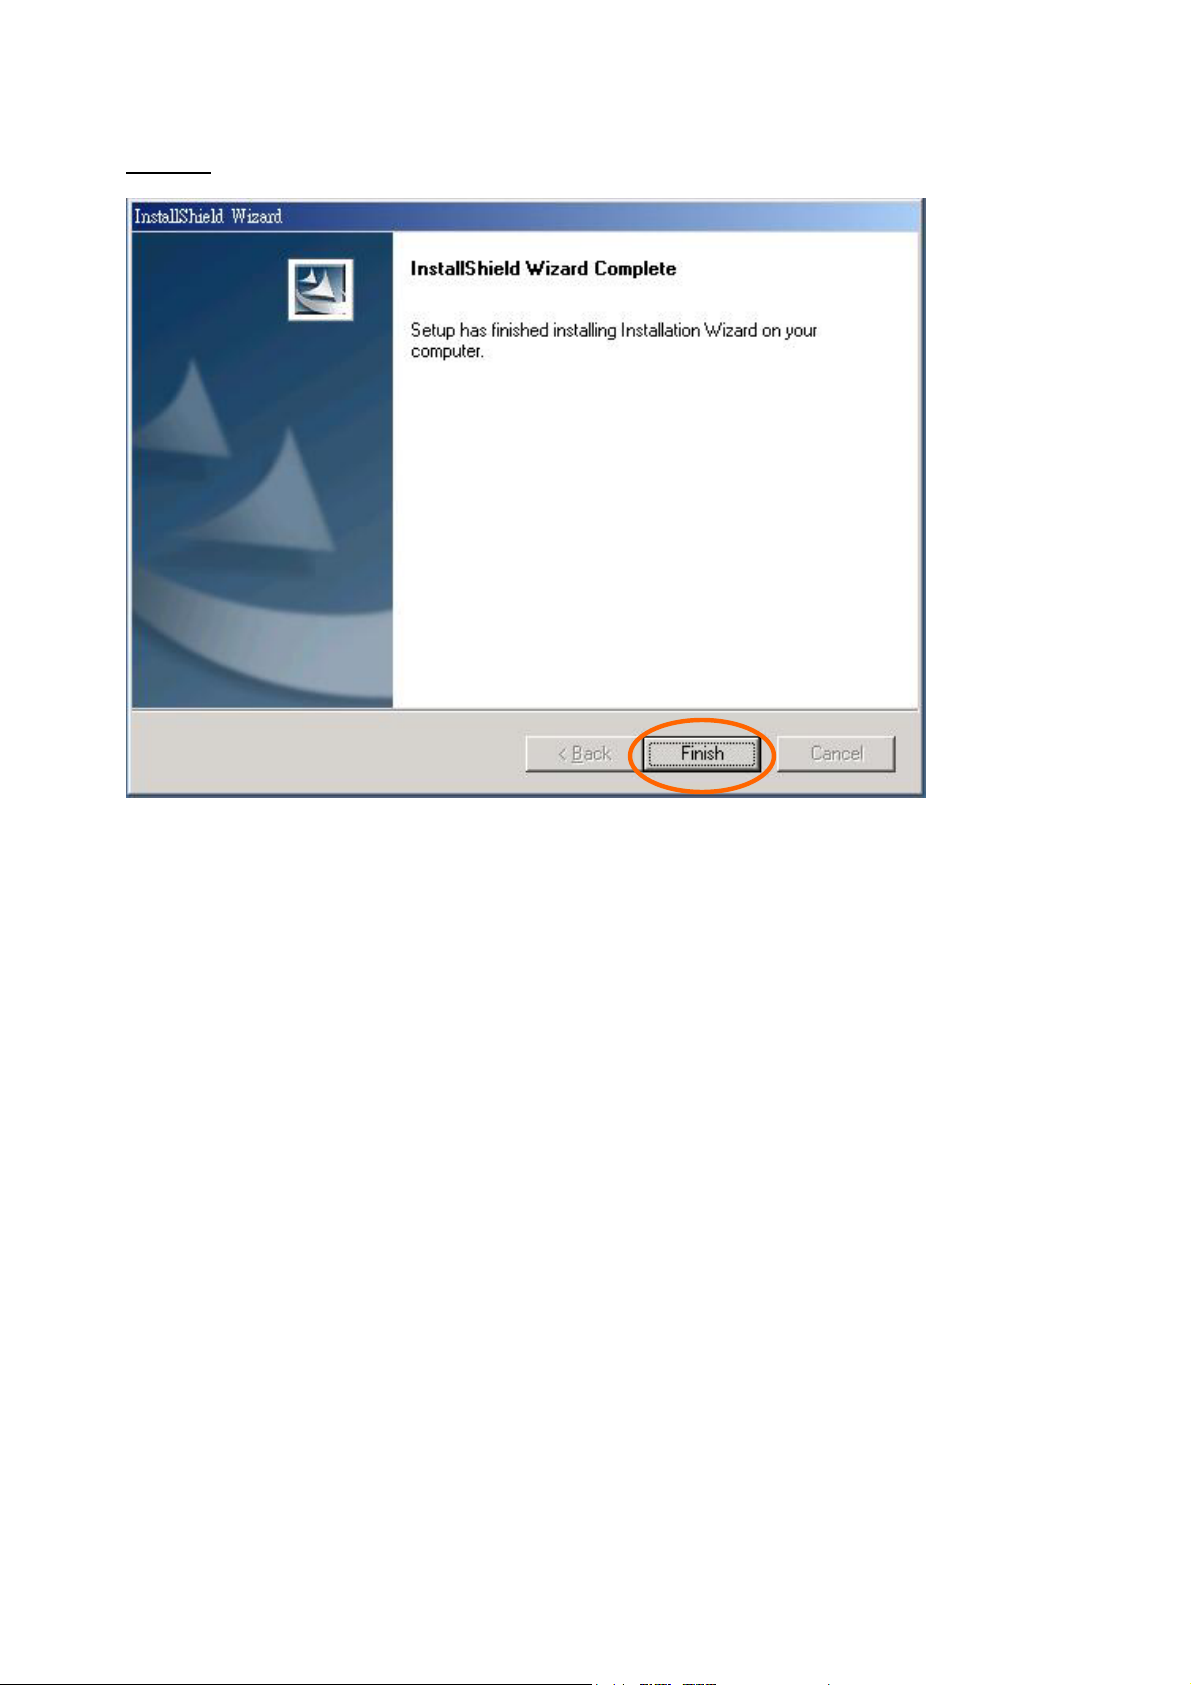
STEP 6
Click on “Finish” to finish installation. This completes the installation.
13
Using Installation Wizard
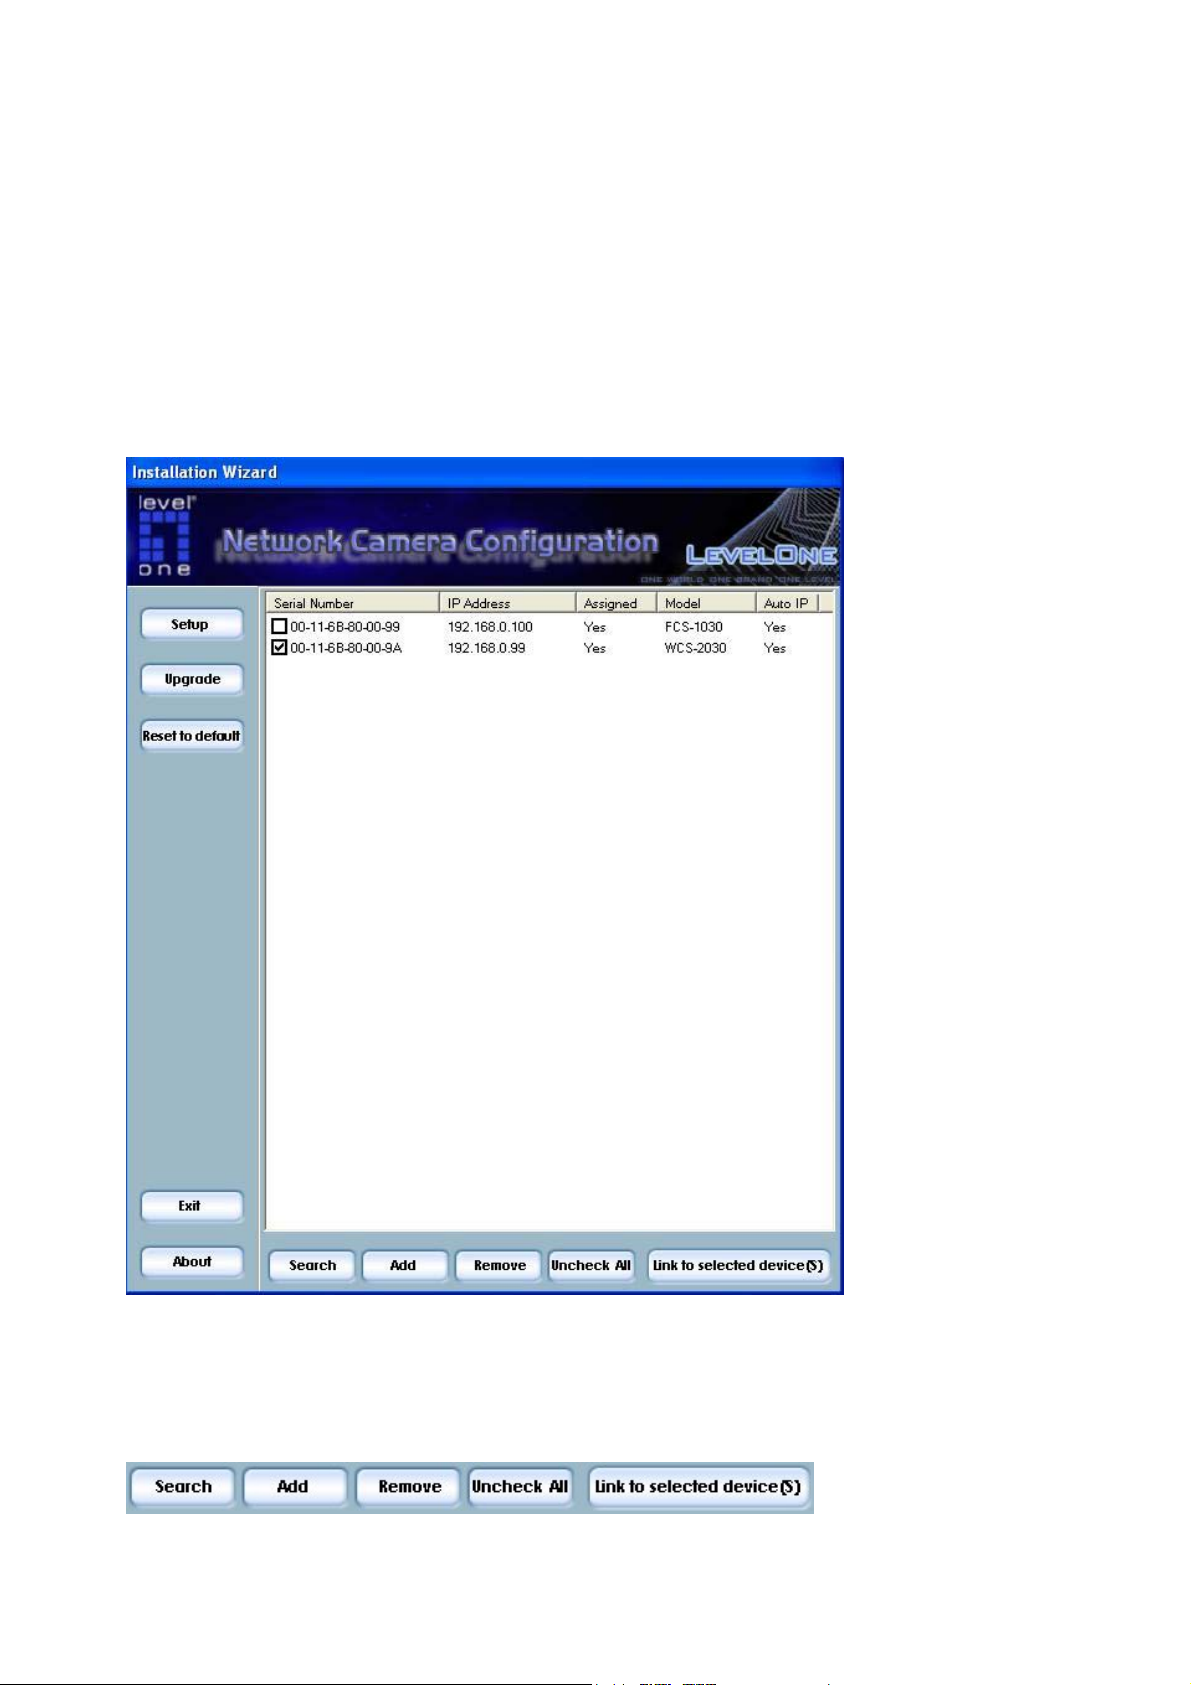
User Interface
Once you run the Installation Wizard, you will see the user interface. You can click on
the device list to select a device. The three buttons (Setup, Upgrade, and Reset to
default) won’t be enabled until you select at least one device.
Installation wizard allows you to setup or upgrade multiple devices (of the same model)
at the same time. If you selected different models, then the buttons will be disabled.
There are five buttons on the bottom of the main page, and five buttons on the left
panel of the main page.
14
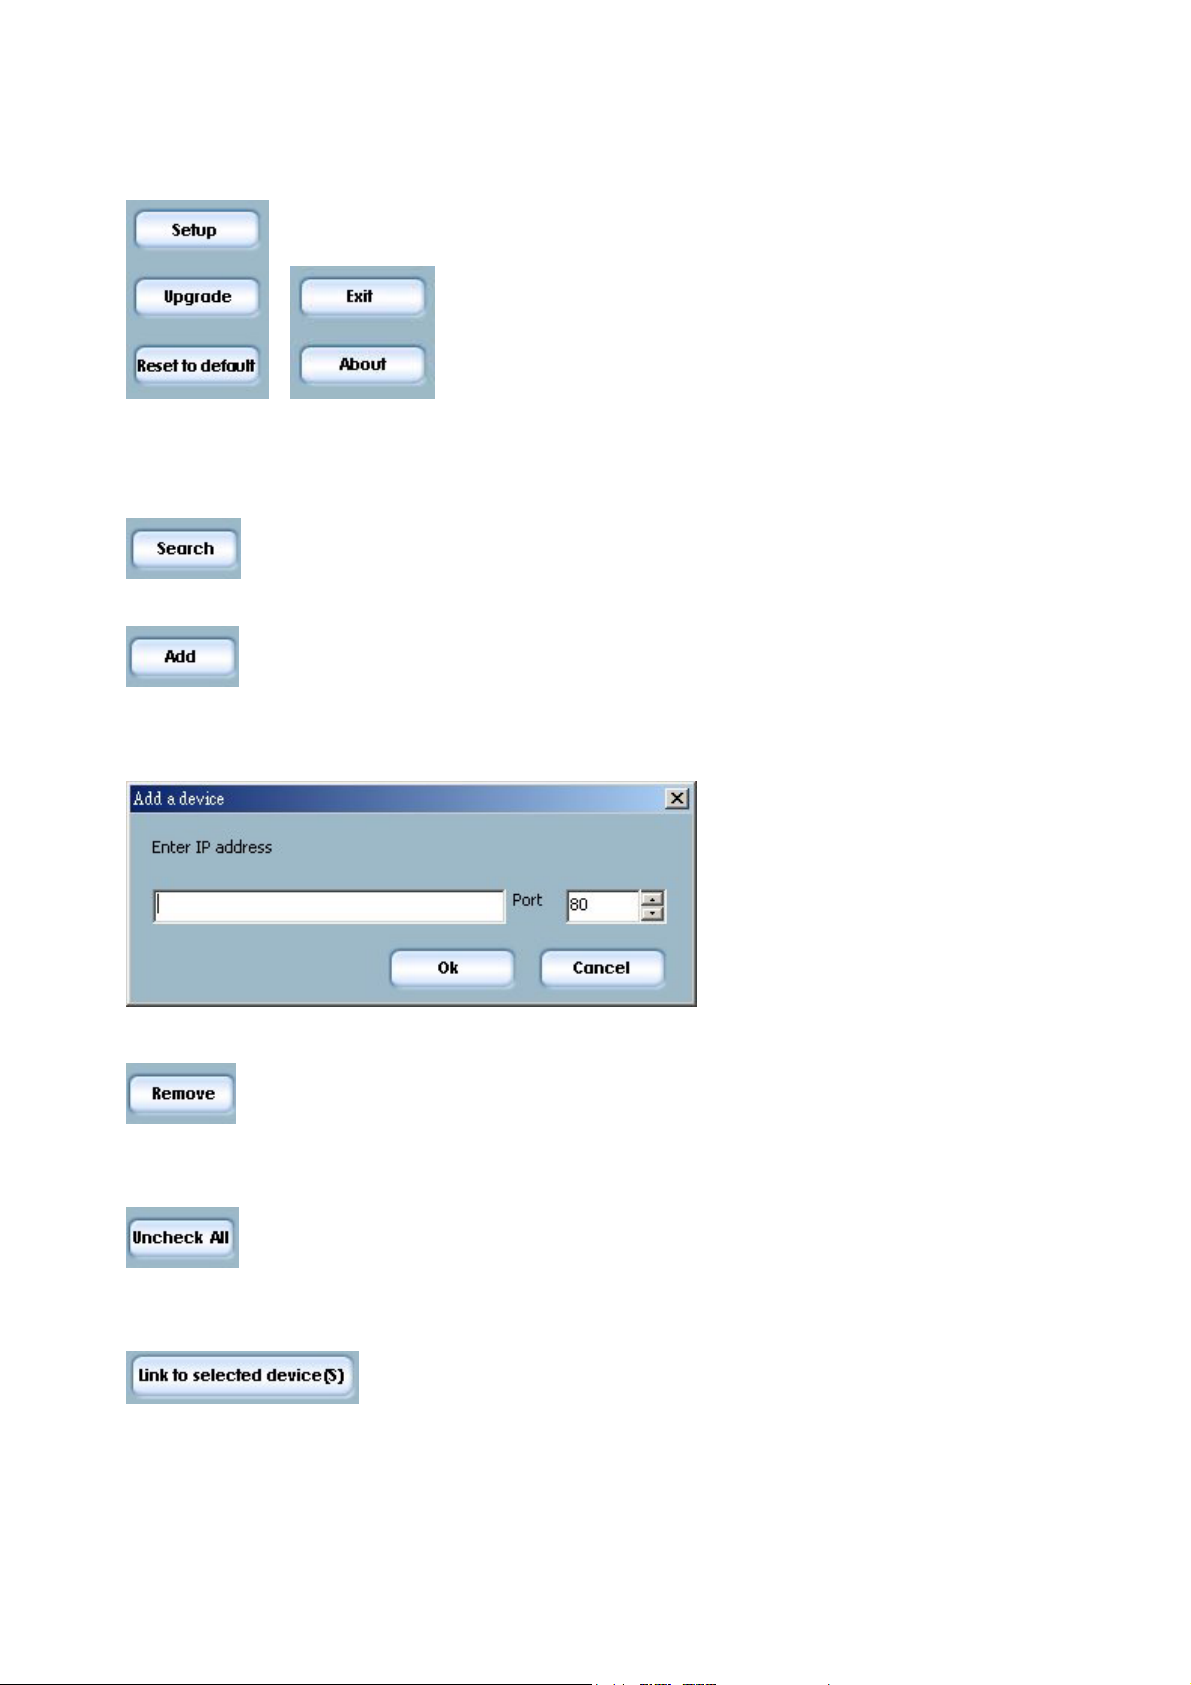
Action buttons
Click on this button to clean up the device list and search all devices on the
within the same subnet again. It will take about 5 seconds.
To setup or upgrade the devices which can not be found by Installation
Wizard, please click on this button to add them manually. Click on this
button will popup a dialog. You can input the IP address and click on Ok to add the
device into the device list.
Click on this button will remove all the selected devices from the device list.
The devices that you remove might be show up again if you click the search
button or add them into list manually.
While you selected several devices, this button allows you to uncheck all
the selected devices by one click instead of uncheck the selected devices
one by one.
Click on this button will open the web browsers to link to all the
selected devices. (One browser per device)
15
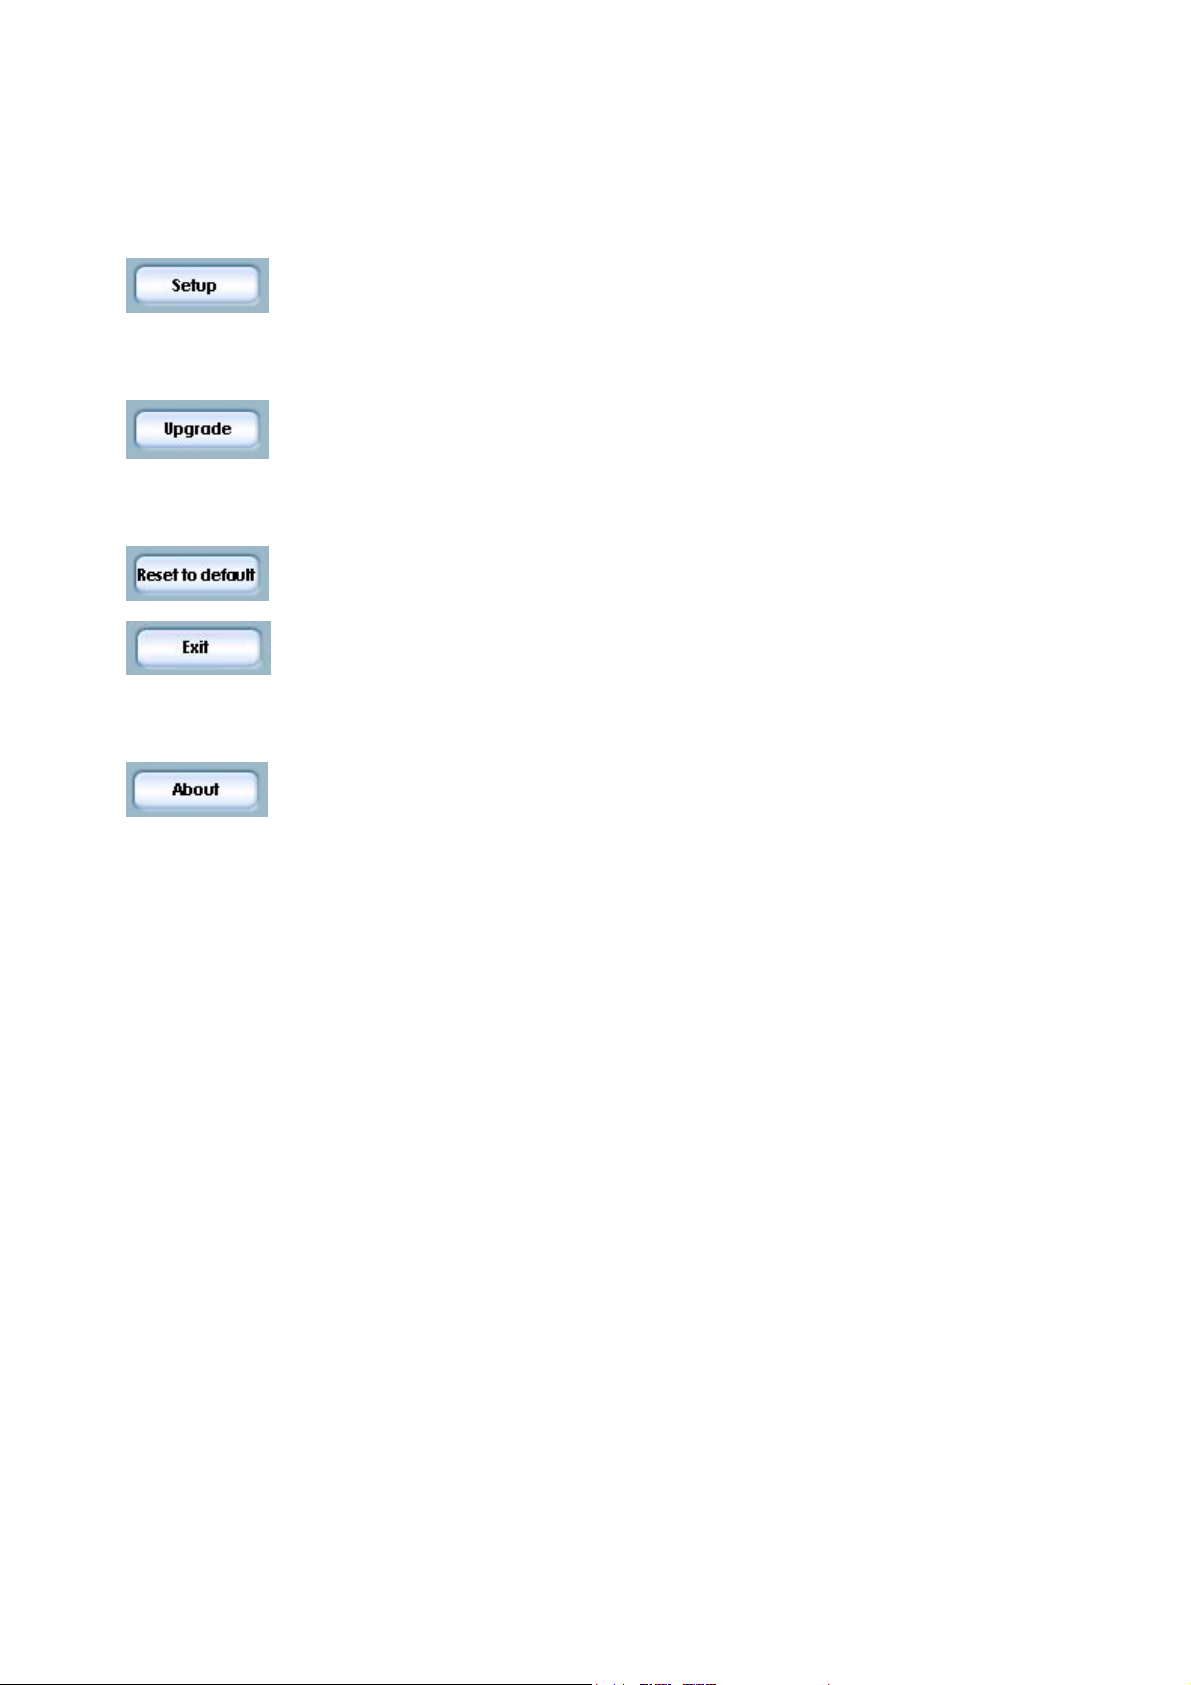
Function buttons
Click on this button to modify the settings of the selected devices. For
more detail, please refer to Upgrade.
Click on this button to upgrade the firmware of the selected devices. For
more detail, please refer to Upgrade.
Click on this button to reset the selected devices to default settings.
Click on this button to close the Installation Wizard.
Click on this button to get information about the Installation Wizard.
16
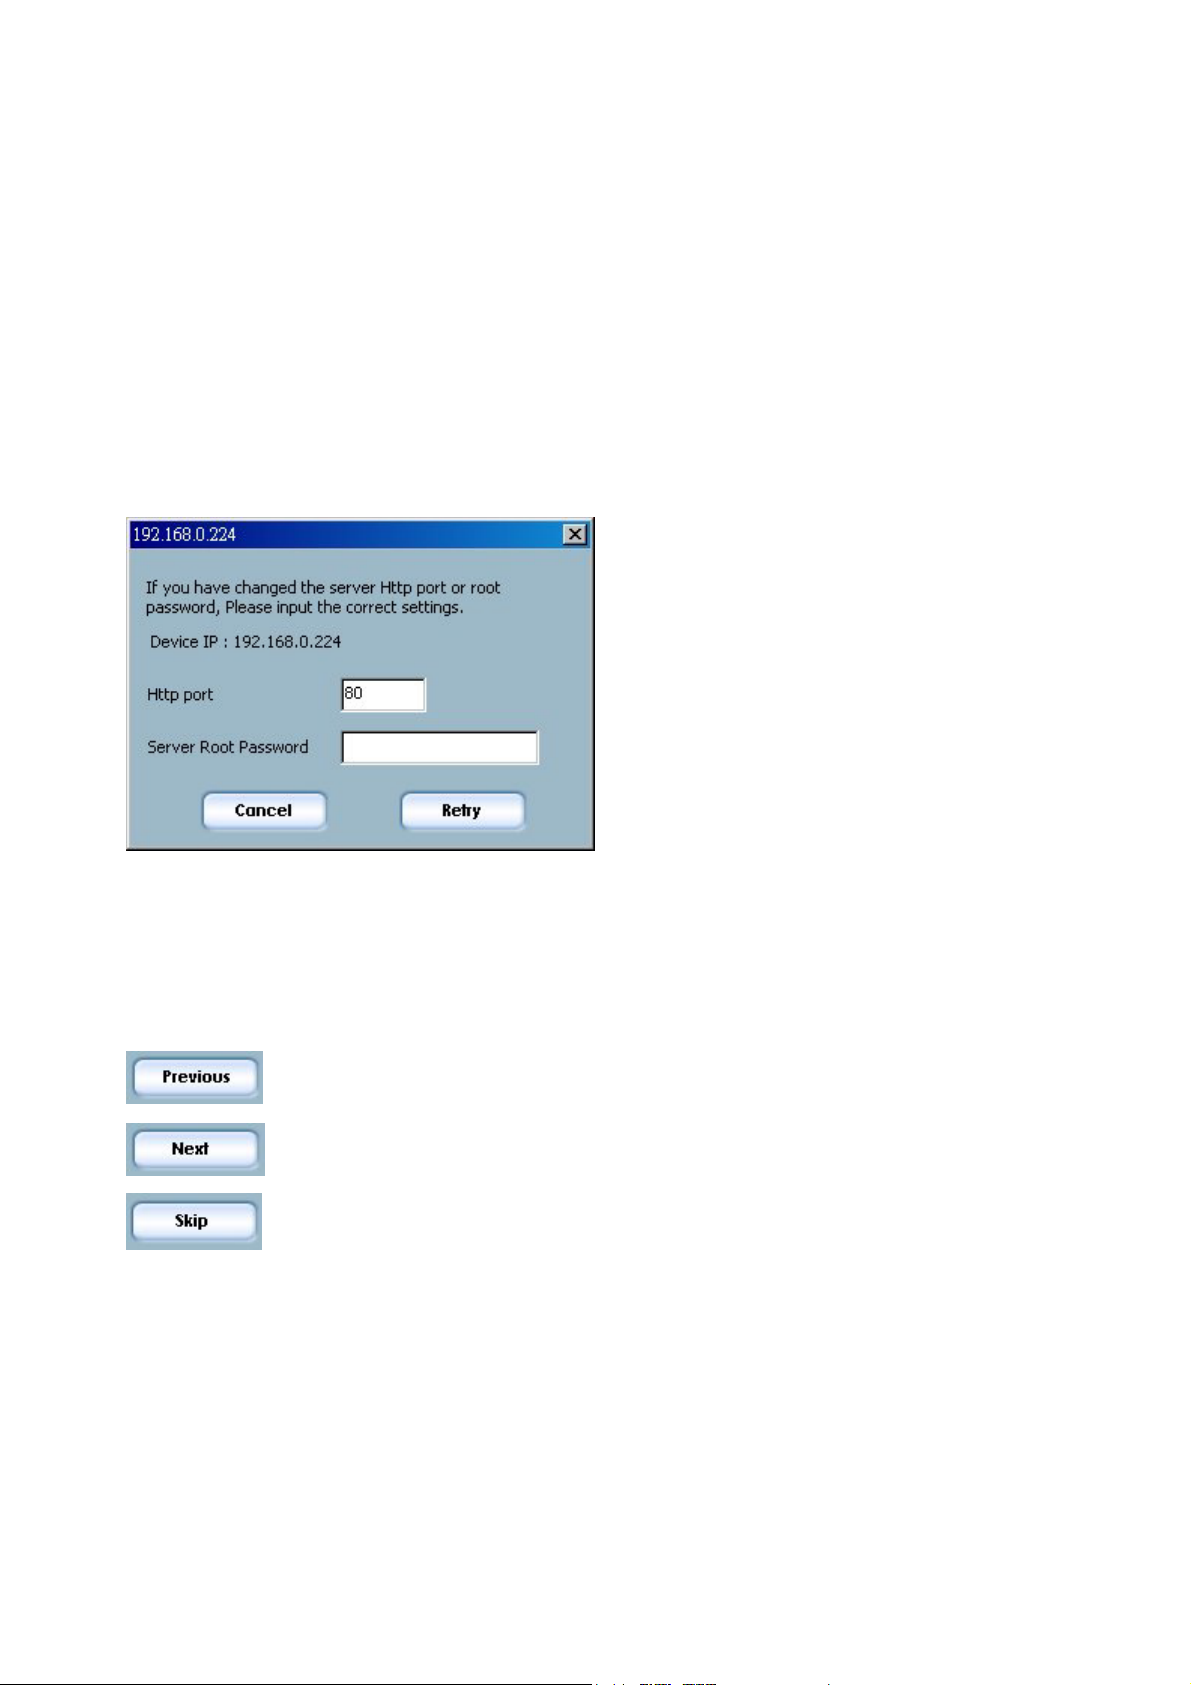
Setup
When you select one or multiple devices (of the same model) , the “Setup” button will
be enabled. Click on it to modify the settings of the selected device(s). After clicking on
the “Setup” button, Installation Wizard will try to connect to the selected device(s). If
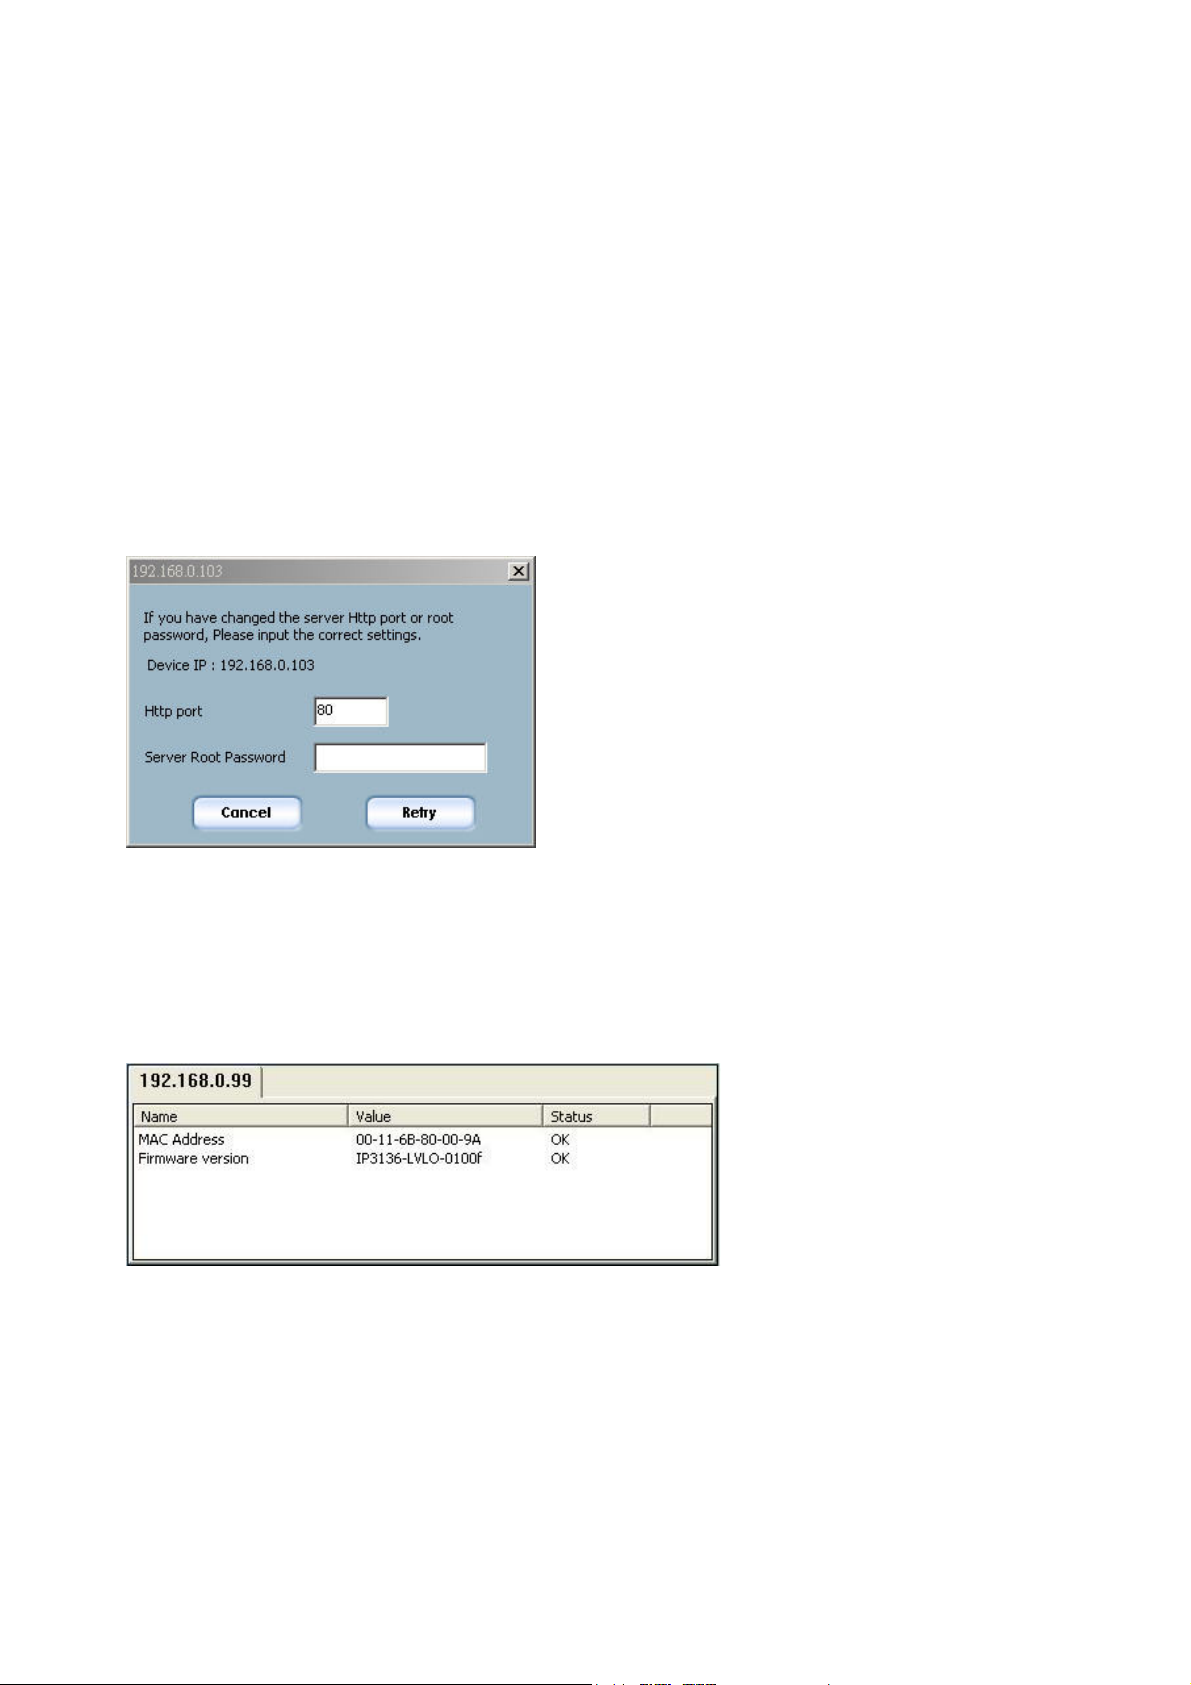
the authentication is failed, it will popup a dialog) to ask for correct password and http
port number.
The default password is the MAC address of your own FCS-1030, which marks at the
bottom label of each device.
Please enter the MAC address with capital letters.
System Setting
After connected to the selected device(s), it will switch to system setting page.
Click on this button to back to the previous page or main page
Click on this button to keep the settings and go to the next page.
Click on this button to discard the settings of the current page and go to
the next page.
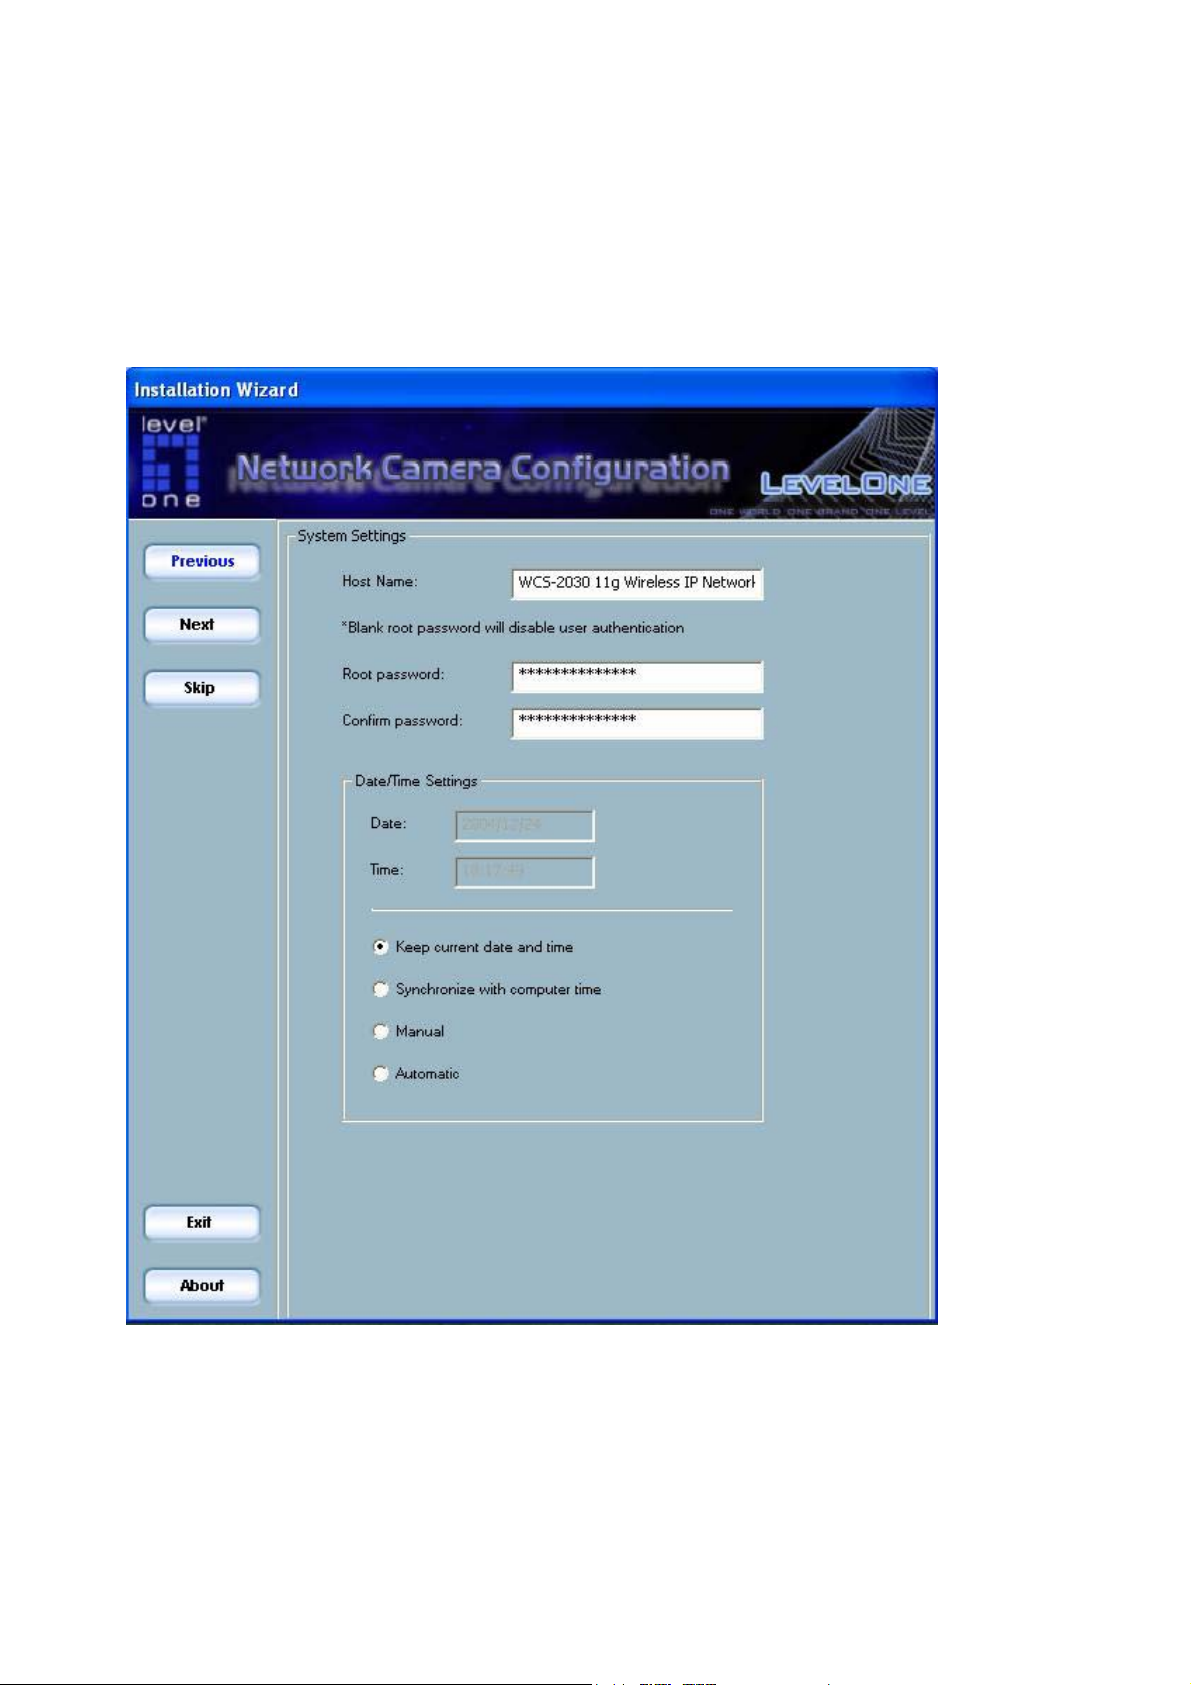
17
Change root password
To change the administrator’s password, type the new password in both root password
and confirm password text boxes identically. What is typed will be displayed as
asterisks for security purposes. The maximum password is 14 characters.

18
Adjust date and time
There are three ways to adjust system date and time. The easiest way is to make
Network Camera "Sync with computer time". The second way “Manual” is to set the
date and time manually by entering new values. Notice the format in the related field
while typing. The third way “Automatic” is to make Network Camera automatically
synchronize with timeservers over the Internet every hour.
Network Setting
In this page, you can change the server’s IP address, subnet mask, default router,
primary dns, and secondary dns.
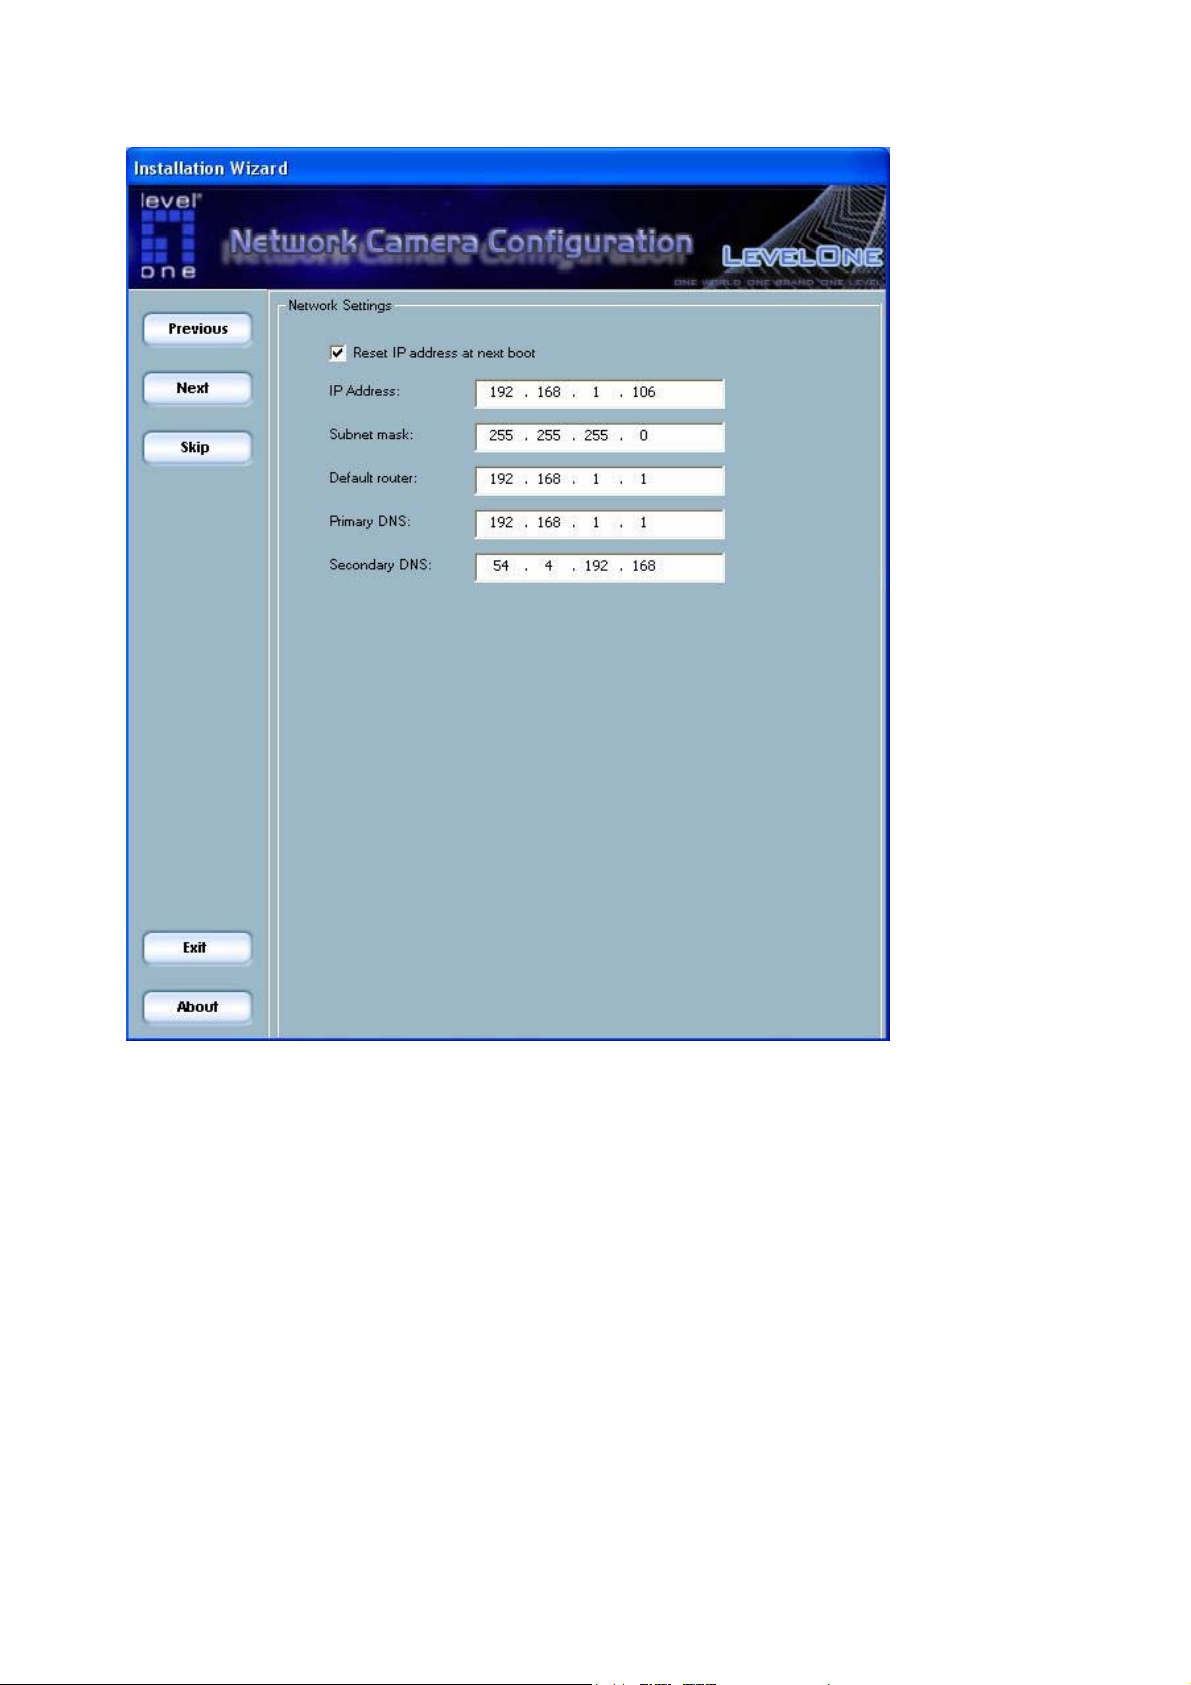
19
Fix the IP address
Check "Reset IP address at next boot" will force Network Camera to reconfigure its
IP address whenever it reboot. If you want the Network Camera to use a fixed IP,
please uncheck the "Reset IP address at next boot" and assign a valid IP address.
If you select more than one device, changing the IP address is not allowed and the IP
address field will be disabled.
Basic Network Settings
You can setup the network setting by this page. Usually this is no need to be changed,
if you do change it please make sure you input the correct setting or the device may not
20
be reachable.
Upgrade
When you select one device or multiple devices (of the same model), the “Upgrade”
button will be enabled. Click on it to upgrade the firmware of the selected device(s).
After click on the “Upgrade” button, Installation Wizard will try to connect the
selected device(s). If the authentication is failed, it will popup a dialog to ask for the
correct password and http port number.
The default password is the MAC address of your own FCS-1030, which marks at the
bottom label of each device.
Please enter the MAC address with capital letters.
Device Information
After connected to the selected device, it will display.
 Loading...