


 Loading...
O P E R A T I N G M A N U A L
XTC/3 Editor
XTC/3 Configuration Editing Software
IPN 074-452-P1

O P E R A T I N G M A N U A L
XTC/3 Editor
XTC/3 Configuration Editing Software
IPN 074-452-P1A
GLOBAL HEADQUARTERS:
Two Technology Place, East Syracuse, NY 13057 USA
Tel: +1.315.434.1100 Fax: +1.315.437.3803 E-mail: reachus@inficon.com
Visit our website for contact information and sales offices worldwide. www.inficon.com Due to our continuing program of product improvements, specifications are subject to change without notice. ©2006 INFICON
Trademarks
The trademarks of the products mentioned in this manual are held by the companies that produce them.
XTC/3™ is a trademark and INFICON® is a registered trademark of INFICON.
Windows®, Excel® and Microsoft® are trademarks of Microsoft Corporation.
All other brand and product names are trademarks or registered trademarks of their respective companies.
The information contained in this manual is believed to be accurate and reliable. However, INFICON assumes no responsibility for its use and shall not be liable for any special, incidental, or consequential damages related to the use of this product.
©2006 All rights reserved.
Reproduction or adaptation of any part of this document without permission is unlawful.

Registration Card
Thank you for selecting INFICON® instrumentation.
Please fill out and return this postage paid card as soon as possible.
Model |
|
|
|
|
|
Serial # |
|
|
|
|
|
|
|||
Name |
|
|
|
|
|
|
|
|
|
|
|
|
|
||
Title |
|
|
|
|
|
|
|
|
|
|
|
|
|
||
Company |
|
|
|
|
|
|
Bldg./MS |
|
|||||||
Address |
|
|
|
|
|
|
|
Phone # |
|
||||||
City |
|
|
|
|
State |
|
|
Zip |
|
|
|
||||
Country |
|
|
Fax# |
|
|
|
|||||||||
Your help is very important in our continuing efforts to improve our manuals. Using the table below, please circle the appropriate rank for each aspect.
In the Importance column, please indicate the importance of each aspect.
Manual Title
Part # (see Title Page) 074-
|
|
|
|
|
|
Importance |
|
|
Very |
|
No |
|
Very |
(ranked from |
|
Aspect |
Dissatisfied |
Satisfied |
1 to 5, where |
||||
Dissatisfied |
Opinion |
Satisfied |
|||||
|
|
|
|
|
|
1 is low and |
|
|
|
|
|
|
|
5 is high) |
|
|
|
|
|
|
|
|
|
Found everything |
VD |
D |
NO |
S |
VS |
|
|
I needed |
|
||||||
|
|
|
|
|
|
||
|
|
|
|
|
|
|
|
Easy to read |
VD |
D |
NO |
S |
VS |
|
|
|
|
|
|
|
|
|
|
Easy to use |
VD |
D |
NO |
S |
VS |
|
|
|
|
|
|
|
|
|
|
Relevant to |
VD |
D |
NO |
S |
VS |
|
|
my work |
|
||||||
|
|
|
|
|
|
||
|
|
|
|
|
|
|
|
Accurate |
VD |
D |
NO |
S |
VS |
|
|
information |
|
||||||
|
|
|
|
|
|
||
|
|
|
|
|
|
|
|
Well-written |
VD |
D |
NO |
S |
VS |
|
|
|
|
|
|
|
|
|
|
Well-organized |
VD |
D |
NO |
S |
VS |
|
|
|
|
|
|
|
|
|
|
Technical Enough |
VD |
D |
NO |
S |
VS |
|
|
|
|
|
|
|
|
|
|
Helped me |
VD |
D |
NO |
S |
VS |
|
|
solve problems |
|
||||||
|
|
|
|
|
|
||
|
|
|
|
|
|
|
If you have additional comments, please contact INFICON®.
GLOBAL HEADQUARTERS:
Two Technology Place, East Syracuse, NY 13057 USA
Tel: +1.315.434.1100 Fax: +1.315.437.3803 E-mail: reachus@inficon.com
Visit us on the web a t: www.inficon.com ©2004 INFICON

BUSINESS REPLY MAIL
FIRST CLASS PERMIT NO. 49 EAST SYRACUSE, NEW YORK
POSTAGE WILL BE PAID BY ADDRESSEE
INFICON INC.
Two Technology Place
East Syracuse, New York 13057-9714

Warranty
WARRANTY AND LIABILITY - LIMITATION: Seller warrants the products manufactured by it, or by an affiliated company and sold by it, and described on the reverse hereof, to be, for the period of warranty coverage specified below, free from defects of materials or workmanship under normal proper use and service. The period of warranty coverage is specified for the respective products in the respective Seller instruction manuals for those products but shall not be less than one (1) year from the date of shipment thereof by Seller. Seller's liability under this warranty is limited to such of the above products or parts thereof as are returned, transportation prepaid, to Seller's plant, not later than thirty (30) days after the expiration of the period of warranty coverage in respect thereof and are found by Seller's examination to have failed to function properly because of defective workmanship or materials and not because of improper installation or misuse and is limited to, at Seller's election, either (a) repairing and returning the product or part thereof, or (b) furnishing a replacement product or part thereof, transportation prepaid by Seller in either case. In the event Buyer discovers or learns that a product does not conform to warranty, Buyer shall immediately notify Seller in writing of such non-conformity, specifying in reasonable detail the nature of such non-conformity. If Seller is not provided with such written notification, Seller shall not be liable for any further damages which could have been avoided if Seller had been provided with immediate written notification.
THIS WARRANTY IS MADE AND ACCEPTED IN LIEU OF ALL OTHER WARRANTIES, EXPRESS OR IMPLIED, WHETHER OF MERCHANTABILITY OR OF FITNESS FOR A PARTICULAR PURPOSE OR OTHERWISE, AS BUYER'S EXCLUSIVE REMEDY FOR ANY DEFECTS IN THE PRODUCTS TO BE SOLD HEREUNDER. All other obligations and liabilities of Seller, whether in contract or tort (including negligence) or otherwise, are expressly EXCLUDED. In no event shall Seller be liable for any costs, expenses or damages, whether direct or indirect, special, incidental, consequential, or other, on any claim of any defective product, in excess of the price paid by Buyer for the product plus return transportation charges prepaid.
No warranty is made by Seller of any Seller product which has been installed, used or operated contrary to Seller's written instruction manual or which has been subjected to misuse, negligence or accident or has been repaired or altered by anyone other than Seller or which has been used in a manner or for a purpose for which the Seller product was not designed nor against any defects due to plans or instructions supplied to Seller by or for Buyer.
This manual is intended for private use by INFICON® Inc. and its customers. Contact INFICON before reproducing its contents.
NOTE: These instructions do not provide for every contingency that may arise in connection with the installation, operation or maintenance of this equipment. Should you require further assistance, please contact INFICON.
GLOBAL HEADQUARTERS:
Two Technology Place, East Syracuse, NY 13057 USA
Tel: +1.315.434.1100 Fax: +1.315.437.3803 E-mail: reachus@inficon.com
Visit us on the web a t: www.inficon.com ©2004 INFICON

Contact List
For Customer Support, contact the INFICON office nearest to you. Customer Support information is also available at www.inficon.com.
North America
USA — East Syracuse, NY
Phone: +1.315.434.1100 Fax: +1.315.437.3803
Email: service.usa@inficon.com
USA — Santa Clara, CA
Phone: +1.408.361.1200 Fax: +1.408.362.1556
Email: service.usa@inficon.com
USA — Austin, TX
Phone: +1.512.448.0488 Fax: +1.512.448.0398
Email: service.usa@inficon.com
Europe
Germany — Koeln
Phone: +49.221.347.42222 Fax: +49.221.347.42221
Email: leakdetection.service@inficon.com
Principality of Liechtenstein — Balzers
Phone: +423.388.3111 Fax: +423.388.3700
Email: service.europe@inficon.com
Asia / Pacific
China — Beijing
Phone: +86.10.6590.0164 Fax: +86.10.6590.0521
Email: reach.china@inficon.com
China — Guangzhou
Phone: +86.20.8723.6963 Fax: +86.20.8723.6003
Email: reach.china@inficon.com
China — Hong Kong
Phone: +852.2520.2880 Fax: +852.2865.6883
Email: reach.china@inficon.com
China — Shanghai
Phone: +86.21.6209.3094 Fax: +86.21.6295.2852
Email: reach.china@inficon.com
Japan — Yokohama
Phone: +81.45.471.3328 Fax: +81.45.471.3327
Email: reach.japan@inficon.com
Korea — Seongnam
Phone: +82.31.783.2941 ext. 4 Fax: +82.31.783.2945
Email: reach.korea@inficon.com
Korea — Service Center — Suwon
Phone: +82.31.206.2890 Fax: +82.31.206.3058
Email: reach.korea@inficon.com
Singapore
Phone: +65.890.6250 Fax: +65.890.6266
Email: reach.singapore@inficon.com
Taiwan — HsinChu
Phone: +886.3.552.5828 Fax: +886.3.552.5829
Email: reach.taiwan@inficon.com
Middle East / Africa
Israel
Phone: +972.3.534.6822
Fax: +972.3.534.2589
South Africa
Phone: +27.11.793.6831
Fax: +27.11.793.7172
Turkey
Phone: +90.216.327.4041
Fax: +90.216.327.4046
Latin America
Argentina
Phone: +54.11.4701.6200 Fax: +54.11.4702.2546
Bolivia
Phone: +59.12.32.2198 Fax: +59.12.32.9751
Brazil
Phone: +55.11.41544888 Fax: +55.11.41544888
Email: pv@prestvacuo.com.br
Chile
Phone: +56.2.235.9686 Fax: +56.2.235.1680
Columbia
Phone: +57.1.335.1100 Fax: +57.1.269.6923
Email: reciend@colomsat.net.co
Ecuador
Phone: +59.32.22.7174 Fax: +59.32.50.2996
Mexico
Phone: +52.5.752.6746 Fax: +52.5.754.8664
Email: meisaventas@infosel.net.mx
Peru
Phone: +51.14.51.8947 Fax: +51.14.64.1820
Venezuela
Phone: +58.2.944.2010 Fax: +58.2.944.3123
IPN 074-452-P1A
XTC/3 Editor Operating Manual
Table Of Contents
Chapter 1
Getting Started
1.1 Introduction. . . . . . . . . . . . . . . . . . . . . . . . . . . . . . . . . . . . . . . . . . . . . . . . . . 1-1
1.1.1 How To Contact Customer Support . . . . . . . . . . . . . . . . . . . . . . . . . . . . . . . 1-2
1.2 Operating Manual Style Conventions . . . . . . . . . . . . . . . . . . . . . . . . . . . . . . 1-3
1.3 Inventory Of Supplied Items . . . . . . . . . . . . . . . . . . . . . . . . . . . . . . . . . . . . . 1-4
1.4 Computer System Minimum Requirements . . . . . . . . . . . . . . . . . . . . . . . . . 1-4
1.5 XTC/3 Requirements . . . . . . . . . . . . . . . . . . . . . . . . . . . . . . . . . . . . . . . . . . 1-5
1.5.1 Firmware. . . . . . . . . . . . . . . . . . . . . . . . . . . . . . . . . . . . . . . . . . . . . . . . . . . . 1-5
1.5.2 Thin Film Models Supported. . . . . . . . . . . . . . . . . . . . . . . . . . . . . . . . . . . . . 1-5
1.6 Communications Interface . . . . . . . . . . . . . . . . . . . . . . . . . . . . . . . . . . . . . . 1-5
1.6.1 Communications Baud Rate. . . . . . . . . . . . . . . . . . . . . . . . . . . . . . . . . . . . . 1-5
1.6.2 Communications Cable . . . . . . . . . . . . . . . . . . . . . . . . . . . . . . . . . . . . . . . . 1-5
1.7 How To Install The XTC/3 Editor . . . . . . . . . . . . . . . . . . . . . . . . . . . . . . . . . 1-6
1.8 The Software Controls . . . . . . . . . . . . . . . . . . . . . . . . . . . . . . . . . . . . . . . . . 1-7
1.9 How To Start The XTC/3 Editor . . . . . . . . . . . . . . . . . . . . . . . . . . . . . . . . . 1-10
1.10 Where To Go From Here . . . . . . . . . . . . . . . . . . . . . . . . . . . . . . . . . . . . . . 1-11
Chapter 2
Setup
2.1 Introduction. . . . . . . . . . . . . . . . . . . . . . . . . . . . . . . . . . . . . . . . . . . . . . . . . . 2-1
2.1.1 Initial Setup. . . . . . . . . . . . . . . . . . . . . . . . . . . . . . . . . . . . . . . . . . . . . . . . . . 2-1
2.2 Communications Setup . . . . . . . . . . . . . . . . . . . . . . . . . . . . . . . . . . . . . . . . 2-1
2.2.1 Adding A Communications Port and Controllers . . . . . . . . . . . . . . . . . . . . . 2-4
2.2.2 RS-232 Communications Port Properties. . . . . . . . . . . . . . . . . . . . . . . . . . . 2-9
2.3 Controller Configuration and Setup . . . . . . . . . . . . . . . . . . . . . . . . . . . . . . 2-11
2.4 User Preferences . . . . . . . . . . . . . . . . . . . . . . . . . . . . . . . . . . . . . . . . . . . . 2-14
2.4.1 Configuring The Display Options . . . . . . . . . . . . . . . . . . . . . . . . . . . . . . . . 2-14
2.4.2 Miscellaneous User Options. . . . . . . . . . . . . . . . . . . . . . . . . . . . . . . . . . . . 2-17
2.4.3 Access Levels. . . . . . . . . . . . . . . . . . . . . . . . . . . . . . . . . . . . . . . . . . . . . . . 2-18
Chapter 3
Editing Configurations
3.1 Introduction. . . . . . . . . . . . . . . . . . . . . . . . . . . . . . . . . . . . . . . . . . . . . . . . . . 3-1
3.2 Using the Configuration Editor . . . . . . . . . . . . . . . . . . . . . . . . . . . . . . . . . . . 3-2
3.3 Configuration Editor Main Window . . . . . . . . . . . . . . . . . . . . . . . . . . . . . . . . 3-5
3.4 ToolBar Description . . . . . . . . . . . . . . . . . . . . . . . . . . . . . . . . . . . . . . . . . . . 3-9
3.5 Editing the General Parameters . . . . . . . . . . . . . . . . . . . . . . . . . . . . . . . . . 3-10
TOC - 1

XTC/3 Editor Operating Manual
3.6 Editing the I/O Map Parameters . . . . . . . . . . . . . . . . . . . . . . . . . . . . . . . . . 3-11 3.7 Editing Film Parameters . . . . . . . . . . . . . . . . . . . . . . . . . . . . . . . . . . . . . . . 3-13 3.8 Creating a Process (XTC/3M Only) . . . . . . . . . . . . . . . . . . . . . . . . . . . . . . 3-14
Chapter 4
Monitor
4.1 Introduction. . . . . . . . . . . . . . . . . . . . . . . . . . . . . . . . . . . . . . . . . . . . . . . . . . 4-1
4.2 Starting Monitor . . . . . . . . . . . . . . . . . . . . . . . . . . . . . . . . . . . . . . . . . . . . . . 4-1
4.2.1 The Data Display . . . . . . . . . . . . . . . . . . . . . . . . . . . . . . . . . . . . . . . . . . . . . 4-1
4.2.2 The Control Panel . . . . . . . . . . . . . . . . . . . . . . . . . . . . . . . . . . . . . . . . . . . . 4-3
4.2.3 The Display Grid. . . . . . . . . . . . . . . . . . . . . . . . . . . . . . . . . . . . . . . . . . . . . . 4-3
4.2.4 Saving Data . . . . . . . . . . . . . . . . . . . . . . . . . . . . . . . . . . . . . . . . . . . . . . . . . 4-4
4.2.4.1 The Display Smoothing Setting . . . . . . . . . . . . . . . . . . . . . . . . . . . . . . . . . . 4-5
4.2.4.2 Setting a Mark . . . . . . . . . . . . . . . . . . . . . . . . . . . . . . . . . . . . . . . . . . . . . . . 4-5
4.2.4.3 The Pause and Start/Stop Controls . . . . . . . . . . . . . . . . . . . . . . . . . . . . . . . 4-6
4.3 Editing the Configuration . . . . . . . . . . . . . . . . . . . . . . . . . . . . . . . . . . . . . . . 4-7
4.3.1 Edit Current Configuration . . . . . . . . . . . . . . . . . . . . . . . . . . . . . . . . . . . . . . 4-8
4.3.2 New Configuration . . . . . . . . . . . . . . . . . . . . . . . . . . . . . . . . . . . . . . . . . . . . 4-8
4.3.3 Open Configuration . . . . . . . . . . . . . . . . . . . . . . . . . . . . . . . . . . . . . . . . . . . 4-8
4.4 Recalling Data . . . . . . . . . . . . . . . . . . . . . . . . . . . . . . . . . . . . . . . . . . . . . . . 4-8
4.5 Generating Reports . . . . . . . . . . . . . . . . . . . . . . . . . . . . . . . . . . . . . . . . . . 4-10
4.6 The Event Log . . . . . . . . . . . . . . . . . . . . . . . . . . . . . . . . . . . . . . . . . . . . . . 4-14
Index
IPN 074-452-P1A
TOC - 2

XTC/3 Editor Operating Manual
Chapter 1
Getting Started
1.1 Introduction
The XTC/3™ Editor is a Microsoft® Windows®-based application that provides both programming capability and data collection for the INFICON® XTC/3 Thin Film Deposition Controller. It is written as a full 32 bit application which takes advantage of the capabilities of 32 bit operating systems such as Windows 2000 and Windows XP.
The XTC/3 Editor provides online and offline editing, structured as functional windows, that allows for saving multiple configurations. The program makes use of a simple, intuitive user interface which clearly displays the parameters and performs boundary checking.
The editor can be used to create new configurations, read existing configurations from a file or the XTC/3 controller, and send any or all parameters from a Configuration file to the XTC/3 controller.
Please see the XTC3 Readme.wri file distributed with the software for the latest information.
IPN 074-452-P1A
1 - 1
XTC/3 Editor Operating Manual
1.1.1 How To Contact Customer Support
If you have a question about your software, first refer to this Operating Manual or the Help function within the software. If you cannot find the answer here, or no online Help is available for your topic, then contact Customer Support. When calling Customer Support, please have this manual at hand, along with the following information:
The XTC/3 Editor version number (available from the Help >> About XTC/3 Editor... dialog box).
The type of computer that you are using and its specifications.
Your MS Windows type and version number.
A description of your problem.
What you were doing when the problem occurred.
An explanation of the corrective action that you may have already attempted.
CAUTION
Please contact your Customer Support Representative before sending any files.
Customer support may be reached at the following phone numbers.
Please contact the location that is closest to you. If you are located outside the USA please contact your sales office, or see www.inficon.com for a complete listing of worldwide service centers.
Application Support
Syracuse, NY . . . . .ph. 315-434-1128 . . . . . . . . . . . fax 315-437-3803
San Jose, CA . . . . .ph. 408-436-2828 ext. 125 . . . . fax 408-436-1580
Austin, TX. . . . . . . .ph. 512-448-0488 . . . . . . . . . . . fax 512-448-0398
Field Service and Repair Support
Syracuse, NY . . . . .ph. 315-434-1167 . . . . . . . . . . . fax 315-434-2551
Austin, TX . . . . . . .ph. 512-448-0488 . . . . . . . . . . . fax 512-448-0398
San Jose, CA . . . .ph. 408-436-2828 ext. 120 . . . . fax 408-436-1580
Customer support is also available on the World Wide Web or via email:
WWW . . . . . . . . . . .http://www.inficon.com
EMail . . . . . . . . . . .Thin.Film@inficon.com
1 - 2
IPN 074-452-P1A

IPN 074-452-P1A
XTC/3 Editor Operating Manual
1.2 Operating Manual Style Conventions
File names, diskette labels, environment variables, program names, screen prompts, command strings, and text that you must enter on your keyboard are presented in this font. For example, Enter a:\install.
Windows dialog options, title bars, and menu options are presented in this font. For example: select File >> Open....
When you must hold down a key then press another key, this is expressed as (for example) Press Ctrl+C
We assume that the CD ROM drive you’ll be using is drive D. If you’re using another drive, whenever you see “d:” substitute your CD ROM drive letter.
We also assume your hard drive is C, so if this isn’t the case for you, whenever you see “c:” substitute the letter for your hard drive.
Often you will be required to select an option from a cascading menu. Instead of verbose statements, for example, “position the mouse pointer over the word File, press the left mouse button to display the cascading menu, then drag the pointer to highlight the words Edit Configuration and release the left mouse button,” you will read, “select File >> Edit Configuration.”
You will also be required to use icons and buttons. For example, instead of the statement, “position the mouse pointer over the Configuration Editor icon, then press and release the left mouse button to select Configuration Editor,” you will read, “click the Configuration Editor icon.” or, you may read “select the
Configuration Editor icon”.
Similarly, left-click means to press and release the left mouse button and right-click means to press and release the right mouse button.
The XTC/3 Editor operates in the Windows environment. We make the assumption that you know how to use the Windows Graphical User Interface (GUI). Therefore, actions in the XTC/3 Editor GUI that are common to the Windows GUI are not explained in detail in this manual. If you do need help with the Windows GUI, please refer to the Windows documentation supplied by Microsoft.
NOTE: This is a note paragraph. Notes provide additional information about the current topic.
HINT: This is a hint paragraph. Hints provide insight into product usage.
CAUTION
This is a Caution paragraph. It cautions against actions which may cause damage to the XTC/3 Controller or lead to the loss of data.
1 - 3

XTC/3 Editor Operating Manual
1.3 Inventory Of Supplied Items
You should have one CD ROM (or may have floppy disks) which contain the XTC/3 Editor program and online Operating Manual.
1.4 Computer System Minimum Requirements
Table 1-1 Computer System Minimum Requirements
|
|
Recommended for |
|
Recommended for |
communication with up |
|
communication with |
to 4 XTC/3 Controllers |
|
one XTC/3 Controller |
(more than 4, consult |
|
|
factory) |
|
|
|
Processor |
Pentium® III |
Pentium 4 |
|
550 MHz or greater |
3.2 GHz or greater |
|
|
|
RAM |
512 MB or greater |
2 GB or greater |
|
|
|
Hard Disk space to |
15 Mb |
15 MB |
load XTC/3Editor |
|
|
|
|
|
Hard Disk Space for |
20 GB (see Note below) |
60 GB (see Note below) |
storage |
|
|
|
|
|
Disk Drives |
(1) Floppy, (1) CD |
(1) Floppy, (1) CD |
|
|
|
Monitor |
15 inch, SVGA or greater |
15 inch, SVGA or greater |
|
|
|
Resolution |
1024 x 768 or greater |
1024 x 768 or greater |
|
|
|
Communications |
One RS-232 port or one |
One Ethernet card |
|
Ethernet card |
|
|
|
|
Operating System |
Windows 2000 or XP |
|
|
|
|
NOTE: Data files should be archived and removed periodically as a maintenance step to provide storage space for ongoing data collection.
The XTC/3 Controller and Communications Interface must meet the requirements shown in the following sections.
IPN 074-452-P1A
1 - 4

IPN 074-452-P1A
XTC/3 Editor Operating Manual
1.5 XTC/3 Requirements
1.5.1 Firmware
The XTC/3 firmware must be Version 1.00 or higher.
1.5.2 Thin Film Models Supported
The XTC/3S and XTC/3M are the only Thin Film Deposition Controllers supported at the time of this release.
1.6 Communications Interface
Communications interfaces supported are RS-232 and TCP/IP, via an Ethernet card, for communications with multiple XTC/3 controllers.
1.6.1 Communications Baud Rate
The baud rates supported for RS-232 are: 9600, 19200, 38400, 57600, and 115200. 115200 is the default.
1.6.2 Communications Cable
Communication cables are required to connect the PC running the XTC/3 Editor to the XTC/3 Controller. Cables are different and dependent on the Communications Interface.
For RS-232C Communications, refer to the XTC/3 Thin Film Deposition Controller Operating Manual (IPN 074-446-P1) section titled “RS232C Serial Port” for detailed information concerning constructing an RS-232C cable.
For TCP/IP Ethernet Communications, a standard Ethernet cable at a length appropriate for your installation is required. INFICON does not supply Ethernet cables.
Maximum Length
RS-232 — 50 feet (15 meters)
1 - 5
XTC/3 Editor Operating Manual
1.7 How To Install The XTC/3 Editor
Install the XTC/3 Editor from within Windows as follows:
NOTE: Administrative or Standard user rights are required to install the XTC/3 Editor on a system running Windows 2000 or XP system.
NOTE: This description assumes that the CD-ROM drive is drive “d”. If it is not “d”, substitute the appropriate drive letter.
1Insert the CD into the CD-ROM drive.
2Select Start >> Run... to display the Run dialog
3In the Open field, type d:\setup
4Select OK.
5When prompted, answer the questions.
NOTE: If prompted during the installation to replace a system file (e.g. a DLL file), it is recommended that the file be replaced. Normally this prompt is only presented if the file on the hard disk is older than the file on the installation disk. The newer version should still work with older programs that use this file; however, if you are concerned that it may cause problems, abort the installation, save a copy of the file in question, and restart the installation program.
CAUTION
The XTC/3 Editor may not function properly if all files are not installed.
When the installation is complete, put the original CD in a safe storage area.
IPN 074-452-P1A
1 - 6
IPN 074-452-P1A
XTC/3 Editor Operating Manual
1.8 The Software Controls
The XTC/3 Editor software utilizes some common Windows controls as well as a few custom controls for easy editing and entry of parameters and information.
The following controls may be in use throughout the software:
 . . . . . . . . . . . . . . . . . . . . Button. Pressing this will display a dialog box for user input or take the action noted on the button.
 . . . . . . . . . . . . . . Checkbox. This is used to enable or disable a feature or action taken upon the system.
 . . Entry box. An entry box generally accepts a numeric or alphanumeric entry and has upper and lower boundaries associated with the parameter. The boundaries are checked after the entry has been input and the cursor has been moved to another entry point. The value in an entry box can be typed over by clicking once in the box, to focus on the box, and then typing the new entry. A double-click in the box will highlight the value, which allows for the value to be edited or deleted.
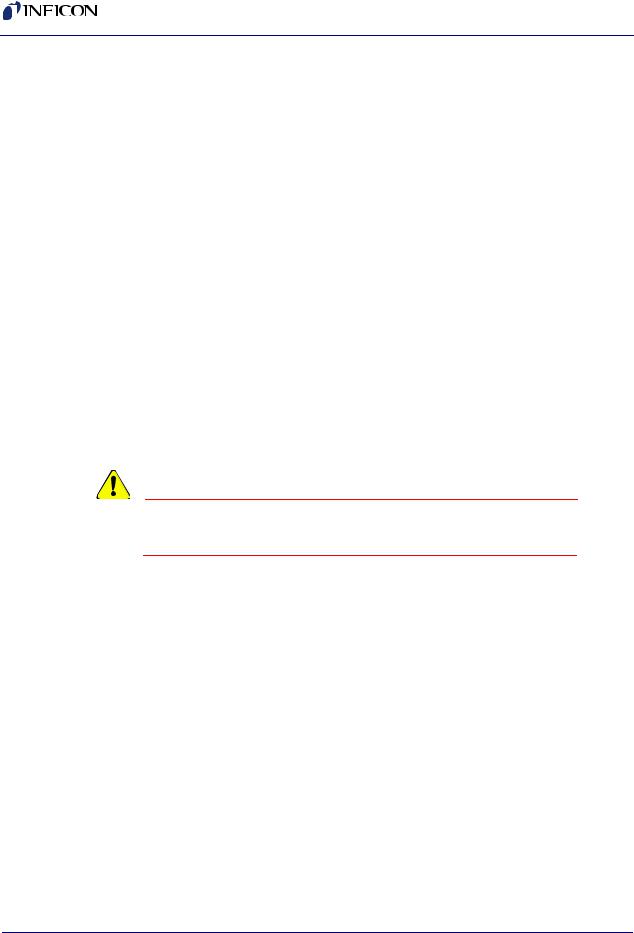
. . . . . Pulldown. A pulldown, indicated with a downward triangle, provides a list of acceptable inputs for the parameter. A highlight is used to select the parameter. Some entry boxes that use pulldowns can also be directly edited.
HINT: When editing from the keyboard, the Alt+DownArrow key combination will "pull" the pulldown.
1 - 7
XTC/3 Editor Operating Manual
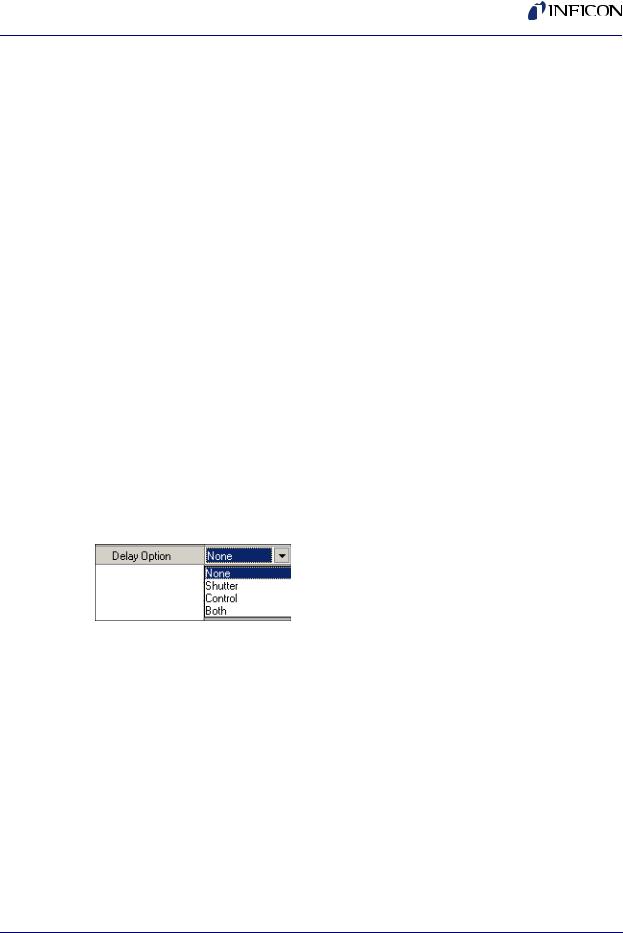
. . . . . . . . . . . . . . . . . . . . . . . Radio buttons. These buttons are used to accept a single selection from at least two choices. Radio buttons are often grouped according to functionality and sometimes enable other controls based on the choice selected. If radio buttons are shown, but are disabled (greyed), then they are being used to show a status not selectable by the user.
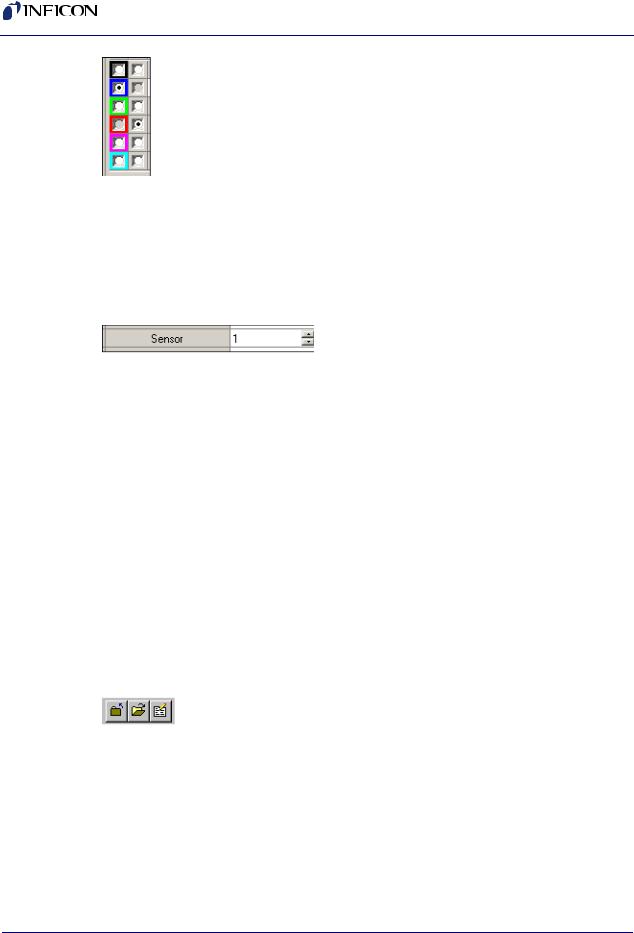
. . . Spinners. Spinners are a pair of triangles pointing up and down. These are used to increase or decrease a parameter. Most often used with an entry box, spinners only act upon the entry box selected with the mouse pointer. When two or more entry boxes are on the same line as the spinner, the mouse pointer must be used to select an entry box before the spinners will change the value in that box. When an entry box contains a value with punctuation (e.g. a value of time), the spinners act upon each piece of the value individually. Some entry boxes that use spinnners can also be directly edited.
HINT: When editing from the keyboard, the Alt+UpArrow key combination will increase the value (except for Time spinners). The Alt+DownArrow key combination will decrease the value.
. . . . . . . . . . . . . . . . . . . Toolbar. A collection of buttons that is often visible for an associated functionality and invisible when that function is inactive. Toolbars can be moved with the mouse pointer or made visible/invisible from a menu selection.
IPN 074-452-P1A
1 - 8
IPN 074-452-P1A
XTC/3 Editor Operating Manual
 . . . . . . . . . . . . . . . Grid. The grid is a row and column collection of cells of related data that use many of the controls mentioned above. Some grids allow for all cells to be edited and some contain a mixture of protected and editable cells.
Controls used in grid cells include Pulldowns, Entry Boxes, and Spinners. Some grids support use of the Delete and Insert keys.
In grids that support deletion, any row can be deleted by selecting an item in the row and pressing the Delete key.
In grids that support insertion, a row can be inserted above any row by selecting an item in a row and pressing the Insert key.
In grids that support duplication, a row can be duplicated by selecting an item in the row and pressing the Shift-Insert key combination. The duplicated row is then inserted as the next row.
. . . . . . . . . . Context Menu. This menu is accessed by clicking the right mouse button on a view, grid or panel. Many parts of the software contain a context menu; the menu provides functionality appropriate for the data or parameters displayed.
1 - 9

XTC/3 Editor Operating Manual
1.9 How To Start The XTC/3 Editor
To start the XTC/3 Editor select Start >> Programs >> XTC3 Application >>
XTC3 (see Figure 1-1).
HINT: You may want to make a shortcut to XTC/3 Editor on your desktop to facilitate starting the program in the future. See the Windows documentation for instructions on how to create shortcuts.
When upgrading the XTC/3 Editor program it is not possible for the installation program to upgrade existing shortcuts. After an upgrade, an existing shortcut will not work if the XTC/3 Editor is installed in a folder that is not the folder pointed to by the shortcut.
Figure 1-1 Starting XTC/3Editor
IPN 074-452-P1A
The first time XTC/3 Editor is run on a computer, it will start in the setup screen with the communication configuration dialog displayed.
See Chapter 2 for information on how to configure the communications interface, individual controllers and user preferences.
1 - 10

XTC/3 Editor Operating Manual
1.10 Where To Go From Here
This Operating Manual is intended to make the process of setting up, installing, and using the XTC/3 Editor a pleasurable and trouble-free experience. Please, take a few moments to look through it and become familiar with its contents.
The information in this manual is organized into the following chapters:
Chapter 1, Getting Started
An introduction to the XTC/3 Editor application, provides instructions on how to install and run the XTC/3 Editor, and explains how to use this Operating Manual.
Chapter 2, Setup
A description of how to set up the software and communications ports for your installation and customize it to your preferences.
Chapter 3, Editing Configurations
Describes how to edit, save and send Configuration files, which specify the measurement parameters for the XTC/3 Controller.
Chapter 4, Monitor
Describes how to acquire, save, recall and report XTC/3 Controller data.
IPN 074-452-P1A
1 - 11

XTC/3 Editor Operating Manual
This page is intentionally blank.
IPN 074-452-P1A
1 - 12
Loading...