


 Loading...
HP Photosmart D110 series
Windows Help

HP Photosmart D110 series

Contents
1 |
HP Photosmart D110 series Help............................................................................................ |
3 |
2 |
Get to know the HP Photosmart |
|
|
Printer parts................................................................................................................................ |
5 |
|
Control panel features................................................................................................................ |
6 |
|
TouchSmart Web ..................................................................................................................... |
6 |
3 |
How do I?................................................................................................................................... |
7 |
4 |
|
|
|
Tips for print success................................................................................................................ |
12 |
5 |
Copy and scan |
|
|
Copy text or mixed documents................................................................................................. |
13 |
|
Scan to a computer.................................................................................................................. |
15 |
|
Tips for copy and scan success............................................................................................... |
16 |
6 |
Work with cartridges |
|
|
Replace the cartridges.............................................................................................................. |
19 |
|
Cartridge warranty information................................................................................................. |
21 |
|
Order ink supplies..................................................................................................................... |
21 |
|
Ink-backup mode...................................................................................................................... |
22 |
|
Check the estimated ink levels................................................................................................. |
22 |
|
Tips for working with print cartridges........................................................................................ |
23 |
7 |
Connectivity |
|
|
Add the HP Photosmart to a network....................................................................................... |
25 |
|
Tips for setting up and using a networked printer..................................................................... |
30 |
9 |
HP support |
|
|
Phone support period............................................................................................................... |
35 |
|
Placing a call............................................................................................................................ |
35 |
|
Additional warranty options...................................................................................................... |
35 |
|
Clear the paper jam from the rear access door........................................................................ |
35 |
10 |
Technical information |
|
|
Notice........................................................................................................................................ |
37 |
|
Specifications........................................................................................................................... |
37 |
|
Environmental product stewardship program........................................................................... |
38 |
|
Regulatory notices.................................................................................................................... |
42 |
|
Regulatory wireless statements................................................................................................ |
45 |
Index.............................................................................................................................................. |
49 |
|
Contents
1

Contents
2

1 HP Photosmart D110 series Help
For information about the HP Photosmart, see:
•“How do I?” on page 7
•“Get to know the HP Photosmart” on page 5
•“Print” on page 9
•“Copy and scan” on page 13
•“Work with cartridges” on page 19
•“Connectivity” on page 25
•“Technical information” on page 37
HP Photosmart D110 series Help
HP Photosmart D110 series Help |
3 |

Chapter 1
Photosmart HP
series D110
Help
4 HP Photosmart D110 series Help
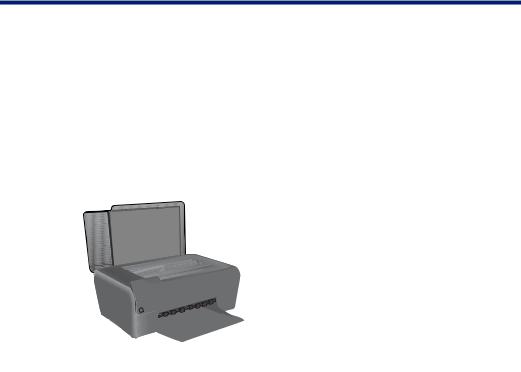
2Get to know the HP Photosmart
•Printer parts
•Control panel features
•TouchSmart Web
Printer parts
Figure 2-1 Printer parts
1 |
Color graphics display (also referred to as the display) |
|
|
|
|
|
|||
|
|
|
|
|
2 |
Control panel |
|
Photosmart |
|
|
|
|
||
5 |
Memory card slots for Memory Stick DUO and Secure Digital (SD-MMC) cards |
|||
3 |
On button |
|
|
|
4 |
Photo light |
|
|
|
|
|
|
HP |
|
6 |
Wireless button: Launches the wireless menu. Pushing and holding the wireless button |
|||
|
launches Wi-Fi Protected Setup (WPS). |
|
the |
|
|
|
|
||
7 |
Paper tray |
|
know |
|
|
|
|
||
8 |
Paper tray extender (also referred to as the tray extender) |
|||
|
to |
|||
|
|
|
||
9 |
Cartridge door |
|||
|
Get |
|||
|
|
|
||
10 |
Cartridge access area |
|||
|
|
|||
|
|
|
|
|
11 |
Print carriage |
|
|
|
|
|
|
|
|
12 |
Glass |
|
|
|
|
|
|
|
|
13 |
Lid-backing |
|
|
|
|
|
|
|
|
14 |
Lid |
|
|
|
|
|
|
|
|
15 |
Rear door |
|
|
|
|
|
|
|
|
16 |
Rear USB port |
|
|
|
|
|
|
|
|
17 |
Power connection (Use only with the power adapter supplied by HP.) |
|
|
|
|
|
|
|
Get to know the HP Photosmart |
5 |

Chapter 2
Control panel features
Figure 2-2 Control panel features
2. |
2. |
to Get the know
Photosmart HP
1Back: Returns to the previous screen.
2Cancel: Stops the current operation, restores default settings, and clears the current photo selection.
3Directional keys: Allow you to navigate through photos and menu options.
4Setup: Opens the Setup menu where you can change product settings and perform maintenance functions.
5OK: Selects a menu setting, value, or photo.
6Copy: Opens the Copy menu where you can select a copy type or change the copy settings.
7Photo: Opens the Photo Menu.
8Scan: Opens the Scan Destination Menu menu where you can select a destination for your scan.
9Apps: TouchSmart Web provides a quick and easy way to access and print information from the Web, such as coupons, coloring pages, and puzzles.
TouchSmart Web
The TouchSmart Web Manager can be used to add new Apps or to remove Apps.
Manage Apps
▲Add new Apps.
a. Press the directional keys to scroll to the Web menu option. Press OK.
b. Press the directional keys to scroll to the More menu option. Press OK. Check desired Apps. Press OK. Follow prompts.
6 Get to know the HP Photosmart

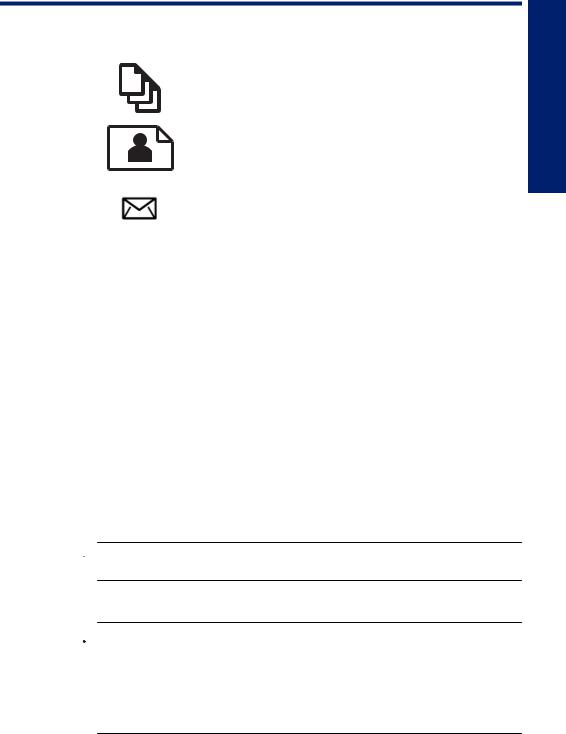
3 How do I?
This section contains links to commonly performed tasks, such as printing photos, scanning, and making copies.
“TouchSmart Web” on page 6
“Replace the cartridges” on page 19
“Load media” on page 31
“Scan to a computer” on page 15
“Copy text or mixed documents” on page 13
“Clear the paper jam from the rear access door” on page 35
How do I?
How do I? |
7 |
Chapter 3
do How
I?
8 How do I?
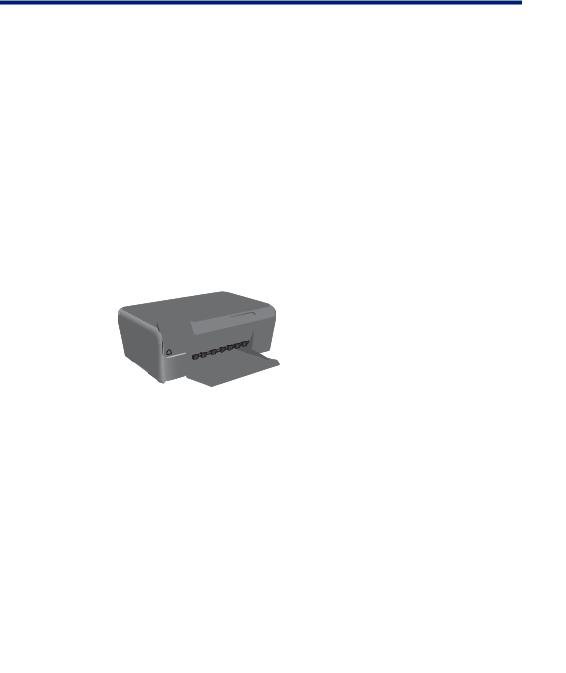
4 Print
“Print documents” on page 9
“Print photos” on page 10
“Print envelopes” on page 11
Related topics
•“Load media” on page 31
•“Tips for print success” on page 12
Print documents
Most print settings are automatically handled by the software application. You need to change the settings manually only when you change print quality, print on specific types of paper or transparency film, or use special features.
To print from a software application
1.Make sure you have paper loaded in the paper tray.
2.On the File menu in your software application, click Print.
3.Make sure the product is the selected printer.
4.If you need to change settings, click the button that opens the Properties dialog box. Depending on your software application, this button might be called Properties,
Options, Printer Setup, Printer, or Preferences.
 NOTE: When printing a photo, you must select options for the specific photo paper and photo enhancement.
5.Select the appropriate options for your print job by using the features available in the
Advanced, Printing Shortcuts, Features, and Color tabs.
 TIP: You can easily select the appropriate options for your print job by choosing one of the predefined print tasks on the Printing Shortcuts tab. Click a type of print task in the Printing Shortcuts list. The default settings for that type of print task are set and summarized on the Printing Shortcuts tab. If necessary, you can adjust the settings here and save your custom settings as a new printing shortcut. To save a custom printing shortcut, select the shortcut and click Save As. To delete a shortcut, select the shortcut and click Delete.
Print 9

Chapter 4
6.Click OK to close the Properties dialog box.
7.Click Print or OK to begin printing.
Related topics
•“Load media” on page 31
•“Tips for print success” on page 12
Print photos
“Print photos saved on your computer” on page 10
Print photos saved on your computer
To print a photo on photo paper
1.Remove all paper from the paper tray.
2.Place the photo paper print side down on the right side of the paper tray.
3.Slide the paper-width guide inward until it stops at the edge of the paper.
4.On the File menu in your software application, click Print.
5.Make sure the product is the selected printer.
6.Click the button that opens the Properties dialog box.
Depending on your software application, this button might be called Properties,
Options, Printer Setup, Printer, or Preferences.
7.Click the Features tab.
8.In the Basic Options area, from the Paper Type drop-down list, select More. Then, select the appropriate photo paper type.
9.In the Resizing Options area, from the Size drop-down list, select More. Then, select the appropriate paper size.
If the paper size and paper type are not compatible, the printer software displays an alert and allows you to select a different type or size.
10.(Optional) Select the Borderless printing check box if it is not already checked.
If the borderless paper size and paper type are not compatible, the product software displays an alert and allows you to select a different type or size.
10 Print

11.In the Basic Options area, select a high print quality, such as Best, from the Print Quality drop-down list.
 NOTE: To achieve the highest dpi resolution, you can use the Maximum dpi setting with supported types of photo paper. If Maximum dpi is not listed in the Print quality drop-down list, you can enable it from the Advanced tab.
12.In the HP Real Life Technologies area, click the Photo fix drop-down list and select from the following options:
•Off: applies no HP Real Life Technologies to the image.
•Basic: enhances low-resolution images; moderately adjusts image sharpness.
13.Click OK to return to the Properties dialog box.
14.Click OK, and then click Print or OK in the Print dialog box.
 NOTE: Do not leave unused photo paper in the paper tray. The paper might start to curl, which could reduce the quality of your printout. For best results, do not allow printed photos to stack up in the paper tray.
Related topics
•“Load media” on page 31
•“Tips for print success” on page 12
Print envelopes
With the HP Photosmart, you can print on a single envelope, a group of envelopes, or label sheets designed for inkjet printers.
To print a group of addresses on labels or envelopes
1.Print a test page on plain paper first.
2.Place the test page on top of the label sheet or envelope, and hold both up to the light. Check the spacing for each block of text. Make adjustments as needed.
3.Load the labels or envelopes into the paper tray.
 CAUTION: Do not use envelopes with clasps or windows. They can get stuck in the rollers and cause paper jams.
4.Slide the paper-width guide inward against the stack of labels or envelopes until the guide stops.
5.If you are printing on envelopes, do the following:
a. Display the print settings, and click the Features tab.
b. In the Resizing Options area, click the appropriate envelope size in the Size list.
6.Click OK, and then click Print or OK in the Print dialog box.
Related topics
•“Load media” on page 31
•“Tips for print success” on page 12
Print envelopes |
11 |

Chapter 4
Tips for print success
Use the following tips to print successfully.
Print tips
• Use genuine HP cartridges. Genuine HP cartridges are designed for and tested with HP printers to help you produce great results, time after time.
• Make sure the cartridges have sufficient ink. To check the estimated ink levels, follow the instruction in the Tools menu on the display. Alternatively, you can check the ink
levels in Printer Toolbox from the software. |
||
• Load a stack of paper, not just one page. Use clean and flat paper of the same size. |
||
|
||
|
Make sure only one type of paper is loaded at a time. |
|
|
• Adjust the paper-width guide in the input tray to fit snugly against all paper. Make sure |
|
|
the paper-width guide does not bend the paper in the input tray. |
|
|
• Set the print quality and paper size settings according to the type and size of paper |
|
|
loaded in the input tray. |
|
|
• Use print preview to check margins. Do not let the margin settings for the document |
|
|
exceed the printable area of the printer. |
|
|
• Learn how to share your photos online and order prints. Click here to go online for |
|
|
more information. |
|
|
• Learn about TouchSmart Web Manager for printing recipes, coupons, and other |
|
|
content from the web, simply and easily. Click here to go online for more information. |
12 Print
5Copy and scan
•Copy text or mixed documents
•Scan to a computer
•Tips for copy and scan success
Copy text or mixed documents
Copy text or mixed documents
1.Do one of the following:
Make a black and white copy a. Load paper.
Load full-size paper in paper tray.
Copy and scan
b. Load original.
Lift lid on product.
 TIP: To make copies of thick originals, such as books, you can remove the lid.
Load original print side down on right front corner of glass.
Copy and scan |
13 |
Loading...