


1HF85CF
INSTALLATION & OPERATIONAL MANUAL
1HFD & HFC SERIES ELECTRIC FRYERS
With KleenScreen PLUS® Filtration Systems
MODELS:
1HF50D ML-136500
1HF85CF ML-136819
1HF85CF Shown - Computer Control
ENERGY STAR® Qualified
For additional information on Hobart or to locate an authorized parts
and service provider in your area, visit our website at www.hobartcorp.com
HOBART 701 S. RIDGE AVENUE
DIVISION OF ITW FOOD EQUIPMENT GROUP, LLC TROY, OHIO 45374-0001
WWW.HOBARTCORP.COM F-32964 REV. C (August 2012)

HFD, HFCF SERIES ELECTRIC FRYER
HOBARTCORP F-32964 Rev. C (May 2012)
-2-
IMPORTANT FOR YOUR SAFETY
THIS MANUAL HAS BEEN PREPARED FOR PERSONNEL QUALIFIED TO INSTALL
ELECTRIC EQUIPMENT, WHO SHOULD PERFORM THE INITIAL FIELD START-UP
AND ADJUSTMENTS OF THE EQUIPMENT COVERED BY THIS MANUAL.
FOR YOUR SAFETY
DO NOT STORE OR USE GASOLINE OR OTHER FLAMMABLE VAPORS OR LIQUIDS
IN THE VICINITY OF THIS OR ANY OTHER APPLIANCE.
Improper installation, adjustment, alteration, service or
maintenance can cause property damage, injury or death.
Read the installation, operating and maintenance instructions
thoroughly before installing or servicing this equipment.

HFD, HFCF SERIES ELECTRIC FRYER
HOBARTCORP F-32964 Rev. C (May 2012)
-3-
TABLE OF CONTENTS
IMPORTANT FOR YOUR SAFETY………………………………………. 2
INTRODUCTION…………………………………………………………… 4
GENERAL…………………………………………………………… 4
ORDERING PARTS………………………………………………… 4
FRYER CAPACITIES………………………………………………. 4
UNPACKING………………………………………………………… 4
INSTALLATION…………………………………………………………...…… 5
CODES AND STANDARDS……………………………………….. 6
ASSEMBLY …………..…………………………………………… 6
ELECTRICAL CONNECTIONS………………………………….. 7
LEVELING THE FRYER………………………………………..…… 8
OPERATION………………………………………………………… 8
OVER-TEMPERATURE SHUTDOWN……………………………. 8
BEFORE FIRST USE………………………………………………... 8
Cleaning…………………………………………………….... 8
FILLING TANK WITH SHORTENING…………………………… 9
BASIC FRYING INSTRUCTIONS………………………………….. 9
Fry Basket Guidelines………………………………………. 10
EXTENDED SHORTENING LIFE………………………………… 10
TURNING ON THE FRYER …………………………………… .. 10
QUICK START GUIDE SOLID STATE DIGITAL CONTROL ….. 11
QUICK START GUIDE COMPUTER CONTROL ……… 12
TURNING OFF THE FRYER ………………………………….. 13
EXTENDED SHUTDOWN ………………………………….. 13
FILTERING THE OIL…………………………………… ...……. 13
DRAINING THE TANK……………………………….…… 14
BOIL OUT PROCEDURE………………………………………… 14
CLEANING…………………………………………………………. 15
Daily………………………………………………………… 15
ELECTRIC KLEENSCREEN PLUS® INSTALLATION & OPERATION… 16
FILTERING INSTRUCITONS FOR KLEENSCREEN PLUS® …. 17
GENERAL………………………………………………….….. 17
ASSEMBLY…………………………………………………… 17
INSTRUCTIONS TO REMOVE & REPLACE FILTER ENVELOPE 19
OPERATION ……………………………………………………………….. 20
FILTER PROCEDURE ……………………………………………… 20
FILTERING SOLID COMPUTER CONTROLS GUIDE…………. 21
FILTERING TIPS …………………………………………………… 22
REMOVING EXCESS DEBRIS FROM THE FILTER ………….. 22
FLUSH AND DISCARD …………………………………………….. 22
BOIL OUT PROCEDURE …………………………………………. 23
THERMAL OVERLOAD PROTECTION RESET BUTTON …….. 23
MAINTENANCE………………………………………………………….. 24
Service in the US and Canada…………………………………... 24
In Australia…………………………………………………………. 24
TROUBLESHOOTING…………………………………………………….. 24
Troubleshooting Chart………………………………………………. 24

HFD, HFCF SERIES ELECTRIC FRYER
HOBARTCORP F-32964 Rev. C (May 2012)
-4-
INTRODUCTION
GENERAL
Hobart Fryers are produced with quality workmanship and material. Proper installation,
usage and maintenance will result in years of satisfactory performance.
Before installing the fryer, thoroughly read this manual and carefully follow all instruction.
This manual is applicable to model listed on the cover page. Procedures in this manual
will apply to all models unless specified. Pictures and illustrations can be of any model
unless the picture or illustration needs to be model specific.
ORDERING PARTS
Customers may order parts directly from their local authorized service center. If not
known, call Hobart Customer Service 1-888-4HOBART.
To speed up your order, provide the model number, serial number, electrical
specifications, part needed, item part number (if known) and quantity needed.
UNPACKING
This fryer was carefully inspected before leaving the factory. Upon acceptance of the
shipment, the transportation company assumes full responsibility for safe delivery.
Immediately after unpacking the fryer, check for possible shipping damage. If the fryer is
damaged, save the packaging material and contact the carrier within 15 days of delivery.
Check that the following have been included:
Crumb Rack(s)
Tank Brush
Adjustable (4) Legs. Fryer Batteries with the KleenScreen PLUS® Filtration System
have legs installed from the factory.
Drain Pipe Extension for freestanding fryers only.
Twin Fry Baskets (2) per fry tank
Cleanout Rod (non-filtered fryers only)
Fryer Batteries with the KleenScreen PLUS® Filtration System
Filter Pan
Suction Tube
Screen Assembly
Boil Out ByPass™ Extension
Complimentary Pack of Micro-Filtration Envelopes
High temperature discard hose
Manual and Warranty
Sample Boil Out Tablets
CD with Fryer Menu Editor Software – Computer Models Only
HFD, HFCF SERIES ELECTRIC FRYER
HOBARTCORP F-32964 Rev. C (May 2012)
-5-
Do not use the door or its handle to lift the fryer.
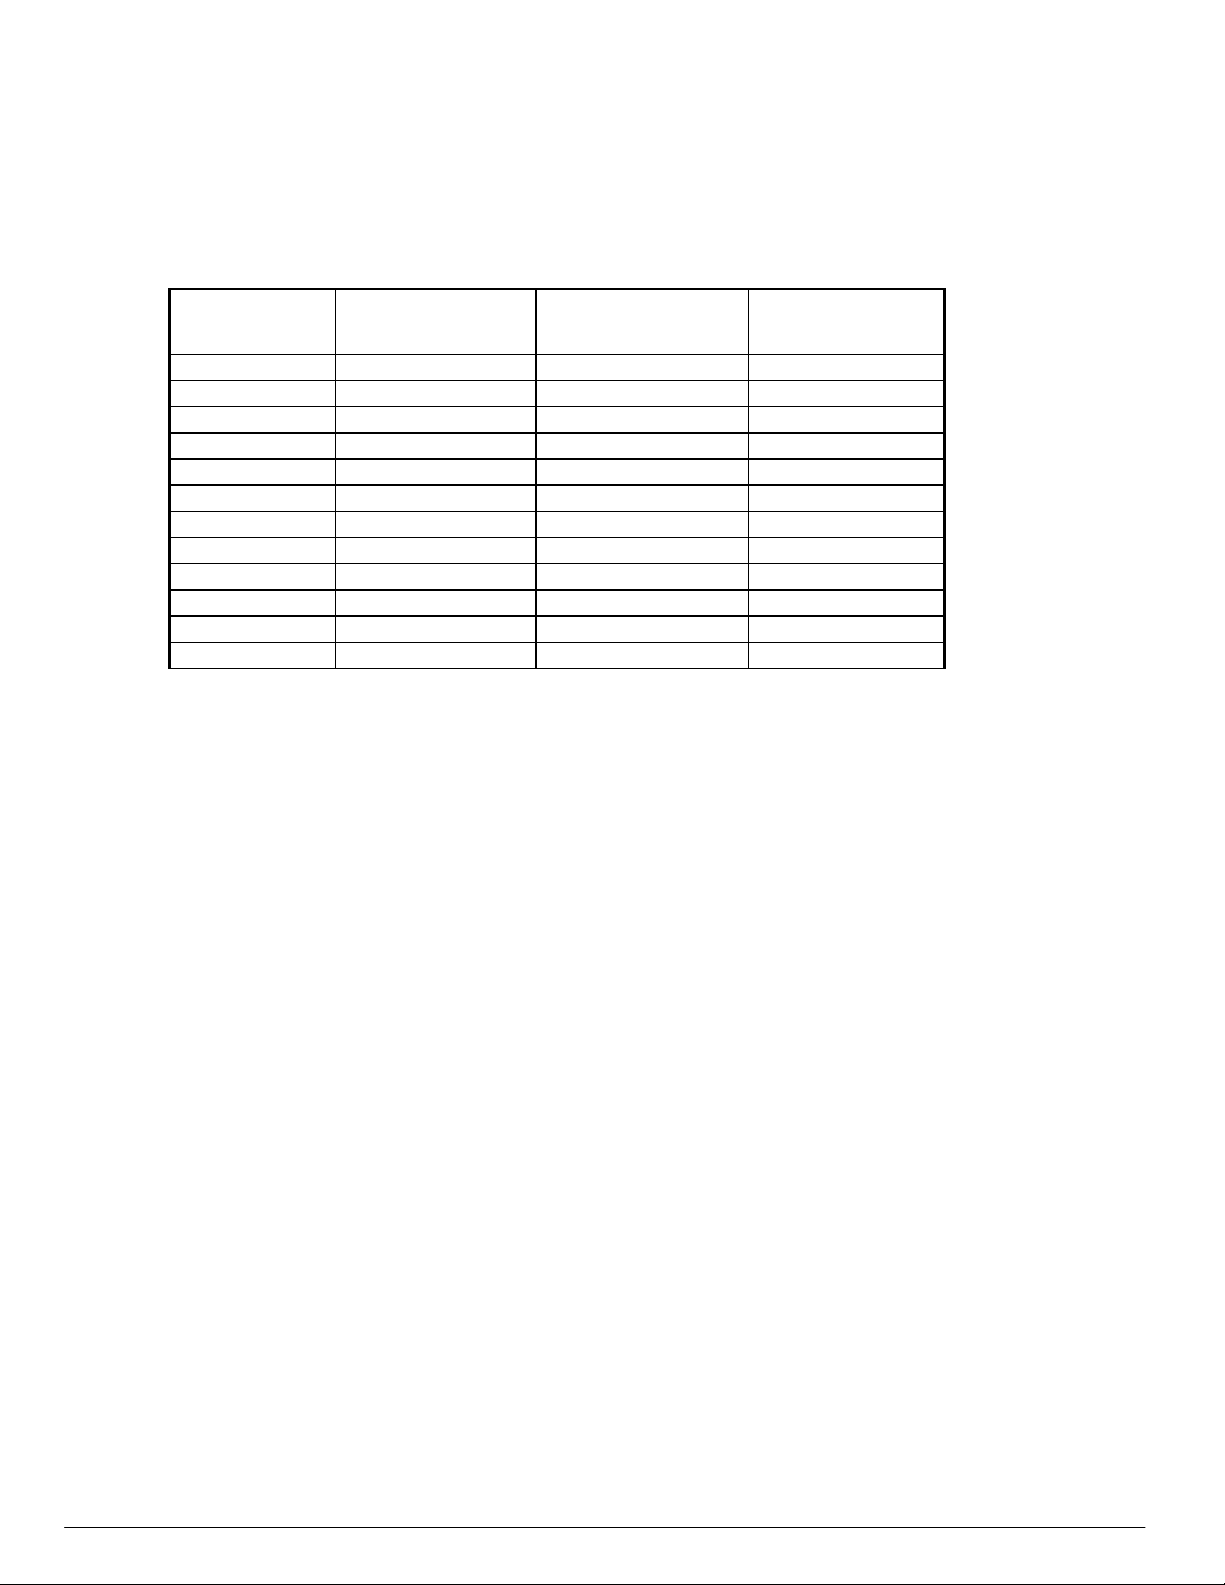
MODEL - GMO Kw per Fry Tank Width Inch (cm) Total
System
Shortening lbs. (kg)
Each Fry Tank
1HF50D 17 15.5" (39) 50 (23)
1HF85CF 24 21.0" (53) 85 (39)
Voltage ranges are: 208, 3 Phase - 50 – 60 Hz
240, 3 Phase - 50 – 60 Hz
480, 3 Phase - 50 – 60 Hz
The number preceding the model number of the fryer refers to the number of fryers in a
battery.
INSTALLATION
Before installing the fryer, verify that the electrical requirements agree with the
specifications on the fryer data plate, which is located on the inside of the door panel.
Record your fryer model, device, and serial numbers for future reference in the space
provided below. This information can be found on the fryer data plate.
Fryer Model No: ___________________________
Device: ___________________________________
Serial No: ________________________________
HFD, HFCF SERIES ELECTRIC FRYER
HOBARTCORP F-32964 Rev. C (May 2012)
-6-
CODES AND STANDARDS
The fryer must be installed in accordance with:
In the United States:
State and local codes, or in the absence of local codes, with:
National Electrical Code, ANSI/NFPA-70 (latest edition). Copies may be obtained
from The National Fire Protection Association, Batterymarch Park, Quincy,
MA. 02169-7471.
In Canada:
Local codes
CSA C22.1 Canadian Electric Code L4W 5N6.
ASSEMBLY
The fryer must be restrained to prevent tipping and the splashing of hot liquid. The means
of restraint may be the manner of installation, such as connection to a battery of
appliances, installing the fryer in an alcove, or by separate means such as adequate ties.
Fryers with Casters: (Optional)
Separate instructions for installing casters are included with the casters:
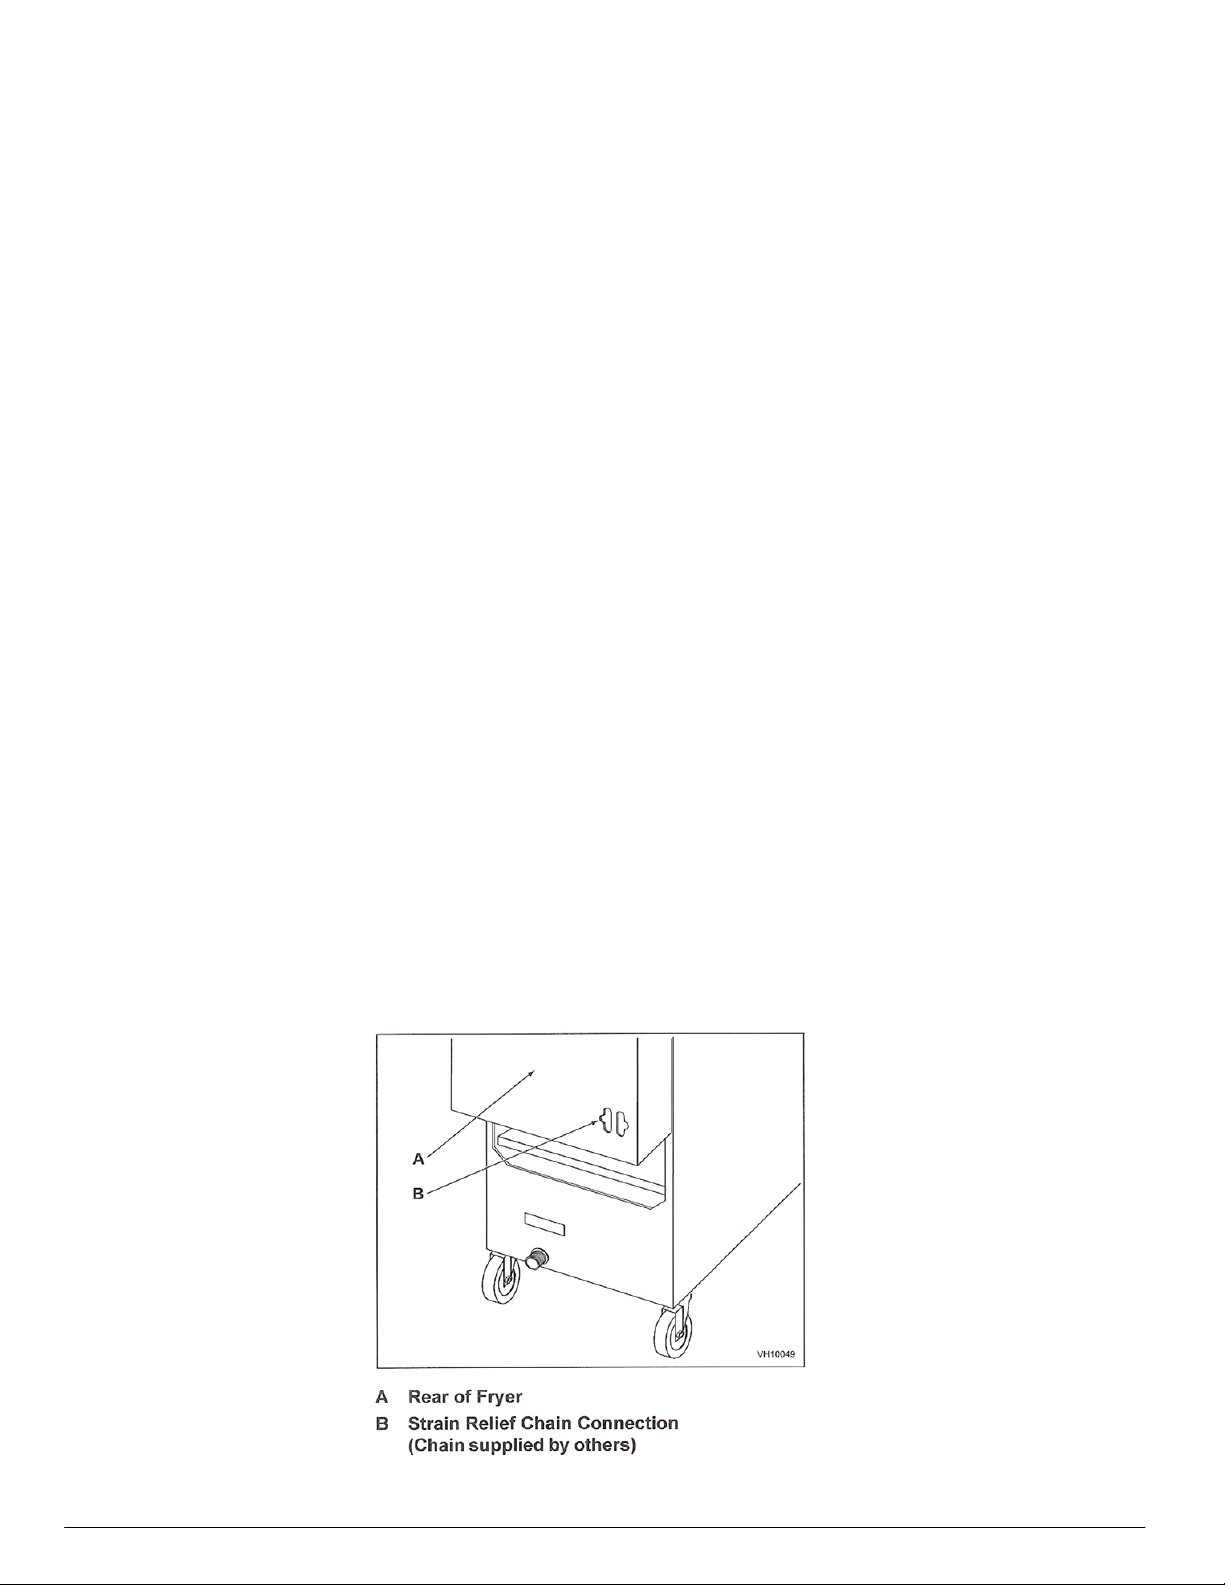
The restraining device should be attached to the cutout on the back panel. See
illustration for location.
HFD, HFCF SERIES ELECTRIC FRYER
HOBARTCORP F-32964 Rev. C (May 2012)
-7-
Australia, use only the caster supplied by the manufacturer for the fryer
device. The fryer must be installed using a hose assembly restraining device to
limit the movement of the appliance in accordance with AS1869.
The fryer must be installed with a connector (not supplied by Hobart)
complying with the above codes.
The fryer must be installed with restraining means to guard against
transmission of strain to the connector. See illustration.
The fryer must be installed with the casters provided.
If the restraint is ever to be disconnected, turn off electric supply to the fryer.
ELECTRICAL CONNECTION
Electrical and Grounding connections must comply with the National Electrical Code
and/or other local codes.
Disconnect the electrical power supply to the machine and follow lockout / tag out
procedures.
Appliances equipped with a 120V flexible electric supply cord are provided with a three-
prong grounding plug. It is imperative that this plug be connected into a properly
grounded three-prong receptacle. If the receptacle is not the proper grounding type,
contact an electrician. Do not remove the grounding prong from this plug.
For 480 volt fryers a separate cord and NEMA 15-5P plug is required (not supplied with
the fryer). Plug in the wire connection into an approved outlet.
Place fryer as near to its final position as possible. Connect 3 phase line to X, Y and Z on
terminal block. To reach terminal block, remove electric cover plate from fryer.
For each 15½” (39 cm) and 21” (53 cm) section, a 3 phase supply line capable of handling
the required KW at the fryer’s rated voltage (208, 240, and 480) is needed. Refer to the
fryer data plate for this electrical information.
To shield electric connection supply wiring, a permanently connected or direct
wired device must be installed using flexible conduit sleeve with the appropriated
connectors.

HFD, HFCF SERIES ELECTRIC FRYER
HOBARTCORP F-32964 Rev. C (May 2012)
-8-
LEVELING THE FRYER
Check the level of the fryer by placing a level on top of the fryer after electrical
connections have been made.
Ensure that the fryer is level front-to-back and side-to-side in the final installed position.
If using casters, lock the wheels after unit is level.
OPERATION
Hot oil and parts can cause burns. Use care when operating,
cleaning and servicing the fryer.
Spilling hot frying compound can cause severe burns. Do not move
fryer without draining all frying compound from the tank.
OVER-TEMPERATURE SHUTDOWN
If the shortening becomes overheated, a high-temperature shutoff device will turn the
heating elements off shutting down the fryer.
If the fryer shuts down due to overheating, do not turn fryer on until the shortening
temperature is below 300°F (149°C).
If an overheating situation persists, contact your local Hobart authorized service office.
BEFORE FIRST USE
Cleaning
New units are wiped down at the factory to remove any visible signs of dirt, oil, grease,
etc. remaining from the manufacturing process.
Before any food preparation, thoroughly wash the protective oil from all surface parts and
the tank interior with hot soapy water to remove any film residue and dust or debris.
Do not use chlorine or sulfate/sulfide cleaners.
Wash any accessories shipped with unit.
Rinse fryer and accessories thoroughly and drain the fryer.
 Loading...