

Hand Held Products IMAGETEAM 4200 Quick Start Manual

IMAGETEAM™ 4200
Hand Held Linear Imager
™
Quick Start Guide

Disclaimer
Hand Held Products, Inc. (“Hand Held Products”) reserves the right to make
changes in specifications and other information contained in this document
without prior notice, and the reader should in all cases consult Hand Held
Products to determine whether any such changes have been made. The
information in this publication does not represent a commitment on the part of
Hand Held Products.
Hand Held Products shall not be liable for technical or editorial errors or
omissions contained herein; nor for incidental or consequential damages
resulting from the furnishing, performance, or use of this material.
This document contains proprietary information which is protected by copyright.
All rights are reserved. No part of this document may be photocopied,
reproduced, or translated into another language without the prior written consent
of Hand Held Products.
© 2005 Hand Held Products, Inc. All rights reserved.
Web Address: www.handheld.com
Microsoft
Corporation in the United States and/or other countries.
The Bluetooth® word mark and logos are owned by Bluetooth SIG, Inc.
Other product names mentioned in this document may be trademarks or
registered trademarks of other companies and are the property of their
respective owners.
®
Windows® is either a registered trademark or trademarks of Microsoft

Table of Contents
Getting Started
IT4200 with Green LED Aimer
Imager Identification ............................................................. 1
Connecting the Imager for USB .............................................. 3
USB Interface Selection .................................................... 3
Connecting Imager for Keyboard Wedge (Powered by Host). 4
Keyboard Wedge............................................................... 4
Useful Menu Bar Codes........................................................... 6
Manual/Serial Trigger Mode.................................................... 6
Presentation Mode ................................................................... 6
Suffix Selections ...................................................................... 6
Resetting the Standard Product Defaults ................................. 6
To Add a Test Code I.D. Prefix to All Symbologies ............... 7
Beeper and LED Sequences and Meaning............................... 7
Repairs ..................................................................................... 7
Maintenance............................................................................. 7
Cleaning the Imager’s Window......................................... 7
Inspecting Cords and Connectors...................................... 8
Replacing the Interface Cable ........................................... 8
Troubleshooting ....................................................................... 9
Obtaining Factory Service ..................................................... 10
Statement of Agency Compliance ......................................... 11
Regulatory and Safety Approvals .......................................... 11
UL and cUL Statement.................................................... 11
LED Safety Statement ..................................................... 11
C-Tick Statement............................................................. 11
Patents ............................................................................. 12
Solids and Water Protection ............................................ 12
Limited Warranty................................................................... 12
i

ii
Getting Started
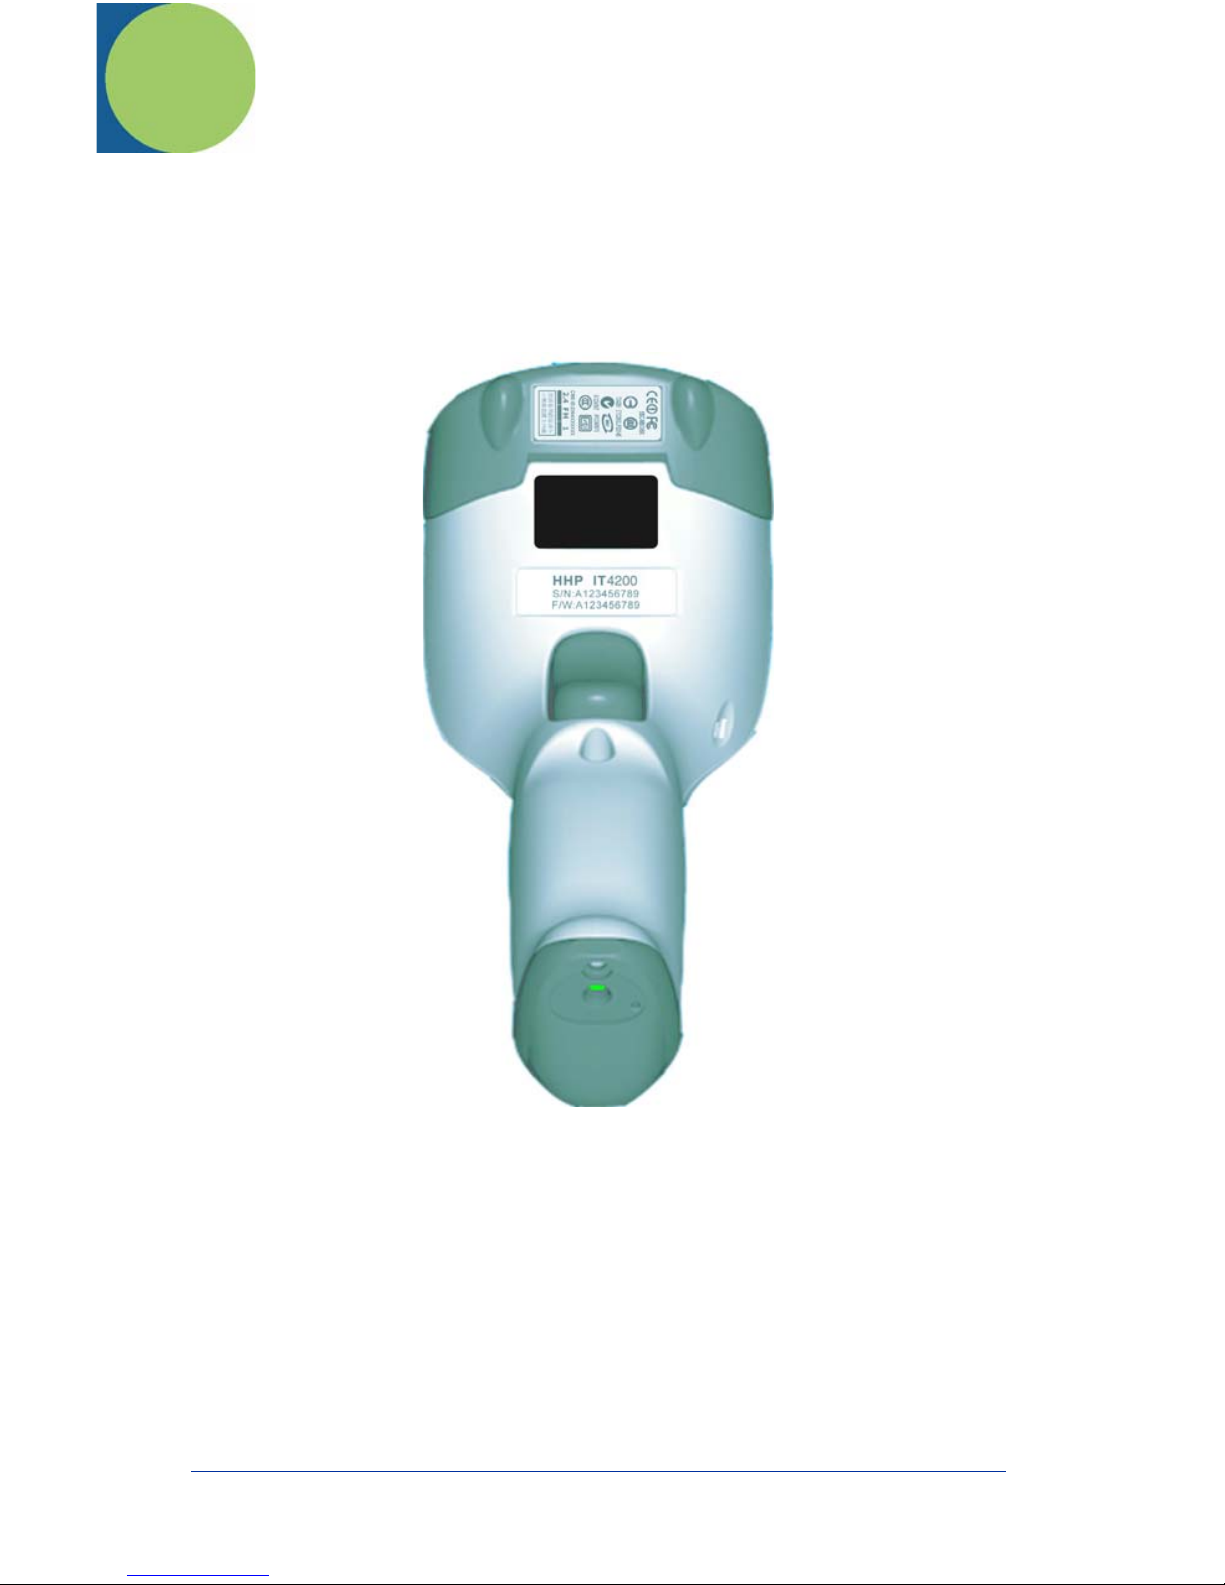
IT4200 with Green LED Aimer
Imager Identification
IMAGETEAM™ 4200 Quick Start Guide 1
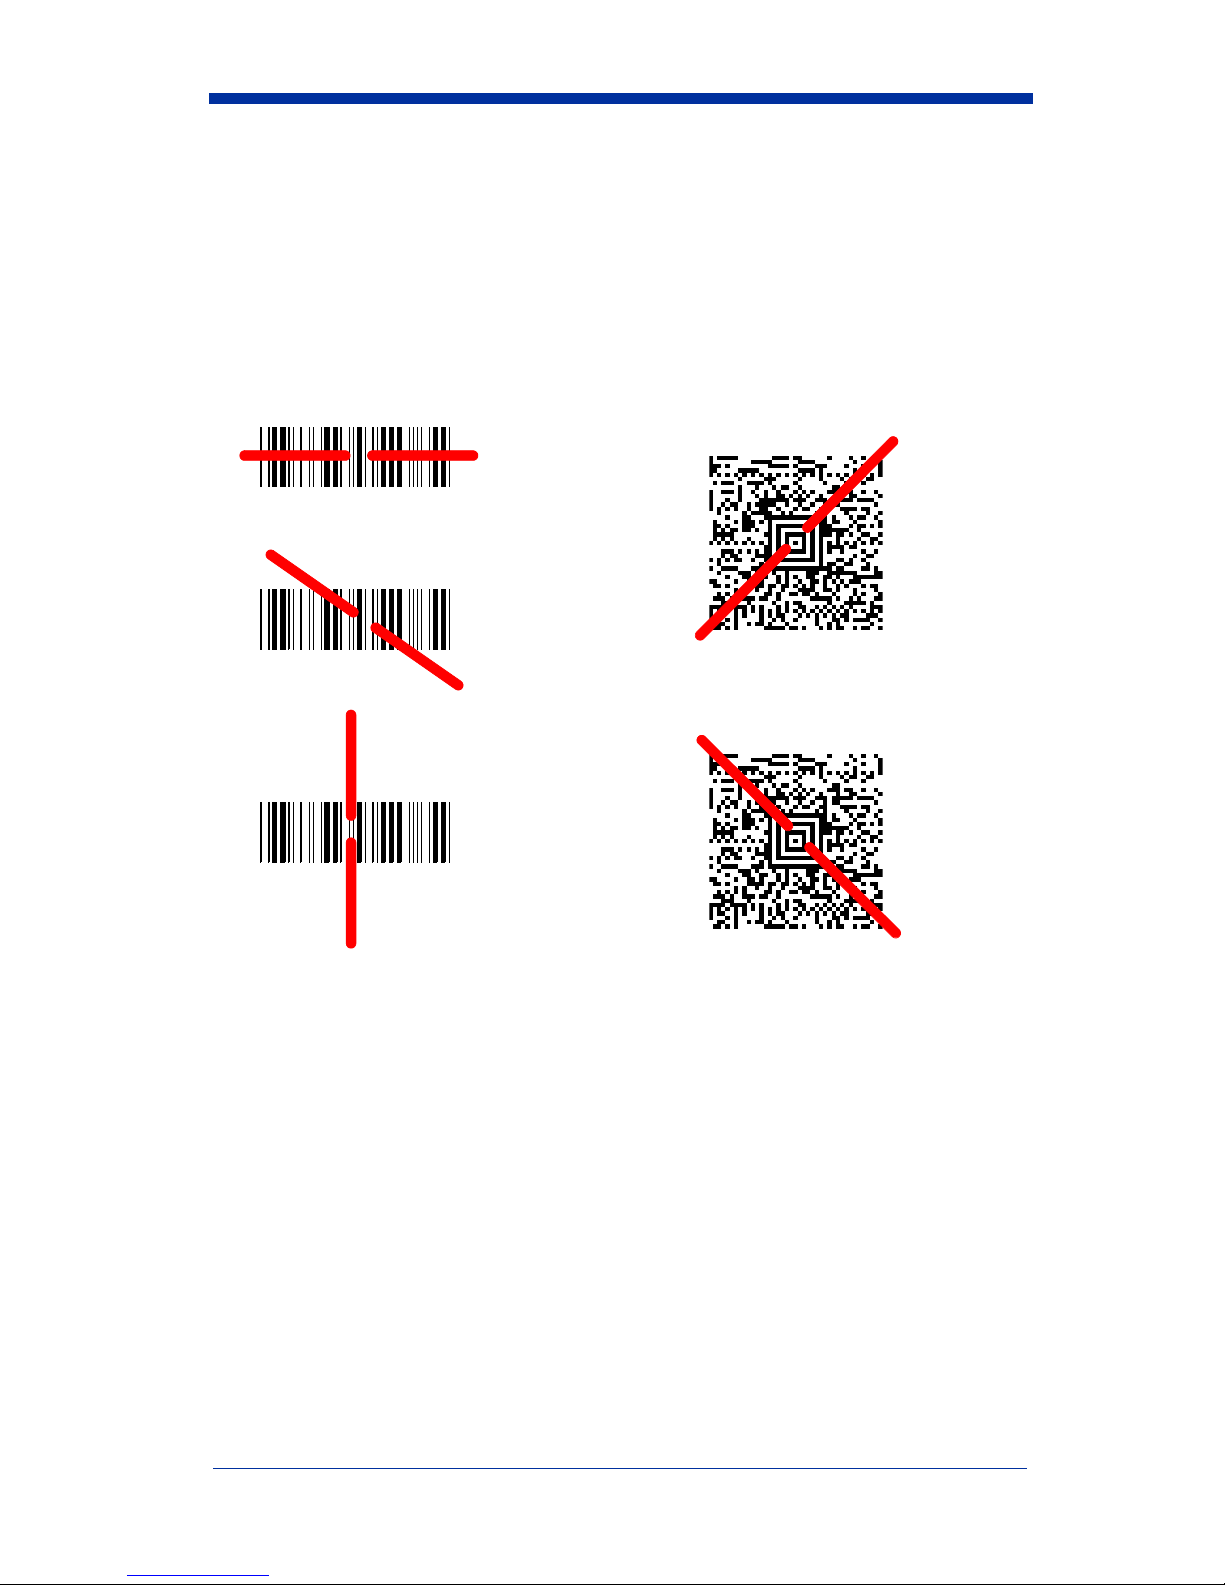
Reading Techniques
The imager has a view finder that projects a bright red or green aiming beam that
corresponds to the imager’s horizontal field of view. The aiming beam should be
centered over the bar code, but it can be positioned in any direction for a good
read.
Linear bar code 2D Matrix symbol
The aiming beam is smaller when the imager is closer to the code and larger
when it is farther from the code. Symbologies with smaller bars or elements (mil
size) should be read closer to the unit. Symbologies with larger bars or elements
(mil size) should be read farther from the unit. To read single or multiple symbols
(on a page or on an object), hold the imager at an appropriate distance from the
target, pull the trigger, and center the aiming beam on the symbol. If the code
being scanned is highly reflective (e.g., laminated), it may be necessary to tilt the
code up 15° to 18° to prevent unwanted reflection.
2 IMAGETEAM™ 4200 Quick Start Guide
 Loading...