


TOM CLANCY S-RAINBOW SIX 3-RAVEN SHIELD

INTRODUCTION . . . . . . . . . . . . . . . . . . . . . . . . . . . . . . . . . . . . . . . . . . 3
O
VERVIEW . . . . . . . . . . . . . . . . . . . . . . . . . . . . . . . . . . . . . . . . . . . . 3
Q
UICK STAR T . . . . . . . . . . . . . . . . . . . . . . . . . . . . . . . . . . . . . . . . . . 4
S
TAR TI NG A CAMPAIGN . . . . . . . . . . . . . . . . . . . . . . . . . . . . . . . . 4
J
OINING A MULTIPLAYER GAME . . . . . . . . . . . . . . . . . . . . . . . . . . 4
C
REATING A MULTIPLAYER GAME . . . . . . . . . . . . . . . . . . . . . . . . . 5
M
INIMUM SPECIFICATIONS . . . . . . . . . . . . . . . . . . . . . . . . . . . . . . . . 5
I
NSTALLATION. . . . . . . . . . . . . . . . . . . . . . . . . . . . . . . . . . . . . . . . . . 6
U
NINSTALLING. . . . . . . . . . . . . . . . . . . . . . . . . . . . . . . . . . . . . . . . . 6
PRE-GAME SCREENS . . . . . . . . . . . . . . . . . . . . . . . . . . . . . . . . . . . . . . 7
M
AIN MENU . . . . . . . . . . . . . . . . . . . . . . . . . . . . . . . . . . . . . . . . . . 7
C
AMPAIGN. . . . . . . . . . . . . . . . . . . . . . . . . . . . . . . . . . . . . . . . . . . . 7
C
USTOM MISSION . . . . . . . . . . . . . . . . . . . . . . . . . . . . . . . . . . . . . . 8
T
RAINING . . . . . . . . . . . . . . . . . . . . . . . . . . . . . . . . . . . . . . . . . . . . 8
O
PTIONS . . . . . . . . . . . . . . . . . . . . . . . . . . . . . . . . . . . . . . . . . . . . . 8
G
AME . . . . . . . . . . . . . . . . . . . . . . . . . . . . . . . . . . . . . . . . . . . . . 8
S
OUND . . . . . . . . . . . . . . . . . . . . . . . . . . . . . . . . . . . . . . . . . . . . 9
G
RAPHICS . . . . . . . . . . . . . . . . . . . . . . . . . . . . . . . . . . . . . . . . . 10
HUD . . . . . . . . . . . . . . . . . . . . . . . . . . . . . . . . . . . . . . . . . . . . 10
M
ULTIPLAYER . . . . . . . . . . . . . . . . . . . . . . . . . . . . . . . . . . . . . . . 11
C
ONTROLS . . . . . . . . . . . . . . . . . . . . . . . . . . . . . . . . . . . . . . . . . 11
P
LANNING COMPUTER . . . . . . . . . . . . . . . . . . . . . . . . . . . . . . . . . . 12
N
AVIGATION BAR . . . . . . . . . . . . . . . . . . . . . . . . . . . . . . . . . . . . 12
B
RIEFING ROOM . . . . . . . . . . . . . . . . . . . . . . . . . . . . . . . . . . . . . 12
G
EAR ROOM. . . . . . . . . . . . . . . . . . . . . . . . . . . . . . . . . . . . . . . . 13
P
LANNING ROOM. . . . . . . . . . . . . . . . . . . . . . . . . . . . . . . . . . . . 16
E
XECUTE MISSION ROOM . . . . . . . . . . . . . . . . . . . . . . . . . . . . . 19
IN-GAME INTERFACE:HUD . . . . . . . . . . . . . . . . . . . . . . . . . . . . . . . 20
Y
OUR OPERATIVE. . . . . . . . . . . . . . . . . . . . . . . . . . . . . . . . . . . . . . 20
Y
OUR WEAPON STATU S . . . . . . . . . . . . . . . . . . . . . . . . . . . . . . . . . 20
R
ETICULE. . . . . . . . . . . . . . . . . . . . . . . . . . . . . . . . . . . . . . . . . . . . 20
A
CTION ICON . . . . . . . . . . . . . . . . . . . . . . . . . . . . . . . . . . . . . . . . . 20
W
AYP OI N TS A N D PLANNING . . . . . . . . . . . . . . . . . . . . . . . . . . . . . . 21
O
THER OPERATIVES IN YOUR TEAM . . . . . . . . . . . . . . . . . . . . . . . . . 21
O
THER TEAMS . . . . . . . . . . . . . . . . . . . . . . . . . . . . . . . . . . . . . . . . 21
M
AP . . . . . . . . . . . . . . . . . . . . . . . . . . . . . . . . . . . . . . . . . . . . . . . 21
I
N-GAME MENU . . . . . . . . . . . . . . . . . . . . . . . . . . . . . . . . . . . . . . 21
HOW TO PLAY. . . . . . . . . . . . . . . . . . . . . . . . . . . . . . . . . . . . . . . . . . 22
W
HOAMI?. . . . . . . . . . . . . . . . . . . . . . . . . . . . . . . . . . . . . . . . . . 22
M
Y ROLE AND RESPONSIBILITIES. . . . . . . . . . . . . . . . . . . . . . . . . 22
S
WITCHING BETWEEN TEAMMATES AND TEAM HOLD . . . . . . . . . . 22
W
HAT IS MY MISSION? . . . . . . . . . . . . . . . . . . . . . . . . . . . . . . . . . 23
W
HAT DO I DO? . . . . . . . . . . . . . . . . . . . . . . . . . . . . . . . . . . . . 23
D
EFAULT MISSION OBJ ECTIVE . . . . . . . . . . . . . . . . . . . . . . . . . . . 23
W
HO ELSE IS IN THE WORLD? . . . . . . . . . . . . . . . . . . . . . . . . . . . . 23
O
THER RAINBOW TEAMS . . . . . . . . . . . . . . . . . . . . . . . . . . . . . . 23
> 1 <
TABLE OF CONTENTS

> 2 <
TERRORISTS . . . . . . . . . . . . . . . . . . . . . . . . . . . . . . . . . . . . . . . . 24
H
OSTAGES . . . . . . . . . . . . . . . . . . . . . . . . . . . . . . . . . . . . . . . . . 24
L
OOKING AND MOVIN G AROUN D. . . . . . . . . . . . . . . . . . . . . . . . . . 25
P
EEKING AND CHANGING STANCE. . . . . . . . . . . . . . . . . . . . . . . . . . 25
N
IGHT VISION . . . . . . . . . . . . . . . . . . . . . . . . . . . . . . . . . . . . . . . . 26
I
NTERACTING WITH THE ENVIRONMENT. . . . . . . . . . . . . . . . . . . . . . 26
H
OW DO I . . . . . . . . . . . . . . . . . . . . . . . . . . . . . . . . . . . . . . . . 26
H
OW TO ORDER MY TEAM . . . . . . . . . . . . . . . . . . . . . . . . . . . . 26
T
EAM QUICK ORDER INTERFACE (QOI) . . . . . . . . . . . . . . . . . . . 26
I
SSUING A TEAM ORDER ON ZULU GO CODE. . . . . . . . . . . . . . . . 27
S
ITUATIONS AND DEFAULT ACTIONS . . . . . . . . . . . . . . . . . . . . . . 27
U
SING DOORS/WINDOWS . . . . . . . . . . . . . . . . . . . . . . . . . . . . 28
U
SING LADDERS . . . . . . . . . . . . . . . . . . . . . . . . . . . . . . . . . . . . 29
S
WITCHING BETWEEN WEAPONS AND EQUIPMENT . . . . . . . . . . . . . 29
E
NGAGING TANGOS AND RULES OF ENGAGEMENT (ROE) . . . . . . . . 29
S
HOOTING. . . . . . . . . . . . . . . . . . . . . . . . . . . . . . . . . . . . . . . . . . . 30
R
ETICULE. . . . . . . . . . . . . . . . . . . . . . . . . . . . . . . . . . . . . . . . . . 30
F
IRING . . . . . . . . . . . . . . . . . . . . . . . . . . . . . . . . . . . . . . . . . . . 30
R
ATE OF FIRE (ROF). . . . . . . . . . . . . . . . . . . . . . . . . . . . . . . . . . 30
R
ELOADING. . . . . . . . . . . . . . . . . . . . . . . . . . . . . . . . . . . . . . . . . 31
Z
OOMING. . . . . . . . . . . . . . . . . . . . . . . . . . . . . . . . . . . . . . . . . . 31
W
EAPON ATTACHMENTS. . . . . . . . . . . . . . . . . . . . . . . . . . . . . . . 31
A
UTO-AIM. . . . . . . . . . . . . . . . . . . . . . . . . . . . . . . . . . . . . . . . . 32
B
ULLET PENETRATION OF DOORS . . . . . . . . . . . . . . . . . . . . . . . . 32
U
SING OTHER ITEMS . . . . . . . . . . . . . . . . . . . . . . . . . . . . . . . . . . . 33
P
ASSIVE ITEMS . . . . . . . . . . . . . . . . . . . . . . . . . . . . . . . . . . . . . . 33
H
EARTBEAT SENSOR . . . . . . . . . . . . . . . . . . . . . . . . . . . . . . . . . . 33
D
EPLOYING EXPLOSIVE CHARGES AND MINES . . . . . . . . . . . . . . . 33
T
HROWING GRENADES . . . . . . . . . . . . . . . . . . . . . . . . . . . . . . . . . . 34
FINISHING A MISSION:DEBRIEFING SCREEN . . . . . . . . . . . . . . . . . . . . 35
MULTIPLAYER . . . . . . . . . . . . . . . . . . . . . . . . . . . . . . . . . . . . . . . . . . 35
D
IFFERENCES BETWEEN SINGLE AND MULTIPLAYER PLAY. . . . . . . . . . 35
M
ULTIPLAYER SCREEN . . . . . . . . . . . . . . . . . . . . . . . . . . . . . . . . . . 36
M
AIN BUTTONS. . . . . . . . . . . . . . . . . . . . . . . . . . . . . . . . . . . . . 36
S
ERVER LISTS . . . . . . . . . . . . . . . . . . . . . . . . . . . . . . . . . . . . . . . 36
F
ILTER/INFORMATION AREAS. . . . . . . . . . . . . . . . . . . . . . . . . . . . 37
C
REATE SERVER SCREEN . . . . . . . . . . . . . . . . . . . . . . . . . . . . . . . . . 39
M
AIN BUTTONS. . . . . . . . . . . . . . . . . . . . . . . . . . . . . . . . . . . . . 39
O
PTIONS . . . . . . . . . . . . . . . . . . . . . . . . . . . . . . . . . . . . . . . . . . 39
R
ESTRICTION KIT . . . . . . . . . . . . . . . . . . . . . . . . . . . . . . . . . . . . 41
I
N-GAME MENU . . . . . . . . . . . . . . . . . . . . . . . . . . . . . . . . . . . . . . 42
T
EAMMATE RADAR . . . . . . . . . . . . . . . . . . . . . . . . . . . . . . . . . . . . . 42
C
OMMUNICATIONS AND THE CONSOLE . . . . . . . . . . . . . . . . . . . . . . 42
U
SING MULTIPLAYER ONLY ITEMS . . . . . . . . . . . . . . . . . . . . . . . . . . 43
D
YING AND ACTIVATING DEATH CAMERAS . . . . . . . . . . . . . . . . . . . 43
T
HE CONSOLE . . . . . . . . . . . . . . . . . . . . . . . . . . . . . . . . . . . . . . . . 43
B
ASIC COMMANDS . . . . . . . . . . . . . . . . . . . . . . . . . . . . . . . . . . 43
A
DMINISTRATOR ONLY COMMANDS . . . . . . . . . . . . . . . . . . . . . . 45
CREDITS . . . . . . . . . . . . . . . . . . . . . . . . . . . . . . . . . . . . . . . . . . . . . . 46
WARRANTY . . . . . . . . . . . . . . . . . . . . . . . . . . . . . . . . . . . . . . . . . . . 48
TECHNICAL SUPPORT . . . . . . . . . . . . . . . . . . . . . . . . . . . . . . . . . . . . 49
Introduction
The year is 2005. In the minds of millions, the conflicts of the 20th century have
been forgotten. Relegated to history books or dusty archives. They are subjects
for movies. Stories told by aging grandfathers that seem less and less relevant
in the brave new world of global terrorism and vicious international conflict.
But not everything that is buried is dead. Old hatreds still linger. Old mysteries
remain unsolved. And old enemies may yet rise again, re-energized and
prepared to pick up the tools of modern terror to carry on their ancient battles.
Only one bulwark stands between the world and terrors both new and
revisited: RAINBOW, an international task force dedicated to combating
terrorism in all its forms. A top-secret organization consisting of the best
counter-terrorism operatives the United Nations has to offer. Rainbow is the
most potent weapon in the world's arsenal. Backed by the most sophisticated
technology available, and trained to the limits of human capability,they are our
best hope in the war against terror.
They may also be our last.
Overview
In Raven Shield, you lead an elite, international anti-terrorist unit code named
“Rainbow”. You assume the role of mission commander, before and after each
mission and plan out every detail of their missions from the operatives and
their gear to their exact paths and actions. During missions you lead from the
front by controlling any of the eight Rainbow operatives as they engage
terrorists and save the world.
Raven Shield contains fifteen missions linked together to form a single
campaign. During missions the action gets intense and with “one shot, one kill
lethality” the world of Raven Shield is extremely unforgiving. As your skills
sharpen, the missions get gradually harder to keep up the pressure.
Remember, when Rainbow gets called in, it’s because it’s an extremely
important mission and all other options have been exhausted…hit’em hard and
hit’em fast!
> 3 <

Quick Start
Starting a Campaign
1. Insert the Raven Shield CD into your computer and start the game
2. When the Main Menu appears,click on Campaign
3. At the Campaign screen,click on New Campaign
4. Type in a name for your new campaign
5. Select a difficulty level
6. Click on Start
7. When you’re finished listening to the briefing, click on the Load Plan button
in the bottom right of the screen
8. Select the Default plan and click on the Load button
9. Click on the Go to Execute Mission Room button near the Load Plan button
10. Click on Start Mission and enjoy!
Joining a Multiplayer Game
1. Insert the Raven Shield CD into your computer and start the game
2. When the Main Menu appears, click on Multiplayer
3. If you choose to connect onto the Internet proceed to Step 4. If you choose
to connect using LAN proceed to Step 9
4. Click on the World Wide Web:Create New Account OR if you already have an
account skip to Step 7.
5. Enter the required information and click on the Submit button
6. Click on Yes to install Ubi.Com Manager software
7. Exit your Internet browser to return to the game
8. Enter your Login Name and Password and click the check box
9. Select a server from the server list and click the Join button
10. Once in the game click Play or join a team (Green or Red)
11. If the Multiplayer Menu is not displayed,press the Tab key to display it
12. Click on the Gear Menu button
13. Select the weapons and equipment you want to use by clicking on the
image to bring up a list of choices to the right. Once you’re happy with your
selections click on the Close button.
14. Finally, click on the Ready button in the lower right of the screen to tell the
server you’re ready to play
15. The round launches when the Time Remaining reaches zero or all players
click on Ready…Have fun!
> 4 <
Creating a Multiplayer Game
1. Insert the Raven Shield CD into your computer and start the game
2. When the Main Menu appears, click on Multiplayer
3. Click on the Create button to go to the Create Server screen
4. Select a Game Mode and then enter a name for your server
5. Select a Map and a Game Type
6. Click on the Add to Map List button in between the Map and Map List
7. Click on the Launch button to create the server
8. If you choose to create an Internet server that is not a dedicated server
proceed to Step 9. Otherwise proceed to Step 14
9. Click on the World Wide Web: Create New Account OR if you already have an
account skip to Step 7.
10. Enter the required information and click on the Submit button
11. Click on Yes to install Ubi.Com Manager software
12. Exit your Internet browser to return to the game
13. Enter your Login Name and Password and click the check box
14. Once in the game click Play or join a team (Green or Red)
15. If the Multiplayer Menu is not displayed, press the Tab key to display it
16. Click on the Gear Menu button.
17. Select the weapons and equipment you want to use by clicking on the
image to bring up a list of choices to the right. Once you’re happy with your
selections click on the Close button.
18. Finally, click on the Ready button in the lower right of the screen to tell the
server you’re ready to play
The round launches when the Time Remaining reaches zero or all players click
on Ready… enjoy!
Minimum Specifications
In order to play Raven Shield on your computer, your system must meet the
following criteria:
• Processor: 800 MHz Pentium III, AMD Athlon,or equivalent
• RAM: 128 MB;XP users: 256 MB required
• Supported OS: Win 98/ME/2000/XP Only
• Direct X version: 8.1 or higher
• Video Card:32MB VRAM DirectX 8.1 compatible graphics card with hardware T&L
• Hard Drive: 2 GB minimum hard drive space
• CD-ROM: 16x or faster
• Sound Card: DX 9 compatible sound device
• Peripherals:Windows-compatible mouse required
• Multiplay:Internet connection for play on Ubi.com
> 5 <
Pre-Game Screens
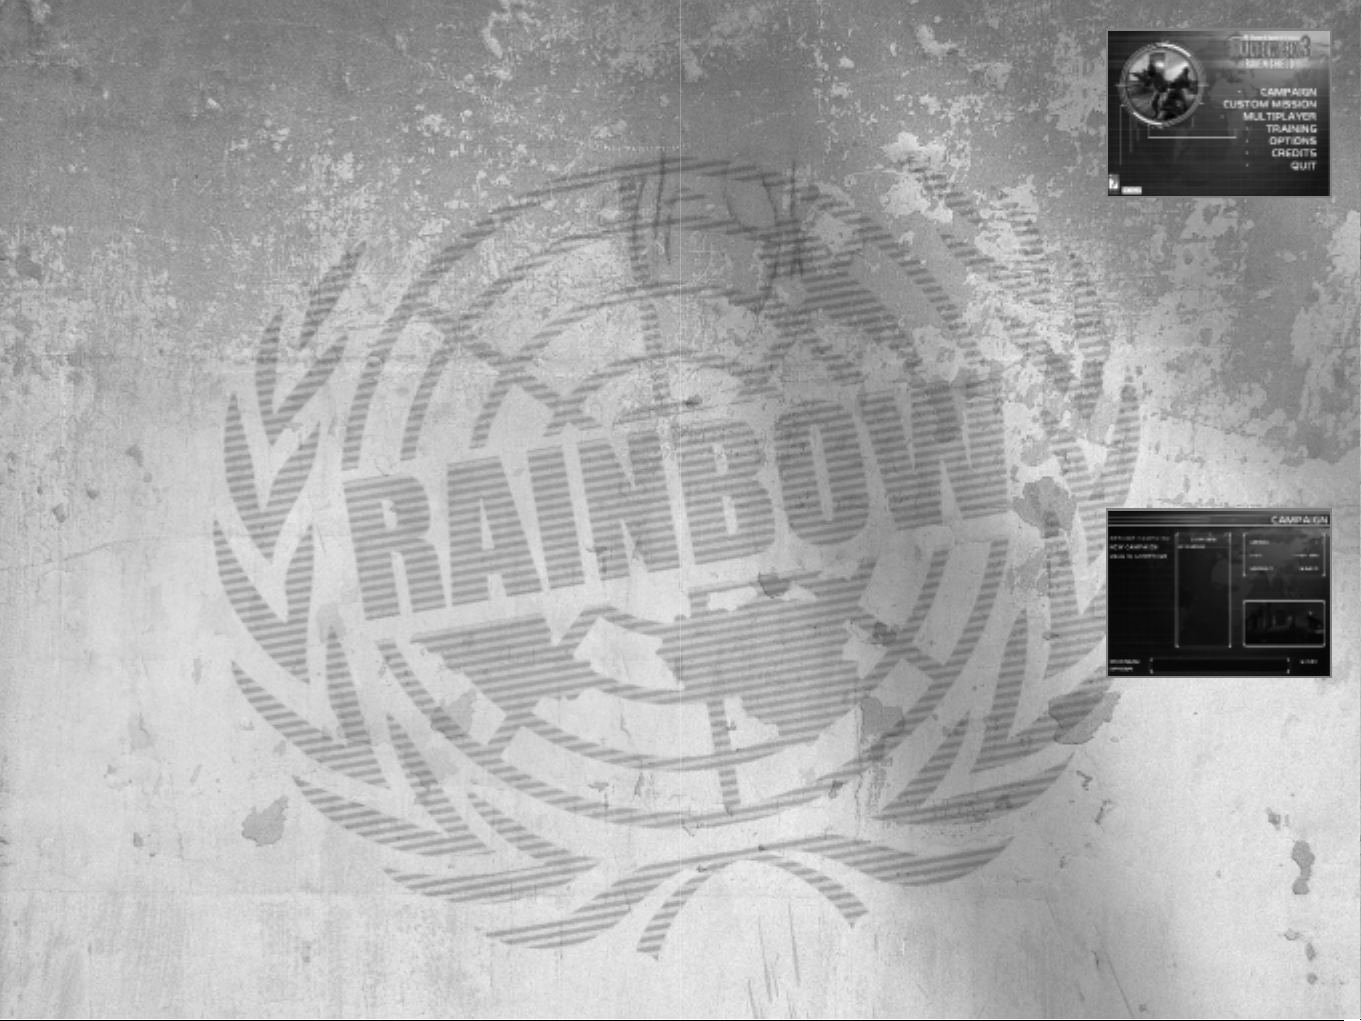
Main Menu
This is the first screen that appears when you
start Raven Shield and has the following options:
•
Campaign – Takes you to the Campaign
screen where you Resume and Create new single player campaigns
•
Custom Mission – Takes you to the Custom Mission screen where you play
individual missions using various mission objectives
•
Multiplayer – Takes you to the Multiplayer screen where you Join and Create
multiplayer games (see Multiplayer section)
•
Training – Takes you directly into the training mission where you learn how
to play the game
•
Options – Takes you to the Options screen where you set Raven Shield’s
customizable options
•
Credits – Displays the game credits
•
Quit – Exits Raven Shield
Campaign
This screen allows you to manipulate campaigns
and has a number of options:
•
Resume Campaign – Allows you to resume a
previously saved game:
1. Select Resume Campaign
2. Select Campaign in center window
3. Click Start in bottom right – Takes you to
the Planning Computer
•
New Campaign – Allows you to start a new campaign:
1. Select New Campaign
2. Type a Campaign Name in the center window
3. Select a difficulty mode
Recruit – Easy:Terrorists take more time before shooting
Veteran - Moderate
Elite - Hard: Terrorists take less time before shooting
4. Click Start in bottom right – Takes you to the Planning Computer
•
Delete Campaign – Allows you to delete a saved campaign:
1. Select Delete Campaign
> 7 <
Installation
To install Raven Shield,follow these simple steps:
1. Start your computer
2. Insert the Raven Shield Installation CD into your CD-ROM drive.The Autorun
Menu should appear.
Note: If the Autorun Menu does not automatically appear, double-click on the
My Computer icon located on your desktop, then double-click on the icon that
corresponds to your computer’s CD-ROM drive. The Autorun Menu should now
appear.
3. Click on the Install button. The installation wizard now walks you through
each step of the setup and installation process for the game.
Once you have created a directory for Raven Shield, the game is installed on
your hard drive. The game automatically asks you if you want to install DirectX
v8.1. You can not play Raven Shield without v8.1 or higher on your computer. If
you already have a version of DirectX that is v8.1 or higher, simply check the No
button, and it does not install DirectX. If you are not sure, click Yes, and the
DirectX installer performs its own verification.
4. After installing the game, select “Red Storm Entertainment: Raven Shield:
Play Raven Shield” from your computer’s Start menu or double-click the
“Play Raven Shield”shortcut on your desktop. Doing either starts the game.
Note: The Raven Shield Play CD must be in your CD-ROM drive to start the
game.
Uninstalling
To uninstall Raven Shield,follow these simple steps:
1. Start your computer
2. Insert either Raven Shield CD into your CD-ROM drive. The Autorun Menu
should appear.
3. When it appears, click on the Uninstall Raven Shield button. The uninstall
wizard automatically asks if you really want to uninstall the game.If you are
sure you want to remove Raven Shield from your hard drive, click the Yes
button. If you don’t want to uninstall the game, click No, which cancels the
process.
If you uninstall Raven Shield,all previously saved Campaigns and games remain
on your hard drive,unless you answer Yes to “Delete all configuration and saved
games files?” question.
Note: You can also uninstall Raven Shield by using the Add/Remove Programs
control panel in Windows.
> 6 <
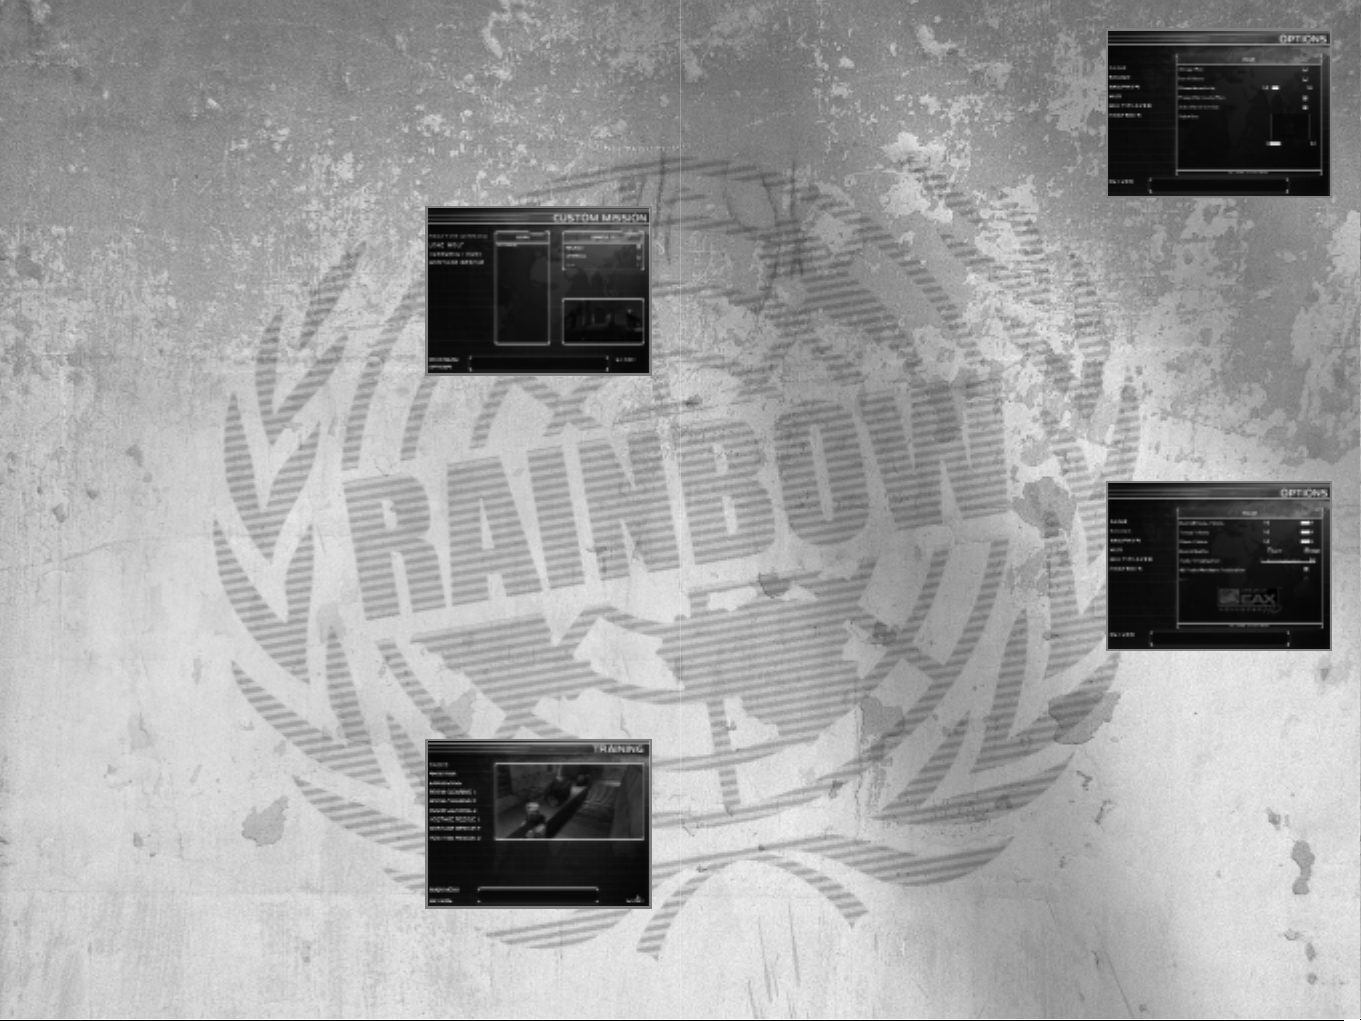
Game
Always Run – When activated your operative
always runs and holding the Run key makes
him/her walk
Invert Mouse – Inverts the up/down axis on your
mouse
Mouse Sensitivity – Alters the sensitivity of your
mouse and the speed at which it turns your
character
Auto-Aim: None, Low, Medium, High – Allows your crosshairs to automatically
lock onto tangos when they come into view (see Firing: Auto-Aim section);
Note: Auto Aim is not available in multiplayer adversarial games
Prompt for Load a Plan – The option displays the Load a Plan window when you
first go to the Gear,Planning, or Execute Room for each mission.It allows you to
load one of the default or one of your saved plans
Restore to Default Button – Restores all the options on this page to their
default state
Sound
Ambient Sounds – Sets the volume of all sound
effects
Voices – Sets the volume of all voices
Music - Sets the volume of all music
Sound Quality – Sets the quality of the sound
played in the game. Lower quality sounds may
result in higher game performance. 3D audio is only available with high quality
sounds.
Audio Virtualization – Sets the audio output mode for a two channel
monitoring configuration (two speakers,Headphones). No Virtualization means
stereo playback with no additional CPU usage. Low and high HRTF refers to
"Head Related Transfer Functions", which emulates 3D sound immersion. The
lower setting may result in higher game performance.
3D Audio Hardware Acceleration – Enables sound card hardware support. The
option must be enabled to activate EAX™.
EAX™ – If your sound card is compatible with Creative Labs EAX™ Processing,
enabling this option greatly improves your sound experience
Restore to Default Button – Restores all the options on this page to their
default state
> 9 <
2. Select Campaign in center window
3. Click the Delete button in bottom right
Other Options (these are available on almost every screen in the game)
•
Main Menu – Takes you to the Main Menu screen
•
Options – Takes you to the Options screen. After altering the customizable
game options you automatically return to your previous screen.
Custom Mission
This screen allows you to play individual missions
using a variety of mission objectives. To start a
custom mission use the following steps:
1. Select a custom mission mode
Practice Mission – You can practice the
mission exactly as it plays during the
campaign
Lone Wolf – You are by yourself with the sole objective of reaching the
extraction zone alive
Terrorist Hunt – Your objective is to neutralize all terrorists on the map
Hostage Rescue – Your objective is to rescue the hostages by escorting
them to the extraction zone
2. Select Map in center window (To unlock a map you must complete it in
Campaign mode first)
3. Select a difficulty mode
Recruit - Easy
Veteran - Moderate
Elite - Hard
4. Set number of terrorists in center right (not available in Practice Mission Mode)
5. Click Start in bottom right – Takes you to the Planning Computer
Training
The Training screen allows you to select training
scenarios and learn how to play the game. To
begin a scenario, simply select it and then click
on the Start button in the bottom right of the
screen.
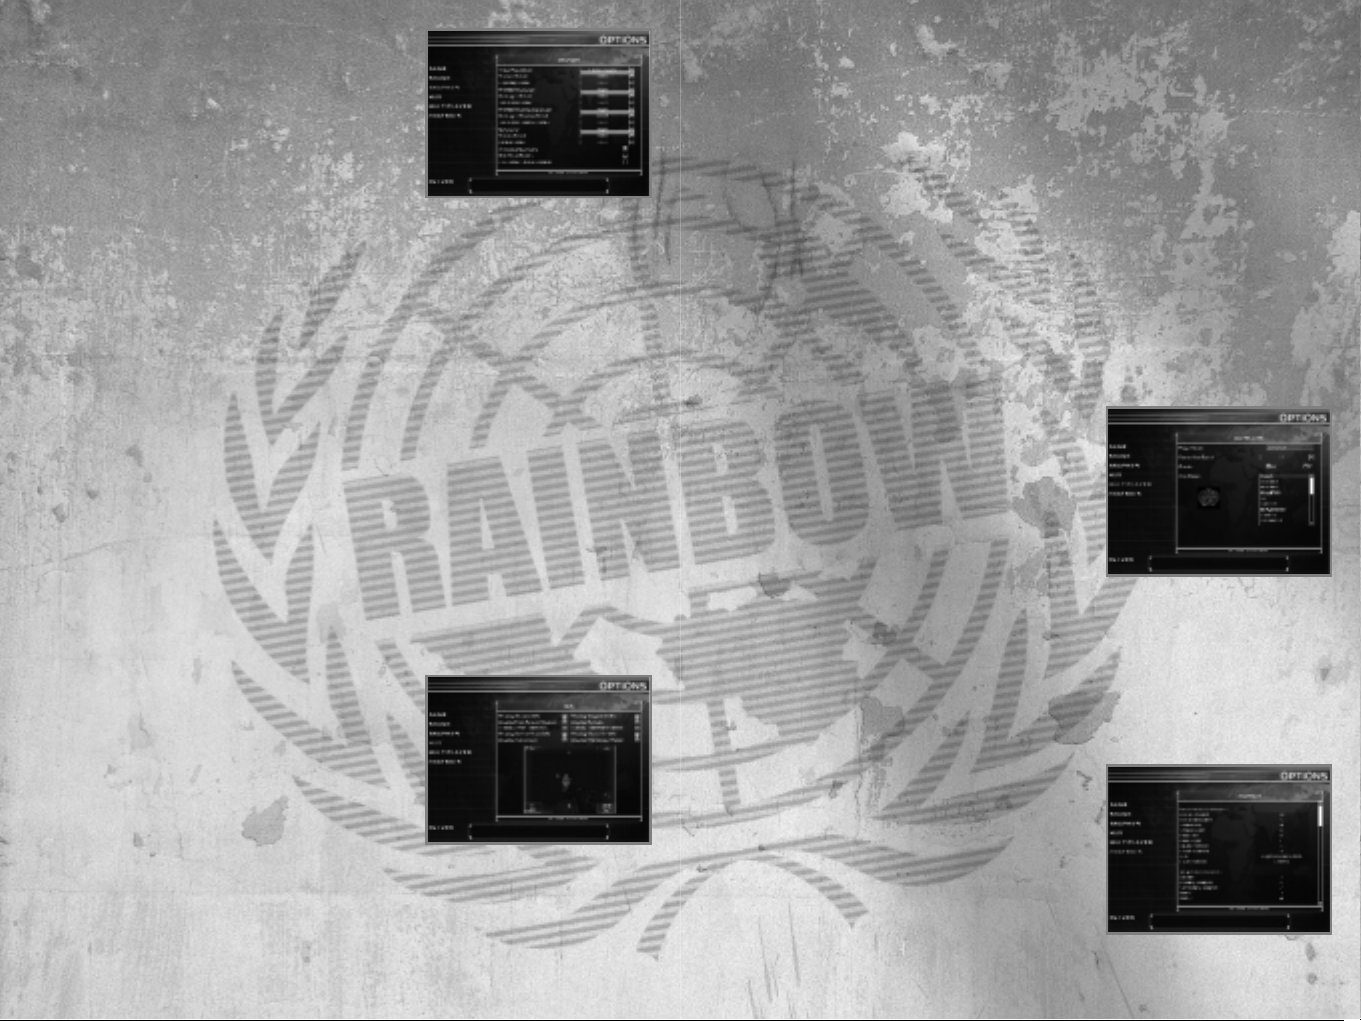
Options
The Options screen lets you customize the game and consists of six different
pages: Game,Sound, Graphic,HUD, Multiplayer,and Controls.
> 8 <
Display Weapon Info – Displays weapon icon, name, attachment name, rate of
fire, rounds in weapon, and remaining magazines
Display First Person Weapon – Displays the first person weapon
Display Reticule – Displays the targeting reticule
Display Waypoint Info – Displays the current waypoint graphic and waypoint
actions
Display Action Icon – Displays an icon, which shows you how you can interact
with environment
Display Teammate Names – Displays the name of a teammate when you point
at them
Display Multiplayer Radar – Displays the teammate radar in multiplayer games
Restore to Default Button – Restores all the options on this page to their
default state
Multiplayer
Player Name – This is your operative’s name
Gender – This is your operative’s gender, which
determines your voice in the game
Connection Speed – This is your Internet
connection type
Arm Patch – This is the arm patch displayed on
your character. You can make your own arm patches by creating images using
the same format as the .tga files in the arm patch directory. Custom arm
patches are automatically downloaded and displayed by other players on the
server.
Restore to Default Button – Restores all the options on this page to their
default state
Controls
This screen allows you to remap your keyboard
and mouse controls to your own taste.To remap
an action, simply click on the currently assigned
key and then press the new control.
Restore to Default Button – Restores all the
options on this page to their default state
Graphics
Setting any of the options below to Medium and
Low may result in higher game performance.
Video Resolution – Sets the video resolution
Texture Detail – Sets the environmental texture
detail level
Lightmap Detail – Sets the environmental
lightmap detail level
Rainbow Detail – Sets the Rainbow character detail level
Hostage Detail – Sets the Hostage character detail level
Terrorist Detail – Sets the Terrorist character detail level
Rainbow Shadow Detail – Sets the Rainbow character shadow detail level
Hostage Shadow Detail – Sets the Hostage character shadow detail level
Terrorist Shadow Detail – Sets the Terrorist character shadow detail level
Terrain Detail – Sets the detail level for grass and things on the ground
Decal Detail – Sets the bullet impact and explosion decal detail level
Animated Geometry – Allows animated geometry such as trees moving with
the wind
Gore Level – Sets the blood and gore level in the game
Hide Dead Bodies – Forces dead bodies to disappear from the map
Restore to Default Button – Restores all the options on this page to their
default state
HUD
The in-game user interface or HUD contains a
great deal of information. You can customize
what information it displays by using the
following options.
Display Character Info - Displays your operative’s
health, stance, name, and current rules of
engagement
Display Current Team Info – Displays your computer controlled teammates
health and current action
Display Other Team Info – Displays information about the health and current
actions of other,computer controlled teams
> 10 < > 11 <

• Kevin Sweeney – Kevin Sweeney tells you about why you’re going in on this
mission and what’s behind the terrorists’actions
•
News Wire – The News Wire tells you how the public was informed about
your last mission and is in the form of a news paper article or press release
•
Mission Orders – Mission Orders displays detailed information about your
mission including things to be aware of any special notes on terrorists (also
known as Tangos) and hostages
Gear Room
In the Gear Room you select and equip your
teams. There are three different areas within the
Gear Room, each with their own purpose:
Operative Area,Gear Area, and Information Area.
Operative Area
The Operative Area consists of a list of all of the
currently active Rainbow operatives at the top
and your three teams below.
• Operatives Roster – The Operative Roster contains all the
Rainbow operatives in the game sorted by their specialties:
Assault, Recon, Sniper,Demolitions, and Electronics.
Assault – Specialize in combat using all weapons other
than sniper rifles
Recon – Specialize in stealthy movement and remaining
undetected
Sniper – Specialize in combat using sniper rifles
Demolitions – Specialize in placing and deactivating explosives
Electronics – Specialize in placing and manipulating electronic devices
When you click on an operative you select him/her and get detailed
information in the Information Area on the right of the screen.
•
Your Teams – To add an operative to a team, select the operative and then
click on the + button to the left of one of the team names. If no + button
appears it is either because that team is full (maximum of four operatives
per team) or you’ve already assigned the maximum number of operatives to
your teams (maximum of eight operatives per mission).
By selecting an operative in a team you can perform three different options:
• Move them to another team by clicking the + next to the name of that
team
• Promote/Demote them within the team by click the arrow up and arrow
down buttons to the right or their team name
• Remove them from the team by clicking the – button to the left of their
team name
> 13 <
Planning Computer
The Planning Computer allows you to create/or modify your preparations for
the current mission,and to give you all the background information you need to
go in and get the job done. It consists of a Navigation Bar at the bottom and
four different screens on top.
Navigation Bar
The navigation bar allows you to change the current screen in the Planning
Computer. It also allows you to do other things like saving and loading mission
plans, accessing the Options screen, and exiting the Mission Planing Computer
to the Main Menu screen.
•
Main Menu – Exits the Planning Computer and takes you to the Main Menu
screen
•
Options – Takes you to the Options screen and then returns you to the
Planning Computer when you’re done
•
Briefing Room – Changes the information in the top of the Planning
Computer to the Briefing Room
•
Gear Room - Changes the information in the top of the Planning Computer
to the Gear Room
•
Planning Room - Changes the information in the top of the Planning
Computer to the Planning Room
•
Execute Mission Room - Changes the information in the top of the Planning
Computer to the Execute Room where you can launch your mission
•
Save Plan – Opens a window that allows you to save all the information in
the Planning Computer, your planning, under a name you specify
•
Load Plan – Opens a window that allows you to load a previously saved
mission plan. Note: When you load a plan you override all information
currently in the Planning Computer
•
Quick Play – Loads the Action planning, which contains four operatives and
one waypoint,and begins the mission immediately
Briefing Room
The Briefing Room tells you about your upcoming
mission and it’s objectives.
•
Control – When the screen first appears
Control tells you about the overall situation
and your mission orders
•
John Clark – John Clark tells you more about
the tactical situation, how this mission
connects with previous missions, and who
you’re up against
> 12 <

Information Area
This area displays both information and lists of items. When you
select an operative it displays their history, skills, health status,
and campaign statistics. Operative skills are as follows:
•
Assault – Affects how fast your reticule adjusts from
maximum inaccuracy to maximum accuracy with all weapons
other than sniper rifles
•
Demolitions – Affects how fast you can plant and disarm
explosives
•
Electronics – Affects how fast you can plant and disable electronic devices
•
Sniper – Affects how fast your reticule adjusts from maximum inaccuracy to
maximum accuracy with sniper rifles
•
Stealth – Affects how much noise you create when moving
•
Self Control – Affects how willing AI controlled characters are to shoot when
there is a good chance of missing the target.The higher the value the longer
they wait,and more accurate they become before pulling the trigger.
•
Leadership – Affects the length of time between you issuing orders and
teammates responding to your orders
•
Observation - Affects how observant characters when computer controlled
and how likely they are to see and hear other characters in the game
As play through the campaign your operatives get better and their skills
increase. Even operatives you don’t take on a mission train and get slightly
better with time. The number next to each skill is the operative’s current skill
level, while the number in parenthesis is the total amount this skill has
increased throughout the campaign.
When you select gear, this area displays a list of all the gear available in that
category and information about currently selected piece of gear. There are two
tabs in the lower window for weapons. The first shows a text description of the
weapon, while the second shows statistics for the weapon.The lower the rating
the worse a weapon is in a given category.
•
Range – Maximum range of the weapon
•
Damage – Amount of damage the weapon inflicts at point blank range
•
Accuracy – Base accuracy of the weapon
•
Stability – How stable the weapon is when firing (i.e. the more stable it is,
the less it jumps when you shoot)
•
Recovery – How fast the reticule recovers toward the center of the screen
> 15 <
Gear Area
The Gear Area allows you to change the gear of an operative to
suit their skills and your tastes. It consists of a number of
images that represent the operative’s gear in the middle of the
screen. By clicking on the images, a list of all the available gear
appears in the Information Area to the left.
•
Primary Weapon
Weapon
– This is the operative’s main weapon (see Primary
Weapons section)
Ammo – Ammunition type for the weapon: FMJ is the standard
ammunition, JHP does more damage to unarmored targets, but less to
targets wearing body armor. 00 Buck shoots nine bullets at once from a
shotgun, while Slug shoots a single large projectile.
Attachment – Attachment for the weapon, which could include Sound
Suppressor (Silencer), High Capacity Magazine, Mini-Scope, and Thermal
Scope Attachment (see Weapon Attachments section)
Assign to Team – Located along the right side of each image, this button
assigns the weapon, ammo,and attachment to all members of this team
•
Secondary Weapon
Weapon
– This is the operative’s secondary weapon (see Secondary
Weapons section)
Ammo – Ammunition type for the weapon
Attachment – Attachment for the weapon
Assign to Team – Located along the right side of each image, this button
assigns the weapon, ammo,and attachment to all members of this team
•
Item 1 and 2
Item
– These could be anything from a heart beat sensor to frag grenades
(see Using Other Items section)
Assign to Team – Located along the right side of each image, this button
assigns the item to all members of this team
•
Assign Gear to All Teams
Assign Gear to All Teams
– Located along the bottom of the gear area, this button
assigns all of the equipment displayed above to all operatives on all teams
•
Uniform/Armor
Uniform/Armor
– This is the operators camouflage and armor level. The
heavier the armor the more damage the operative can sustain, but the
slower they perform actions like picking a lock.
Assign to Team – This small button in the upper right assigns the
uniform/armor to all members in this team
> 14 <
 Loading...