


WARNING: READ BEFORE USING YOUR PLAYSTATION®2 COMPUTER ENTERTAINMENT SYSTEM.
A very small percentage of individuals may experience epileptic seizures when exposed to certain light patterns or flashing lights. Exposure to certain patterns or backgrounds on a television screen or while playing video games, including games played on the PlayStation 2 console, may induce an epileptic seizure in these individuals. Certain conditions may induce previously undetected epileptic symptoms even in persons who have no history of prior seizures or epilepsy. If you, or anyone in your family, has an epileptic condition, consult your physician prior to playing. If you experience any of the following symptoms while playing a video game – dizziness, altered vision, eye or muscle twitches, loss of awareness, disorientation, any involuntary movement, or convulsions – IMMEDIATELY discontinue use and consult your physician before resuming play.
WARNING TO OWNERS OF PROJECTION TELEVISIONS:
Do not connect your PlayStation 2 console to a projection TV without first consulting the user manual for your projection TV, unless it is of the LCD type. Otherwise, it may permanently damage your TV screen.
USE OF UNAUTHORIZED PRODUCT:
The use of software or peripherials not authorized by Sony Computer Entertainment America may damage your console and/or invalidate your warranty. Only official or licensed peripherals should be used in the controller ports or memory card slots.
HANDLING YOUR PLAYSTATION 2 FORMAT DISC:
•This disc is intended for use only with PlayStation 2 consoles with the NTSC U/C designation.
•Do not bend it, crush it or submerge it in liquids.
•Do not leave it in direct sunlight or near a radiator or other source of heat.
•Be sure to take an occasional rest break during extended play.
•Keep this compact disc clean. Always hold the disc by the edges and
keep it in its protective case when not in use. Clean the disc with a lint-free, soft, dry cloth, wiping in straight lines from center to outer edge.
Never use solvents or abrasive cleaners.
ICO™ Tips and Hints
PlayStation 2 Hint Line
Hints for all games produced by SCEA are available:
Within the U.S.: |
1-900-933-SONY (1-900-933-7669) |
|
$0.95/min. auto hints, $6.95-$16.95 for tips by mail (subject to availability), |
|
$5.00-$20.00 for card recharge |
Within Canada: |
1-900-451-5757 |
|
$1.50/min. auto hints |
For U.S. callers, game counselors are available 8AM-5PM PST, Monday-Friday. Automated support is available 24 hours a day, 7 days a week. Live support for Canada not available at this time. This hint line supports games produced by Sony Computer Entertainment America. No hints will be given on our Consumer Service Line.
Callers under 18 years of age, please obtain permission from a parent or guardian before calling. This service requires a touch-tone phone.
Consumer Service/Technical Support
1-800-345-SONY (1-800-345-7669)
Call this number for help with technical support, installation or general questions regarding the PlayStation 2 console and its peripherals. Representatives are available Saturday 6AM-8PM PST, Sunday 7AM-6PM PST.
PlayStation 2 Online: www.scea.com
Our news is always hot! Visit our website and find out what's happening – new titles, new products and the latest information about the PlayStation 2 computer entertainment system.
CONTENTS |
|
|
|
Getting Started .................................................... |
2 |
|
|
Memory Cards ............................................. |
2 |
|
|
Starting Up ........................................................... |
3 |
|
|
Controlling Ico ..................................................... |
4 |
|
|
Ico’s Odyssey....................................................... |
5 |
|
|
The Main Menu ................................................... |
8 |
|
|
Loading Game Data ..................................... |
8 |
|
|
The Pause Screen................................................. |
9 |
|
|
Options........................................................... |
9 |
|
|
Playing Ico ............................................................ |
10 |
|
|
The Queen and the Princess ...................... |
11 |
|
|
Puzzling Out An Escape.............................. |
11 |
|
|
Protecting the Princess................................ |
12 |
|
|
Couches and Saving Game Progress ......... |
13 |
|
|
Jumping, Climbing and Hanging ........................ |
14 |
|
|
Ladders........................................................... |
14 |
|
|
Chains ............................................................. |
14 |
|
|
Leaping........................................................... |
15 |
|
|
Moving While Hanging................................ |
15 |
|
|
Switches and Levers ........................................... |
16 |
|
|
Moving Objects ................................................... |
17 |
|
|
Pushing and Pulling Objects........................ |
17 |
|
|
Picking Up Objects....................................... |
17 |
|
|
Doors..................................................................... |
18 |
|
|
Idol Doors...................................................... |
18 |
|
|
Pressure Switch Doors ................................ |
18 |
|
|
Lever Gates .................................................. |
19 |
|
|
The Spirits ............................................................ |
20 |
|
|
Fighting................................................................. |
22 |
|
|
Losing.................................................................... |
24 |
|
|
Continue Play................................................ |
24 |
|
|
Stages .................................................................... |
25 |
|
|
Credits................................................................... |
28 |
1 |
|
Warranty |
29 |
||
|

GETTING STARTED
MEMORY CARD slot 1
MEMORY CARD slot 2
disc tray |
RESET |
button |
 (OPEN) button
USB connector
S400 i.LINK connector controller port 1 controller port 2
Set up your PlayStation®2 computer entertainment system according to the instructions in its Instruction Manual. Make sure the MAIN POWER switch (located on the back of the console) is turned ON. Press the RESET button. When the power indicator lights up, press the open button and the disc tray will open. Place the ICO™ disc on the disc tray with the label side facing up. Press the open button again and the disc tray will close. Attach game controllers and other peripherals, as appropriate. Follow on-screen instructions and refer to this manual for information on using the software.
Memory Cards
To save game settings and progress, insert a memory card (for PlayStation 2) into MEMORY CARD slot 1 or slot 2 of your PlayStation 2. You can load saved game data from
the same card, or any Memory Card (8MB) (for PlayStation 2) containing previously saved ICO games.
2For information, see “Couches and Saving Game Progress” on page 13.
STARTING UP
DUALSHOCK™2 Analog controller configuration
L2 button |
R2 button |
|
L1 button |
R1 button |
|
directional |
|
|
button |
|
|
left analog stick |
button |
|
button |
||
(L3 button when pushed down) |
button |
|
SELECT button |
||
button |
||
ANALOG mode button |
||
ANALOG mode light |
|
|
START button |
|
|
right analog stick |
|
|
(R3 button when pushed down) |
|
|
Basic Controls |
|
|
Start/Pause game............................... |
START button |
|
Select menu item ............................... |
Directional button UP/DOWN |
|
Confirm selection............................... |
≈ button |
3
CONTROLLING ICO
ICO’S ODYSSEY
Run/Swim .................................. |
left analog stick(analog |
|
sensitive). Can also be done |
|
with the directional pad. |
Walk............................................ |
To walk, you can either use |
|
the sensitivity of the analog |
|
stick or hold the Ω button |
|
down and move with the |
|
directional pad or analog stick. |
Jump up ...................................... |
ç button |
Lunge/Strike with weapon...... |
√ button |
Release........................................ |
≈ button |
Pull up and stand....................... |
left analog stick + ç button |
Climb chains/pipes .................... |
left analog stick UP |
Slide down chains/pipes ........... |
left analog stick DOWN |
Leap............................................. |
left analog stick + ç button |
Move while hanging................. |
left analog stick |
Hold Yorda’s hand/Call her/ |
R1 button |
Pull her up ................................. |
|
Activate switch/Throw lever..Ω button |
|
Pick up objects or weapons..... |
Ω button |
Throw objects............................ |
Ω button |
View surroundings.................... |
right analog stick |
Zoom camera ............................ |
R2 button |
4
Ico’s nightmare started the day he drew his first breath. In his village, the birth of a normal child is a source of happiness and relief. Proud fathers show off their new offspring, reassuring themselves and others that this time, the curse has not left its mark. But some births bring suspicion and fear. Once in every generation, the curse arrives with the birth of a special child born with tiny horns jutting from his head.
With word of a cursed birth, fear leaps from person to person like a plague. The whole village settles into a state of quiet, suspicious panic. Any misfortune that befalls the village is blamed on the child with horns. If a crop fails or an illness strikes, he is blamed. Everyone wishes for the day of the sacrifice and the return to good fortune.
For Ico that day was his 12th birthday. When his horns grew large, the villagers knew that it was time. The elders would sacrifice
him to keep the spirits from harming the village. In the morning, faceless horsemen arrived and took Ico away, riding deep into the forest and beyond. The journey ended at an ancient
fortress ruin that stood crumbling against the harsh |
|
grey seas. |
5 |
|
Inside the fortress, stone crypts stood stacked in the massive fortress hall. A horseman placed Ico into one of the crypts and sealed the terrified boy inside. An eternity of torment would surely follow.
But a twist of destiny granted a short reprieve.
A dream within a nightmare showed Ico a vision of ghostly beauty that drives him to escape. Ico realized that he
is not alone and he must free both himself and this lonely prisoner. Indeed his only way out is with the beautiful girl.
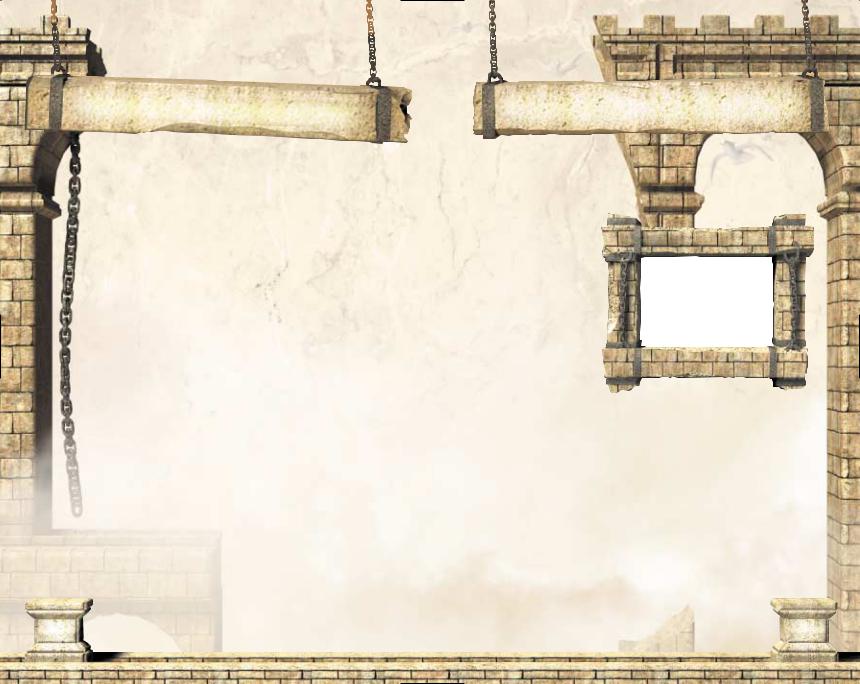
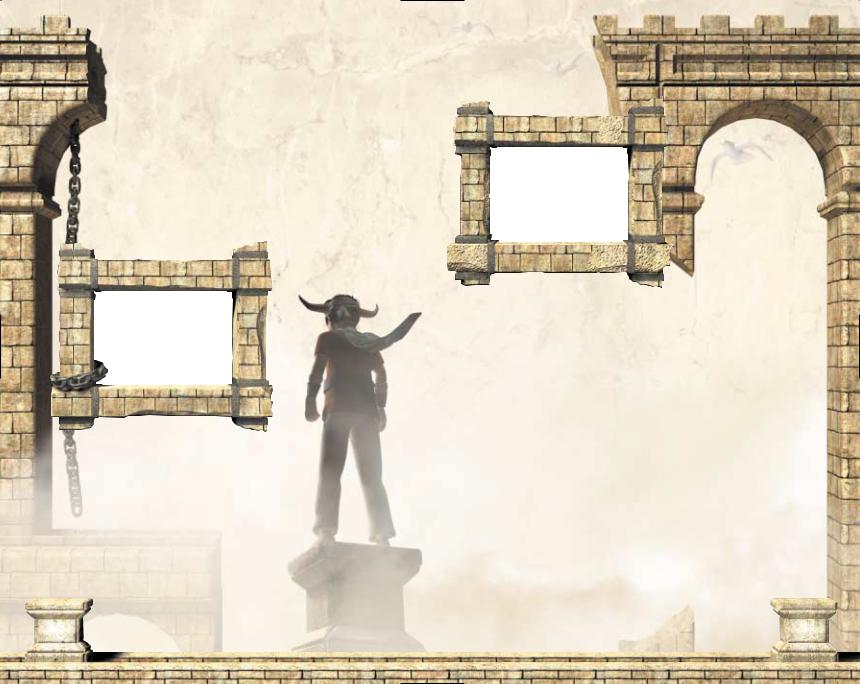
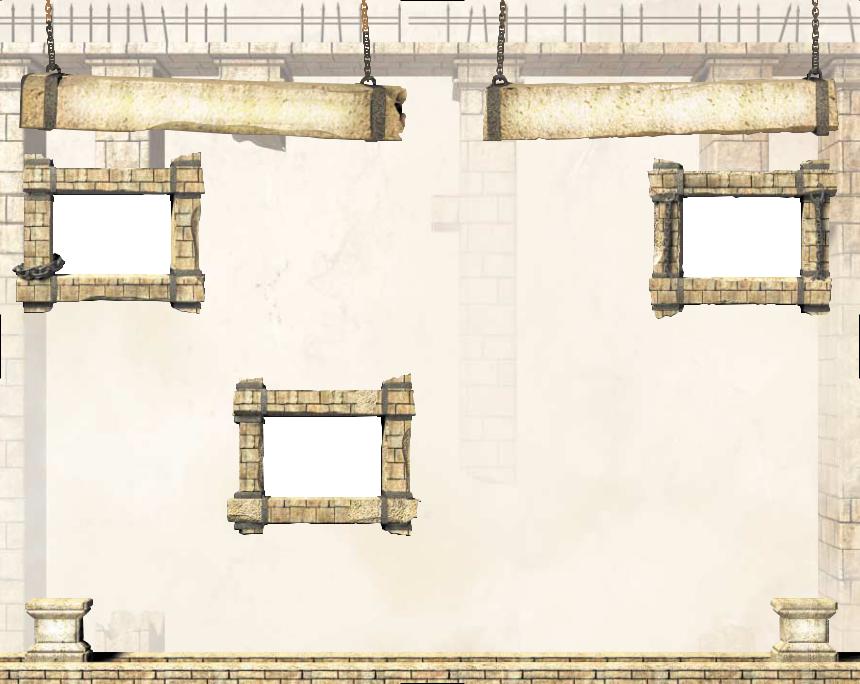
An ancient Queen rules the castle and her body is beginning to fail. To survive, the Queen must find a younger body. Soon the Queen’s soul will invade the body of the captured girl, a princess named Yorda. Ico must take Yorda out of the castle before the Queen seals the girl’s fate. He will learn quickly that the shortest distance between two places is a perilous detour. Centuries of disrepair have turned the castle into a death trap and many escape routes are hidden magical portals that must be opened by complex actions. Ico will literally crawl the walls in search of a way out. Throughout the castle, spirits erupt from the floors to capture the princess and Ico must fight them off. Every twisted towering staircase and stone block of this castle tomb is the piece of a puzzle. Each torch and shaft of light illuminates another mystery. Every open window, dangling chain and razor thin escape is the invitation to one more riddle.
Solve the puzzles or join the tormented spirits forever.
6 |
7 |
THE MAIN MENU
Press the START button to display the Main Menu. Press the Directional button UP/DOWN to make a selection and press the ≈ button.
New Game
Begin a new game.
Load
To load an ICO game in progress:
1.On the Title screen, highlight LOAD and press the ≈ button.
2.On the Load game screen, press the Directional button to select the game you want to continue playing and press the ≈ button.
Note: See "Couches and Saving Game Progress" on page 13 to learn about saving game progress.
8
THE PAUSE SCREEN
Press the START button to pause the game and display the Pause Screen. Press the Directional button UP/DOWN to select an option and press the ≈ button.
Options
1.Press the Directional button UP/DOWN to highlight an option.
2.Press the ≈ button to change a setting or open the highlighted option.
Sound
Adjust the sound volume.
Vibration
Turn the vibration function ON/OFF.
Key Configuration
Highlight a control action and press the button you want to assign to that action. Select DEFAULT to undo any changes.
Brightness
Press the Directional button LEFT/RIGHT to adjust display brightness.
Exit |
|
|
Return to the game. |
|
|
End Game |
9 |
|
Quit playing ICO. |
||
|
 Loading...