


SERF CITY

TABLE OF CONTENTS
INTRODUCTION
ON THE RIGHT PATH
.................................1
..........................1
The Main Menu .............................2
The Game - The Commands..........5
The Map.........................................6
The Castle......................................7
Constructing Buildings...................8
Constructing Roads........................9
The First Serfs...............................11
Demolition...................................11
Saving and Ending the Game.......12
THE TRAINING GAMES
.....................13
♦ Training Game 1 – Land..................13
Building a Guard Hut, Guard Tower,
and Garrison
The Overhead Map
..................................13
.........................14
♦ Training Game 2 – Creating
Construction Materials.....................16
Building a Forest Ranger’s Hut,
Lumberjack’s Hut, Sawmill, and
Quarryman’s Hut
............................16
♦ Training Game 3 – Making Food
and Transporting It...........................18
The Fisherman, Farmer, Miller,
Baker, Pig Farmer, and Butcher
Transporting Food and
Constructing Roads
.........................19
.........18
♦ Training Game 4 – Mining and
Using Gold, Iron, and Coal..............21
Mines and Foundries
.......................21
♦ Training Game 5 – Making Tools
and Weapons...................................24
The Ship Maker, Blacksmith,
and Tool Maker
The Warehouse
..............................24
..............................25
♦ Training Game 6 – Attack and
Conquer Enemy Buildings................27
Knights
..........................................27
Frontier Strategy
THE ECONOMY
..............................28
.................................29
The Economic System .........................29
Your First Serfdom – Mission One.......30
About Statistics....................................31
The Warehouses..................................35
Statistics On Buildings and Flags.........36
The Distribution Menus.......................38
RULES OF COMBAT
...........................39
The Knight Menus ...............................39
The Other Menus ................................42
Messages and Preferences...................43
Replaying a World...............................46
Demo and Team Mode .......................47
The Options.........................................47
Special Functions for the Map.............48
HINTS
.................................................49
The Most Important
Rule – Be Observant............................49
Hints and Tips on Professions..............51
The Behavior of Your Opponents........53
Need Help? .........................................54
The End of the Game...........................54
REFERENCE MATERIAL
.......................55
Jobs .....................................................55
Resources and Tools............................56
Buildings .............................................57
On the Right PathIntroduction
INTRODUCTION
Congratulations and welcome to S
C
ITY
: L
IFE ISFEUDAL
! You’ve purchased
a unique computer gaming experience that tests you mentally and
provides you with hours of entertainment and enjoyment.
Our serfs do as you command; history
never saw serfs that worked so efficiently and happily. Our serfs have
occupations; they can be bakers, farmers, knights or any of a number of
different working types.
In S
ERFCITY
you
are the omnipotent
leader of a group of serfs. You lead
your serfs in the creation of a village,
and if you prove to be wise enough,
that village will grow into a great city
(we like to think of them as
serfdoms
Command your serfs to construct
buildings, grow food, attack enemies,
collect minerals, or whatever else you
think is necessary.
The road to success isn’t easy. You
have to allocate your resources efficiently and fend off enemy attacks or
you will see your serfdom go up in
flames. Miners must be fed, knights
must be paid, workers need tools, factories need coal, and buildings need
wood and stone. . . .
Enjoy the challenge that awaits you in
S
ERFCITY
: L
IFE ISFEUDAL
!
ERF
).
ON THE RIGHT PATH
In S
ERFCITY
serfs and try to expand your serdom.
You decide where you want your serfs
to construct buildings, how the roads
are made, where to search for raw
materials, and which enemies to attack.
You can modify numerous parameters
that affect the behavior of your serfs.
The computer handles the execution of
your decisions, sending the commands
to your numerous serfs. The serfs build
houses, cut down trees, work in the
mines, construct weapons and tools,
and dispatch construction materials in
the places where they are needed. They
defend their castles against enemy
knight attacks, provide the miners with
food, and do many other things!
The goal of the game is to build a prosperous, well-organized city and gain
control of the enemy cities. This sounds
simple to do, but in reality it is complex. If you consider all the game’s
challenges inversely, that is from the
end of the game first, you may better
understand the game.
you rule over a group of
In order to conquer the enemy castles,
you need many knights. To keep their
morale up you need gold, and for the
weapons you need iron and coal. Iron
and coal are found in mines. Miners
must be fed and ore must be refined
and smelted in a foundry.
The food supply is provided by the fishermen, farmers, and pig farmers who,
like most other workers, need tools.
These tools are made by blacksmiths. To
build huts, houses, and mines you need
construction materials and workers.
You won’t have to remember all this
for the moment. Everything will be
explained along the way. We recommend that you play the training games
and follow along in this manual as you
go. Enjoy playing S
ERFCITY
!
The Main Menu
Before beginning play, all the preliminary parameters appear on the main
menu. A maximum of four groups of
serfs can participate in the game. A
group of serfs is controlled by: the
player, the computer, or two players
working as a team.
To choose a game mode, left-click on
the second icon from the left. The
icon’s graphic and the text indicates
the game mode chosen from the following options:
Mission: Orders are fixed
for one or two players (in
a team) against computercontrolled opponents.
Training: Orders are fixed for
one or two players in a team.
One player: One or two
players compete
as a team
against computer opponents
that may be modified before
the beginning of the game.
T wo players:Two players compete against each other
and
against computer opponents
that may be modified before
the beginning of the game.
Demo mode: You are only an
observer here. You watch the
computer create serfdoms.
In the lower half of the screen, you see
the participants of the game. The leftmost character is yours. The remaining
images represent your opponents.
The different computer-controlled opponents have their own personalities, and
can be aggressive or reserved, ready to
take risks, or preoccupied with their
own safety. You may find additional
personality quirks as you play.
1
2
On the Right Path
On the Right Path
On the right side of each image, you
see three colored bars.
The
blue bar
supplies
indicates the state of the
of a serfdom (city) at the beginning of the game. A large stock allows
for rapid expansion and provides certain advantages. A short supply creates
problems when the city begins to
expand. If you are a novice, make sure
that the blue bar is always above the
50% level.
The
green bar
indicates the
intelligence
level of the computer-controlled players. This level affects how rapidly
computer-controlled players act and
react. (For human players, the green bar
is always at its maximum.)
The
red bar
represents the
growth rate.
The higher it is, the faster your serfdoms
produce, and the faster you can expand.
Novices should try to keep this bar
above the 50% level.
According to the game mode chosen,
you can modify certain other parameters. To start off, we recommend that
you try Training Game 1.
If you choose to play a Mission, in the
middle of the screen you see the current level (beginning 1), the password
(at the beginning the password is
START), and two arrows.
When you successfully complete a mission, the program displays the password
that allows you to restart the game at the
same level. Left-click on the password
and enter the new password. Remember
to press the Return key to confirm. If the
password is incorrect, the message
FALSE appears on the screen. If the
password is correct, you see the level.
Your aim in S
ERFCITY
is always to
“grow” faster and more efficiently than
your rivals. During the missions you
encounter progressively harder opponents. Depending on the stage you’ve
reached, your enemies become smarter,
your beginning supplies may be lower,
and the landscape becomes rougher.
It is a mighty feat to complete every mission, but once you do, you can consider
yourself the Ultimate Serf City Ruler.
The arrows displayed to the right of
the password return you to the levels
already completed. You can activate
the team mode by left-clicking with
the mouse in the left frame.
We recommend that you do not try the
mission orders right away , but rather try
the training games and read along in
this manual first. In training games
there are no passwords. You can select
each available training game by using
the arrows.
In one player, two player, and demo
mode you can modify numerous parameters. The size of the world is displayed
in the center. To modify it, leftclick on the small or the large
planet. (Novices should probably not play worlds with a size greater
than 3, due to the complexity of events.
Try larger worlds as you get better at
playing the game.) You can modify all
data concerning a group of serfs:
❖ the blue bar for the stocks
❖ the green bar for the
intelligence (with computercontrolled opponents)
❖ the red bar for the growth rate
❖ the button to activate or
deactivate the computercontrolled opponents
❖ the image of the computer-
controlled adversary, to
choose another adversary
The initial data is chosen randomly. If
you are a novice, we recommend that
you change the parameters to your
advantage, especially where the supply levels are concerned, because a
large supply of materials and workers
is very important.
The combination of numbers displayed
to the right is a randomly chosen number for the creation of a world. This
combination decides the location of
mountains, lakes, deserts, forests, etc. in
this world. The same combination of
numbers always produces the same
world. To change worlds, left-click on
the icon with the question mark for
another combination of numbers.
To start the game, left-click on the
START icon. The screen fades to black
as the computer creates a world for you.
To reload a previously saved game,
select the LOAD option. A window
appears with a list of files saved on the
hard disk. Left-click on the name of the
saved game and then on LOAD to
load the game, or on EXIT to cancel.
3
4
On the Right Path
On the Right Path
The Game - The Commands
You can play alone or with/against
another player. All functions remain
identical. The only differences are that in
two-player mode the screen is divided in
two, the image of the world is smaller,
and the icons are closer together .
After starting the game, you see part of
the world on the screen: perhaps some
grass with some trees or a lake. To simplify future explanations, this part of the
world is called the “screen.” At the bottom of the screen are five different
round icons that have different functions. They are called the “Menu.”
As we have already mentioned, you
only see a part of a world on the screen.
According to the size of the screen, the
world can range from 10 to 1200 times
this size for larger worlds. To move
around in a world, press the right
mouse button and drag it in the desired
direction. When you arrive at the
desired destination, release the mouse
button. Look at the scenery for a
moment. You see deserts, lakes, forests,
mountains, and many other things.
You might have noticed your pointer
in the middle of the image when you
started the game. It is made of a cen-
tral symbol and
six surrounding
points. You position this pointer
where you want to
activate one of the game options. If,
for example, you want to construct a
house or a road somewhere, you must
first place your pointer on this area. To
place the pointer on the desired area,
just left-click on the screen. The pointer’s central icon, which is also
displayed in the lower left of the
menu, will usually change. We discuss
this in the following paragraphs.
SPECIAL-CLICK: In this manual the
term “special-click” means hold down
the right mouse button and left-click.
Pressing P during the game pauses
play; no actions are available until you
press P again.
The Map
In the middle of the menu, you see a
“map” icon. Left-click on this icon with
the mouse. A new window appears
showing an overview map of the game
world. On this map, the grasslands are
indicated in green, the deserts in yellow,
the lakes in blue, and the mountains
(according to their height) in brown and
white. If you left-click somewhere on the
map, your screen moves to the corresponding area and the map disappears.
A world is “endless,” which is to say
that if you continue moving to the left
you eventually return to your point of
departure. The world, therefore, does
not have any “edges.” You will understand this better if you select the map
again and left-click on the icon located second from the right on the
overhead map screen. You see slanted
and horizontal lines that define the
size of the world.
For example, if you have selected size
3, you notice that the world is represented four times on the map, and
sixteen times for a size 1 world. The
different sections are connected to
each other and this is why the game’s
terrain has no limits. The size 5 world
fits perfectly in the map section. The
size 7 world is enormous. You will only
see a small piece of the entire world on
the overhead map at a time! With size 3
and larger worlds, you can move both
the map and the screen by pressing the
right mouse button and dragging in the
desired direction. Remember that this
movement is not possible for smaller
worlds (as they adapt themselves to the
section of the map).
The lower right corner of the overhead
map menu serves as a “zoom” feature.
Left-click here to either “zoom in” on
the map or “zoom out.” The other icons
displayed at the bottom of the map are
discussed further in “The Overhead
Map” on page 14.
5
6
On the Right Path
On the Right Path
The Castle
You begin by constructing your castle,
which serves as your headquarters. The
area where you place this castle is of
utmost importance for the rest of the
game. If you are a novice and you have
a large amount of stocks, you will not
run into any immediate problems and
the location of the headquarters is not
terribly important. However, if you
have limited stocks, a poorly placed
castle can be fatal. To illustrate the most
important aspects, we have established
a list of conditions that are favorable to
the construction of your castle:
❖ Avoid narrow valleys in the
mountains. Look for relatively
flat areas.
❖ Choose an area with raw materi-
als that are close to the castle for
the construction of new houses
(trees and rock formations).
❖ Choose an area that has a large
amount of underground riches.
The first two points can easily be verified on the screen. If there are a few
trees and some granite and if the environment is not too inhospitable, these
conditions are fulfilled.
The underground riches are also very
important. These include gold, iron,
coal and granite. Except for granite,
which is often located above ground as
well as below , these materials are found
only in the mountains. To see the
underground riches in the zone displayed on the screen, ask the geologist
to give you an overall estimate of the
area’s riches. The second menu icon
from the left on the menu represents the
geologist. Left-click on this icon to
obtain information on what riches are
present in the current map zone.
All the values do not need to be at a
maximum, but if there is no coal, iron,
or gold, or only small quantities of the
three, look for another area. Left-click
on the Exit icon to back up a step.
The importance of the underground
riches also depends on your strategy.
Often with the size 1 worlds, it is possible that certain riches do not exist at all,
or that there are no mountains (and
therefore no riches). In this case, do not
desperately look for another area; just
forget about the riches. With the geologist, you only have an estimate of the
riches in the area, but you do not know
exactly in which mountains they are
found, or if you are going to find them
at all. Your serfs may have to find them
later in the game.
The castle is a large structure that must
be placed on a relatively flat and grassy
area. To do this, left-click anywhere on
the screen; the pointer will be placed on
this area. If a castle appears in the center
of the pointer , you made a good choice.
In the lower left of the menu you see the
“construct a castle” icon. If, after several
tries, you have not found an area to
construct your castle, use the “construction help” feature. Special-click on the
leftmost menu icon (it does not matter
what is displayed); the construction help
function becomes active. All areas
where a castle can be constructed are
indicated on the screen. Left-click on
one of these areas and the “Construct a
castle” icon appears in the lower left.
Left-click on this symbol and your castle
is constructed in a few seconds. A flag
with the player’s color now flies in front
of the castle.
The castle is the only building that is
“freely” given to you. All the other
houses are built by your serfs. At a certain distance from the castle, you see a
barrier of black and white poles, or of
red posts in the water. This visual barrier indicates the limits of your kingdom;
you may only build buildings within
your kingdom.
Constructing Buildings
You have taken the first step and your
castle has been constructed. Now your
serfs can build other houses. If you
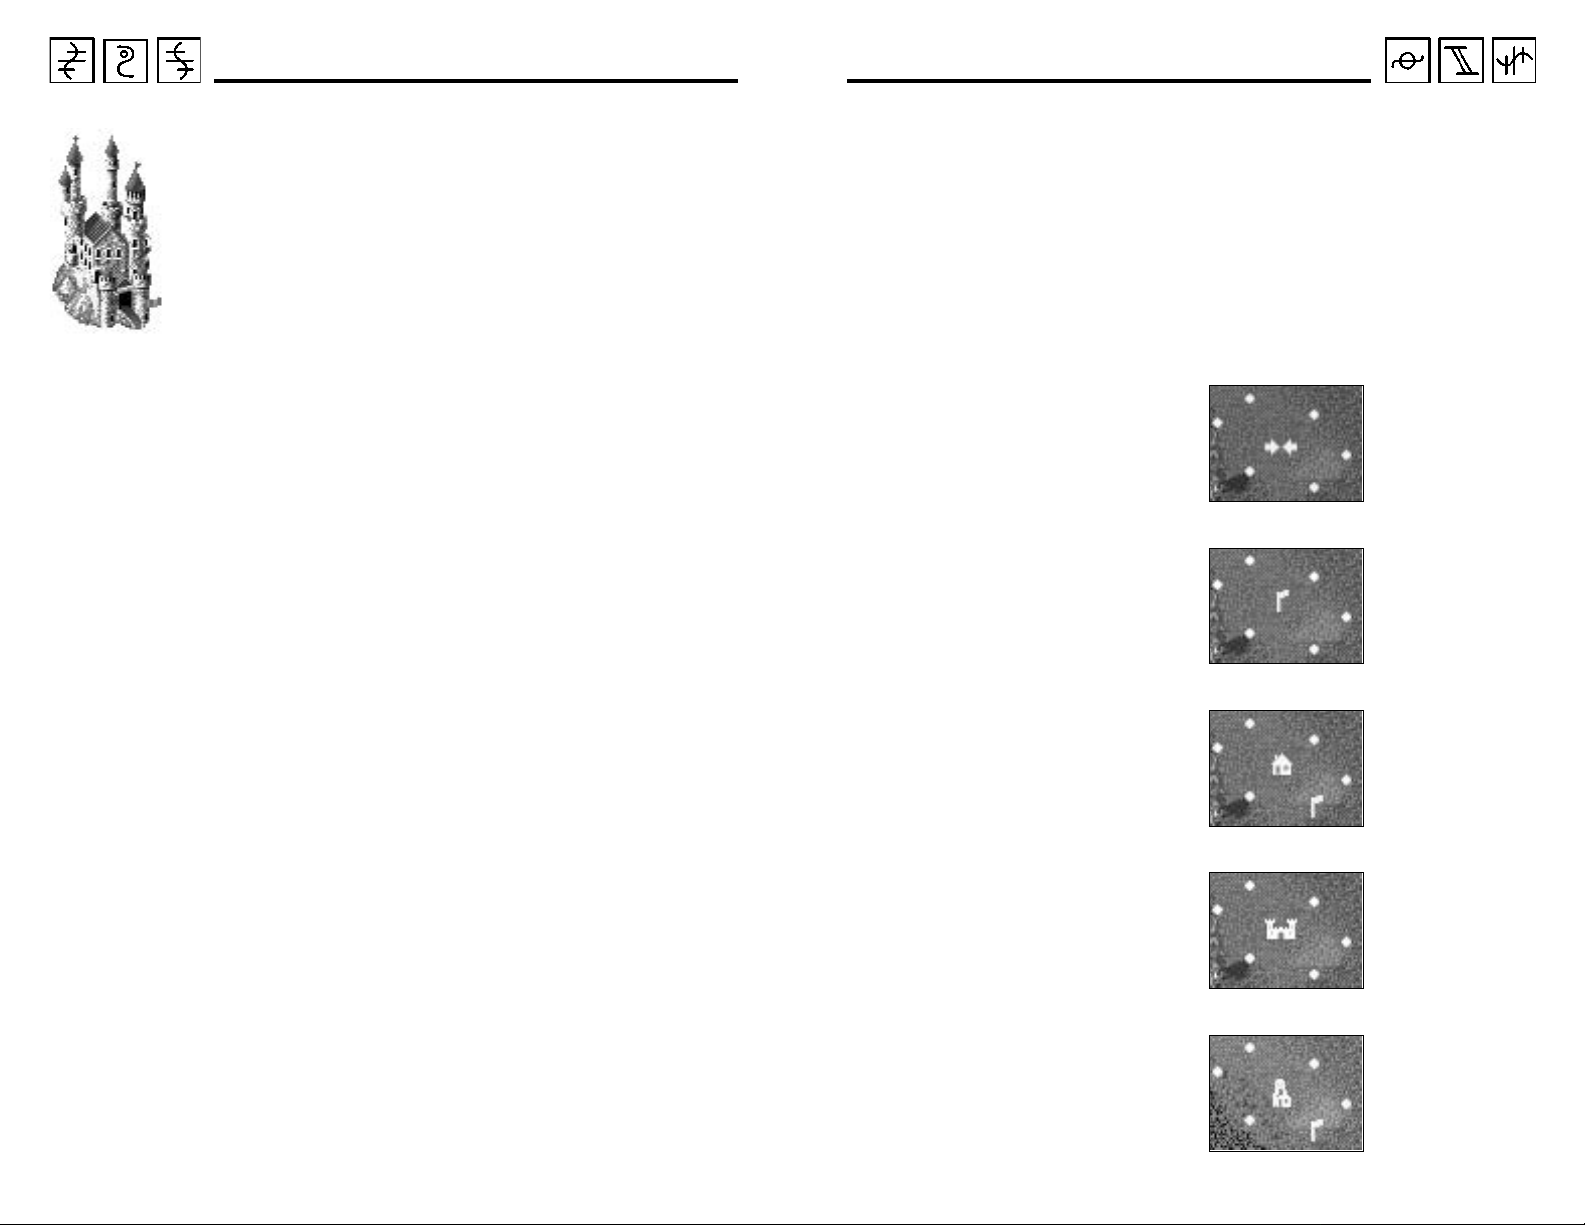
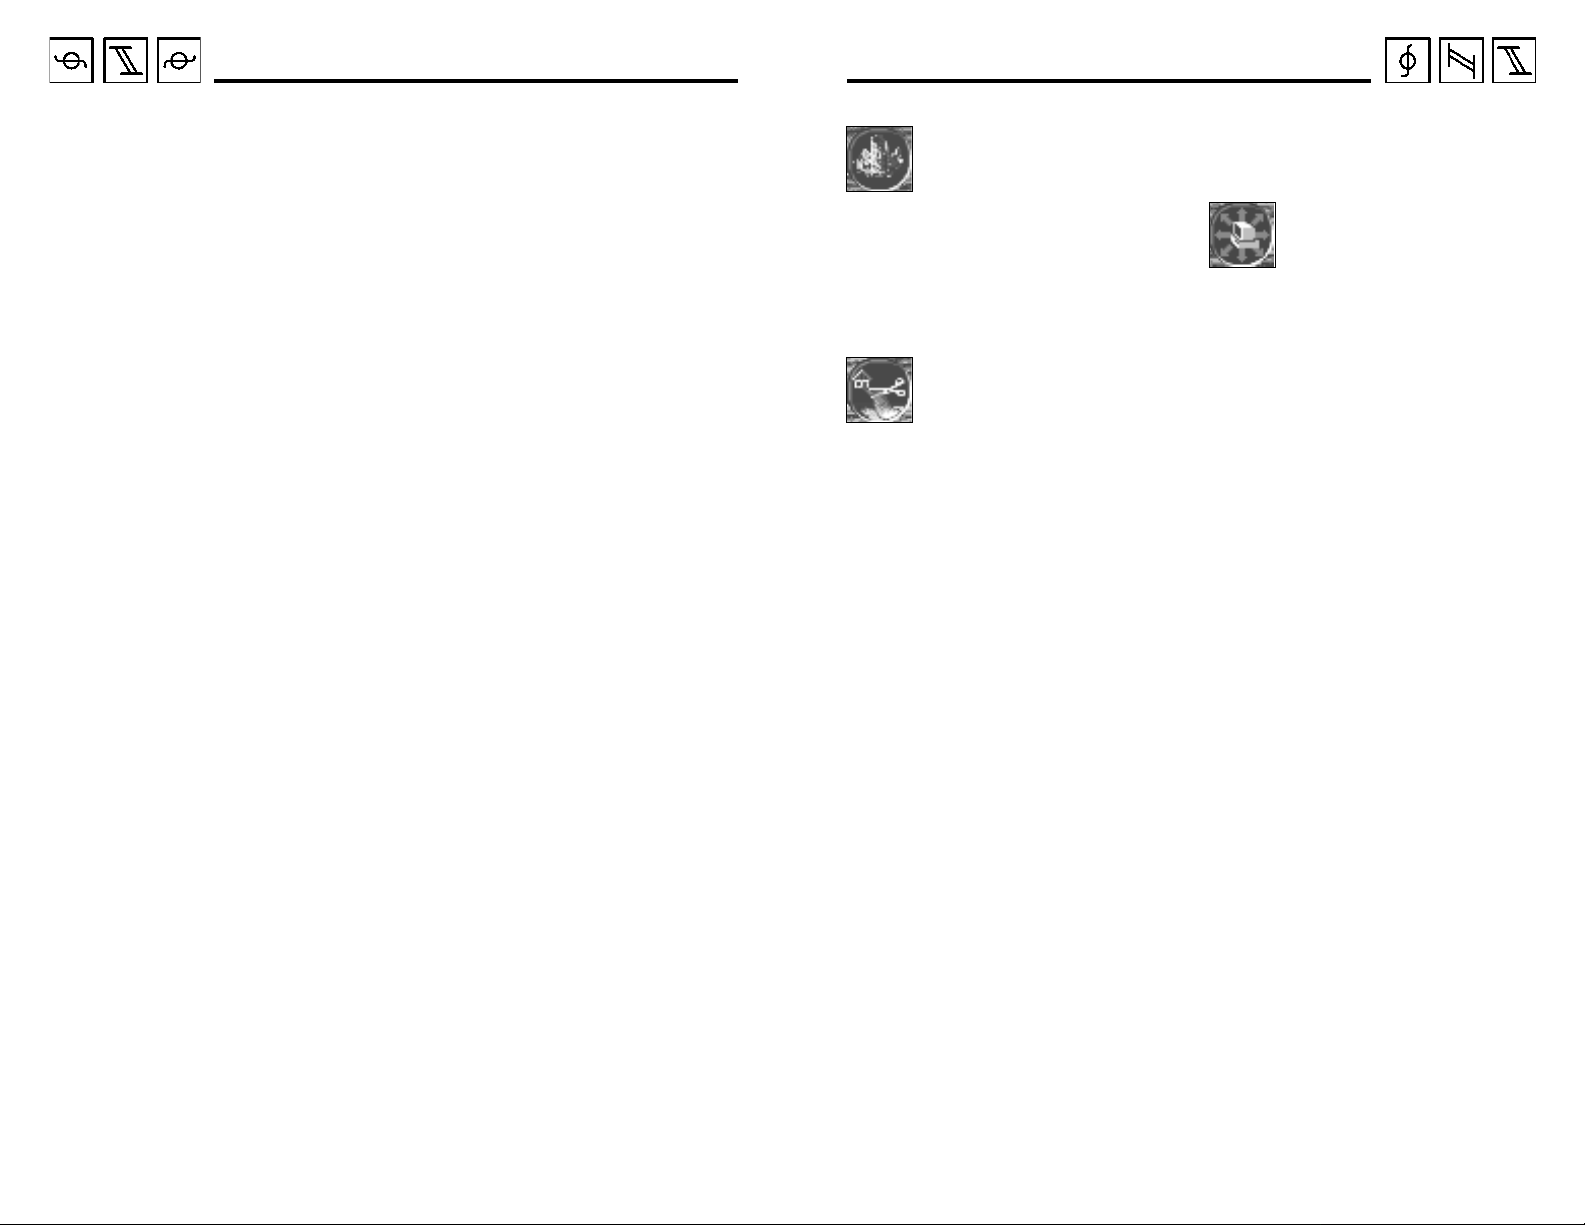
place your pointer somewhere within
the limits around your castle, the central icon tells you the type of buildings
that you can construct (if any):
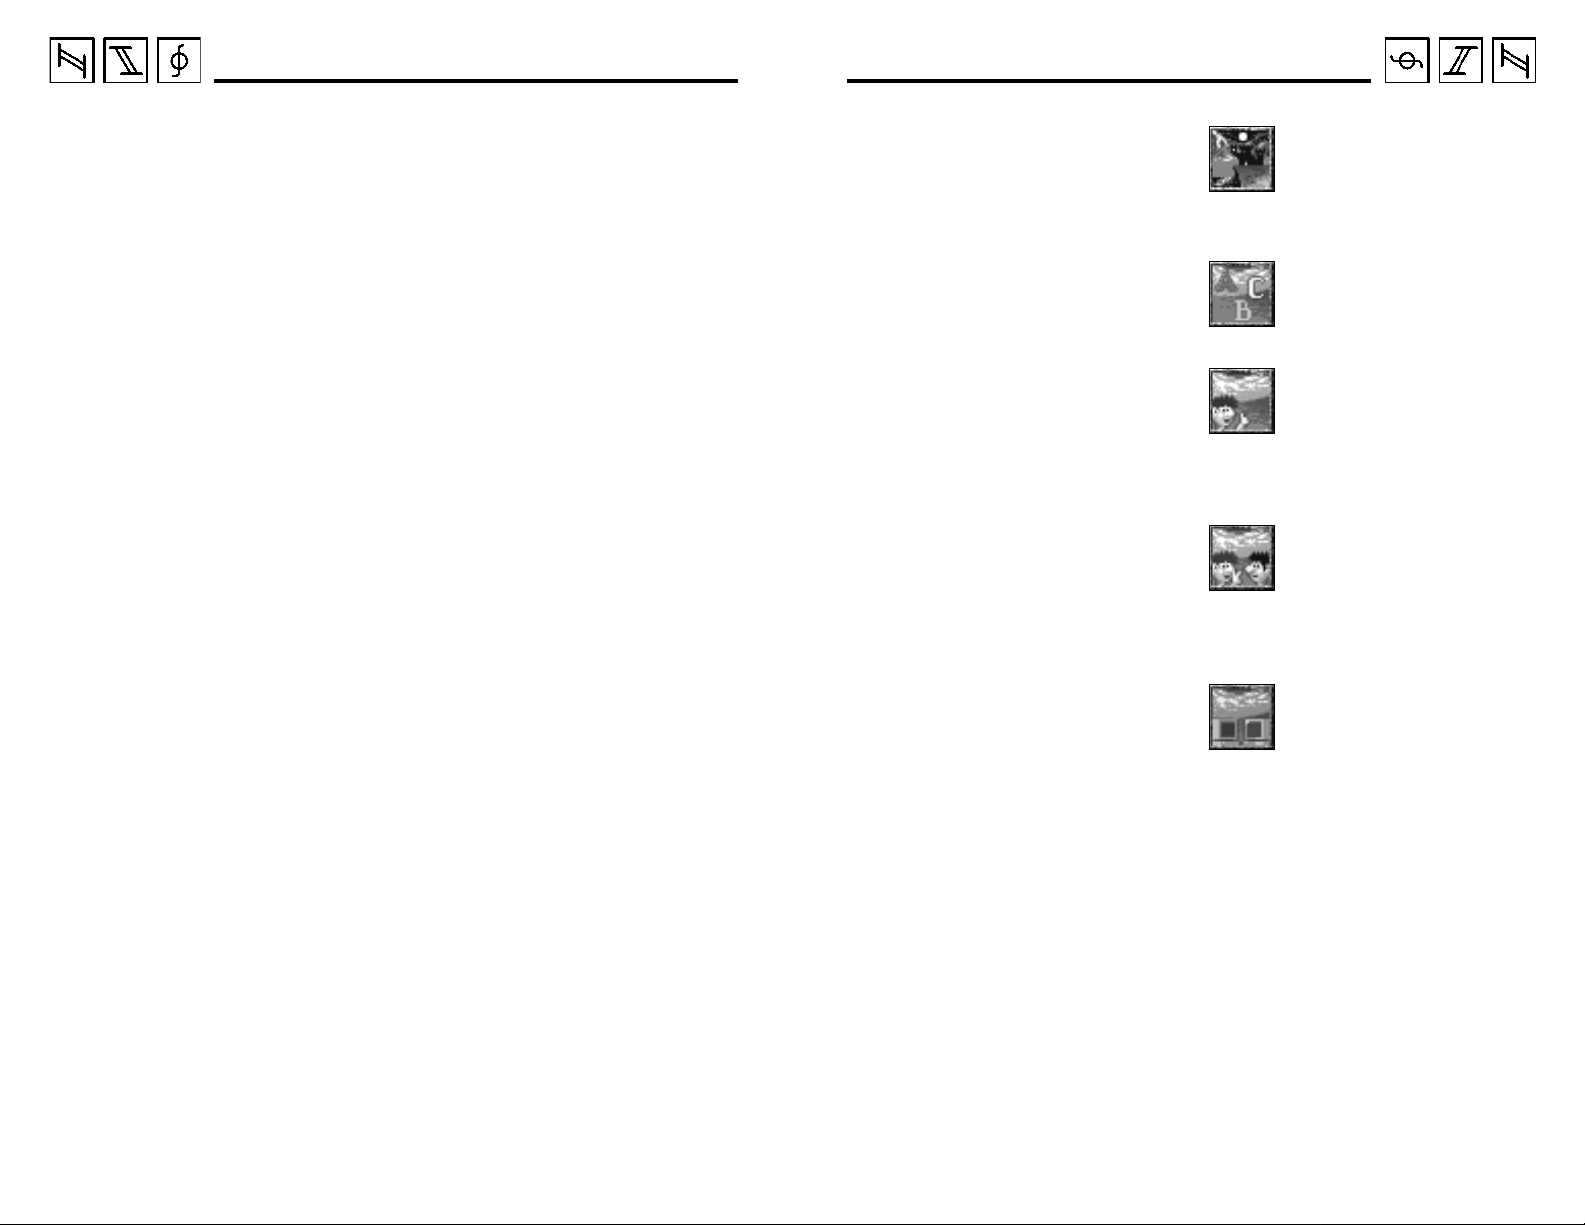
Two arrows:
You cannot
construct here.
Flag: You can only
place a flag here.
Hut: You can
construct any of
the different types
of huts (small
buildings).
Castle: You have
enough space for
all the buildings.
Mine: You can
build a mine (only
in the mountains).
7
8

On the Right Path
On the Right Path
How do you decide which type of
building can be built and where it can
be placed?
First, all buildings must be built on your
land and there must not be any trees or
boulders obstructing the area. All houses, huts, and guard buildings must be
built on a green surface and mines built
in the mountains (but not in the snow).
The type of building that can be constructed depends on the slope of the
terrain. For large buildings, the ground
must be level; their construction is
impossible on steep slopes. If you are
looking for an area that is appropriate
for a large building, the “construction
help” option helps you avoid clicking
all around the screen to find a good
location. Special-click on the left menu
icon. You immediately see the areas
where you can construct a building on
the screen. Choose an area and specialclick again on the left menu icon to
deactivate the construction help.
The left menu icon changes to reflect
the type of item that can be constructed
in the selected map area. For the most
part, the icons represent the following
functions: “place a flag,” “construct a
hut,” or “construct a large building.”
When you left-click on these options,
the icon is highlighted along with a new
window with a choice of buildings. In
some cases, not all available buildings
can be displayed at once in the menu,
so you can scroll through them by click-
ing on the “change page” icon. Choose
one of them and left-click on it to give
the order to construct. The window disappears and you see the first stone of the
construction or a cross on the screen.
The first stone means that a house will
be built in this place. The cross means
the same except that the ground must
first be leveled to provide a solid foundation for the large building.
If you decide not to construct a building
on the chosen area, left-click on the
highlighted icon and quit the construction mode. Your new building must
connect with your current network
of roads before it receives supplies for
its construction.
Constructing Roads
The serfs need roads so that they can
access the different areas of the kingdom. These roads always run from one
flag to another. Your network of roads is
very important. A good network ensures
the rapid transfer of goods. The flags
serve as intersections. Six roads can
begin at each flag to lead to other flags.
There is a flag in front of each one of
your buildings, as well.
You must connect all your newly created construction sites to your main
castle via roadways. You see a flag in
front of the construction site, just like
the flag in front of your castle. Left-click
on one of the two flags. Select the construction icon in the lower left of the
menu. The pointer contains two new
symbols. You are now in “road construction” mode.
The different symbols around the pointer have the following significance:
❖ Zone hatched in red and yellow:
you cannot construct roads in
this direction.
❖ Different slope symbols that range
from red (very steep ascents and
descents) to yellow (moderately
steep ascents and descents) to
green (flat): you can construct
roads in this direction.
❖ UNDO symbol: if you left-click
on this icon, you destroy the last
part of the road made.
If you left-click on one of the slope
icons, a section of new road appears
and the pointer contains new symbols
for building the next section of road.
Repeat this operation until the road
meets the other flag. The star in the
lower left disappears and the pointer
takes its initial form. The road is constructed and you quit the construction
mode. The first serfs begin to leave
your castle.
The color of the slope icons indicates
the slope of the road. Red indicates a
steep slope, yellow a moderate slope,
and green means flat or almost no
slope. The flatter the terrain, the faster
the merchandise can be distributed.
This is because the serfs tire quickly on
steep slopes.
If you construct a road and then
decide that you no longer want it, leftclick on the highlighted icon. You quit
the “road construction” mode and the
road is erased.
If you want to branch off from an
already existing road, you must place a
flag on the road. Left-click on the
desired area. If it is possible to place a
flag there, a flag appears on the pointer .
If you can’t place a flag there, use the
“construction help” function. It may be
impossible to put a flag down on a road
because the road is too short or a tree is
in the way. If you can create a new
intersection, you see the “place flag”
icon in the menu. Left-click on this icon
to construct the new intersection.
You can also construct water ways. T wo
flags must be on the banks of a lake for
a water way to be built. Construct a
water way between the two flags in
the same way you construct a road.
Remember to connect this water way
with your network of roads. The water
way is used for transporting merchandise. Only transporter serfs with boats
can use waterways.
9
10
On the Right Path
On the Right Path
The First Serfs
When the road leading to the first construction site is built, the first serfs begin
to leave your castle.
The first serf who leaves the castle is a
transporter. He takes 100 steps on the
new road and looks to see if there is
some merchandise that needs to be
transported. As soon as he sees some
merchandise on the road to transport,
he takes it to the next flag.
At the beginning of the game, you have
twenty serfs. Some of them already
have jobs, others are waiting for jobs.
If you want to build a large building, a
serf with an orange helmet and a shovel
(the leveler) arrives and walks toward
the construction site. Once there, he
levels the ground. When he has finished, the cross on the site becomes a
building foundation and the serf returns
to the castle. A construction worker then
goes to the site to finish the building.
If you want to build a small building, a
serf with a yellow helmet (construction
worker) arrives and looks for his work
area. He then waits for the construction
materials to arrive so he can begin
building the house.
Another serf distributes the construction
material from the castle to the construction site; this is always wood and
eventually may include stones (depending on what type of building is being
built). The construction worker immedi-
ately begins working and you soon see
scaffolding; eventually, the building
itself is finished. Small huts are built
very quickly; larger buildings take
much longer.
The construction worker returns to the
castle as soon as he finishes his job. A
new worker then arrives to start work in
the new building. The occupation of
the worker who moves in depends on
the type of house that you built for him.
The functions of each worker and of
each building are explained further on.
If you construct a water way , a serf with a
boat leaves the castle and walks toward
the new water way. This serf is able to
use the water way to move merchandise.
You do not have to wait for the construction of your house to be finished
before giving orders to construct other
things (houses, roads, etc.).
Your serfs go about their tasks automatically when adequately supplied with
resources. This is true not only for the
transporters and the construction workers, but also for all the other serfs that
you see later in the game.
Demolition
You may want to demolish a building,
road, or flag for a number of reasons. To
avoid demolishing something by inadvertently pressing a mouse button, a
special-click is required to use the
demolish function.
Demolishing buildings: Leftclick on the desired building.
The second menu icon from
the left transforms into a ruin. Specialclick on this ruin to set the building on
fire and burn it down. If a serf lives in
the building, he returns to the castle
and waits for a new job.
Demolishing roads: Left-click
anywhere on a road and the
“demolish road” icon appears
in the menu. Special-click on this icon
to remove the road. The transporters
that worked on this road return to the
castle and wait for new work. The other
serfs on this road run toward the next
flag and continue on their way.
Demolishing flags: You can demolish
a flag. Left-click on the flag that
you want to remove and a ruin
appears in the menu (if the flag’s
demolition is possible).
Urban renewal: If you want to construct a new building in the place of
another, select the old building and
then select the construction icon in
the menu. A new menu with a list of
buildings that can be built on the
construction site appears. Specialclick on the building you want and
the old building is burned down and
the new building is built.
Saving and
Ending the Game
In two-player mode, these
options can only be activated
by the player on the left. Leftclick on the right menu icon and new
options appear. For now, do not pay
attention to the upper icons, but only
to the SAVE option and END at the
bottom of the screen.
To quit the current game, left-click on
the END option. The program asks
you to confirm. If you have been playing for more than one minute or if you
have not saved the game after more
than one minute, the program asks you
to confirm a second time. You then
return to the main menu. To exit to
DOS, click on the small button at the
top left of the menu.
The SAVE option allows you to access
the saved game menu. The list of saved
games appears on the screen. To save
the current game, left-click on one of the
ten areas and then on the “New name”
option to enter a new name. If you want
to save a game with the same name as a
game already saved, you don’t have to
enter a new name. Be careful! The game
already saved is erased by the new
game. Left-click on the SAVE option to
save the current game.
11
12
The Training Games
The Training Games
THE TRAINING GAMES
You now know the game’s basic principles and can begin with the first training
game. Each building is explained and the program tells you where you should be
careful. Each training game contains orders which are specified in the instructions.
You can play and follow the game’s progression on the screen.
In the training games, you are supplied with many tools, food, construction materials, and serfs.
When certain important events occur , you are informed by a sound and a small blinking icon that looks like a piece of paper; it appears in the bottom left of the menu. If
you left-click on the piece of paper , a message is displayed on the screen and the computer moves the screen to where the event is taking place. If you left-click on the
check mark in the window the message disappears.
Training Game 1 – Land
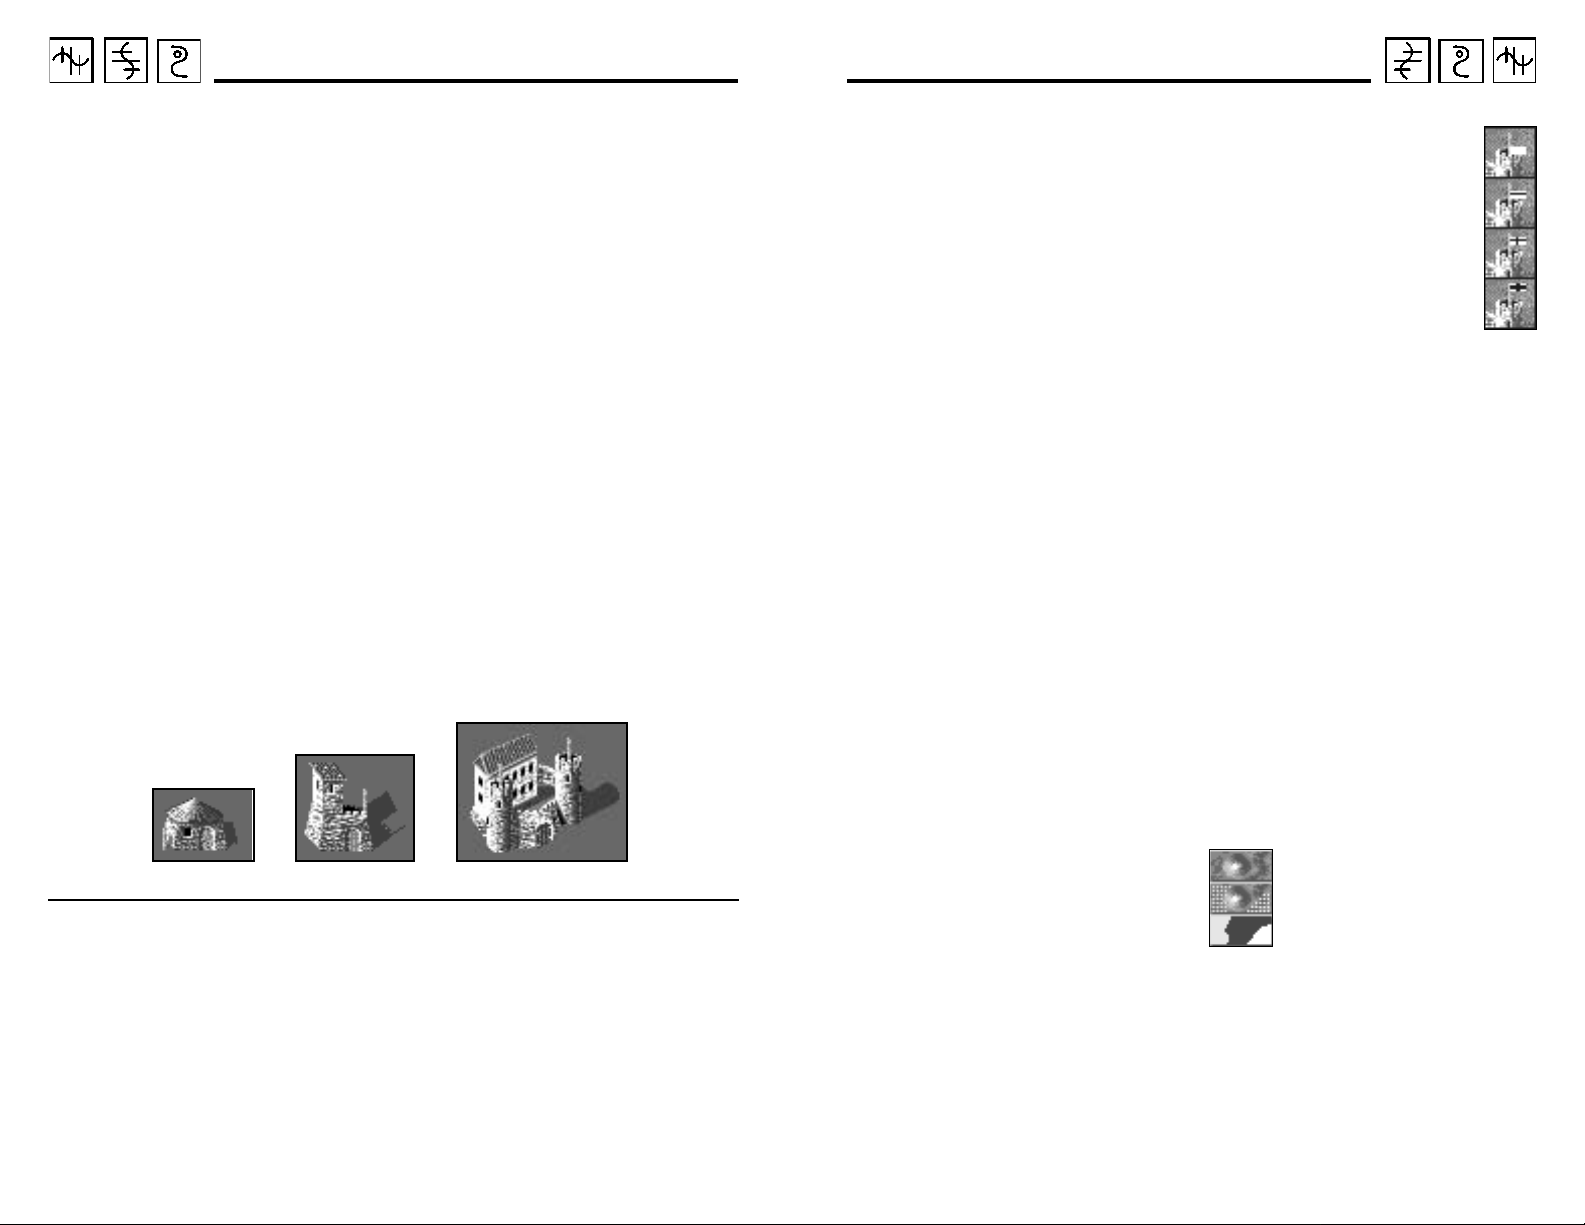
Orders: Have your serfs construct a guard hut, a guard tower, and a garrison.
B
UILDING AGUARDHUT
Guard Hut Guard Tower Garrison
After beginning the game, choose a
location to build your castle. You don’t
need to worry about the fertility of the
soil or the trees. Give the order to con-
, G
UARDTOWER, ANDGARRISON
struct the three required buildings and
wait (use the help functions for construction if you cannot find a good
location right away).
For the garrison and the guard tower, a
leveler begins by leveling the ground.
You have to have the construction
materials transported. While the hut
requires only one delivery of wood and
stones, the garrison requires at least ten.
As soon as the guard hut is built, a
knight leaves your castle in order to
occupy it. When the first knight arrives
in a guard hut, guard tower, or garrison,
your rural property grows. Look and you
see the property limits have expanded.
This is how your kingdom ‘grows’ and
increases its geographic area.
To inform you of this growth (if you
were looking elsewhere in the world),
you hear a noise telling you that you
have received a message. Left-click on
the piece of paper (located in the lower
left of your screen) and you learn that a
building has been occupied by a
knight. Next, some gold is brought to
the hut.
A white flag flies in front of the guard
hut. Later, flags are flown on the guard
tower and on the garrison towers. The
flag’s height indicates the building’s
occupation rate. A hut can house up to
three knights, a guard tower can house
up to six knights, and a garrison can
house up to twelve knights.
The icon on the flag indicates an
enemy’s distance. The white flag
signifies that there is no enemy
colony nearby and that there is
no danger of being attacked in
the immediate future. If you
later you play against computercontrolled opponents or another
player, other symbols appear on the
flags. When the enemy gets close
enough, a black stripe appears on the
flag. As the enemy approaches, the
stripe changes to a black cross. When
the enemy is right outside your door, the
flag has a very thick black cross. (In the
latter case, you should definitely prepare for an attack.)
THEO
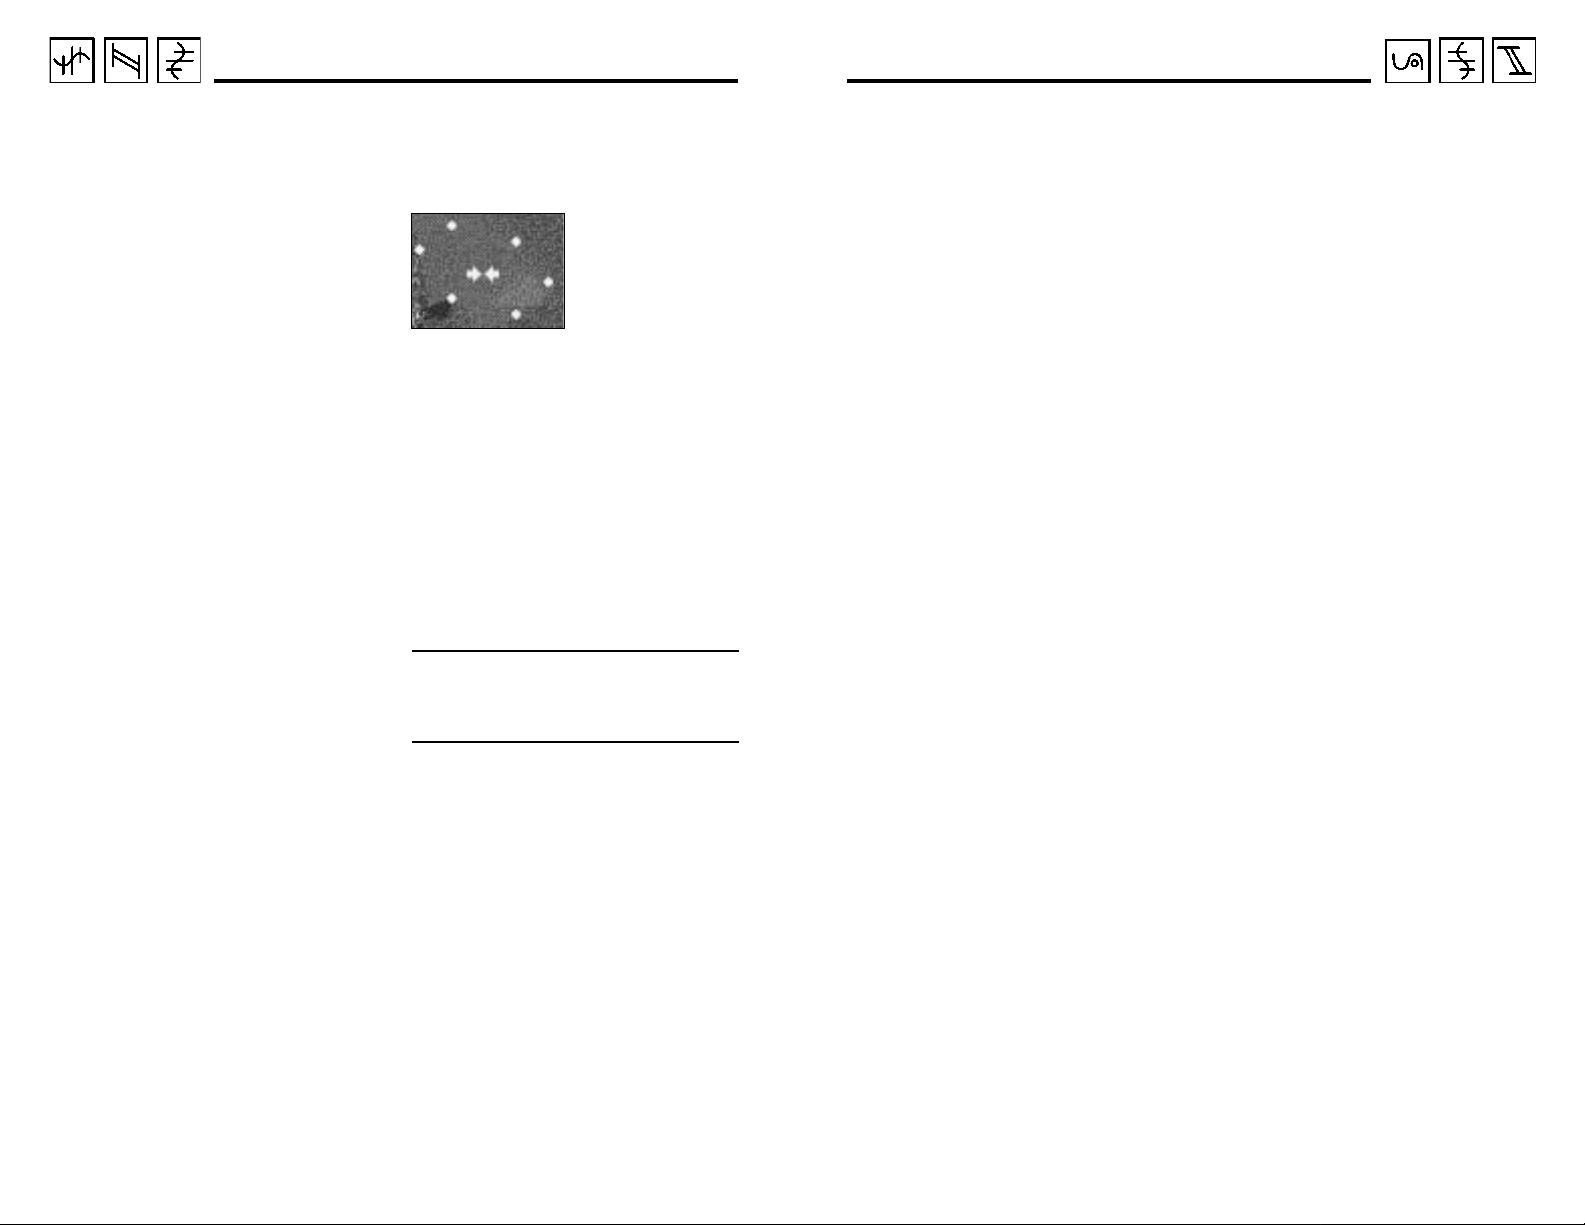
Familiarize yourself with the overhead
map. Left-click on the map icon and the
map appears. You see several blue dots
where your buildings (finished or still
under construction) are located. The left
icon activates the map presentation
mode in one of 3 ways:
Left-click on this icon. After the first leftclick, the map’s image changes just a
little. Around the blue dots (your buildings), you now see a surface with dots
VERHEADMAP
scenery
scenery + property
property
13
14
The Training Games
The Training Games
that indicate the size of your property . If
you left-click again on this icon, the
scenery disappears completely. Only
your property is still displayed in blue,
and the buildings are represented by little white dots. If you left-click a third
time on this icon, you return to the
mode that you started with. If you are
playing against other players or against
the computer, their property is displayed in their color.
Return once again to “property” mode
(no more scenery) and left-click on the
second icon from the left. You see your
network of roads on the map. If you
left-click again on this icon, the roads
disappear. The third icon from the right
allows you to activate or deactivate the
buildings on the map. Quit the map by
left-clicking on the highlighted icon.
Let’s see what your serfs are doing.
When the buildings are completed, a
window appears to let you know that
the order was executed. You can continue with this game or move to the
next training game.
Training Game 2 – Creating Construction Materials
Orders: Fabricate at least five units of wood and five units of stone.
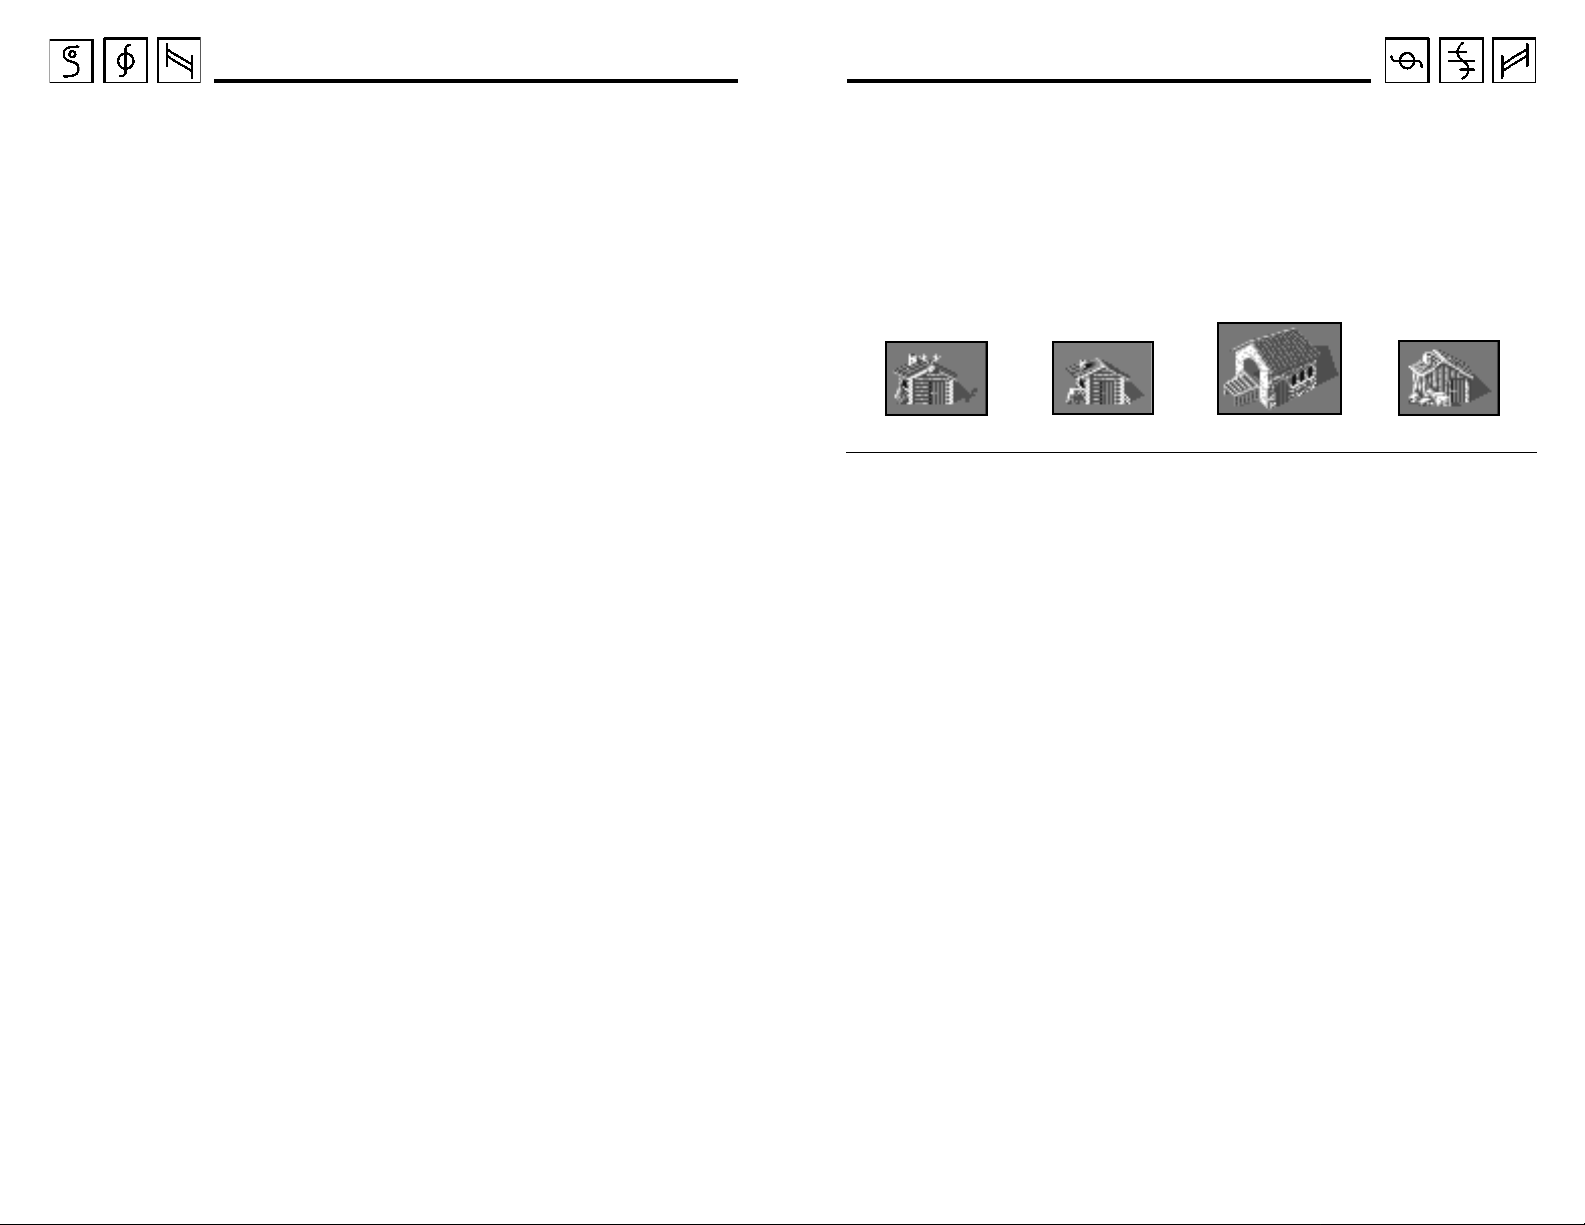
B
UILDING AFORESTRANGER’SHUT
AWMILL, ANDQUARRYMAN’SHUT
S
Forest Ranger’s Hut Lumberjack’s Hut Sawmill Quarryman’s Hut
This time, you have to watch the
scenery very closely. Choose an area
with trees and, more importantly, a few
slabs of granite (the large gray boulders)
and place your main castle next to it.
You must obtain stones and wood.
These materials are necessary for the
construction of buildings and are generally the first things that you must take
care of in a new serfdom. The stones
come from granite that a quarryman
looks for in rock formations. The wood
is a little more complicated. You need a
lumberjack to cut down trees and a
sawmill worker to transform the trunks
into boards so the wood can be used.
The forest ranger is described in this
section because he plants new trees.
The forest ranger is constantly in the
process of planting new trees. After a
while, the trees grow and can then be
, L
UMBERJACK’SHUT
cut down. If you cut the trees down
without planting new ones, you quickly
find yourself with a shortage of wood.
You can place a forest ranger next to a
lumberjack. The two complement each
other very well. If there is no lumberjack next to the forest ranger, you will
soon have a new forest, but no wood
for construction.
Place a lumberjack’s hut near the trees,
preferably in the middle of a small forest, and a quarryman’s hut somewhere
near the slabs of granite. Look for an
appropriate location for the sawmill
(which is a large building) and place the
forester’s house where there aren’t
many trees. Connect the buildings with
roads. If you have done everything correctly, your work is finished. The rest is
done by your serfs!
,
15
16
The Training Games
The Training Games
They build huts and level the ground
for the sawmill. The workers arrive after
the construction of the buildings. The
lumberjack goes to his hut and leaves it
a little while later to find a tree to cut
down. After cutting it down, he lops off
the branches and brings the trunk to his
hut. He then rests a while before returning to work. A transporter sees the trunk
and comes to take it. As your sawmill is
probably still under construction, the
trunk is temporarily stored in the castle.
The quarryman climbs on a boulder
and hammers it with his pickax until he
extracts a few stones. He puts them in
front of his hut where a transporter
comes and takes them to the castle (if
the stones are not needed on a construction site).
The sawmill is the last building to be
completed as it is the largest of the four.
The sawmill worker goes to the
sawmill and waits for the tree trunks
that are brought from the castle or by
the lumberjack. The sawmill worker
then cuts them up and puts the boards
in front of the mill. These boards are
stored in the castle until they are used.
As soon as you have fabricated the
materials asked for, you will have
accomplished your mission.
Training Game 3 – Making Food and Transporting It
Orders: Fabricate five units of each of the following foods: fish, meat, and bread.
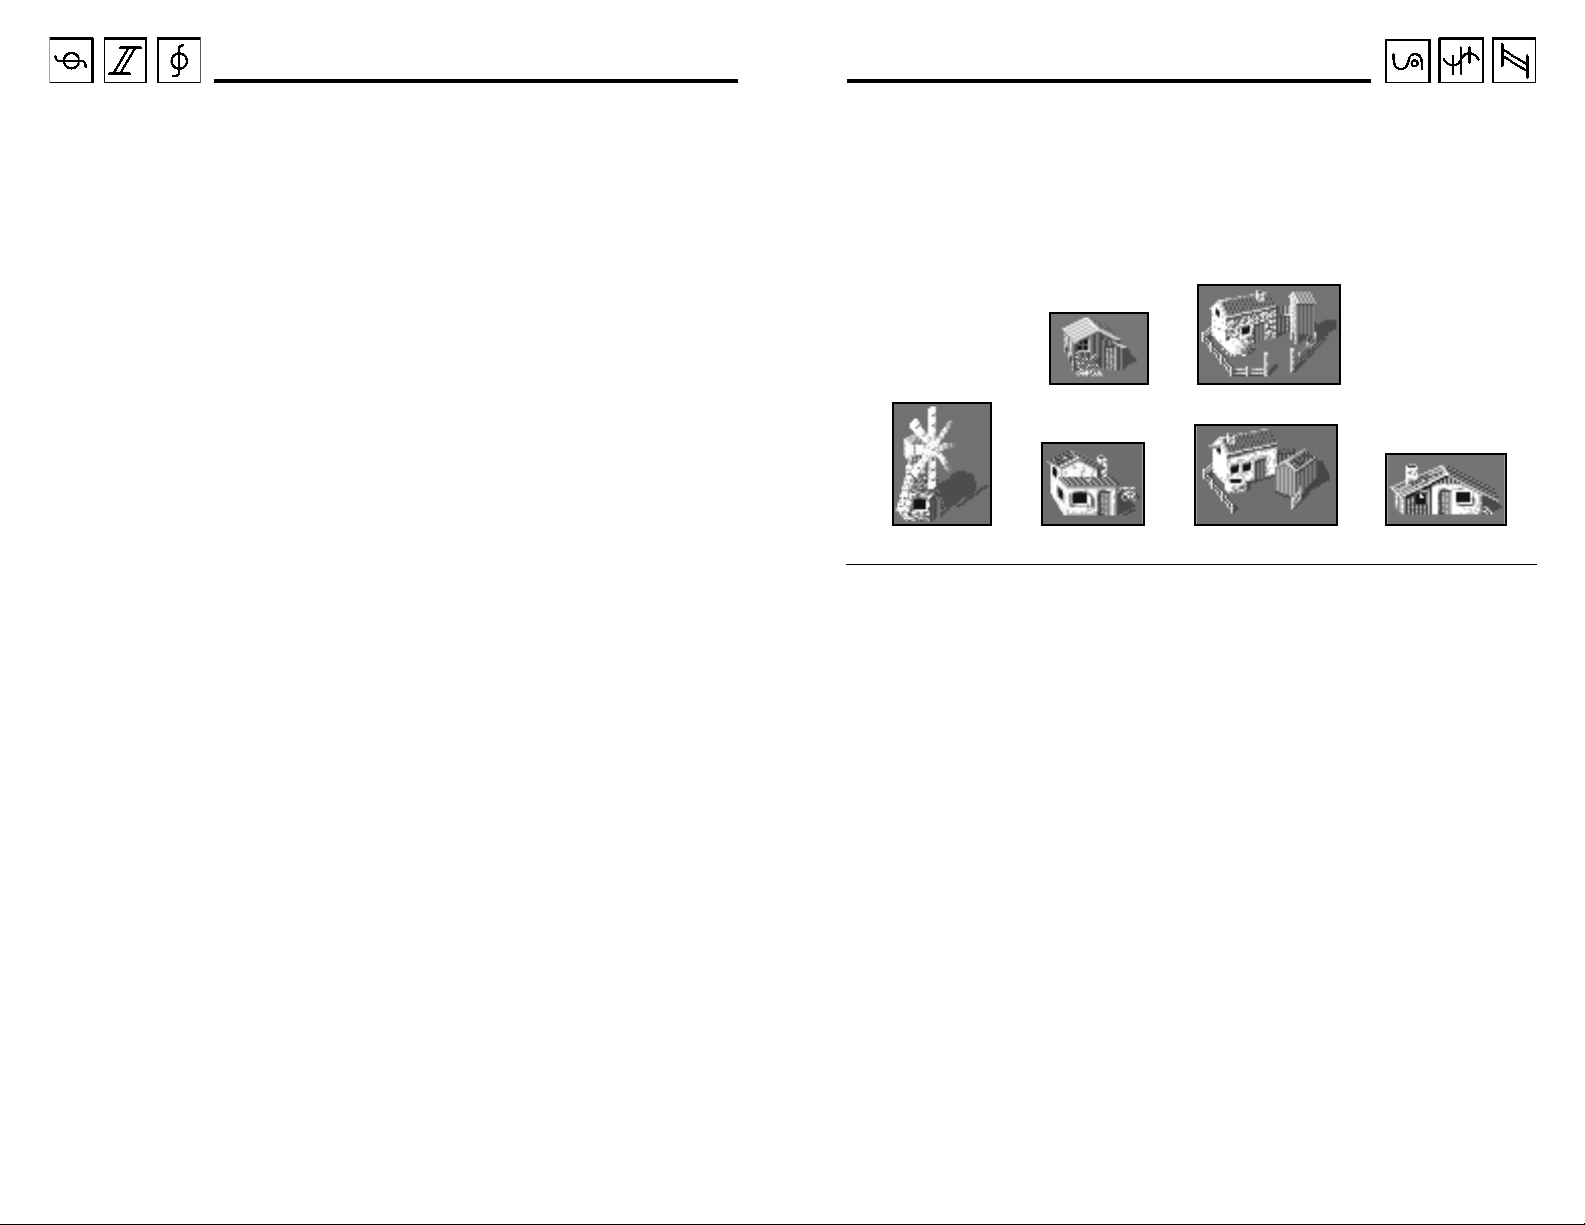
THEF
ISHERMAN
Windmill Bakery Pig Farm Butcher Shop
Your fisherman needs a lake located
near the castle. Your farmer needs a
large area for his farm so he can grow
wheat. You do not need any underground riches or other raw materials
To allow your serfs to work during the
following explanation, construct the six
required buildings and continue reading while the structures are being put
together. Build:
❖ the farm (a large building), prefer-
ably with a lot of free space, as the
farmer needs land to plant wheat
❖ the fisherman’s hut, as close as
possible to the lake
❖ the pig farm, the bakery, the
butcher’s shop, and the windmill
in the locations of your choice
, F
ARMER
, M
ILLER
, B
AKER
Fisherman’s Hut Farm (Wheat)
If you connect the buildings with roads,
be careful not to build roads on the
banks of the lake because the fisherman
does not fish from the road. He does
yet.
not want to hinder the transportation
of merchandise.
You have three methods of obtaining
food:
❖ The simplest method is by fishing.
, PIGF
ARMER, ANDBUTCHER
A fisherman goes fishing and his
fish can be used as food. One
drawback: you need a lake, and
when there are too many fishermen on a little lake, it is quickly
cleared of fish. As long as there
are fish, they reproduce. Avoid
“over fishing” if you want to continue fishing for a long time.
17
18
 Loading...