


EARTH 2150
BEFORE YOU BEGIN .......................... 2
Earth 2150 Prologue............................ 3
What Comes with this Game? ............ 4
SYSTEM REQUIREMENTS .................. 4
Recommended Configuration .............. 5
Installing the Game ............................ 5
Uninstalling the Game ........................ 5
Saving Games .................................... 6
Electronic Registration ........................ 6
DirectX Setup .................................... 6
Getting Started .................................. 6
PLAYING EARTH 2150 ...................... 7
Main Menu ........................................ 7
Choosing Your Player .......................... 8
MISSION MENU.................................. 8
GAME SCREEN.................................... 9
A — Camera Viewer ............................ 9
B — Auxiliary Camera Windows ............ 9
C — Multifunctional Main
Control Panel .............................. 9
D — Map............................................ 9
E — Construction Panel ...................... 10
F — Status Bar .................................. 10
G — Compass .................................... 10
CONTROLLING THE CAMERA ............ 11
Controlling Your Units .......................... 11
Selecting a Single Unit ........................ 11
Selecting a Group of Units .................. 11
Creating Groups.................................. 12
Searching for Units ............................ 12
Orders................................................ 13
Recording Orders ................................ 14
Pause Mode ...................................... 14
CONTROLLING STRUCTURES ............ 15
Selecting a Structure .......................... 15
Erecting Structures ............................ 15
Main Commands for Structures .......... 16
PRODUCTION LIST ............................ 17
Unit Limits ........................................ 17
UNIT CONSTRUCTION CENTRE .......... 17
Unit Construction Panel ...................... 17
OPERATING THE
CONSTRUCTION PANEL
...................... 19
Constructing a New Model .................. 19
Editing Existing Models ........................ 19
BUILDINGS UPGRADE CENTRE ........ 19
RESEARCH AND TECHNOLOGY ........ 20
Research Centre ................................ 20
Research Tree .................................... 20
KEYBOARD LAYOUT .......................... 21
Default Keyboard Settings .................. 21
SKIRMISH MODE .............................. 22
The Start Screen ................................ 22
THE MULTIPLAYER GAME ................ 22
Getting Connected..............................22
Defining Game Parameters ................ 23
Multiplayer Game Types...................... 23
In-Game Settings................................ 24
THE EURASIAN DYNASTY (ED) ........24
ED Arsenal ........................................ 27
Unit Chassis ......................................28
Weapons and Technology .................... 31
ED Structures .................................... 33
UNITED CIVILISED STATES (UCS)...... 37
UCS Arsenal ...................................... 39
Unit Chassis ......................................39
Weapons and Technology ....................42
UCS Structures .................................. 44
LUNAR CORPORATION (LC) .............. 49
LC Arsenal.......................................... 51
Unit Chassis ...................................... 51
Weapons and Technology .................... 53
LC Structures .................................... 56
CONTACTING TECHNICAL
SUPPORT
............................................60
CREDITS .............................................. 61
1
2
3
BEFORE YOU BEGIN
We know you’re anxious to begin playing Earth 2150. If you don’t read any other part of
the manual, please read this section. Earth 2150’s single-player campaigns are quite
different from other real-time strategy games. In the single-player campaigns, each side
has a main base area. From here, you can move units and resources to the mission area
via the Transport, as long as a Transport Base or Landing Zone exists in the mission
area.
You can choose a new mission by clicking on the spinning globe icon in the main base
area. Keep in mind that buildings, units, and resources in the main base area are carried
over from mission to mission. Therefore, it’s a good idea to transport all units and
resources from the mission area back to the main base before ending a mission. You
may also have resources left in your main base area; these resources will also be
available in the next mission. This is an important point to keep in mind, as the
resources in your main base and the mission are not shared; they are two separate
pools of resources. You can transfer resources between your main base and mission
area with the Transport.
In the single-player campaigns, there are many pressing demands for resources.
Fortunately, you have a lot of options to deal with those demands. Generally, you will
start out with a certain amount of resources in the mission area. This amount should be
enough for you begin a base. Remember, the overall goal for each campaign is to
harvest enough resources to build an evacuation fleet.
The Space Port is a critical part of your main base. The Space Port sends credits to the
R&D teams building the evacuation fleet. Once the Space Port sends its resources to the
R&D teams, those resources are gone and cannot be used again. Resources earmarked
for the R&D teams are held in the Space Port structure until a shuttle picks them up.
You can take resources from the Space Port and give them to your Main Base by
selecting the Space Port and then clicking the “Take 5000 CR” button. This will only
work if the shuttle has not already retrieved the resources.
In many missions, you will have to send a specified amount of credits to the Space Port.
Each side has a specific building that will take resources and transfer them
automatically to the Space Port. For the ED, this building is the Transport Base.
For the UCS, it is the Ore Transport Base. And for the LC, it is the Ore Transport
Refinery. If these buildings are not built, you will have to manually transfer resources
to the Space Port via the Transport. Furthermore, if you transport resources
manually via the Transport, those resources will not count toward the mission’s credit
requirements.
EARTH 2150 PROLOGUE
The 21st century was supposed to herald the
dawn of a new age. The wars, famines and
suffering of the last two millennia were to
become a distant, fading memory, as scientific
advances brought global peace and prosperity.
Toward the end of the 20th century, a now
forgotten US president even went so far as to
officially proclaim the arrival of a New World
Order, in which right, not might, would govern
international relations.
Unfortunately, this bright future was not to
be. First came a meltdown of the international
stock and currency exchanges. Then the major international conglomerates were
dissolved in a vain attempt to stop the fiscal haemorrhage. By 2012 the world economy
had collapsed. Poverty and hunger caused social and political tensions to flare. As the
crisis wore on, few were bold or naive enough to predict anything positive for the
future. Most realised that the planet was on the verge of global conflict.
During this time, the old American organisation, NASA, was taken over by a new company
called the Lunar Corporation. The LC, as it was known, saw a business opportunity in all
this chaos, and began building a city in orbit. When it was completed, those who could
afford it flocked to the newly opened Orbital City I.
In 2048, the anticipated global conflict broke out with a level of violence that shook the
planet to its core. All major centralised governments were destroyed in the maelstrom.
Europe and Eastern Asia bore the brunt of the devastation, as entire urban centres,
from Madrid to Moscow and from Seoul to Singapore were literally wiped off the map.
The 20th-century dream for a better world ended in death and destruction. The
population of Orbital City I, shocked by the horrors they were witnessing, emigrated to
a newly constructed lunar base to better protect themselves. The colony then severed
all connections with Earth and began to prosper as a separate, self-contained
community.
The human race has always been known for its resiliency. Within a dozen years, the
Earth’s inhabitants had begun to restore their old nationalities – with a few twists.
Twelve states of the former United States joined together to form a new country, called
the United Civilised States. The UCS citizens had essentially given up their old roles as
producers and leaders. Nearly all work was being performed by robots which were
controlled by expert computer systems. Not surprisingly, the human inhabitants of the
UCS had become lazy and decadent.
In the European and Asian territories, which suffered so terribly in the war, a new
empire was created under the iron fist of the Khans. Its proud name was meant to
conjure up an association with a glorious former age – The Eurasian Dynasty. With
access to the military bases, weapons and technology of the former Soviet Union, the
Khans were able to build up a formidable military state. Decadence is unheard of in the
ED. The citizens are drilled from an early age to serve the state and be ready to die if so
ordered. The regime is quick to eliminate any individualists and pleasure-seekers, not
to mention those who are merely lazy or incompetent.
As the only two organised powers, both the ED and the UCS were able to extend their

4
5
borders very quickly, and soon possessed all remaining inhabitable areas. But two
powerful empires can rarely live in harmony. Soon the ED army invaded the UCS
territories. Thus began another horrendous war. During eight years of continuous
conflict, the retreating ED army, desperate after suffering a series of battlefield defeats,
attempted to turn the tide with nuclear weapons. A barrage was launched against UCS
positions near the North Pole. The explosions unleashed were so violent that the Earth’s
orbital motion was affected. This was first noticed in 2150 by UCS scientists and the
almost-forgotten colonists on the Moon. Soon, the information also reached ED
headquarters. The scientists’ calculations became cause for serious alarm. The distance
between the Earth and the Sun would shrink by nearly 17% over the next few years. The
implications became clear, even to the thick-headed ED commanders — the Earth and
the Moon are headed for a terrible cosmic disaster.
The only hope for salvation is to escape the doomed planet. But building an evacuation
fleet of such size requires immense natural resources and these are to be found only in
a few select regions. This means only one thing – whichever side emerges victorious in
the battle for these territories will escape Armageddon. The next war will truly be the
last our Earth will ever see...
What Comes with this Game?
Your game box should contain this user manual and two E
manual explains how to play and contains important information on menus, scenarios,
unit classes and equipment. To get the game running on your computer, see the
installation instructions following.
ARTH 2150 CDs. This user
SYSTEM REQUIREMENTS
Required Configuration
• Windows 95B or higher (Windows 98 recommended)
• DirectX 7.0a required
• Windows Media Player 6.4 or higher required
• Pentium II 233Mhz or better
• 32 MB of RAM (64MB of RAM recommended)
• 451 MB minimum hard disk space (276MB for minimum install; 175 MB free for swap file)
• 3D Hardware Accelerated video card with 4MB RAM (Voodoo 1 or better)
• DirectX compatible sound card
• 4X CD-ROM required (8X CD-ROM recommended)
• Windows compatible mouse
• Multi-Player: TCP/IP, IPX, and Modem to Modem (56K or better required for modem play; Internet Service
Provider required for Internet play).
Note: Windows 95B users will need to upgrade WINSOCK to WINSOCK2 in order to play
over the Internet. To update to WINSOCK2, you can visit Microsoft's webpage at:
www.microsoft.com/windows95/downloads/contents/wuadmintools/s_wunetworkingtools/w95sockets2/
Recommended Configuration
• Pentium II 400 MHz or better
• 64 MB RAM
• 961 MB free disk space (786 MB for maximum install; 175 MB free for swap file)
• 12X CD-ROM
• Windows compatible mouse
• Windows 98
• 3D Hardware Accelerated video card with 16 MB RAM (Voodoo 3 or better)
In addition to the basic system requirements, the game requires that DirectX and
Windows Media Player 6.4 be installed on your hard drive. The earliest compatible
version of DirectX is 6.1. The option to install DirectX 7 appears during the game
installation. For network play, you need a DirectPlay compatible network adaptor.
INSTALLING THE GAME
You must install EARTH
in your CD-ROM drive to play this game.
To install the game, insert CD 1 into the CD-ROM drive. When the pop-up window
appears, click on the Installation option. If you have disabled the Windows Autorun, or if
it does not function, Explore the CD and double-click on the Setup icon.
The “Minimum” option will install only the program files without installing any Music or
Video files. Choose this option if you want to save disk space.
The “Normal” option will install the program files and Music files. Video will be read
from the CD.
The “Maximum” option will install the program, Music, and Video files. Choose this
option for the best performance.
You can also choose to install a “spawned” version. Spawned versions can join in
multiplayer games but will not be able to play the single-player campaigns, skirmish
games, or host multiplayer games.
Follow all on-screen prompts after selecting your option to complete the installation.
Uninstalling the Game
To uninstall the game, choose Settings from the Windows 95/98 Start Button, and select
Control Panel. In the Control Panel, select Add/Remove Programs, left-click on EARTH
2150, and click on the Add/Remove button. The game and all of its components are
then removed from your hard drive, except for your saved games or edited scenarios.
2150 game files to your hard drive and have the EARTH 2150 CD 2

6
7
Saving Games
EARTH 2150 requires space on your hard drive for saved games and temporary files.
Each saved game can take up to 150Kb of hard drive space.
Electronic Registration
If you did not register your copy of EARTH 2150 after installation and wish to do
so later:
1. From your desktop select the Start button, click on Programs, click on EARTH 2150
and click on Complete Registration.
2. Follow all on screen prompts.
DirectX Setup
This game requires DirectX to be installed, DirectX 6.1 is the earliest compatible
version. If you do not have DirectX 7, then it can be installed or reinstalled from the
CD. Installing DirectX 7 is an option when installing the game. It can also be installed
by exploring the game CD, and opening the DIRECTX folder. Double click on
DXSETUP.EXE to start the DirectX 7 install.
Using either the Install DirectX 7 button from the Autorun or DXSETUP.EXE, you can
install DirectX 7, reinstall DirectX 7, test your drivers certification, or reinstate your
previous audio and video drivers.
DirectX Disclaimer
EARTH
2150 utilises Microsoft’s DirectX sound and video drivers. DirectX is a
programming tool created by Microsoft, and the installation of DirectX may cause video
problems and system anomalies with computers using video drivers that aren’t DirectX
compliant. DirectX is a Microsoft product, and as such, this publisher cannot be
responsible for changes that might occur to your computer system due to its
installation. For DirectX related problems that cannot be fixed by updating to your
video card’s latest Windows driver set, you must contact either Microsoft or the
manufacturer of your video card for further technical support or service.
Microsoft retains all intellectual property rights to DirectX. The user has been granted a
limited license to use DirectX with Microsoft operating system products.
PLAYING EARTH 2150
Shortly after you start the game, the M
Main Menu
Here you can choose your side (i.e. “faction”), view the propaganda films for each
faction and activate the editor.
Button descriptions:
Eurasian Dynasty – Start playing for the ED
ED Video – Take a look at the ED propaganda film
United Civilised States – Start playing for the UCS
UCS Video – Take a look at the UCS propaganda film
Lunar Corporation – Start playing for the LC
LC Video – Take a look at the LC propaganda film
Multiplayer – Start a multiplayer game
Skirmish – Start a single-player game using a network scenario
Editor – Start the landscape editor
Credits – View credits movie
Exit – Quit the game
The game begins once you have chosen your side. There are three very different sides
in the game. Each has its own mentality, arsenal, strengths, and weaknesses. To choose
a side, click on the appropriate button: Eurasian Dynasty, United Civilised States, or
Lunar Corporation. Or you can choose from two special types of matches: Multiplayer
or Skirmish. Once you’ve done this, the Choose Player menu appears.
Choosing Your Player
In the Choose Player menu, you can pick one of the players from the existing Players List
or create a new one by entering a name in the New Player box. Click OK to continue or
Back to return to the Main Menu.
AIN MENU appears.
Getting Started
Start the game by choosing EARTH 2150 in the Start Menu (you’ll find it under
/Programs/SSI/Earth2150/Earth 2150). If you have not inserted CD 2 into the drive,
you are prompted to do so. In order to play E
drive.
ARTH 2150, CD 2 must be in the CD-ROM
8
9
MISSION MENU
The Mission Menu appears right after you’ve chosen a player. It consists of the
following buttons:
Start New Game – Here you can begin a new game. Your starting point is always your own
base and Mission 1.
Load Game – Here you can continue a previously saved campaign. A window is displayed
where you can choose from all your saved games. E
games as you play them; you can always play the last saved game by choosing
“Autosave” from the bottom of the list.
Tutorial – This button starts the tutorial for the side that you’ve chosen. We recommend
that you play the tutorial for each of the three sides since they all have differences in
the way they harvest resources and build structures.
Movies – This button lets you view all video announcements you received since the
beginning of the campaign. These are very useful in planning strategy as they inform
you of new developments outside the field of play.
Back – This returns you to the Choose Player menu, so you can choose a different player if
you don’t like the one you have.
Exit Game – This quits the game and goes back to the desktop.
ARTH 2150 automatically saves
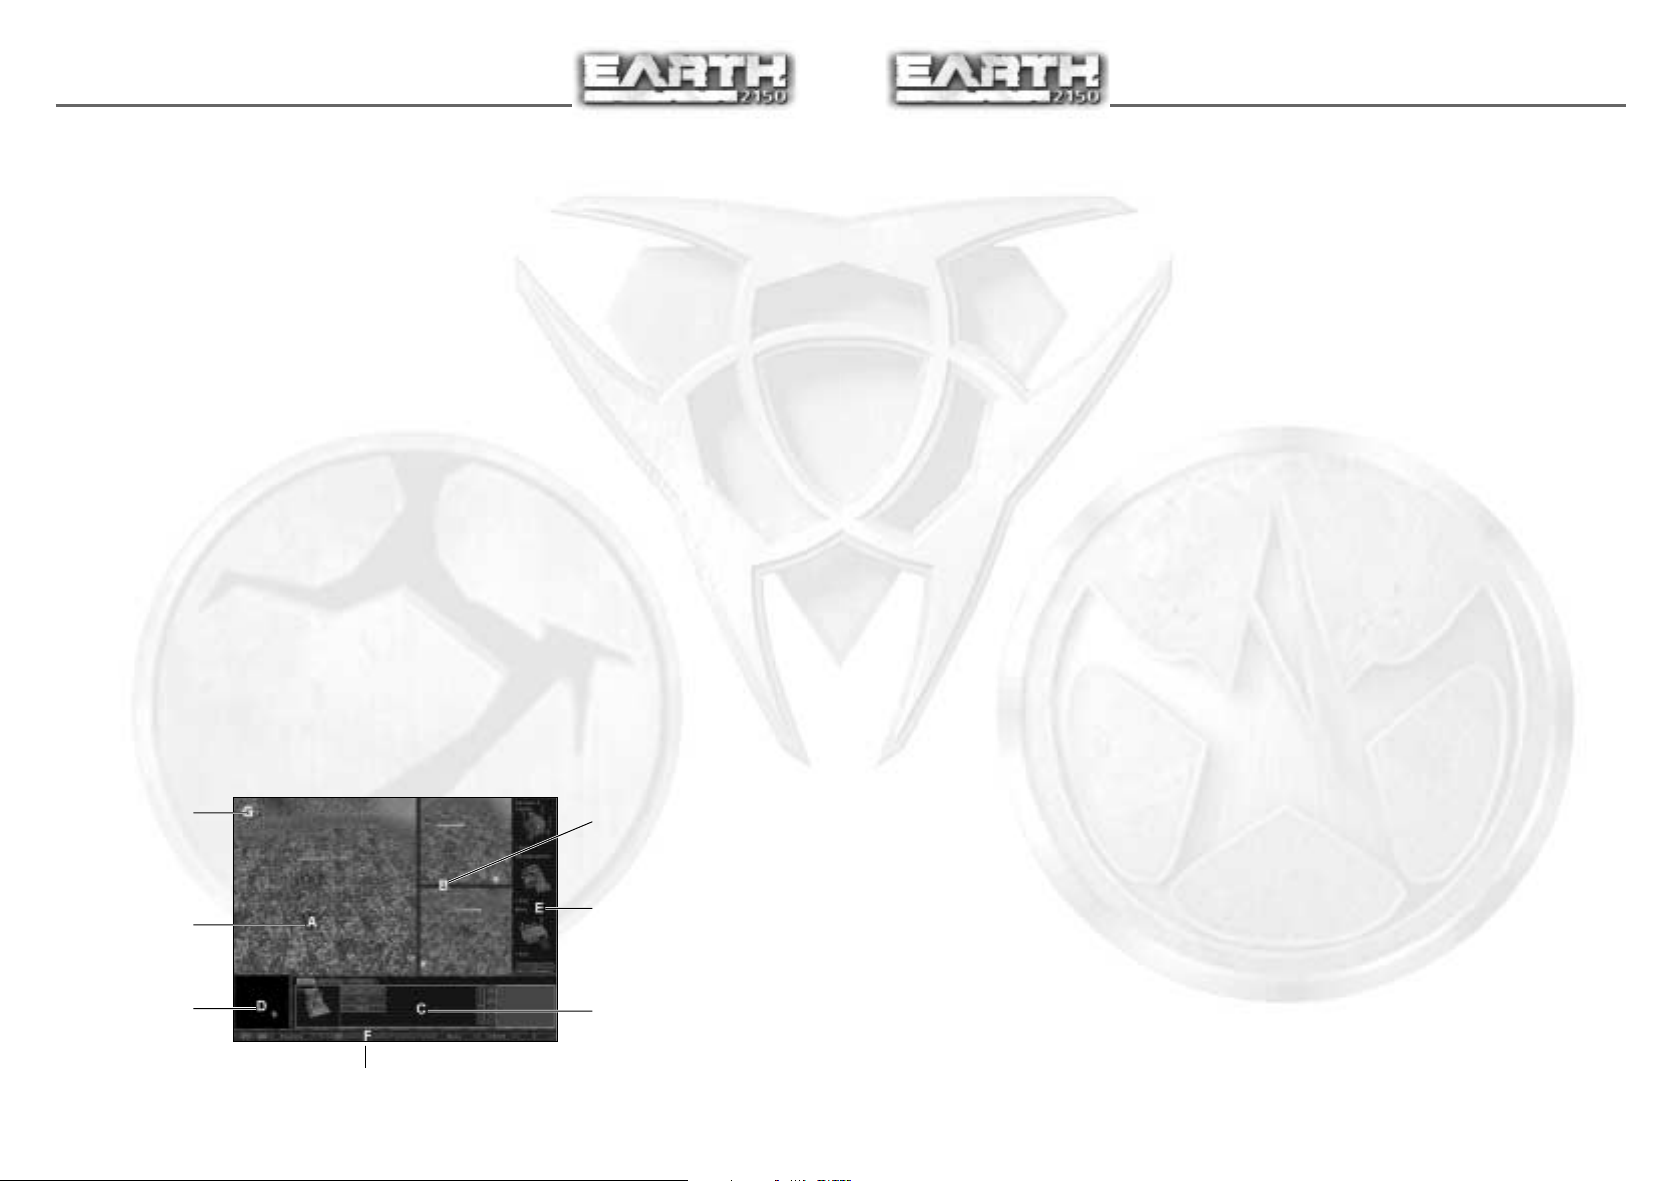
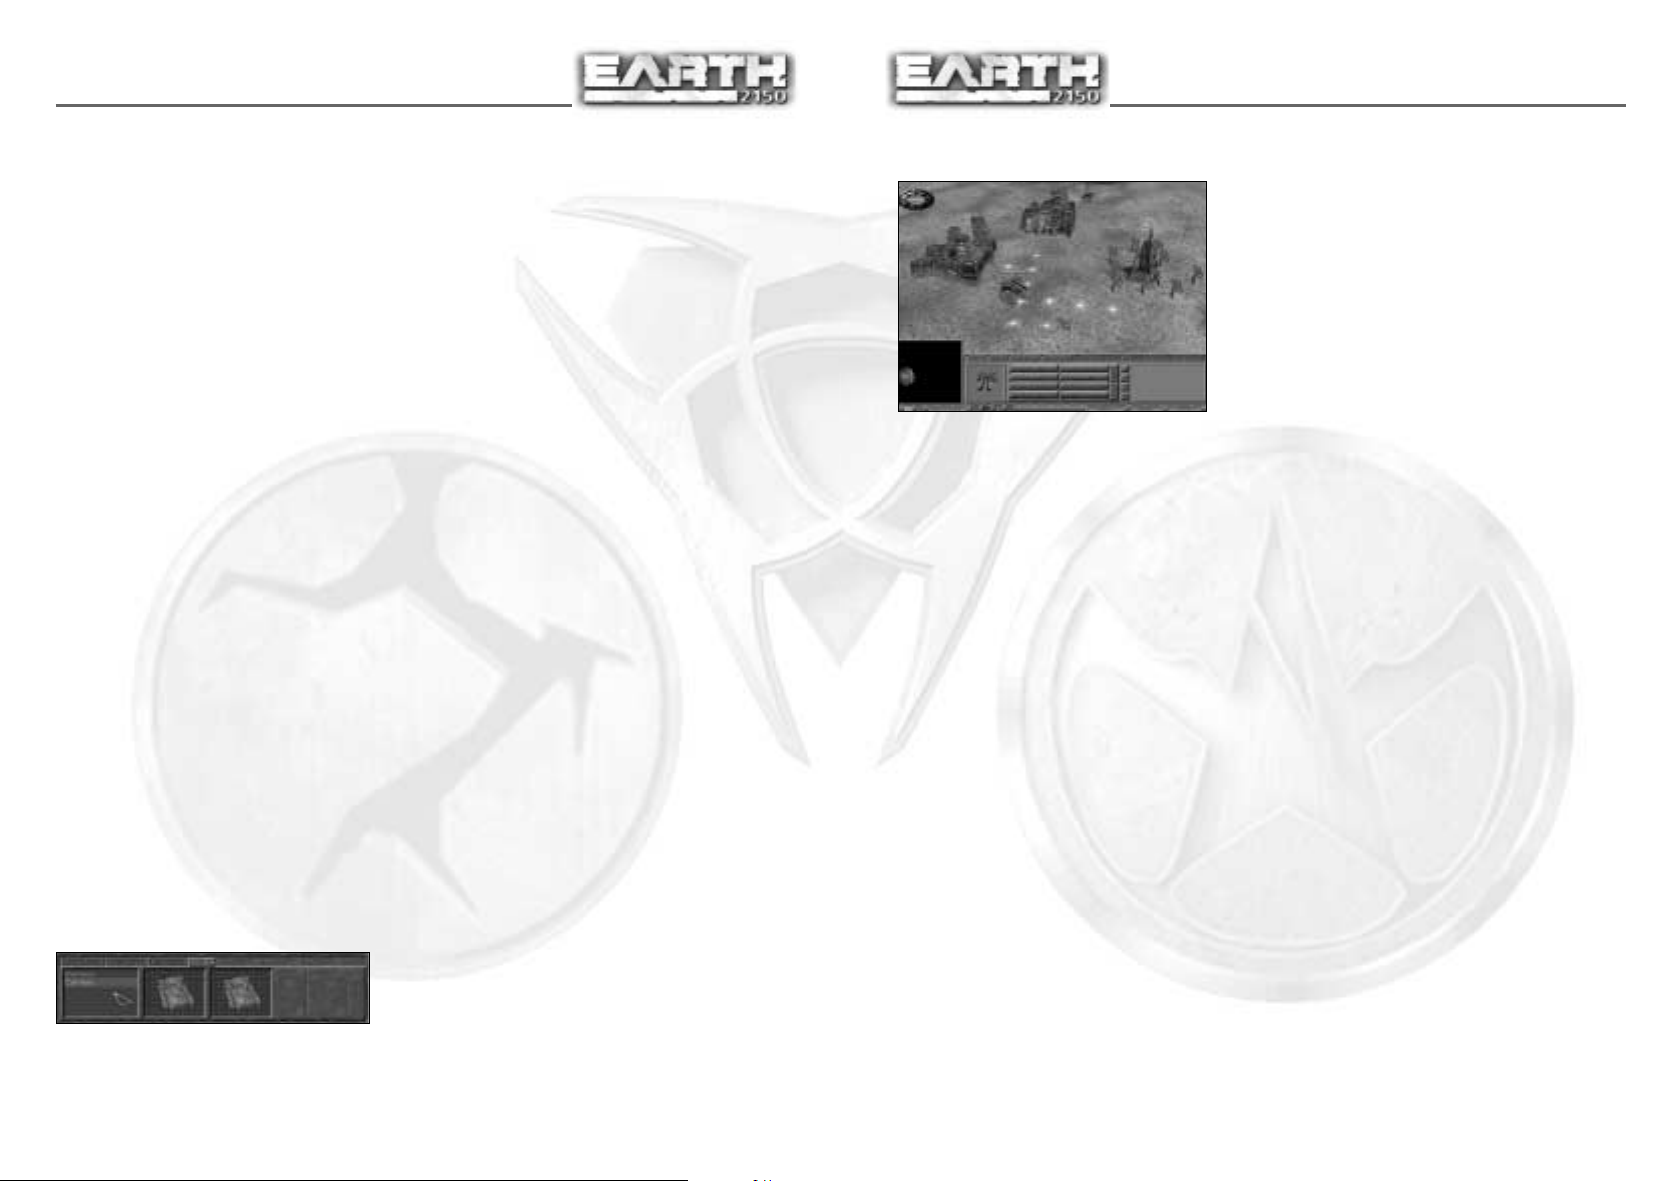
GAME SCREEN
Shortly after a campaign has started, the game screen appears. Here you can give
orders to all your units and structures, and use several camera systems to keep track of
what’s happening on the battlefield.
Here’s the game screen along with a description of its parts:
Compass
Camera Viewer
Auxiliary Camera Windows
Construction Panel
A — Camera Viewer
This area takes up most of the screen. It lets you track events on the battlefield with
orbiting camera systems. These well situated “eyes in the sky” let you command and
control your units very easily.
B — Auxiliary Camera Windows
You can turn on the two small Auxiliary Camera Windows by pressing the appropriate
button in the Symbol Bar or by pressing the V key. Each auxiliary camera can do
everything the main camera can do, such as selecting a unit, giving orders, or changing
the view angle. To activate an auxiliary camera, just right-click on it.
C — Multifunctional Main Control Panel
This is designed to help you carry out most of the operations you’ll need. It consists of
a few tabs. To select a given tab, just click on the button with the tab’s name.
Selection – Getting a description of a selected object (or group of objects) lets you
easily issue all orders which that object can carry out. Double-clicking a building or
unit automatically switches the Control Panel to the Selection tab.
Structures – Here you can get a list of all structures currently in your possession. This
tab allows you to easily locate a structure without looking all over the map for it. You
can select a structure from the list by left-clicking it, or centre the camera over a
structure by right-clicking it. When you double-click a structure, the Control Panel
automatically switches to the Selection tab.
Platoon – This gives you a list of all platoons currently in your possession, so you can
carry out platoon-based operations. The same mouse controls described above for the
Structure tab also work here.
Build – This tab is only available when playing the Lunar Corporation. It lets you issue
the “Build” order from the orbiting Construction Centre. To build a structure, just select
a structure from this tab and click a location on the map.
Units –This tab lets you quickly search for different types of civilian vehicles. Units are
displayed across the panel, grouped by type. Additional units can be seen by clicking
the arrow buttons. Left-click a unit thumbnail to select the unit; right-click its
thumbnail to centre the screen on the unit.
TIP: You can also scroll all lists (Structures, Platoons, Units) by moving the mouse cursor
over a list and dragging the mouse left or right while pressing the right mouse button.
The list will automatically scroll with the mouse direction. This option is very useful
during combat when you don’t have time to click on the arrow buttons.
Map
Symbol Bar
Multifunctional Main
Control Panel
D — Map
This shows the actual battlefield. Here you can either right-click to move the camera to
a chosen location or left-click to order a selected unit (or group of units) to a specified
location.
10
11
E — Construction Panel
This appears when you select a construction vehicle or a Production Centre. It includes
thumbnails for all objects which you can produce/construct during the game. Begin
construction by left-clicking on an object thumbnail. Note that if you want to build a
structure, you first click the object thumbnail, then point to an area on-screen (with the
camera viewer) to where you want it located. You can abort the construction process by
right-clicking over the building/object thumbnail.
F — Status Bar
This is located at either the top or the bottom of the screen. It shows how much
energy/money you have, and lets you switch the following Command Centre elements
on or off:
Map switch switches the Map on/off.
Panel switches the Main Panel on/off.
Next land switches the camera view between your main base and the mission
area. You can also press the Q key to switch between the main base and the
mission area.
Tunnels switches the active camera view between the surface and the
underground tunnels. You can also press the T key to switch between surface
and tunnel views.
View switches the two auxiliary cameras on or off. You can also press the V key
to turn the auxiliary cameras on or off.
Research displays the Research screen. You can also press 2 to display the
Research screen.
Construction Centre displays the Construction Centre where chassis and
weapons are combined to create units. You can also press 1 to display the
Construction Centre screen.
G — Compass
This shows which way is North.
TIP: Press . (or d) on the numberpad to position the camera to face North.
End Mission Dialog
You’ll see this whenever you complete a mission in the campaign. Press the button and
the mission is officially over – and you return to base. Warning! Be sure to send all the
units you intend to use in the next mission back to base before you press the END
MISSION button! Otherwise you’ll lose all your units!
CONTROLLING THE CAMERA
To move the camera position, just move the cursor to whichever side of the screen you
want. The camera scrolls automatically as soon as the cursor touches the screen edge.
To stop the camera, just scroll it toward the centre of the screen. You can also change
the camera position by using the cursor keys on your keyboard.
TIP: To quickly move the camera to a specific location, just right-click that location on
the map window.
To rotate the camera horizontally, press and hold down the right mouse button. Now,
continue holding the button down and move the mouse right or left. The camera rotates
with the mouse. You can also use the I and D keys to do this.
To change the camera’s vertical angle, press and hold the right button while moving the
mouse forwards and backwards. Or you can use the h and j keys.
To zoom in or out, hold down both right and left mouse buttons, and then move the
mouse forwards or backwards. You can also press the uY keys.
You can also set the camera to follow a specific unit around the map. Select a unit and
press the F key on the keyboard. The camera will now follow the selected unit around;
you can still rotate, tilt, or zoom the camera. Press the F key again to turn follow mode
off.
CONTROLLING YOUR UNITS
Selecting a Single Unit
To select a single unit, place the cursor on it and left-click. A Status Bar appears above
the unit you’ve selected.
To select a group of units, keep the c key pressed and select one after the other. As long
as the c key remains pressed, each unit you click on is added to the group.
If you click on a unit while the a key is pressed, that unit gets “de-selected.”
To deselect one unit from a group of selected units, choose the unit’s name from the
list box and click on it while holding down the a key.
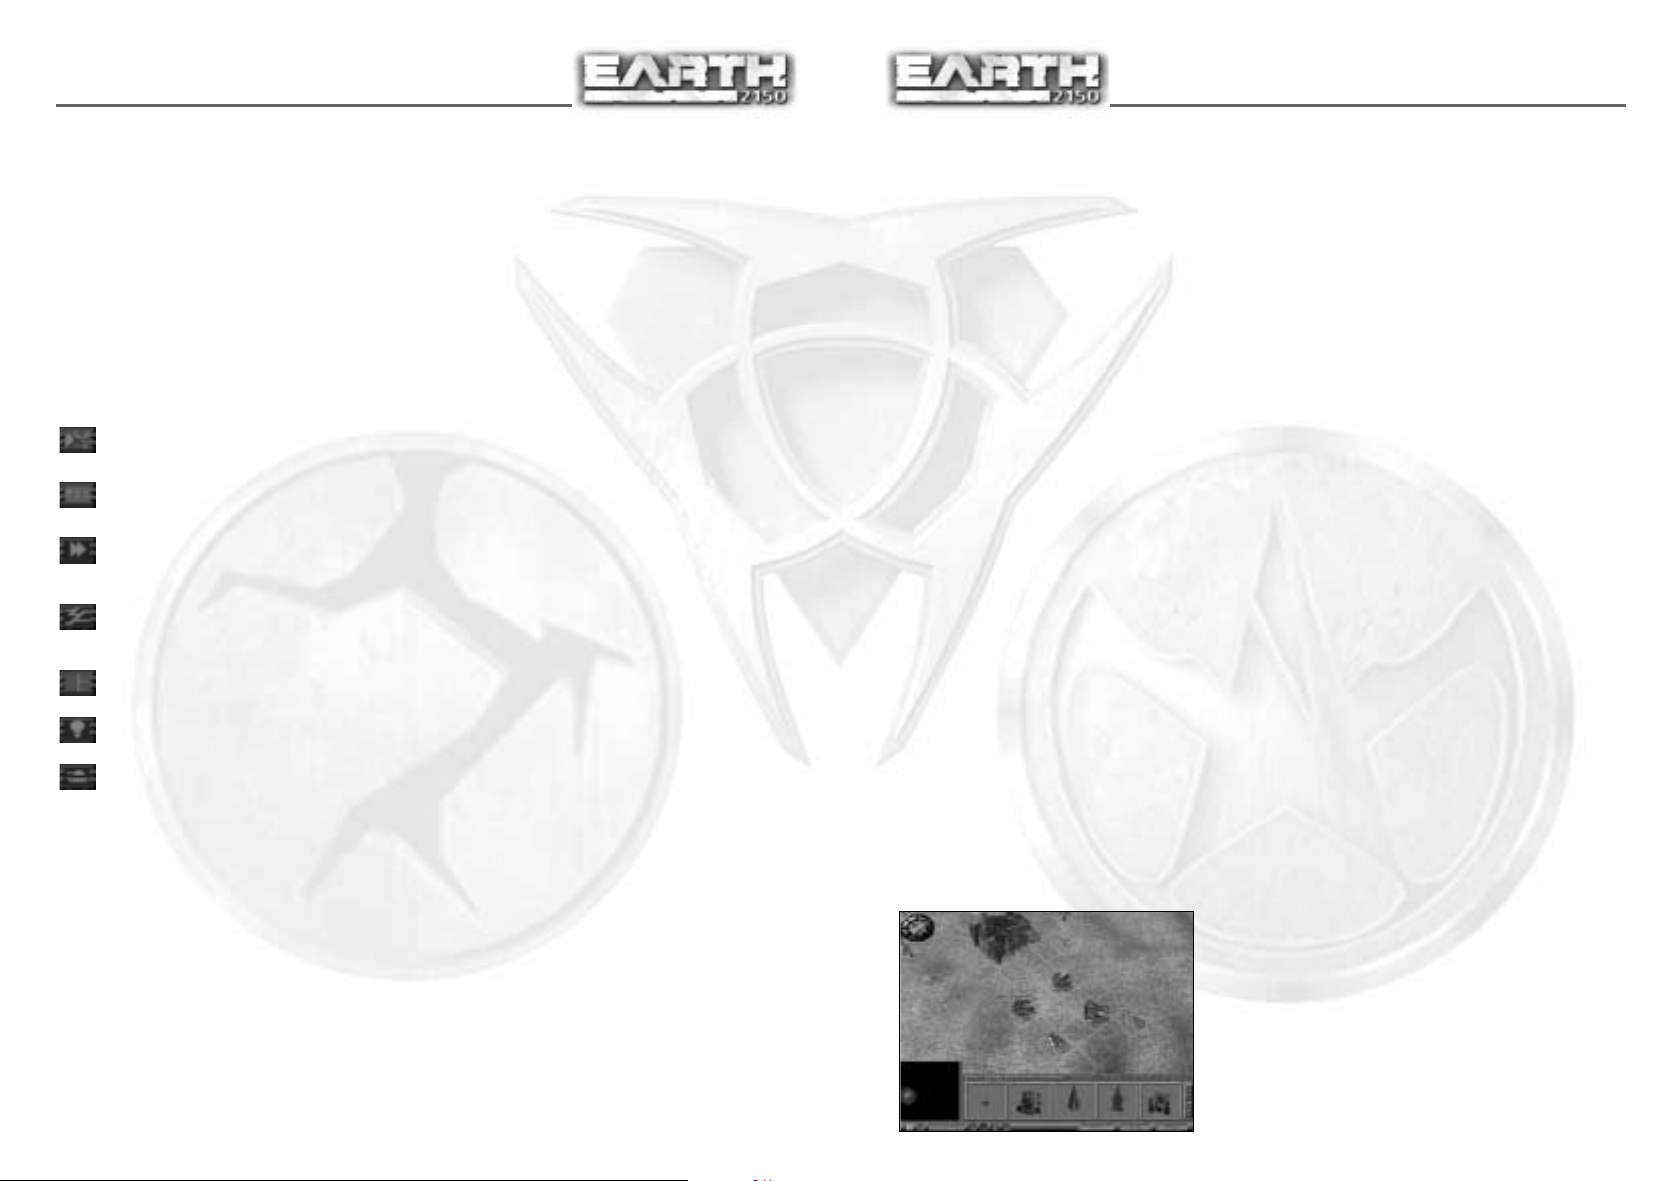
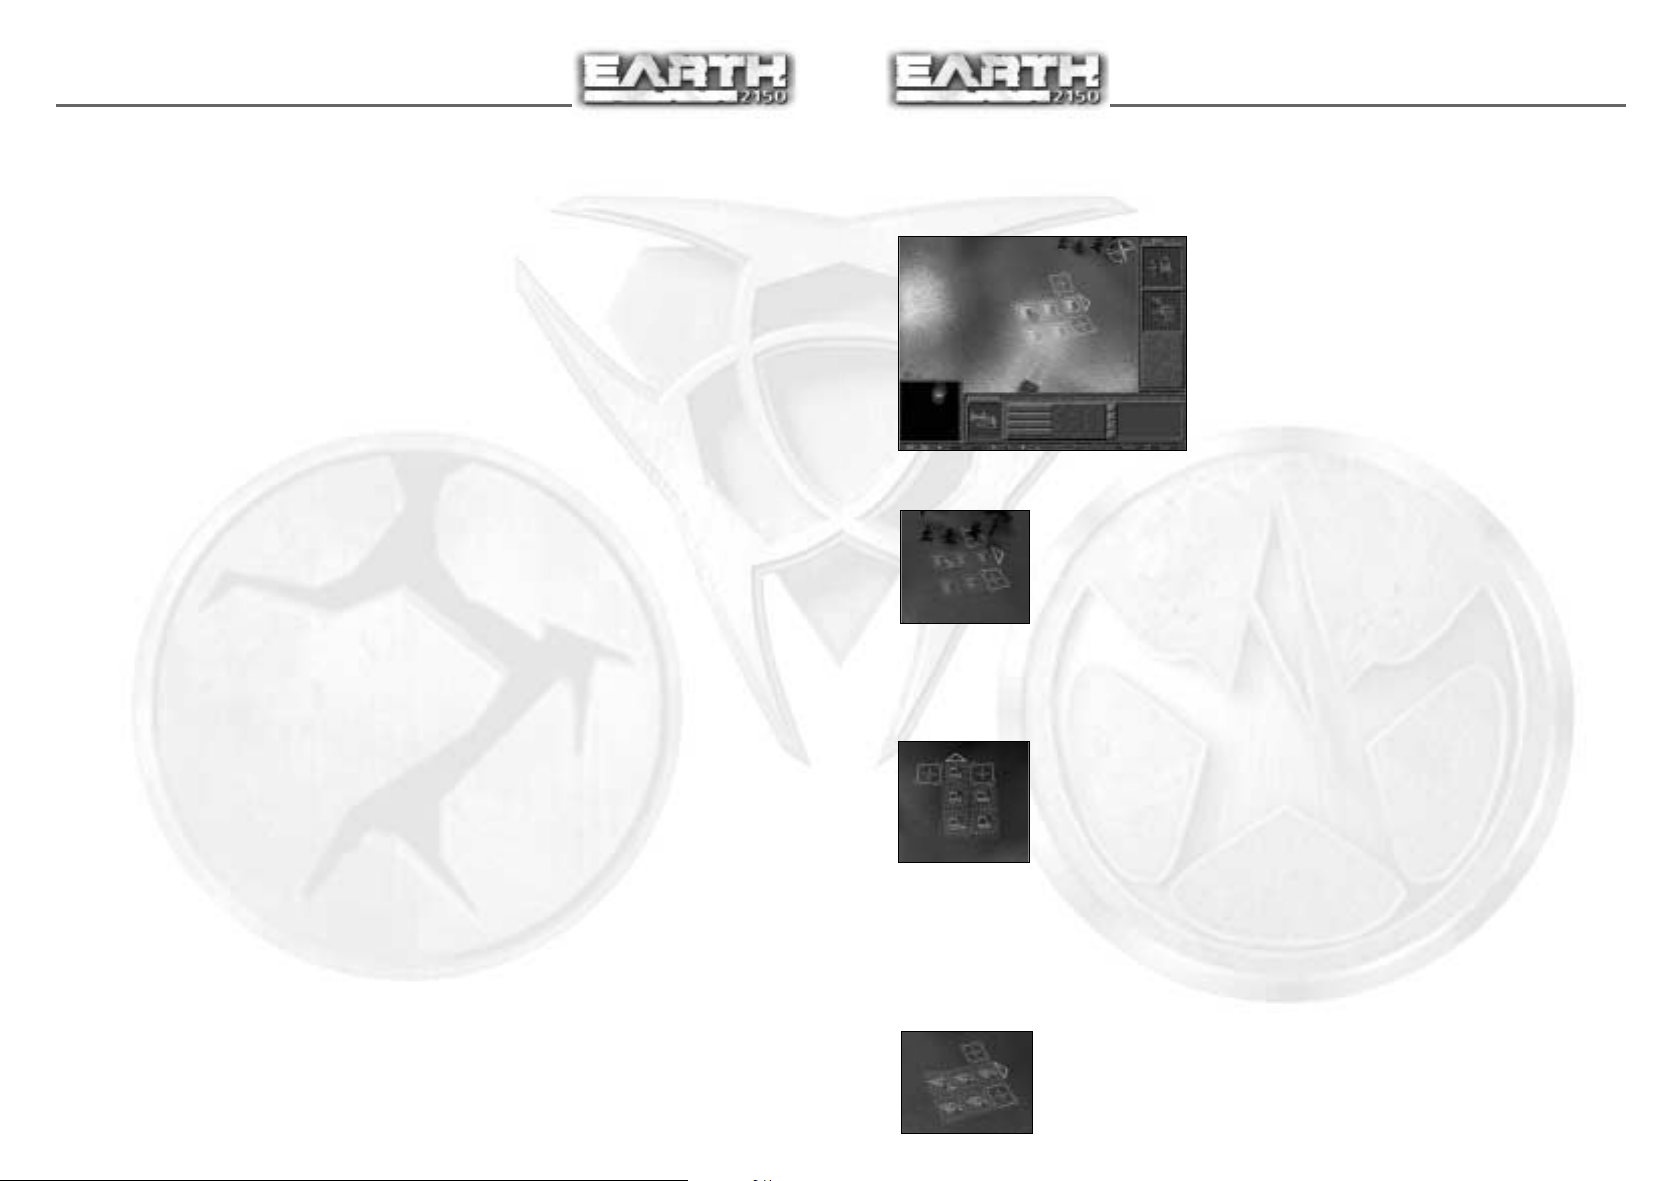
Selecting a Group of Units
To quickly select a group of units, place your
cursor at the edge of the group and move the
mouse over the group while holding down the
left button. You can clearly see the selection’s
range on the ground under the cursor. Every unit
within the group remains selected even after you
release the mouse button.
Choose Mission Dialog
This shows up whenever there is no mission active. From here you can pick out a
mission from the Choose Mission Window.
12
13
You can choose the shape of the selection rectangle by selecting Options from the Menu
on the Symbol Bar. Click the Selection tab after the Options screen appears. In the Shapes
section, you can choose between Square or Isometric. Choosing Square will always keep
the selection rectangle in a rectangular shape while choosing Isometric allows the
selection rectangle to change its shape as you move it across the screen.
TIP: You can also double-click a unit; doing so will select all similar units that are
visible on screen.
• If you want to add more units to your selection, perform the above operation with the
c key pressed.
• If you want to “subtract” units from your selection, perform the above operation with the
a key pressed.
• Right-click on the main camera window to de-select all units.
• These hot keys select the following units which are in the camera’s range:
• , - Select all visible units
• . - Select all visible air units
• / – Select all visible ground units
• ; – Select all visible armed units
• ' – Select all visible civilian units
Creating Groups
Unit groups provide quick access to units on the battlefield with just the press of a key.
Players can create up to ten unit groups per battlefield.
To create a unit group, select a group of units and then press a number from 0-9 while
holding the Left c key. That group of units can now be selected by pressing the
corresponding number on the keyboard. Pressing the number twice will centre the
camera on that group of units. Units can be attached to more than one unit group at the
same time.
TIP: You can assign units to a group before they are produced. Just select a factory,
move the cursor over the unit thumbnail in the construction panel, and then press Left
c and a number. You’ll see the Group Number appear on the unit thumbnail. All units
produced by this thumbnail are assigned to this group. You can also assign different
types of units from more than one factory to the same group with this tip.
Searching for Units
To find a civilian unit, select the Units tab.
Orders
You can issue orders only to units you have
selected. Orders are divided into two groups:
Immediate Orders
These are “spur of the moment” orders which
get obeyed right away. The nice thing about
immediate orders is that you can issue them
directly on the map – no need to choose from
the panel. To issue an immediate order, place
the cursor on the area which it relates to and
press the left mouse button. A small thumbnail
inside the cursor shows the order, which is
completely dependent on what objects are in
that particular area. The best example of an immediate order is Move. Just select a unit
and click a point on the map, the unit begins moving there immediately.
Ordinary Orders
These are split into two subgroups and must be chosen from the panel. The two groups
are:
Action Orders – These orders signify some kind of action that a unit has been ordered
to obey, for example, Move, Attack, or Escort. To issue these orders, simply click on a
destination in the main camera window.
Configuration Orders – Here you can change a unit’s parameters. To apply a given
parameter to a unit, press one of the buttons on the panel that has a * in front of the
actual configuration name. Depending on the script (see below) chosen for the unit, you
will be able to turn a unit’s lights on, have it follow enemy units, or retreat after
suffering a certain amount of damage.
In any case, a unit’s current state is always displayed on the appropriate button. For
example, the Chase enemy button switches a unit between Chase enemy or Hold position. If
Chase enemy is displayed, then the unit will pursue any enemy units it sees. If Hold position
is displayed, the unit will fire at enemy units but won’t pursue them.
A question mark ? appears on configuration buttons whenever you select
multiple units with different states. Click this button to set a common state for
all selected units.
Be careful! Some orders, such as Build Wall/Bridge or Dig Tunnel, require additional
information like direction and line of construction. Mark a spot by left-clicking on it,
then move the cursor to a different spot and click again. You’ll see a direct line display
on the ground when you move the cursor. Right-click to abort the operation
immediately. The resulting orders are displayed in a panel in the lower right corner, at
the right end of the Units panel.
This is a list of all civilian vehicle types. When you select one, the vehicle’s thumbnail is
displayed.
To select the unit, left-click its thumbnail. To centre the camera on the unit, right-click
on its thumbnail. Double-clicking the thumbnail will select the unit and switch the
Control panel to the Selection Tab.
14
15
Unit Scripts
Unit scripts determine the basic behaviour of all units. They also control what types of
commands are available when a unit is selected.
Many units, especially civilian vehicles, have only one script available to them. Other
units have a selection of scripts that allow you a choice of commands. Most combat
units are set to the Battle unit script. This script provides a good balance between
simplicity and control. The Advanced Battle unit script provides many more options for
ordering your units while the Simple Battle unit script provides the bare minimum.
Experiment with the scripts to find out which one you prefer.
Recording Orders
On the Selection tab, you can see the Command list. This small window with 4 buttons is
used to record orders for your units. You can use this tool when you want your units to
make more complicated orders, i.e., build multiple buildings, move through way points,
or attack the enemy in a specific order. When you’re recording orders, a small record
symbol appears over the mouse cursor.
There are two methods of recording orders, Regular and Quick.
Regular Recording
Regular recording is useful when you want to give orders to a unit but don’t want him to
start immediately. All recorded orders are stored in the unit’s memory. The unit will
carry out the orders only after you give it the Execute command from the Command List.
• Start recording by pressing the Record button on the Command List or R key.
• Give orders to the unit.
• Finish recording by pressing record button again (R key) or pressing Repeat button (Z). If you press the
Repeat button, the unit will execute the orders over and over again in a loop.
• When you want the orders to be carried out, press the Execute commands button or X key.
Quick Recording
Quick recording is useful when you want to give orders that you want executed
immediately. Giving orders in “Quick Record” mode won’t delete previously recorded
commands. This option is especially useful for giving multiple build commands.
• Hold down the l key or press the Quick Record button.
• Give orders to the unit.
• Release the l key or press the Quick Record button again.
The unit will immediately execute all the recorded orders.
TIP: If you’re playing as the LC, you can use the l key to place multiple structures
without picking every structure from the Build tab.
Pause Mode
In single-player, you can enter “Pause Mode” by pressing the n key. In this mode, you
can give orders to your units but all game action is frozen. However, all command,
camera, and interface functions are still working.
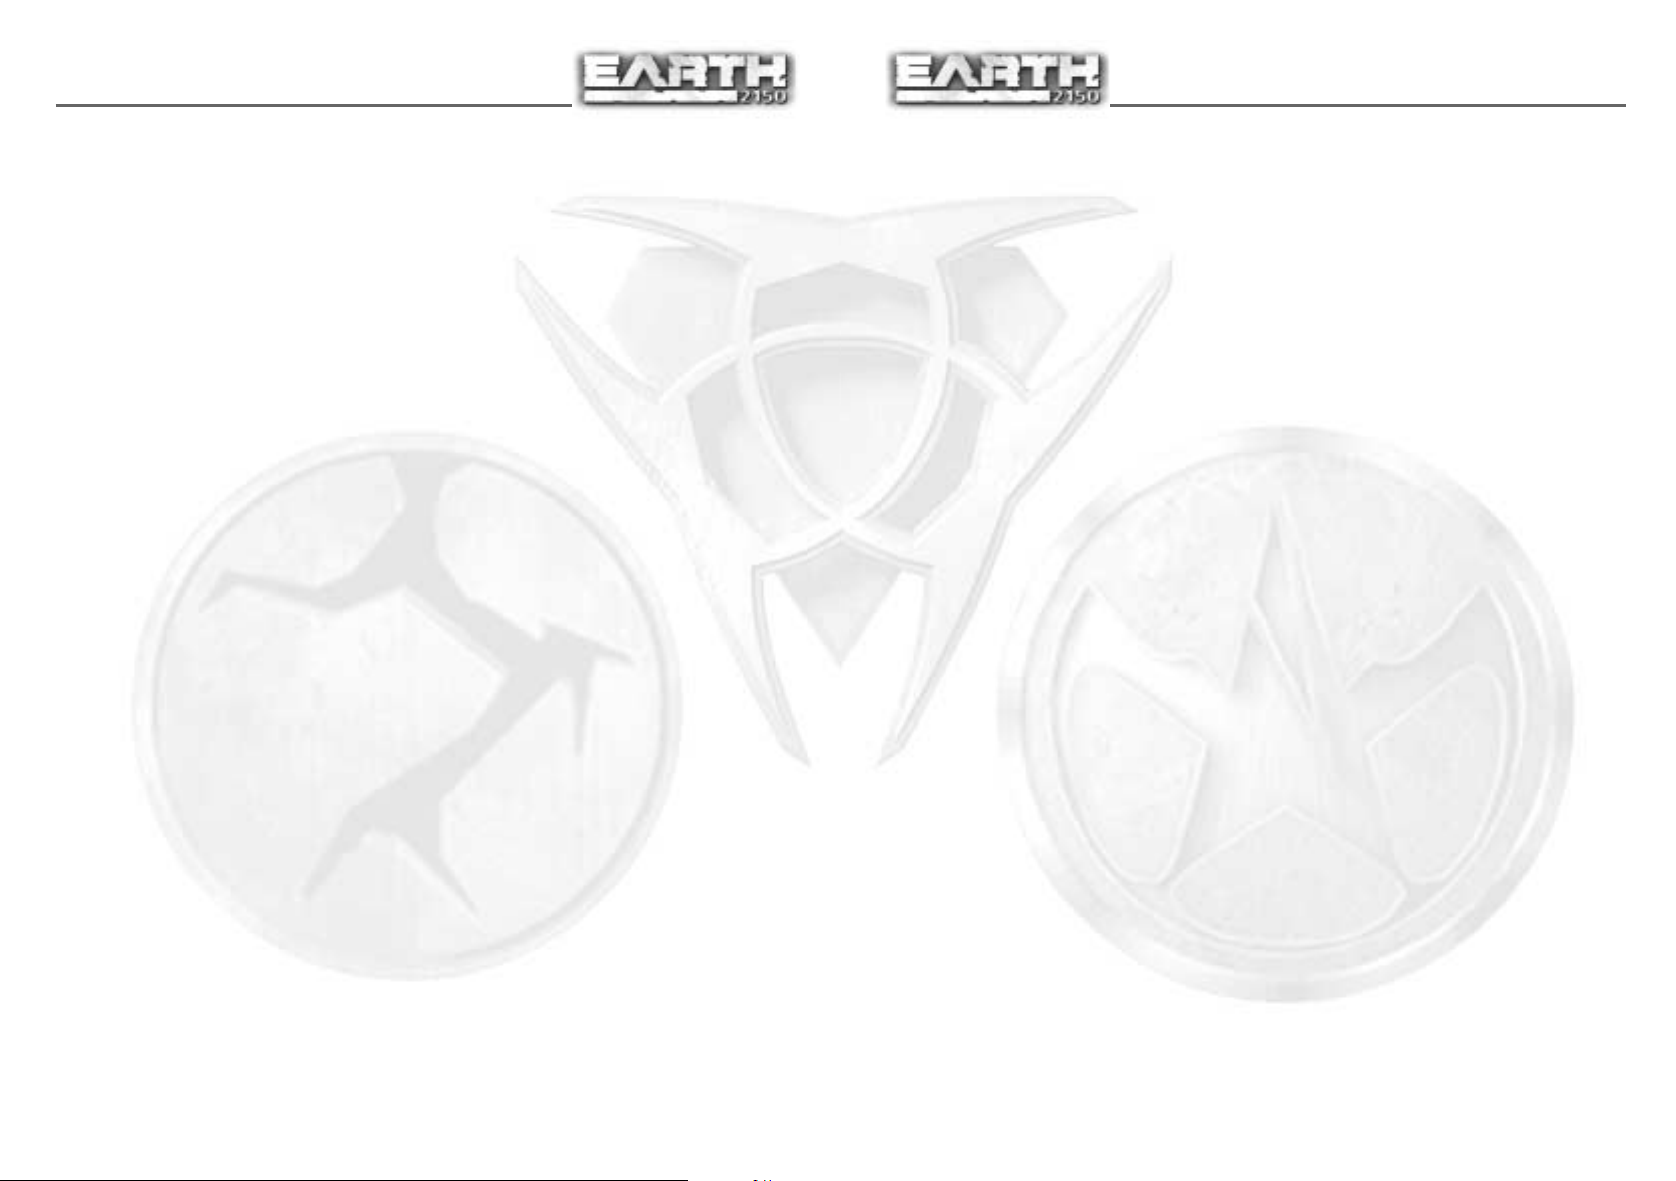
CONTROLLING STRUCTURES
Selecting a Structure
To select a structure, place the cursor over it and
left-click. Double-clicking it will automatically
switch the Control panel to the Selection tab.
Erecting Structures
This process requires construction vehicles, like the Gruz or the
Mammoth. If you’re playing as the LC, you’ll be doing your
construction work in orbit.
Highlight a construction vehicle and select a structure from the
construction panel. If you move the cursor a little, the outlines of
your proposed structure appears. These can differ according to the
location of the site. If the structure can be erected, its outline is green. Strategic parts
of the building, like a shipment point or an entrance to a production centre, are marked
with a cross. An arrow shows you where the front of the structure is (and the direction
in which its cannons are trained). You can turn a structure prior to placing it using the
e key on the numberpad.
A lightning symbol in the structure outline tells you that you’ve
located your structure in an area outside the range of your power
sources. You must either locate the structure closer to a power
station, or build more power structures closer to the desired location.
Green and yellow squares in the structure outline tell you that the
structure is within range of your power plants but they are currently
not producing enough power. If you need more power, you can
expand the power station (UCS, LC) or construct another one (all three sides). You can
build the structure if there’s not enough power, but it will not be functional when
construction is finished.
TIP: If you hold the l key, you will be able to place multiple instances of a structure
without the need to select it again from the panel. By holding down the l key, you can
erect multiple structures in one order session.
A red square means that no structure can be erected in the current location due to
unsuitable terrain.
NOTE: When building Ship Yards, the entire structure outline must
be located on land. The exit must point to water and the water
should be deep enough so that ships will not get trapped inside the
Ship Yard.
16
17
Structures Tab
The Structures tab is located in the middle of the panel. A series of animated thumbnails
illustrates all structures in your possession. You can scroll through this list with the
direction buttons, which are also situated on the panel. Click on the appropriate button
to scroll the list forwards (next) or backwards (previous). Do this while holding down
the s key and you’ll scroll through multiple structures. You can also scroll the list by
dragging the list with the right mouse button.
This list gives you a quick and easy way to search for specific structures. To get a better
look at any structure in the list, just right-click on it and the camera displays it.
Going the other way, just left-click on a structure in the Camera Window to go to its
thumbnail in the Structures tab.
Main Commands for Structures
Command Description
Lights AUTO/ON/OFF ............Changes the structure’s lighting mode.
Power ON/OFF........................This order temporarily “turns off” a structure. Use this to suspend production or free
up power supplies for other structures.
Autodestruction ....................Destroys the structure without leaving a trace. When you click on this button, a
countdown begins, telling you how long you have until the building explodes. To
cancel the Autodestruction command, click on the timer button.
Commands for “Armed” Structures:
Command Description
Change weapon ....................When you issue this order, you’ll see a window containing a list of all weapon types.
During game play, you can change weapons any time you like and mount them
directly onto the structure. Press 3 to see this screen at any time.
Upgrade All ............................Use this to replace a structure’s weapons with the latest version.
Supply......................................Demands more ammunition.
Attack ......................................Displays your target. Order the structure’s weapons to attack a target.
Commands for Production Centres:
Command Description
Produce 1x/Continuous ........With this order you can specify the manner in which a vehicle is produced. In the
Continuous mode, the production sequence of the requested units is repeated ad
infinitum.
Set Dest ..................................Selects the location where the vehicles built in that particular structure are sent. If
the structure is highlighted, the target is shown in the form of a green circle.
Show Dest ..............................Positions the camera above the location where your vehicles (built in that particular
structure) are sent.
PRODUCTION LIST
Right after you’ve chosen a Production Centre, the Production List appears at the edge
of the screen. It includes all vehicles you can produce there. The Production list has
two tabs. In ED and UCS vehicle production centres, air units are placed on the second
tab. In LC production centres, civilian units are placed on the second tab.
To start producing a certain vehicle, left-click on its thumbnail. A progress bar appears
just below the thumbnail to let you know how the process is coming along. Now look
carefully at the bottom right corner of the thumbnail. Notice the figure displayed? This
is the number of vehicles you are going to manufacture. To change this number, simply
left-click to increase, or right-click to decrease. Remember, you’ll need to plan your
production carefully as resources are not unlimited – build too many attack vehicles
without the necessary support craft and your offensive is likely to flounder.
Unit Limits
In campaign missions and many multiplayer or skirmish games, there may be a unit
limit. This limit is expressed in credits and represents the maximum amount of units
you can have at any one time. For example, if the Unit Limit is set to 20,000 credits,
you can build up to 20,000 credits worth of units. Civilian units do not count against
this limit, just combat units.
To see how close you are to the Unit Limit, just select any Weapons Production Centre
(ED & UCS) or Main Base (LC). The Unit Limit will be displayed to the right of
the structure commands. This number is updated as new units are built or existing
ones are destroyed.
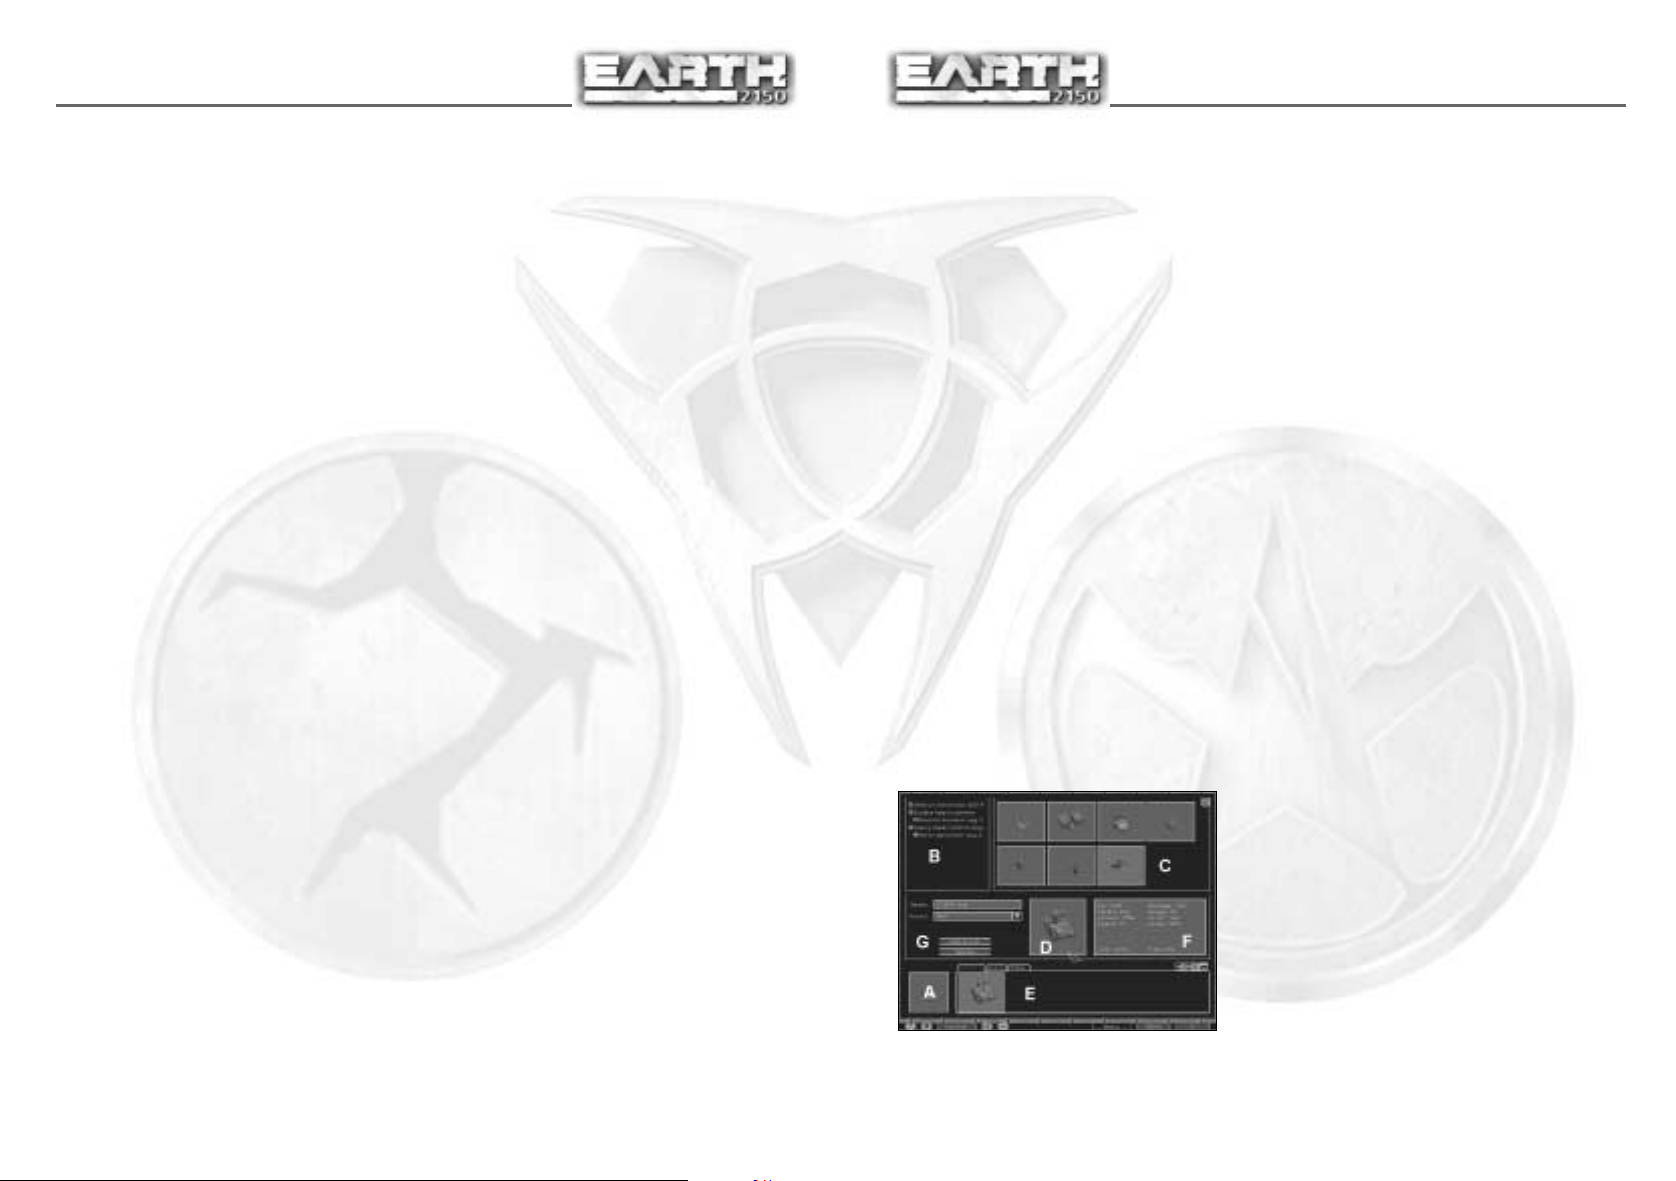
UNIT CONSTRUCTION CENTRE
Unit Construction Panel
You’ll see this screen when you press 1, or
click on the Construction button
in the Research Centre. Here you
can build more advanced vehicles, using
whatever new equipment you’ve managed to
develop. You can then add vehicles you’ve
built here to the Production List.
18
19
The Construction panel consists of the following:
New Model Thumbnail - Activates design of a new model.
Chassis List – Here you’ll see thumbnails for all the chassis types currently available to
you.
Equipment List – A list of weapons and equipment for the vehicle currently being
designed. Just double-click a thumbnail to add the equipment to the currently selected
chassis.
Finished Unit – A picture of the newly designed vehicle. The panel to the right
contains a description of the designed model. To the left are text fields for choosing a
name and unit script. The available scripts are based on the equipment you chose for
the vehicle. The script you choose will be the default script for the vehicle whenever it
is built. Of course, you can always change its script during the game.
When you are satisfied with the vehicle’s equipment, name, and script, click the
Add to list button to make it appear in your production centres. You’ll see your new
vehicle design in the Production List at the bottom of the screen. Double-clicking on the
unit’s thumbnail achieves the same result.
Production List – This list includes all vehicle types that can be made in production
centres. The list is divided into groups:
• Civilian units
• Military units
• Water units (only appears if water units can be used in the current mission)
You can work on this list using the four buttons located above it:
Arrows – Used for changing the position of a model on the list (they can also be used
to establish the order of objects on the list).
X – Removes a selected model from the list.
Disk Icon – Saves a selected model to disk. A thumbnail in a form of an O appears each
time you save a model. It is then automatically assembled during the next round played
by the current player. This option is great if you’re playing network games, since it
saves you from designing the same model each time you play.
OPERATING THE CONSTRUCTION PANEL
Constructing a New Model:
Click the New Model thumbnail to ready the dialog box for use.
To choose a chassis from the Chassis list, just left-click on a chassis thumbnail.
The chassis parameters are displayed in the description box below. To approve a
chosen chassis, double-click on its thumbnail. The cursor automatically turns into the
Choose Equipment mode.
Choose weapons or equipment the same way you chose a chassis, but pick them from
the Equipment List. Right-clicking on a thumbnail removes that piece of equipment
from the current design.
When you have selected your equipment, give the vehicle a name (if you want) and
choose its script (this selects an AI mode).
Then press the Add to list button (or double-click the vehicle thumbnail in the centre of
the screen) to add the finished unit to the Production List.
Editing Existing Models:
Pick out the model you want to edit from the Production List.
Use the same steps as the New Model construction process (but remember - you can’t
change the chassis).
When you’re finished editing, press the Update button.
BUILDINGS UPGRADE CENTRE
This window lets you mount weapons and shields on your buildings. To see this screen,
press the 3 key. The window is very similar to the Construction Centre window. You
can choose new weapons, shields, and equipment for the selected building(s) and
upgrade them to use what you have chosen. You can select additional buildings from the
row of thumbnails at the bottom of the window for further upgrades.
When you want to upgrade groups of identical buildings (e.g. all small towers), hold
down the c key and click on one building of that type in the list. All identical buildings
will be selected and you will be able to change their weapons together. Identical means
the same building and the same weapon. For example, this allows you to choose a
group of towers with rocket launchers and upgrade them, without changing a group of
towers with lasers.
 Loading...