


M2000
©McDonald’s Corporation · Planned Maintenance Manual · Revised June 2008
Hazards
These icons alert you to a possible risk of personal injury.
Equipment alerts
Look for this icon to find information about how to avoid damaging the
equipment while doing a procedure.
Tips
Look for this icon to find helpful tips about how to do a procedure.
FRYERS
FR 2
Frymaster
Fryer
Electric and Gas models using an M2000 Computer
Weekly maintenance task
FR 2 W1 Clean area behind
fryers
Bi-weekly maintenance task
FR 2 B1 Calibrate fryer
Monthly maintenance task
FR 2 M1 Calib rate fryer
recovery time
Quarterly maintenance tasks
FR 2 Q1 Boil out fry vats
(electric fryers
only)
FR 2 Q2 Verify high-limit
controls
FR 2 Q3 Replace filter o-
rings
Semi-annual maintenance task
FR 2 S1 Boil out fry vats
(gas fryers only)
Annual maintenance task
FR 2 A1-T Scratch calibrate
fry vats
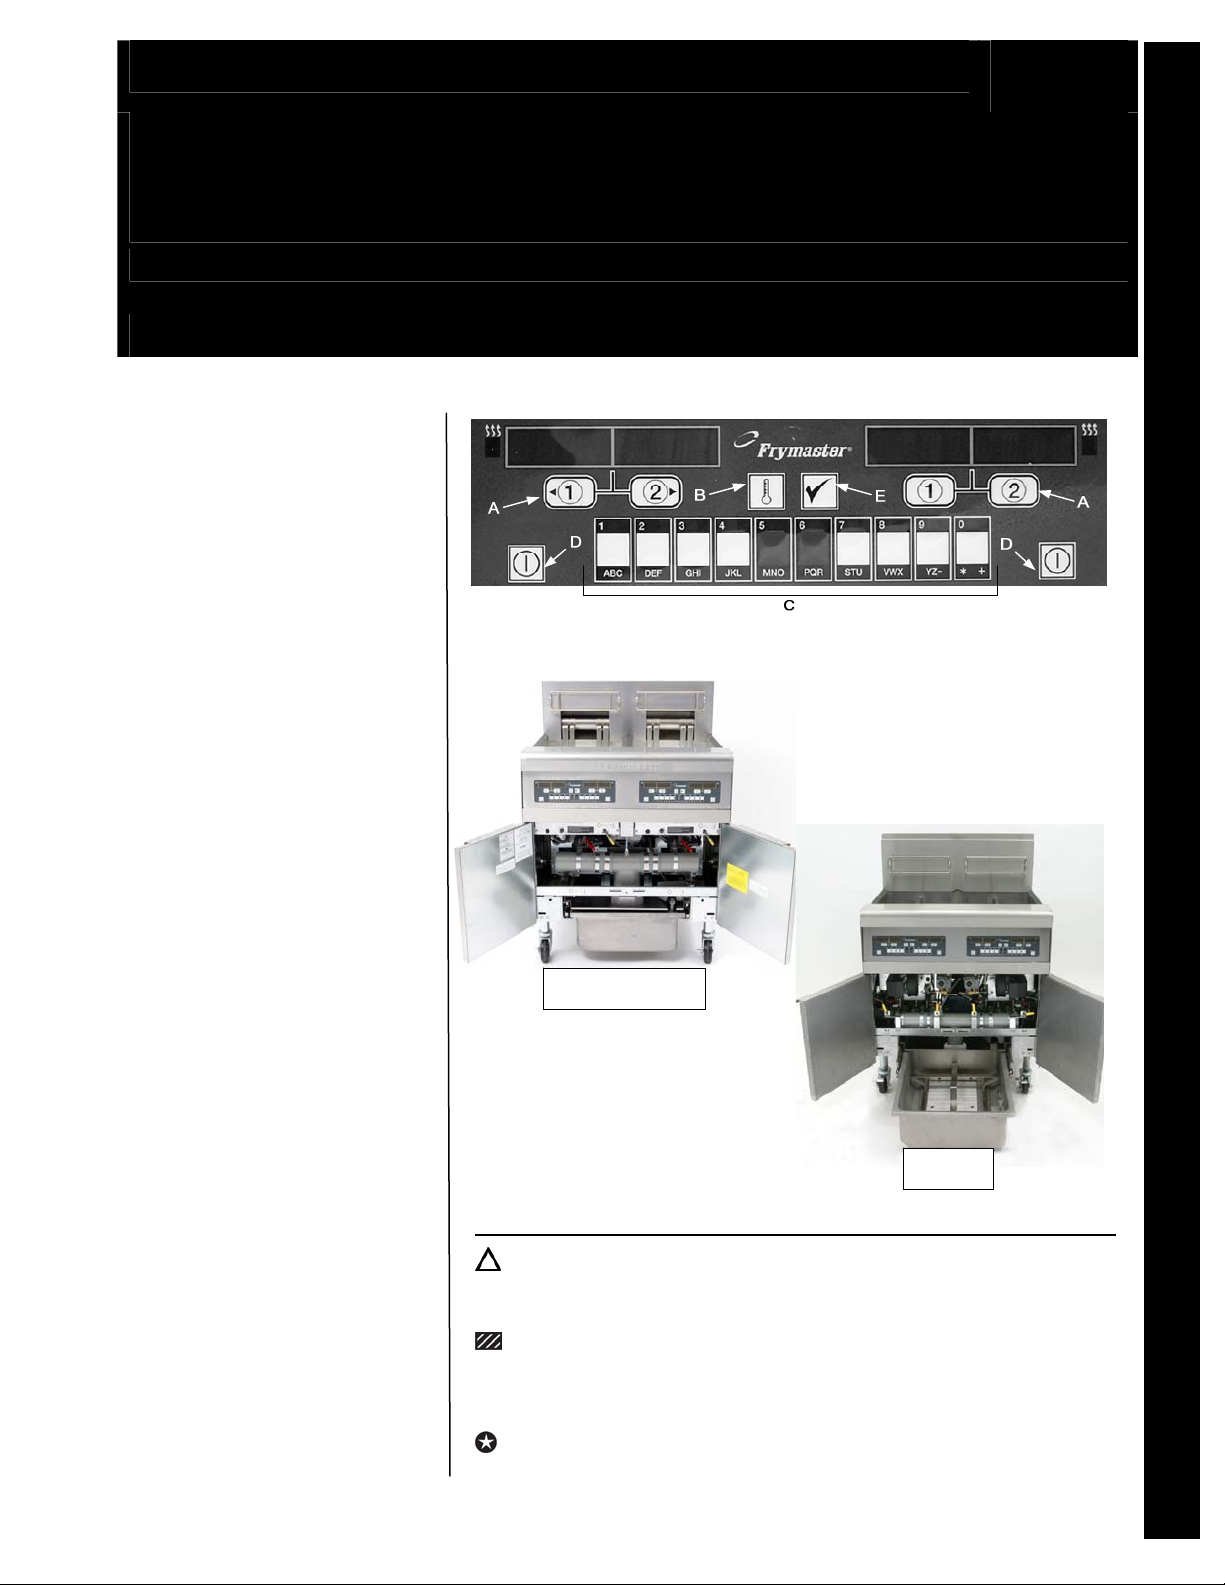
Computer model M2000
A. Cook cycle buttons, B. Temp button, C. Product Buttons, D. ON/OFF, E. Programming button
Frymaster Fryer All models using an M2000 Computer FR 2
ELECTRIC
GAS
NOV 2009
*81965
66
*
Daily Cleaning of Fryers Daily FR 2 D1
©McDonald’s Corporation · Planned Maintenance Manual · Revised June 2009 Page 1 of 1
Frymaster Fryer Model BIPH14
Daily FR2 D1
Why
Removed caramelized oil from element hub and surroundin g housing.
Time required
5 minutes to prepare 15 minutes to complete (5 minutes per pot)
Time of day
After close
For 24-hour restaurants: overnight or during low-
volume periods
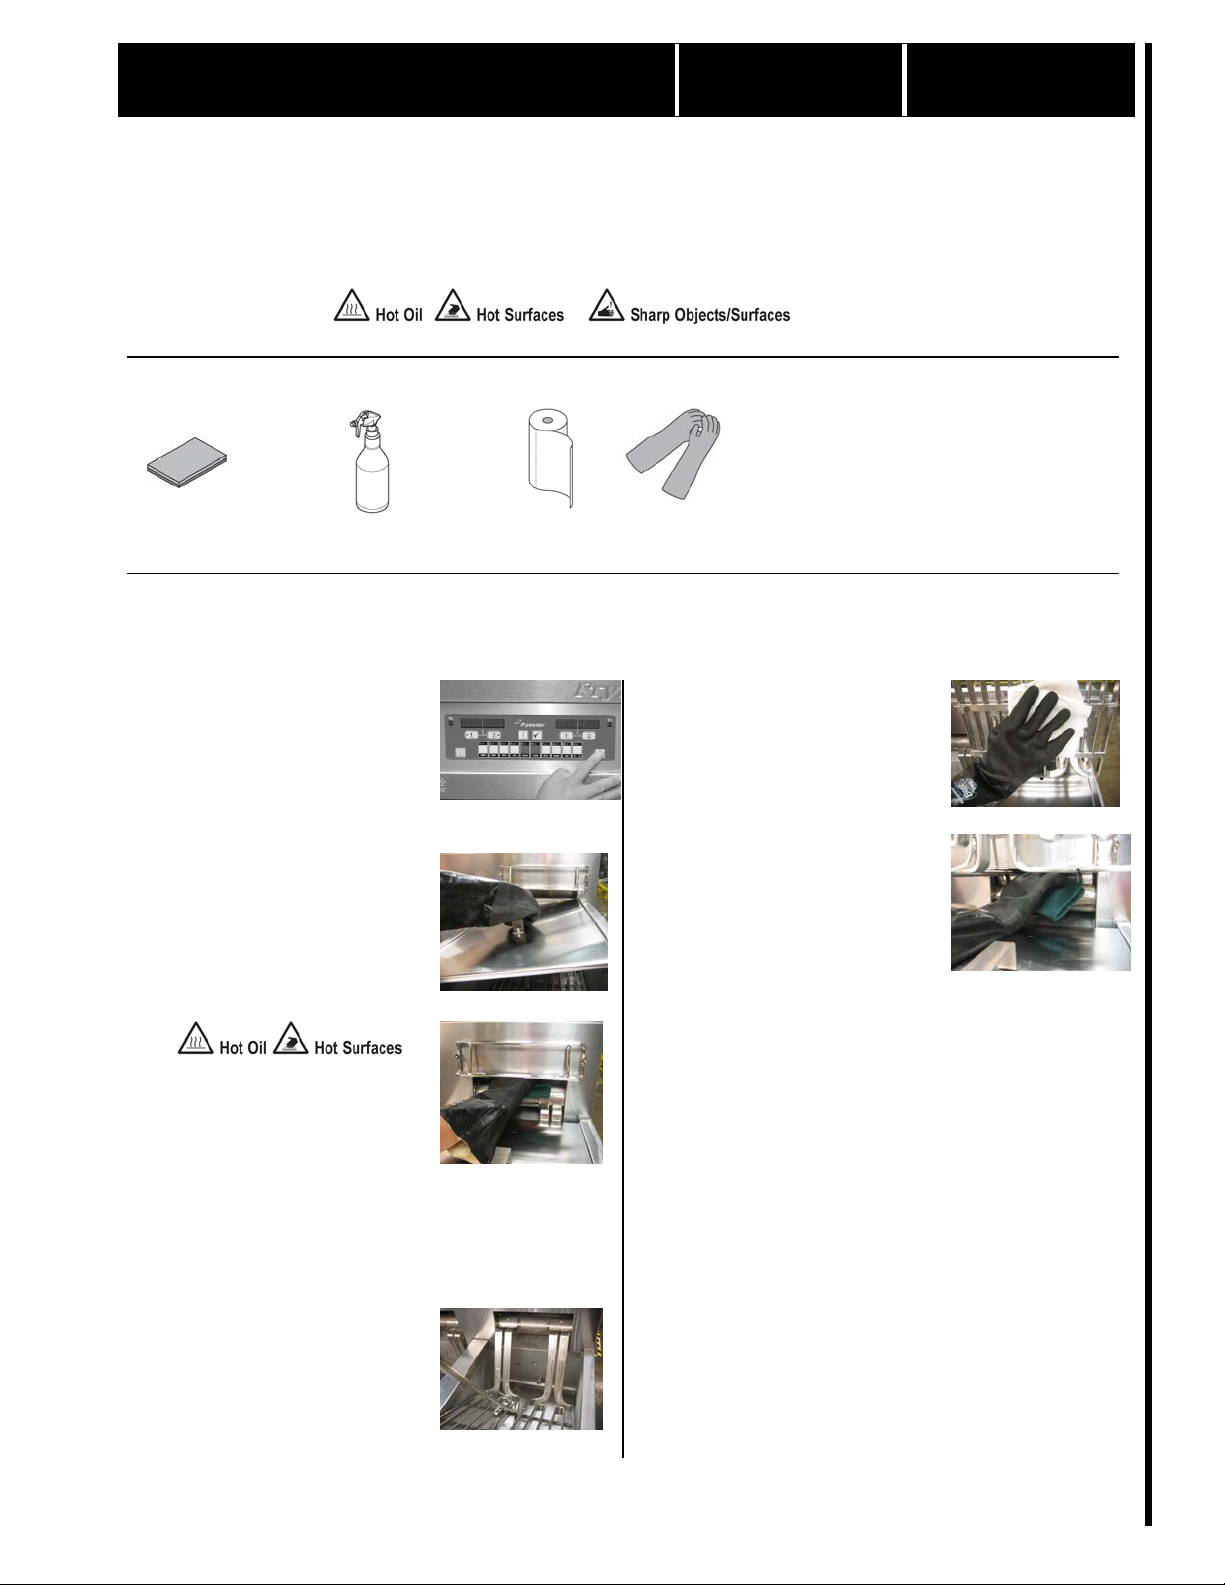
Hazard icons
Tools and supplies
No-scratch pad
EXCEED
–
Glass and Multi-surface cleaner
Paper towel
Neoprene Filtering Gloves
Procedure
1
Turn fryers off.
Turn all fryer power
switches to the off
position.
2
Clean front and topside area
of heating element hub.
Wearing heat resistant
gloves, place covers on fry-
pots ensuring they are square
with the frypot.
Spray EXCEED on a
No-scratch pad.
Use No-scratch pad to clean
around the element hub and
surrounding housing area.
Once area has been
cleaned, wipe off excess with
a paper towel.
Remove frypot cover and
remove basket rack using a
fryer’s friend, set aside. Lift
elements using fryer’s friend.
Replace frypot covers and
wipe excess oil from the ele-
ments with paper towel.
3
Clean underside area of heat-
ing element hub.
Spray EXCEED on a
No-scratch pad.
Use No- scratch pad to clean
the underside of the element
hub and surrounding housing
area.
Once area has been cleaned
wipe off excess with paper
towel.
Remove frypot cover. Using
a fryer’s friend, replace the
basket rack and lower the
elements.
4
Repeat for remaining frypots.
Clean area behind fryers Weekly FR 2 W1
©McDonald’s Corporation · Planned Maintenance Manual · Revised June 2008 Page 1 of 4
Frymaster Fryer Models Using Model M2000 Computer
Weekly FR 2 W1
Why
To ensure high-quality fried products and reduce the possibility of a fire near the fryer
Time required
5 minutes to prepare 45 minutes to complete
Time of day
After close
For 24-hour restaurants: overnight or during low-
volume periods
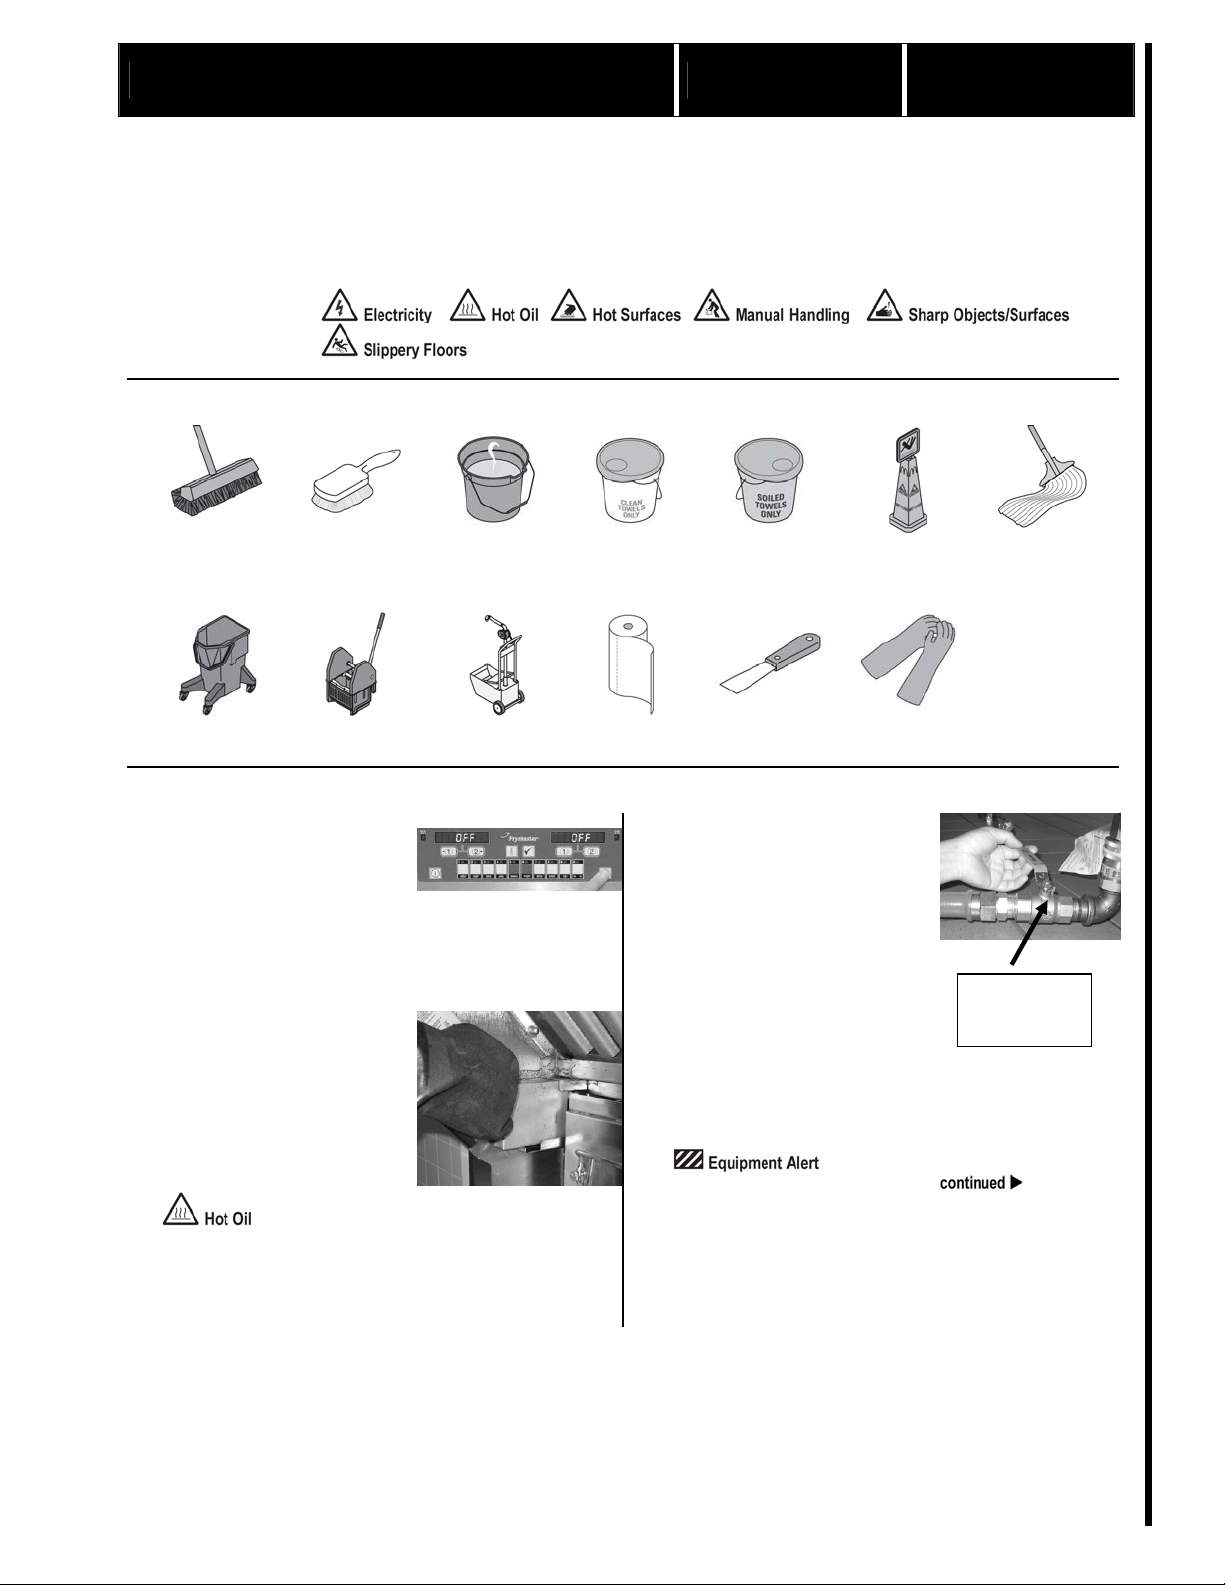
Hazard icons
Tools and supplies
Brush, hi-lo deck
Brush, pot, nylon
Bucket with McD All
Purpose Super
Concentrate (APSC)
solution
Bucket, clean and
sanitized towels
Bucket, soiled towels
Caution Wet Floor
Sign
Mop
Mop bucket
Mop wringer
Oil removal cart
Paper towels
Putty knife
Neoprene Gloves
Procedure
1
Turn fryers off.
Turn all fryer power switches
to the off position.
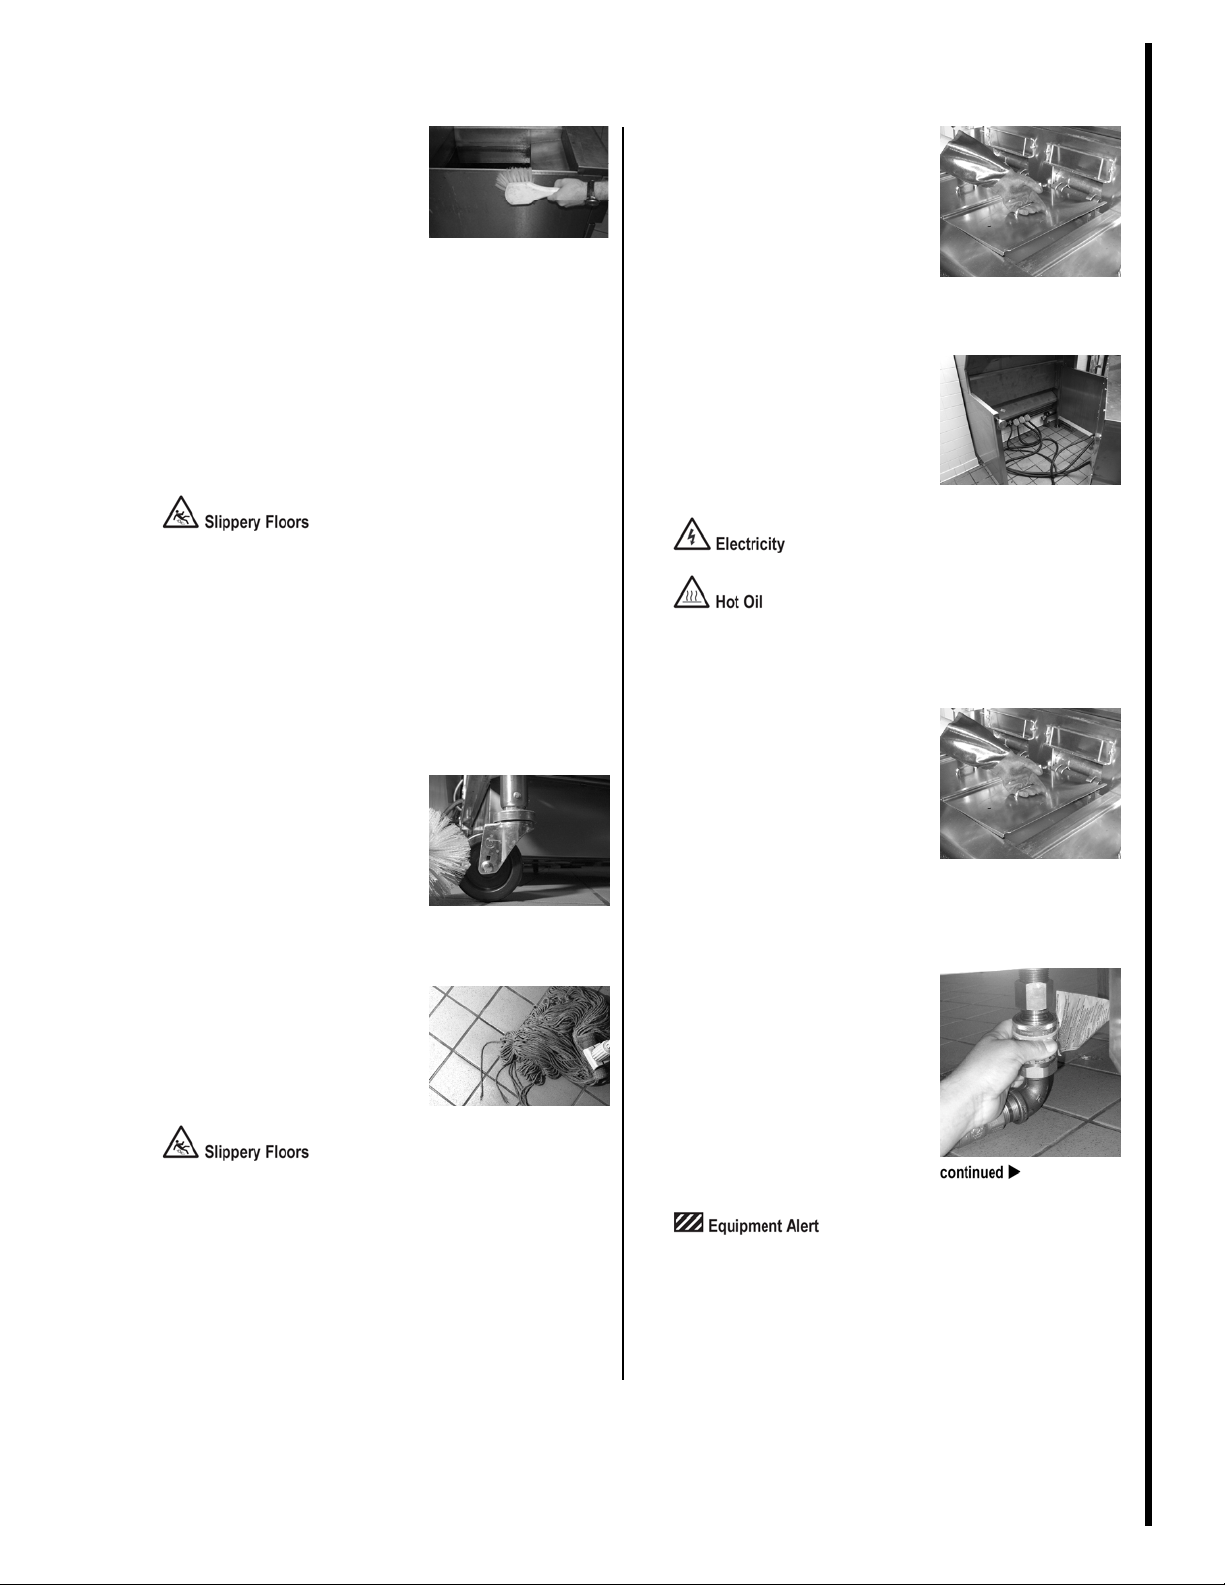
2
Remove and empty grease
trough and cup.
Remove the grease trough
from the exhaust hood. Re-
move the grease cup from the
hood. The trough and cup are
located beneath the hood fil-
ters. Pour any oil in the
trough and cup into the oil
removal cart.
Oil in trough and cup may be
hot. Use gloves.
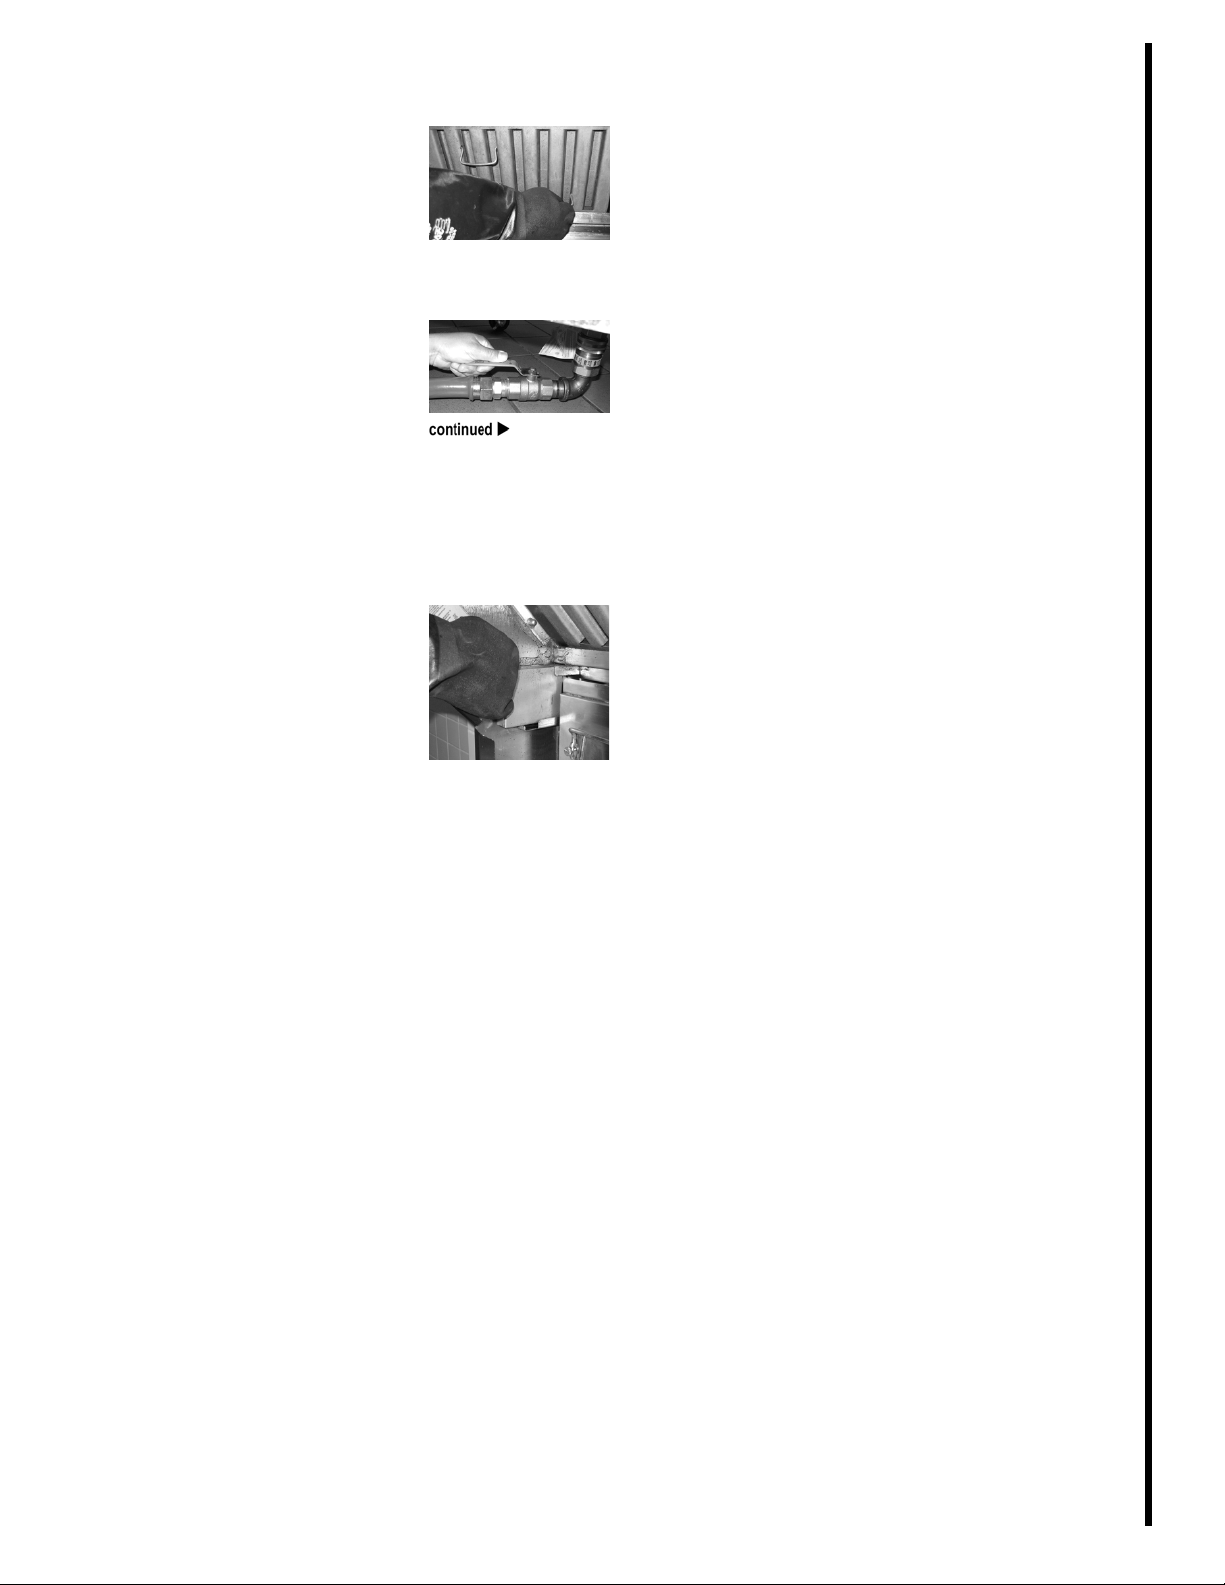
3
Shut off and disconnect gas.
If the fryer is not a gas fryer,
skip this step.
If the fryer is a gas fryer, use
the manual gas shut-off valve
to shut off the gas supply. The
manual gas shut-off valve is
located on the supply line
before the quick disconnects.
Then disconnect the gas line
from the fryer via the quick
disconnect.
Use only the manual shut-off
valve to shut off the gas. Do
not use the quick disconnects.
Manual
shut-
off
Clean area behind fryers (continued)
©McDonald’s Corporation · Planned Maintenance Manual · Revised June 2008 Page 2 of 4
Frymaster Fryer All models using an M2000 Computer Weekly
FR 2 W1
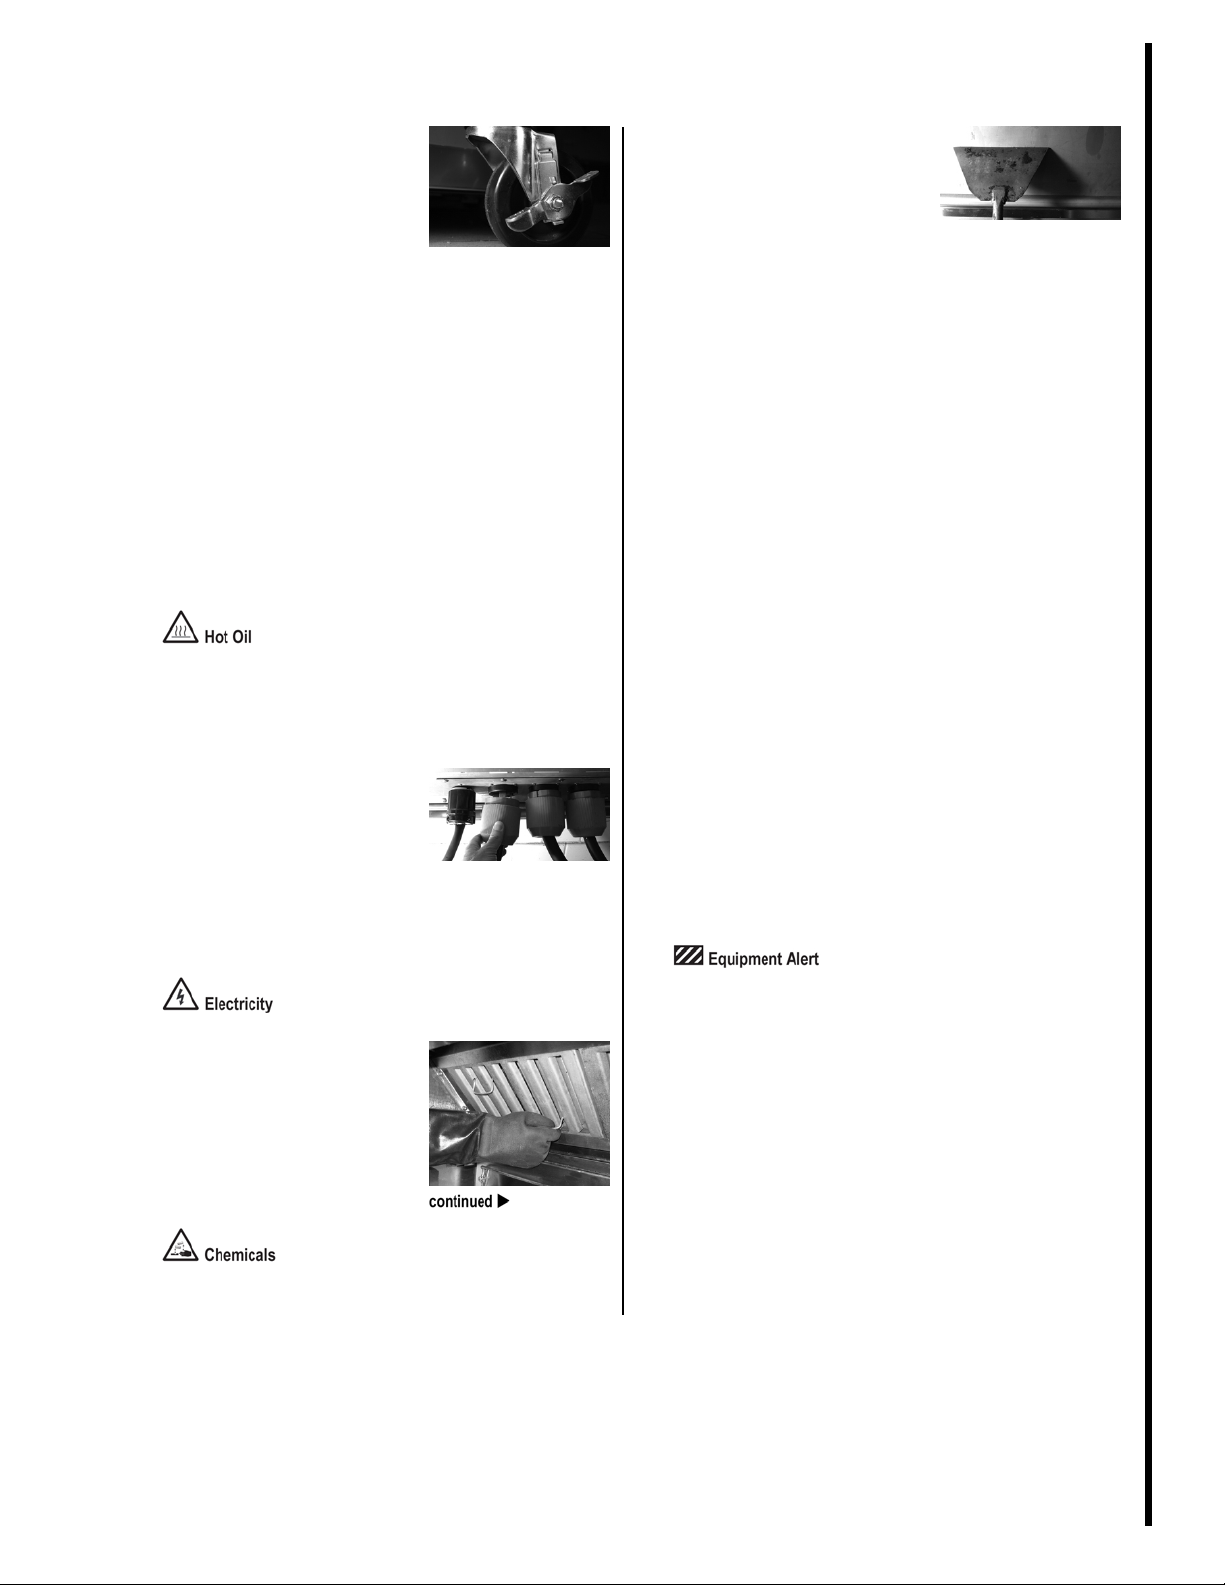
4
Prepare fryer for cleaning.
Release the locks on the fryer
wheels.
If the fryer has a capping
piece, lift the front of the cap-
ping piece far enough to let
the backsplash clear the filter
shelf. Roll the fryer carefully
away from the firewall, just
until the capping piece clears
the filter shelf.
Secure the capping piece, if
there is one. Place vat covers
on all vats.
Roll the fryer farther away
from the firewall, far enough
to clean behind the fryer.
Oil in fryer may be very hot.
Roll the fryer slowly to avoid
splashing the oil. Use gloves
5
Disconnect fryer from
electricity.
Unplug the fryer’s electrical
cord from the outlet by pull-
ing on the electrical plug’s
body. You may need to twist
the plug to remove from the
outlet.
6
Clean fryer filters.
Remove the fryer filters from
the exhaust hood. Take the
filters to the three-
compartment-sink and soak
them in McD APSC.
McD APSC
7
Scrape area behind fryer.
Use a putty knife to scrape off
all soft grease and hard car-
bon from the area behind the
fryer. Clean the following
areas in this order: the parts of
the stack you can reach; the
back of the exhaust hood; the
sides of the exhaust hood; and
the fryer filter recess area.
On an electric fryer, next use
the putty knife to scrape all
soft grease and hard carbon
from all sheet metal around
the fryer, the standoff piece,
and the fryer stand. Skip to
step 8 after these areas are
cleaned.
On a gas fryer, next use the
putty knife to scrape all soft
grease and hard carbon from
these areas in this order: the
flue restrictor, all sheet metal
around fryer, the removable
gravity blade, the seal angle,
the stand-off piece, and the
fryer stand.
On a gas fryer, be careful not
to drop any soft grease or
hard carbon into the fryer flue
passage while cleaning.
Do not break the fire protec-
tion fusible link in the lower
area of the stack. Breaking the
link will activate the fire ex-
tinguishing system.
Clean area behind fryers (continued)
©McDonald’s Corporation · Planned Maintenance Manual · Revised June 2008 Page 3 of 4
Frymaster Fryer All models using an M2000 Computer Weekly
FR 2 W1
8
Clean area behind fryer.
Use a nylon pot brush, a hi-lo
deck brush, and a bucket of
hot McD APSC solution to
scrub all of the areas you
scraped in step 7. Clean the
areas in the same order that
you scraped them in step 7.
Then use the hi-lo deck brush
to scrub the floor around the
fryer.
Wipe all areas with paper
towels until they are clean
and dry.
The floor may be wet where
you have scrubbed it.
9
Ask manager to inspect.
Ask a manager to inspect
your work and approve the
cleaning. Repeat any cleaning
as your manager directs.
10
Wash fryer legs and casters.
Use a nylon pot brush and a
bucket of hot McD APSC
solution to wash the legs and
casters of the fryer. Wipe dry
with paper towels.
11
Mop floor around fryer.
Use a mop and a bucket of
hot McD APSC solution to
mop the entire floor around
the fryer.
Floor may be wet from mop-
ping.
12
Allow surfaces to dry.
Allow all fryer, wall, and
floor surfaces to air dry.
13
Reconnect fryer to electricity.
Roll the fryer slowly toward
the electrical outlet until it is
close enough to connect the
plug. Plug the fryer into the
outlet.
Oil in fryer may be very hot.
Roll the fryer slowly to avoid
splashing the oil.
14
Prepare fryer for use.
Roll the fryer forward care-
fully until it is close to the
filter shelf. Remove the vat
covers from all vats. Lift the
front of the capping piece
until the backsplash clears the
filter shelf, and roll the fryer
carefully into its normal posi-
tion.
15
Reconnect fryer to gas supply.
If the fryer is an electric fryer,
skip this step.
Check both ends of the quick
disconnect for grease. Wipe
the quick disconnect clean if
necessary. Reconnect the gas
line coupling.
Be sure the gas quick discon-
nect is fully engaged and
interlocked before turning on
the gas supply.
Clean area behind fryers (continued)
©McDonald’s Corporation · Planned Maintenance Manual · Revised June 2008 Page 4 of 4
Frymaster Fryer All models using an M2000 Computer Weekly
FR 2 W1
16
Reinstall fryer filters and
grease trough.
Lock wheels into place. Rein-
stall the fryer filters and the
grease trough in the exhaust
hood.
17
Turn on gas supply.
If the fryer is an electric fryer,
skip this step.
Turn the manual gas shut-off
valve to the on position. Turn
the computer on to verify
burners will re-light. Once the
burners have been re-lit you
can turn the computer off.
18
Clean area behind other fryers.
Repeat steps 1 through 17 for
all remaining fryers.
Calibrate fryer Bi-weekly FR 2 B1
©McDonald’s Corporation · Planned Maintenance Manual · Revised June 2008 Page 1 of 2
Frymaster Fryer All models using an M2000 Computer Bi-weekly
FR 2 B1
Why
To maintain food safety standards
Time required
1 minutes to prepare 5 minutes to complete, once fryer has reached cooking
temperature. Cook temperature should be reached in
approximately 45 minutes.
Time of day
At open
For 24-hour restaurants: during low-volume periods
Hazard icons
Tools and supplies
Pyrometer with fry
vat probe
Neoprene Gloves
Procedure
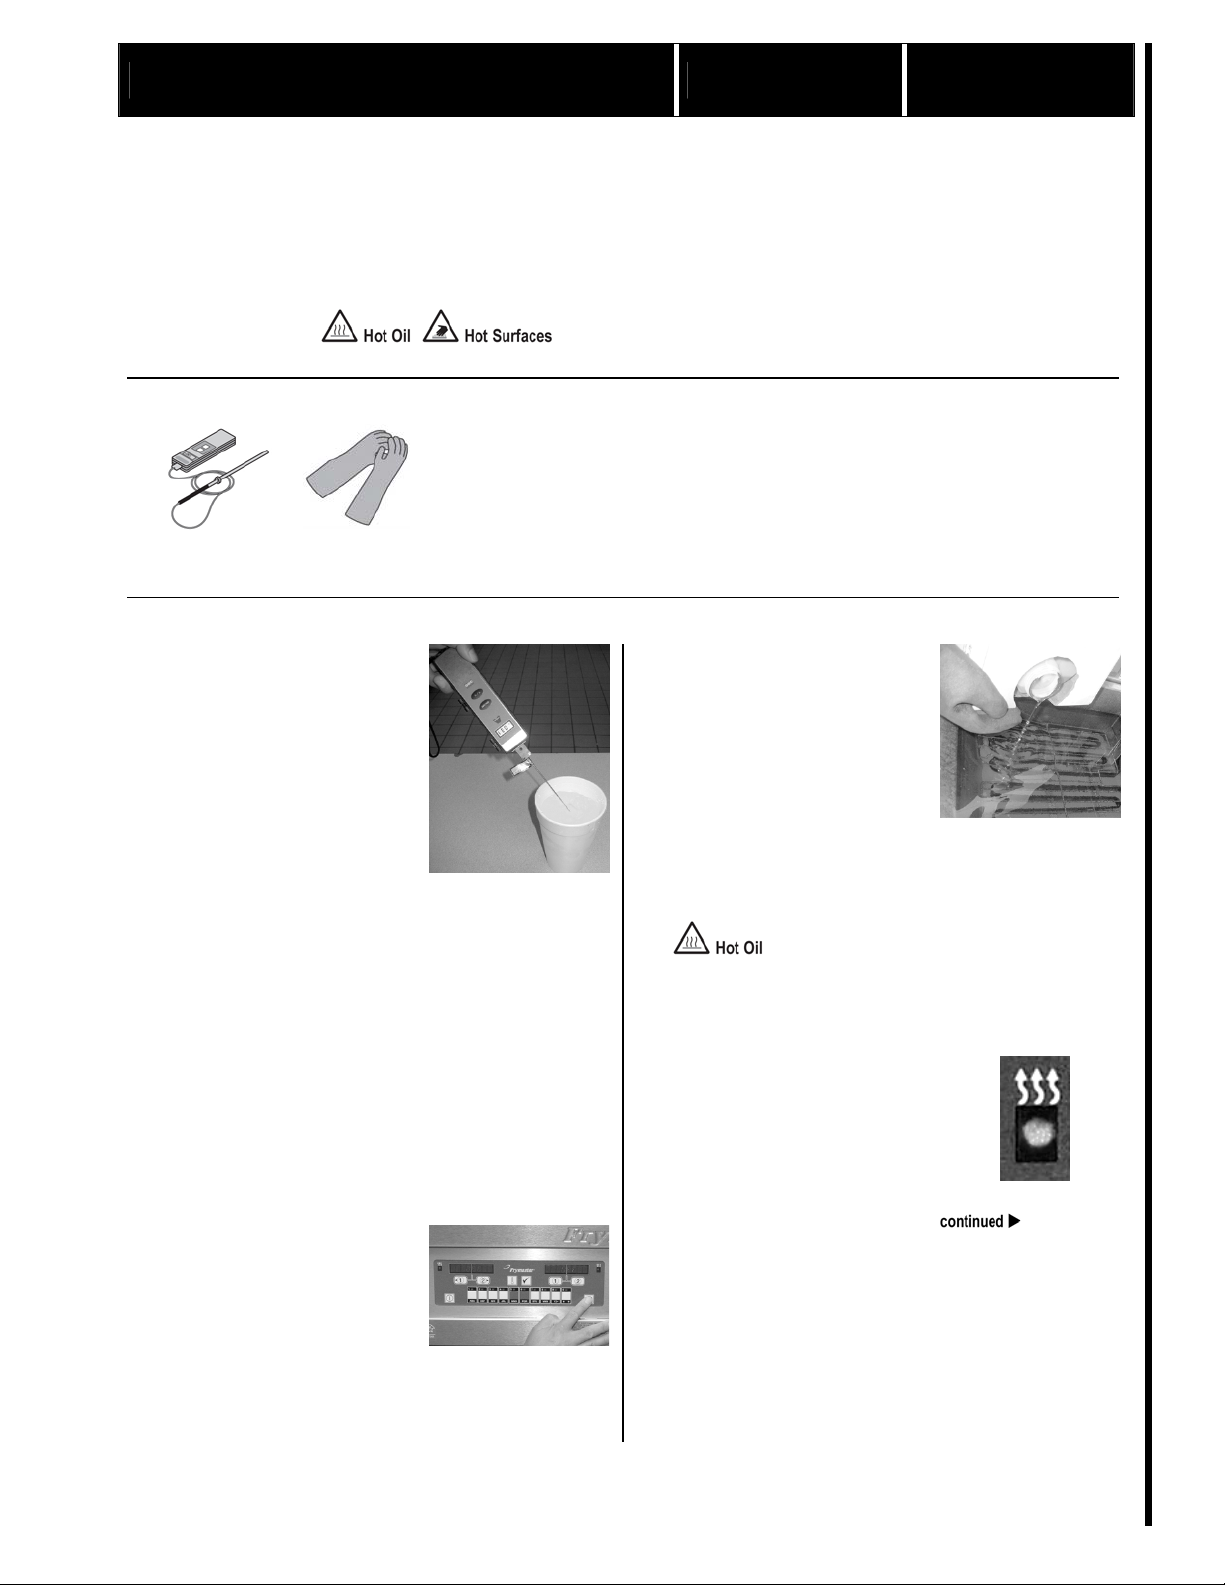
1
Calibrate pyrometer.
Fill a hot beverage cup with
ice and then add cold water
from the drink tower up to
the top of the ice. You should
have 50 percent ice and 50
percent water.
2 Place probe in water
Place the probe in the ice wa-
ter and stir continuously until
the temperature readout
stabilizes.
3 Read temperature
The readout should be 32°F
(0°C), plus or minus 2°F
(1°C). If not, you need to
calibrate, repair, or replace
the pyrometer. For calibra-
tion, follow the calibration,
checking, and adjusting pro-
cedures supplied by the
manufacturer of your pyrome-
ter.
2
Turn on fryer and heat oil.
Press the on/off button to turn
the fryer on. Set the fryer for
the product to be cooked.
Allow the oil in the fryer to
reach cooking temperature
and then cycle off.
3
Check oil level.
Check the oil level when the
oil has reached cooking tem-
perature. If the oil is above
the “Oil Level” line, remove
oil until the oil is at the line
by draining oil into pan or
disposal unit. If the oil is
below the “Oil Level” line,
add oil until the oil reaches
the line.
Oil in the fryer is very hot.
Use gloves.
4
Cycle vat.
Allow the vat to cycle on and
off three times. The heat light
will come on when the fryer
is heating.
Calibrate fryer (continued)
©McDonald’s Corporation · Planned Maintenance Manual · Revised June 2008 Page 2 of 2
Frymaster Fryer All models using an M2000 Computer Bi-weekly
FR 2 B1
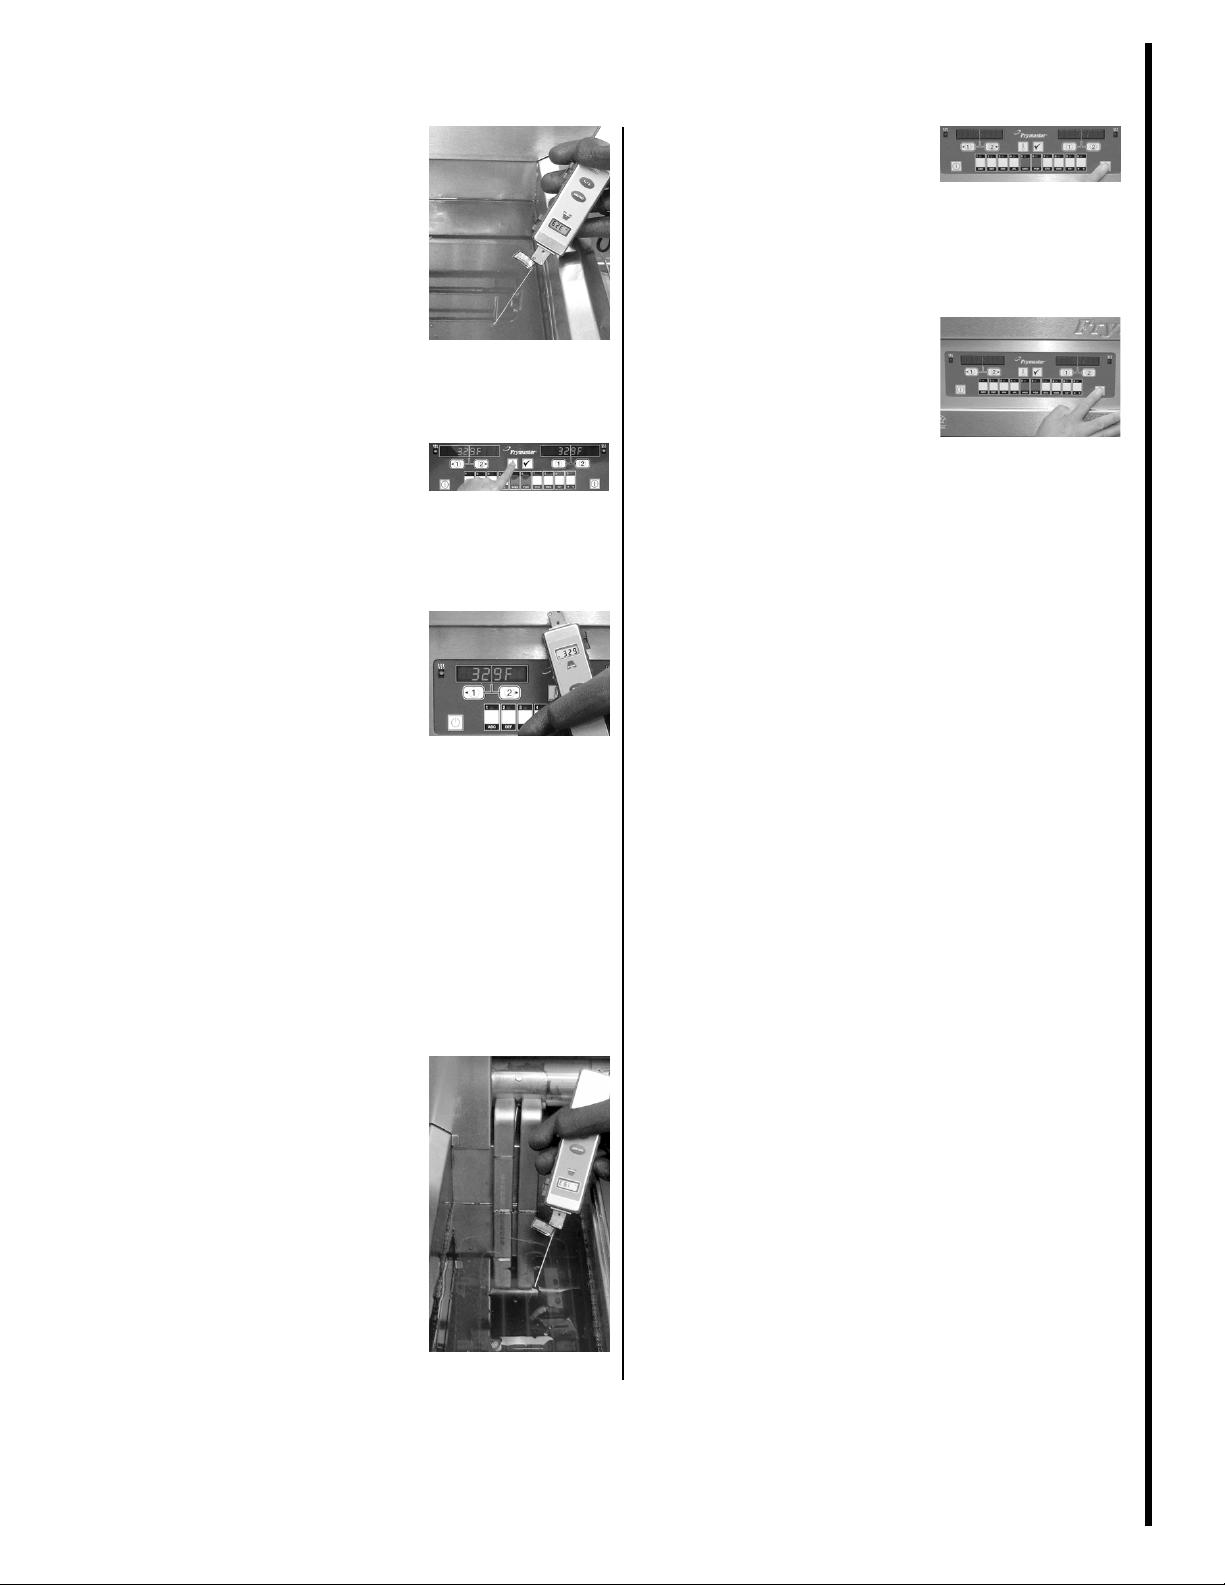
5
Read oil temperature.
Insert the fry vat probe of the
pyrometer into the hot oil to
within 1 inch (2.5 cm) of the
probe’s tip. The tip should
be approximately 3 inches
(7.6 cm) below the surface of
the oil. Allow the temperature
reading to stabilize.
6
Display temperature on fryer.
Press the temperature display
switch for the vat where you
took the pyrometer reading.
The display will show the
temperature for the vat.
7
Compare temperature
readings.
Compare the temperature
reading on the pyrometer with
the corresponding tempera-
ture on the display.
If the two temperatures are
less than 5°F (3°C) apart (ei-
ther plus or minus), you do
not need to adjust the tem-
perature setting.
If the two temperatures are
more than 5°F (3°C) apart
(either plus or minus), call a
service technician to report
the problem.
8
Repeat for other side of split-
vat.
If the vat you tested was a full
vat, skip this step and go to
step 9.
If the vat you tested was one
side of a split-vat, repeat steps
5 through 7 on the other side
of the split-vat.
9
End calibration check.
When you have finished steps
5 through 7 for the vat (in-
cluding both sides of a split-
vat), press the on/off button to
end the calibration check for
the vat.
10
Calibrate remaining fryers.
Repeat steps 1 through 9 for
all remaining fryers.
 Loading...